The Easy Slip Knot
Want to know how to make an easy slip knot (starting loop) for crochet? No problem—we’ll show you how!
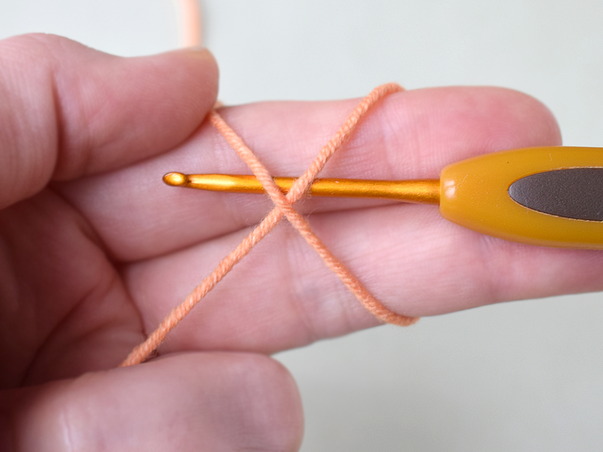
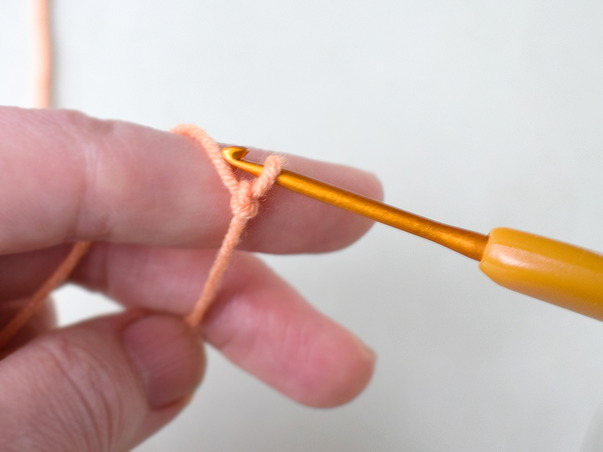
The yarn tail is on the left. It’s important that you lay the working yarn over the tail to form a loop.
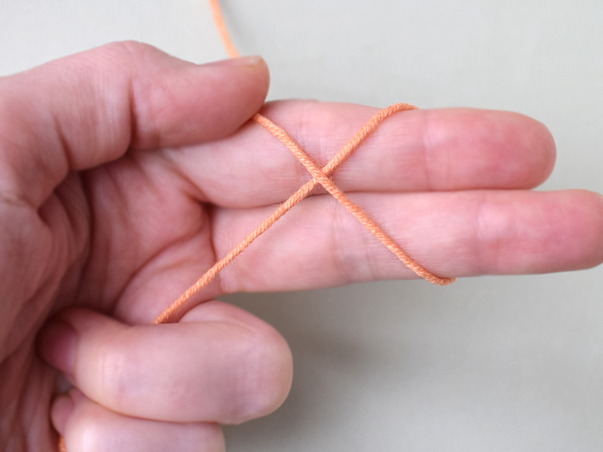
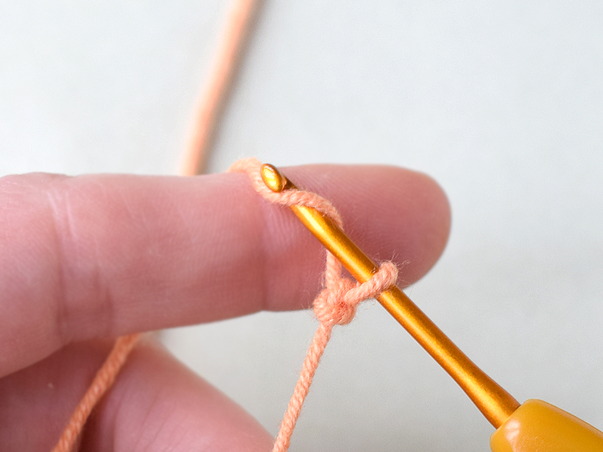
Next, pull the working yarn through the loop you just made.
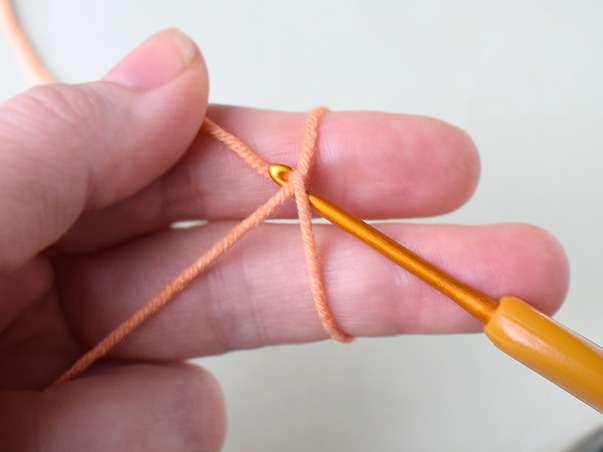

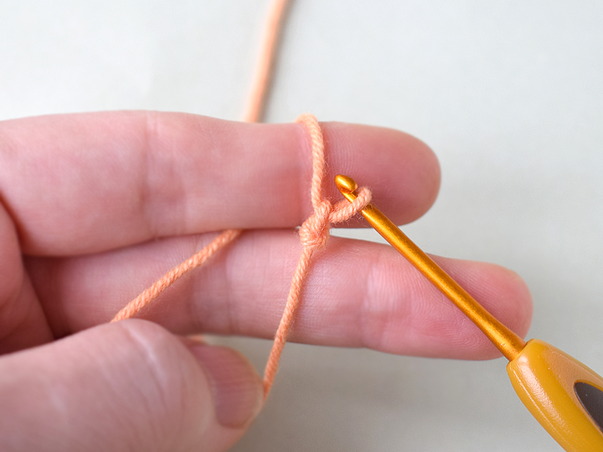
Now hold the loop in place and pull on the yarn tail until a slip knot forms.
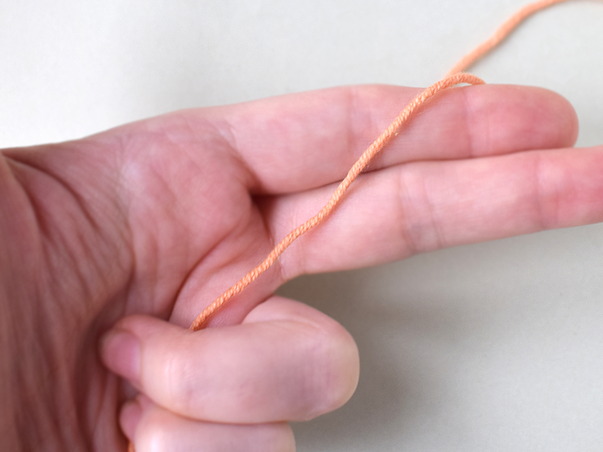
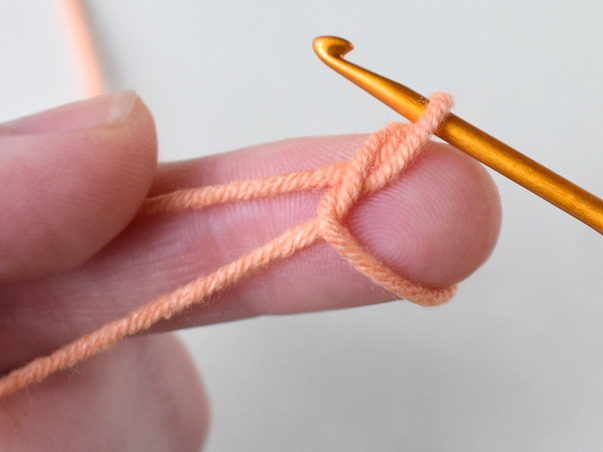
Next, wrap the working yarn around the fingers of your left hand.
This helps you control your yarn tension while crocheting. If you squeeze your fingers too tightly together, the yarn won’t slide as easily. If you hold them too loosely, the yarn can slip out of your fingers. Try to find a comfortable balance: relaxed, but still secure.
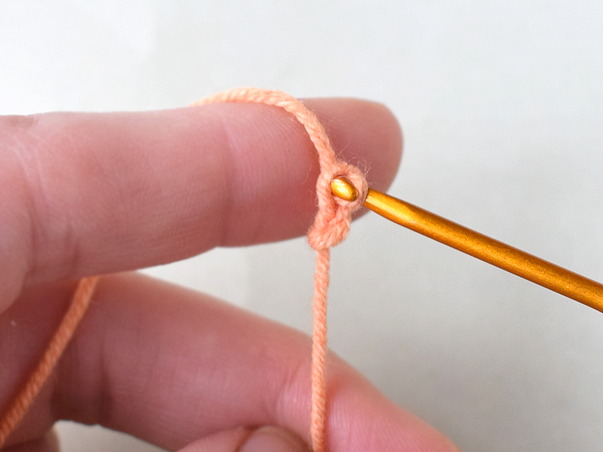
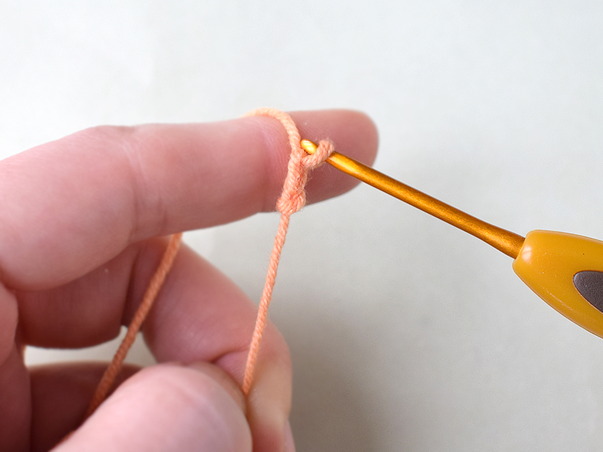
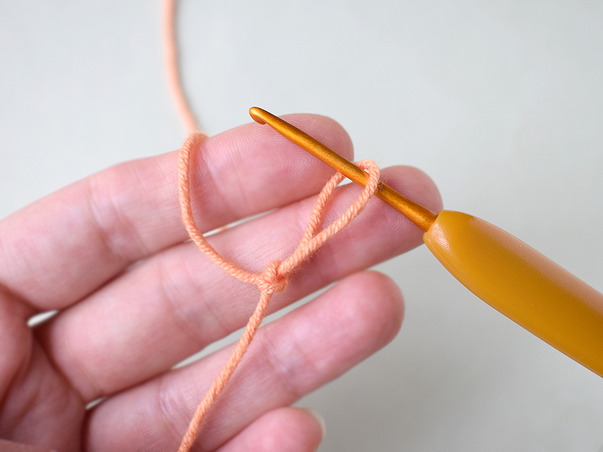
Important: Hold the slip knot firmly with your thumb and middle finger, then pull the yarn through the loop on your hook.
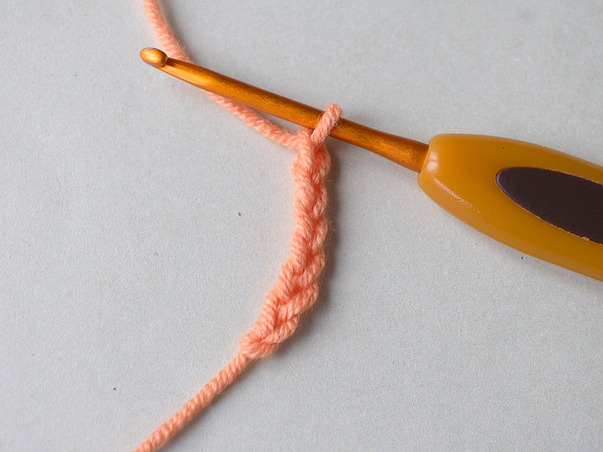
Repeat this process until you have the number of chain stitches you need. Your easy slip knot and starting chain are complete!