Quick to Target
Browse Categories
Community & Help

Sewing Shopping Bag Patterns

Even with little sewing experience, you can make a sturdy shopping bag. Show more
Even with little sewing experience, you can make a sturdy shopping bag. Many PDF patterns walk you step by step through cutting, seam allowance, turning, and topstitching. Filter by “easy” and sew your first shopper with a downloadable pattern.

Bag Set Patchwork

from US $5.75

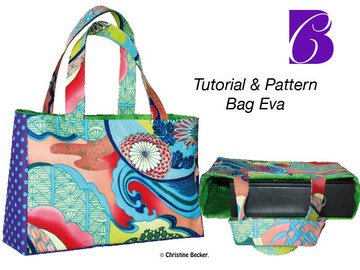
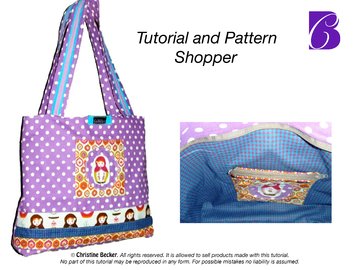
Shopper in 3 sizes PDF pattern & instructions

from US $9.30

Rubus pocket pattern

from US $8.88

Sew shopping bags: Ideas for your new everyday companion

Whether you prefer a classic shopper, a fabric tote or a practical shoulder bag, this is all about everyday bags you can rely on for shopping and carrying. Projects range from quick makes for beginners to designs with linings, interior pockets, closures or sturdy bag bases, depending on the pattern you choose.

Quick choice
  • ✓Carrying style & size: First, decide whether you want short handles, long shoulder straps or a crossbody strap, and how much capacity you need.
  • ✓Project style: From simple to detailed – if you’re looking for more bag shapes, take a look at More bags too.
  • ✓Difficulty level: Check whether the pattern includes steps such as turning, topstitching or sewing in a lining.
  • ✓Quick start: Filter by “beginner” or “easy” if you want to start sewing right away.
  • ✓Finding your way: Sort by “Best rated” to benefit from others’ experiences; “Cheapest first” helps you compare.
What to look out for
  • Material: Sturdy cotton fabrics, canvas, denim or coated fabrics are suitable for durable bags – follow the pattern’s recommendations.
  • Stability: Look for reinforcement with interfacing and neatly secured strap attachment points (multiple rows of topstitching or bar tacks).
  • Interior construction: A lining and interior pockets add organization and support, but usually require more sewing.
  • Base shape: Sewing boxed corners gives the bag structure and extra capacity.
  • Construction: Press between steps for neat edges; topstitching adds stability and gives a professional finish.
Common pitfalls
  • Inaccurate cutting: Even a few millimeters can make a noticeable difference in bags – mark seam allowances neatly and check the grainline.
  • Straps attached too close to the edge: Always secure stress points as instructed; box-X stitching or bar tacks prevent them from tearing out under weight.
  • Turning opening too small: Leave a large enough opening, especially with thick fabrics, so nothing tears.
  • Fraying edges: Finish edges as directed in the pattern, for example with a zigzag stitch, bias tape or a French seam; if you have questions, see Help / Use.
  • Not making the most of the instructions: If you’re unsure about filters, downloads or how instructions are displayed, see Finding tutorials and Download & unpack.

Frequently Asked Questions

Not necessarily. The terms are often used similarly; what matters is the shape, size, carrying options and whether the pattern includes, for example, a lining or closure.

Sturdy woven fabrics such as canvas or denim are reliable choices. Cotton fabrics are sufficient for lightweight bags; coated fabrics are sometimes used for moisture protection (depending on the pattern’s recommendations).

Usually not. Many bags can be sewn with a regular straight stitch; depending on the pattern, edges can be finished with a zigzag stitch, bias tape or French seams, for example.

You sew on the outside, close to an edge or seam. This adds stability, keeps seam allowances flat and gives a neat, professional finish.

You can make them sturdy by using suitable material (such as webbing or reinforced fabric strips) and securing the seams at the attachment points with multiple stitches, for example with box-X stitching or bar tacks – provided the pattern calls for it.