The pattern for "Rollo the Seal" is only approved for private use. It may not be sold, resubmitted, reproduced, published, translated into other languages, exchanged with other instructions, or modified as your own instructions or sold.
The sale of the finished toy, which was created with the help of these pattern, is allowed with the name of the designer (Gutherz - Doreen Goedhart). The seller must add this notice to the item description and the product being sold.
Thank you very much and have fun crocheting!
This pattern is suitable for: Beginners/Advanced
Abbreviations: (You should master this basic knowledge.)
Rnd = round
Row = row
MR = magic ring
sc = single crochet
ch = chain (stitch)
slst = slip stitch
inc = increase (2 sc in 1 stitch)
dec = decrease
hdc = half double crochet
dc = double crochet
tch = turning chain
(…) x? = everything within the brackets is repeated as many times as specified after the x
At the beginning you will find the number of the respective round/row.
The number of stitches in the completed round/row is in the brackets at the end.
Required material:
Rollo the Seal in Chenille yarn:
The size of the finished seal with the specified materials is approx. 20 cm.
Crochet hook:
NS 4 mm (If you use a different needle size and/or yarn, the size of the finished cuddly toy may change.)
Yarn:
Cotton yarn in grey, pink for the cheeks and black for the face and paws, Leftover yarn in white for the eyes (50 g/125 m)
Additional:
scissors, a sewing needle, filling, stitch markers
Rollo the Seal in Cotton yarn:
The size of the finished seal with the specified materials is approx. 11 cm.
Crochet hook:
NS 2 mm (If you use a different needle size and/or yarn, the size of the finished cuddly toy may change.)
Yarn:
Cotton yarn in grey, pink for the cheeks and black for the face and paws, Leftover yarn in white for the eyes (50 g/125 m)
Additional:
scissors, a sewing needle, filling, stitch markers
Attention: For the chenille version, follow the respective separate instructions in the pattern book, as some rows are omitted in chenille to ensure the seal retains its plump shape.
PATTERN:
Since Rollo the seal is a Ragdoll crochet, its body is crocheted in rows, using two identical pieces that form the front and back of the cuddly toy. This type of amigurumi is best suited for babies, as it's not only the ideal size for little hands but can also be filled with crinkle paper and/or squeakers.
This pattern is therefore crocheted in rows unless otherwise stated.
Important: After each row (except at the snout), a turning chain is crocheted, which is not counted as a stitch and is therefore skipped after each turn.
The seal's body is crocheted twice, with both parts being crocheted together at the end using single crochet stitches.
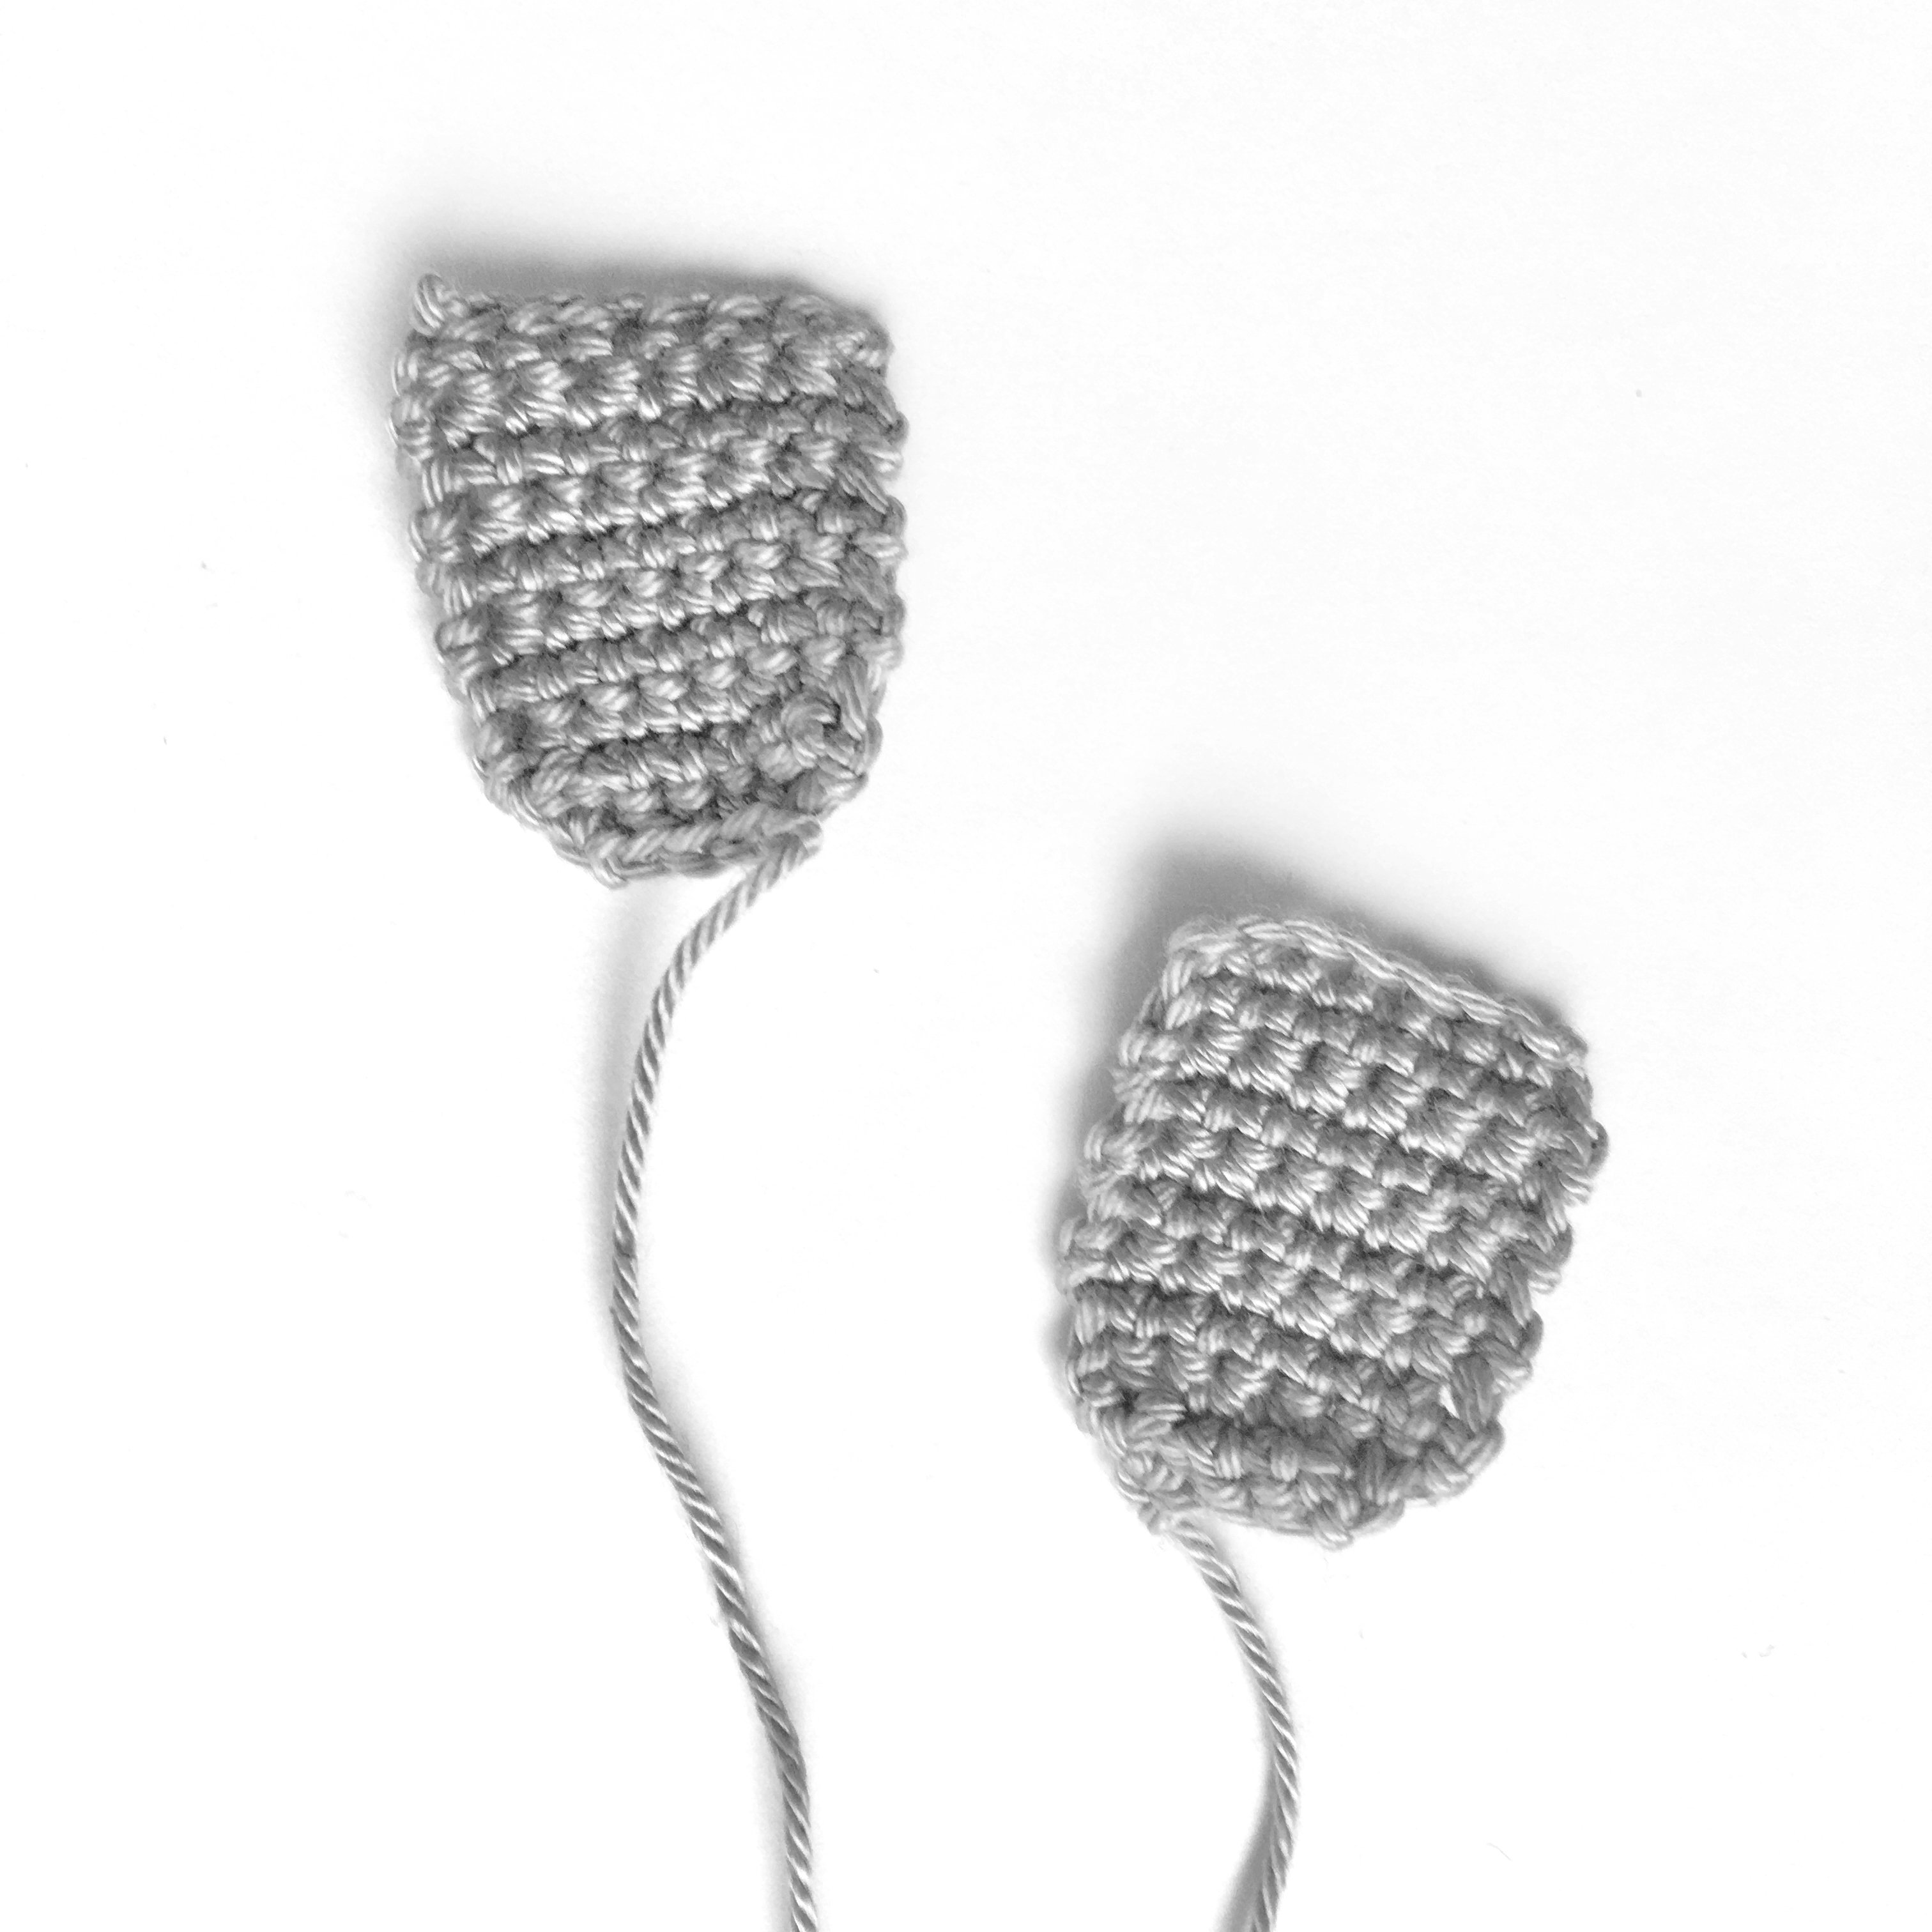
Snout in grey:
The snout, as the only part of this pattern, is crocheted in spiral rounds. No slip stitch is worked at the end of a round; instead, simply continue crocheting in single crochet stitches.
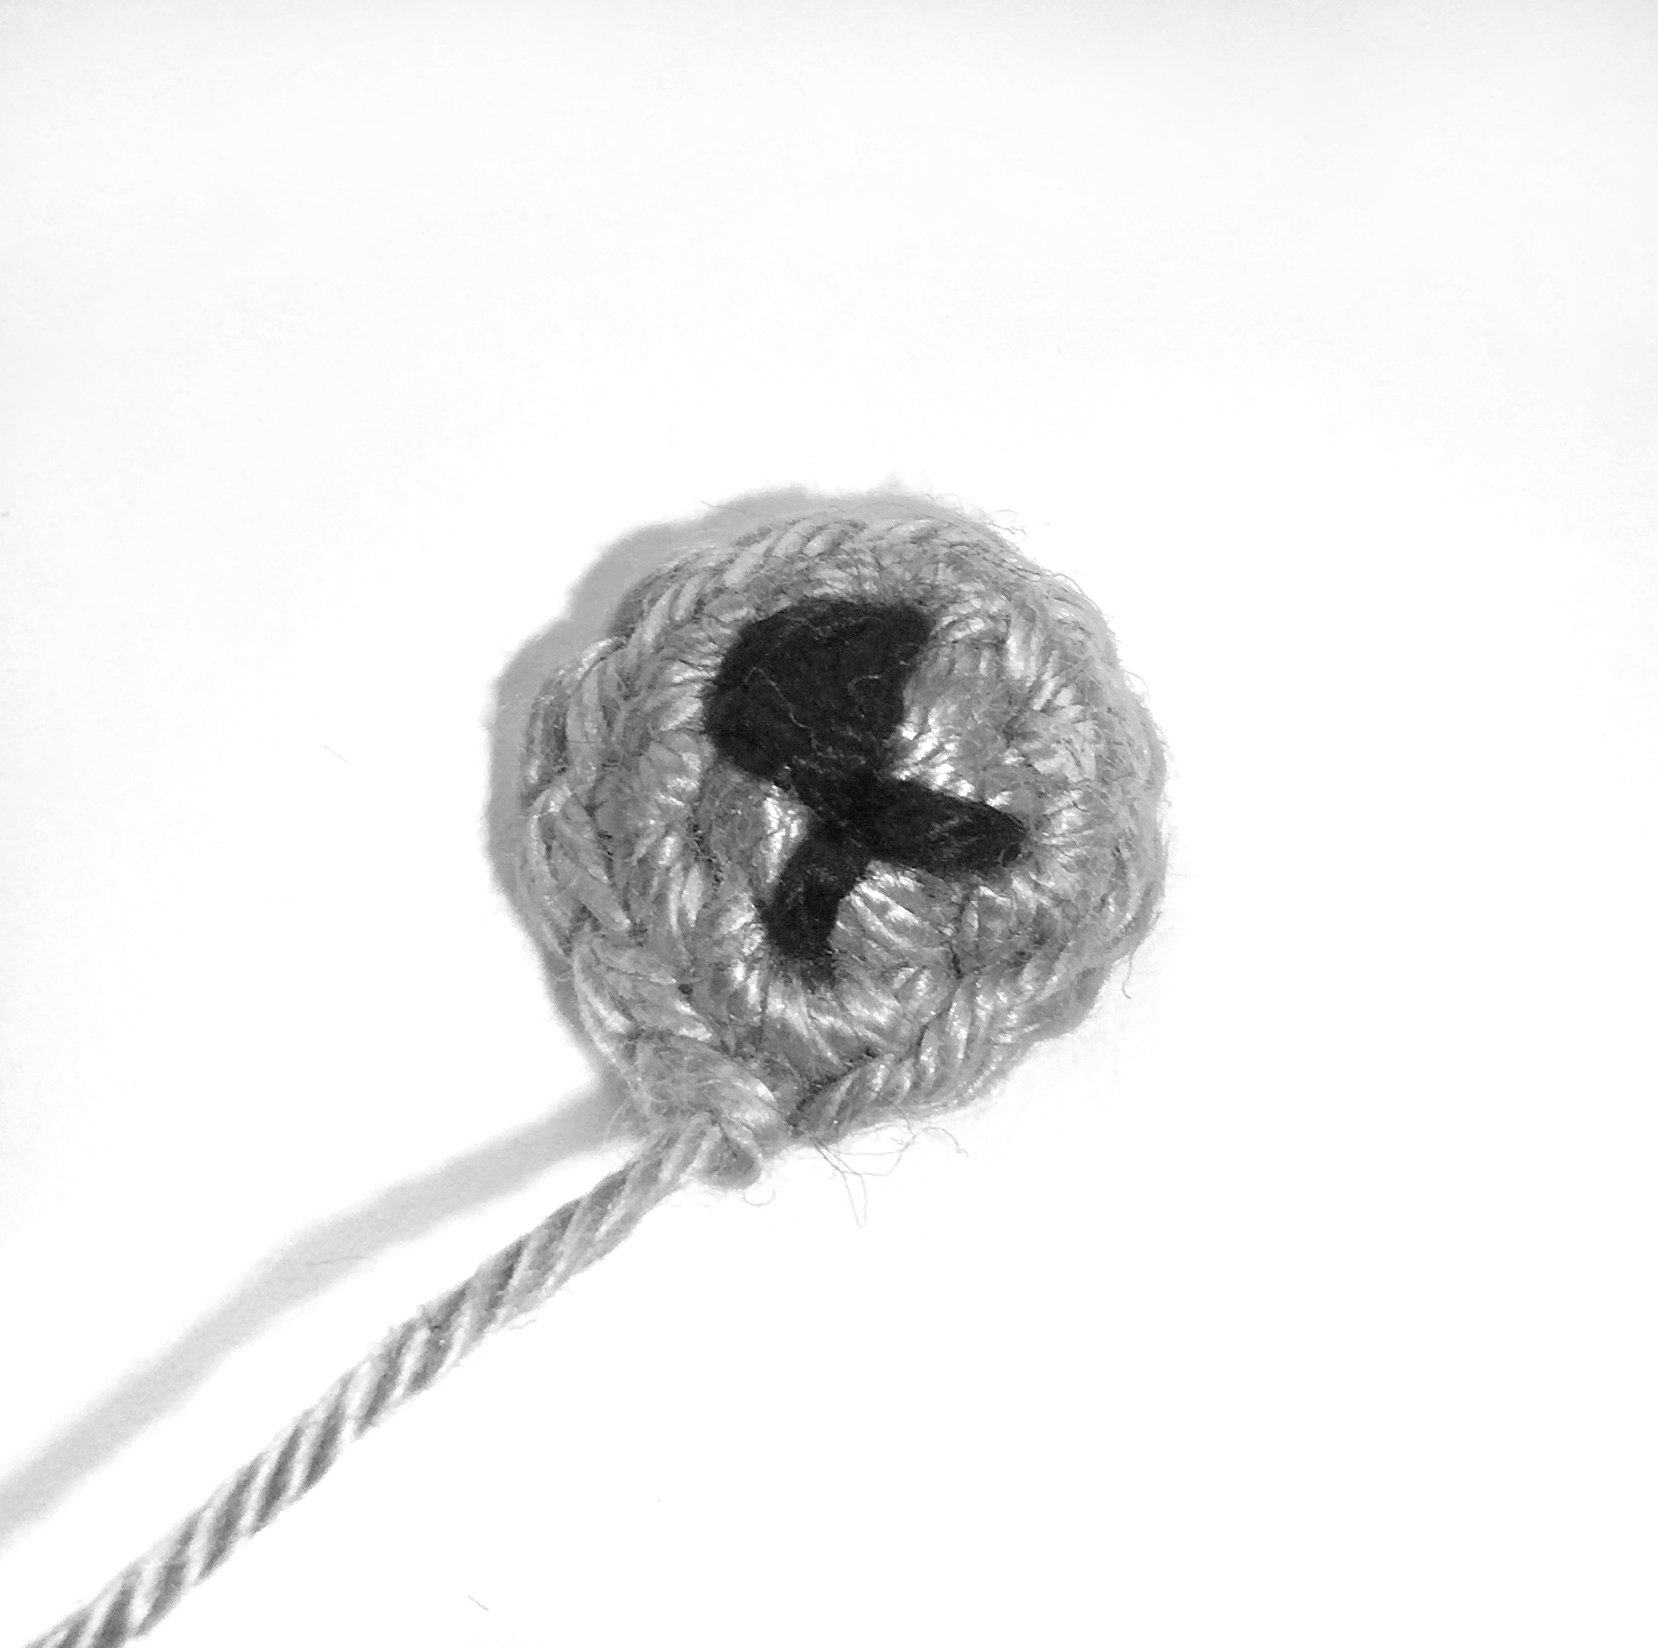
1. Rnd: 6 sc in MR (6)
2. Rnd: inc x6 (12)
3. Rnd: 12 slst (12)
Cut a long thread (for sewing), pull it through the last loop and tighten.
.jpg)
Fins in grey (2x):
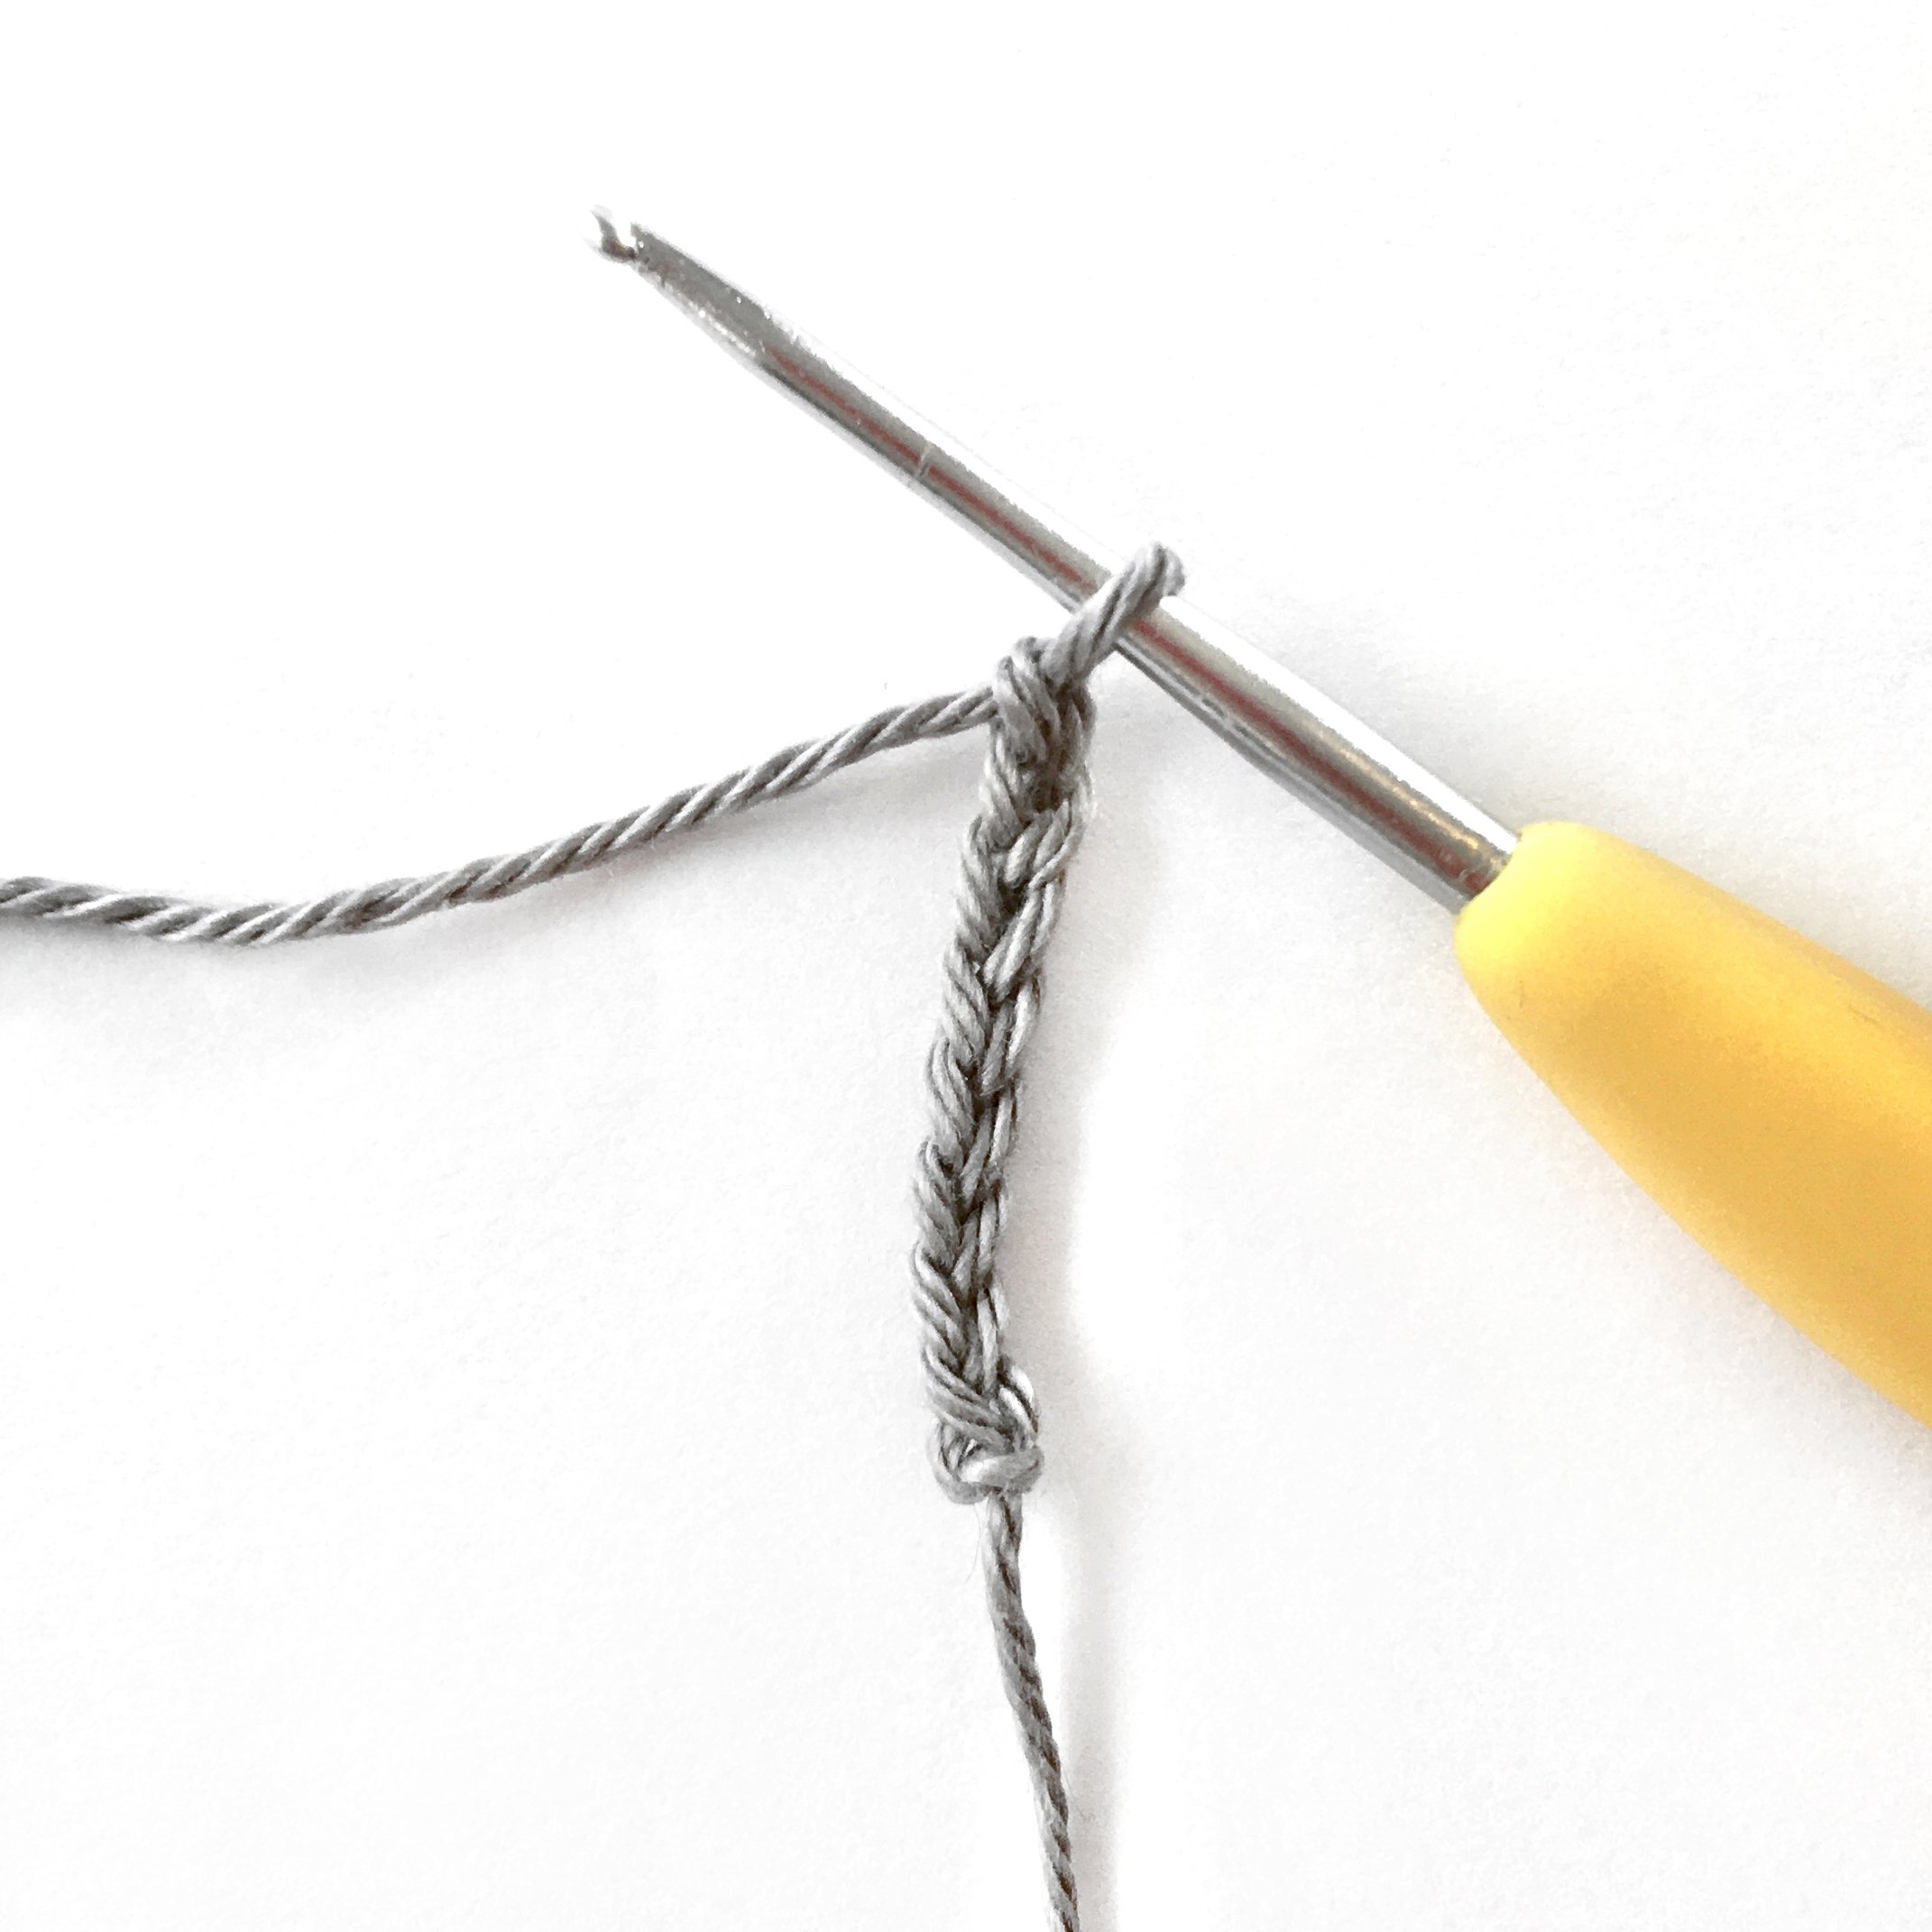
1. Row: 7 ch, tch (7)
2. Row: Into the 2nd chain from the needle: 7 sc (7)
3.-9. Row: 7 sc (7 rows) (7)
Attention: If you crochet the seal in chenille, you only need to crochet 5 rows!
10. Row: dec, 3 sc, dec (5)
11. Row: dec, 1 sc, dec (3)
Cut a long thread (for sewing), pull it through the last loop and tighten.
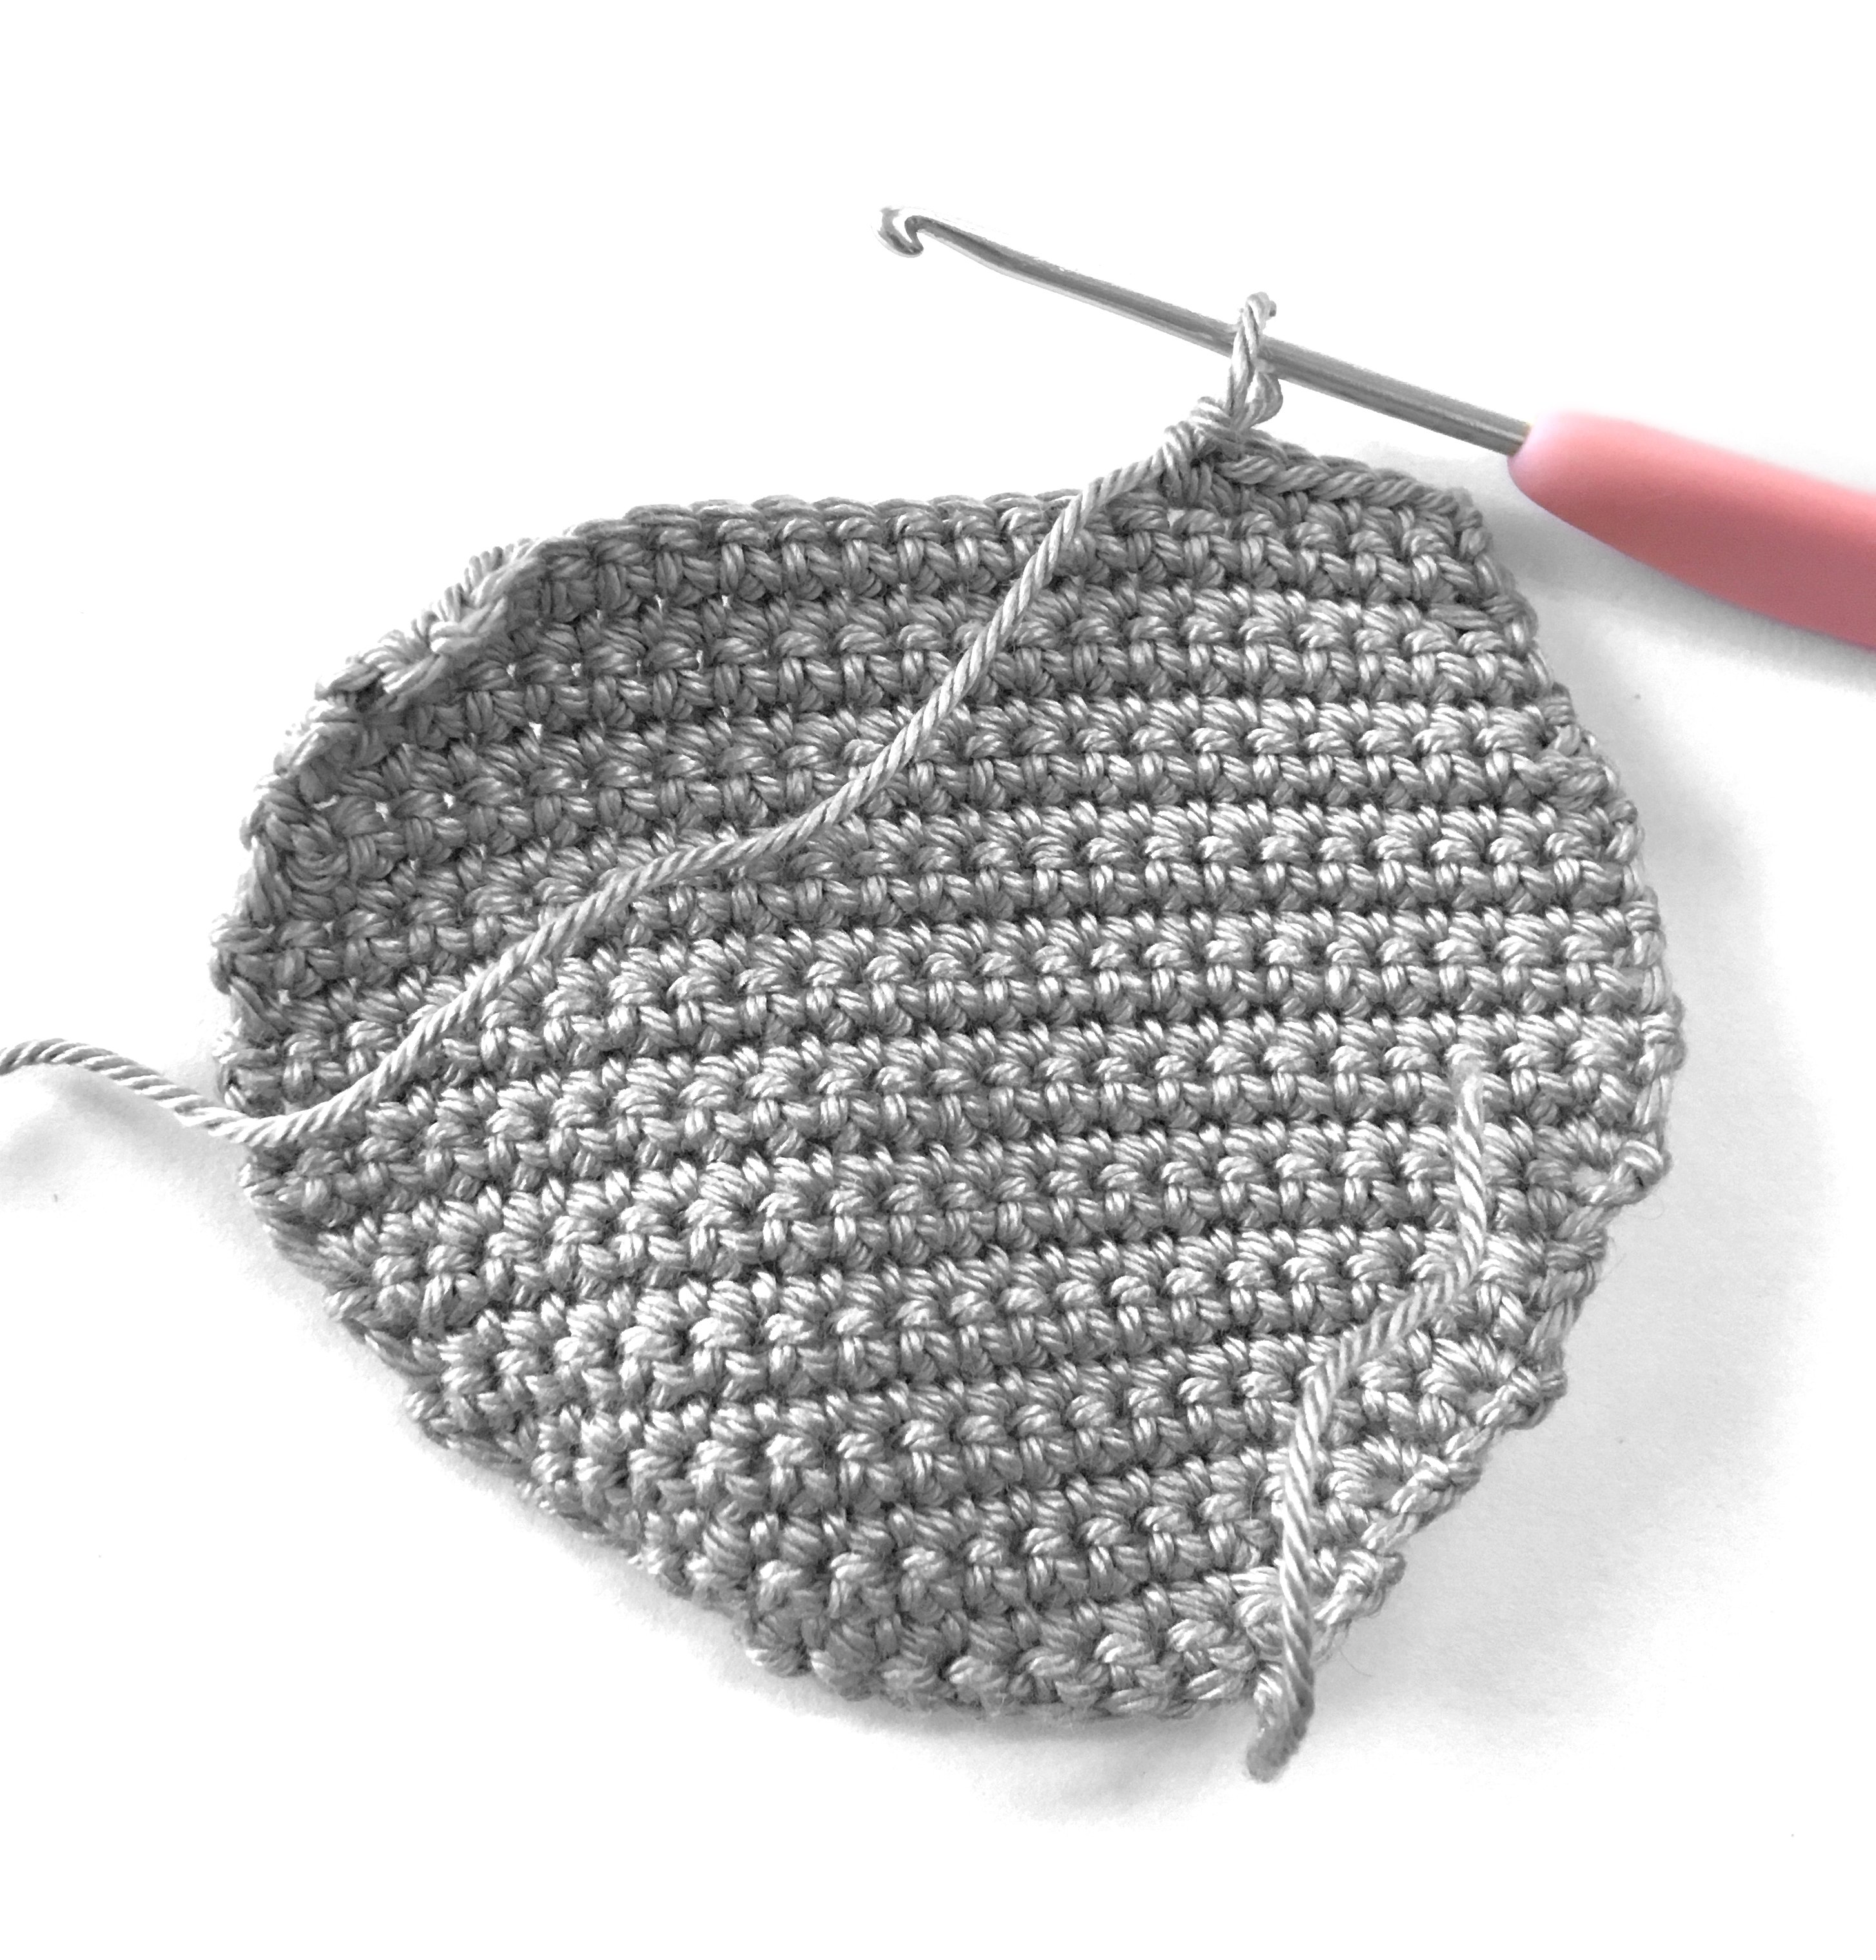
Body in grey (2x):
1. Row: 7 ch, tch (7)
2. Row: Into the 2nd chain from the needle: inc, 5 sc, inc (9)
3. Row: inc, 7 sc, inc (11)
4. Row: inc, 9 sc, inc (13)
5. Row: inc, 11 sc, inc (15)
6. Row: inc, 13 sc, inc (17)
7. Row: inc, 15 sc, inc (19)
Attention: If you are crocheting the seal in chenille, you must skip rows 8 and 9!
8.-9. Row: 19 sc (2 rows) (19)
10. Row: inc, 17 sc, inc (21)
11. Row: inc, 19 sc, inc (23)
12.-17. Row: 23 sc (6 rows) (23)
18. Row: dec, 19 sc, dec (21)
19.-20. Row: 21 sc (2 rows) (21)
21. Row: dec, 17 sc, dec (19)
Attention: If you are crocheting the seal in chenille, you must skip rows 22 and 23!
22.-23. Row: 19 sc (2 rows) (19)
24. Row: dec, 15 sc, dec (17)
Attention: If you are crocheting the seal in chenille, you must skip row 25!
25. Row: 17 sc (17)
26. Row: dec, 13 sc, dec (15)
27. Row: dec, 11 sc, dec (13)
28. Row: dec, 9 sc, dec (11)
29. Row: dec, 7 sc, dec (9)
30. Row: dec, 5 sc, dec (7)
31. Row: 7 sc (7)
32. Row: inc, 5 sc, inc (9)
33. Row: 9 sc (9)
34. Row: inc, 7 sc, inc (11)
35. Row: 11 sc (11)
36. Row: dec, 7 sc, dec (9)
37. Row: 1 hdc, 2 dc, 1 hdc, 1 slst, 1 hdc, 2 dc, 1 hdc (9)
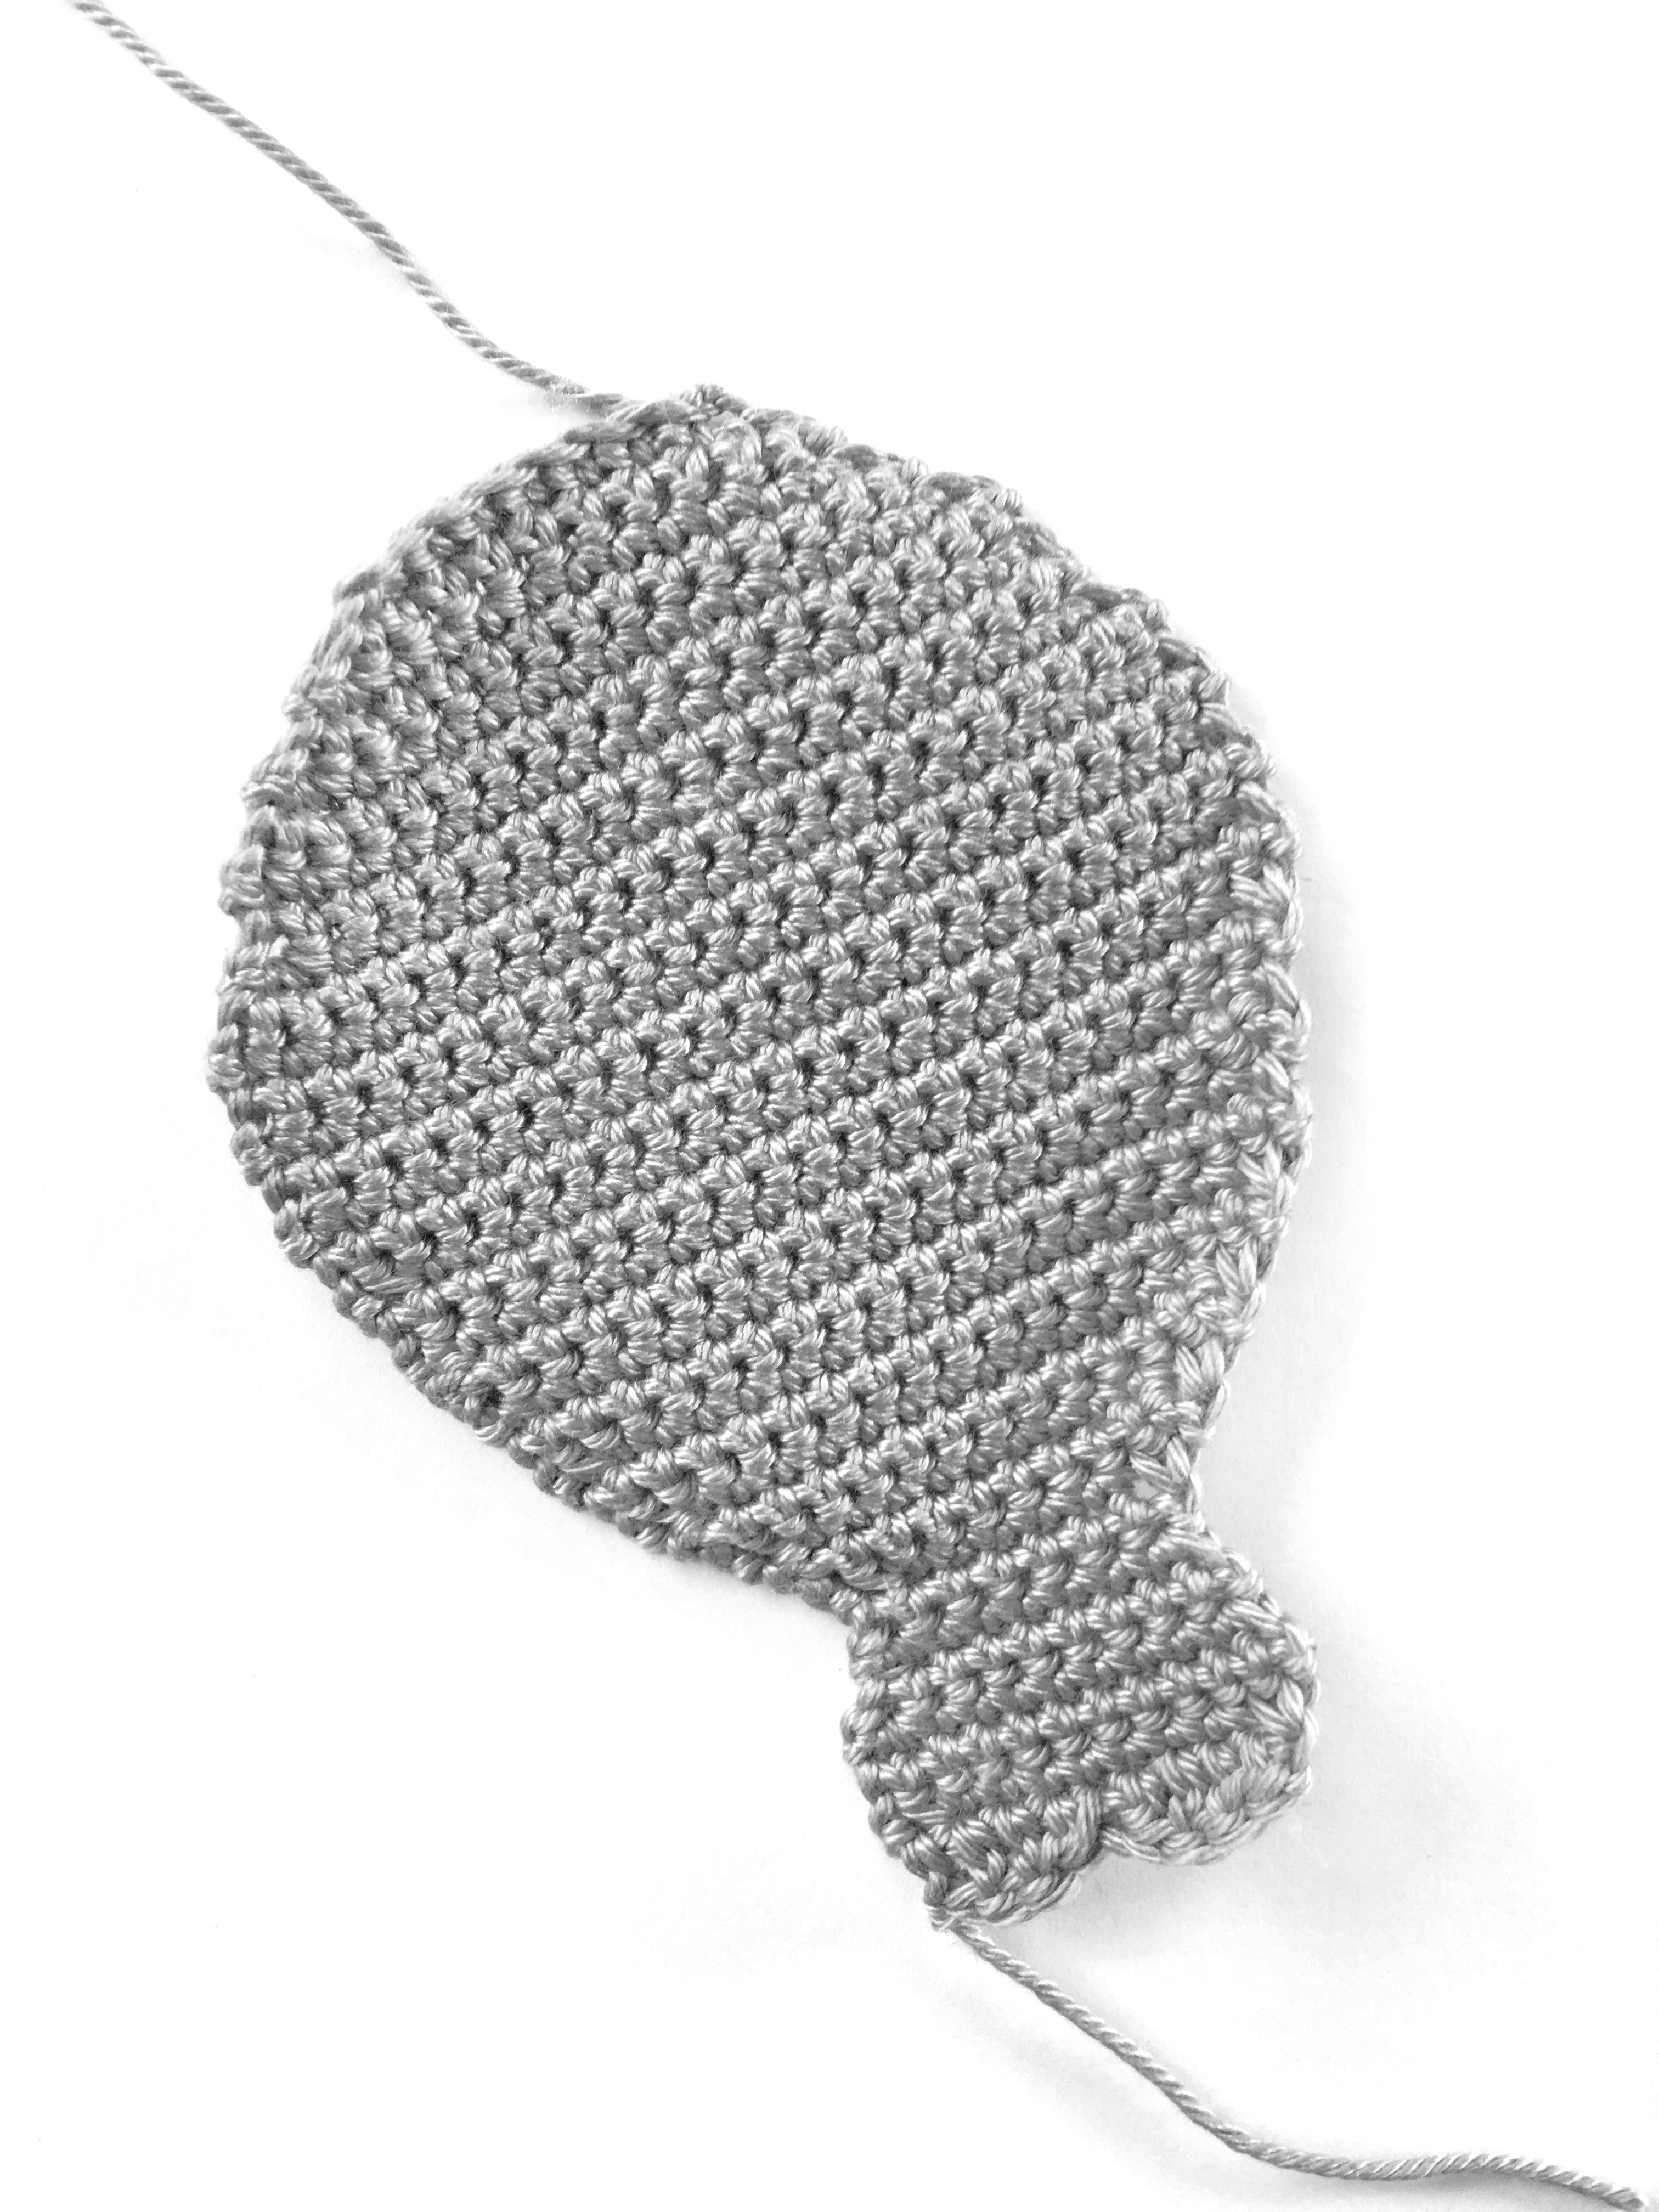
Part 1: Cut the thread and pull it through the last loop.
Part 2: Do not cut the yarn! Crochet 1 ch and place both pieces on top of each other. Crochet them together using single crochets. Make sure the front is facing you. Remember to stuff the body while crocheting.
Tip: It's best to finish the face before joining the two pieces:
Finishing the seal:
Snout:
Before sewing on the snout, embroider the nose with black yarn. Pull the thread through the hole of the magic ring and embroider a small triangle with the two stitches above it. For the mouth, embroider two small lines diagonally downwards/sideways from the center.
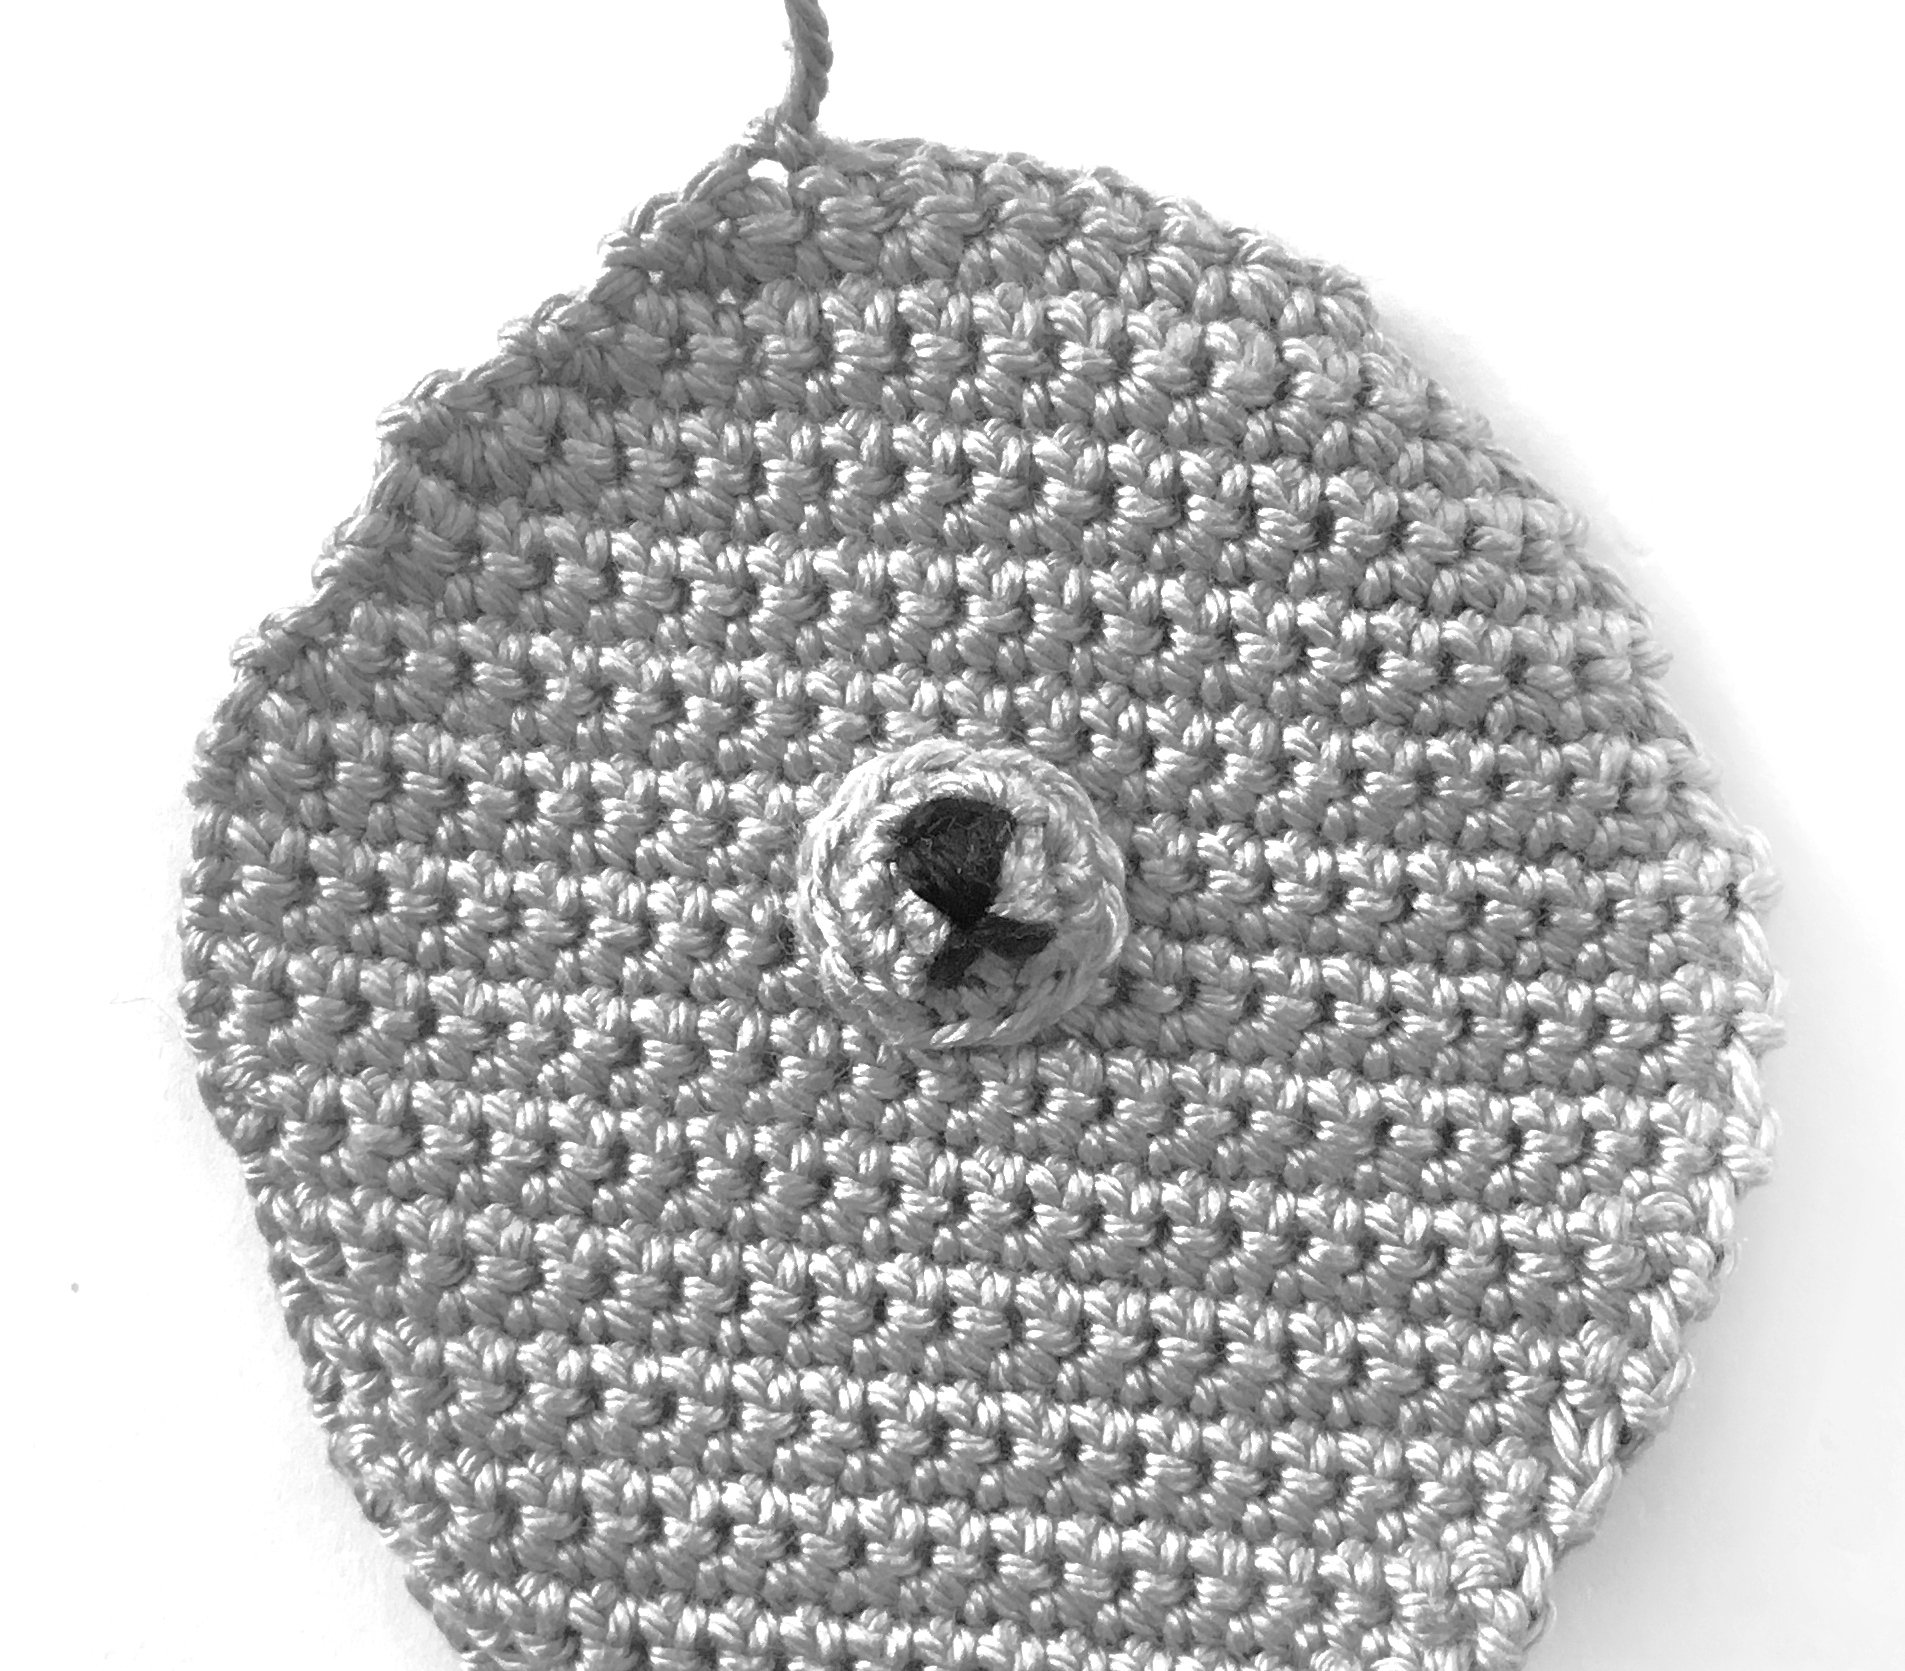
The snout is sewn on in the middle between rows 10 and 17. You can stuff it with a little cotton wool underneath.
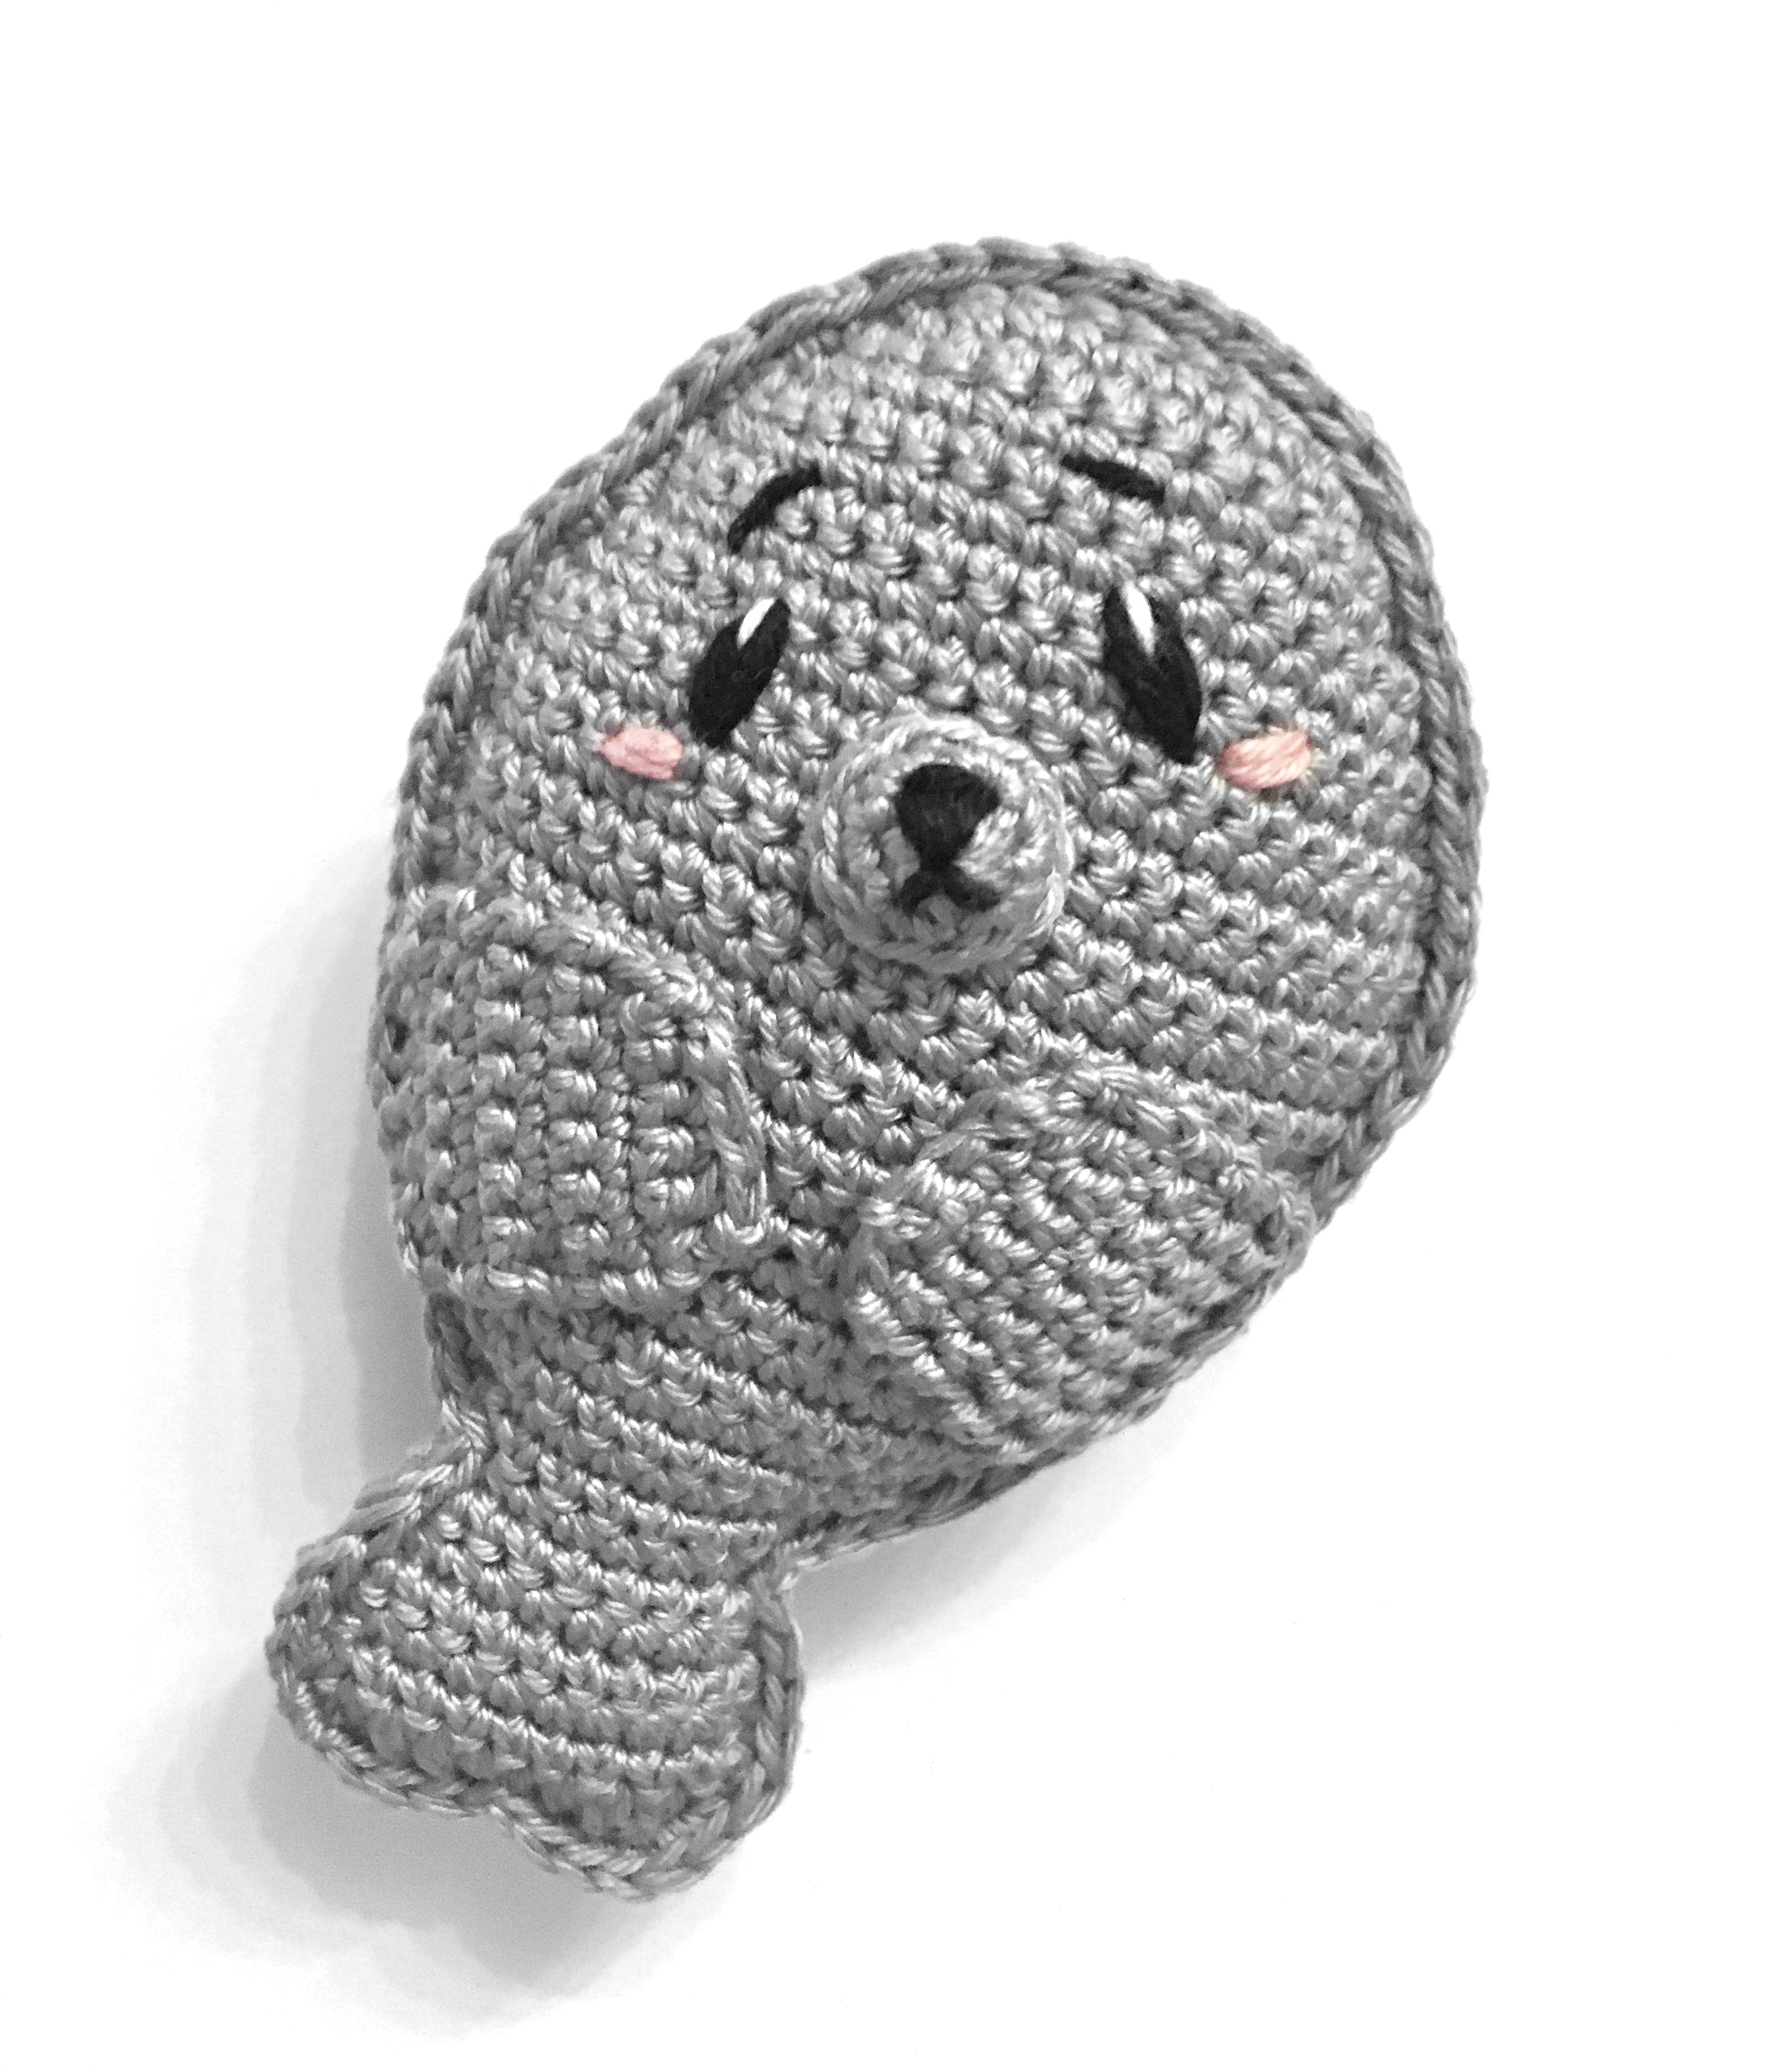
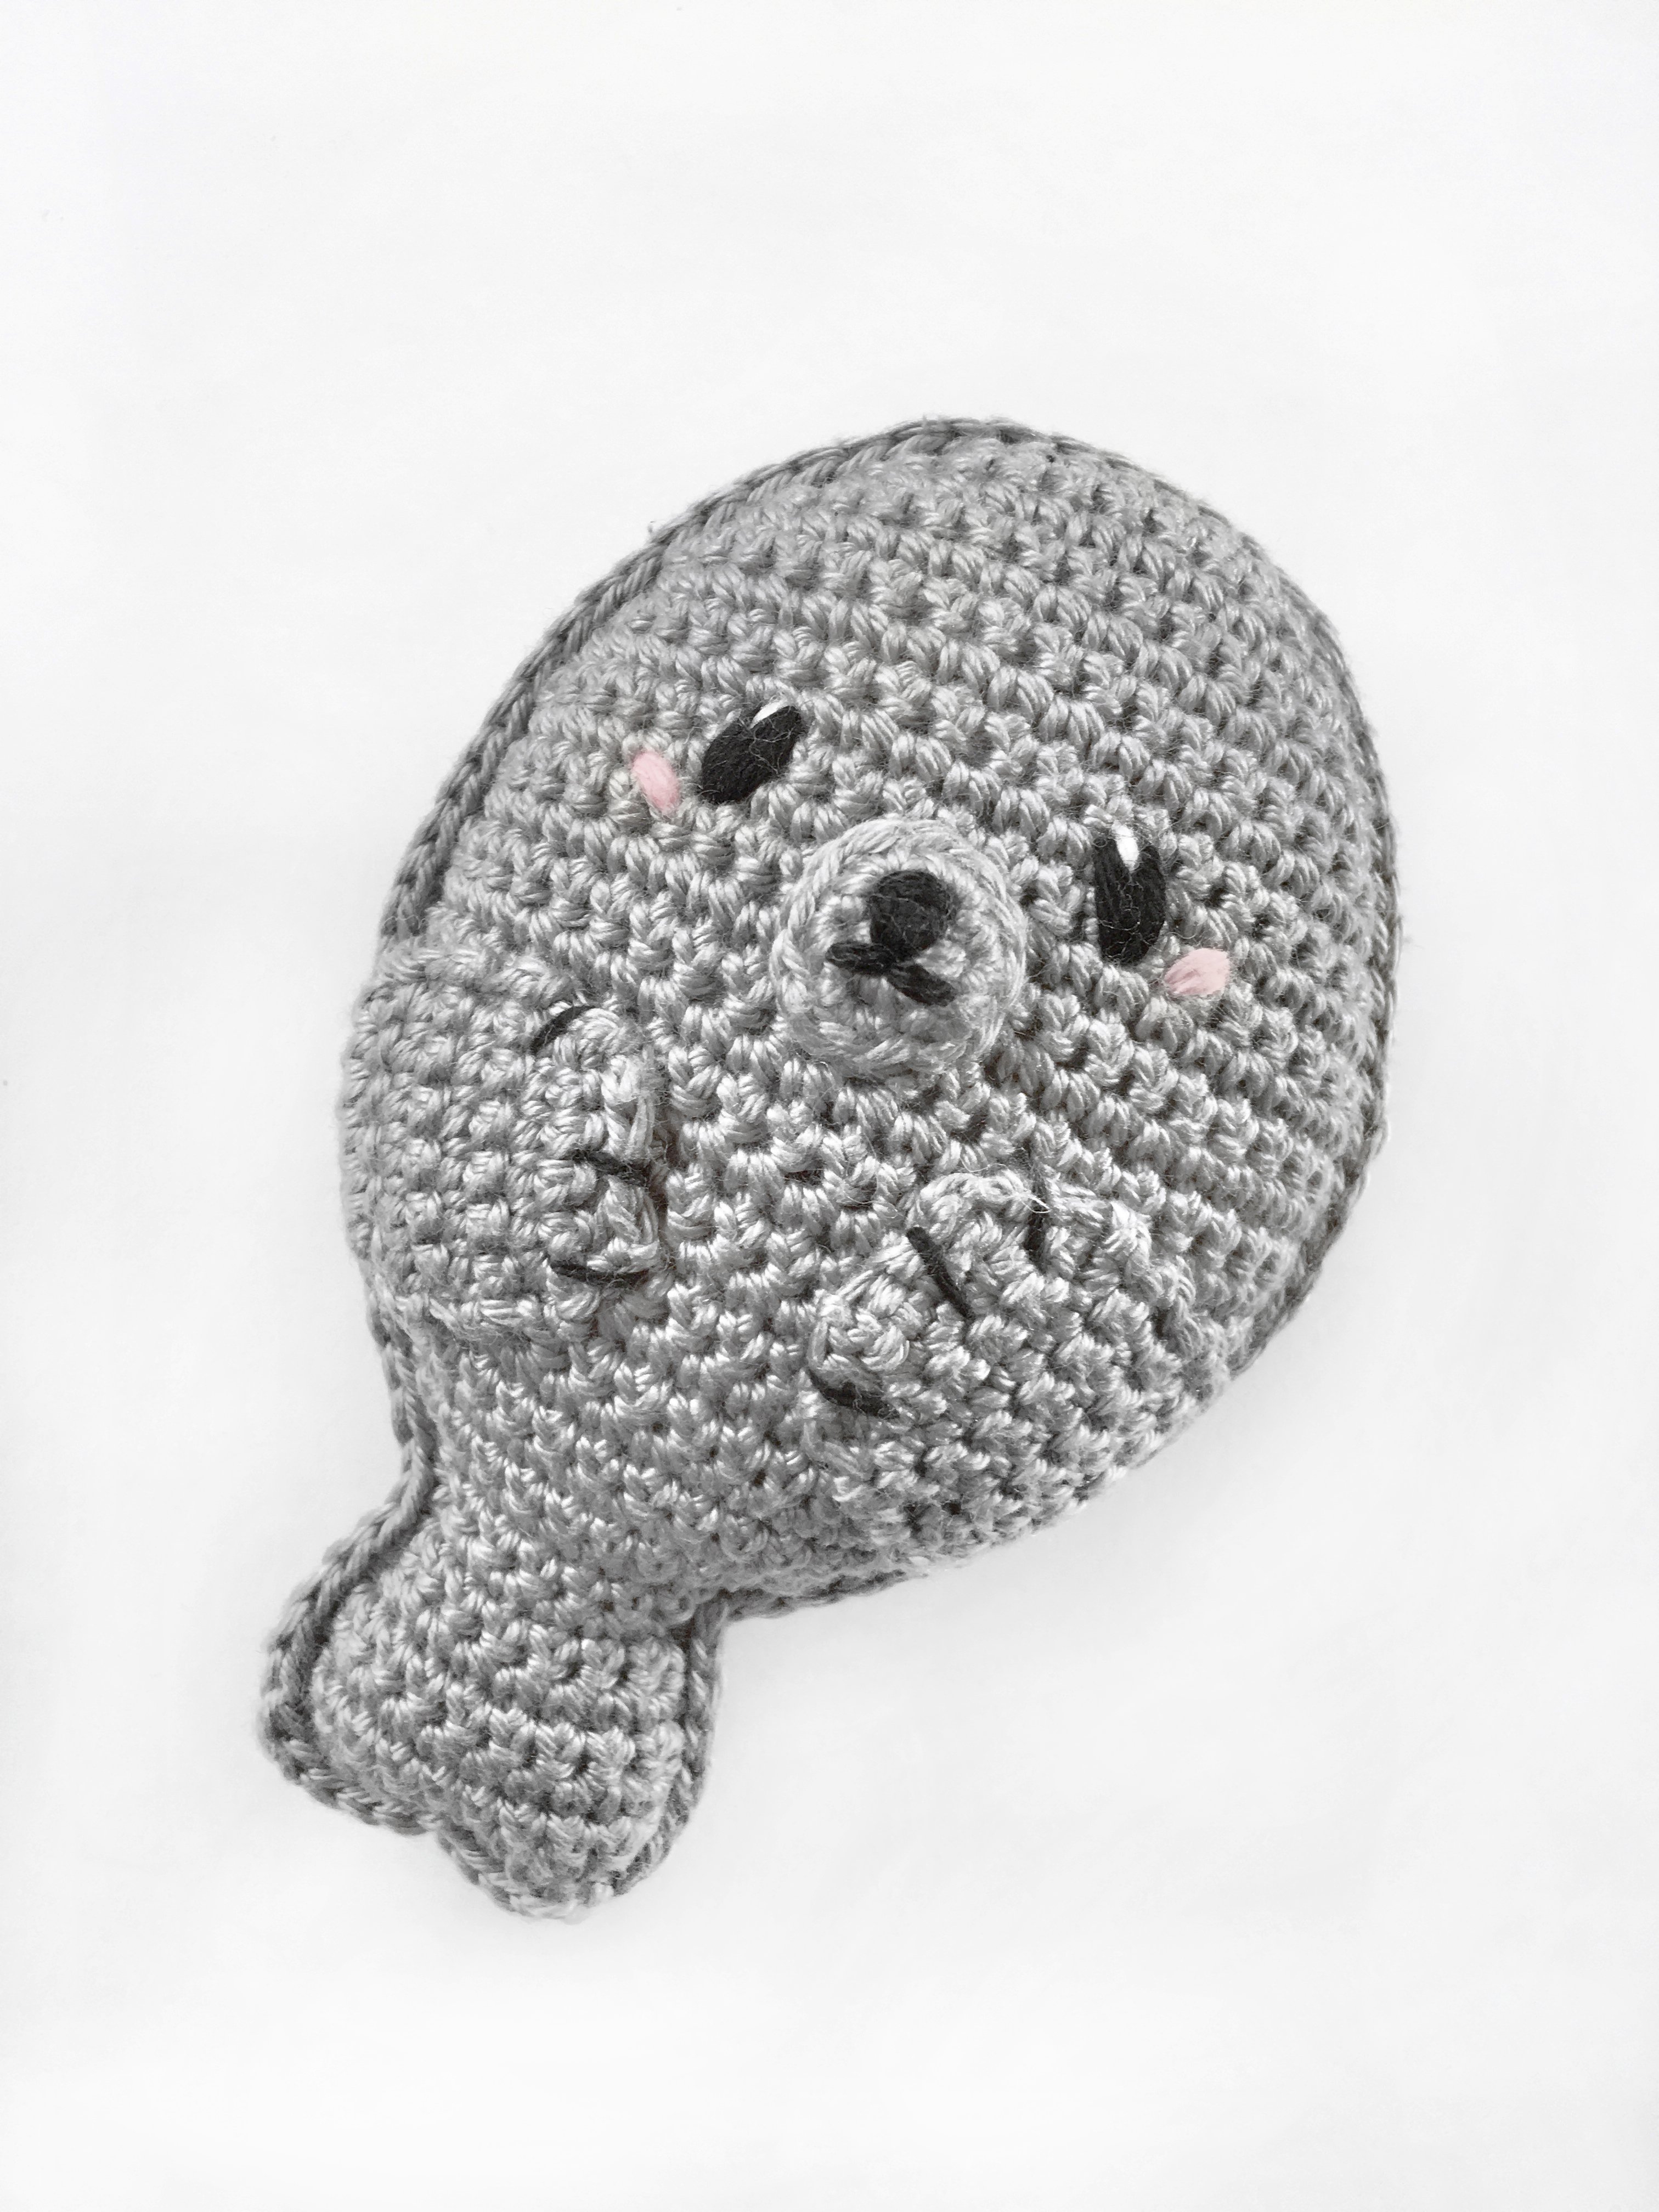
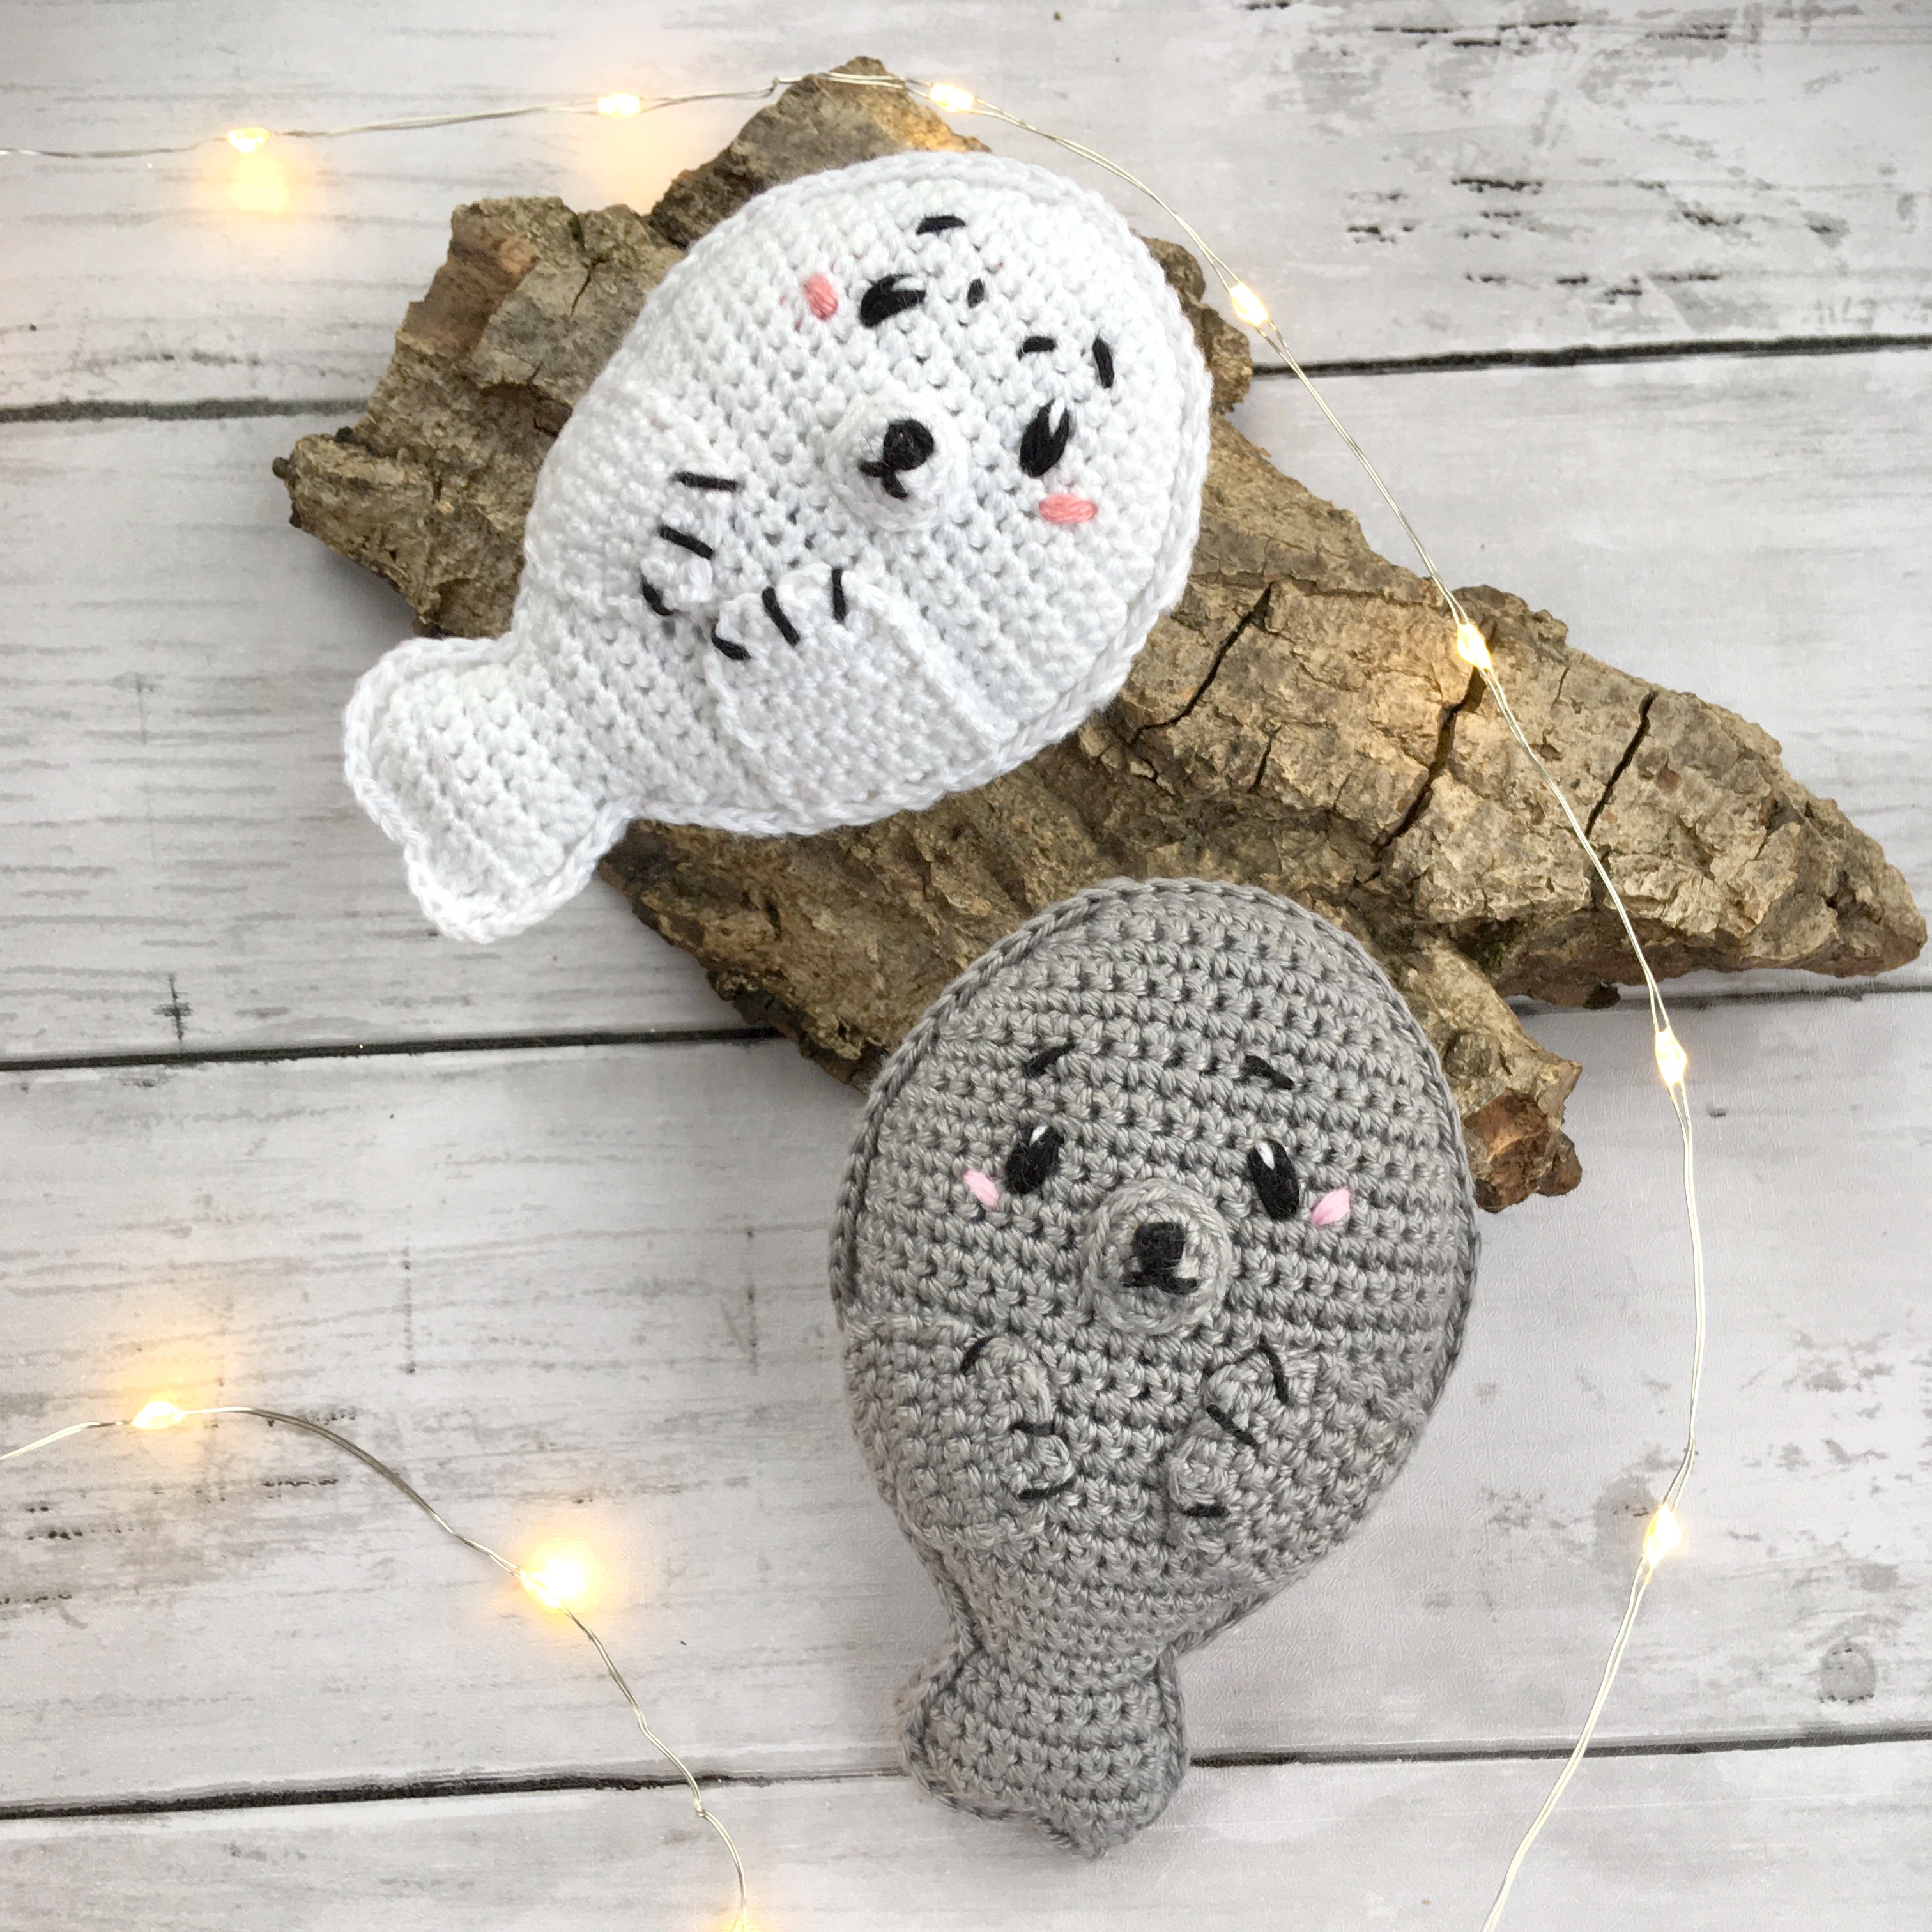
Before you begin, decide whether you want your seal to be lying straight or slightly sideways. You'll need to sew the snout on accordingly – straight (right version) or at a slight angle (left version). Here's the difference:
Eyes:
The eyes are embroidered with black yarn over 3-4 rows on either side above the muzzle. To do this, pass the yarn through the stitches 3-4 times. Add a highlight with white yarn in the upper part of the eyes.
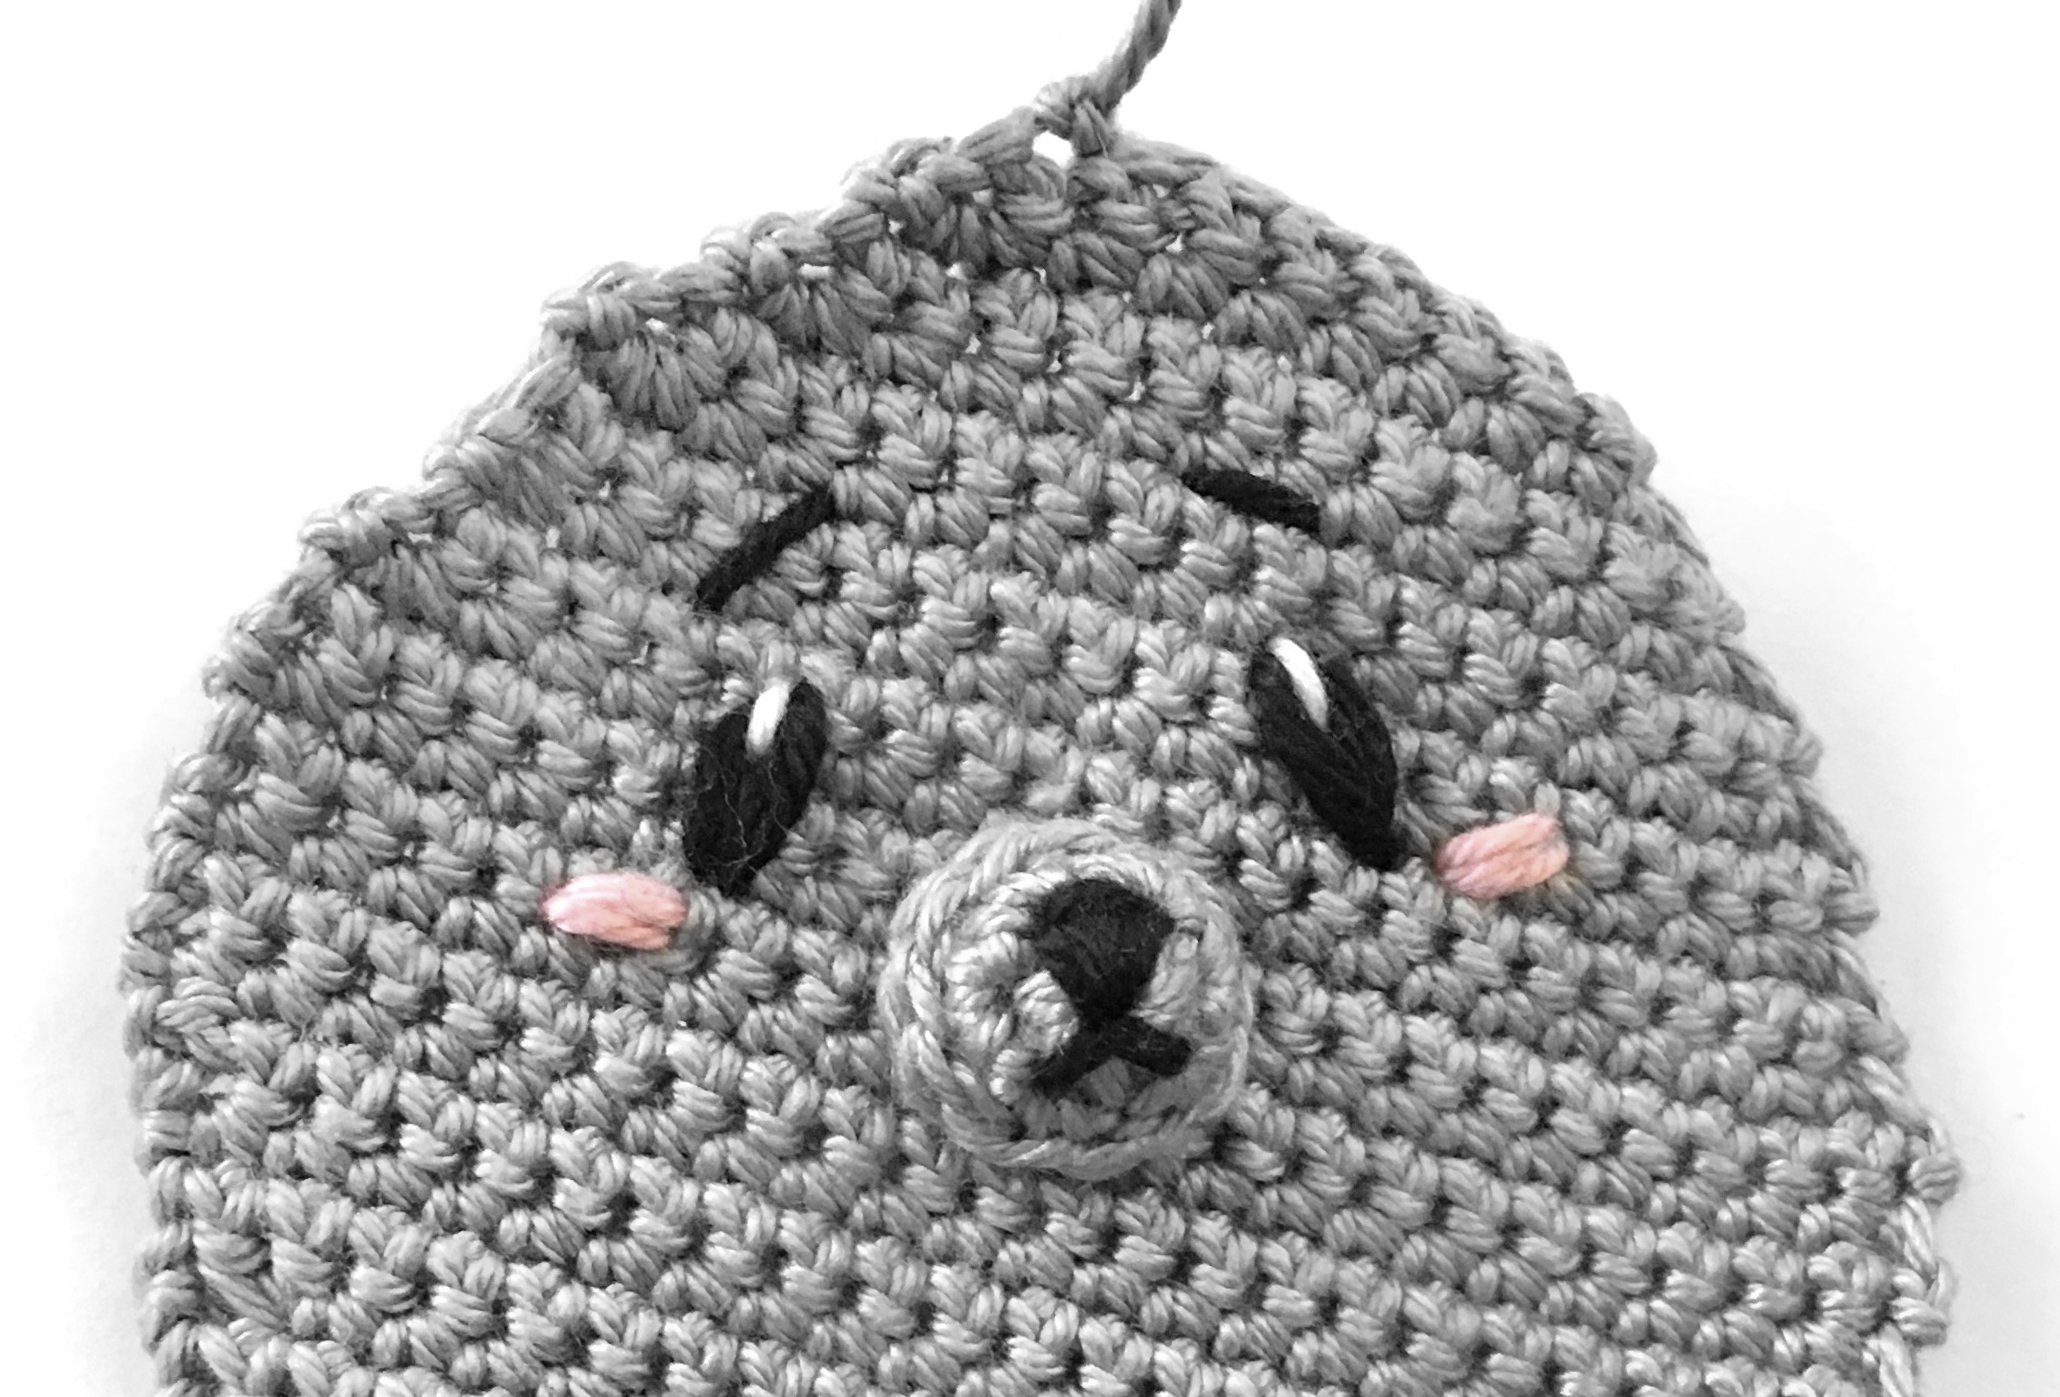
With one stitch over 2 stitches, you embroider the eyebrows above the eyes.
You can embroider small pink cheeks onto the seal using some pink yarn. To do this, wrap the yarn 2-3 times around a stitch below the eyes.
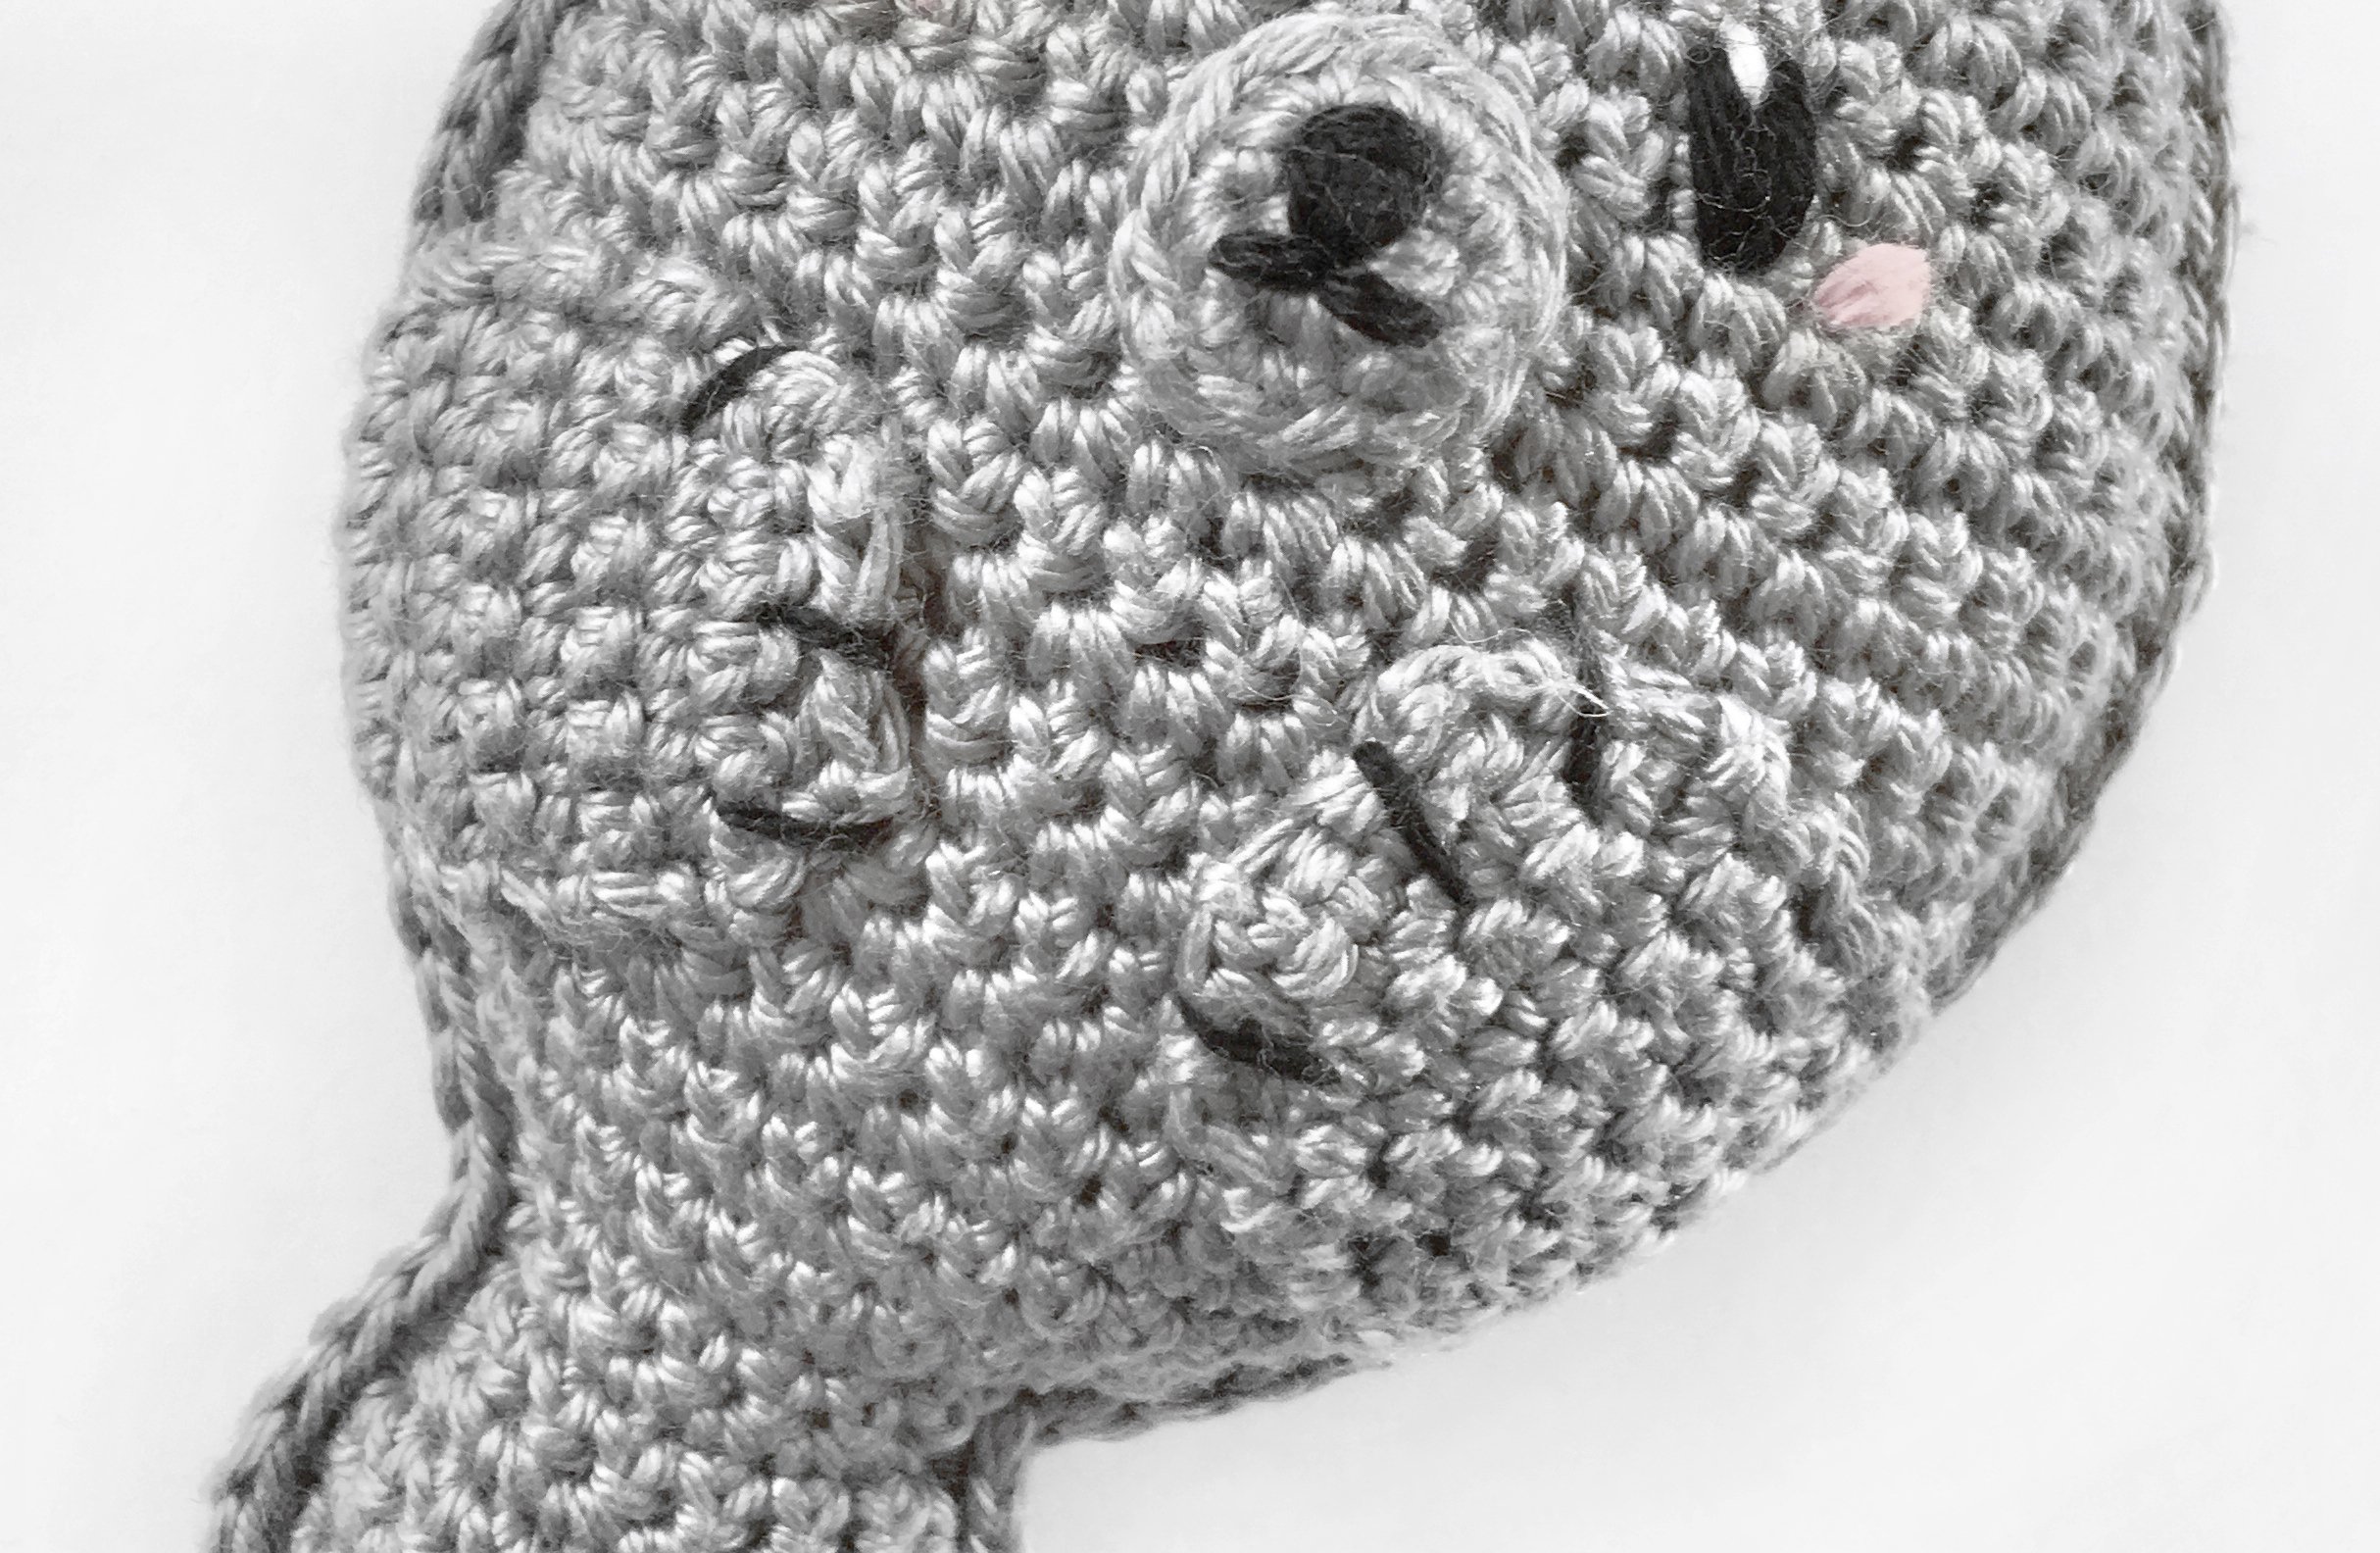
Fins:
The fins are sewn onto the lower half of the seal's body, one on each side. You can embroider the claws onto the fins using black thread.

Your Rollo the seal is finished!
I hope you had lots of fun crocheting!
Feel free to check out my other tutorials on the blog and in my shop. :-)


