Make this Christmas extra crafty with this amazing crochet advent calendar! Countdown to Christmas with 24 unique jolly ornaments and amigurumis patterns.
This Advent calendar is ideal for both beginners and crochet experts. An ideal way to enjoy the Christmas season by creating something unique!
This special crochet calendar contains 24 free patterns that will allow you to crochet a beautiful project every day during the days of December.
Every day a new design will be shared as a new free crochet pattern.
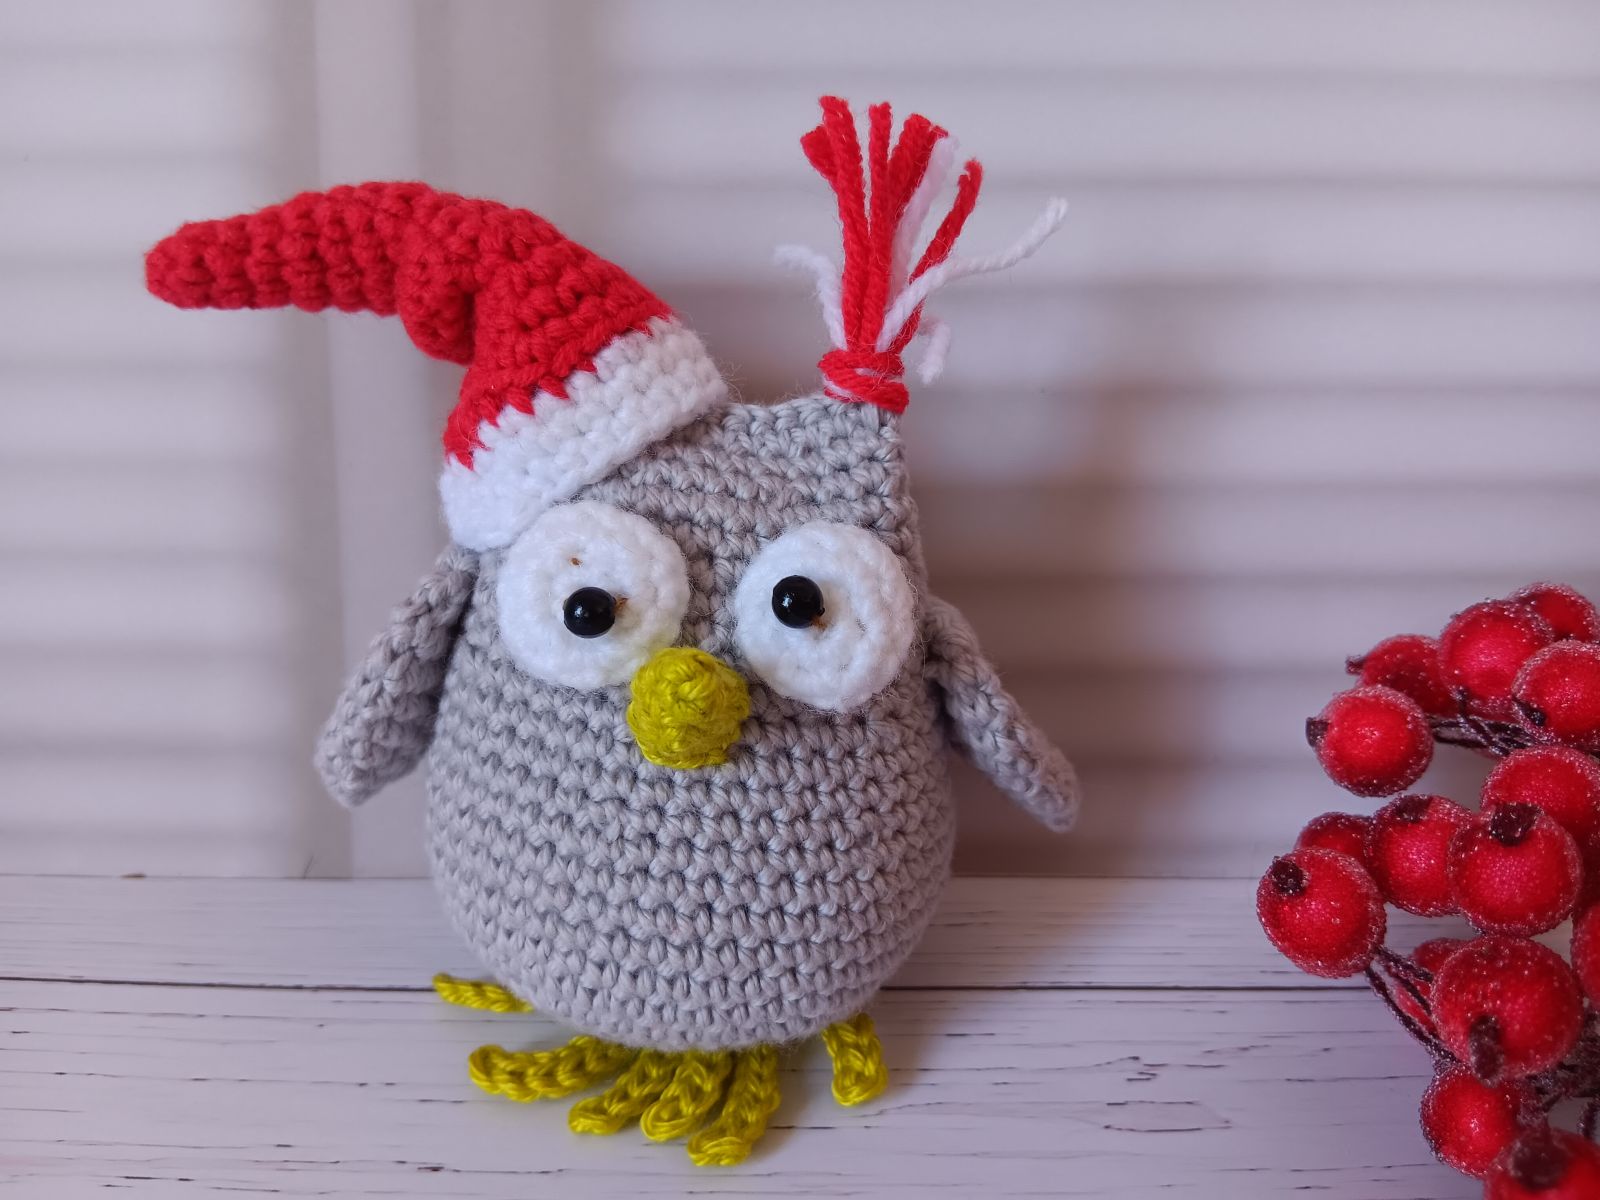
Bring a whimsical touch of charm to your holiday décor with this little lovely owl wearing a Santa hat. This tutorial is dedicated to the creation of this little owl which is perfect as a small gift this Christmas season. You can also add it to your Christmas tree. For your magical moments or as a nice gift for someone special! t´s a perfect Christmas gift for friends, coworkers or relatives. Scroll down to see the step-by-step written instructions and supplies you’ll need. It´s a very simple design which can be made in any desired colours. The pattern is very detailed. It comes with easy-to-follow written instructions and photo tutorial. Let’s get started!
SUPPLIES YOU NEED
ca 30 gr cotton yarn (e.g.Schachenmayr Catania 125m/50g) in four colors: grey, light green, red and white, crochet hook 2,5 mm, polyester fiberfill stuffing, chopstick or something similar to help with stuffing small parts, stitch marker, scissors, safety eyes or two little beads 3-5 mm, yarn needle.
Feel free to experiment with different yarns. Using different materials and hook size to what is recommended may alter the final appearance of your amigurumi.
SKILL LEVEL
I would classify this free crochet pattern as an advanced beginner. It is necessary to have some experience with amigurumi before creating this project.
FINISHED SIZE
The ready amigurumi is approx. 10 cm, from bottom to top, can be made bigger or smaller depending on the yarn and hook you use.
SKILLS YOU NEED
chain, single crochet, double crochet, half double crochet, slip stitch, increase, decrease, front post double crochet
ABBREVIATIONS
Ch =chain
St = stitch
Sc = single crochet
Sl st = slip stitch
dec = decrease stitch (two single crochets together)
inc = increase stitch (two single crochets in the one stitch)
Dc = double crochet
Hdc = half double crochet
Tc = treble crochet
Rnd = Round
* = repeat the instructions for the times indicated
(...) = at the end of every round total amount of stitches is indicated
TIPS
- Do not join rounds, work in a continuous spiral
- Place a stitch marker or a piece of yarn at the beginning stitch of the round and move it up at the start of each additional round
- This pattern doesn´t include any specific stitch tutorials
- All stitches are worked into both loops, unless stated otherwise in the pattern
- The number of stitches for completion is noted in parentheses at the end of each round
- When filling with polyester stuffing, pull apart each large chunk into many smaller chunks. This ensures an even distribution of firmness within the amigurumi
- Amigurumi can be made in any desired colors
- The pattern is written in English using US crochet terminology
Seamless way of changing color when working in the round
Pick up the new color at the end of the round: inset your hook into the stitch, yarn over the new color and pull through the stitch and the loop on your hook to complete the stitch.
To make a magic ring
- Loop the thread twice around your middle finger
- Put the hook under both loops, pull the yarn under the loops and hook the thread again
- Pull the thread through the new loop. The first crochet stitch is ready!
- Repeat the number of times needed.
- Pull the inner threads to tighten the ring.
INSTRUCTIONS
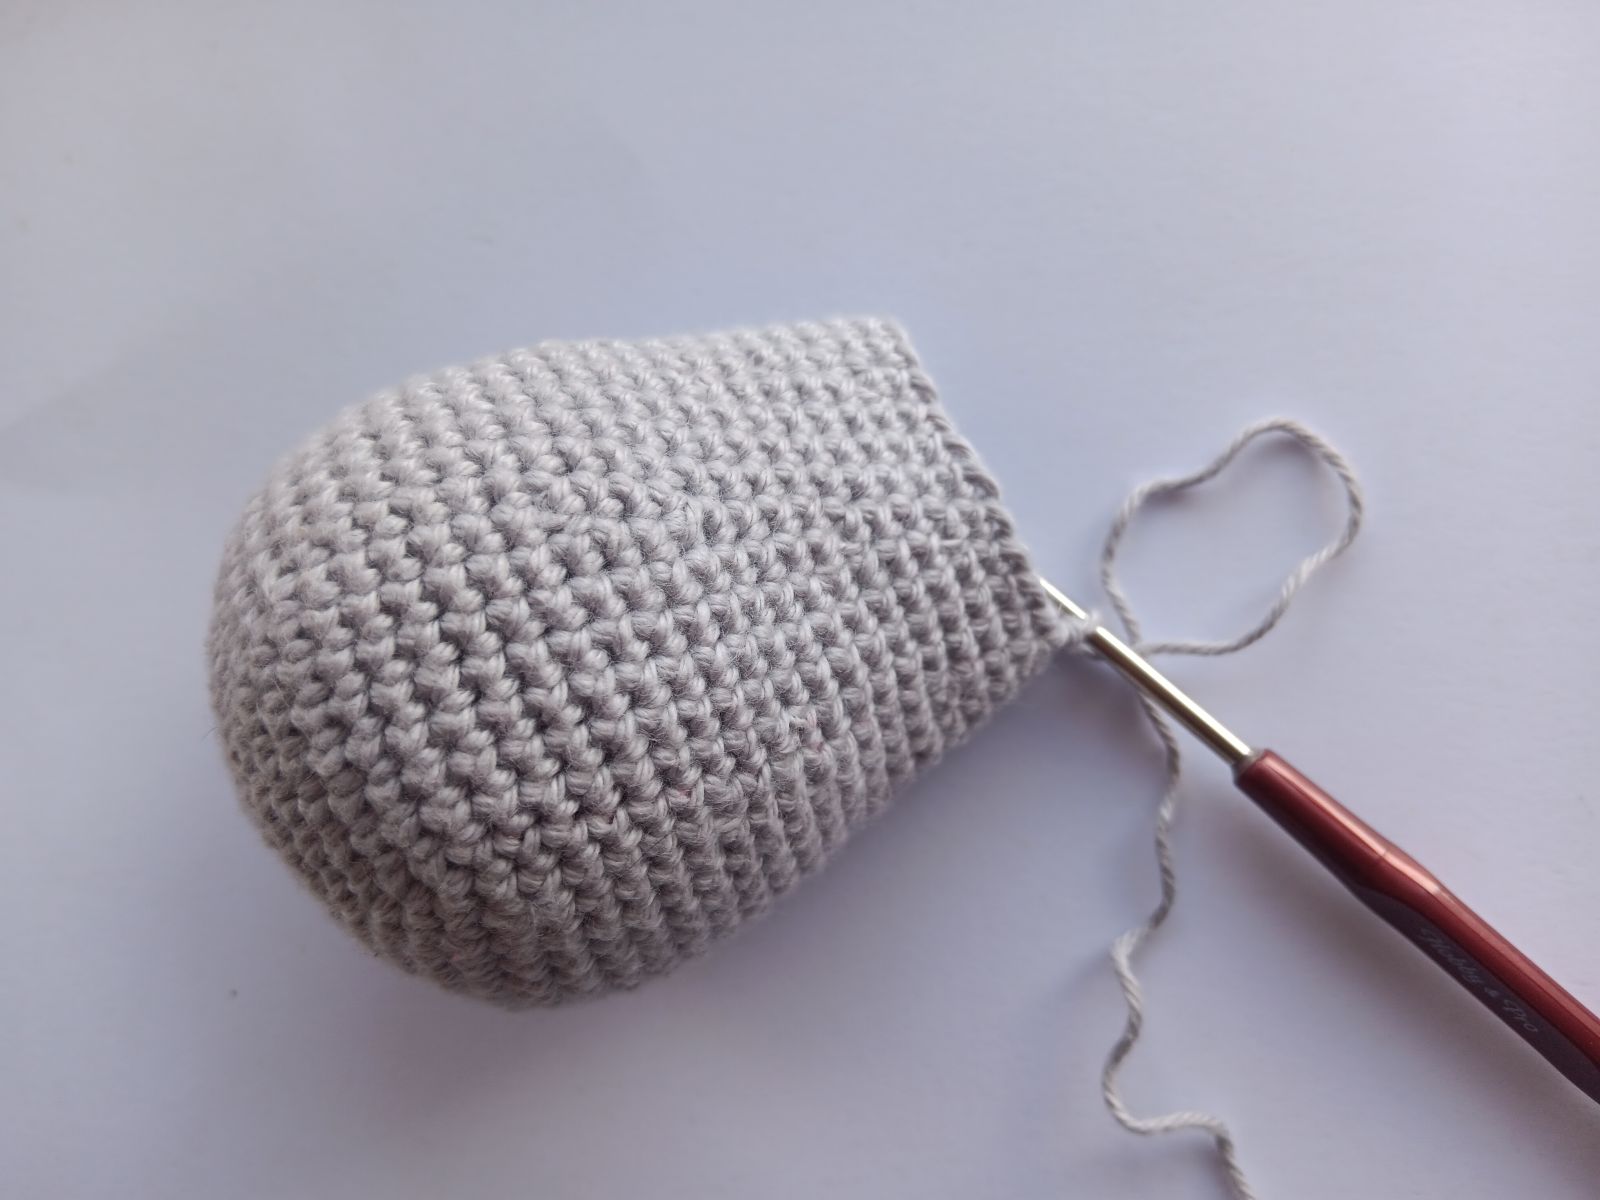
BODY
We start crocheting from the body and then continue on the head. Start crocheting with grey yarn.
Round 1: 6 single crochets into Magic Ring (alternative: if preferred, chain 2 stitches and then 6 single crochets in the second chain from hook) (6 stitches)
Round 2: 2 single crochets in each stitch around (12 stitches)
Round 3: *single crochet in next stitch, increase* (18 stitches)
Round 4: *single crochet in each of next 2 stitches, increase* (24 stitches)
Round 5: *single crochet in each of next 3 stitches, increase* (30 stitches)
Round 6: *single crochet in each of next 4 stitches, increase* (36 stitches)
Round 7: *single crochet in each of next 5 stitches, increase* (42 stitches)
Round 8: *single crochet in each of next 6 stitches, increase* (48 stitches)
Rounds 9-14: single crochet in each of next 48 stitches
Round 15: *decrease, single crochet in each of next 6 stitches* (42 stitches)
Rounds 16-17: single crochet in each of next 42 stitches
Round 18: *decrease, single crochet in each of next 5 stitches* (36 stitches)
Rounds 19-22: single crochet in each of next 36 stitches
Round 23: *decrease, single crochet in each of next 4 stitches* (30 stitches)
Rounds 24-26: single crochet in each of next 30 stitches
Round 27: *decrease, single crochet in each of next 3 stitches* (24 stitches)
Round 28: single crochet in each of next 24 stitches
Stuff the body firmly. Seam with single crochets. Hide all yarn ends.
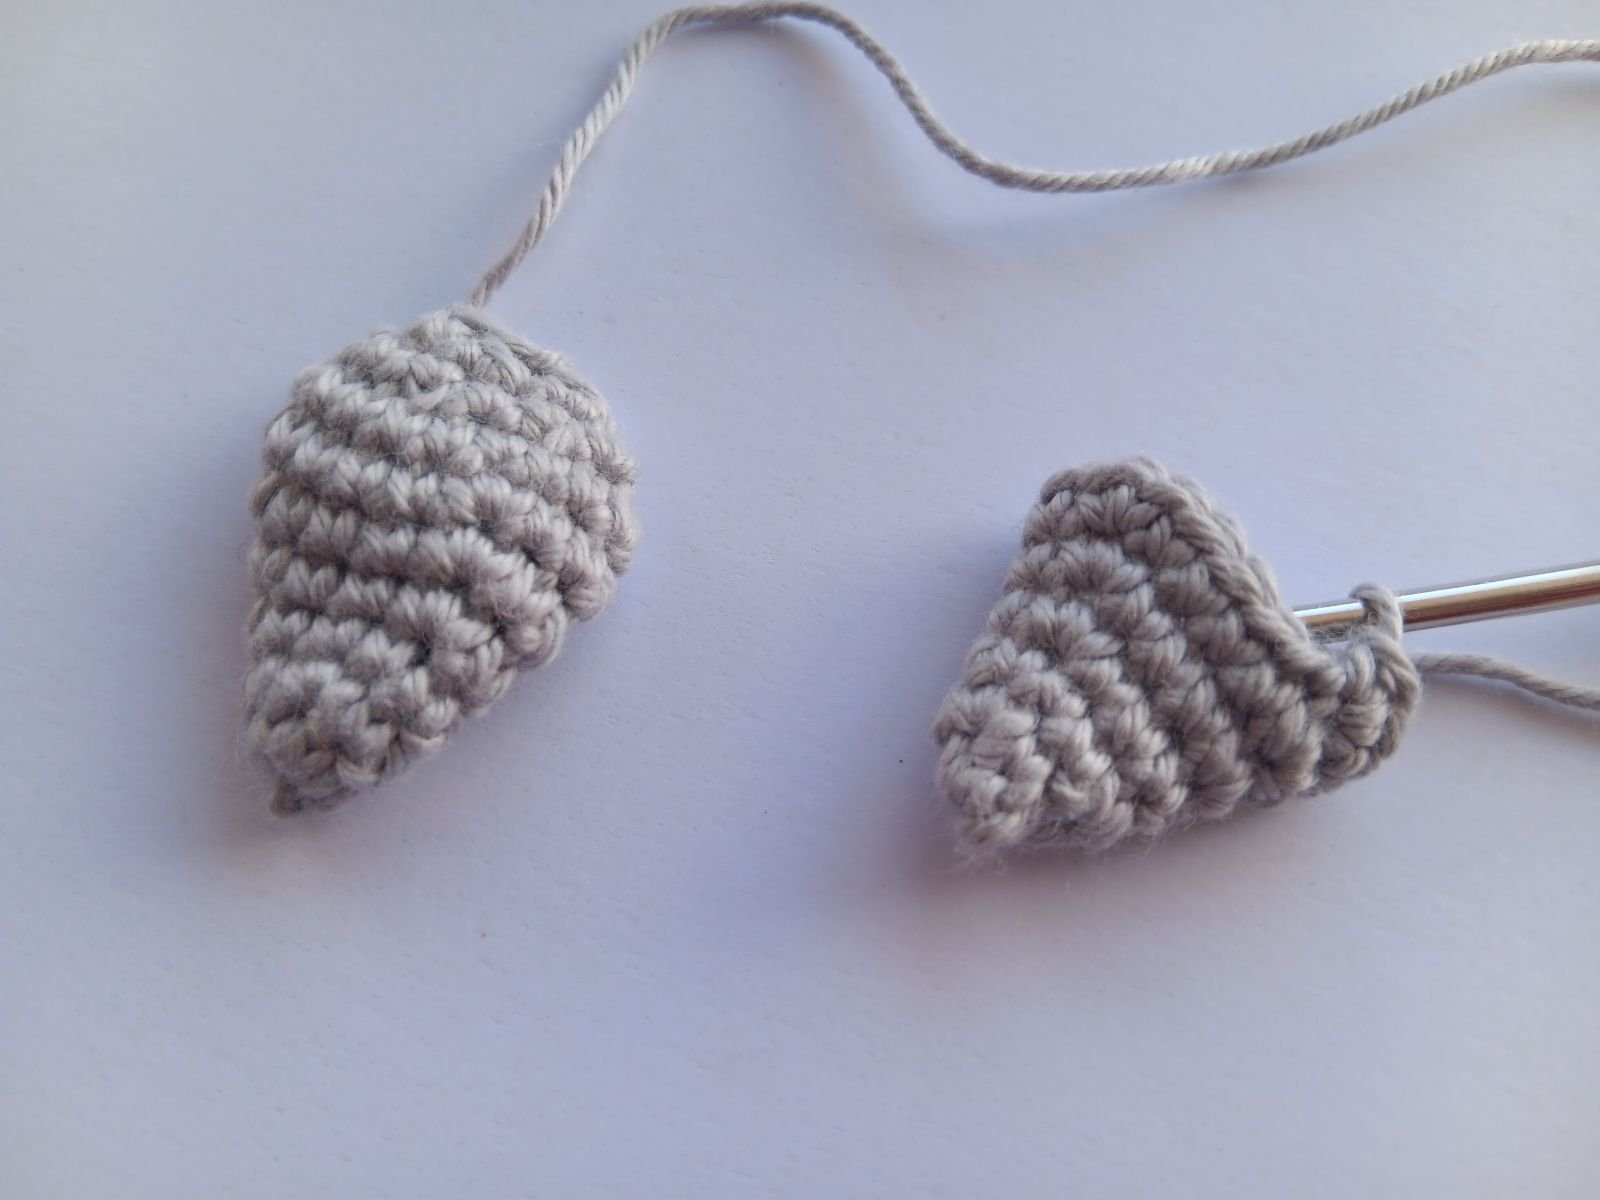
WING (2x)
Crochet with grey yarn.
Round 1: 6 single crochets into Magic Ring
Round 2: *increase, single crochet in the next stitch* (9 stitches)
Round 3: single crochet in each of next 9 stitches
Round 4: *increase, single crochet in each of next 2 stitches* (12 stitches)
Round 5: *increase, single crochet in each of next 3 stitches* (15 stitches)
Round 6: *increase, single crochet in each of next 4 stitches* (18 stitches)
Round 7: single crochet in each of next 18 stitches
Round 8: *decrease, single crochet in the next stitch* (12 stitches)
Round 9: *decrease* 6 times
Do not stuff the wings. Fasten off leaving a long tail for sewing. Work the second wing the same way. Set aside for later.
BEAK
Crochet with green yarn.
Round 1: 3 single crochets into Magic Ring
Round 2: increase every stitch (6 stitches)
Round 3: single crochet in each of next 6 stitches
Round 4: *increase, single crochet in the next stitch* (9 stitches)
Fasten off leaving a long tail for sewing.
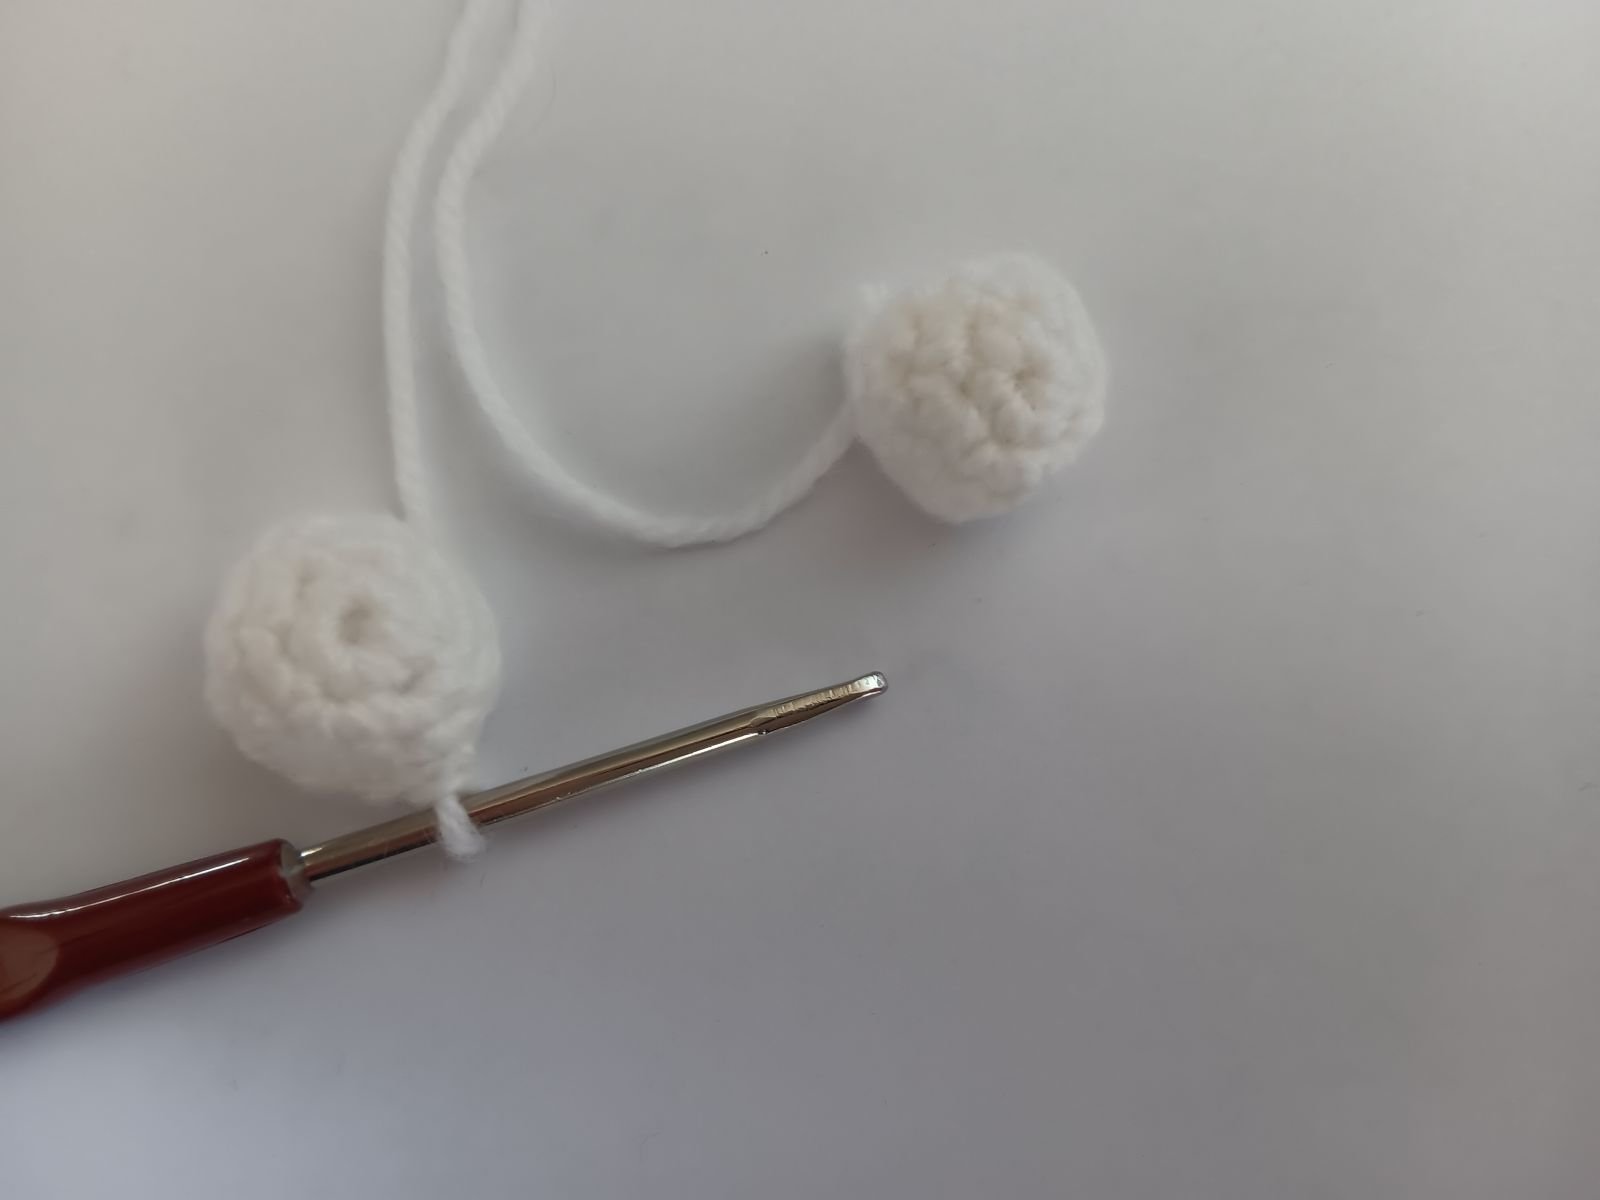
EYE (2x)
Crochet with white colored yarn.
Round 1: 6 single crochets into Magic Ring (alternative: if preferred, chain 2 stitches and then 6 single crochets in the second chain from hook) (6 stitches)
Round 2: 2 single crochets in each stitch around (12 stitches)
Rounds 3-4: single crochet in each of next 12 stitches
Round 5: *decrease* 6 times
Fasten off leaving a long tail for sewing. Work the second eye the same way. Set aside for later.
FOOT (2x)
Crochet with green colored yarn.
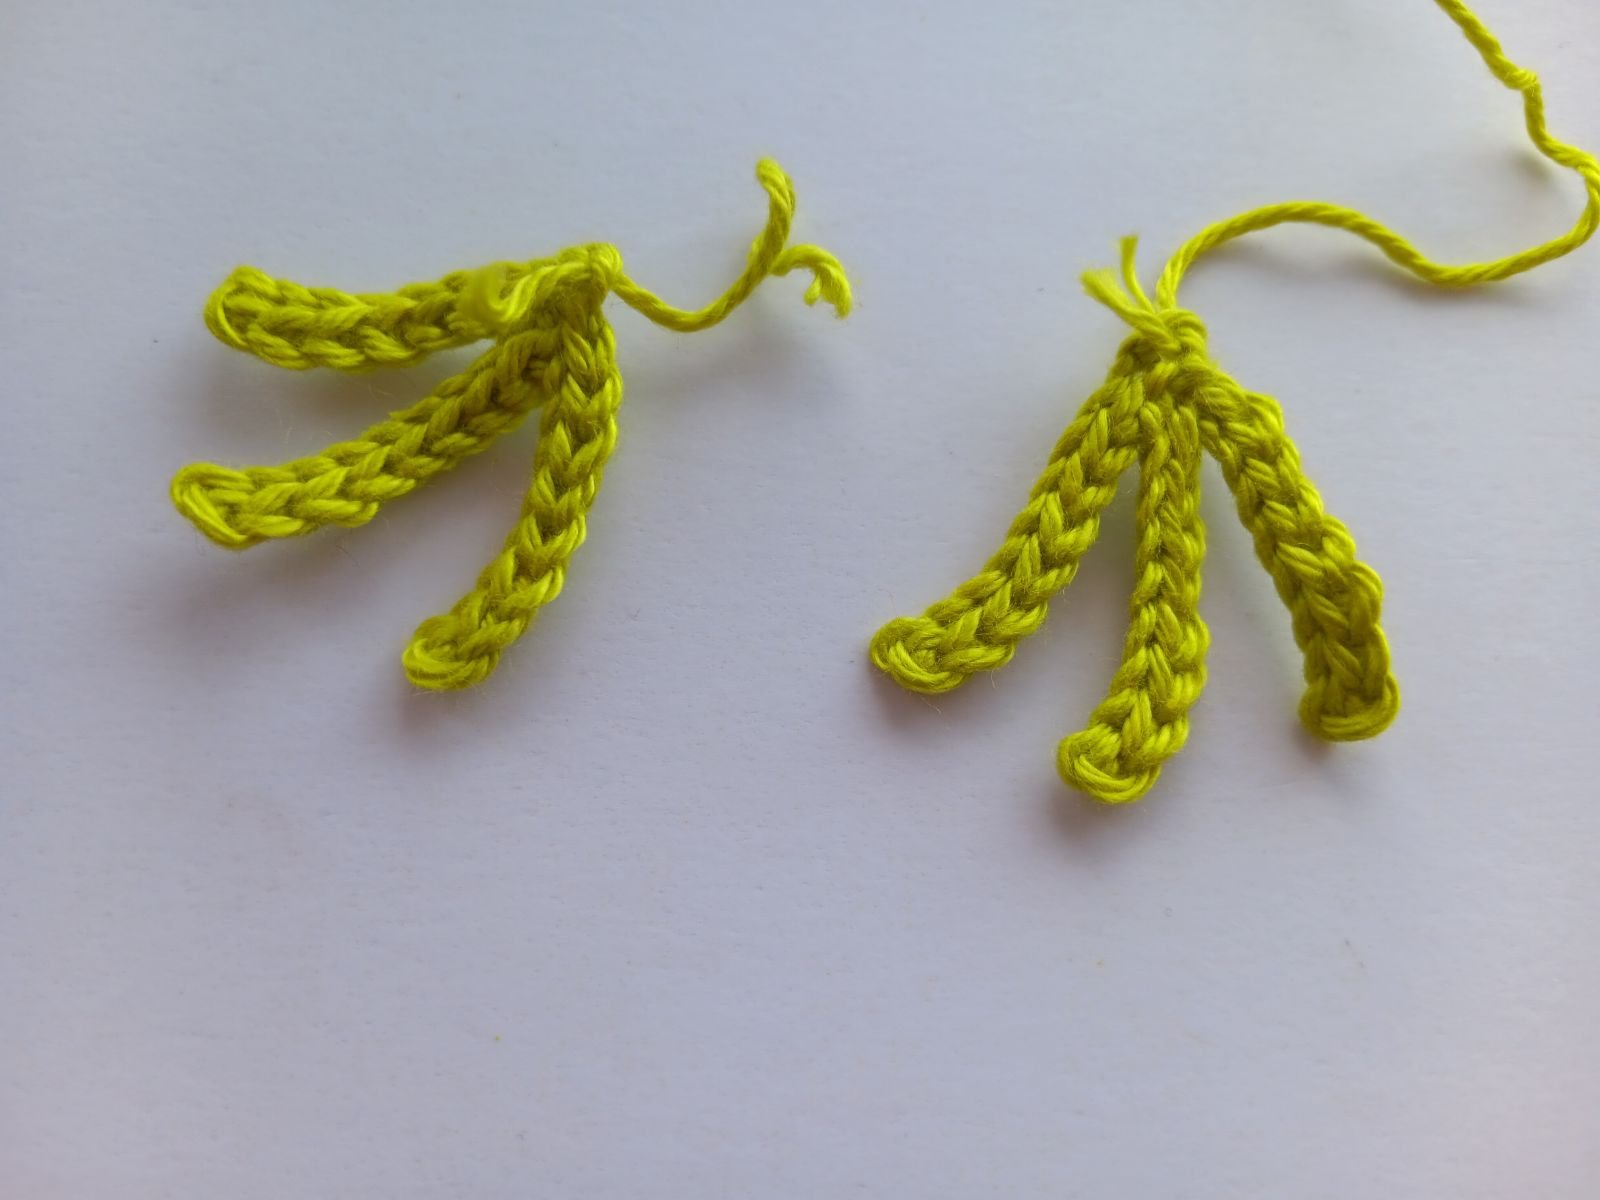
*chain 9 stitches, single crochet into the second stitch from the hook and each of next 7 stitches*, repeat from* to* 3 times.
Fasten off leaving a long tail for sewing. Work the second foot the same way. Set aside for later.
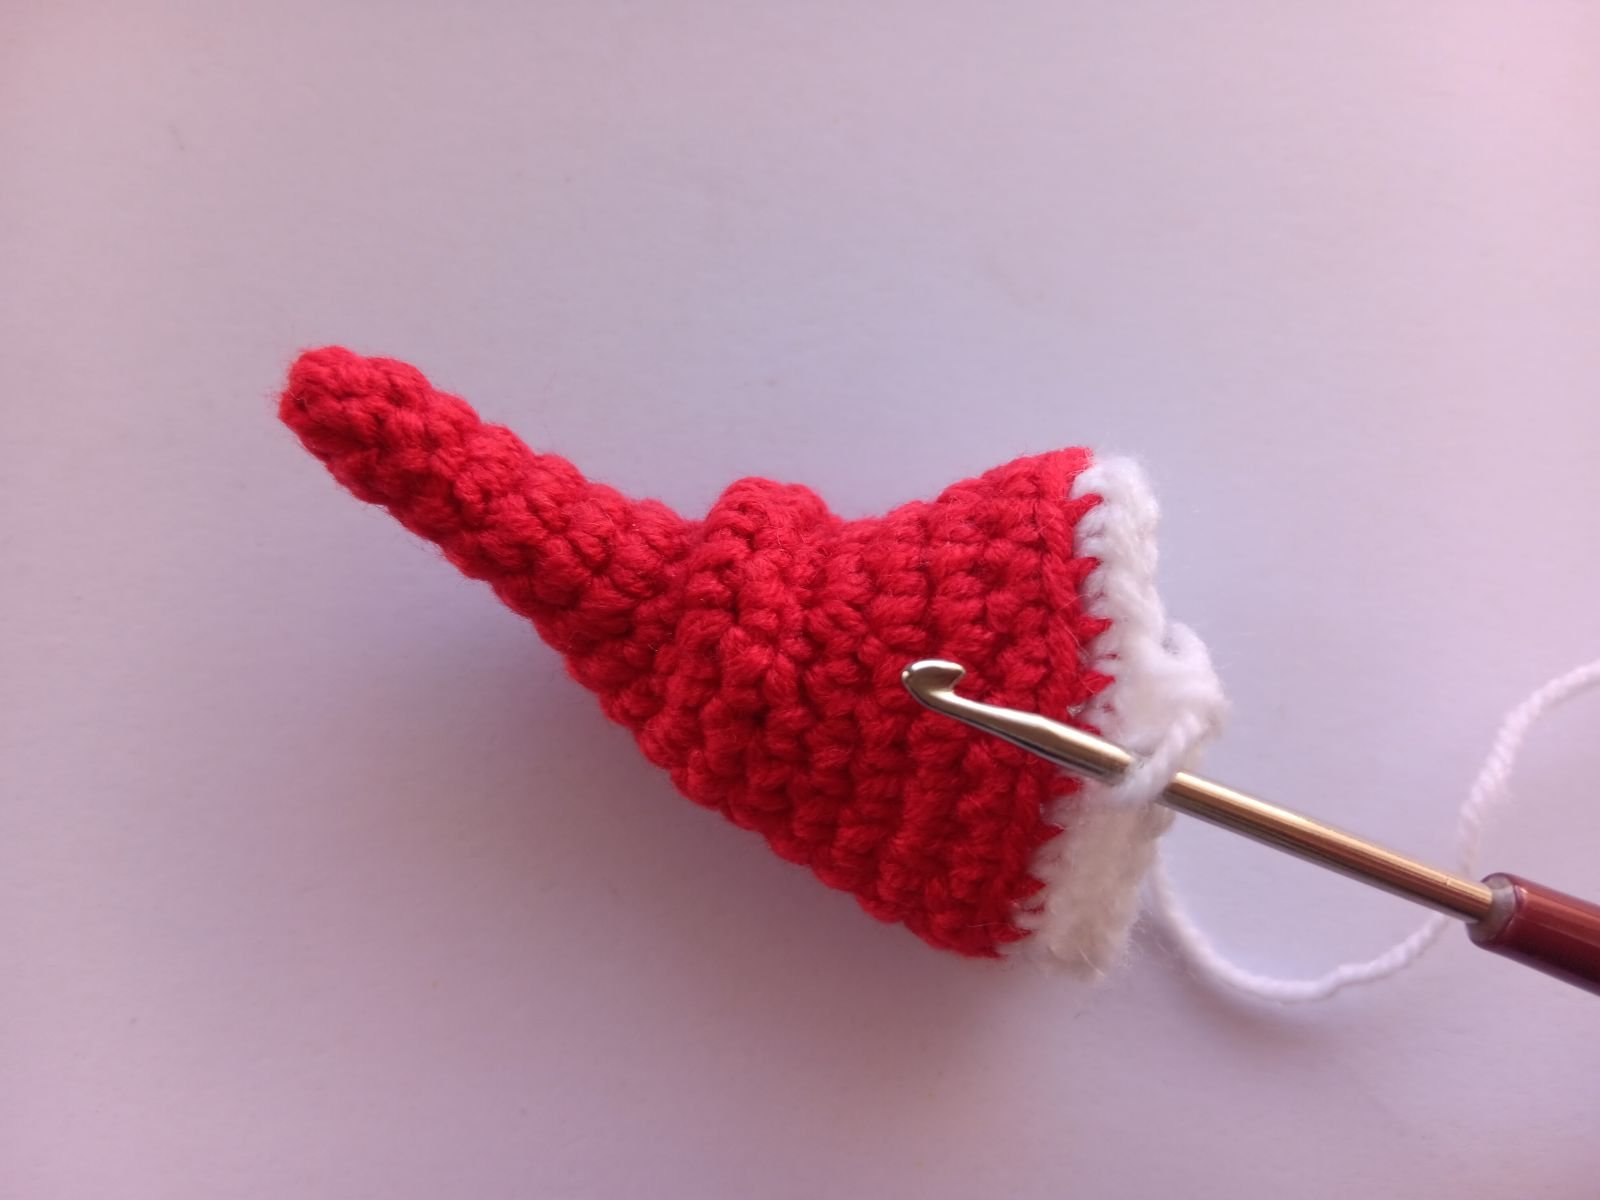
HAT
Crochet with red colored yarn.
Round 1: 6 single crochets into Magic Ring
Rounds 2-3: single crochet in each of next 6 stitches
Round 4: *increase, single crochet in the next stitch* (9 stitches)
Round 5-6: single crochet in each of next 9 stitches
Round 7: *increase, single crochet in each of next 2 stitches* (12 stitches)
Round 8: single crochet in each of next 12 stitches
Round 9: single crochet in each of next 4 stitches, working into the front loop of the next 6 stitches: single crochet in each of next 6 stitches, single crochet in each of next 2 stitches
Round 10: *increase, single crochet in each of next 3 stitches* (15 stitches)
Round 11: single crochet in each of next 15 stitches
Round 12: single crochet in each of next 6 stitches; single crochet in each of next 6 stitches (insert hook through both loops of the 9th round and through the back loop of the 11th round); single crochet in each of next 3 stitches
Round 13: *increase, single crochet in each of next 4 stitches* (18 stitches)
Round 14: single crochet in each of next 18 stitches
Round 15: *increase, single crochet in each of next 2 stitches* (24 stitches)
Round 16: single crochet in each of next 24 stitches
Change the yarn color to white
Round 17-19: single crochet in each of next 24 stitches
Fasten off leaving a long tail for sewing.
ASSEMBLY
Since all the elements of your owl are crocheted, it´s time to sew them together. Use a blunt sewing needle.
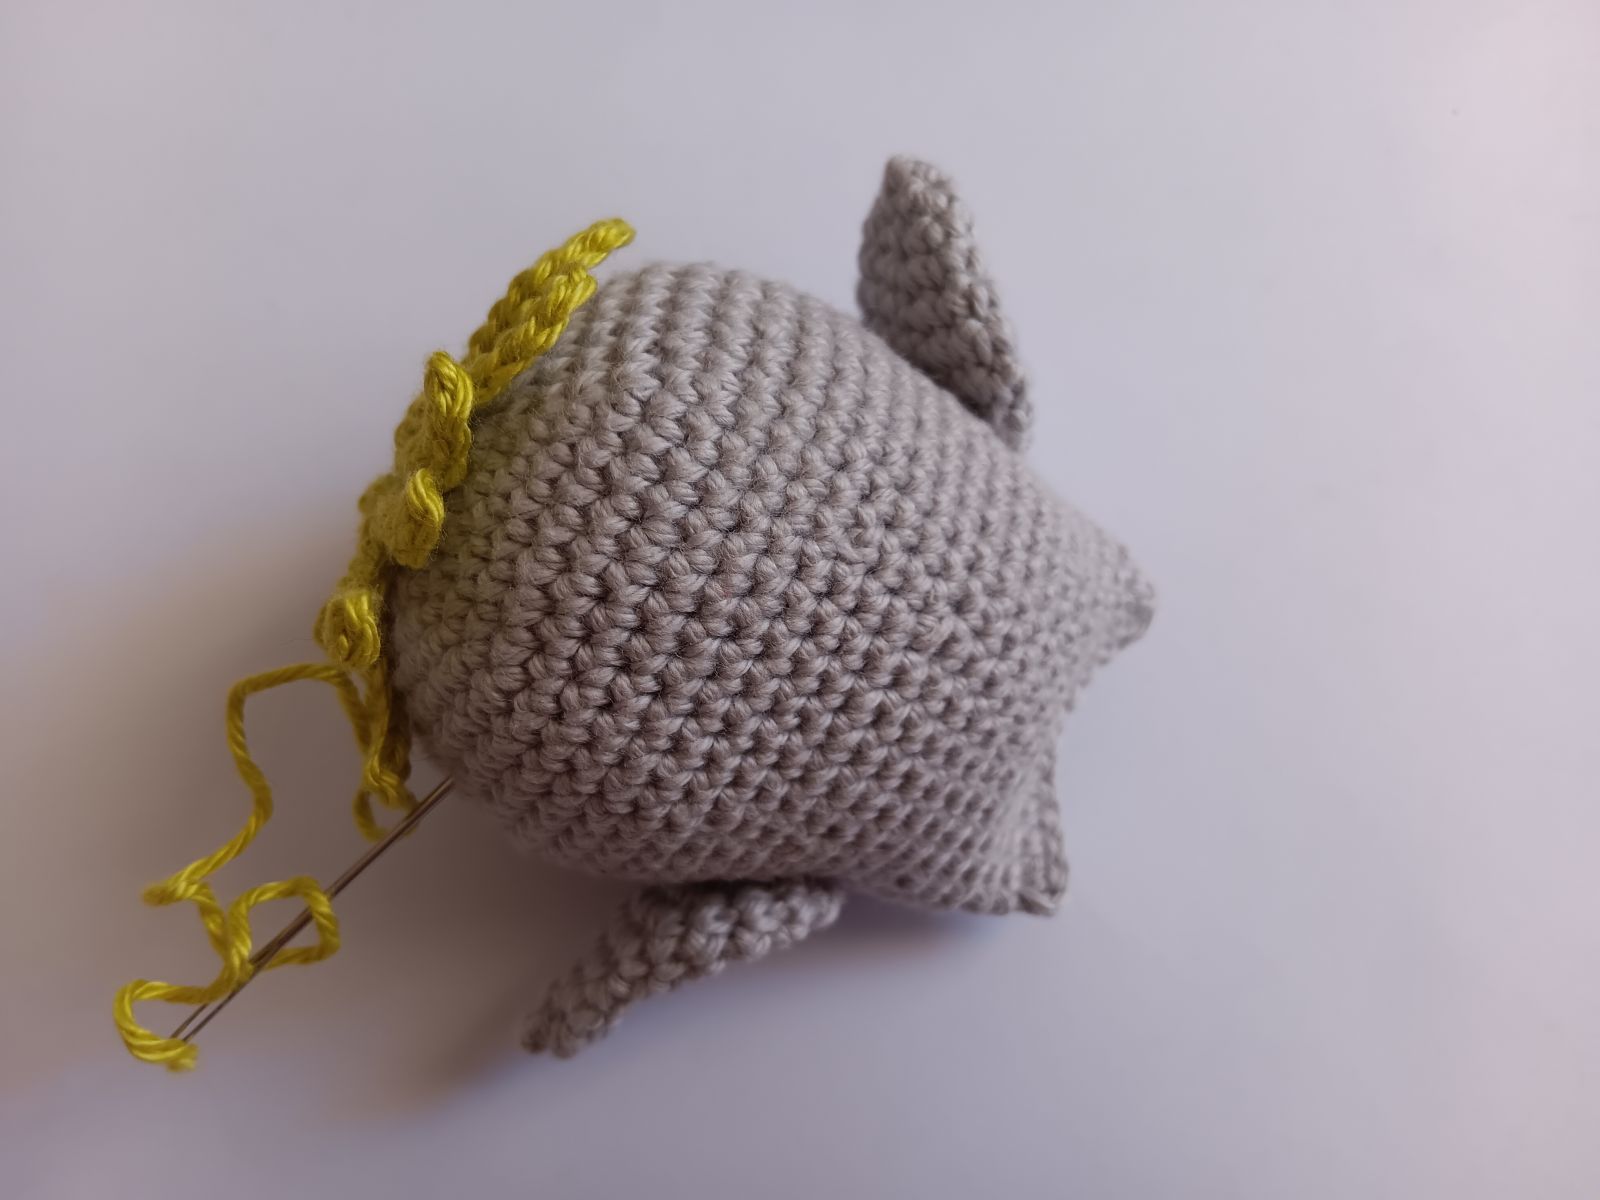
Sew wings and feet to the body. Be sure to step back and take a look to make sure they are even.

Attach eyes to your owl. Use a safety pin to secure them before sewing. Be sure to step back and take a look to make sure they are even.
Mark where you want the beak to be and sew it the head of your owl. Place it in the center.
Attach the red hat to the head of the owl. Use a safety pin to secure them before sewing. Hide all yarn ends.
.jpg)
I hope you enjoyed crocheting the owl and found the pattern helpful. As always, I’d love to see your creation if you’re willing to share! Comment below or tag me on social media. You can share a picture here or on Instagram by tagging me @tansuluucrafthaus.
Happy crocheting! Feel free to contact me with any questions. Thank you for stopping by and have a lovely day!


