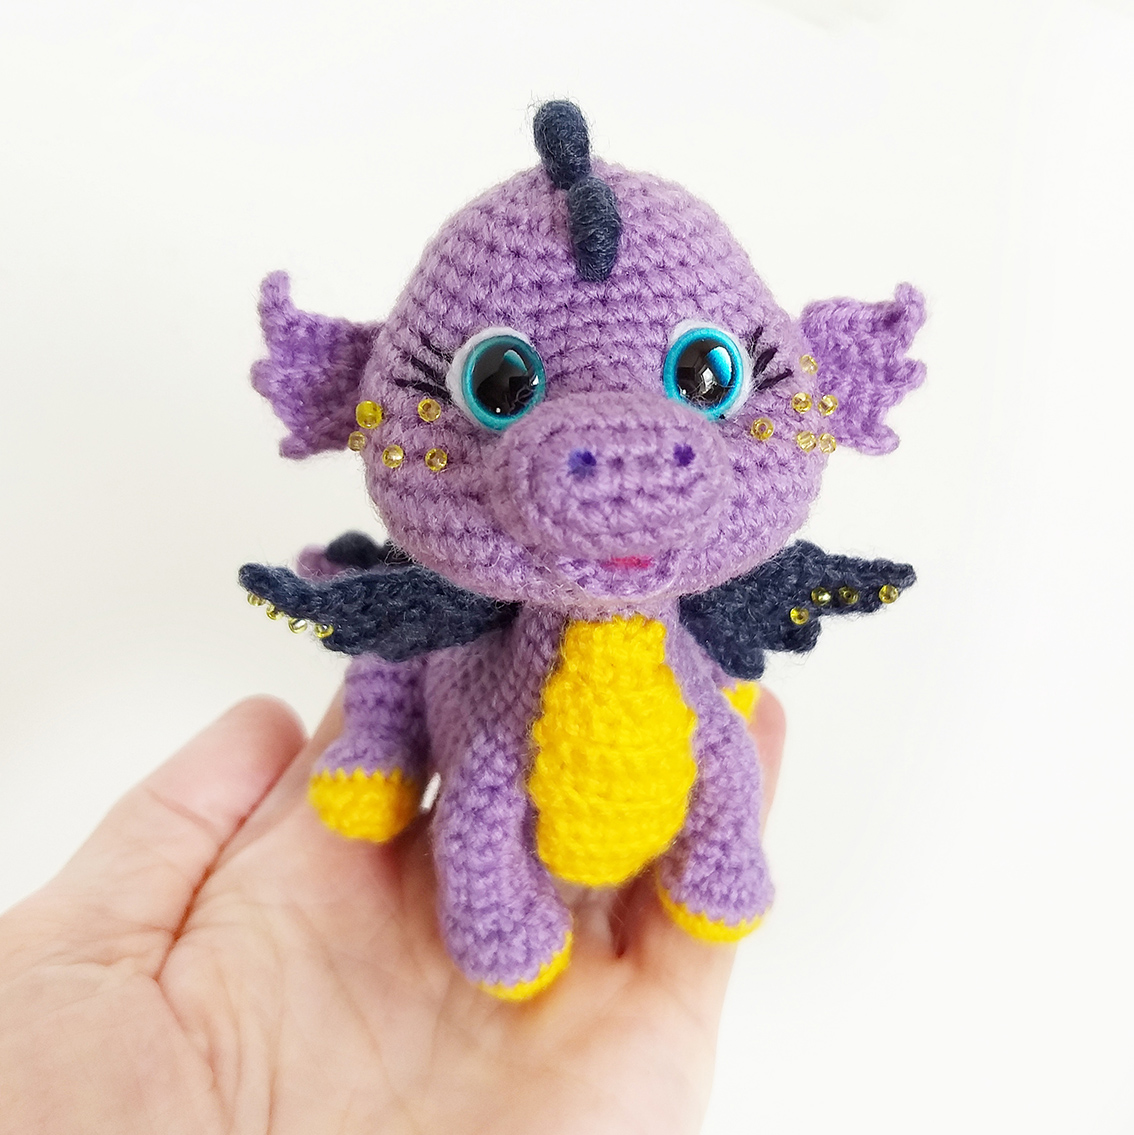
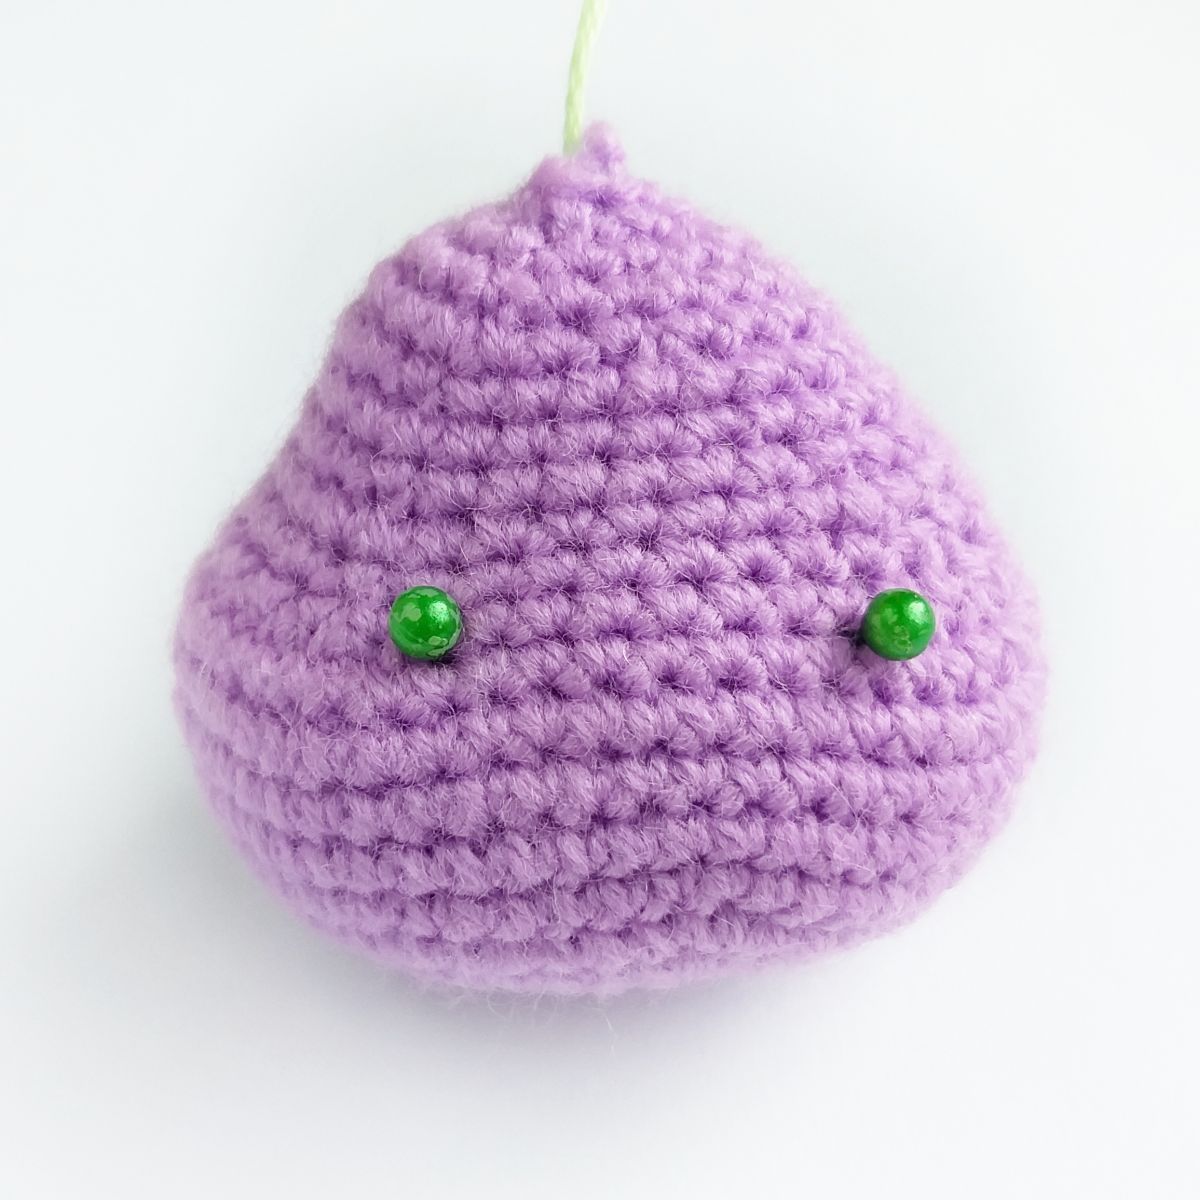
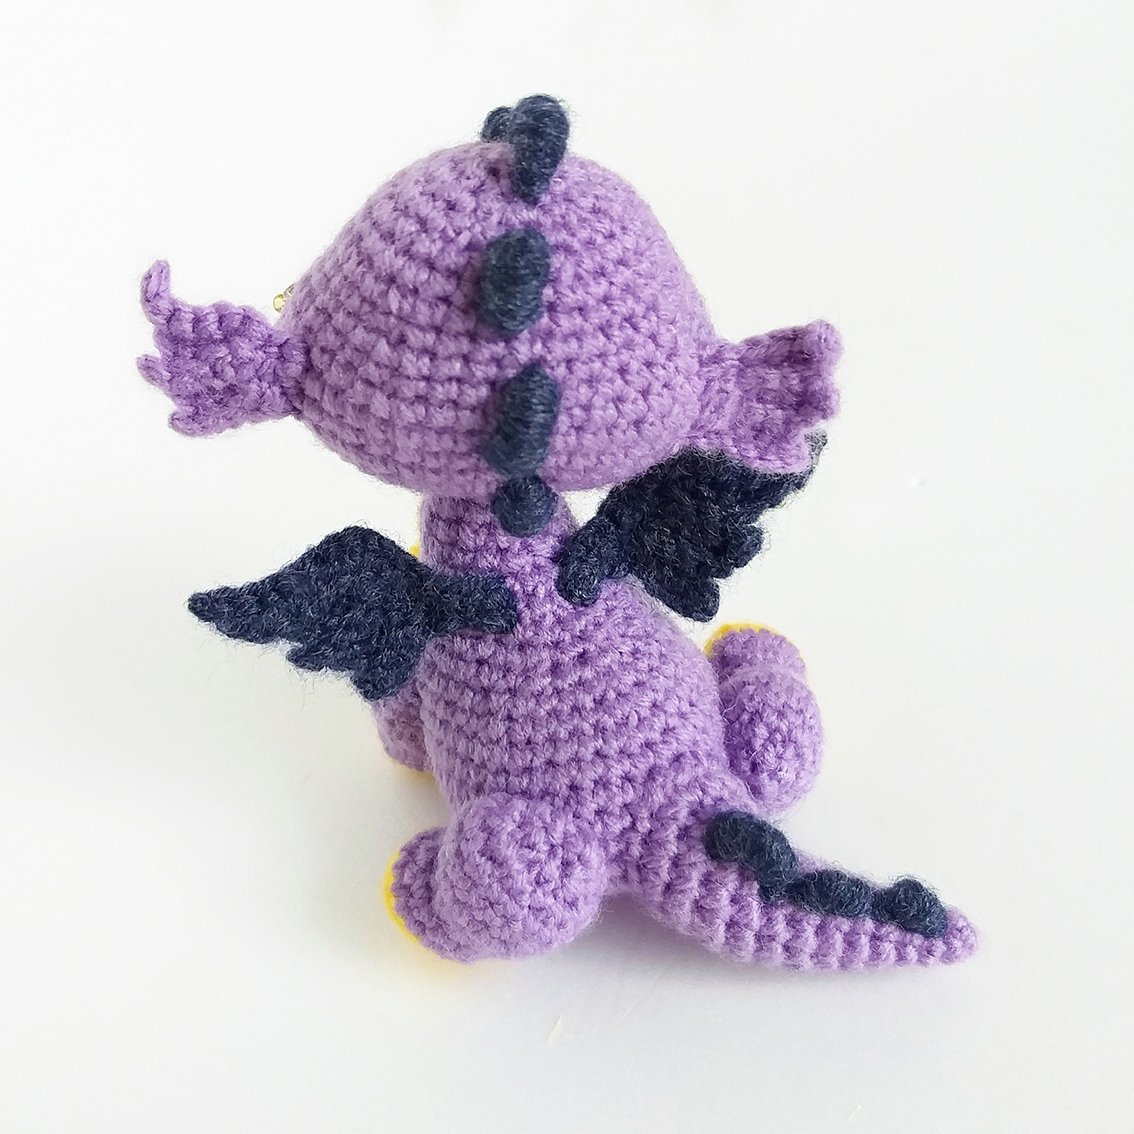
A small tame dragon.
Materials:
Yarn of your choice. Cotton, acrylic, wool will do. I used acrylic yarn, 200 m/50 g. The size of my dragon is 10.0 cm. Depending on the thickness of yarn a finished toy size may differ.
The yarn colour is at your discretion. Choose 3 matching colours. I chose the main colour – lilac, additional colour A – yellow, additional colour B – purple.
- A crochet hook, I used 1,25 mm crochet hook
- A sewing needle, matching sewing threads
- Hollow fibre for stuffing
- Transparent glue
- A piece of wire with a diameter of 1mm approx. 15cm long (at your wish)
- 1 pair of ready-made eyes, I used 10mm diam eyes
- For embroidery: a few threads of black and white
Abbreviations:
ch – chain
sl st – slip stitch
sc – single crochet
hdc – half double crochet
dc - double crochet
inc – increase (2 sc in 1 st)
2 inc, 3 inc – 2, 3 increases in sequence
dec – decrease (single crochet two stitches together)
2 dec, 3 dec – 2, 3 decrease in sequence
(...) x N times – repeat instructions in brackets N times
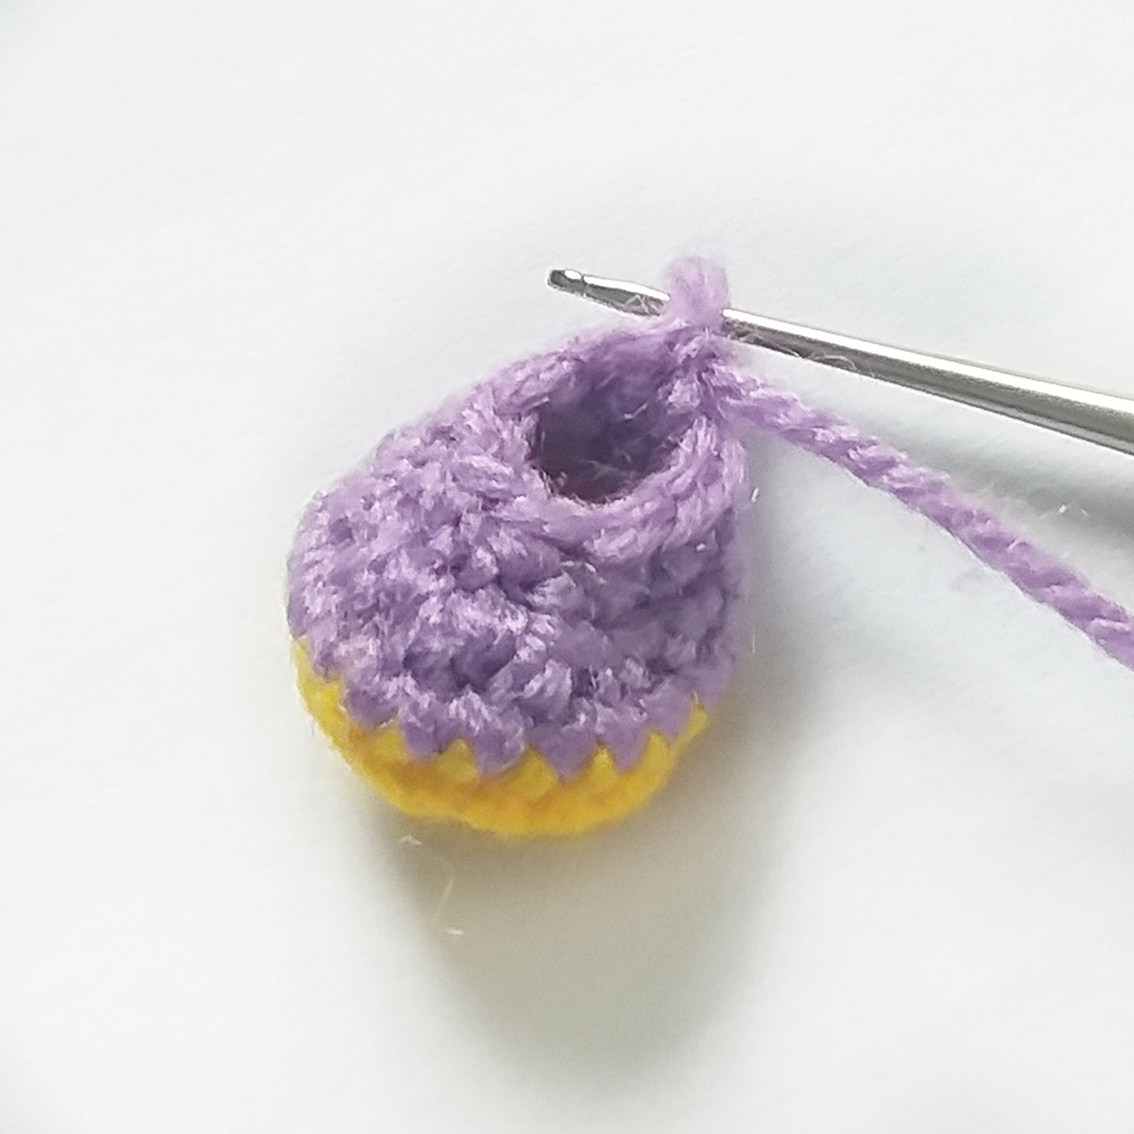
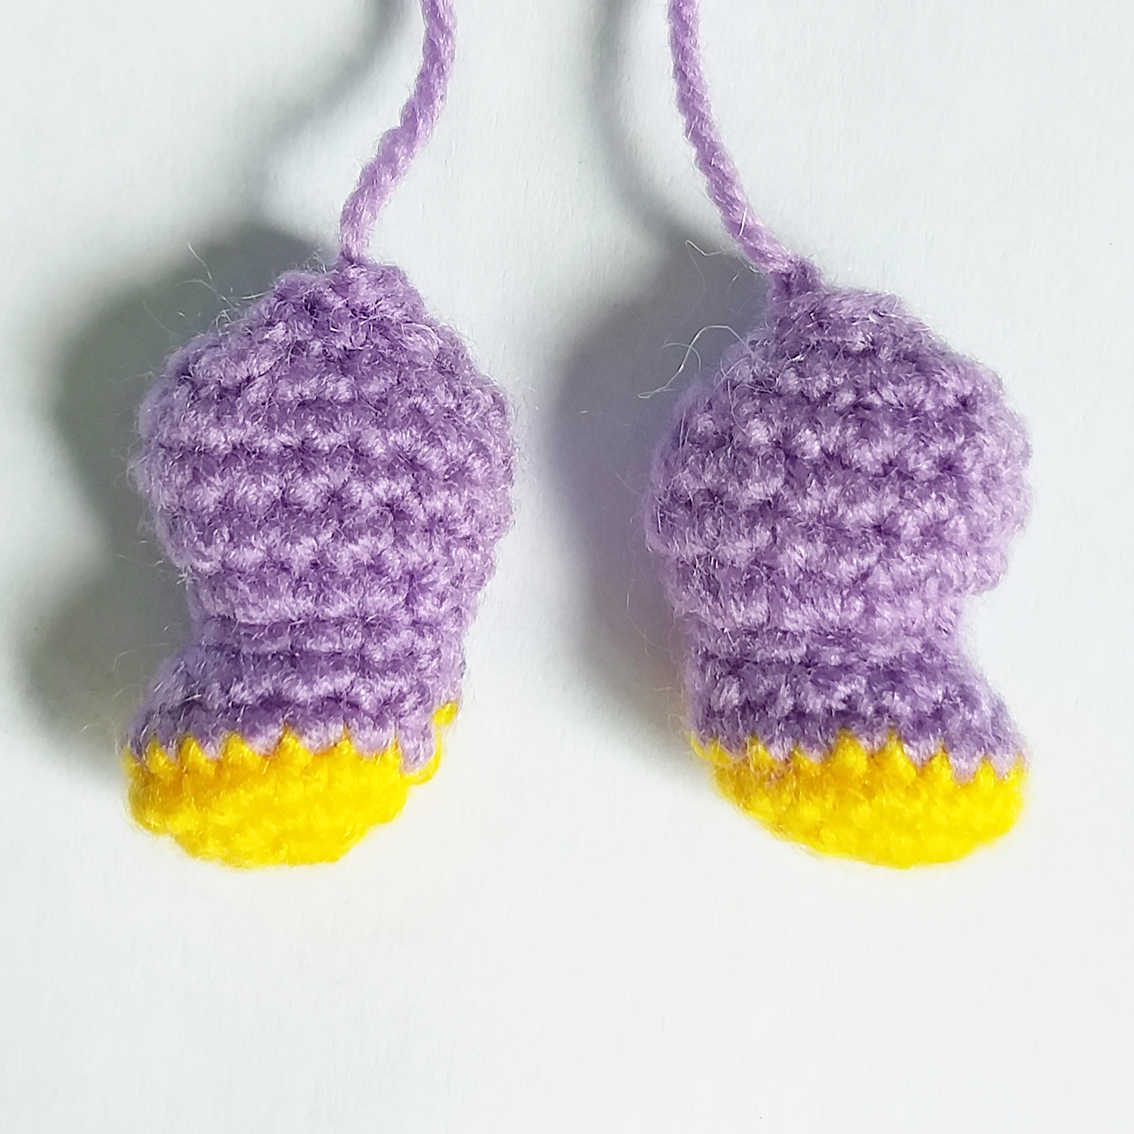
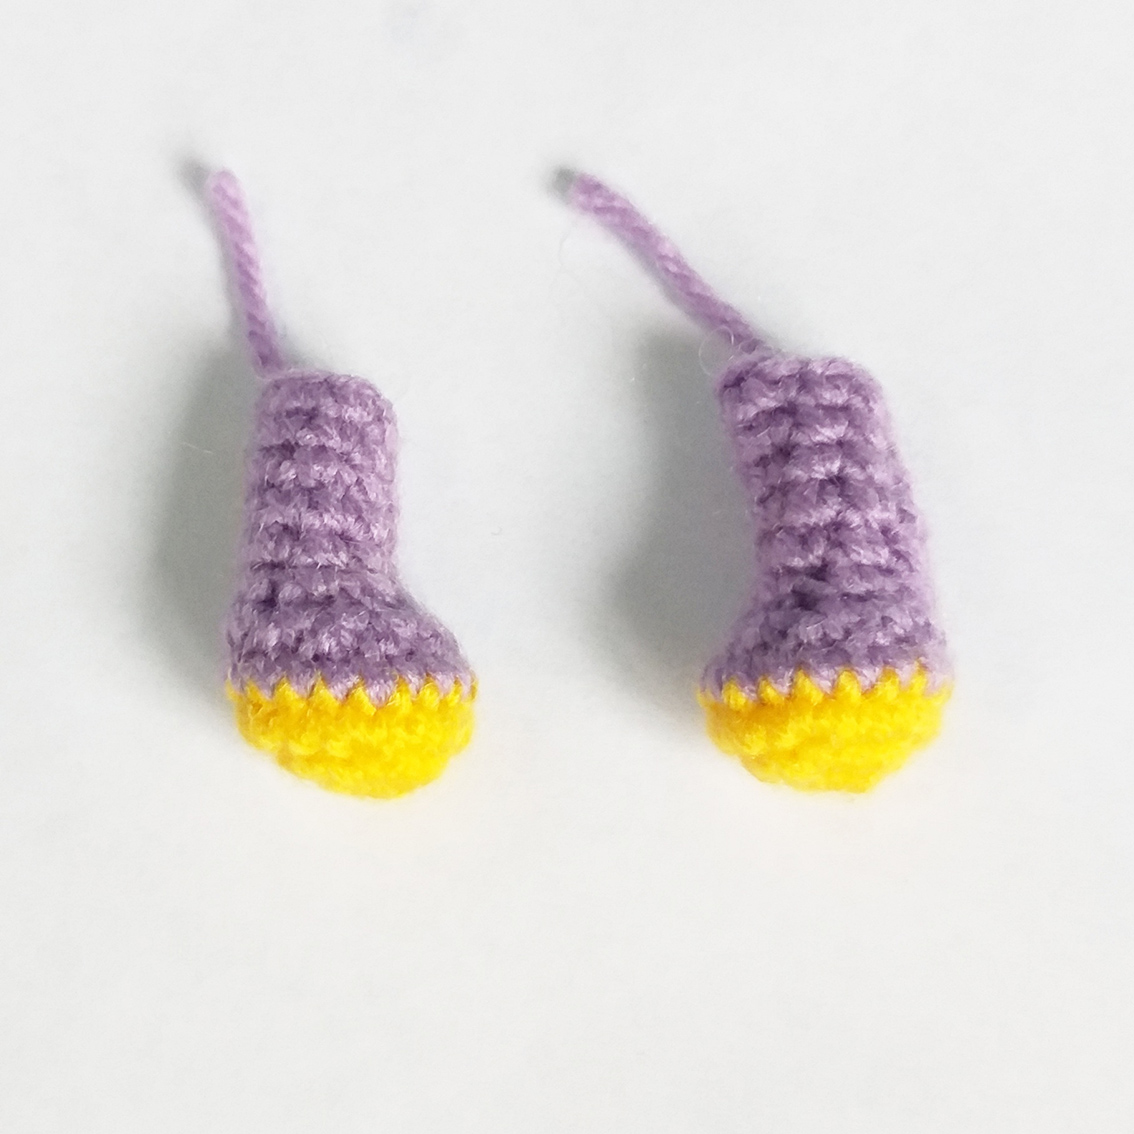
Rear leg (make 2)
Start with colour A.
Rnd 1: 6 sc in a Magic Ring = 6
Rnd 2: 6 inc = 12
Rnd 3: (1 sc, inc)х 6 times = 18
Change to the main colour yarn
Rnd 4: 18 sc
Rnd 5: 3 sc, 6 dec, 3 sc = 12
Rnd 6: 3 sc, 3 dec, 3 sc = 9
Rnd 7: 1 sc, 7 inc, 1 sc = 16
Rnd 8: 7 sc, inc, 8 sc = 17
Add some hollow fibre.
Rndы 9-10: 17 sc
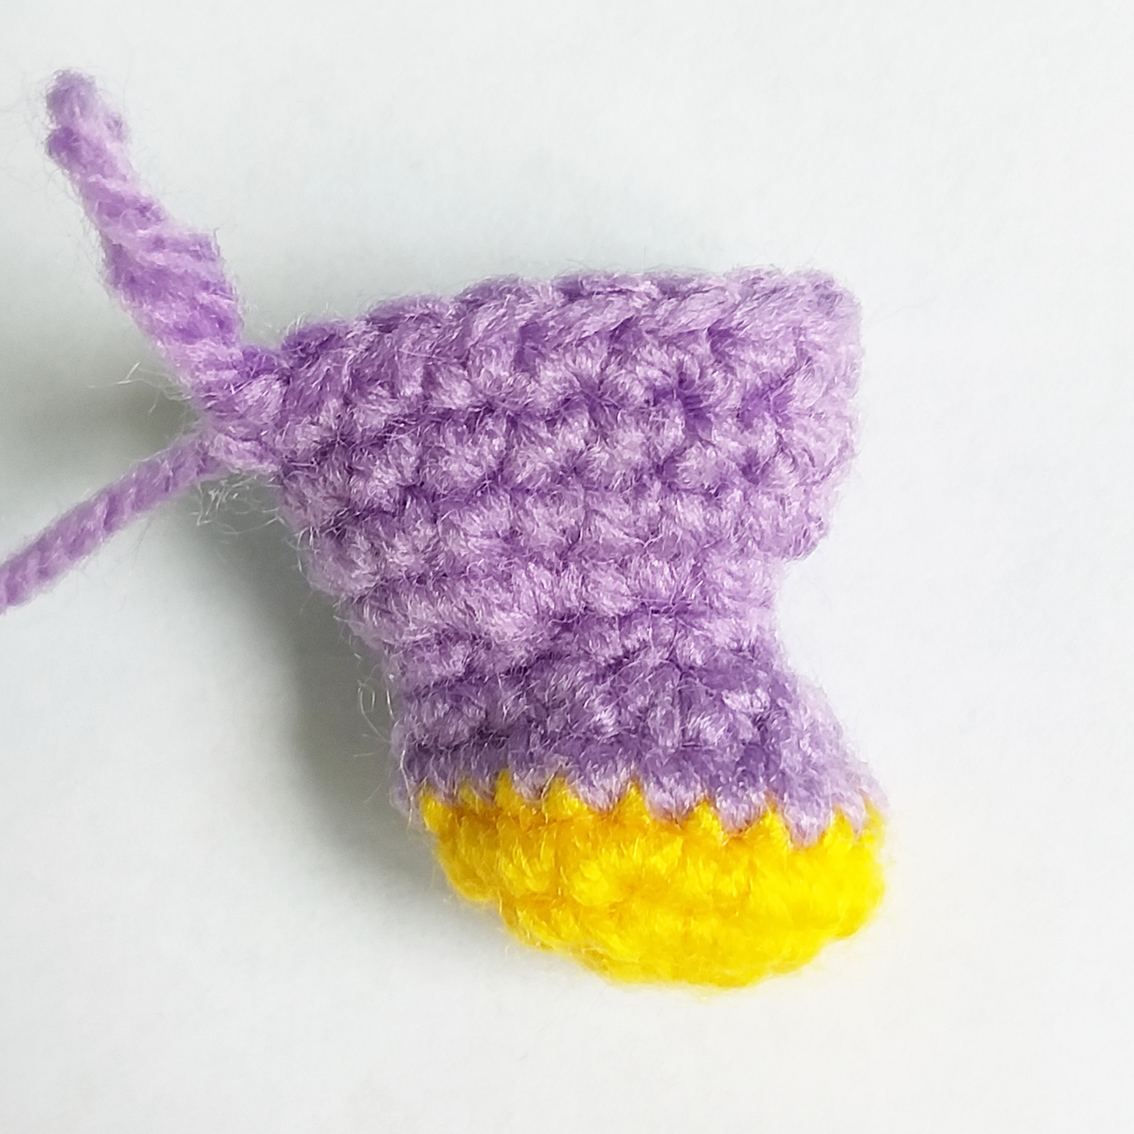
Rnd 11: 1 sc, (1 sc, dec)х 5 times, 1 sc = 12
Rnd 12: 6 dec = 6
Stuff a little. Do not overstuff the legs otherwise they will stick out to the sides!
Fasten off, cut the thread, leaving long tail for sewing. Pull off the loops.
Front leg (make 2)
Start with colour A.
Rnd 1: 6 sc in a Magic Ring = 6
Rnd 2: 6 inc = 12
Rnd 3: (1 sc, inc)х 6 times = 18
Change to the main colour yarn
Rnd 4: 18 sc
Rnd 5: 3 sc, 6 dec, 3 sc = 12
Rnd 6: 2 sc, 4 dec, 2 sc = 8
Add some hollow fibre.
Rnd 7-8: 8 sc
Rnd 9: for the left leg: 1 sc, dec, 5 sc = 7
Rnd 9: for the right leg: 4 sc, dec, 2 sc = 7
Rnd 10 -11: 7 sc
Stuff a little. Do not overstuff the legs otherwise they will stick out to the sides!
Fasten off, cut off any excess yarn.
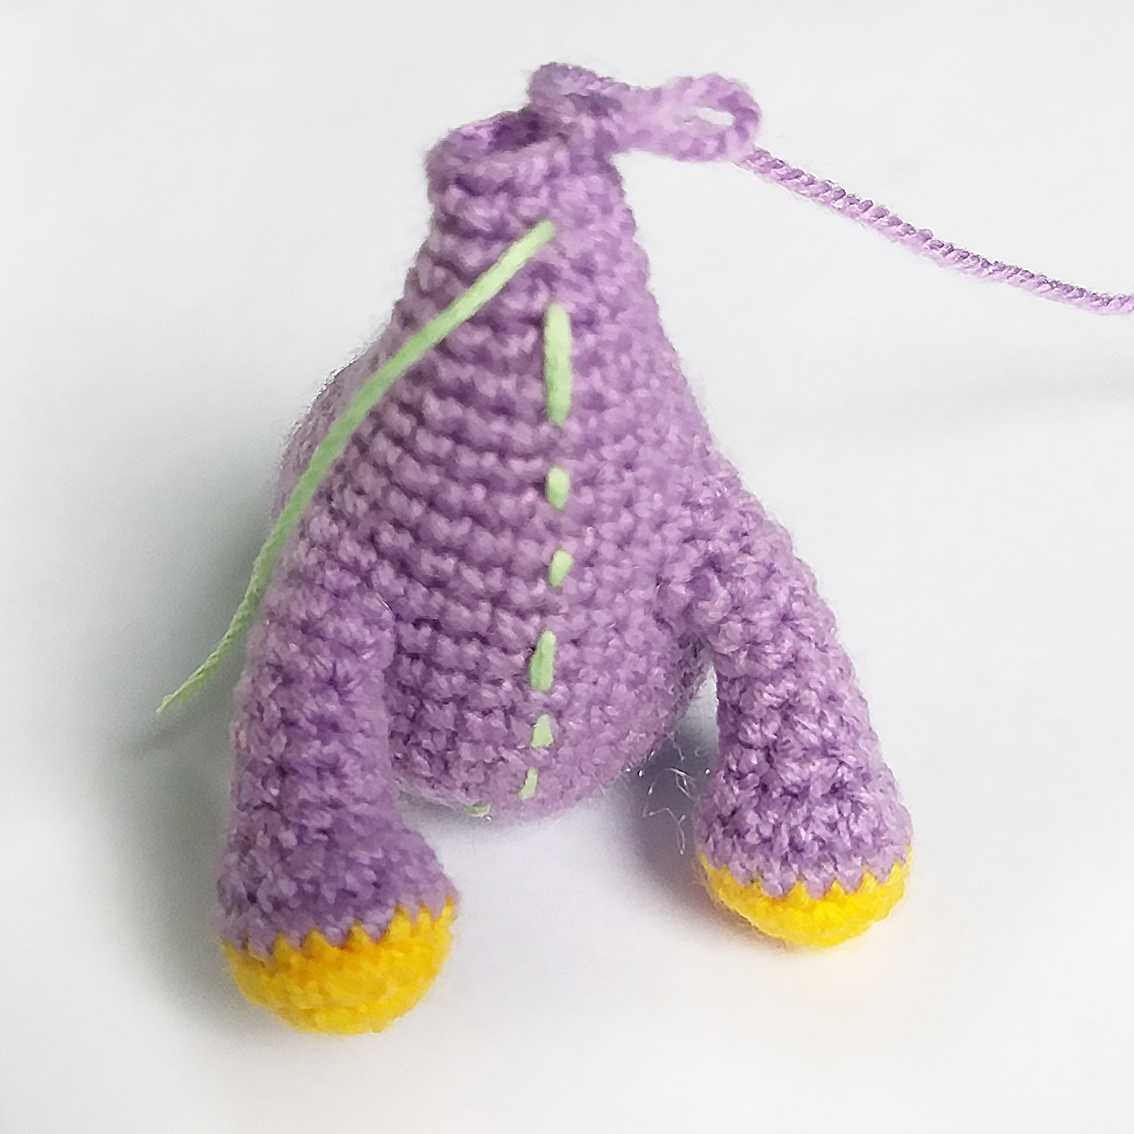
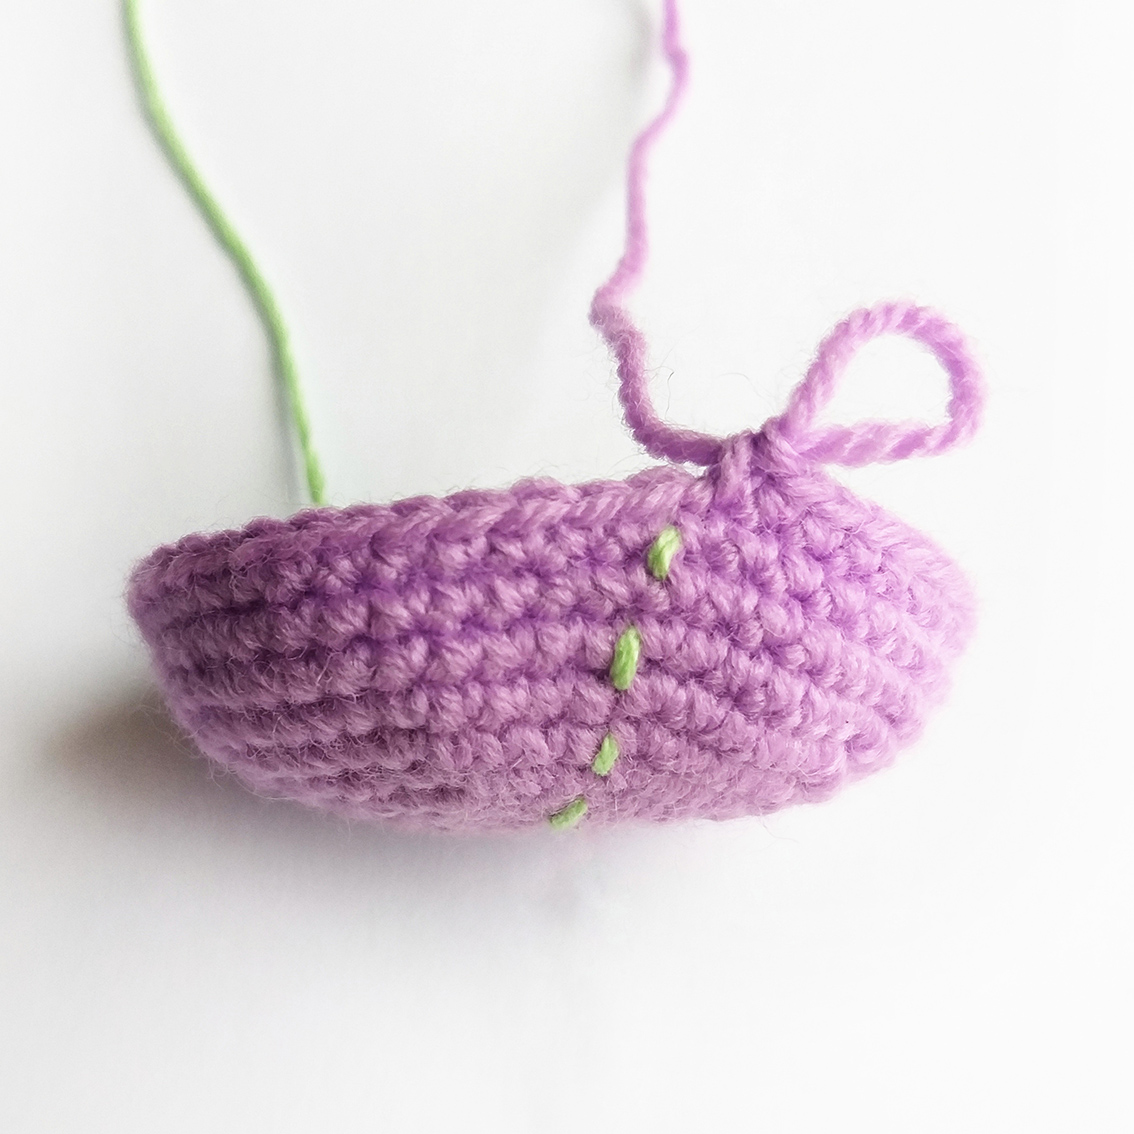
Body
The marker should be in line with the centre of the chest. Adjust as and when to keep it straight. Stuff as you go.
Work with main colour yarn.
Work 7 ch, mark the 1st loop from the hook.
Rnd 1: starting from 2nd ch from hook: inc, 4 sc, 3 sc in the last stitch, continue along the other side of chain: 4 sc, inc, in the marked 1st loop of the beginning chain, make 1 sc, put a marker = 16
Rnd 2: 1 sc, inc, 4 sc, 3 inc, 4 sc, inc, 1 sc, inc = 22
Rnd 3: 2 sc, inc, 4 sc, inc, (2 sc, inc)х 2 times, 4 sc, inc, 2 sc, inc = 28
Rnd 4: 3 sc, inc, 5 sc, inc, (3 sc, inc)х 2 times, 5 sc, inc, 3 sc, inc = 34
Rnd 5: 16 sc, inc, put an additional marker for the wire frame of the tail here, 16 sc, inc = 36
Rnd 6-9: (4 rounds) 36 sc
Join front leg to the body in the next round, keep an eye on the symmetry of the toy.
Rnd 10: 3 sc, attach the right leg, work the loops of the leg and body together: 3 sc (attach the leg in such that it slightly tilts to the side) continue along the loops of the body: 24 sc, attach the left leg, work the loops of the leg and body together: 3 sc (attach the leg in such that it slightly tilts to the side), continue along the loops of the body: 3 sc = 36

Rnd 11: 3 sc, 4 sc work into loops of the right leg, 5 sc, dec, (4 sc, dec)х 2, 5 sc, 4 sc work into loops of the left leg, 3 sc = 35
Rnd 12: 11 sc, dec, (3 sc, dec)х 2 times, 11 sc = 31
Rnd 13: 4 sc, dec, 5 sc, dec, (1 sc, dec)х 2 times, 6 sc, dec, 4 sc = 26
Rnd 14: 11 sc, dec, 1 sc, dec, 10 sc = 24
Rnd 15: (dec, 10 sc)х 2 times = 22
Rnd 16: 9 sc, 2 dec, 9 sc = 20
Rnd 17: 8 sc, 2 dec, 8 sc = 18
Rnd 18: 7 sc, 2 dec, 7 sc = 16
Rnd 19: (dec, 6 sc)х 2 times = 14
Rnd 20: 2 sc, dec, 6 sc, dec, 2 sc = 12
Rnd 21: 5 sc, dec, 5 sc = 11
Rnd 22-23: 11 sc
Fasten off, cut the thread, leaving long tail for sewing.
Prepare the wire and insert it into the body (at your wish).
The length is determined individually. The length of the wire will depend on the size of the body. I used a wire with a diameter of 1 mm, 15 cm long.
Insert a piece of wire into the point marked in the 5th round, then through the body into the neck (leave the ends of the wire sticking out). You may use a thick needle to make a hole to help you.

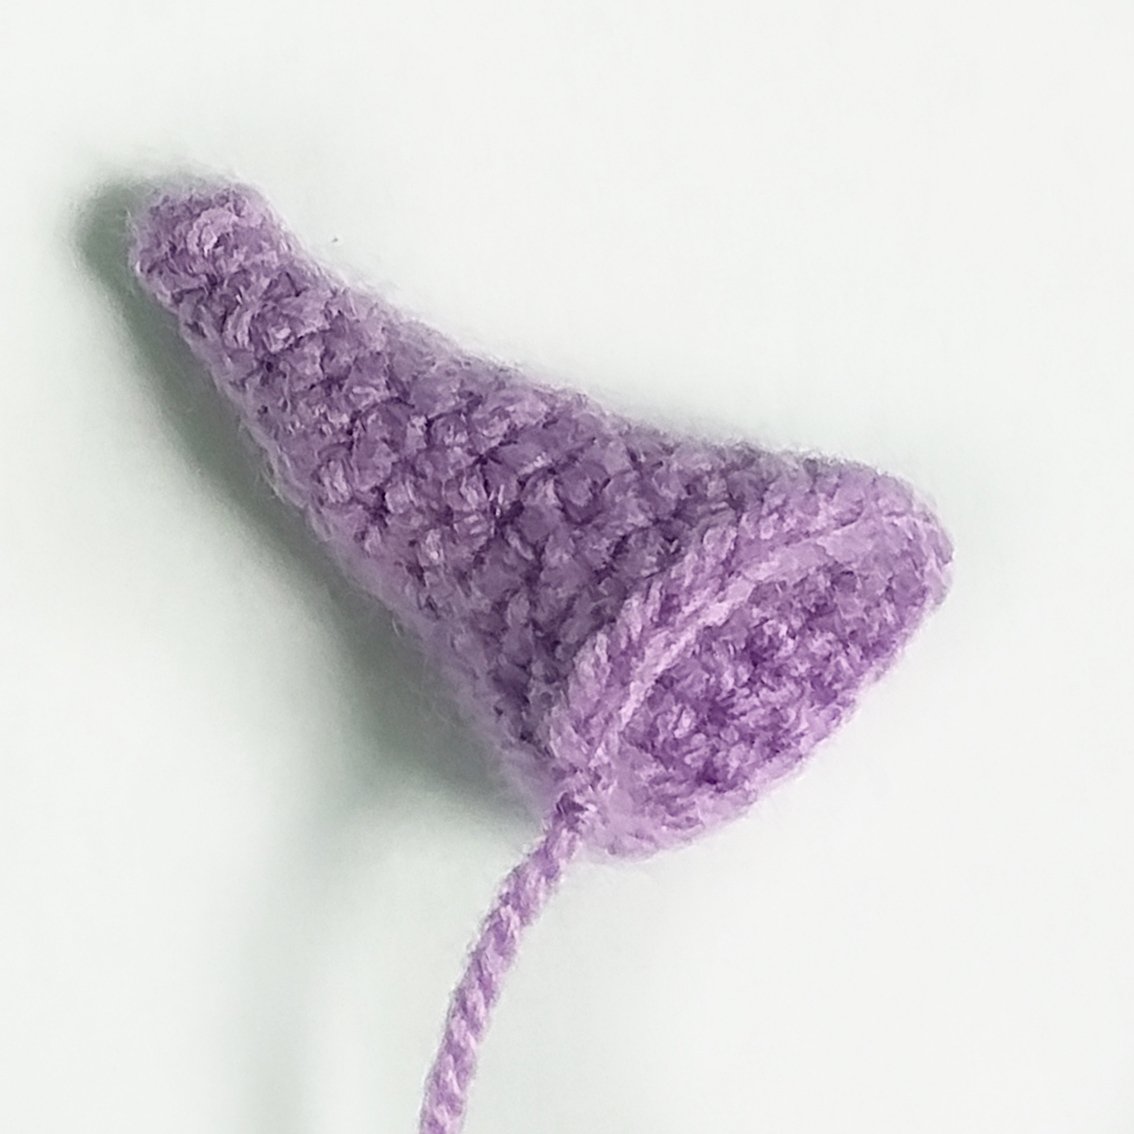
Tail
Work with main colour yarn.
Rnd 1: 4 sc in a Magic Ring
Rnd 2: 3 sc, inc = 5
Rnd 3: 4 sc, inc = 6
Rnd 4: 5 sc, inc = 7
Rnd 5: 6 sc, inc = 8
Rnd 6: 7 sc, inc = 9
Rnd 7: 8 sc, inc = 10
Rnd 8: 9 sc, inc = 11
Rnd 9: 10 sc, inc = 12
Rnd 10: 11 sc, inc = 13
Rnd 11: 12 sc, inc = 14
Rnd 12: 13 sc, inc = 15
Rnd 13 incomplete: 6 sc, 1 sl st
Add some hollow fibre.
Fasten off, cut the thread, leaving long tail for sewing.
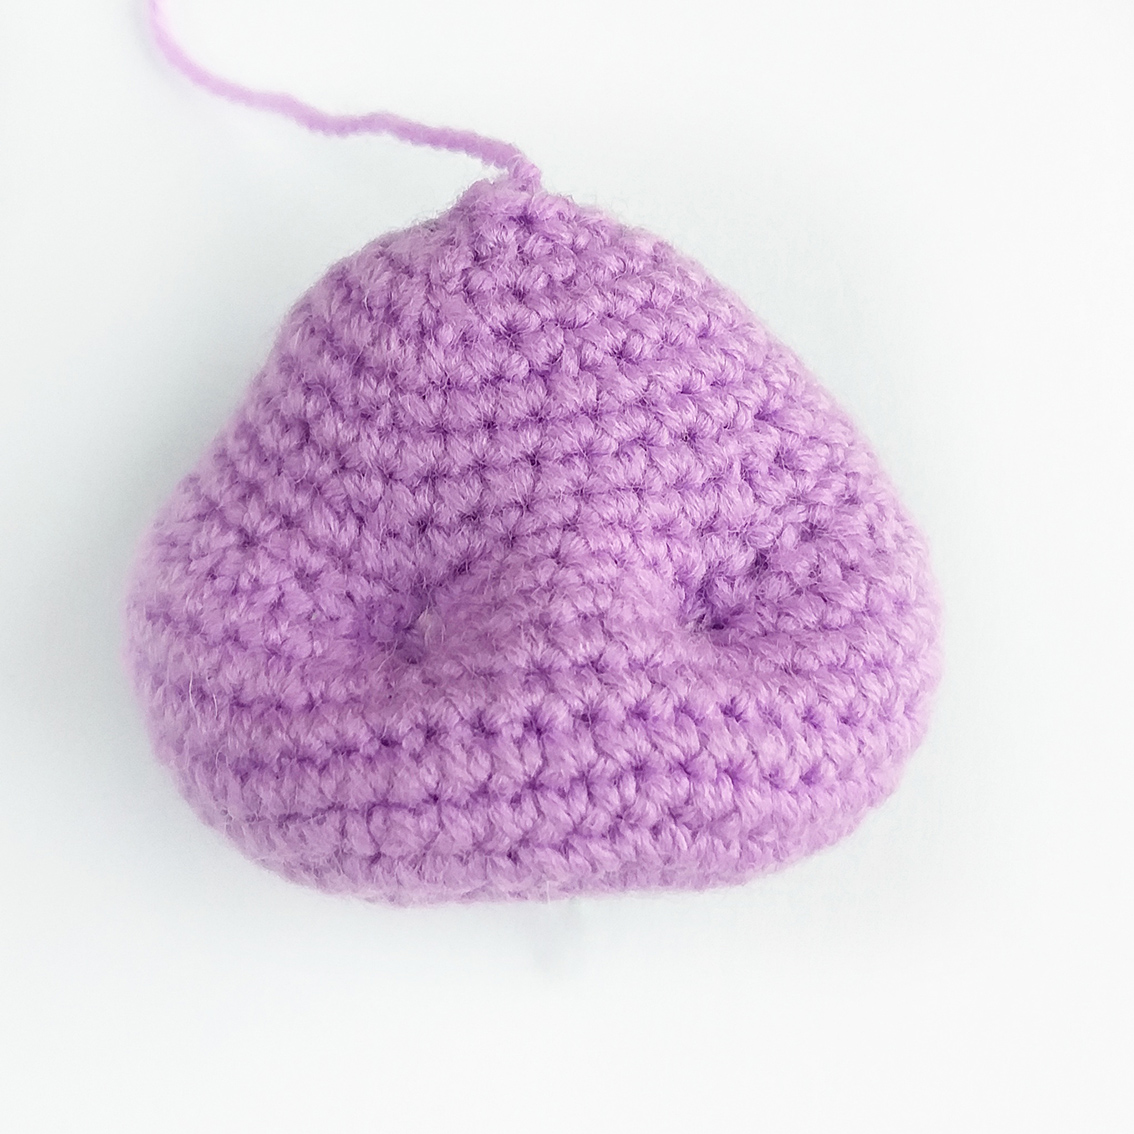
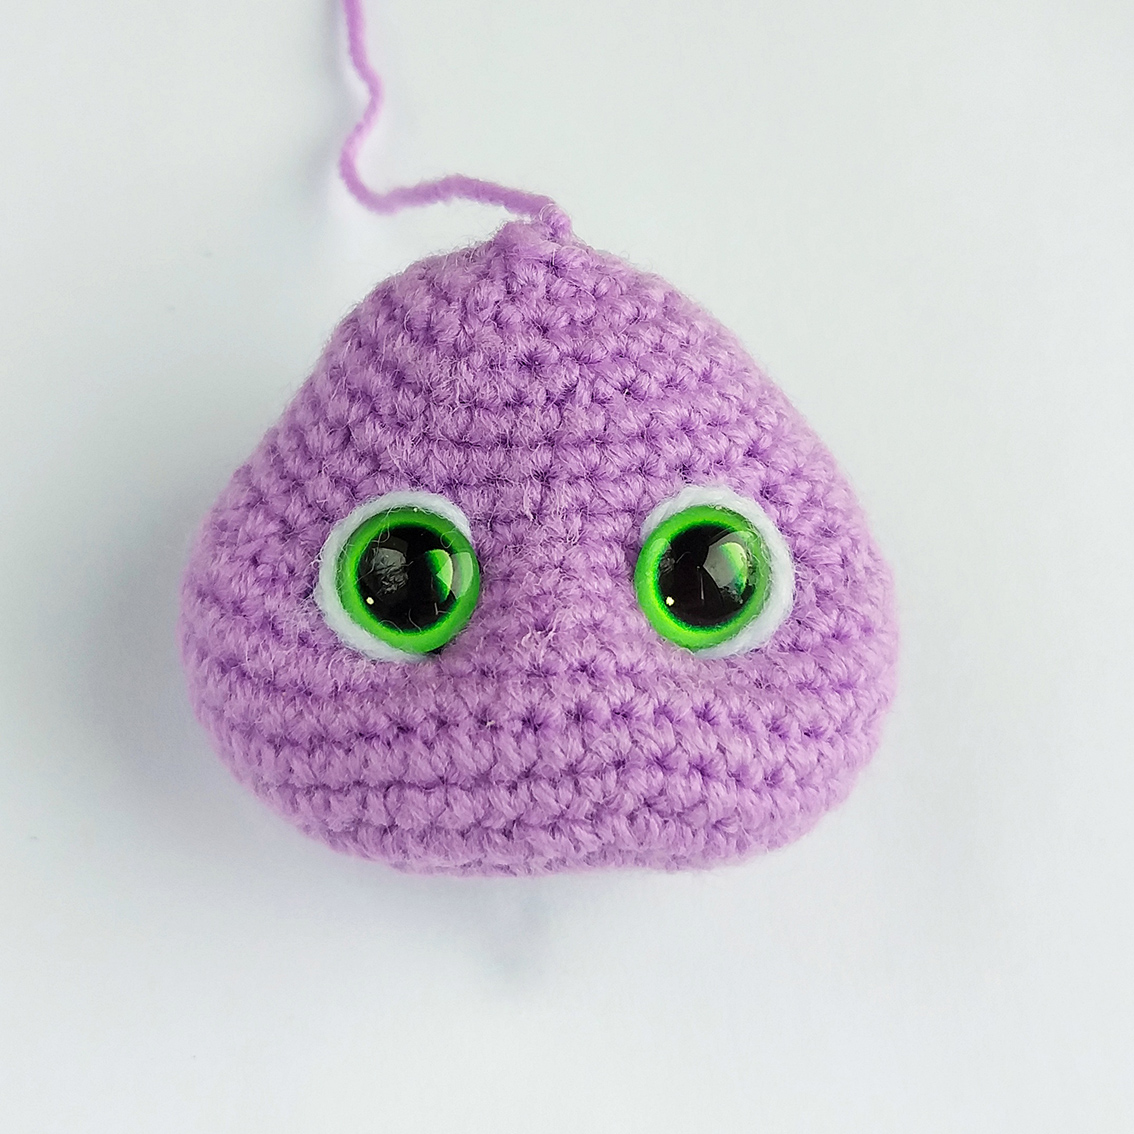
Head
Work with main colour yarn.
Rnd 1: 8 sc in a Magic Ring
Rnd 2: 8 inc = 16
Rnd 3: (1 sc, inc)х 8 times = 24
Rnd 4: (2 sc, inc)х 8 times = 32
Rnd 5: (3 sc, inc)х 8 times = 40
Rnd 6: (4 sc, inc)х 8 times = 48
Rnd 7-10: (4 rounds) 48 sc
Rnd 11: 20 sc, put an additional marker for the eye here, 8 sc, put an additional marker for the eye here, 20 sc = 48
Rnd 12: 10 sc, 5 dec, 8 sc, 5 dec, 10 sc = 38
Rnd 13: 4 sc, dec, 7 sc, dec, 8 sc, dec, 7 sc, dec, 4 sc = 34
Rnd 14: 34 sc
Rnd 15: 4 sc, dec, 7 sc, dec, 6 sc, dec, 6 sc, dec, 3 sc = 30
Rnd 16: 30 sc
Rnd 17: (8 sc, dec)х 3 times = 27
Rnd 18: 4 sc, dec, (7 sc, dec)х 2 times, 3 sc = 24
Rnd 19: (2 sc, dec)х 6 times = 18
Add some hollow fibre.
Rnd 20: (1 sc, dec) х 6 times = 12
Rnd 21: 6 dec = 6
Fasten off, cut off. Do not close off the loops of the last round just yet, you will do it later!
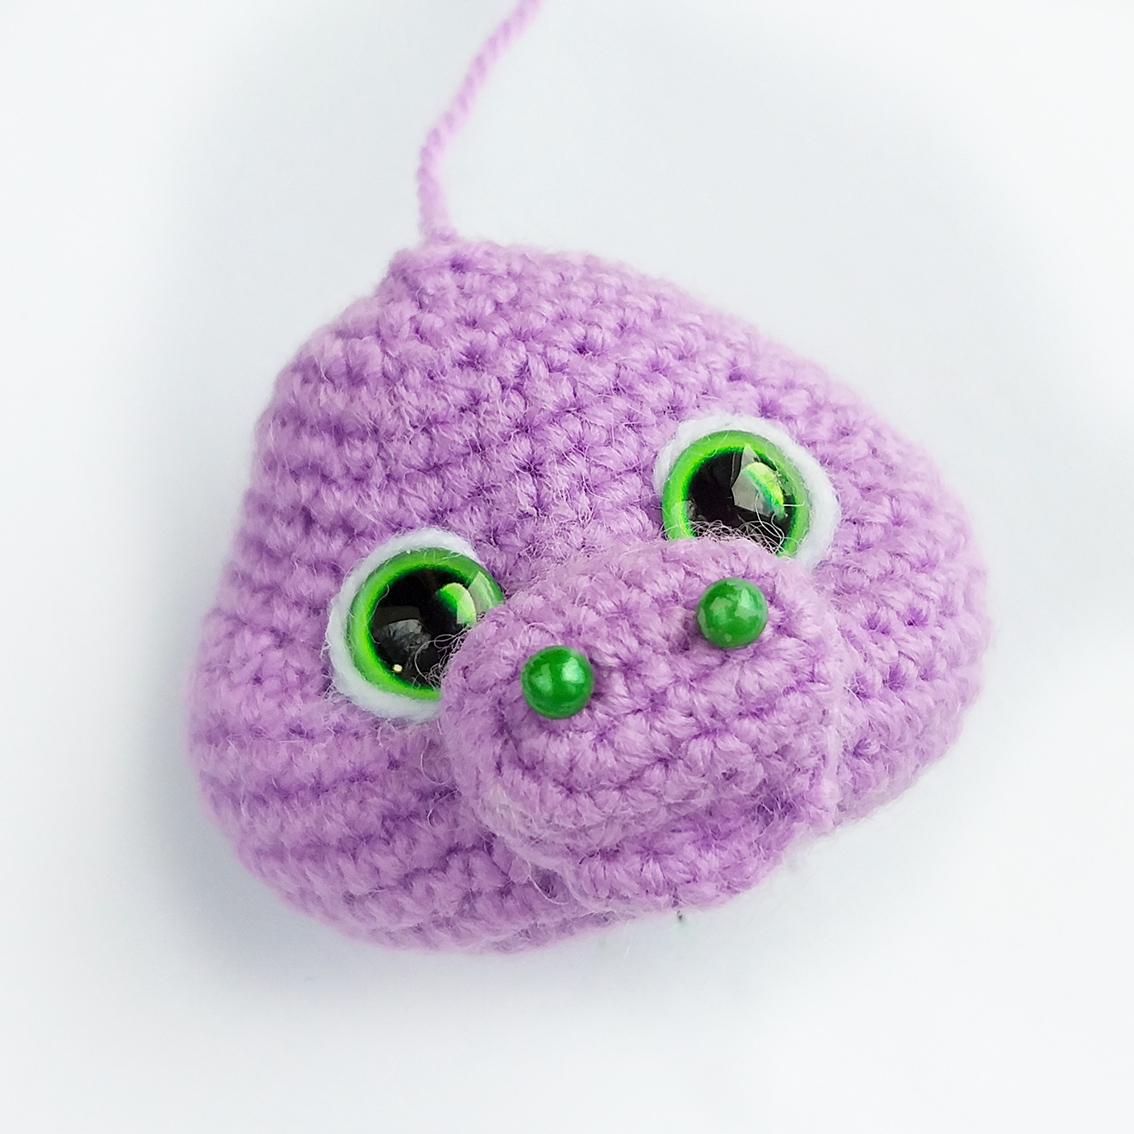
Muzzle
Work with main colour yarn.
Work 5 ch, mark the 1st loop from the hook.
Rnd 1: starting from 2nd ch from hook: inc, 2 sc, 3 sc in the last stitch, continue along the other side of chain: 2 sc, inc, in the marked 1st loop of the beginning chain, make 1 sc, put a marker = 12
Rnd 2: 1 sc, inc, 2 sc, 3 inc, 3 sc, 2 inc =18
Rnd 3-4: 18 sc
Rnd 5 incomplete: 3 sc, next, we crochet the lower lip, into the front loops only: 1 hdc, 2 dc, 1 hdc; 1 sl st, turn
Rnd 6: skip 1 loop, 1 sc, inc, 1 sc, 2 sl st
Fasten off, cut the thread, leaving long tail for sewing.
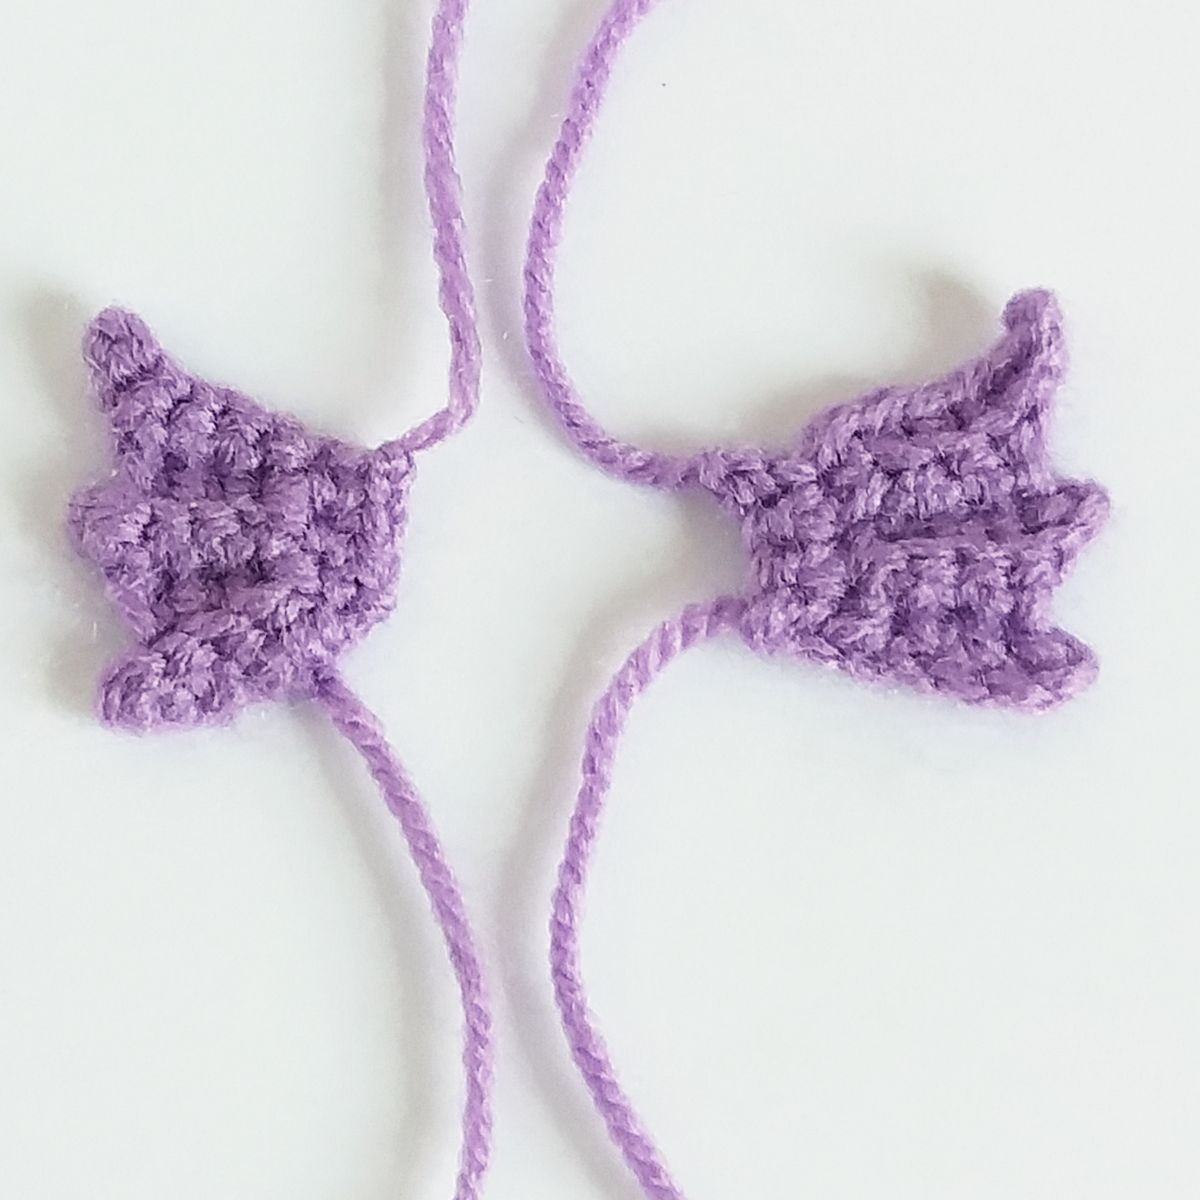
Ear (make 2)
Work with main colour yarn. Crochet in rows.
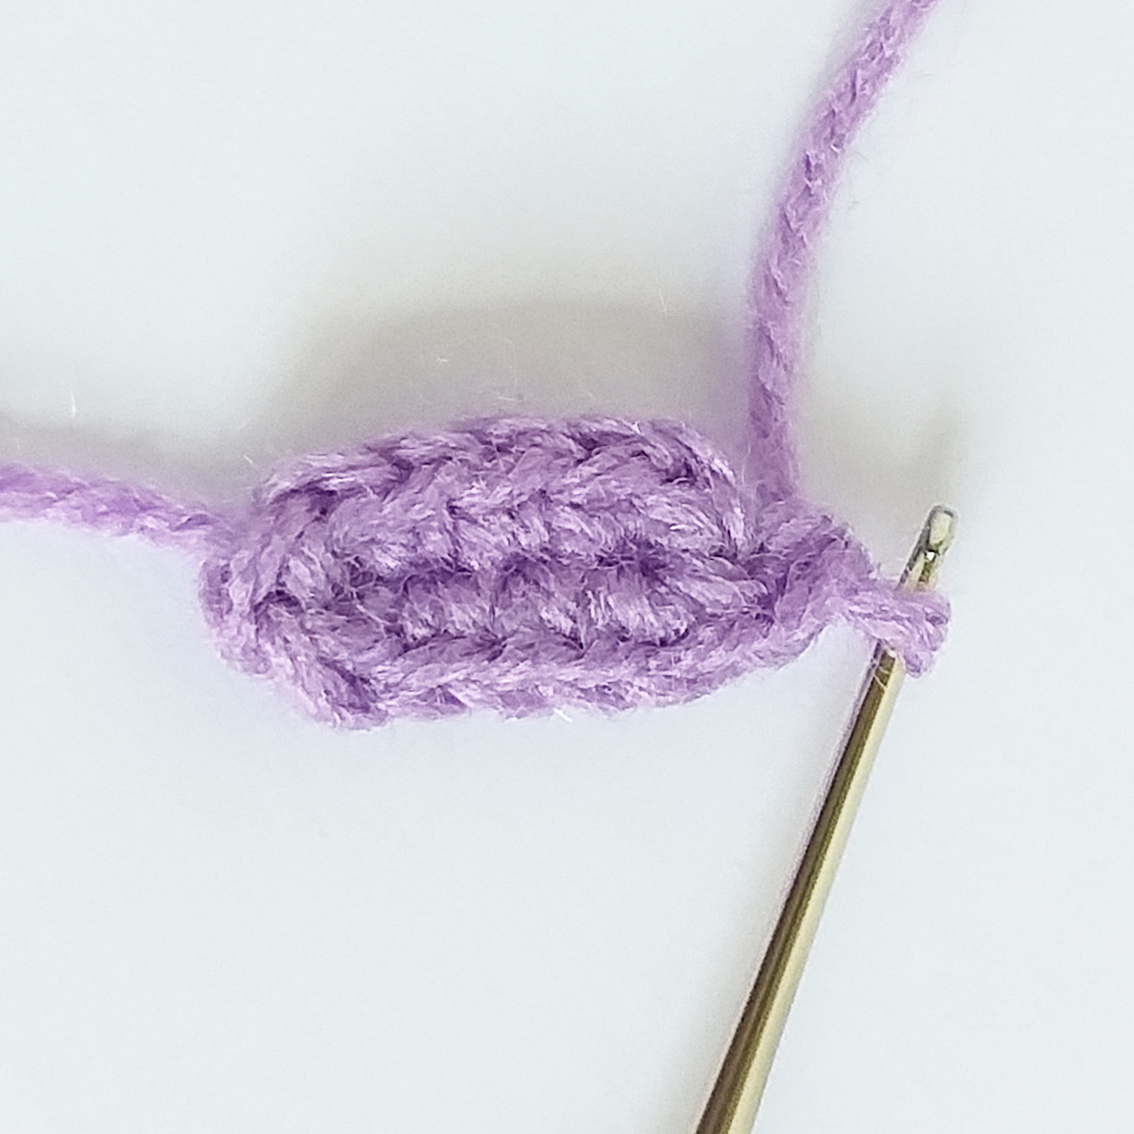
Work 5 ch
Row 1: starting from 2nd ch from hook: 1 sl st, 3 sc, 1 ch, turn = 4
Row 2: into the back loops only: 3 sc, 2 ch, turn = 3
Row 3: starting from 2nd ch from hook: 1 sl st, into the back loops only: 3 sc, 1 ch, turn = 4
Row 4: into the back loops only: 3 sc, 3 ch, turn = 3
Row 5: starting from 2nd ch from hook: 1 sl st, 1 sc, into the back loops only: 3 sc = 5
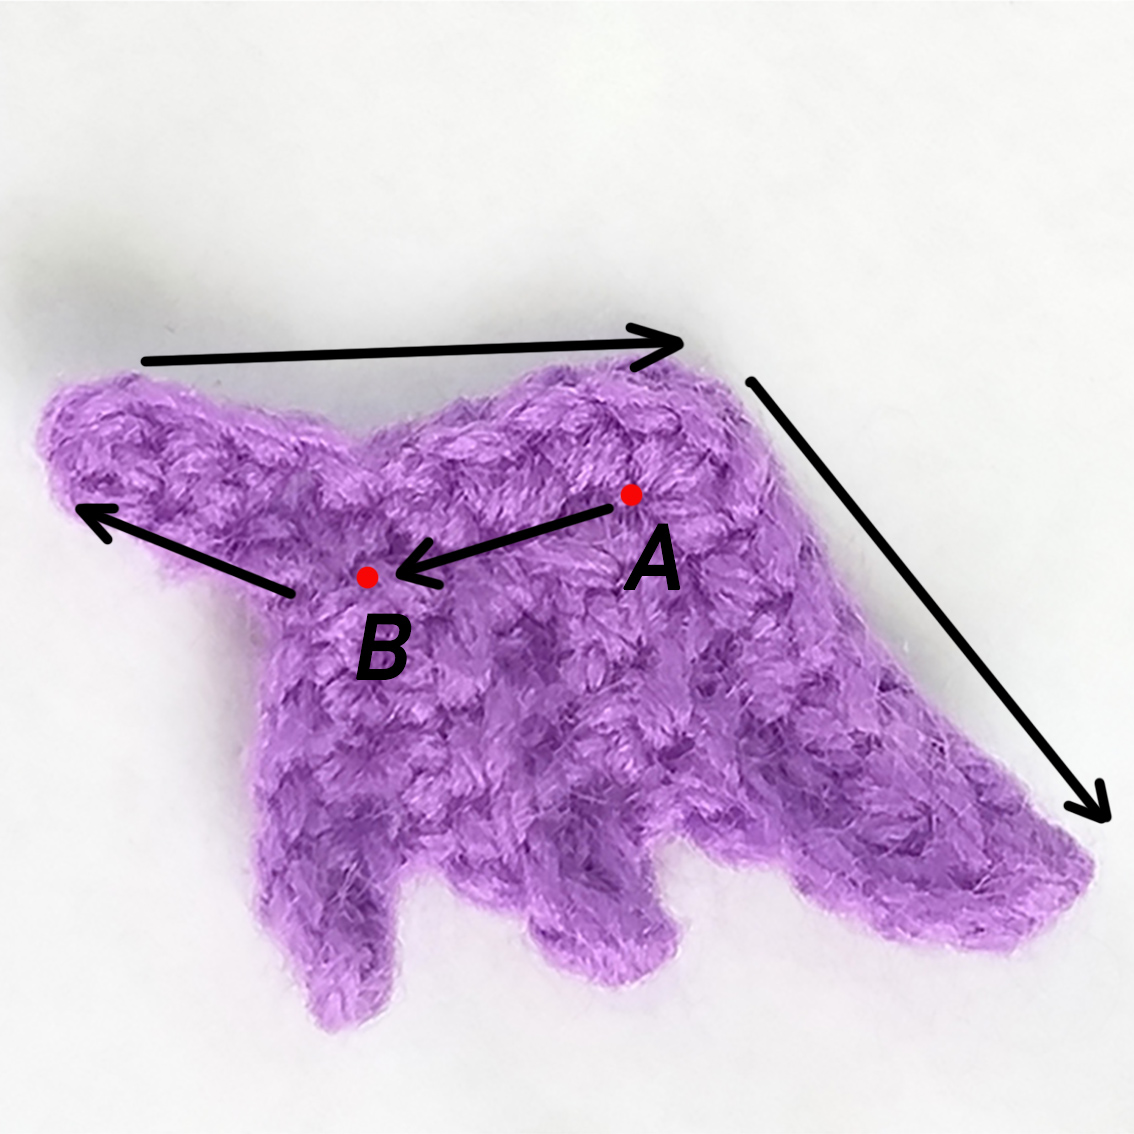
Row 6: 2 sc into point А, crochet from A to B: 2 sc, 1 ch, turn = 4
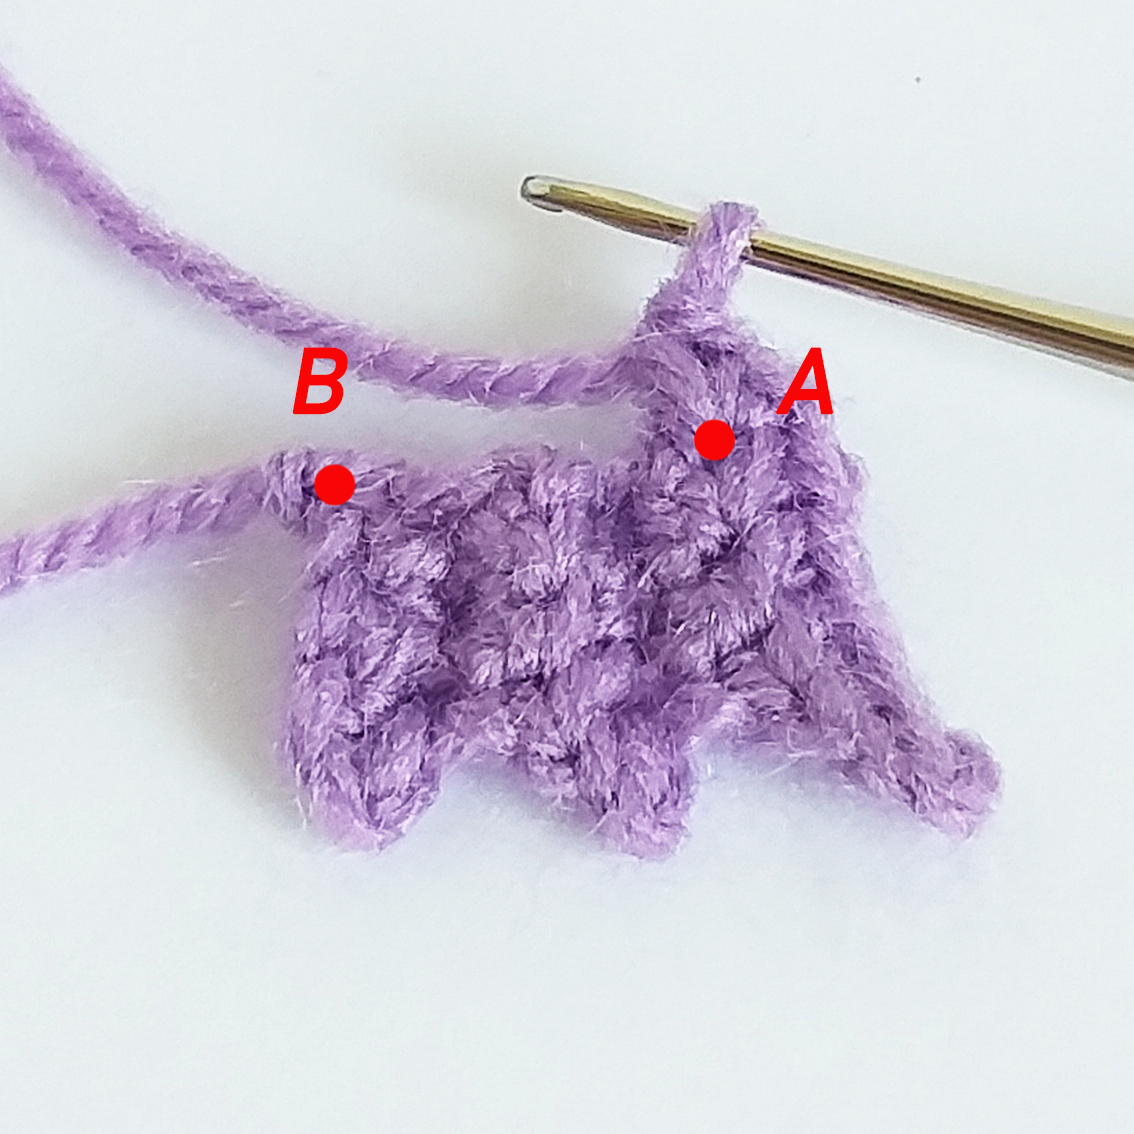
Row 7: 3 sc
Fasten off, cut the thread, leaving long tail for sewing.
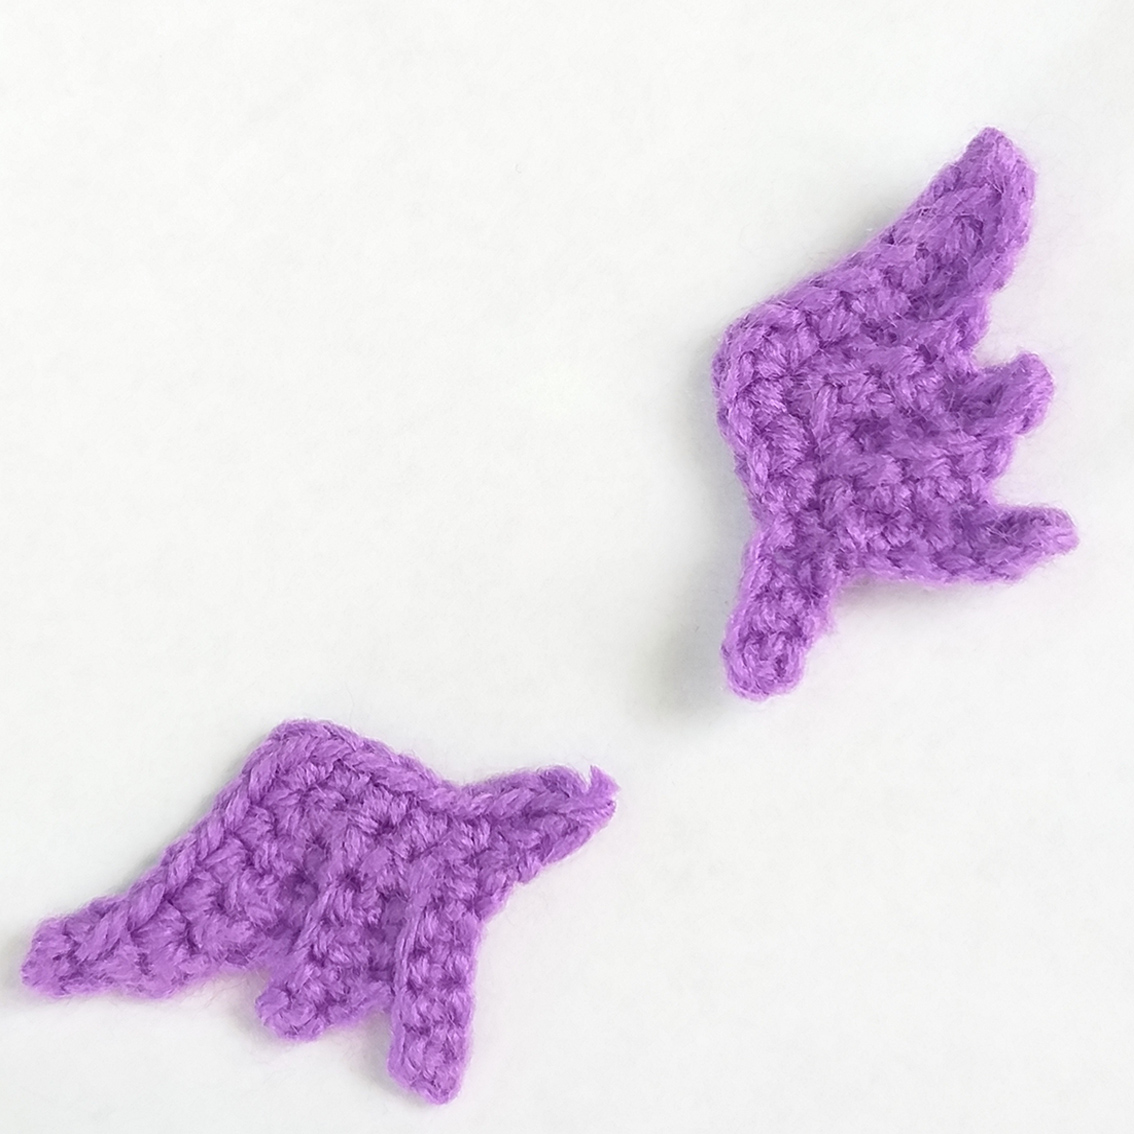
Wings (make 2)
Work with colour B yarn. Crochet in rows.
Work 6 ch.
Row 1: starting from 2nd ch from hook: 5 sc, 1 ch, turn = 5
Row 2: into the back loops only: 3 sc, 3 ch, turn = 3
Row 3: starting from 3rd ch from hook into the back loops only: 4 sc, 1 ch, turn = 4
Row 4: into the back loops only: 3 sc, 4 ch, turn = 3
Row 5: starting from 3rd ch from hook into the back loops only: 5 sc, continue 2 sc into point А, crochet from A to B: 3 sc, 4 ch, turn = 10
Row 6: starting from 3rd ch from hook: 6 sc, 3 sc in 1 loop, 5 sc = 14
Crochet another 1 sc into the next loop. Fasten off, cut off any excess yarn, hide the end.
Chest pad
Work with colour A yarn. Crochet in rows.
Work 5 ch
Row 1: starting from 2nd ch from hook: 4 sc, 1 ch, turn = 4
Crochet all rows into the back loops only
Row 2: 3 sc, inc, 1 ch, turn = 5
Row 3: 4 sc, inc, 1 ch, turn = 6
Row 4: 5 sc, inc, 1 ch, turn = 7
Row 5: 6 sc, inc, 1 ch, turn = 8
Rowы 6-10: 8 sc, 1 ch, turn
Row 11: 6 sc, dec, 1 ch, turn = 7
Row 12: 5 sc, dec, 1 ch, turn = 6
Row 13: 4 sc, dec, 1 ch, turn = 5
Row 14: 3 sc, dec, 1 ch, turn = 4
Row 15: 4 sc
Fasten off, cut the thread, leaving long tail for sewing.
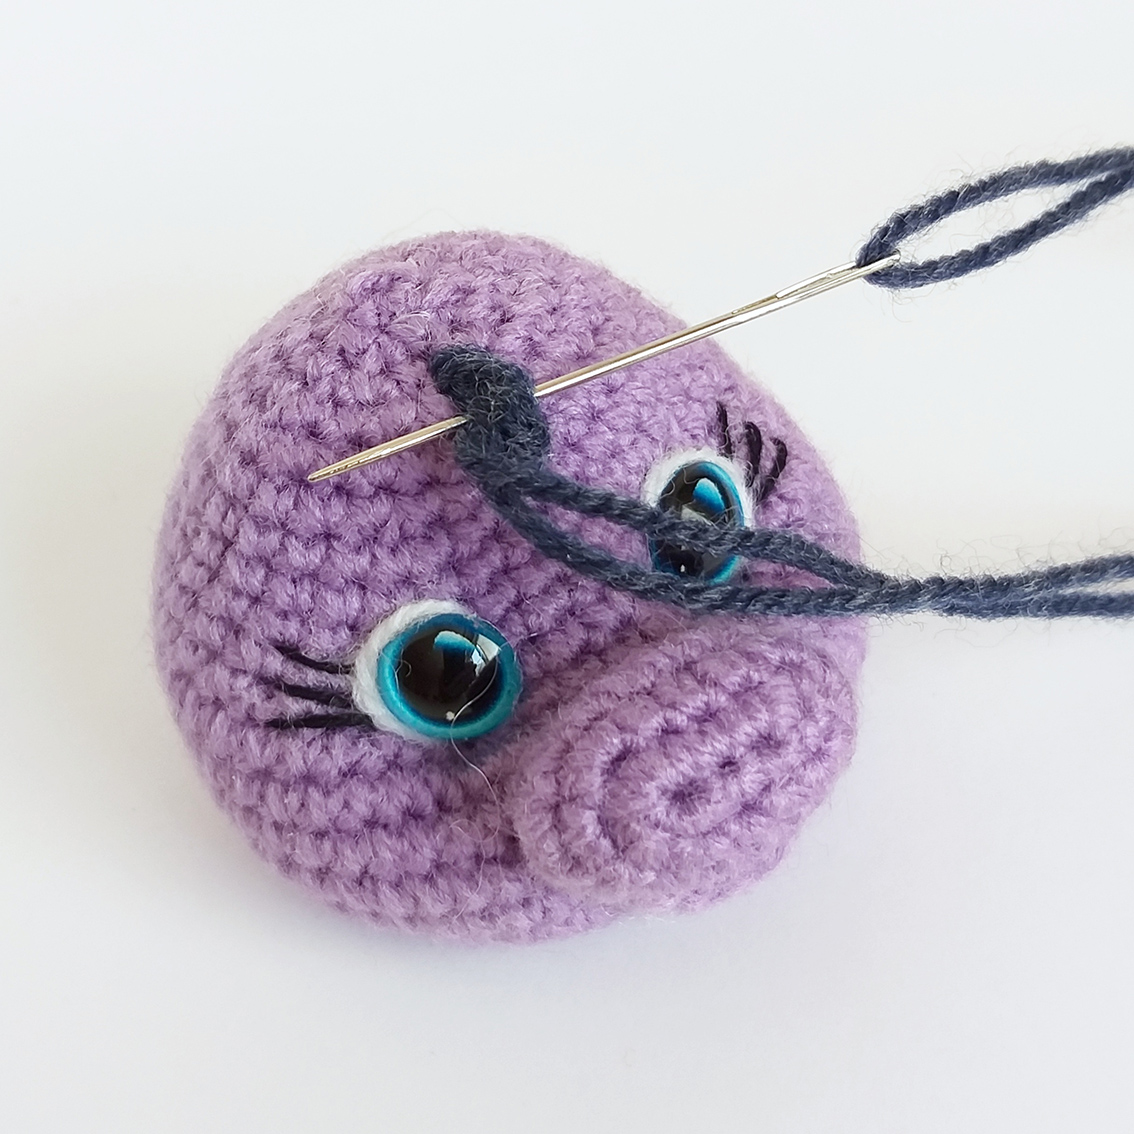
Assembly and Decoration
Find the spots for sculpting the eye pits as follows.
Spot A is on the top of the head.
Spots 2 & 3 are in Rnd 11. Count 2 stitches outwards from each of these spots and mark spots 1 & 4.
Point 0 is located at the bottom of the head, this is the amigurumi ring.
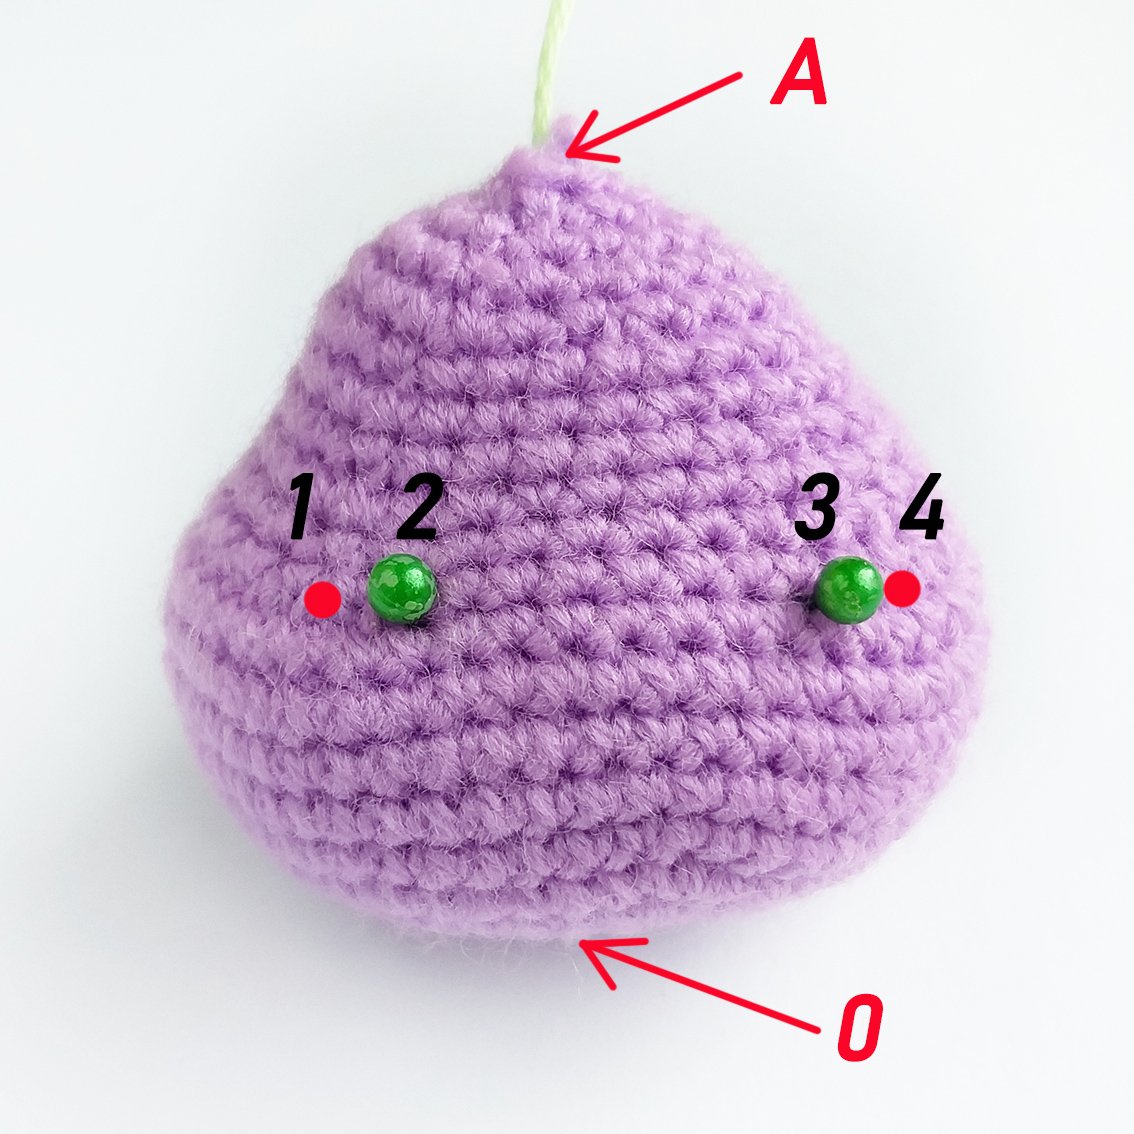
See the photo for guidance.
Prepare a long needle for sculpting and a strong thread, make a knot.
Insert the needle in the opening in the head (spot A), hide the knot in the hollow fibre, take the needle out in spot 0. Make a very tiny stitch to fasten the thread. Insert the needle out in spot 0, take the needle out in spot 2 (thread runs inside the head). Insert the needle in spot 1 (thread runs over the work), take it out in spot 0. Tighten the thread, help with the fingers to keep it in place. Make a short stitch and a knot. Repeat the tightening once more.
Repeat sculpting for the left eye socket. Points #0-3-4-0.
Hide the end.
Glue on the eyes. Embroider the white of the eyes, eyelids and eyelashes.
Attach the muzzle to the head, make sure its upper part is in line with Rnd 10. Pin the pins along the contour. Sew it on with hidden stitches and stuff a little as you go. Embroider nostrils or draw them with a marker.
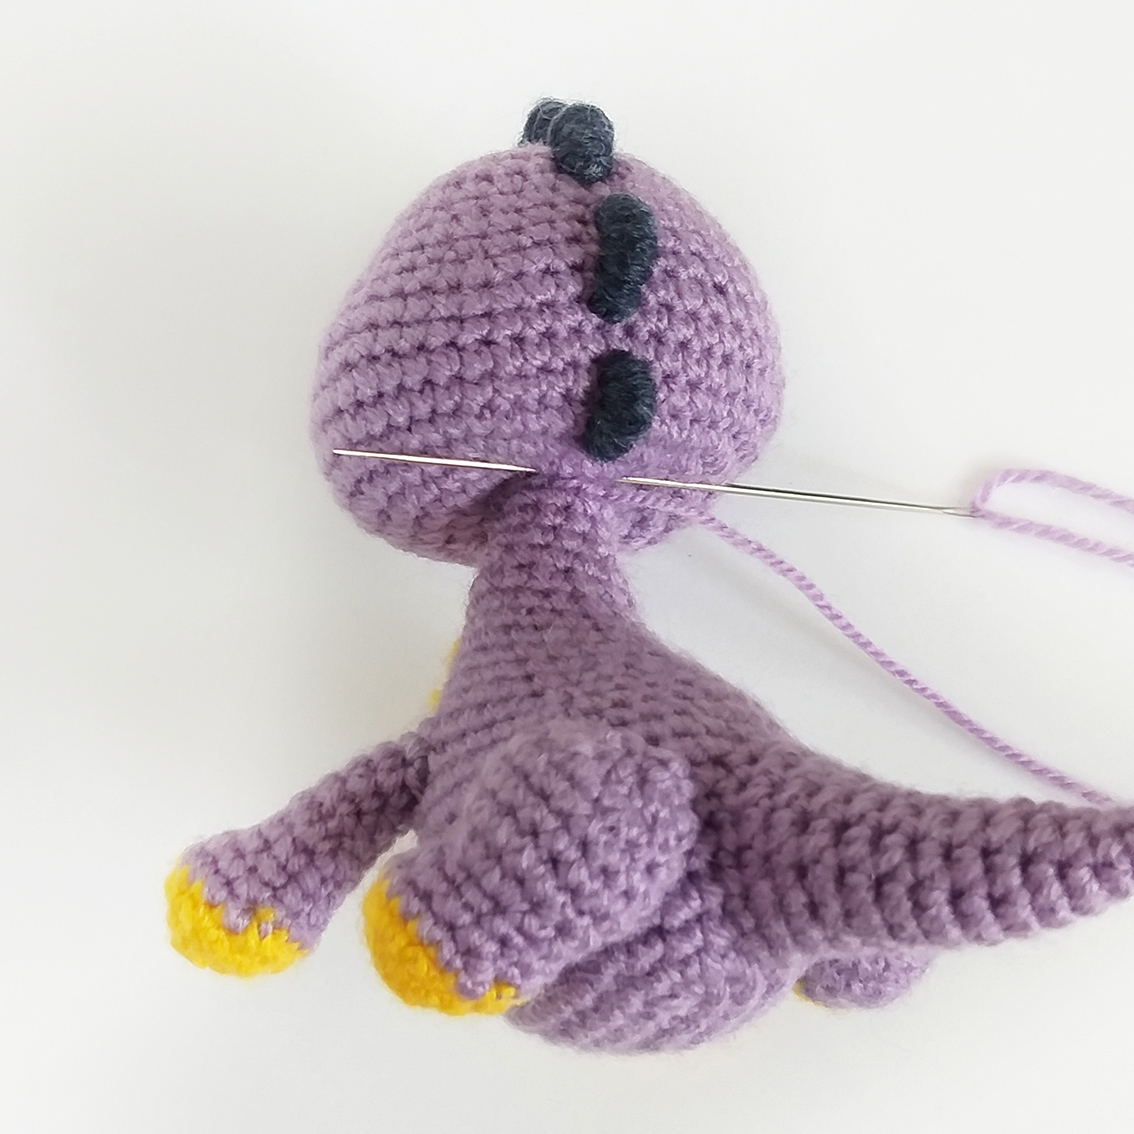
Embroider spikes on the head. Take the yarn of colour B, fold it twice. Make a stitch equal to the length of 2 rounds. Do not pull too tightly! Repeat the same stitch in the same points 2-3 times, then bring the needle under the resulting stitch and wrap it tightly with yarn. Do not cut the thread! Move on to the next spike. Embroider 5 spikes.

Attach the ears to the head and sew them on.
If you have inserted a wire inside the body, insert one end of the wire into the head and take it out at the top of the head. It is more convenient to insert the wire with rotational movements. You may use a thick needle to make a hole to help you. If the dragon is a keychain, use pliers to make a loop at the end of the wire. If the dragon is a toy, cut off the excess wire. Sew the body to the head.
Dress a tail on the other end of the wire, sew it on, adding hollow fibre if necessary. Embroider 3-4 spikes on the tail.

Attach the rear paws so that the dragon is sitting. Sew them on.
Sew the pad to the chest with a hidden stitches.
You can fix the front legs in the desired position with a few stitches.
Sew the wings on.
Optional: tint with a marker pen or soft pastel. Decorate with beads at your discretion.