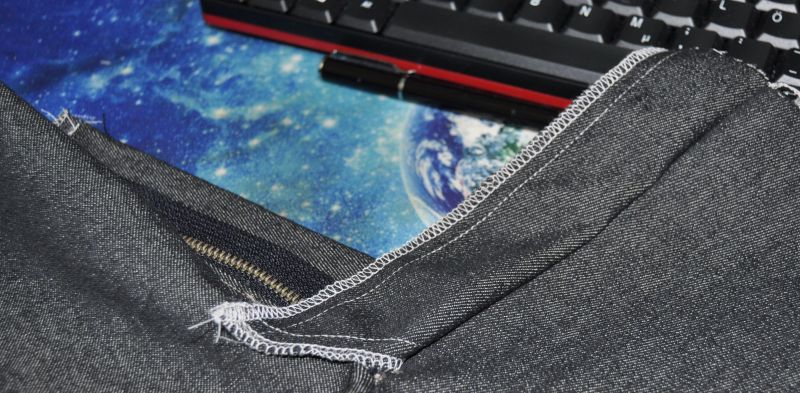
this is how it should look when it has been sewn in well. I know it isn’t that easy and takes practice, but it can be learned, and once you’ve got the hang of it, replacing a zipper is done in no time
I sewed these jeans for my husband a few years ago; he loves them because they’re custom-made and fit perfectly.
The pattern goes from bottom to top
Best, Inge
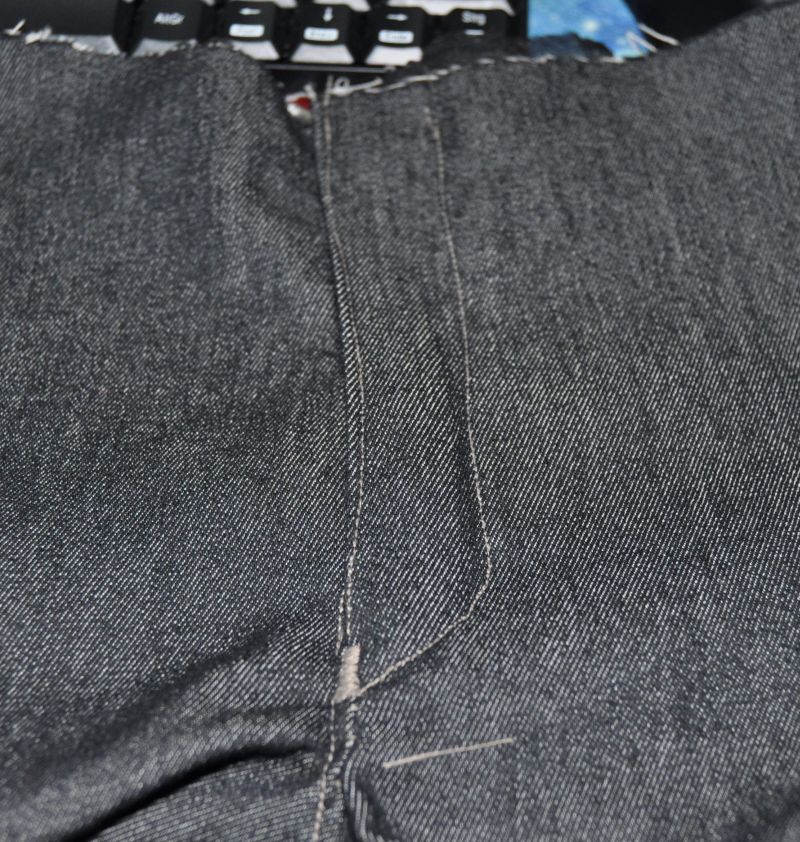
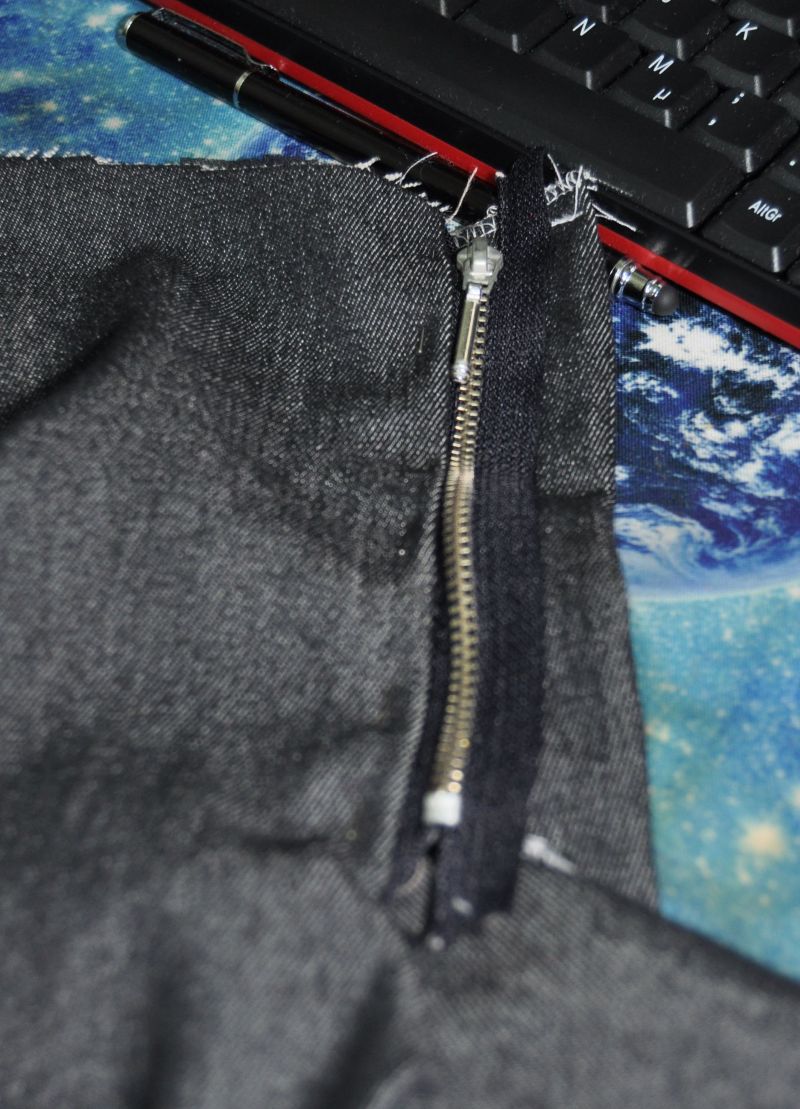
because now the zipper has to be folded in the right direction, and then the whole thing is topstitched from the right side of the pants and bar-tacked at the bottom so the zipper can’t tear out
this is what it looks like when the zipper is closed, and it has to be, because now it gets a bit more complicated again, but with a little practice it really isn’t sooo hard
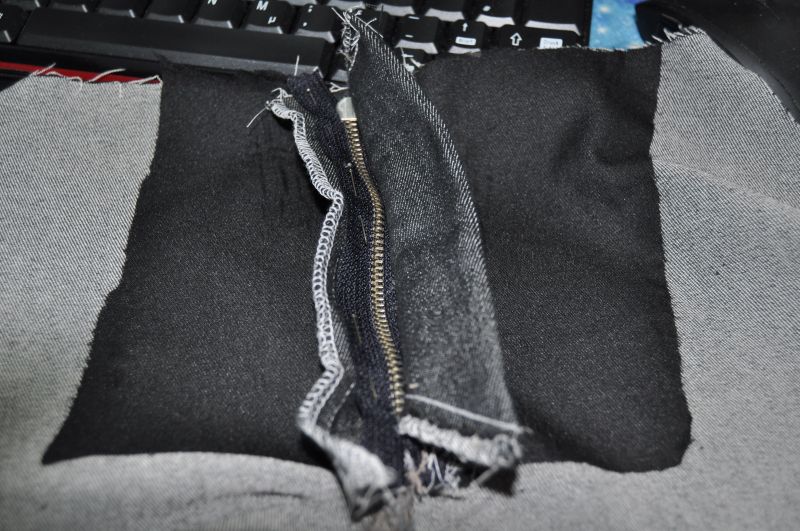
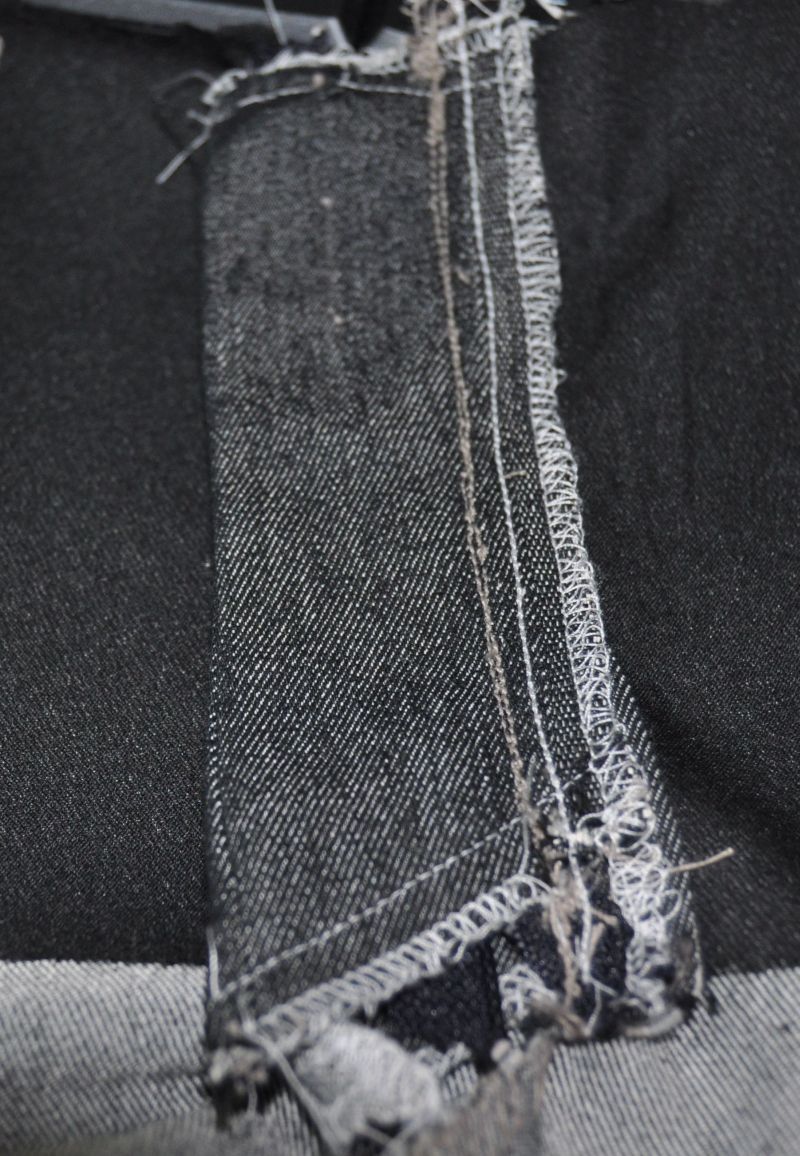
here’s the inside view of the zipper in the pants

this is how it should look when both the fly facing and fly shield are sewn on
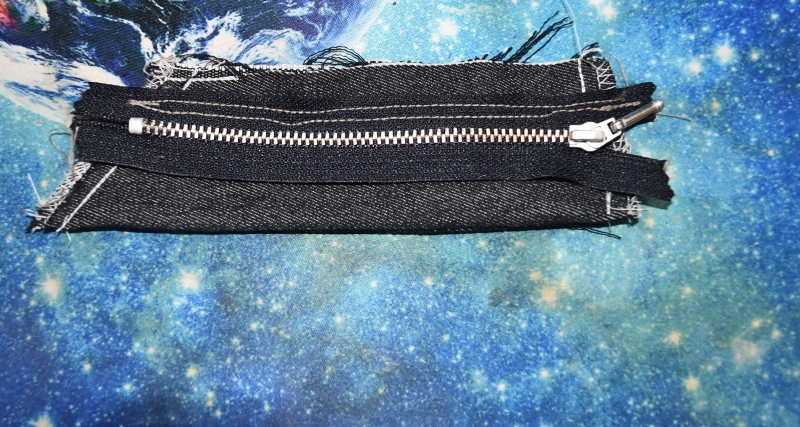
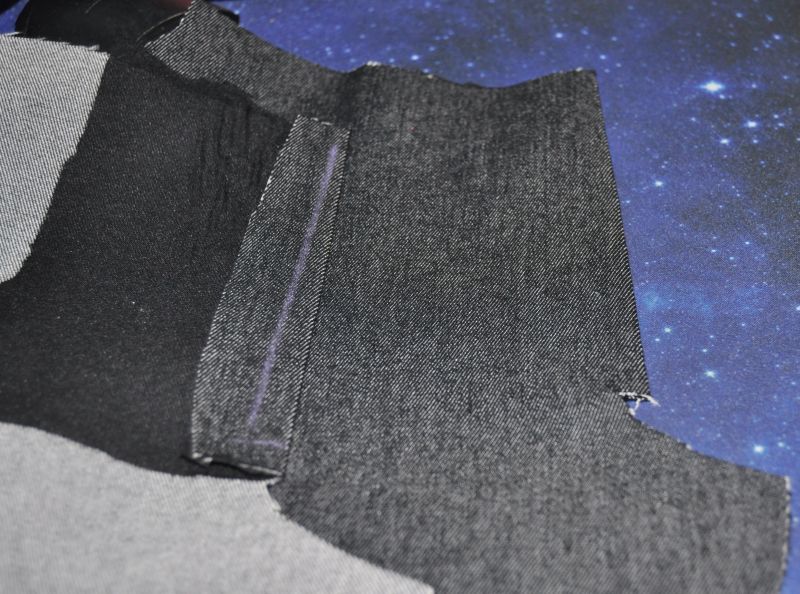
when the zipper has been sewn to the fly shield, the whole thing is sewn to the right front pants piece on men’s pants at the fly facing so that you can just see the teeth, as in the picture. This works best with a zipper foot, or if you can move the needle on the sewing machine far enough to sew it on close to the edge.
the fly facing is the part you can also partly see when you look at the pants from the front. Usually it is marked on the pattern and cut accordingly, and then pressed with fusible interfacing, which gives it stability. The chalk line shows where the zipper is sewn on. The fly facing is pressed over on both pants pieces so that at the bottom, at the crotch seam, it sticks out about 1 cm; this centimeter is important later when sewing the pants together.
for a pair of pants you usually need a zipper 18 or 20 cm long, so the fly facing and fly shield need to be the appropriate length. The fly shield prevents the zipper from rubbing against the stomach.