Crochet pattern “little donkey“
from Fuchsgeschwister

To crochet the donkey you need:
- crochet hook 2-3 mm (according to your yarn)
- yarn, I used the “Mondial bio soft cotton” (50g/180m) for the little donkey (approx. 18 cm). The big donkey (approx. 35 cm) is crocheted with fluffy yarn (50g/90m).
- You can either use other yarn of your choice, this could possibly change the size of your donkey.
For crocheting you need:
- little donkey – approx. 25g “Mondial bio soft cotton” in grey, approx. 25g in brown for the muzzle, the legs and the mane.
- big donkey – approx. 150g fluffy yarn in grey (i. e. “Myboshi Flausch” or “Estivo” from Lana Grossa), approx. 50g in a natural colour for the muzzle.
- leftovers in black, to embroider the eyes (if you don`t want to use beads)
- little beads/ lentil beads/ safety eyes
- 4 buttons to fix the legs (if you don`t want to sew them on), 2 little buttons for the nostril (or embroider it)
If you use other yarn, you possibly have to adapt the quantity of your yarn.
- darning needle for sewing
- scissors
- sewing thread in a corresponding colour, to embroider the eyes and sew on the legs.
- fiberfill
- eventually a squeaker, rattle plates
To make the donkey you have to be able to crochet:
- single crochet (sc)
- increase, decrease
- slip stitch (slst)
Now I would like to give you some advice:
-
Every single piece is crocheted in rows (except of the ears).
-
Make sure you crochet tight enough, otherwise you will see the stuffing through the holes. If the stitches are to loose, you can use a smaller crochet hook.
-
Begin every new row with a turning chain (tch).
-
The donkey is crocheted in two parts (front part and back part), every part is crocheted around with sc, then the two parts are put together with sc.
-
You can use a crochet hook (i.e. made of aluminium) to stuff your donkey with fiberfill.
-
If you use safety eyes, you have to attach them before crocheting the two parts together.
-
To embroider the closed eyes, I suggest to take the sewing thread 4 times, so the embroidery is going to be much nicer as with thicker yarn (with fluffy yarn I don`t suggest embroideries, because they would be imperceptible, rather use beads or safety eyes).
Legs – x8:
-
8 chains, 1 tch
-
8 sc
-
decrease, 4 sc, decrease (6 sc)
-
6 sc
-
6 sc
-
6 sc
-
6 sc
-
6 sc
-
6 sc
-
6 sc
-
6 sc
-
6 sc
-
6 sc
-
decrease, 2 sc, decrease (4 sc)
-
4 sc
-
decrease, decrease, fasten off with a slst, don`t cut the yarn, now you crochet around the finished part with single crochet.
That way you crochet altogether 8 parts.
Now you lay from 2 parts one on top of the other on the reverse side and crochet them together with single crochet, therefor you have to stitch through the loops of BOTH parts. As the process of your work goes along, fill every leg with fiberfill.
At the end you have altogether 4 legs.
.jpg)
Base body – crochet 2 parts with your main colour:
-
16 chains, 1 tch
-
16 sc
-
increase, 14 sc, increase (18 sc)
-
18 sc
-
increase, 16 sc, increase (20 sc)
-
20 sc
-
increase, 18 sc, increase (22 sc)
-
increase, 20 sc, increase (24 sc)
-
24 sc
-
increase, 23 sc (25 sc)
-
24 sc, increase (26 sc)
-
26 sc
-
25 sc, increase (27 sc)
-
increase, 26 sc (28 sc)
-
decrease, 25 sc, increase (28 sc)
-
28 sc
-
decrease, 25 sc, increase (28 sc)
-
28 sc
-
decrease, 26 sc (27 sc)
-
increase, 8 sc, decrease (11 sc) THE ROW IS NOT GOING TO BE CROCHETED TO THE END!
-
decrease, 8 sc, increase (11 sc)
-
increase, 8 sc, decrease (11 sc)
-
decrease, 8 sc, increase (11 sc)
-
increase, 8 sc, decrease (11 sc)
-
decrease, 8 sc, increase (11 sc), fasten off with a slst, cut the yarn.
.jpg)
Begin the muzzle with a contrasting colour:
-
8 chains, 1 tch
-
8 sc
-
increase, 6 sc, increase (10 sc)
-
increase, 7 sc, decrease (9 sc)
-
increase, 8 sc, increase (12 sc)
-
increase, 9 sc, decrease (12 sc)
-
increase, 10 sc, increase (14 sc)
-
increase, 11 sc, decrease (14 sc)
-
decrease, 11 sc, increase (14 sc)
.jpg)
10. go on with the main colour: 14 sc
.jpg)
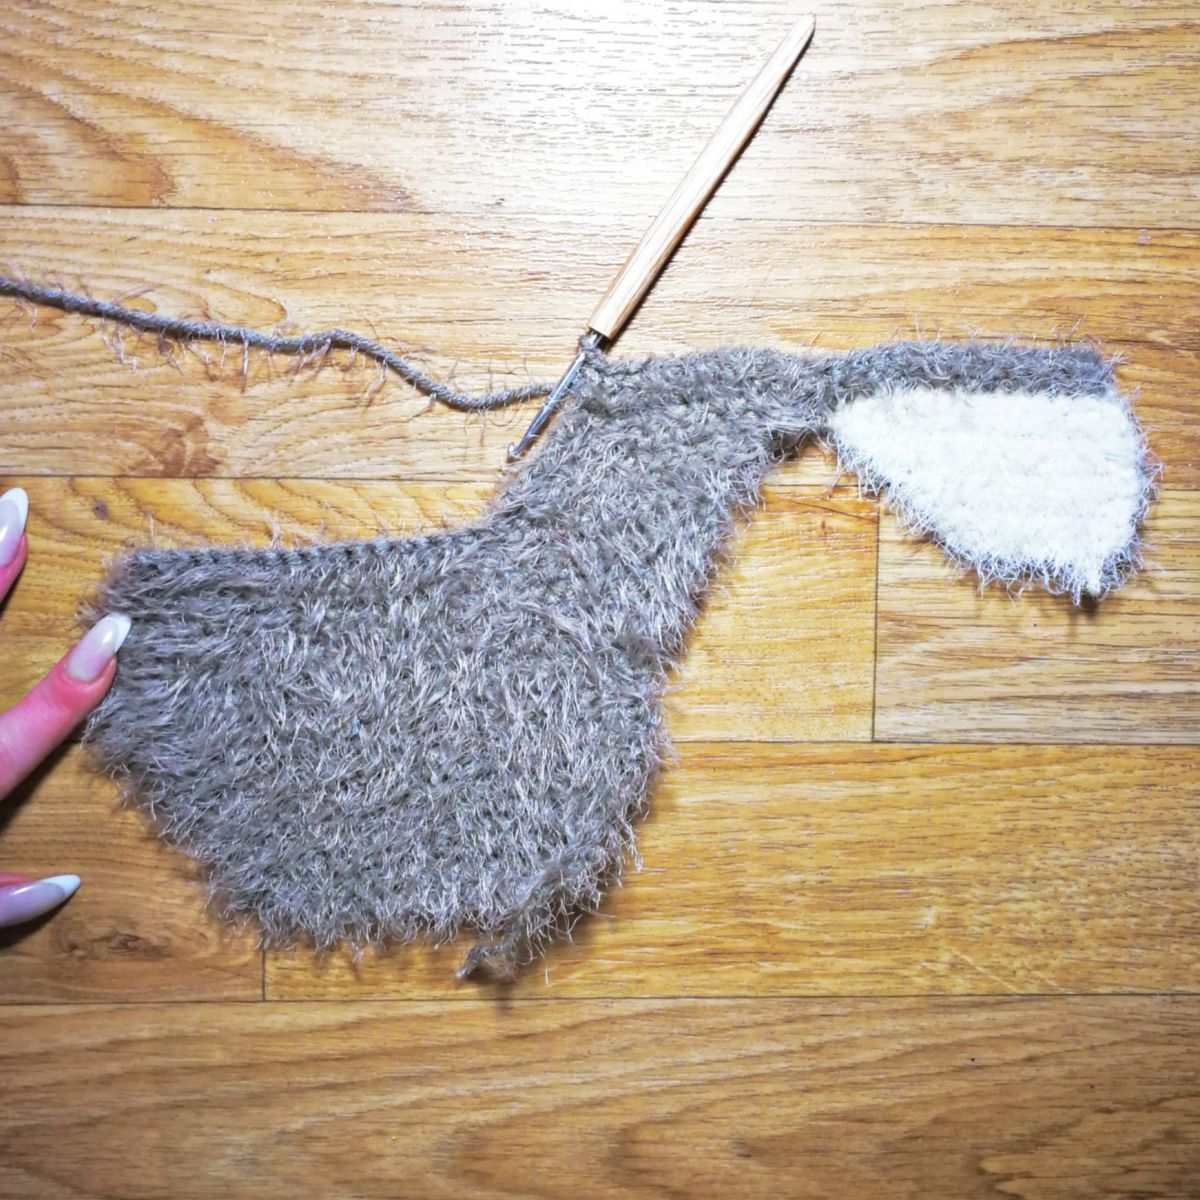
Now we connect the muzzle with the body.
.jpg)
11. 14 sc along the muzzle, 11 sc along the neck (25 sc)
12. 25 sc
13. decrease, 21 sc, decrease (23 sc)
14. decrease, 19 sc, decrease (21 sc)
15. decrease, 17 sc, decrease (19 sc)
16. 19 sc
17. decrease, 15 sc, decrease (17 sc)
18. decrease, 13 sc, decrease (15 sc)
19. 15 sc
20. decrease, 11 sc, decrease (13 sc)
21. decrease, 9 sc, decrease (11 sc)
22. decrease, 7 sc, decrease (9 sc)
23. decrease, 5 sc, decrease (7 sc), fasten off with a slst, cut the yarn.
.jpg)
The body is finished, now you crochet around the complete application with single crochet.
Attach the thread in the main colour above the muzzle (look at the picture), first crochet around the main part of the body with the main colour and then around the muzzle with the contrasting colour.
.jpg)
.jpg)
That way you crochet altogether 2 applications.
Now you lay one base form on top of the other on the reverse side and crochet them together with single crochet, therefor you have to stitch through the loops of BOTH parts.
As the process of your work goes along, fill your figure with fiberfill.
Please make sure, if you use safety eyes, to attach them before you crochet together the two parts.
Ears – x2:
-
6 sc in a magic ring
-
6 sc
-
“1 sc, increase” repeat x3 (9 sc)
-
9 sc
-
“2 sc, increase” repeat x3 (12 sc)
-
12 sc
-
“3 sc, increase” repeat x3 (15 sc)
-
15 sc
-
15 sc
-
15 sc
-
15 sc
-
15 sc
-
15 sc
-
15 sc, (altogether 7 rounds), fold the ears in the middle and close the hole with single crochet.
Either sew the legs on the body or fix them with buttons.
Sew on the ears.
Attach beads for the eyes and sew on the button for the nostril.
Either tie the little tail in or make a tassel and sew it on.
.jpg)
Now we design the face, to find the best position for the eyes and the ears I suggest to try out different positions, therefor you preferably use pins.
.jpg)
If you decided to use fluffy yarn, your donkey is going to be rather big (approx 35 cm), thereby it is eminently suitable as cuddly cushion.
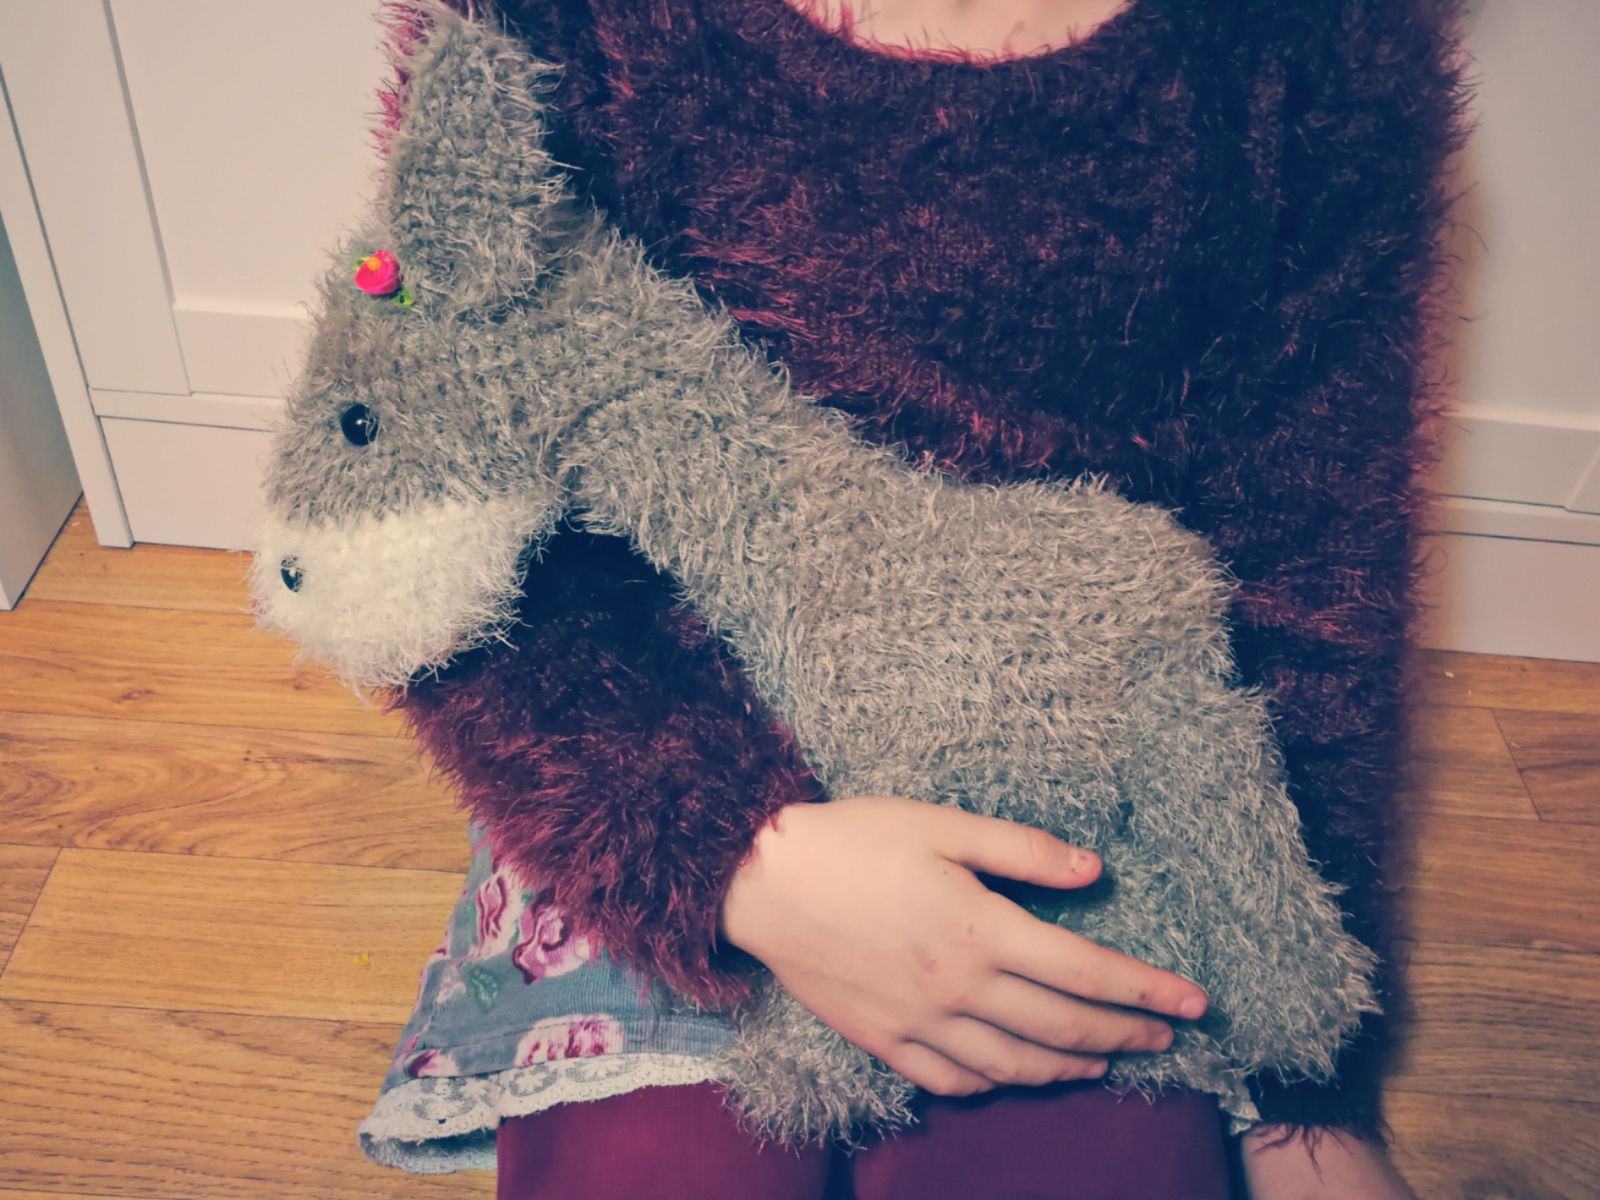
I wish you lots of fun crocheting, I would be happy to see pictures of your work. If you have any questions, I would love to help you in any way.
If you like my patterns, I would be happy about a positive evaluation.


