Hello, dear all,
For some time now, a
T-shirt or long shirt for myself has been on my sewing learning plan. So first of all, one to practice on, because I’m still a sewing beginner. From my fabric stash I took two different jersey fabrics that, color-wise, aren’t really my thing. This wasn’t about the pattern or the colors (because I really don’t like beige at all), but for my purpose that didn’t matter. This was about taking my time to
work on the pattern.
I bought a
basic pattern for a T-shirt . But who has “standard measurements”? I certainly don’t. So first I cut the front and back pieces from the fabric in my size 42, then basted the front and back together and tried it on. It was much too wide at the waist and under the arms. So I corrected the paper pattern in those areas.
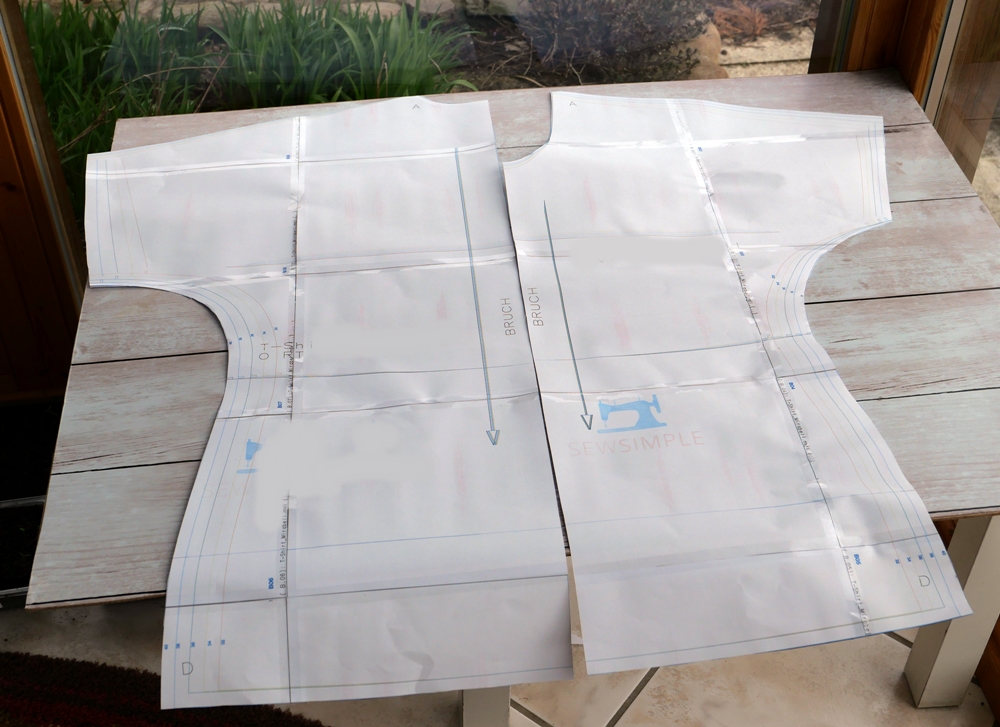
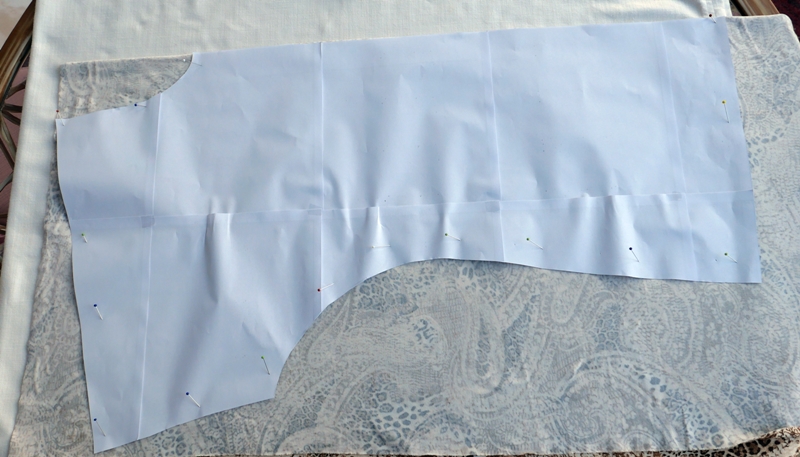
Just taping the many A4 sheets together into a finished pattern was a science in itself. But you have to practice that. The important thing is to first tape the A4 sheets together only in the correct order and
only then cut out the pattern — otherwise you lose track. In the picture you can see half a front piece on the right and half a back piece on the left.
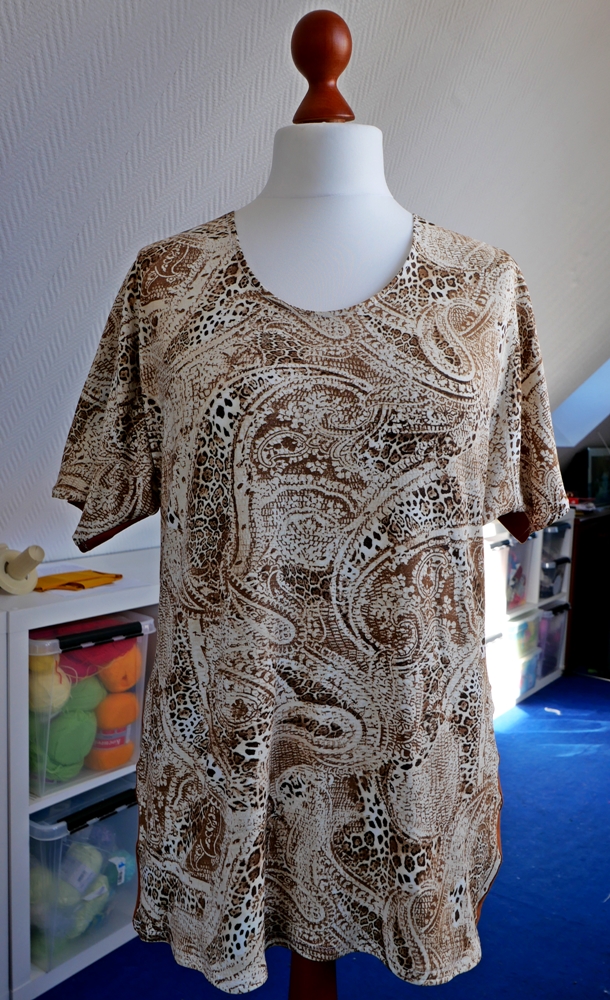
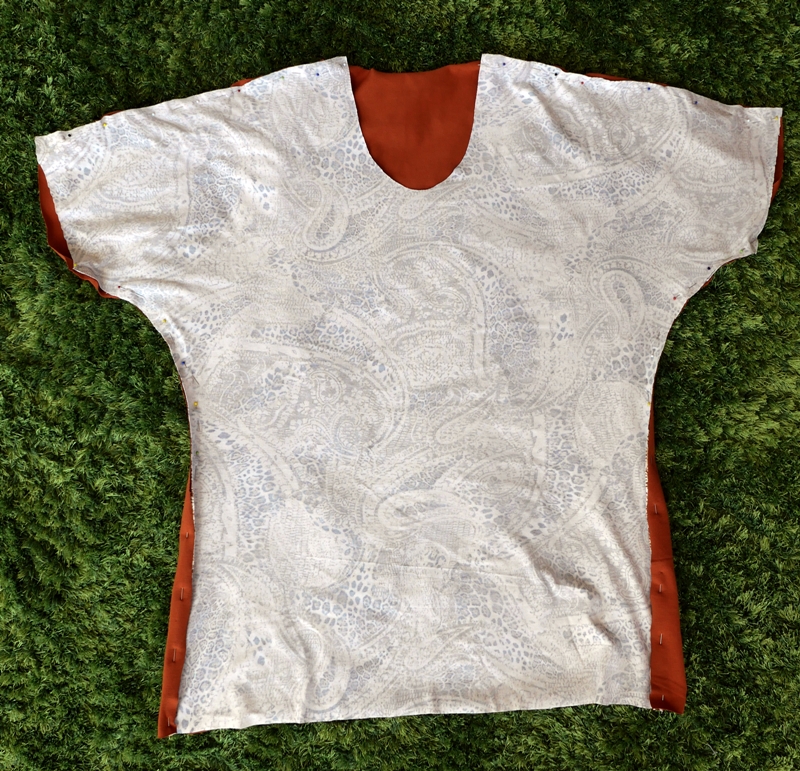
After that I also corrected the fabric cut pieces. Then I sewed the two pieces together. Since jersey is stretchy, I was able to do without bust darts (that would have been too complicated for me anyway). I wanted the overall fit to be loose, but still figure-hugging and fitted at the waist.
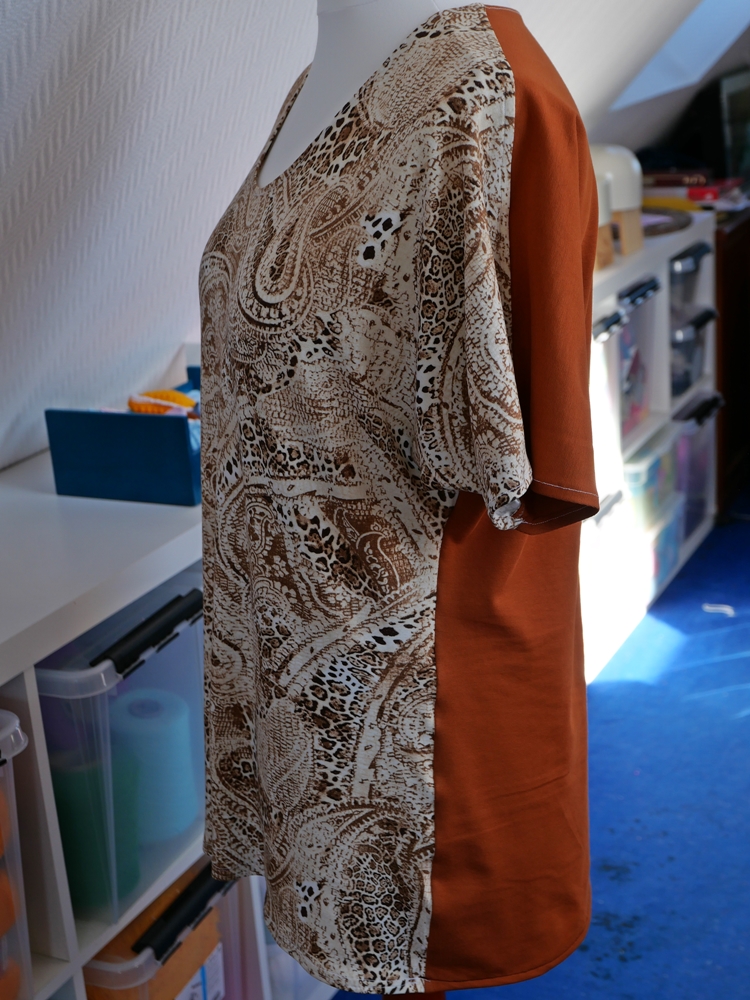
In the end, this is what came out. I wondered why the back piece is wider at the bottom than the front piece. That was how it was indicated on the pattern, and I left it that way. Most women probably need “extra” fabric here. I don’t. So I’ll adjust the back piece here for myself and make it just as wide as the front piece.
At the end of the relaxed crafting day, it was finished—my first T-shirt for myself. There is still a lot to improve, yes, I know. I didn’t have the right thread colors or qualities. And I would never want a shirt where the front and back have different patterns. And I still need to practice “straight seams.” Mine aren’t always that even. And when you topstitch from the outside, you have to be sure that the folded-over hem also reaches the seam. There are quite a lot of things to pay attention to.
For my next shirt I will
- definitely use sewing thread in matching colors.
- make the shirt a little narrower at the waist and
- make it 1 cm longer overall (so adjust the paper pattern again)
- make the back piece at the bottom just as wide as the front piece
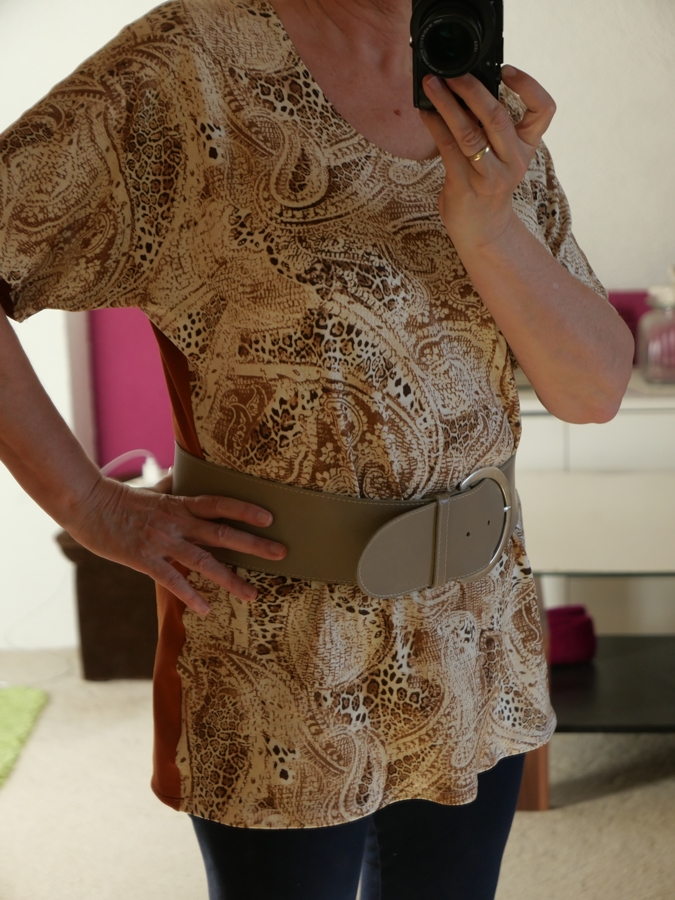
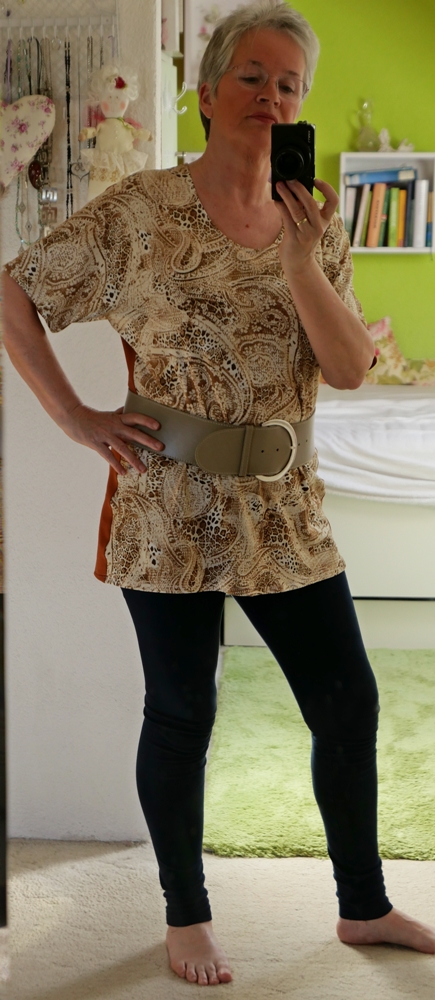
I like it when shirts are longer, because I often wear them comfortably at home with leggings. And I always like it fitted at the waist, because I think that gives a nice shape.
So, enough talking. Now you may look and also critique.
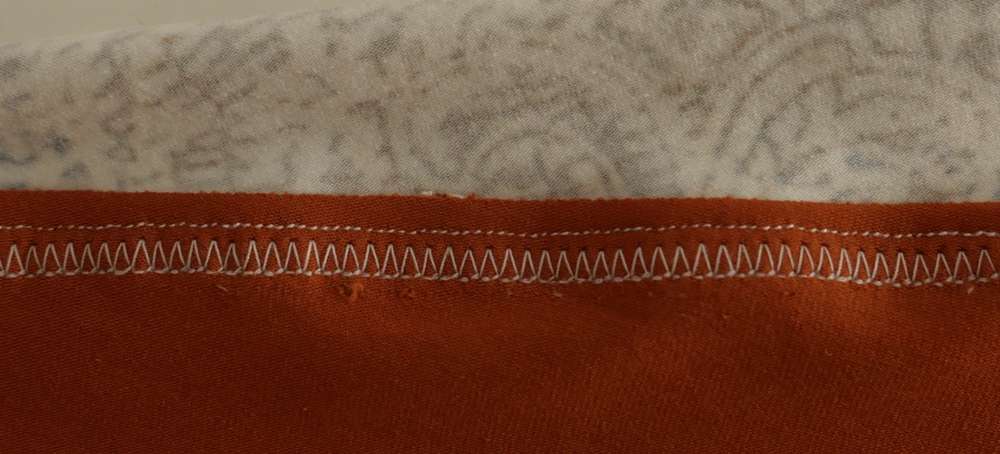
I was also unsure about the seams. Yes, it’s jersey and you have to use a stretch stitch. But if it isn’t supposed to fit skin-tight, can’t you just use your straight stitch? It looks neater. I used one sometimes, the other sometimes. For hemming the bottom, for example, and on the arms I used the straight stitch. There’s no tension there, I thought.
But it could also be that the slight “waves” in the side seams come from using the wrong type of seam, right? I probably should have done a test seam lengthwise beforehand.
Oh yes, one more new thing I learned: I now always topstitch the seams at the shoulders again with an extra seam. Then they don’t flop around so much on the inside and lie better. I don’t have an overlock for fine seams, so I think this version looks quite good visually.
Best wishes, Ina