I love fabric scraps and for many patchwork patterns, such as the Log Cabin pattern, you can make wonderful use of small fabric scraps.
Today I'm going to show you how to sew your small fabric scraps together so that you can easily use them for your next sewing project, for example for your baby blanket, a potholder or a mural.
Of course, you can also use the strips for other sewing projects or for other quilts, for example for a striped quilt or as a border on a towel, tablecloth, potholder or placemats, etc. ...
Let's start from the beginning.
Of course you need fabric scraps. We always use cotton fabrics for patchwork. However, I have also heard from other quilters that they also use other fabrics, such as jersey, for special projects, for example for a memory quilt. These quilters then reinforce stretchy fabrics with a batting to prevent them from stretching. Just for your information, in case you are thinking about doing something like this...
I'm going to talk about cotton fabrics because I've never worked with anything else for patchwork and quilting.
Apart from the fabric scraps, you will need a thin batting. The fabric scraps are then sewn onto this batting.
There are dozens of types of batting, for me it was more of a batting jungle at first and I thought I would never learn the differences. Fortunately, it's not that difficult once you understand the basic differences 😉.
But since this isn't going to be an article about the different types of batting, I just tell you briefly which batting I use now.
My batting is very thin, CAN NOT be ironed on and is water-soluble. It is also often sold under the name "embroidery stabilizer" but please make sure that it really meets the above criteria, as there are many different types of stabilizer under the name "embroidery stabilizer".
I like the water solubility so much because the batting dissolves during the first wash and then only the sewn-together fabric remains. This makes the later quilt softer, as a batting always provides some stability and strength (which is also the actual purpose of a batting...).
So if you would like to sew a stable, stronger quilt, for example a wall quilt, you can of course also use a non-water-soluble batting.
Always go with what YOU like best and feel free to modify my instructions to suit you.
Now it's time for the instructions:
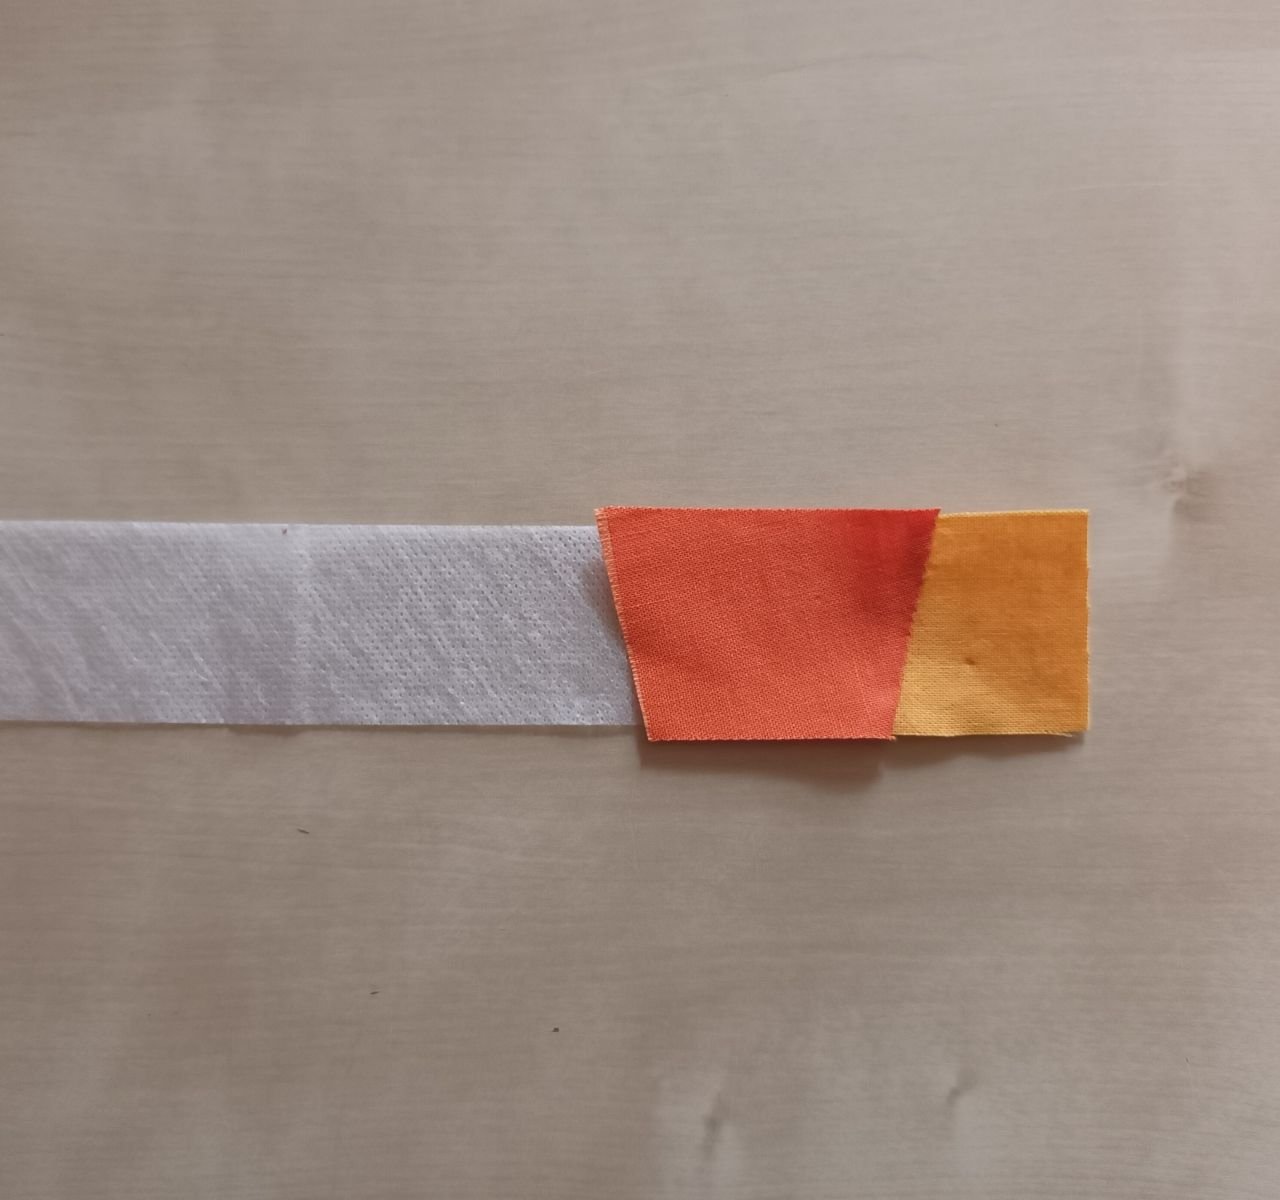
Choose the fabric scraps you want to use. These can be of different sizes and shapes:
.jpg)
Next, cut your batting to the right size. I would like to explain this technique using a strip, so I will now cut this stabilizer into a long strip. If you want to use your fabric scraps in a different shape, for example as squares, rectangles or triangles, then cut your batting into your desired shape.
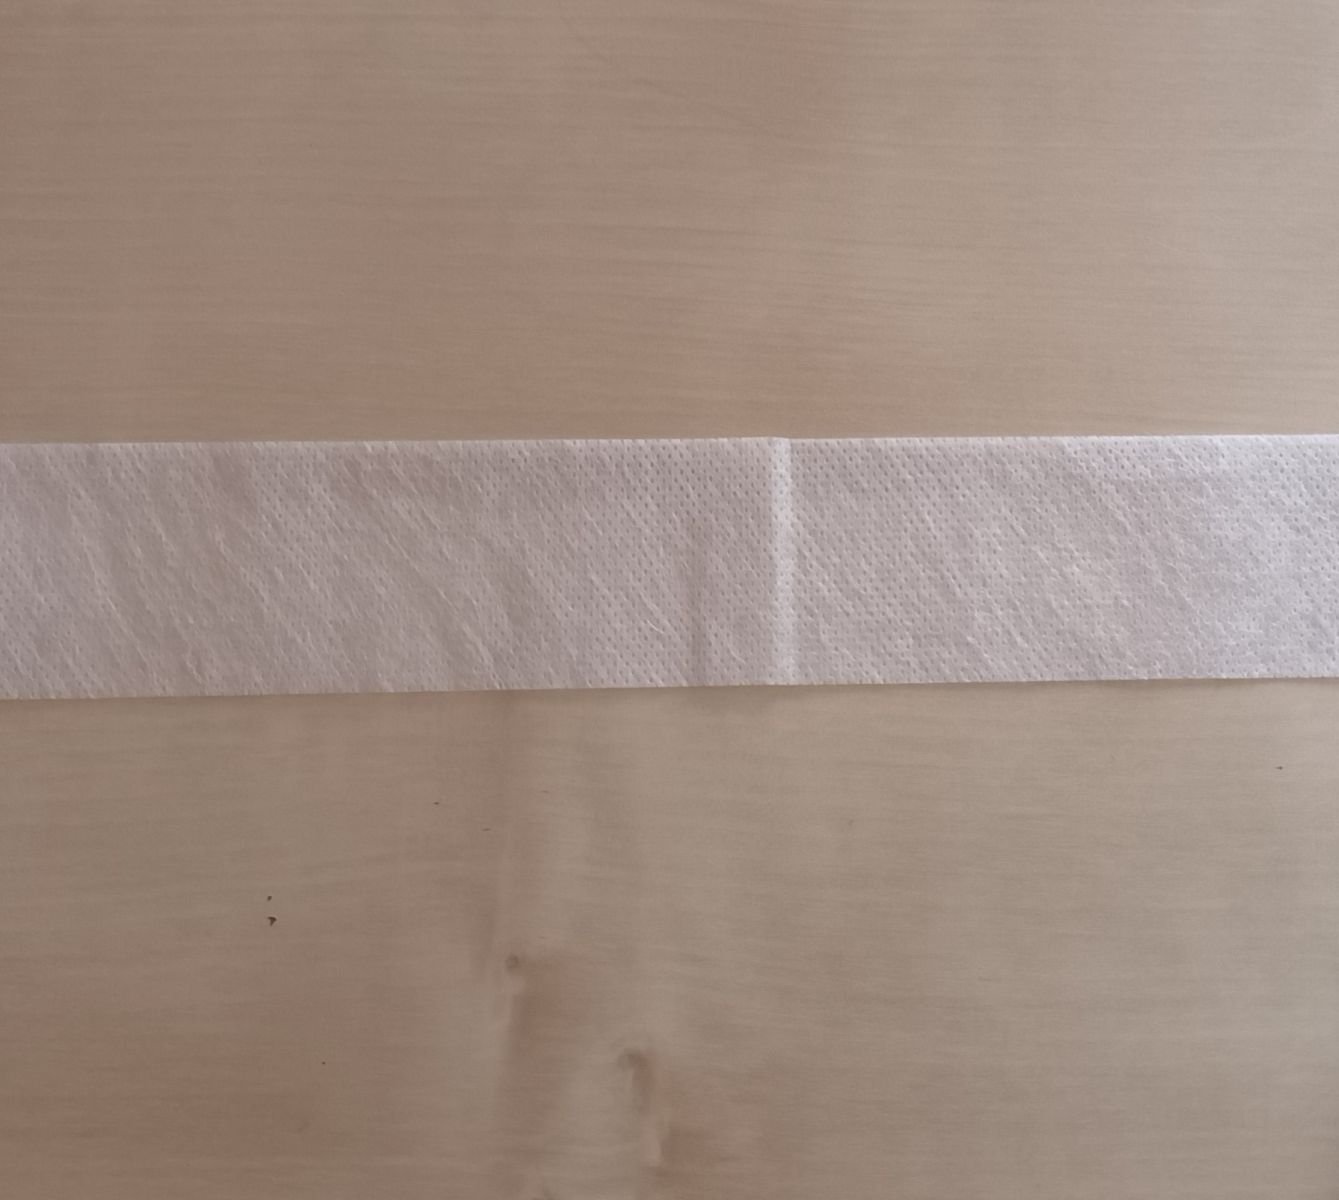
The height of the stripes in inches
The height of the stripes again depends entirely on what YOU like best.
I would like my stripes in my future quilt to be ½ inch high. In addition, there is a seam allowance of ¼ inch on each side, so a total of two seam allowances of ½ inch.
This means that my strip will have a height of 1 inch.
½ + ¼ + ¼ = 1
The height of the strips in centimetres
If you prefer to work with centimetre measurements, you can choose a height of 1,5 cm, for example. Then add a seam allowance of 0,75 cm on each side for a total of 1,5 cm. Your total height is therefore 3 cm.
1,5 + 0,75 + 0,75 = 3
0,75 cm is the normal presser foot width of a normal presser foot on sewing machines in Germany and other countries that work with centimeters and not inches.
So, you cut the strips to this height.
Now we come to the interesting part. 😉
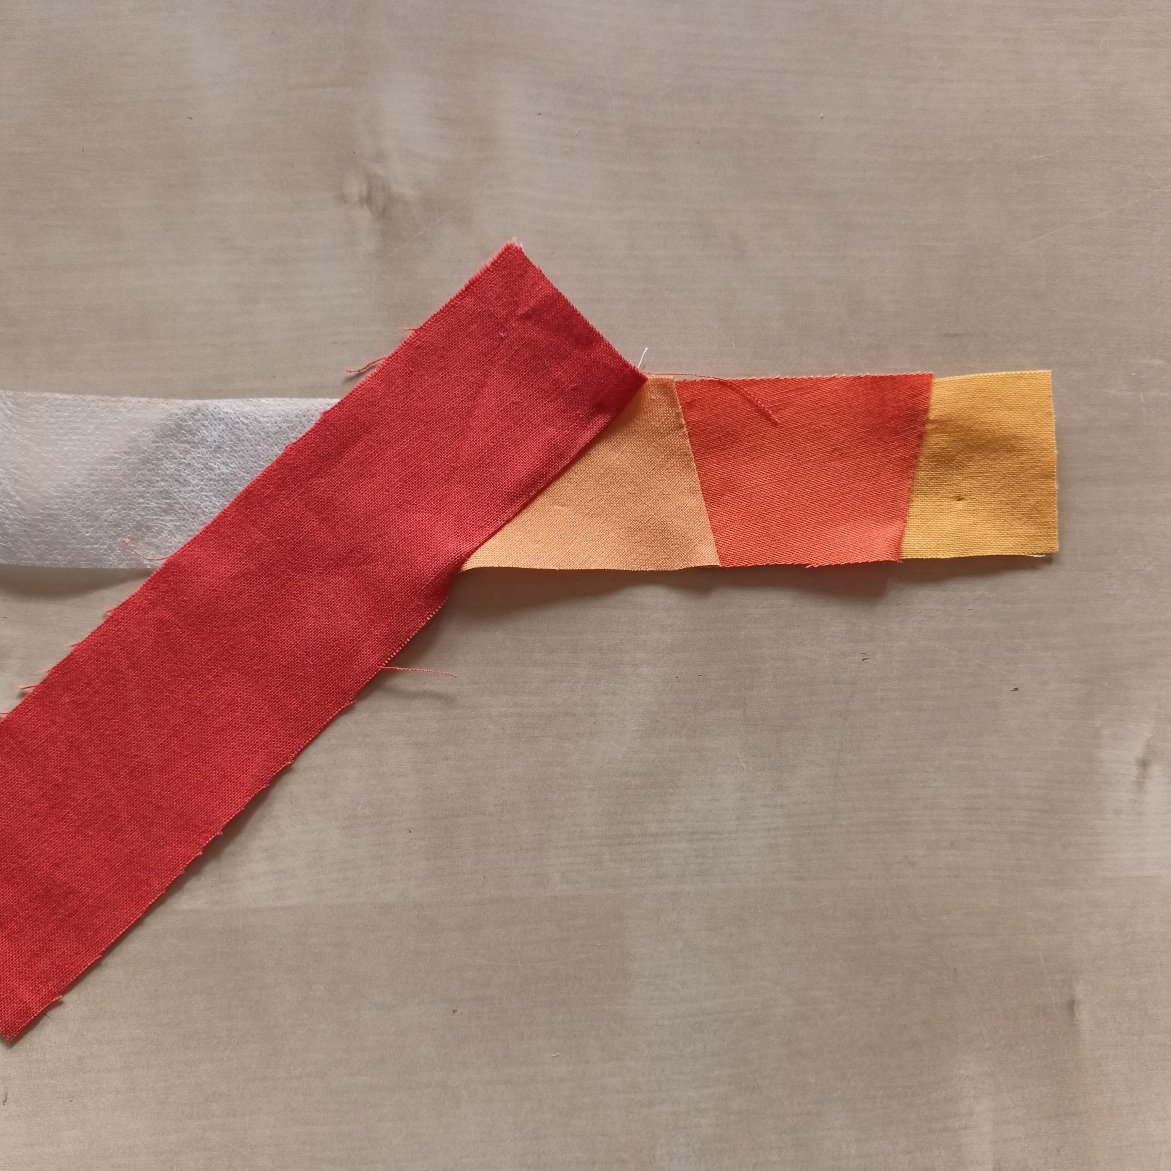
Sew the fabric to the fleece
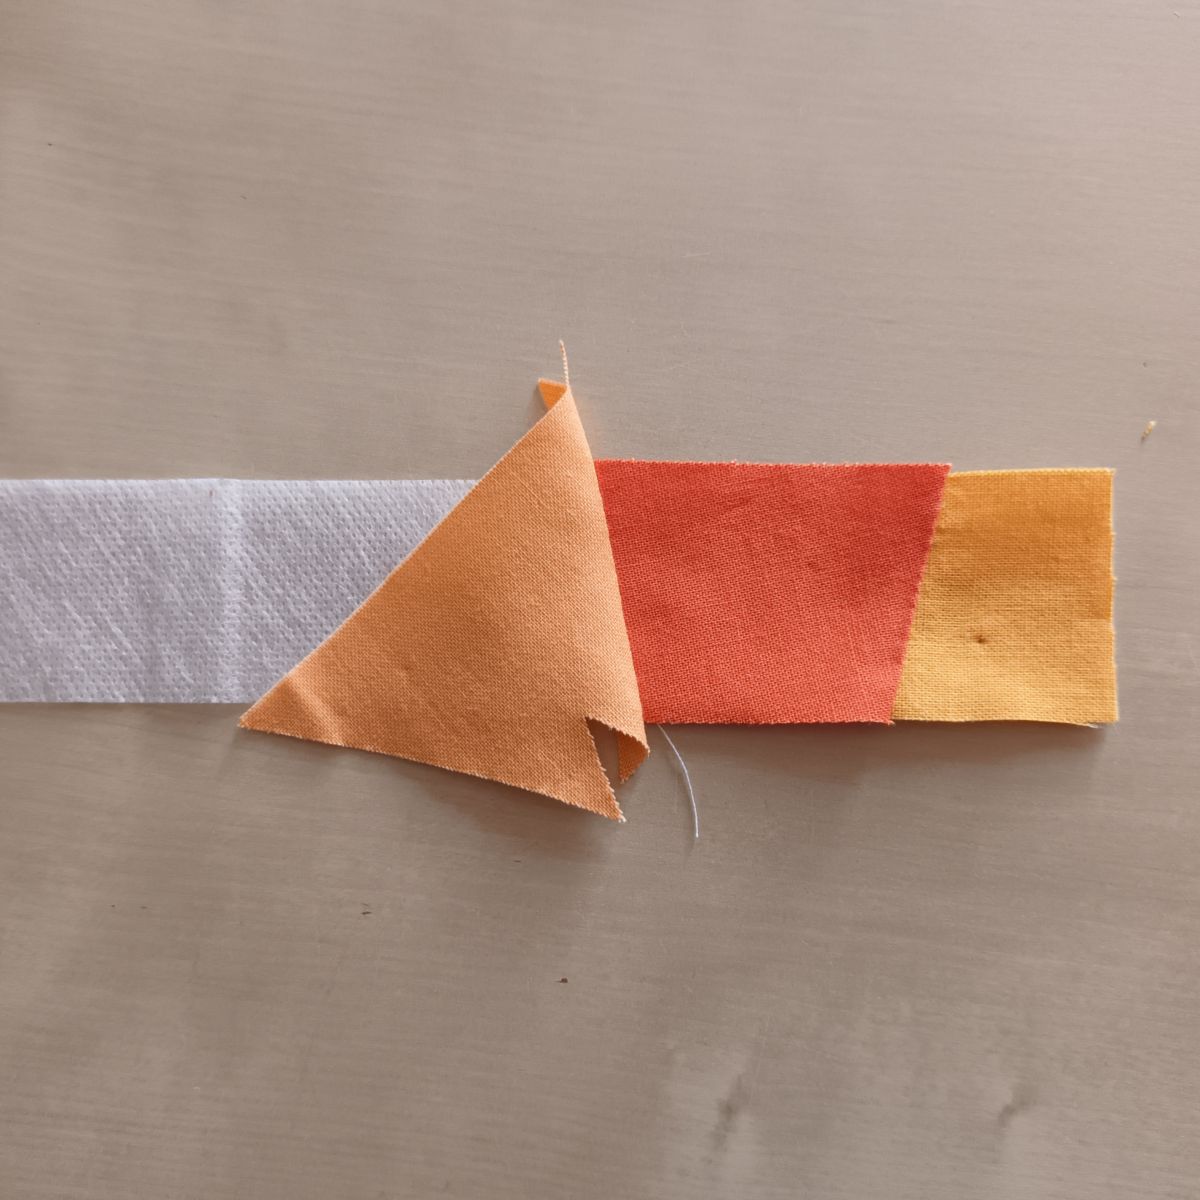
Now place two pieces of fabric on the stabilizer so that they lie on top of each other at the sewing edge. The "nice" side of the fabric remnant, i.e. the right side, is on the inside, between the two layers of fabric.
You have positioned the fabrics so that they cover the stabilizer underneath. They can protrude a little, we will trim this later.
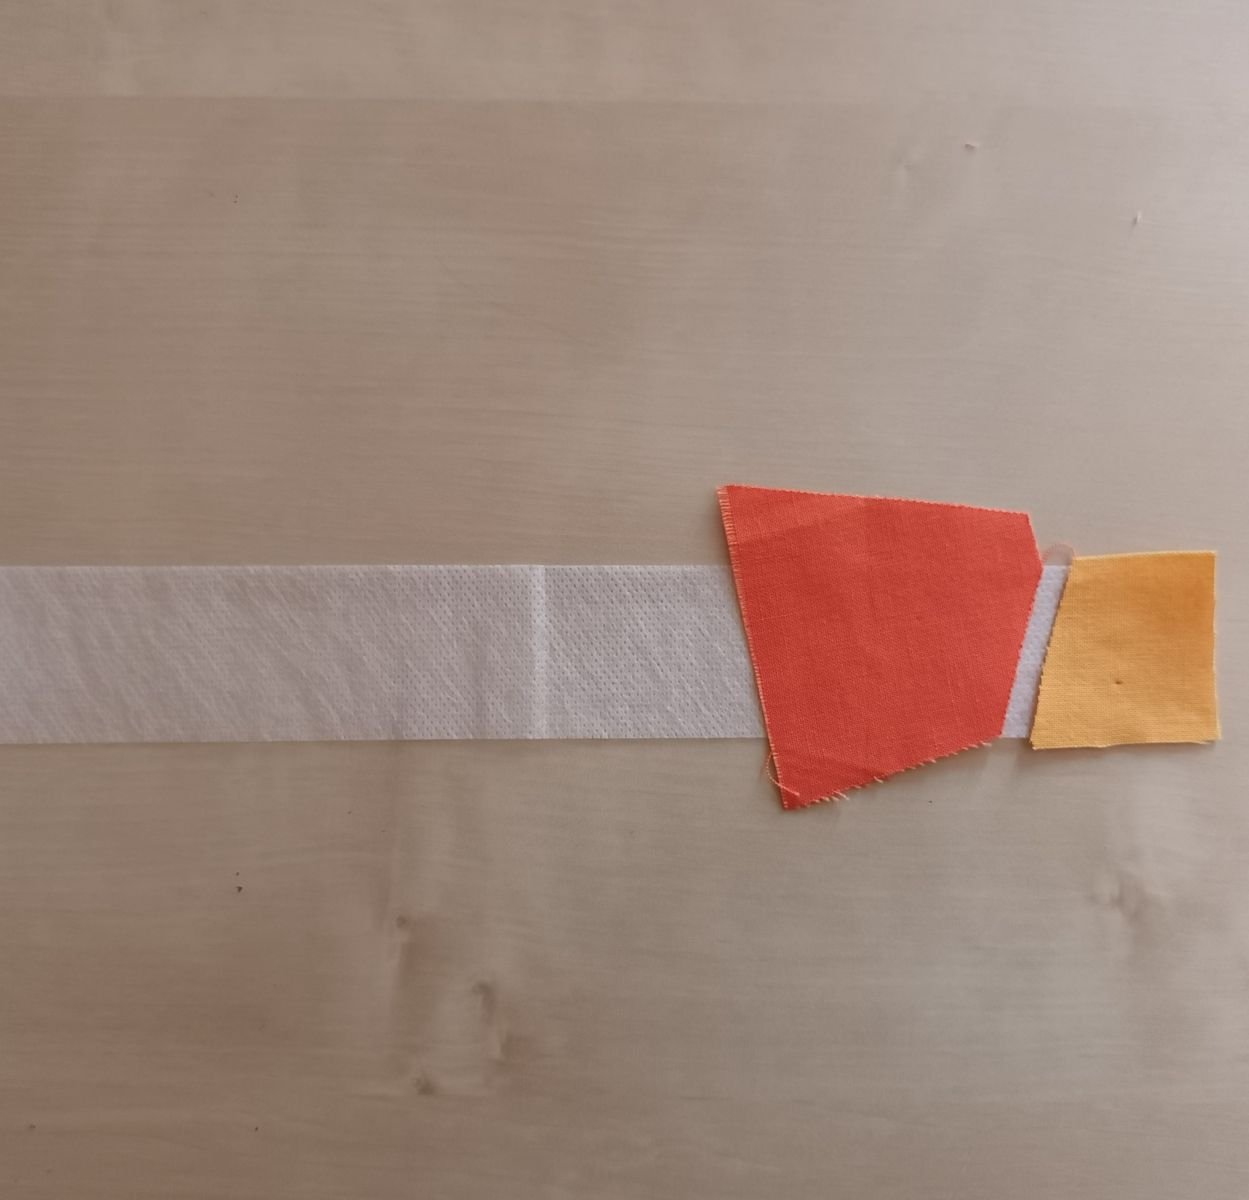
.jpg)
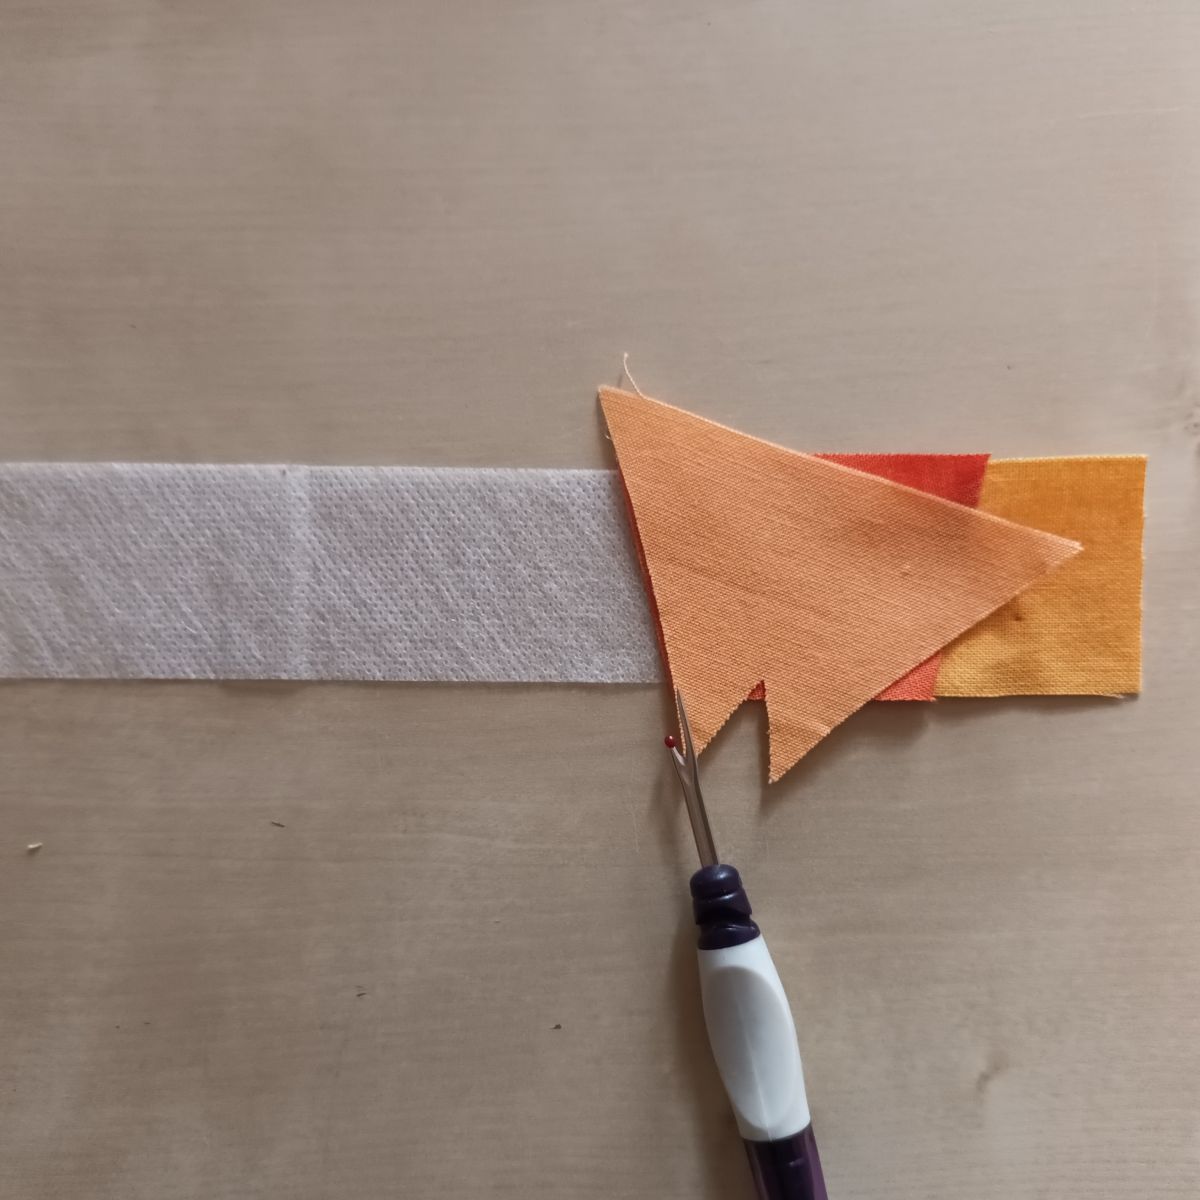
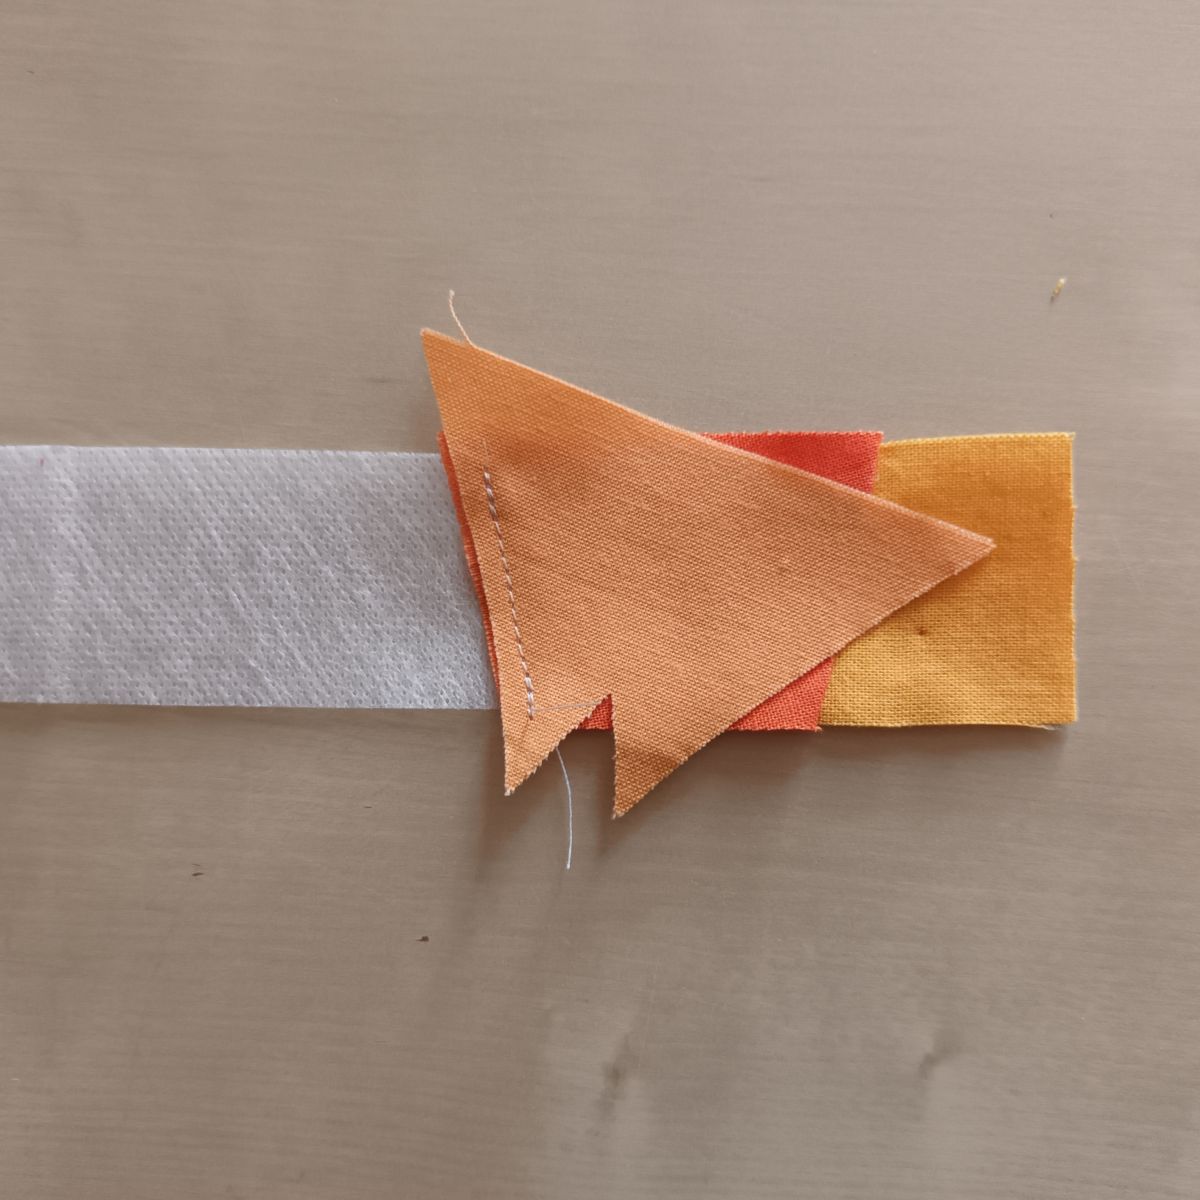
You sew the first seam, i.e. you sew the two layers of fabric to the stabilizer underneath.
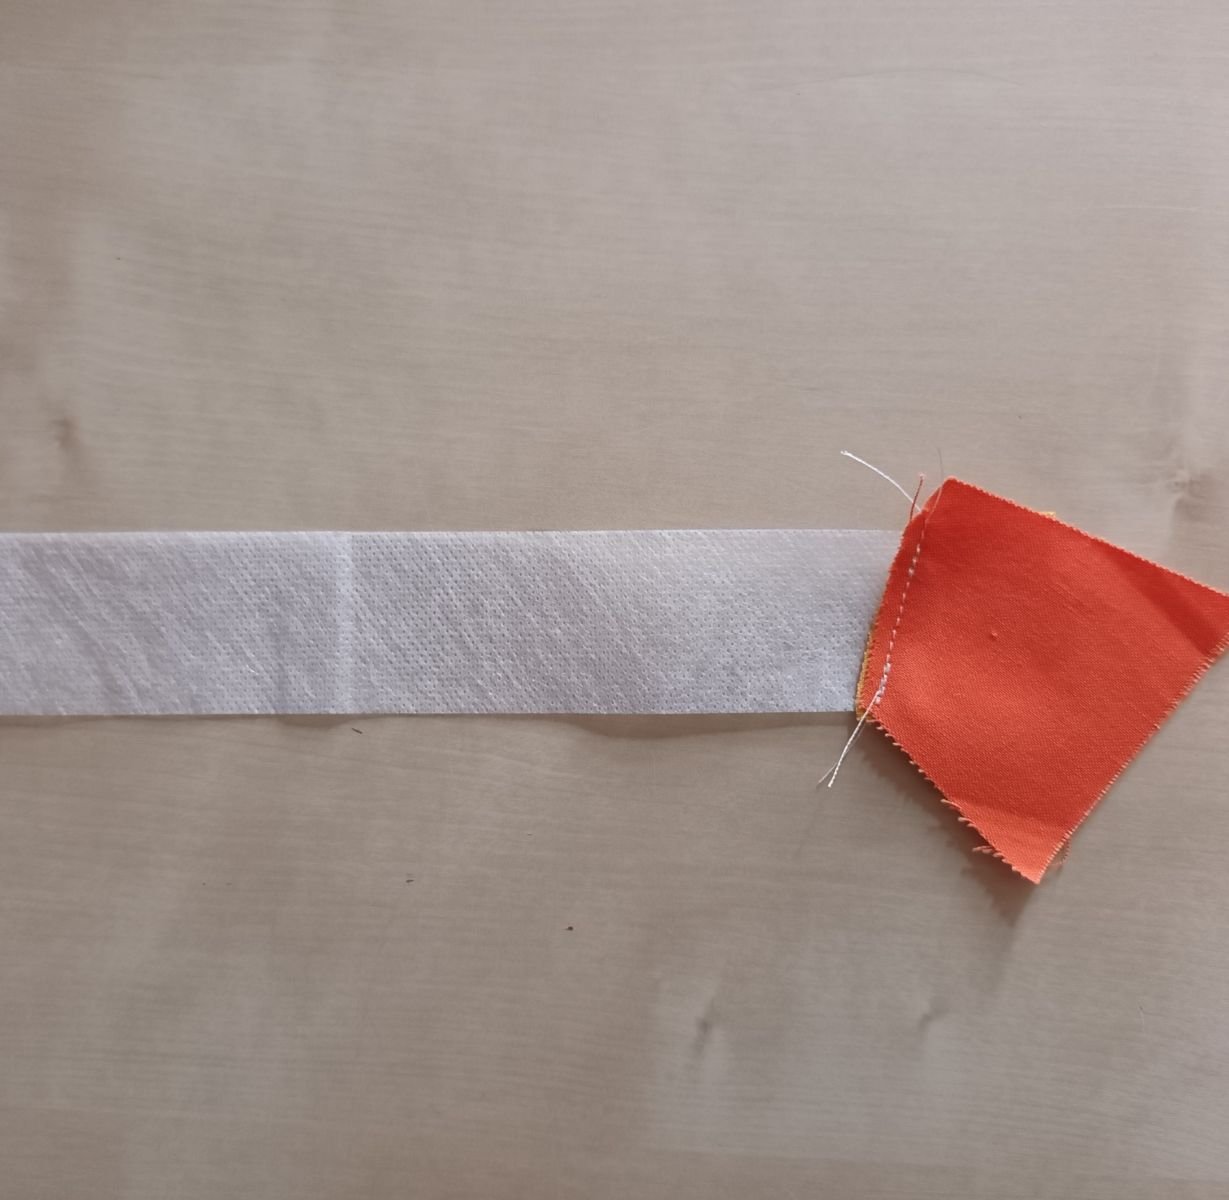
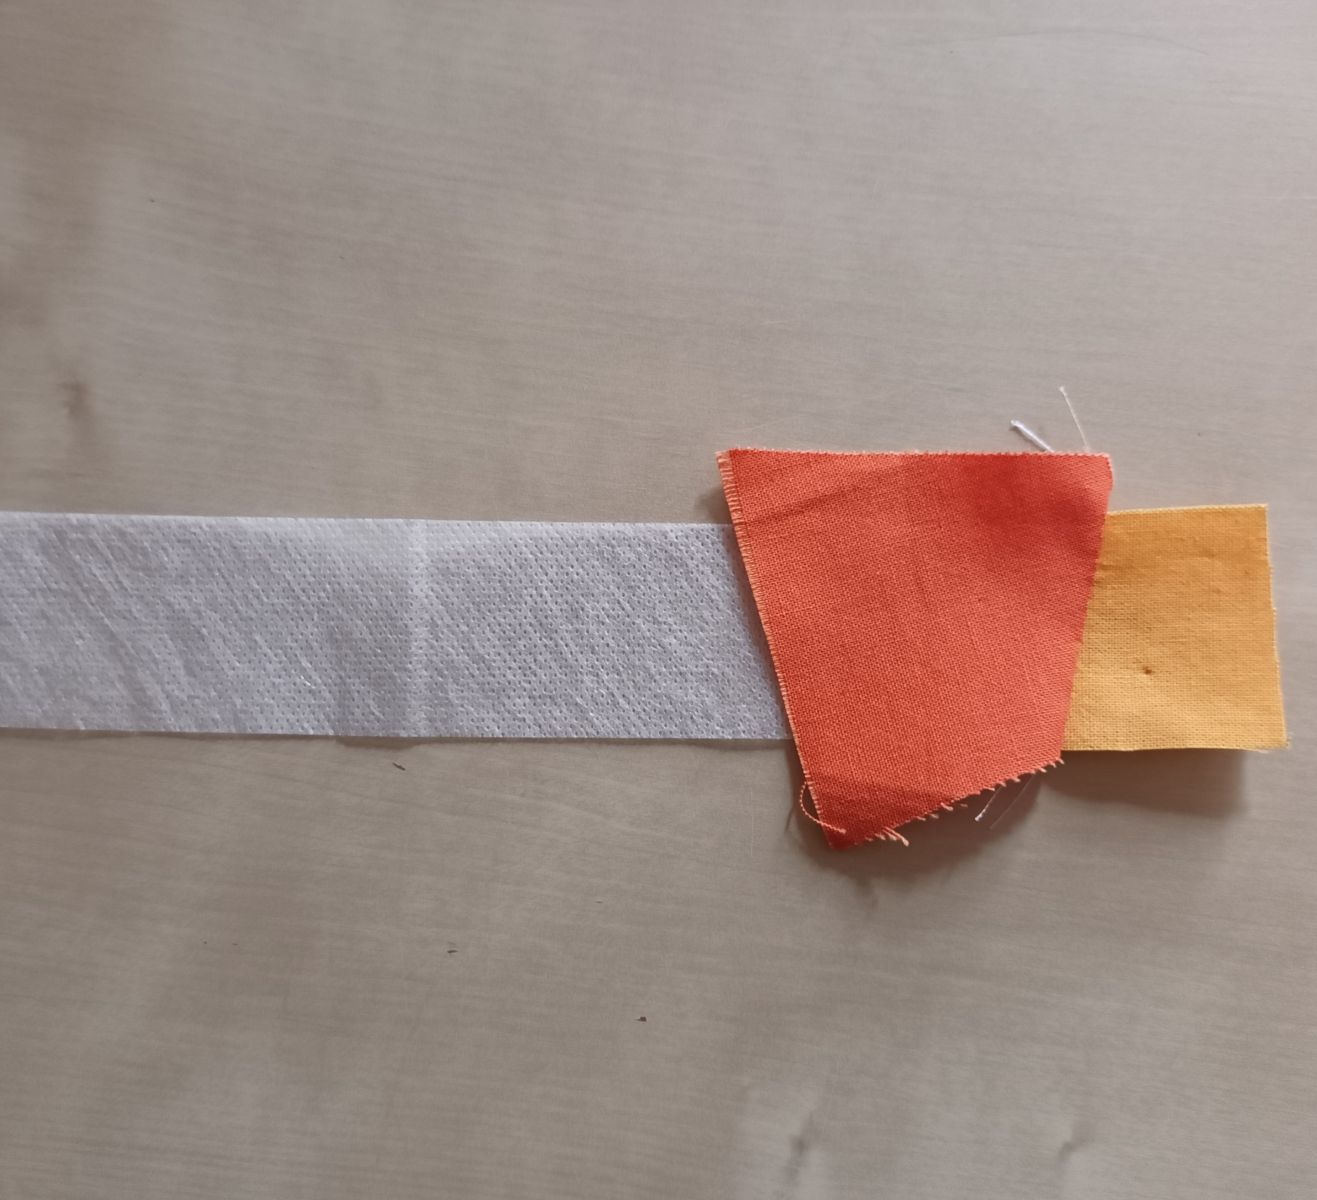
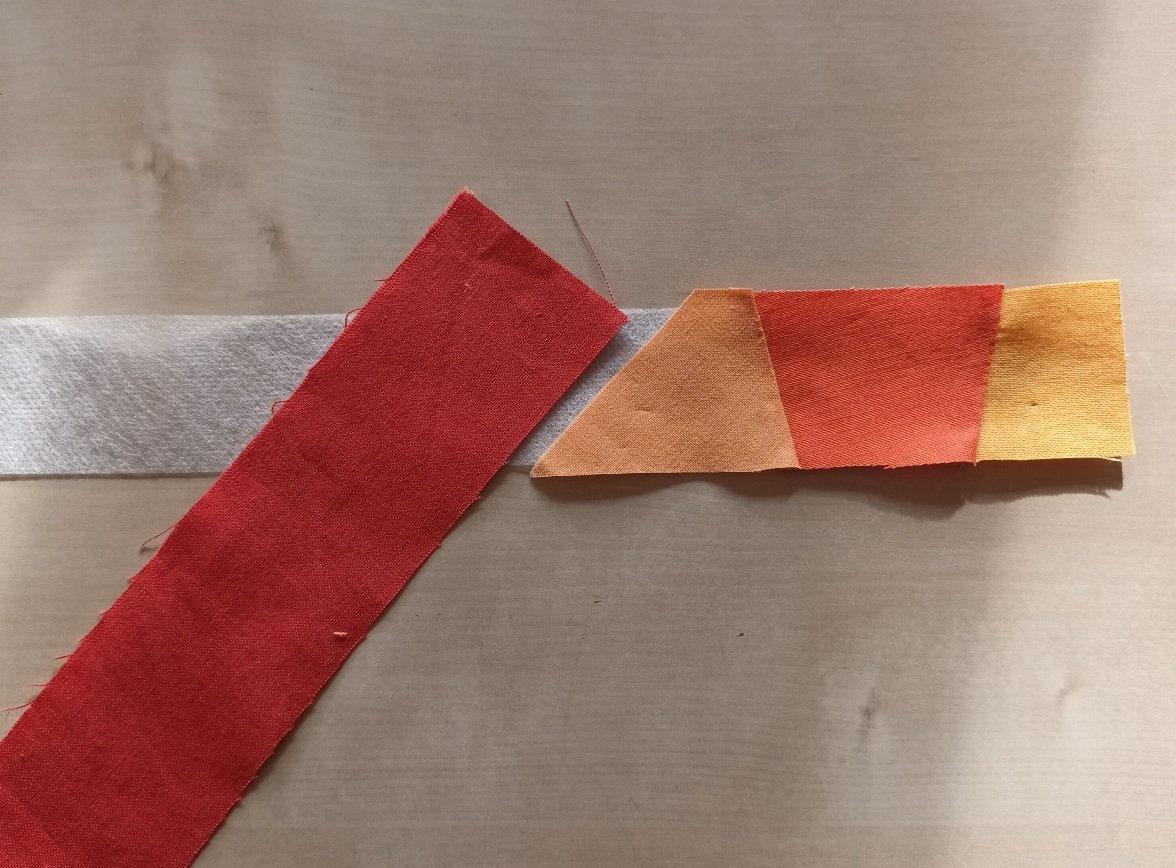
Now unfold the fabric, see if you like it and smooth the seam with your finger. Please do NOT iron, a simple finger smoothing is sufficient.
If you prefer your fabric pieces to lie smoother on the stabilizer, you can attach them with a very small amount (!) of water-soluble glue stick. There are also special glue sticks for fabric that are water-soluble. Please always check beforehand whether your fabric tolerates this adhesive and can really be washed out without leaving any residue.
If you like, you can cut the pieces of fabric you have just sewn on a little at this stage. I like to leave an edge of approx. 0,5 to 1 cm overhanging the stabilizer until the end.
.
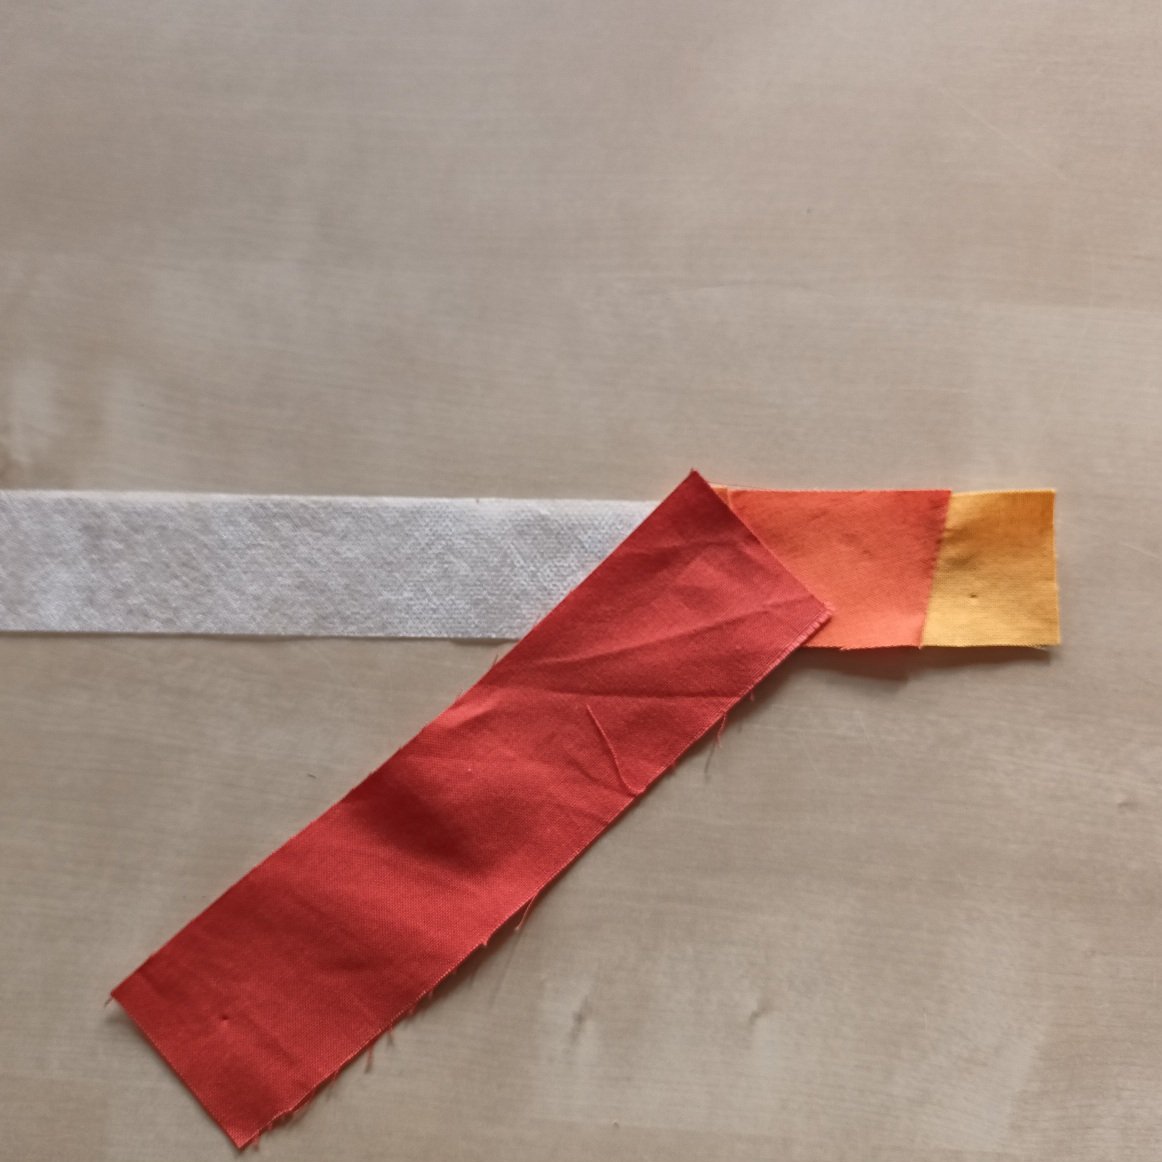
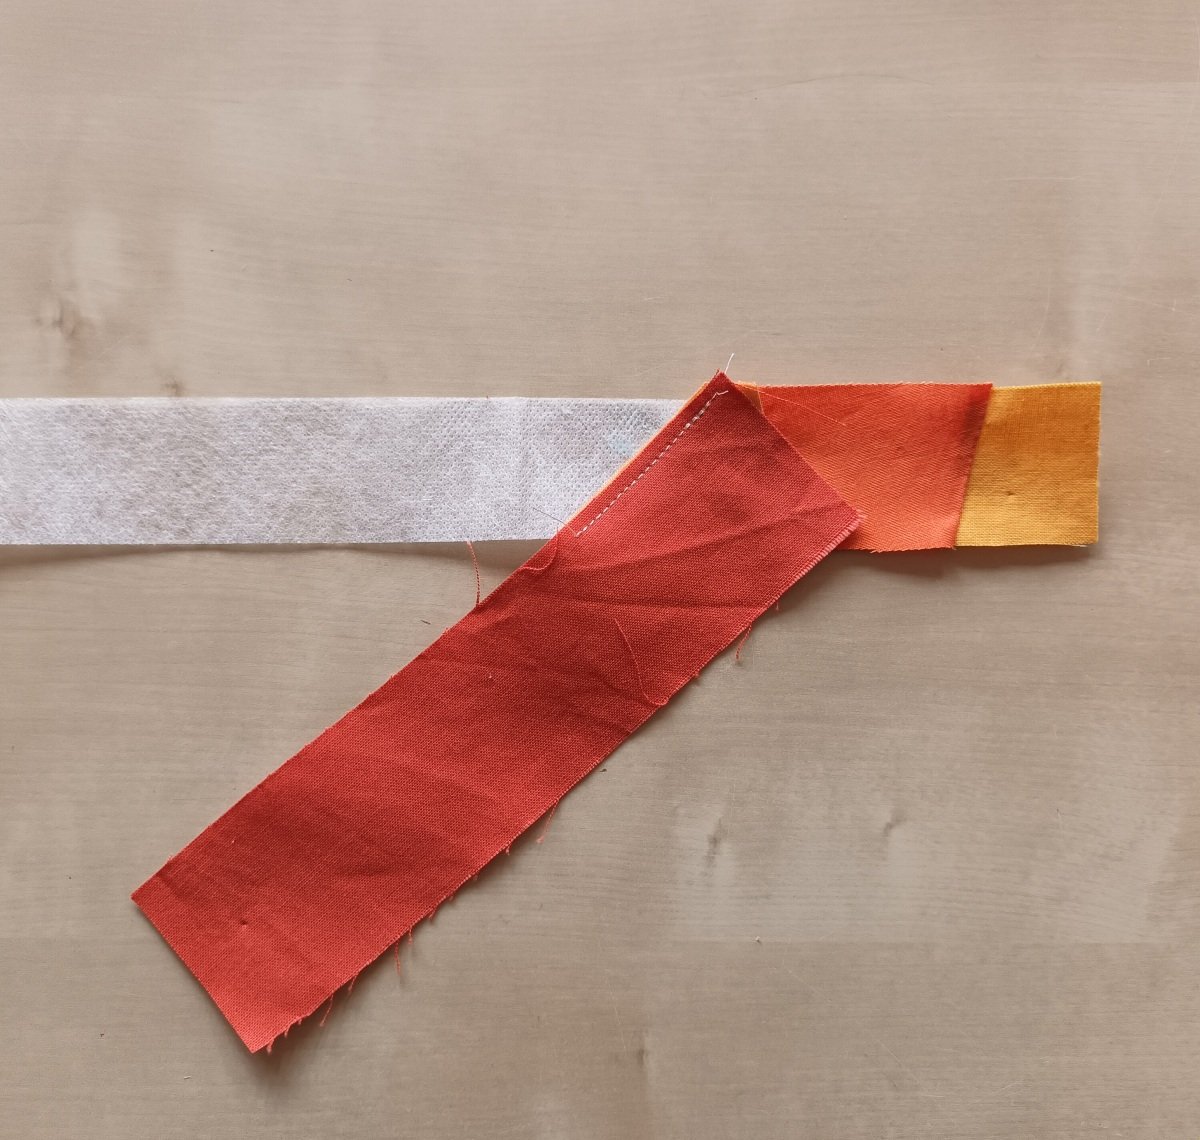
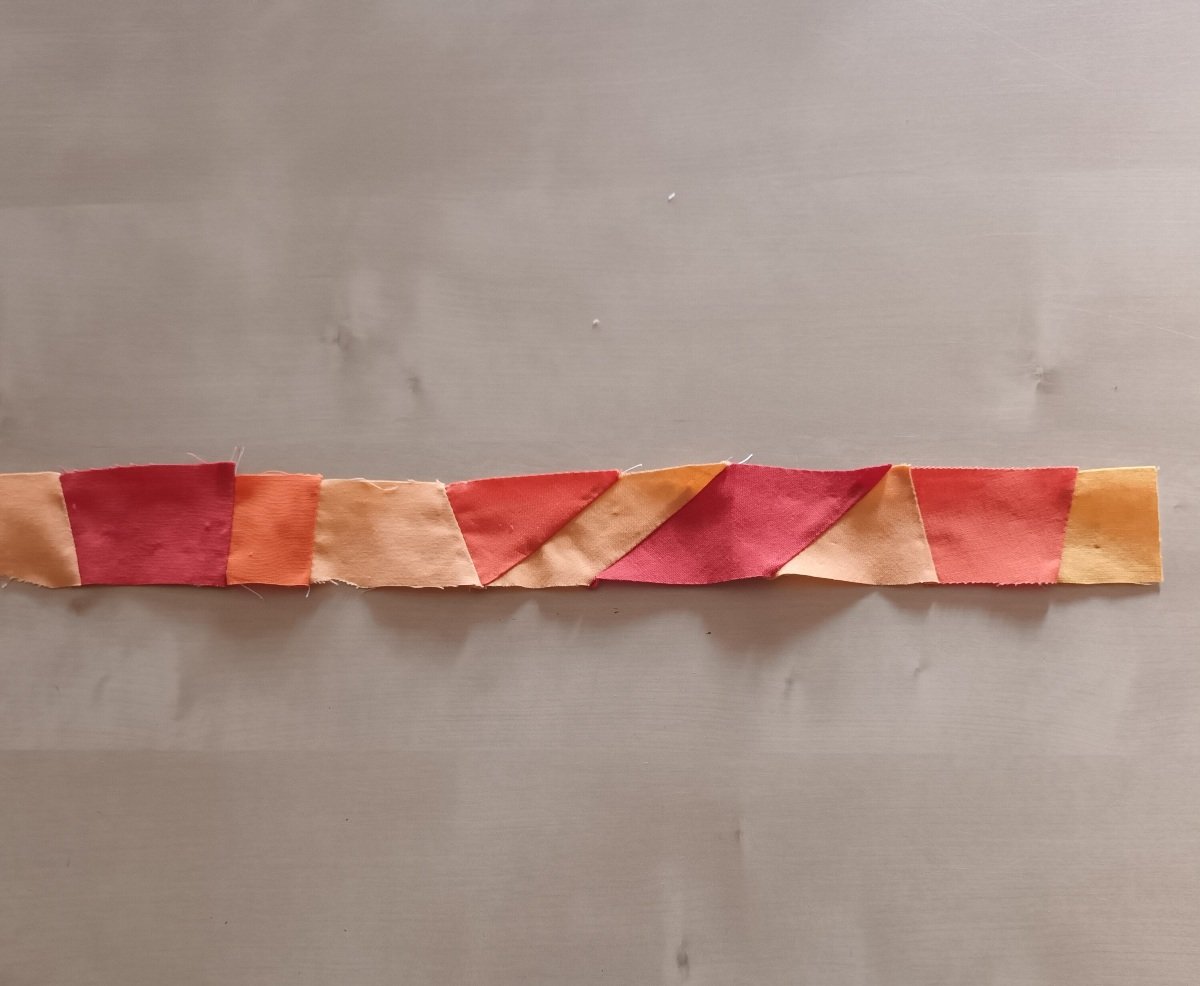
Now take the next piece of fabric, place it on the edge of the piece of fabric and stabilizer and sew it in place. Unfold it again, see if you like it and smooth it out.
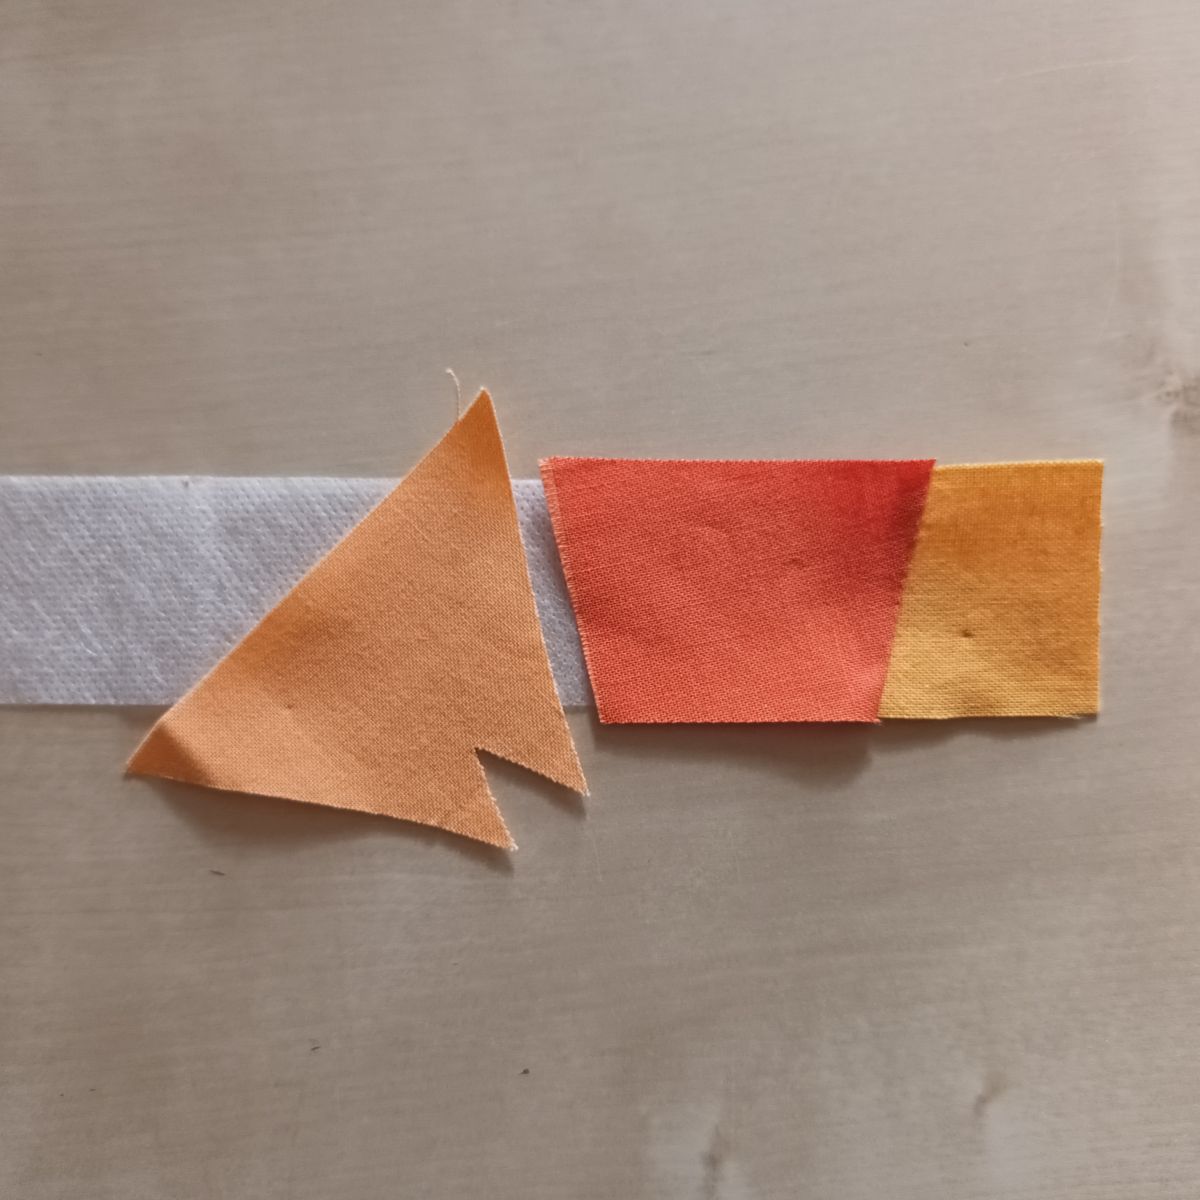
After each piece of fabric has been sewn in place, you can cut away the excess fabric except for a small excess. Or you can cut it to the size of your stabilizer at the end, whichever you prefer.
In this way, you sew your fabric remnants piece by piece to the stabilizer and the fabric pieces lying there.
As you can see, you can use lots of small fabric scraps in this sewing project. A great idea for using up valuable fabric scraps instead of throwing them away.

If your strip is the desired length, you can use this strip for your further sewing work.
This way you can make smaller and larger new pieces of fabric from scraps. I really like the combination with matching, single-colored fabrics when processing them into a quilt. In my opinion, the plain fabrics accentuate the colorful fabric pieces very well.
Have fun sewing your first scraps and incorporating them into your sewing project!
If you feel like it, why not post a photo of your newly sewn fabric pieces from your fabric scraps? I'm looking forward to it!
Happy quilting!
Chris


