
This sweet little bunny will brighten up a loved one´s day! It will become an inseparable friend! A great gift, also perfect as a table decoration. Not only for Easter! You can make this bunny in any desired colours.
SUPPLIES
cotton yarn (e.g. Schachenmayr Catania 125m/50g) in two colors: white for the rabbit and orange for the carrot, a bit of pink for the nose and black for eyes, crochet hook 3 mm, Polyester fiberfill stuffing, 2 black beads or safety eyes, scissors, yarn needle.
SKILL LEVEL
Easy
SIZE
The ready amigurumi is approx. 12 cm. You can make the pattern larger (or smaller) by changing the yarn weight and/or hook size or by adding rounds
SKILLS YOU NEED
chain, single crochet, double crochet, half double crochet, slip stitch, increase, decrease
ABBREVIATIONS
Ch =chain
St = stitch
Sc =single crochet
Sl st = slip stitch
dec = decrease stitch (two single crochets together)
inc = increase stitch (two single crochets into one stitch)
Dc = double crochet
hdc = half double crochet
Rnd = Round
TIPPS
- Do not join rounds, work in a continuous spiral.
- Use a stitch marker or a piece of yarn to mark the end or the beginning of a round
- All stitches are worked into both loops, unless stated otherwise in the pattern.
- You can use any type of yarn as long as you have a corresponding crochet hook size (check yarn label for recommendations)
- Numbers at the end of each round in parentheses ( ) = total number of stitches for that round or row.
- Please note that I use US crochet terms.
- Amigurumi can be made in any desired colours.
SHIFT STITCH
Sometimes during a work of the spiral amigurumi, you need to keep the work symmetrically. As work tends to twist to the right you need to adjust position of the marker periodically (beginning of the round).
Shift stitch is an extra stitch you work at the end of a round to make your work look symmetrical. If you notice that marker moves right, you need to work one extra stitch in the end of the round and move marker for one stitch (now 2nd st of the round becomes 1st). this is shift stitch.
The shift stitch is not included in the round description. To check if it’s time to work shift stitch fold your work in half and check if marker still goes straight or use a yarn that marks a straight line.
You may think this is a increase, but it isn’t. This way you don’t increase or decrease the amount of stitches. The stitches count remains the same.
Seamsless way of changing color when working in the round
Pick up the new color at the end of the round: inset your hook into the stitch, yarn over the new color and pull through the stitch and the loop on your hook to complete the stitch.
INSTRUCTIONS
CARROT
Use orange color yarn or any you wish, begin with a magic ring.
Rnd 1: 6 sc into Magic Ring.
.JPG)
Rnd 2: inc 6 times (12 stitches)
Rnd 3: *sc in next st, inc* (18 stitches)
Rnd 4: *sc in each of next 2 sts, inc* (24 stitches)
Rnd 5: *sc in each of next 3 sts, inc* (30 stitches)
Rnd 6: sc in each of next 30 stitches
Rnd 7: *sc in each of next 4 sts, inc* (36 stitches)
Rnd 8: sc in each of next 36 stitches
Rnd 9: *sc in each of next 5 sts, inc* (42 stitches)
Rnd 10-11: sc in each of next 42 stitches
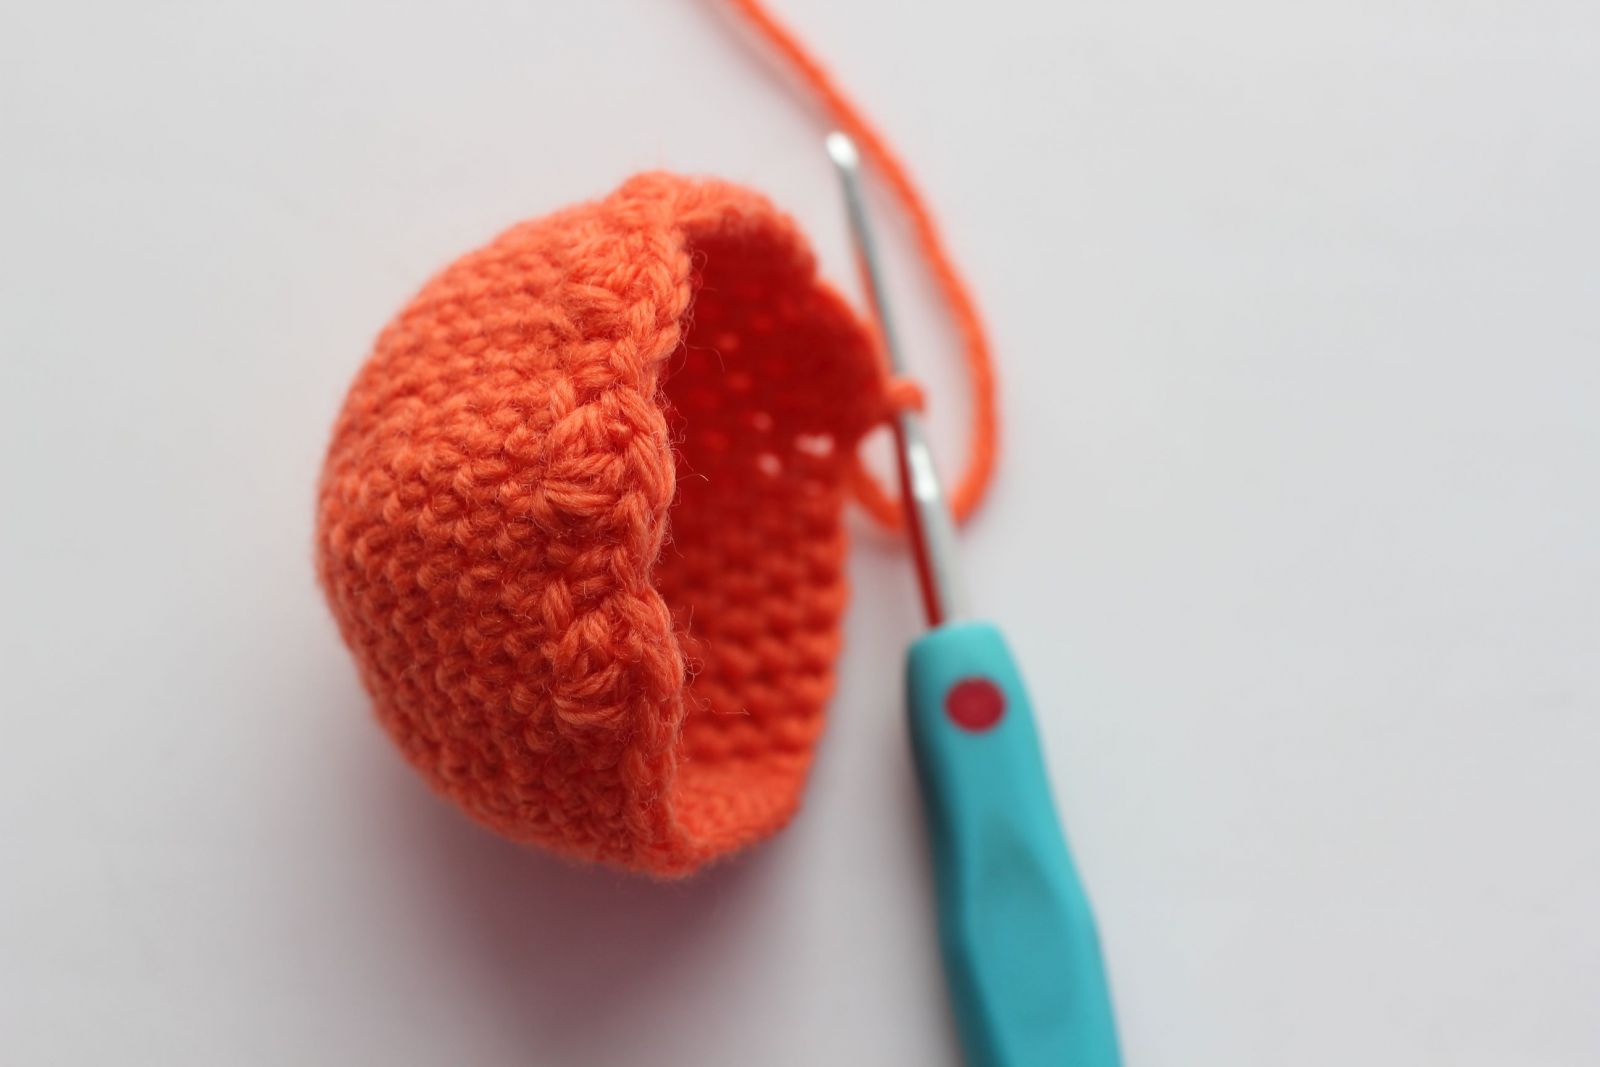
Rnd 12: chain 1 and sc into the same stitch, skip the next stitche, 3 dc into the next stitch, skip the next stitch, sc into the next stitch*, repeat from* until the end of the round..
Bind off.
BODY and HEAD
Use any color yarn you wish, begin with a magic ring.
Rnd 1: 6 sc into Magic Ring.
.JPG)
Rnd 2: *inc* (12 sts)
Rnd 3: sc in each of next 12 stitches
Rnd 4: *sc in next st, inc* (18 stitches)
Rnd 5: sc in each of next 18 stitches
Rnd 6: *sc in each of next 2 sts, inc* (24 stitches)
Rnd 7: sc in each of next 24 stitches
Rnd 8: *sc in each of next 7 sts, inc* (27 stitchrs)
Rnd 9: sc in each of next 27 stitches
Rnd 10: *sc in each of next 8 sts, inc* (30 stitches)
Rnd 11: sc in each of next 30 stitches
Rnd 12: *sc in each of next 4 sts, inc* (36 stitches)
Rnd 13-19: *sc in each of next 36 stitches
Rnd 20: *dec, sc in each of next 4 sts* (30 stitches)
Rnd 21: sc in each of next 30 stitches
Rnd 22: *dec, sc in each of next 4 sts* (25 stitches)
Rnd 23: *dec, sc in each of next 3 sts* (20 stitches)
Rnd 24: *dec, sc in each of next 2 sts* (15 stitches)
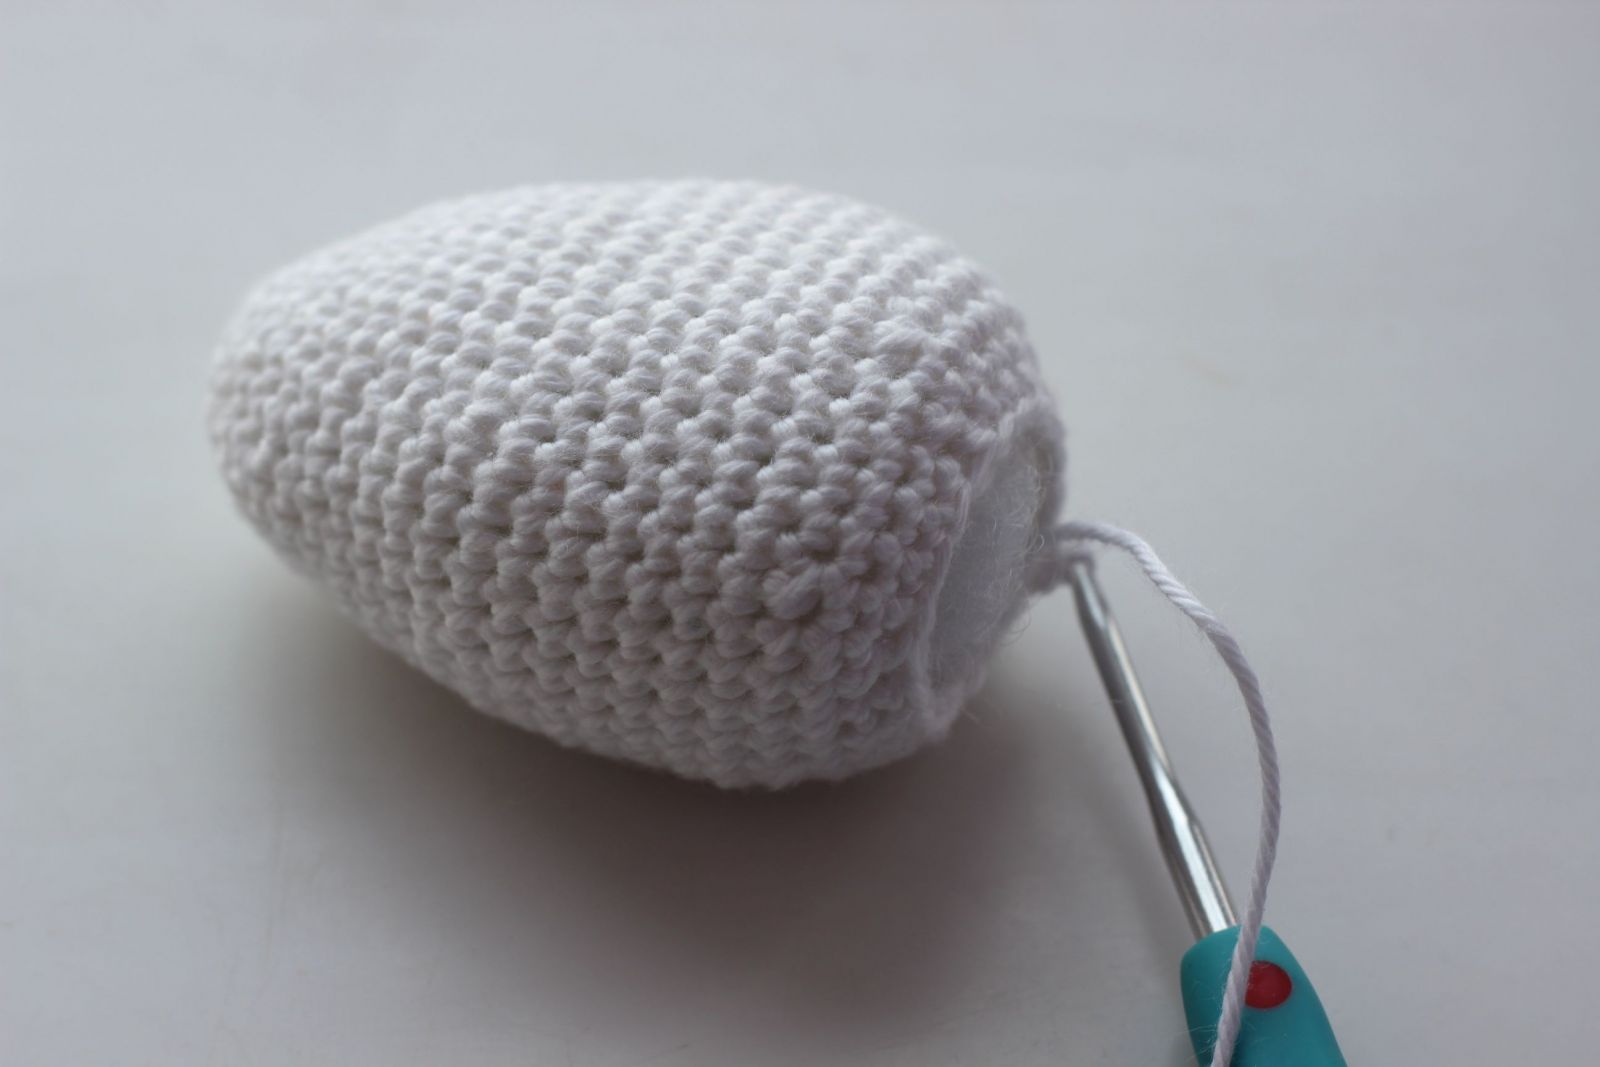
Stuff the rabbit with fiberfill or other stuffing material until it is firm. To add weight to the bottom of the body, you can use little stones, rice or Poly Pellets.
Rnd 25: *dec*
Bind off and weave in ends.
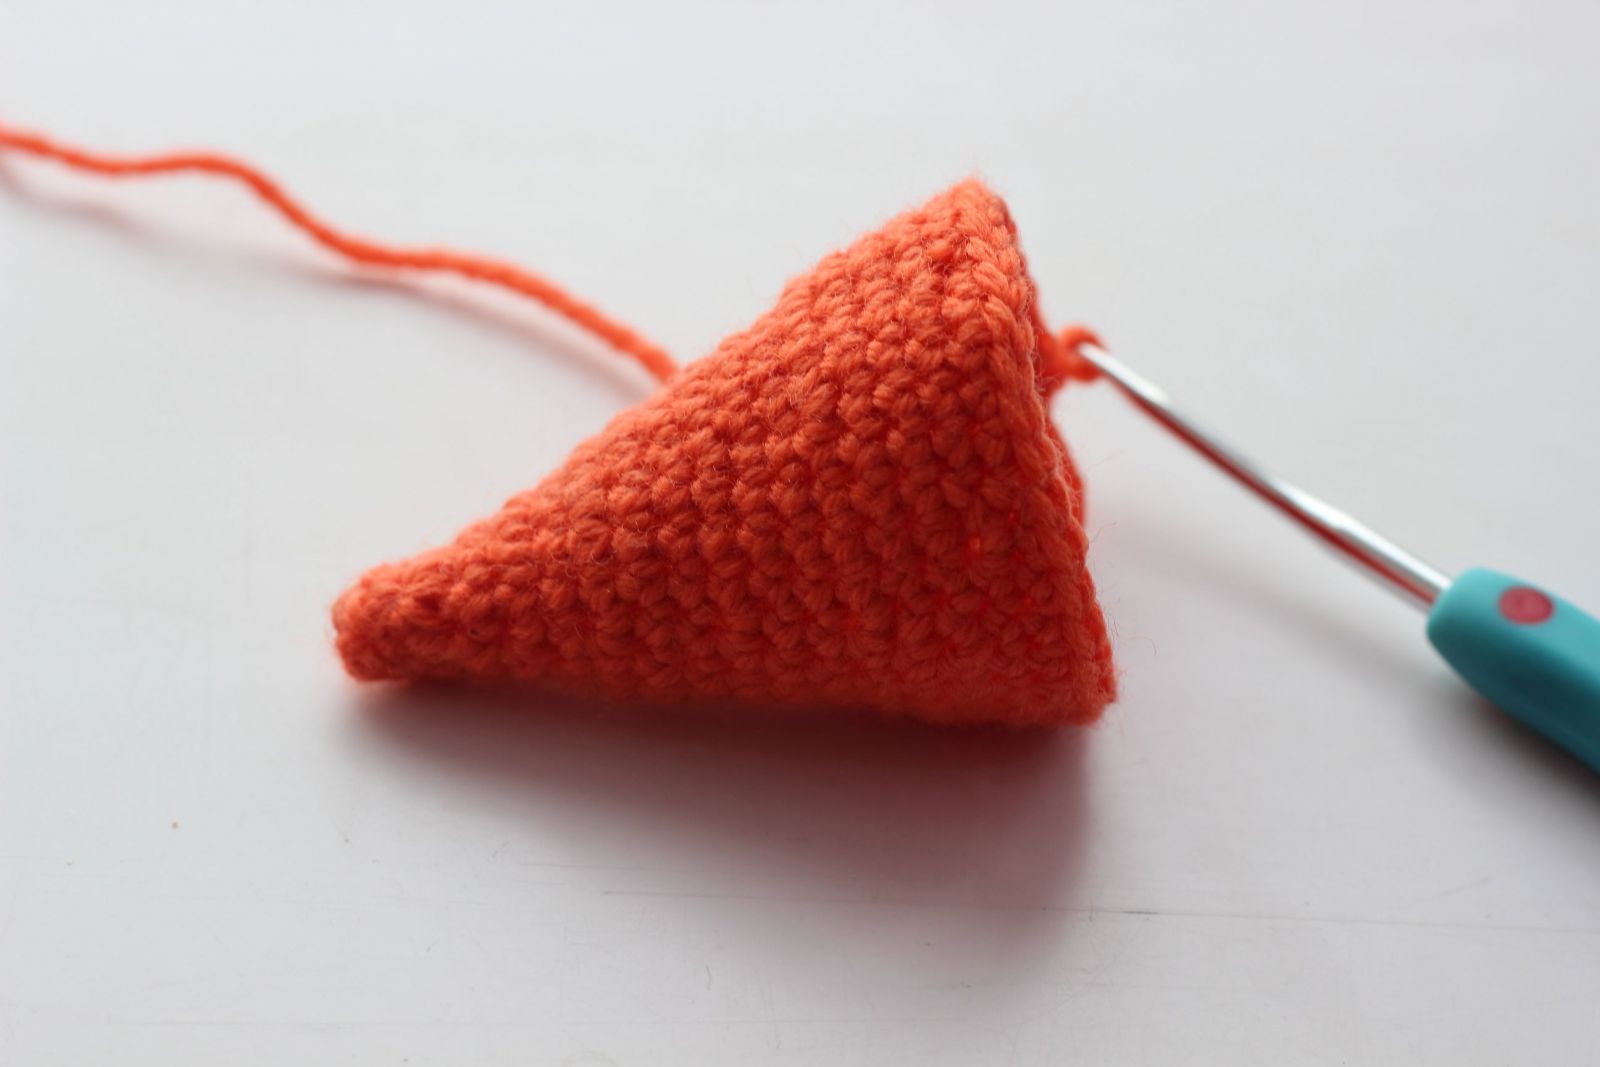
HAT
Start with orange color yarn
Rnd 1: 6 sc into Magic Ring.
Rnd 2: sc in each of next 6 stitches
Rnd 3: *sc in next st, inc* (9 stitches)
Rnd 4: sc in each of next 9 stitches
Rnd 5: *sc in each of next 2 sts, inc* (12 stitches)
Rnd 6: sc in each of next 12 stitches
Rnd 7: *sc in next st, inc* (18 stitches)
Rnd 8-9: sc in each of next 18 stitches
Rnd 10: *sc in each of next 2 sts, inc* (24 stitches)
Rnd 11-12: sc in each of next 24 stitches
Rnd 13: *sc in each of next 3 sts, inc* (30 stitches)
Rnd 14-15: sc in each of next 30 stitches
Rnd 16: *sc in each of next 4 sts, inc* (36 stitches)
Rnd 17-18: sc in each of next 36 stitches
Bind off leaving a long tail for sewing.
ARM (2x)
Use white color yarn and begin with a magic ring.
.JPG)
Rnd 1:6 sc into Magic Ring
Rnd 2: inc 6 times (12 stitches)
Rnd 3-5: sc in each of next 12 stitches
Rnd 6: *dec, sc in each of next 2 stitches* (9 stitches)
Rnd 7-10: sc in each of next 9 stitches
Bind off leaving a long tail for sewing. Crochet the second arm the same way.
EAR (2x)
Use white color yarn.
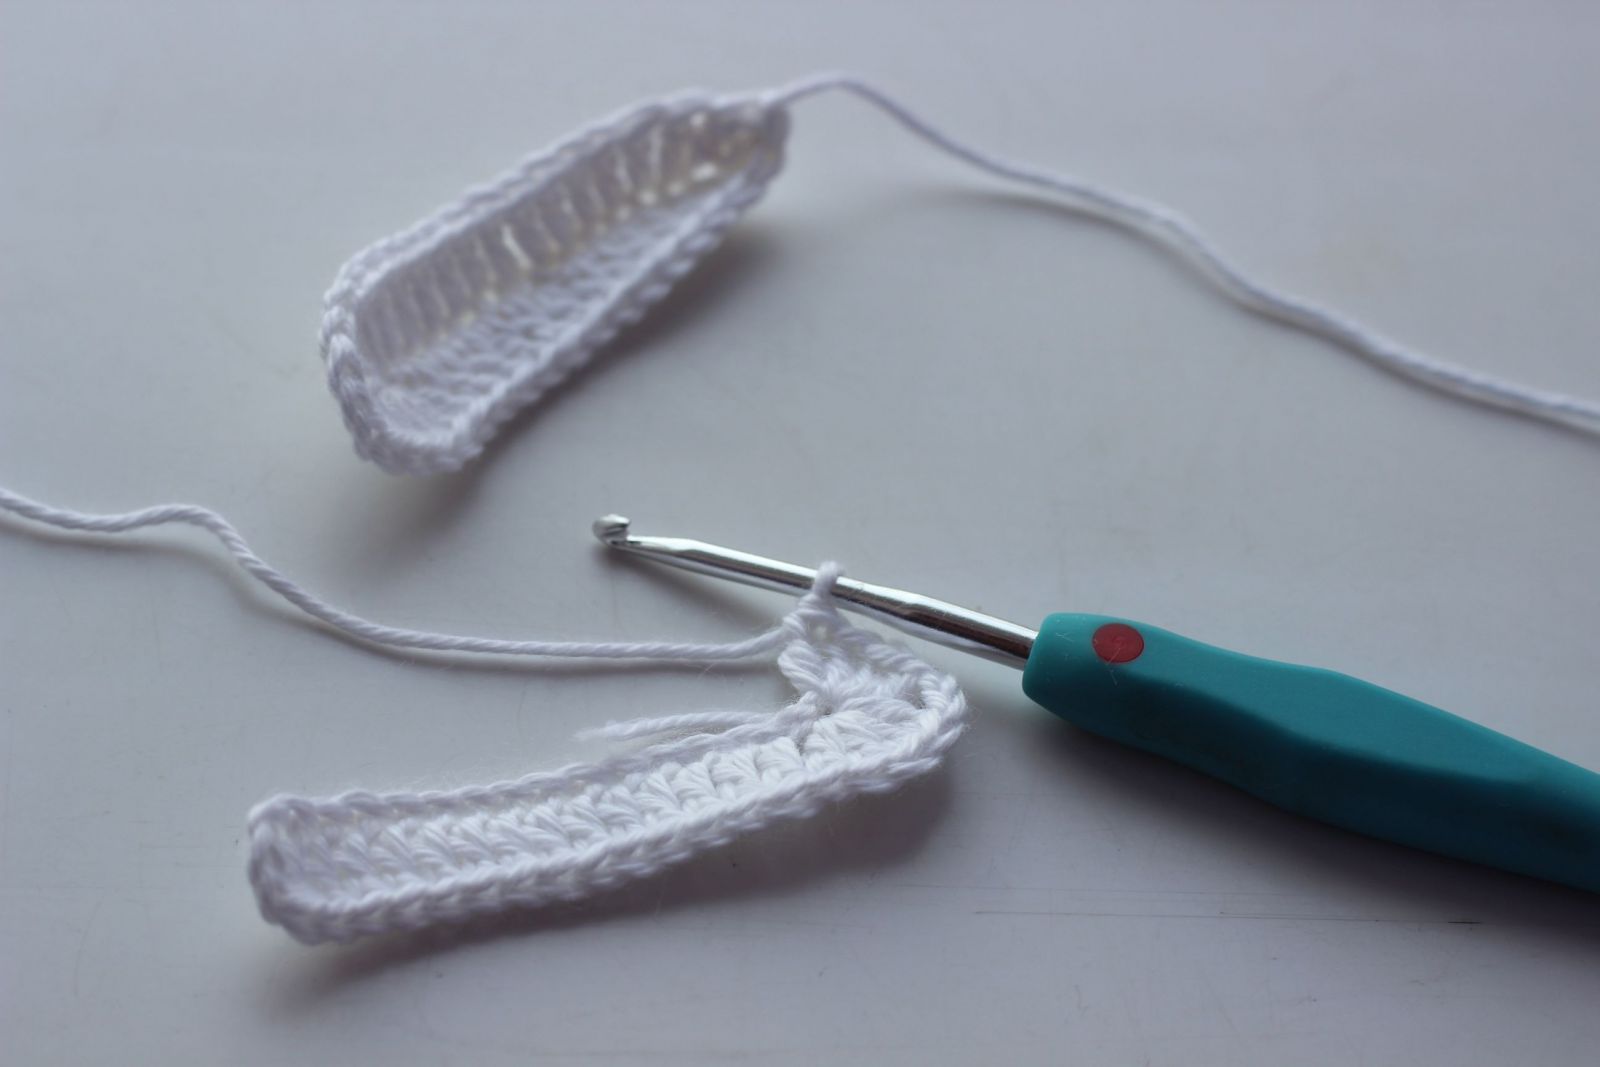
Cast on 18 stitches, dc into the 4th ch from hook and each of next 13 stitches, (4 dc, ch 2, 4 dc) in the next st, working in other side of the foundation ch: dc in each of next 14 stitches, sl st
Bind off leaving a long tail for sewing ears to the head.
ASSEMBLY
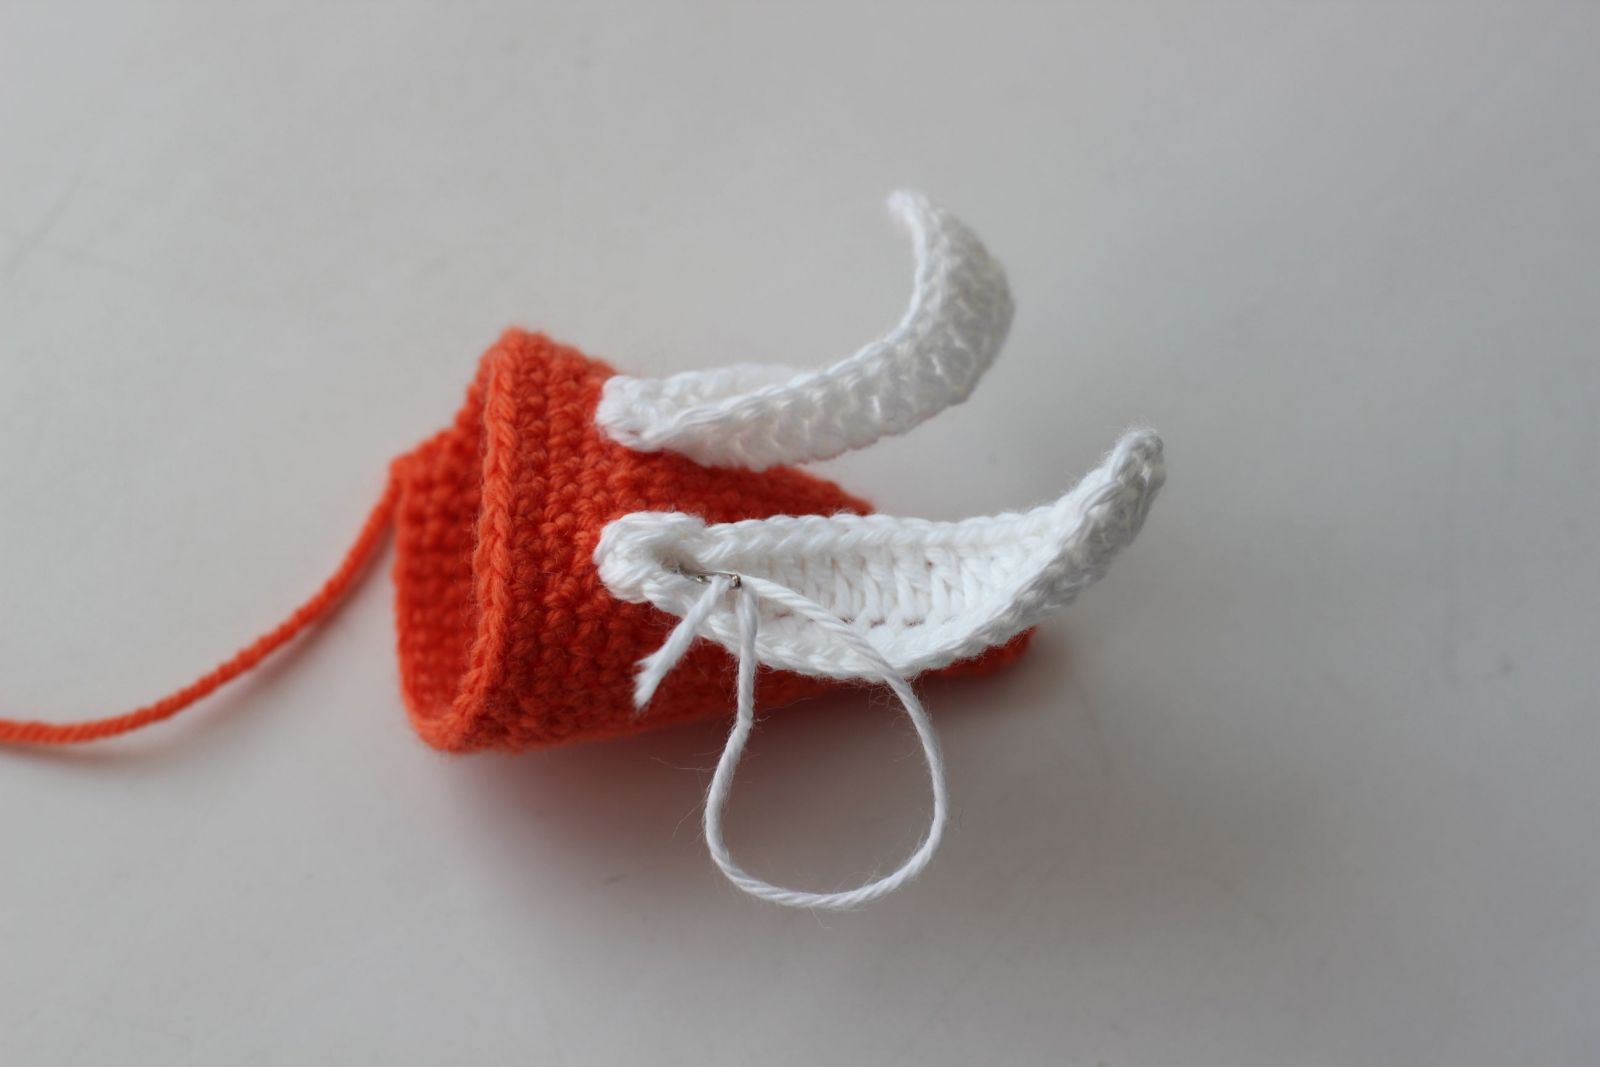
Position ears and sew them to the hat of the bunny .
.JPG)
Position arms and sew them to the body of the bunny. Be sure to step back and take a look to make sure they are even.

Mark where you want the eyes to be placed with pins and sew them with the distance of 2-3 stitches to the head of your bunny.
Begin with the outline of the upside down triangle. Insert the needle through the top of the head and pull it through leaving a little bit of a tail. Then insert the needle 1-2 rows under the eyes and pull it through where you want your rabbit’s nose to be. Fill in the triangle, and finish the uneven lines. At the end pull the needle out the same hole it originally went into, so that both yarn tails are coming out of the same hole. Tie a knot with both yarn tails, as close to the surface of the head as possible. Hide the yarn tails inside the head.
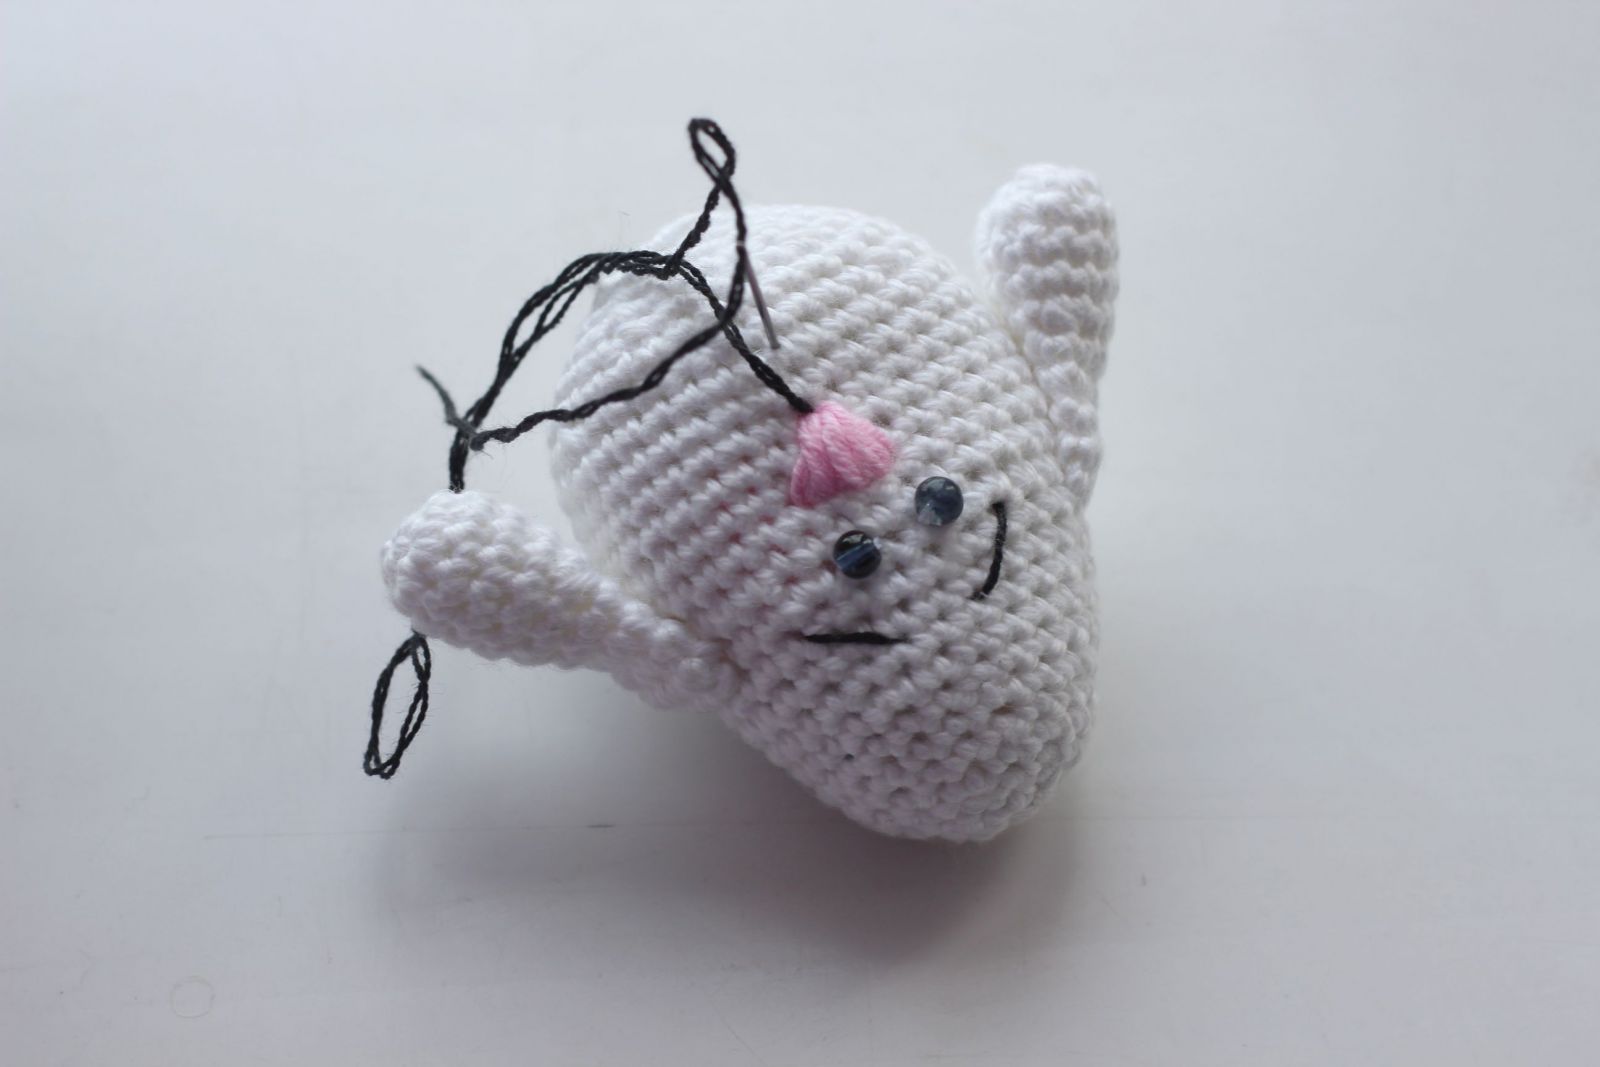
Add a line to the nose using black color yarn.Proceed to the smile if desired. You can also embroider eyebrows and add eyelashes.
.JPG)
Sew hat to the bunny and weave in all ends.
Happy crocheting! Feel free to contact me with any questions. Thank you for stopping by and have a lovely day!


