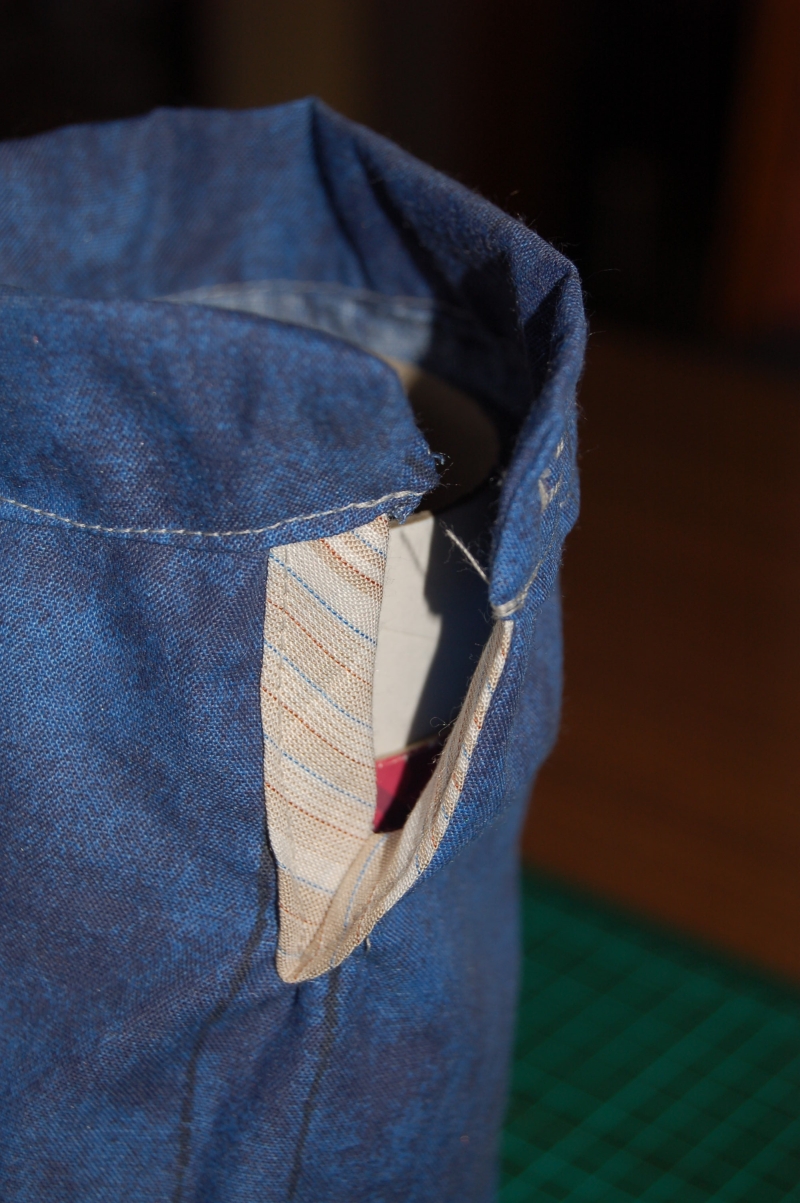
Sleeve placket with cuff
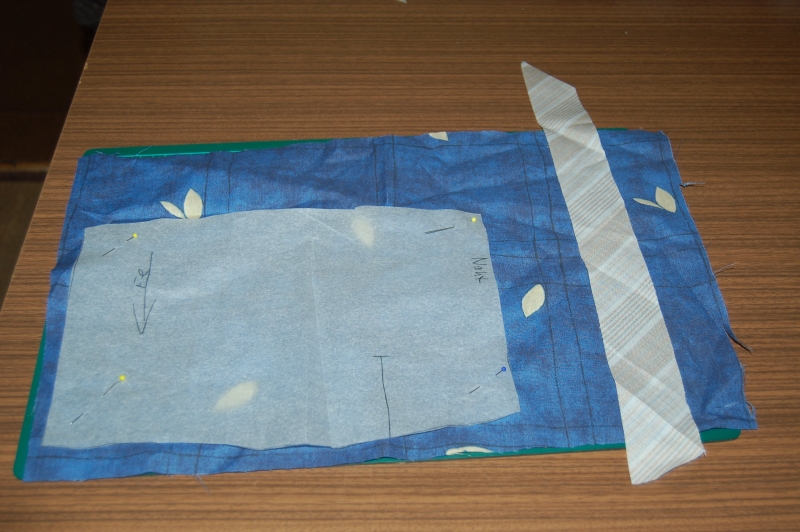
The sleeve placket is always placed on the outside of the arm; it is usually marked
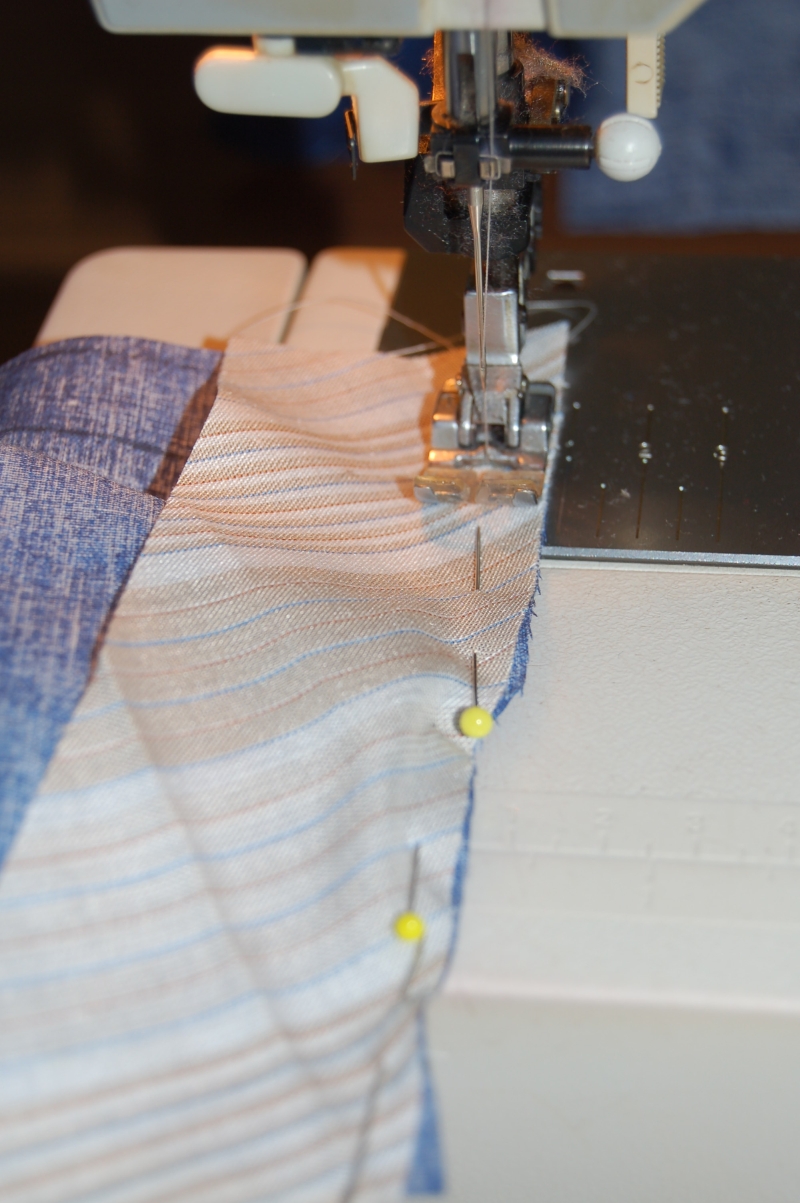
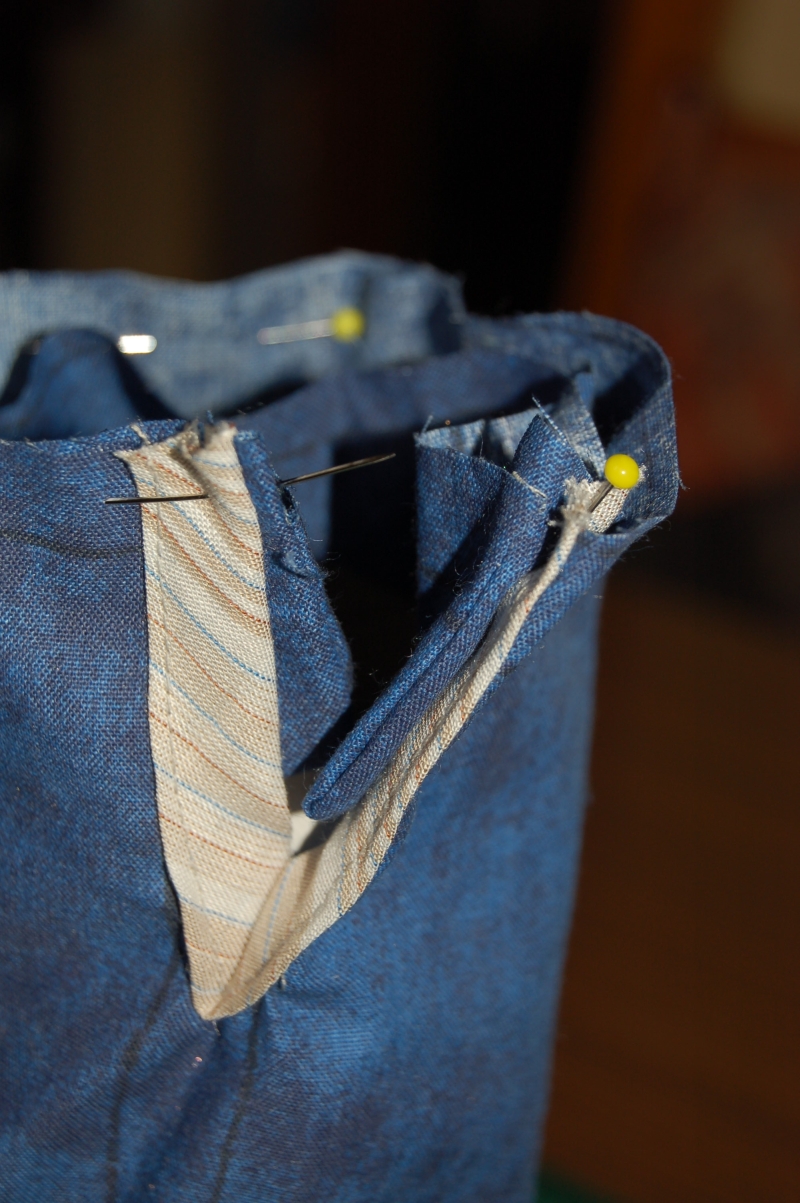
on the pattern. Then the bias strip is folded outward, pinned in place
and stitched in a straight line from one hem edge to the other. You
have to maneuver it a bit so there are no little pleats, but it usually
works quite quickly and well after a few practice pieces. The bias strip is usually sewn on presser-foot width.
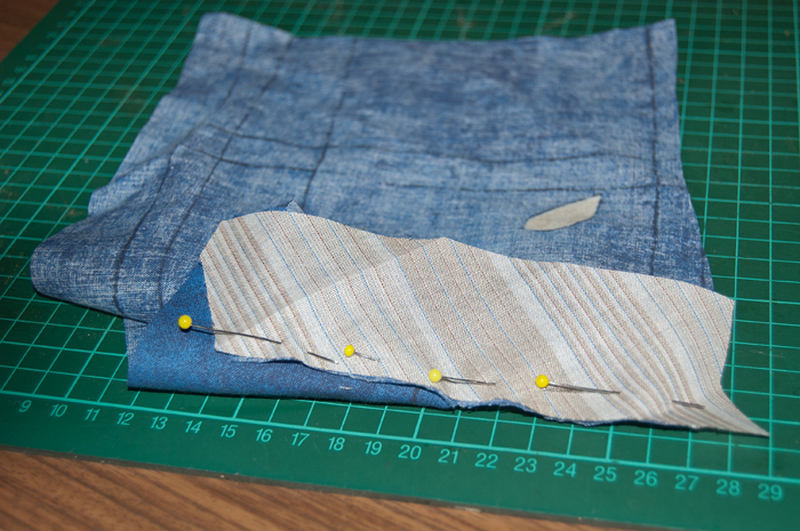
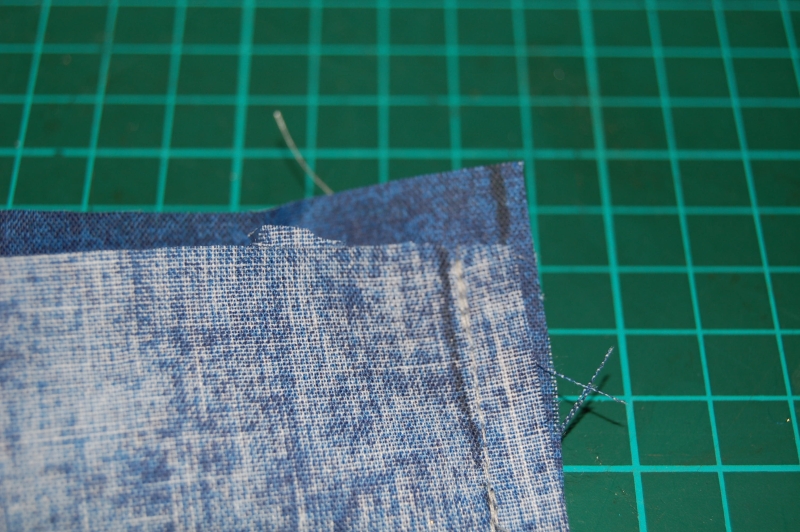
Then trim the bias strip flush with the sleeve hem edge;
the excess would only get in the way inside the cuff and make unattractive
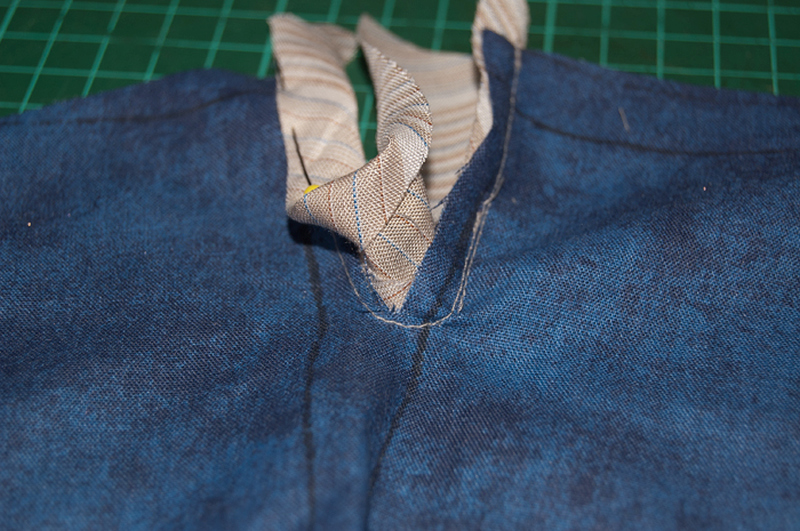
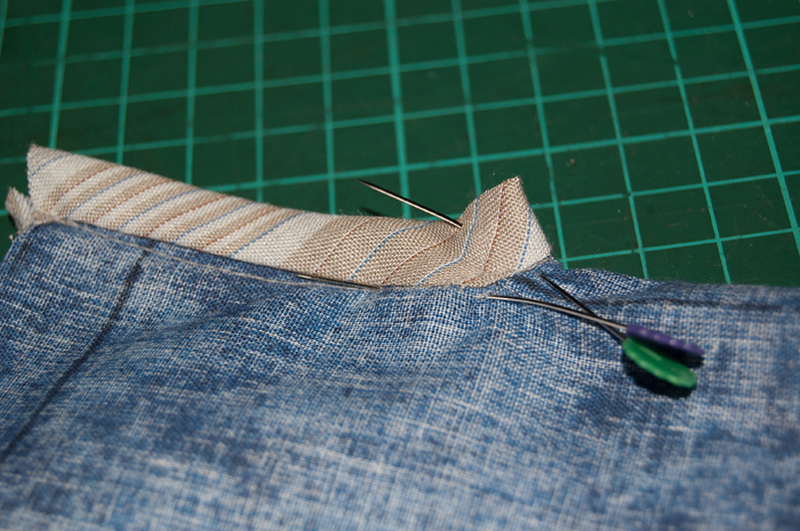
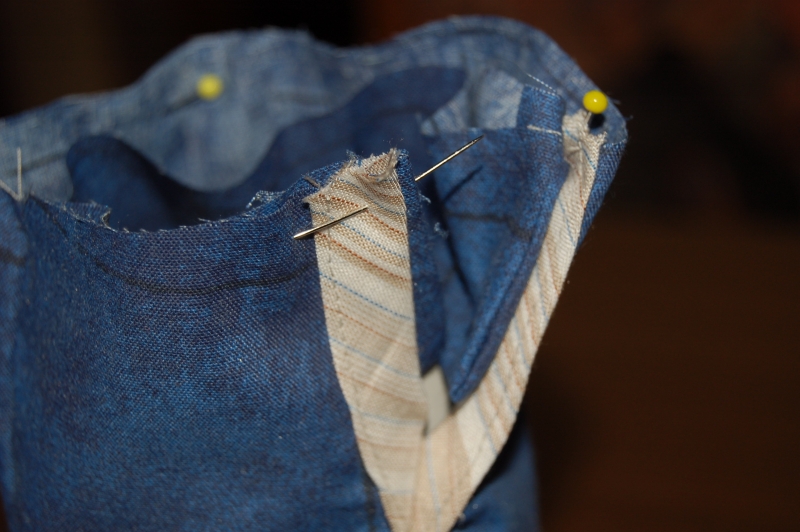
lumps. Now the bias strip is placed exactly on top of itself, because we need to
stitch off a small amount at the bottom on the
curve. This stitching-off is very important; it prevents the sleeve placket from twisting.
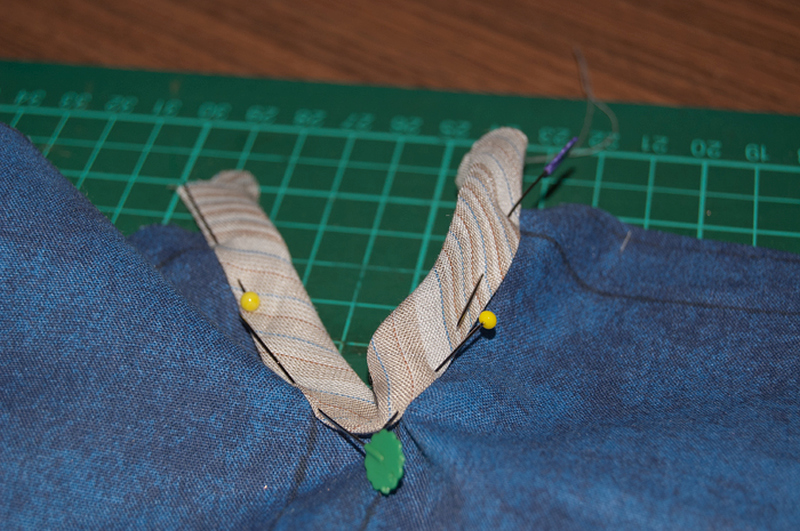
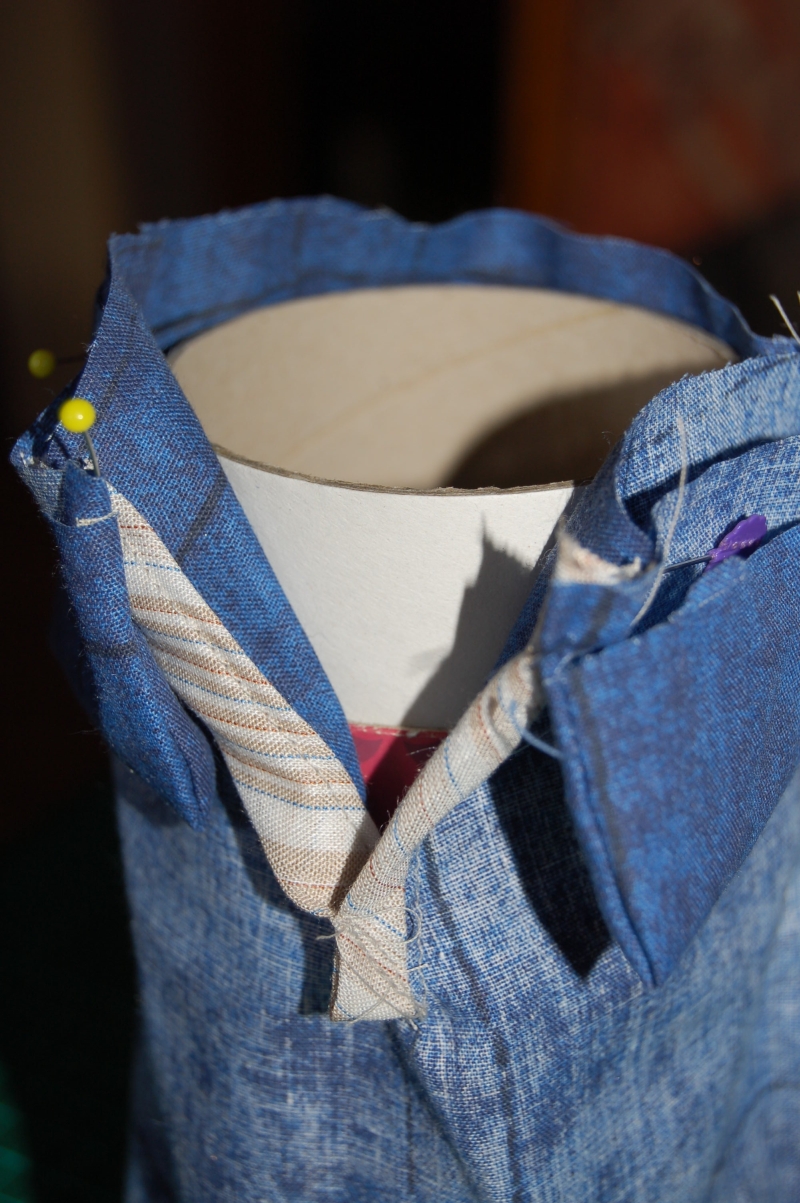
Then sew it as pinned in the picture, i.e. the purple pin
prevents the arm placket from slipping, and the green pin shows how
it is sewn.
The yellow line shows the seam path.
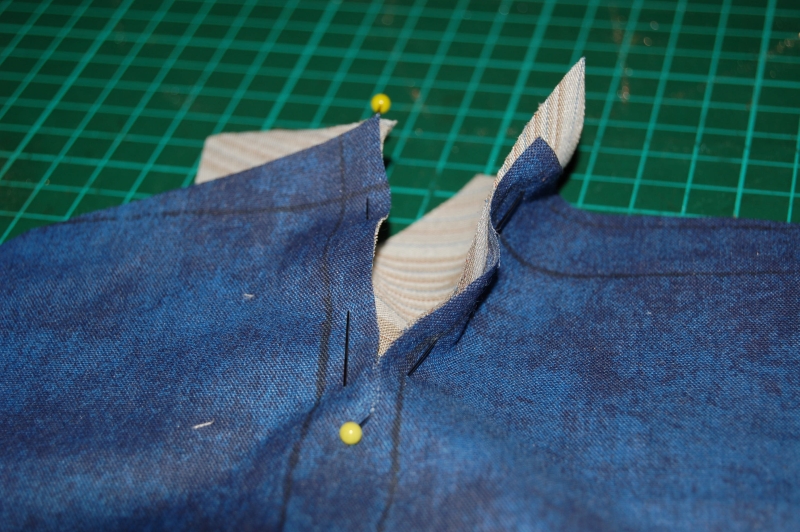
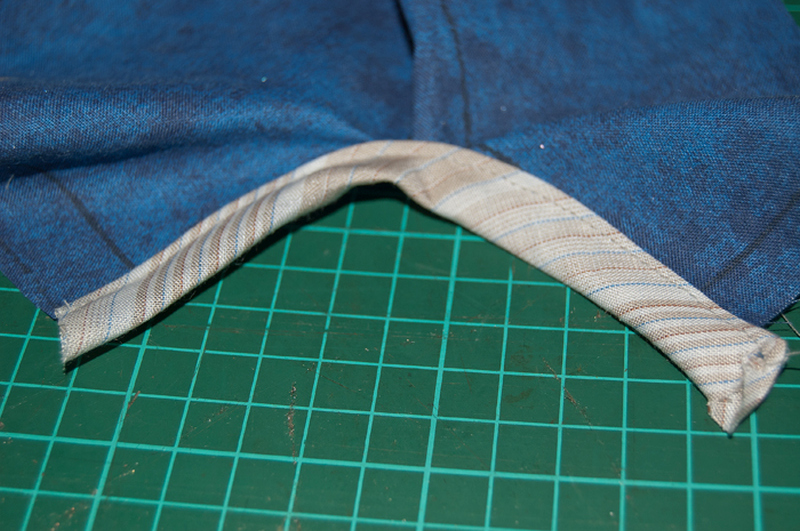
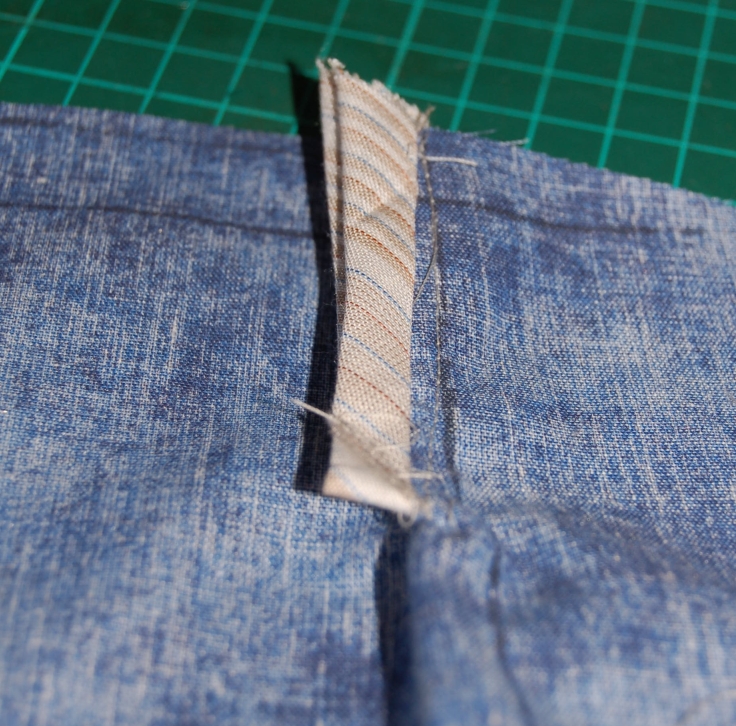
This
is how it should look from the right side.
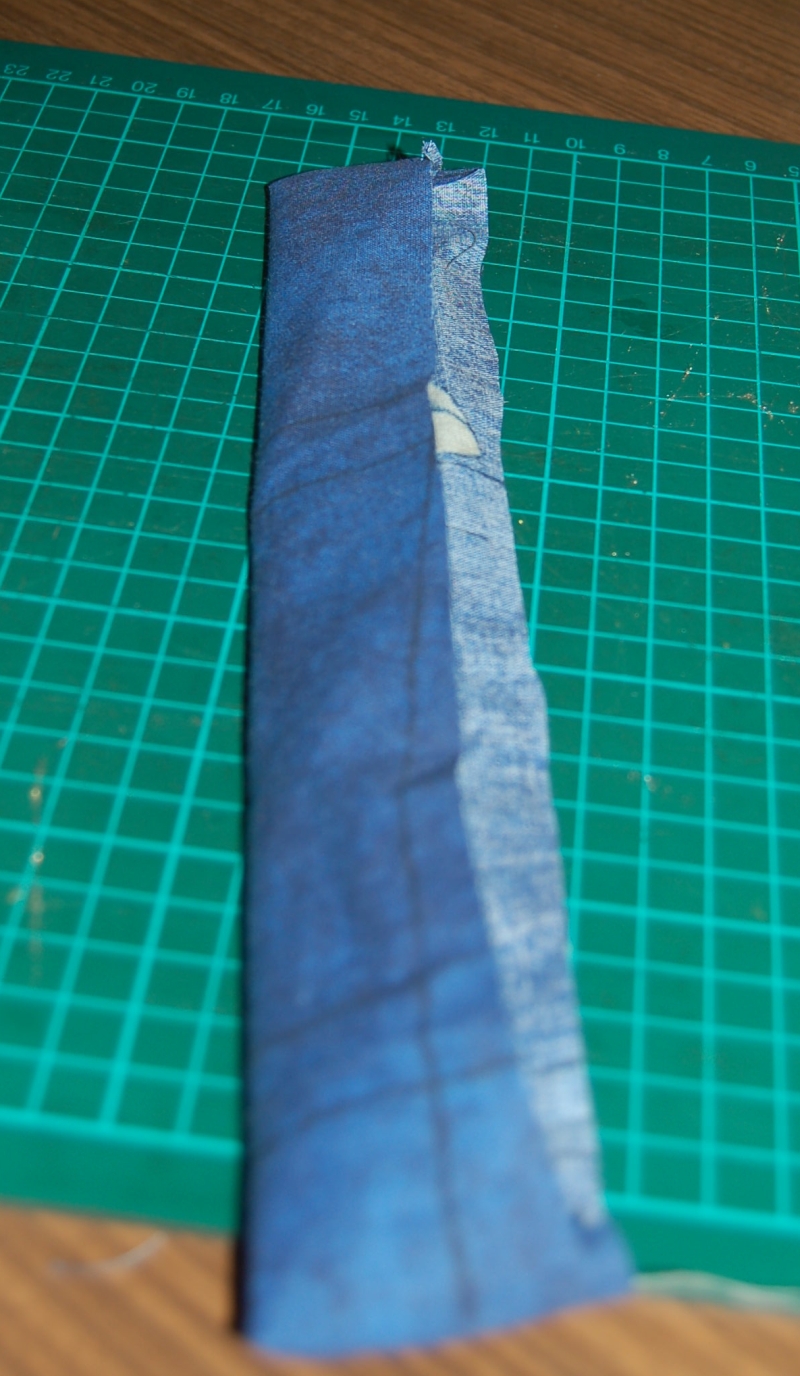
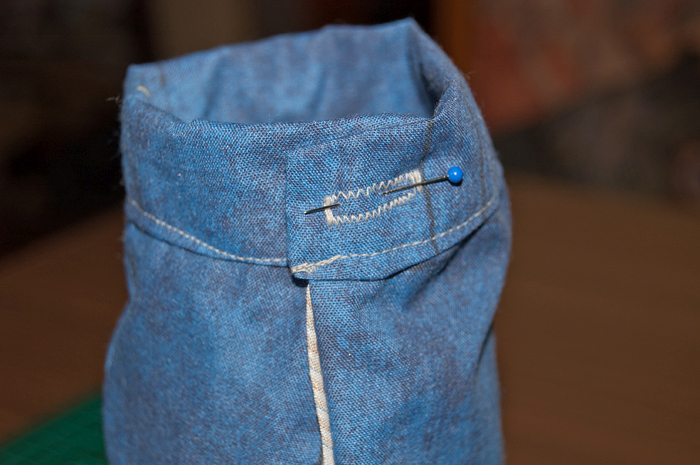
Now the cuff is added; it is pinned from the overlap to the underlap,
which is formed on the inside by the fold of the stitched-off corner,
and stitched in place presser-foot width. The cuff is
also attached right side to wrong side; it is then folded outward,
turned under, and topstitched close to the edge.
Sew the buttonhole into the cuff, sew on the button, and the
sleeve placket with cuff is finished.
Have fun making it; it really isn’t that hard. Here I
didn’t sew any sleeves, but made a practice piece
for you.
Copy by Inge Beinrott. I wrote this pattern 10 years ago, on 24.0.2012
Best regards, Inge


here is an illustrated pattern for a sleeve placket with cuff