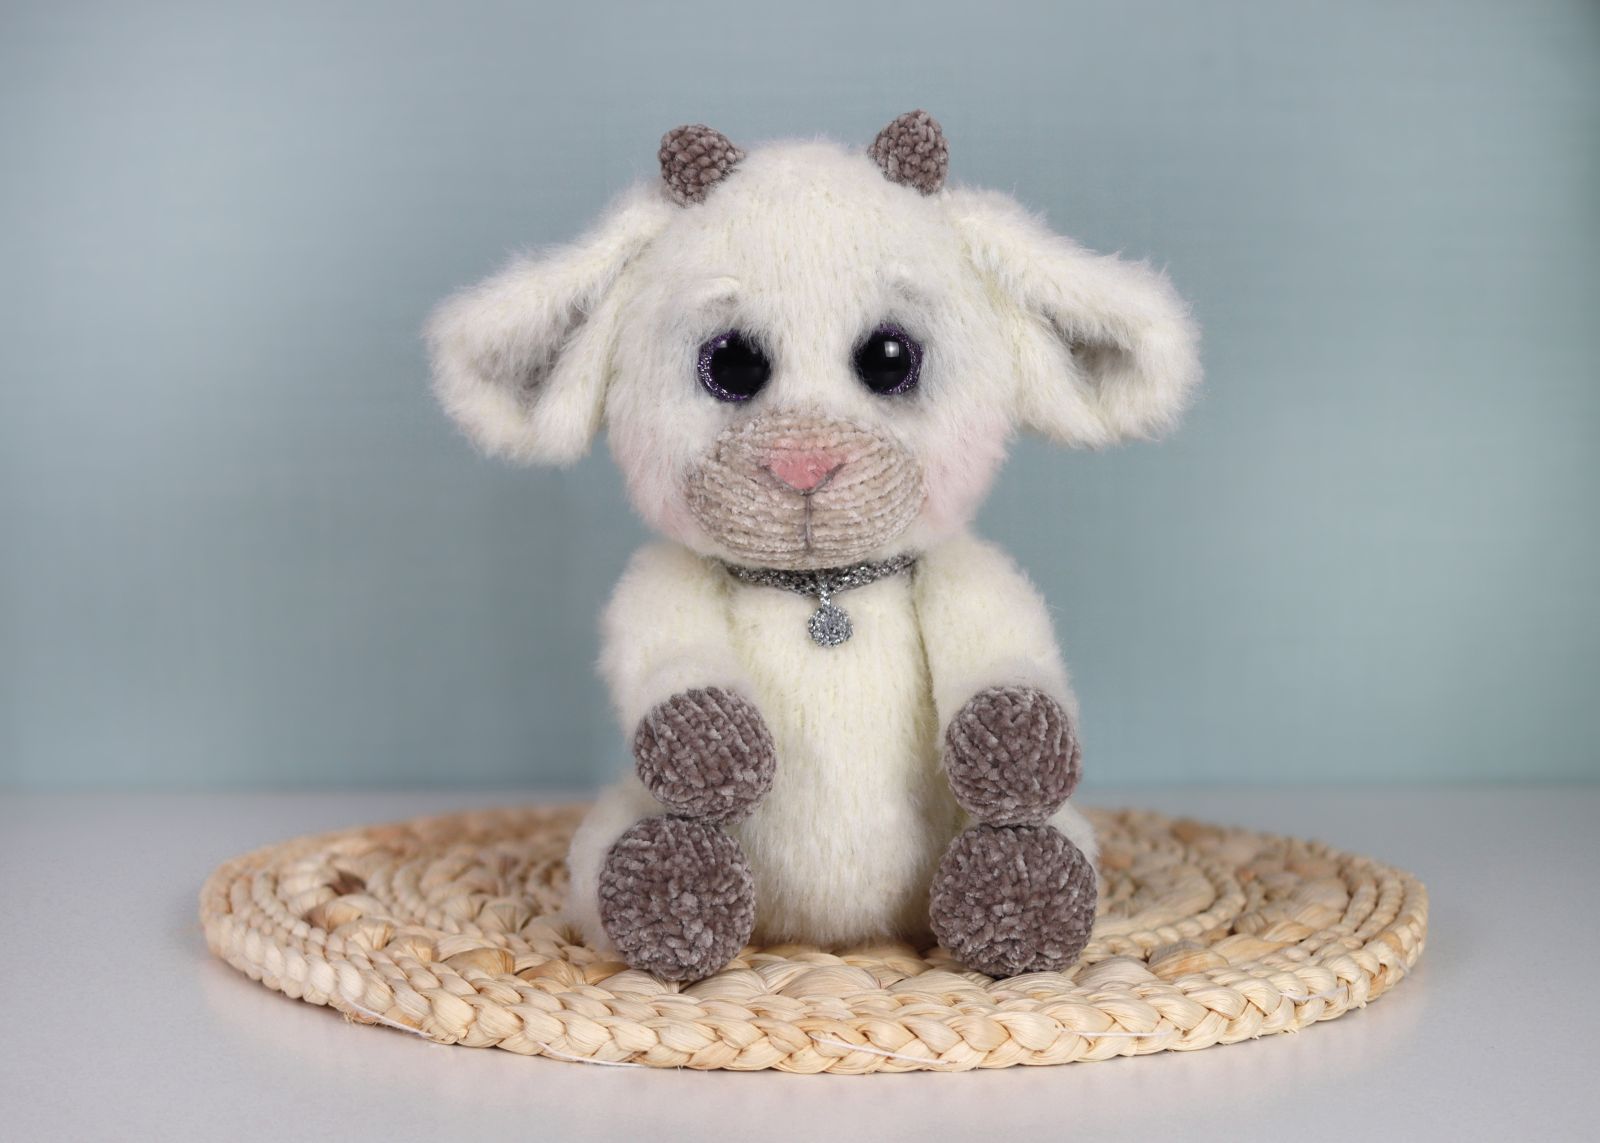
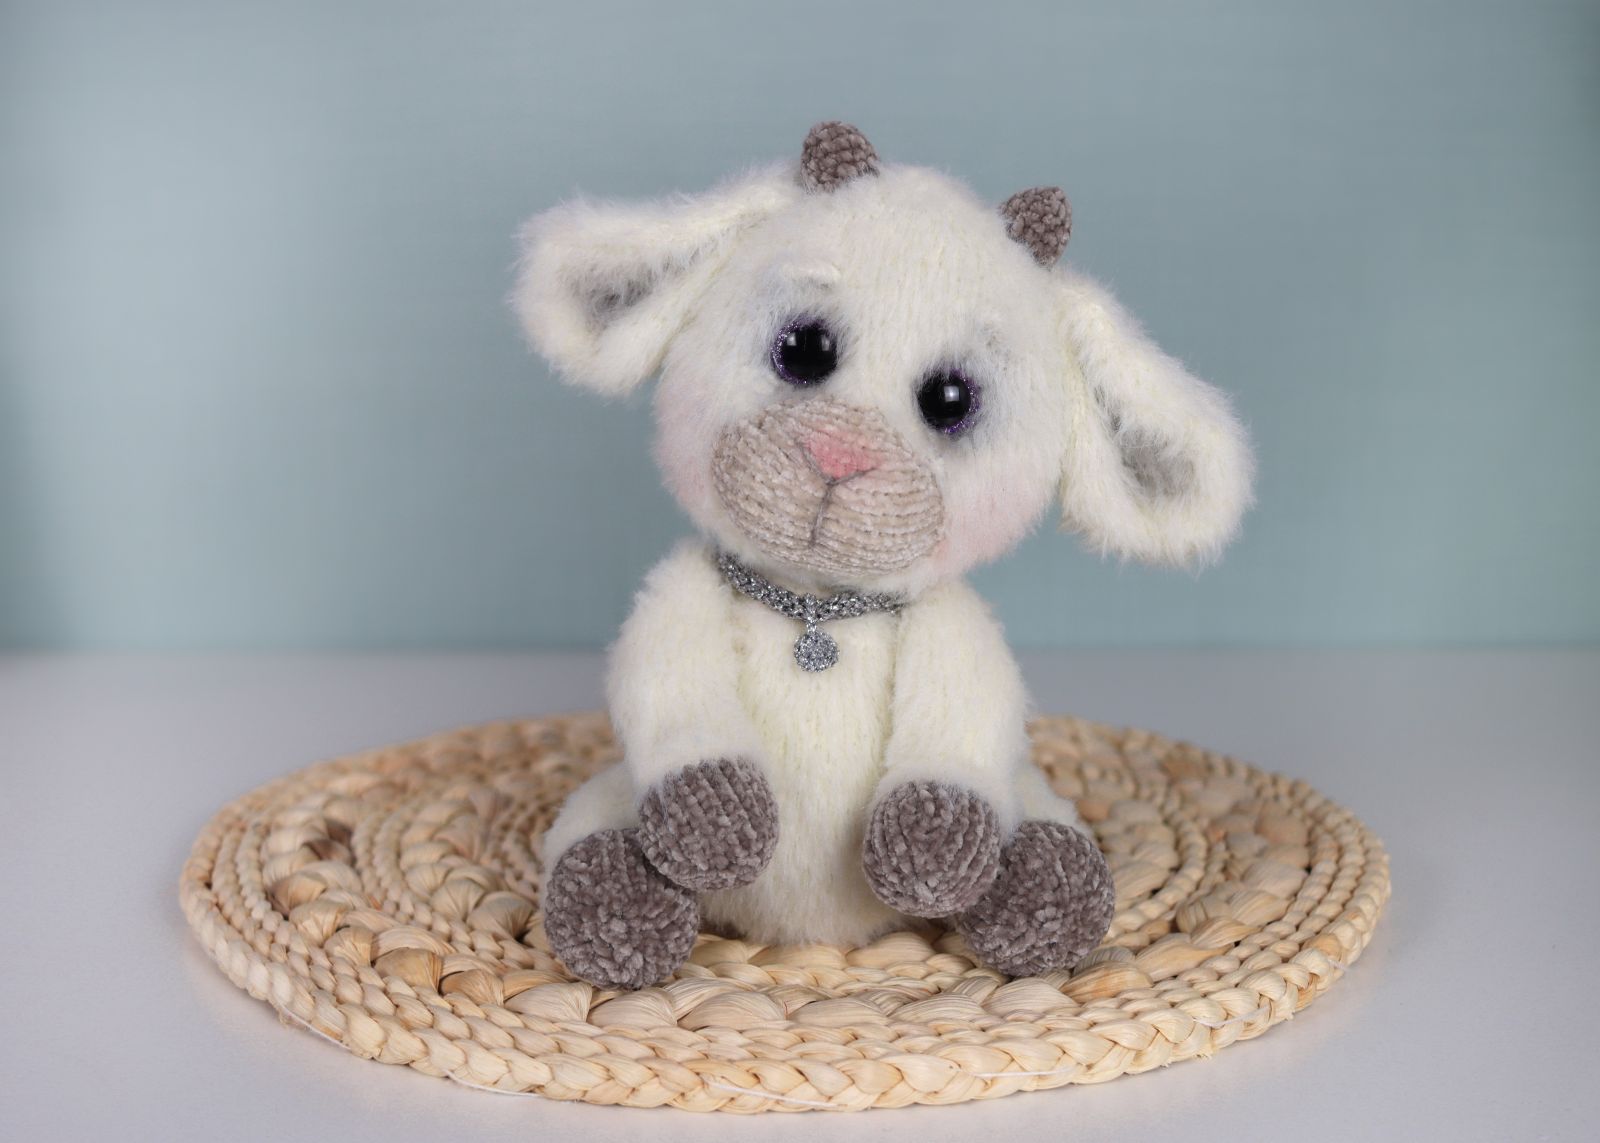
This adorable little goat is knitted from soft yarn and measures approximately 30 cm (12 inches). It's perfect for cuddling, giving as a gift, or adding to your handmade collection. The pattern is easy to follow and beginner-friendly, with simple pieces that come together beautifully. Please keep in mind that the finished size may vary depending on the yarn used and your individual knitting style.
Knitting Instructions:
All parts are crafted entirely with two knitting needles.
Follow these steps:
First Row - Purl Stitches Begin by knitting the first row entirely in purl stitches. These will form the back side of your project, creating a neat texture.
Second Row - Knit Stitches In the second row, knit every stitch. This will produce a smooth, even front for your piece.
Repeating the Pattern Continue alternating between purl stitches in the odd-numbered rows and knit stitches in the even-numbered rows:
- Odd-numbered rows (e.g., 1st, 3rd, 5th): Work in purl stitches.
- Even-numbered rows (e.g., 2nd, 4th, 6th): Work in knit stitches.
This straightforward pattern of alternating knit and purl rows is ideal for beginners, offering an easy yet satisfying introduction to the craft.
You will need the following:
✓ Yarn white 90 gr. Leami Brush for Plush (160 m/ 100g).
✓ Knitting needles – 2.50 mm
✓ Stuffing/fiberfill, safety eyes 20 mm
✓ 1 extra-long sewing needle
Choose the yarn, knitting needles, and eye size according to your own taste and experience.
Abbreviations:
- ch – Chain(s)
- inc – increase
- dec – decrease
- X dec – X- times decrease
- X inc – X- times increase
- ST – Stitch
- P – purl
- K– knit (garter stitch)
Hind legs
Hoof Start with beige.
Cast on 6 stitches (ch) onto the knitting needle. Make sure the stitches are evenly stretched while knitting to ensure your knitted piece is nice and even.
1. 6 P
2. 6 K inc (12)
3. 12 P
4. (1 K,1 inc)х 6 (18)
5. 18 P
6. (2 K,1 inc)х 6 (24)
7. 24 P
8. (3 K, 1 inc)х 6 (30)
9. 30 P
10. 30 K
11. 30 P
12. 30 K
13. 30 P
14. (3 K, 1 dec)х 6 (24)
15. 24 P
Color change white
16. (2 K, 1 dec)х 6 (18)
17. 18 P
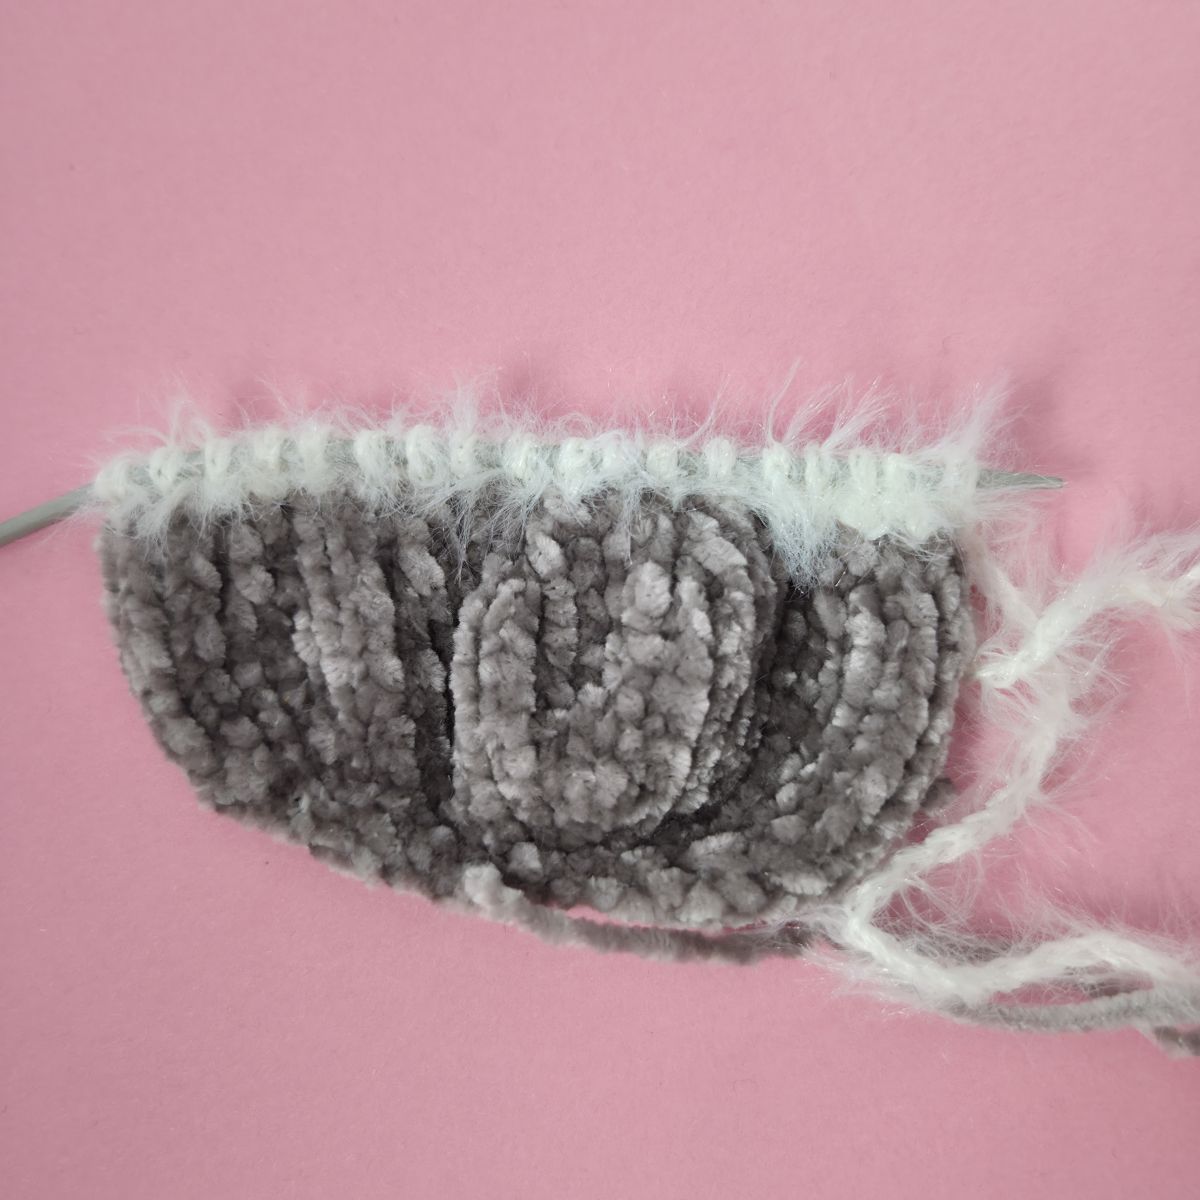
Knit a total of 20 rows in stockinette stitch:
On the front side of the work, knit all stitches across the row.
On the back side of the work, purl all stitches across the row.
18. 20. 22. 24. 26. 28. 30. 32. 34. 36 – 24 K
19. 21. 23. 25. 27. 29. 31. 33. 35. 37 - 24 P
38. (2 K, 1 dec)х 6 (18)
39. 18 P
40. (1 K, 1 dec)х 6 (12)
41. 12 P
42. 6 dec
43. 6 P
Bind off the remaining stitches. Using a yarn needle and the matching yarn (beige and white), sew the leg pieces together. Make sure your stitches are evenly spaced to create a neat and tidy seam. Finally, lightly stuff the legs with fiberfill.
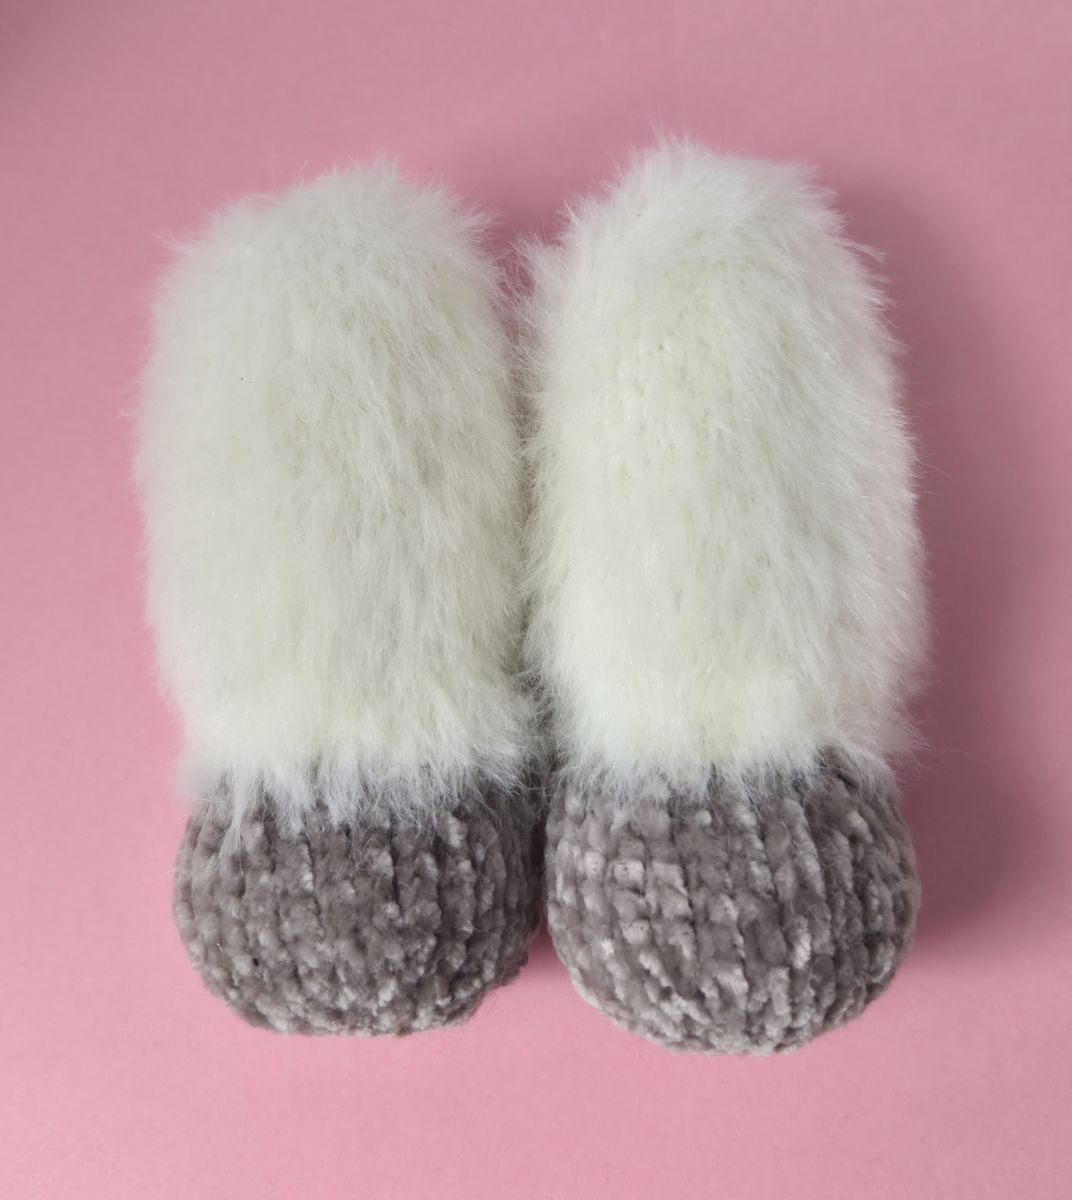
Forelegs
Hoof Start with beige.
Cast on 6 stitches (ch) onto the knitting needle. Make sure the stitches are evenly stretched while knitting to ensure your knitted piece is nice and even.
1. 6 P
2. 6 K inc (12)
3. 12 P
4. (1 K,1 inc)х 6 (18)
5. 18 P
6. 8 K, 1 inc, 8 K, 1 inc (20)
7. 20 P
8. 9 K, 1 inc, 9 K, 1 inc (22)
9. 22 P
10. 22 K
11. 22 P
12. 9 K, 1 dec, 9 K, 1 dec (20)
13. 20 P
Color change white
14. 8 K, 1 dec, 8 K, 1 dec (18)
15. 18 P
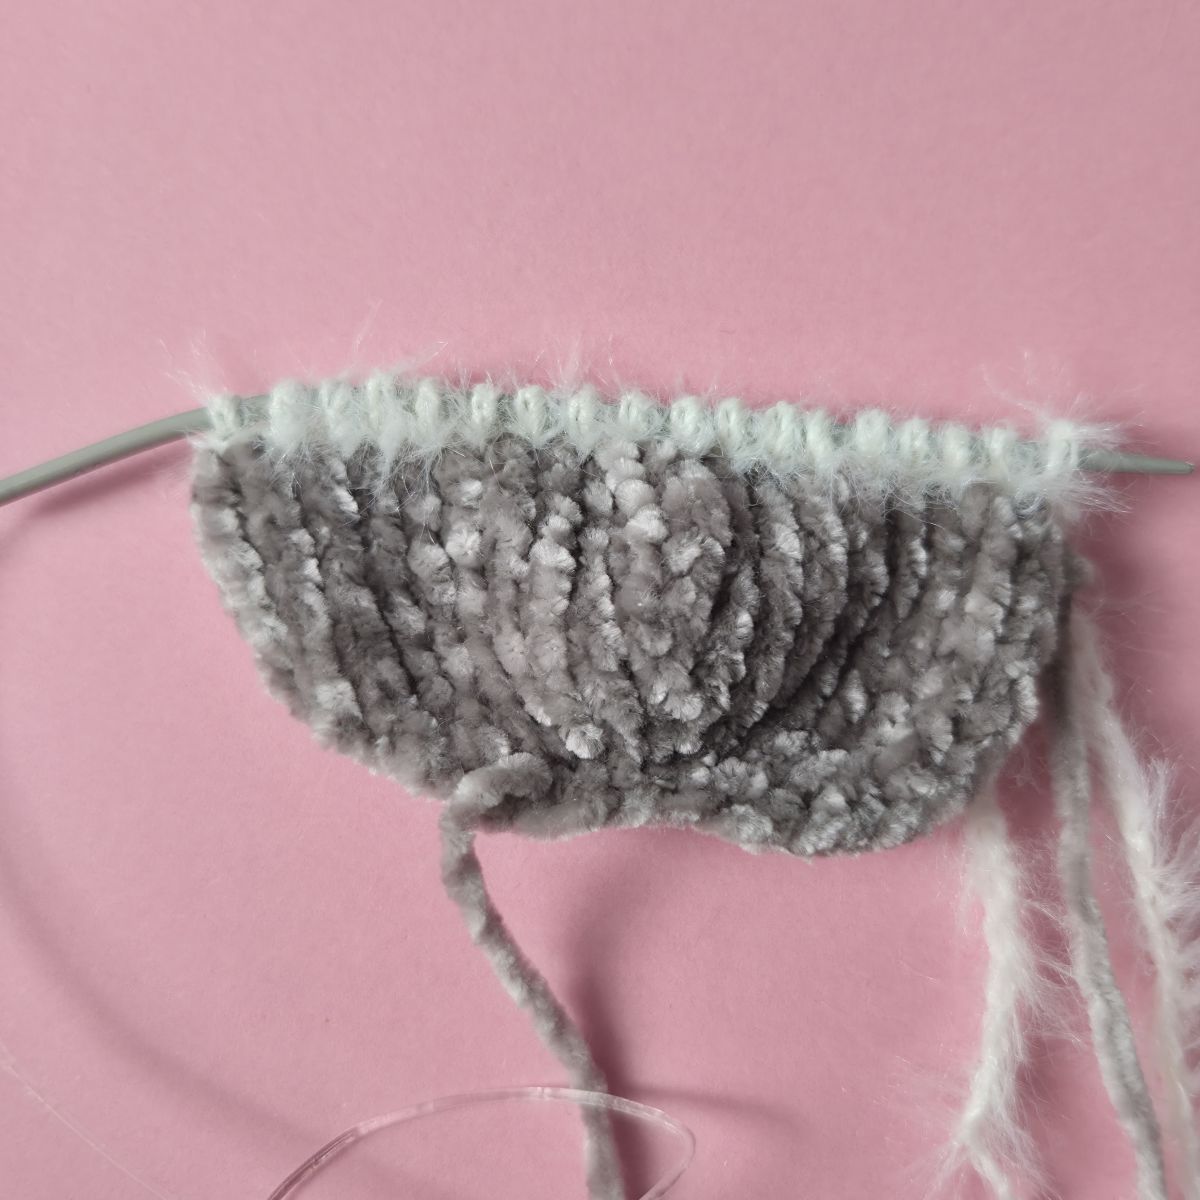
16. 1 K, 1 dec, 12 K, 1 dec, 1 K (16)
17. 16 P
18. 16 K
19. 16 P
20. 1 K, 1 inc, 12 K, 1 inc, 1 K (18)
21. 18 P
22. 2 K, 1 inc, 12 K, 1 inc, 2 K (20)
Knit a total of 11 rows in stockinette stitch:
On the front side of the work, knit all stitches across the row.
On the back side of the work, purl all stitches across the row.
24. 26. 28. 30. 32. – 20 K
23. 25. 27. 29. 31. 33. - 20 P
34. 2 K, 1 dec, 12 K, 1 dec, 2 K (18)
35. 18 P
36. (1 K, 1 dec)х 6 (12)
37. 12 P
38. 6 dec
39. 6 P
Bind off the remaining stitches. Sew the leg pieces together using a yarn needle and matching yarn (beige and white). Work as neatly and evenly as possible to achieve a clean finish. Then, stuff the legs with fiberfill.
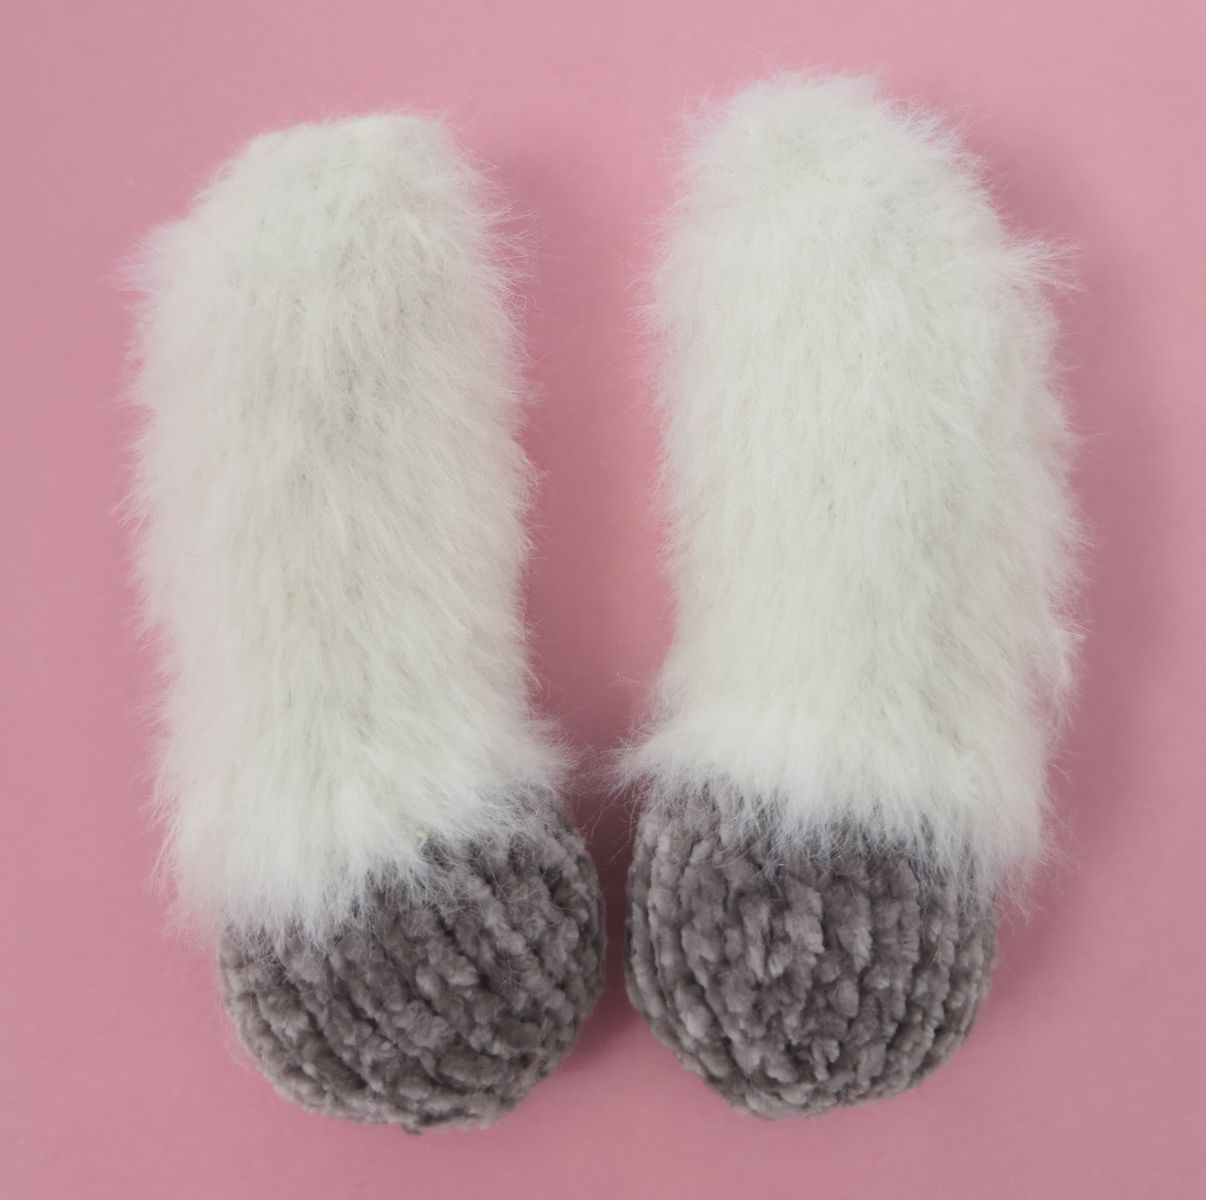
Body
Cast on 6 stitches (ch) onto the knitting needle. Make sure the stitches are evenly stretched while knitting to ensure your knitted piece is nice and even.
1. 6 P (6)
2. 6 K inc. (12)
3. 12 P (12)
4. (1 K, 1 K inc)x 6 (18)
5. 18 P
6. (2 K, 1 K inc)x 6 (24)
7. 24 P
8. (3 K, 1 K inc)x 6 (30)
9. 30 P
10. (4 K, 1 K inc)x 6 (36)
11. 36 P
12. 12 K, 12 K inc, 12 K (48)
13. 48 P
14. 12 K, (1 K, 1 inc)x 12, 12 K (60)
15. 60 P
16. 60 K
17. 60 P
18. 60 K
19. 60 P
20. 60 K
21. 60 P
22. 20 K, (1 dec, 2 K)х 5, 20 K (55)
23. 55 P
24. 20 K, (1 dec, 1 K)х 5, 20 K (50)
25. 50 P
26. 23 K, 1 dec, 23 K, 1 dec (48)
27. 48 P
28. (1 dec, 6 K)х 6 (42)
29. 42 P
30. (1 dec, 5 K)х 6 (36)
31. 36 P
32. (1 dec, 4 K)х 6 (30)
33. 30 P
34. 30 K
35. 30 P
36. 30 K
37. 30 P
38. 30 K
39. 30 P
Finally, bind off the remaining stitches. Using a yarn needle and matching yarn, sew the body closed. Try to keep your stitches as even as possible for a neat and tidy finish. Fluffy yarn works especially well for this, as its soft texture helps conceal the seam, making it nearly invisible. As you sew, gradually stuff the body with fiberfill.
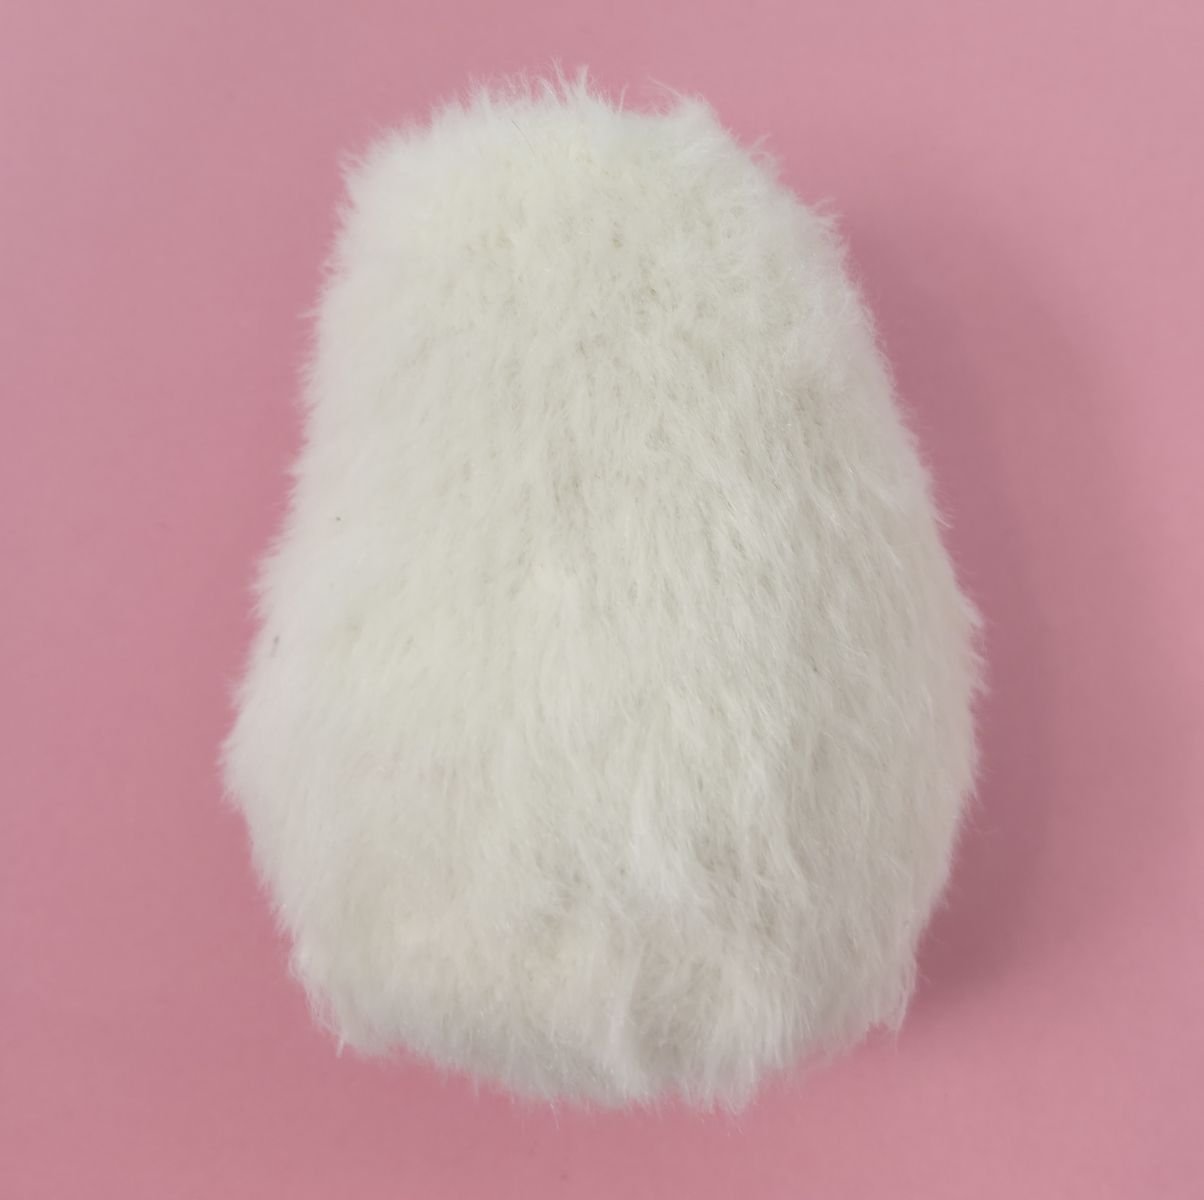
Head
Cast on 6 stitches (ch) onto the knitting needle. Make sure the stitches are evenly stretched while knitting to ensure your knitted piece is nice and even.
1. 6 P
2. 6 K inc. (12)
3. 12 P
4. (1 K, 1 K inc)x 6 (18)
5. 18 P
6. (2 K, 1 K inc)x 6 (24)
7. 24 P
8. (3 K, 1 K inc)x 6 (30)
9. 30 P
10. (4 K, 1 K inc)x 6 (36)
11. 36 P
12. (5 K, 1 K inc)x 6 (42)
13. 42 P
14. (6 K, 1 K inc)x 6 (48)
15. 48 P
16. (7 K, 1 K inc)x 6 (54)
17. 54 P
18. 54 K
19. 54 P
20. 54 K
21. 54 P
22. 54 K
23. 54 P
24. 54 K
25. 54 P
26. 54 K
27. 54P
28. 54 K
29. 54 P
30. 14 K, 5 inc, 16 K, 5 inc, 14 K (64)
31. 64 P
32. 64 K
33. 64 P
34. 64 K
35. 64 P
36. 64 K
37. 64 P
38. 64 K
39. 64 P
40. 14 K, 5 dec, 16 K, 5 dec, 14 K (54)
41. 54 P
42. 54 K
43. 54 P
44. (3 K, 1 dec)х5, 4 K, (1 dec, 3 K)х5 (44)
45. 44 P
46. (2 K, 1 dec)х4, 12 K, (1 dec, 2 K)х4 (36)
47. 36 P
48. (4 K, 1 dec)х6 (30)
49. 30 P
50. (3 K, 1 dec)х6 (24)
51. 24 P
52. (2 K, 1 dec)х6 (18)
53. 18 P
54. (1 K, 1 dec)х6 (12)
55. 12 P
56. 6 dec
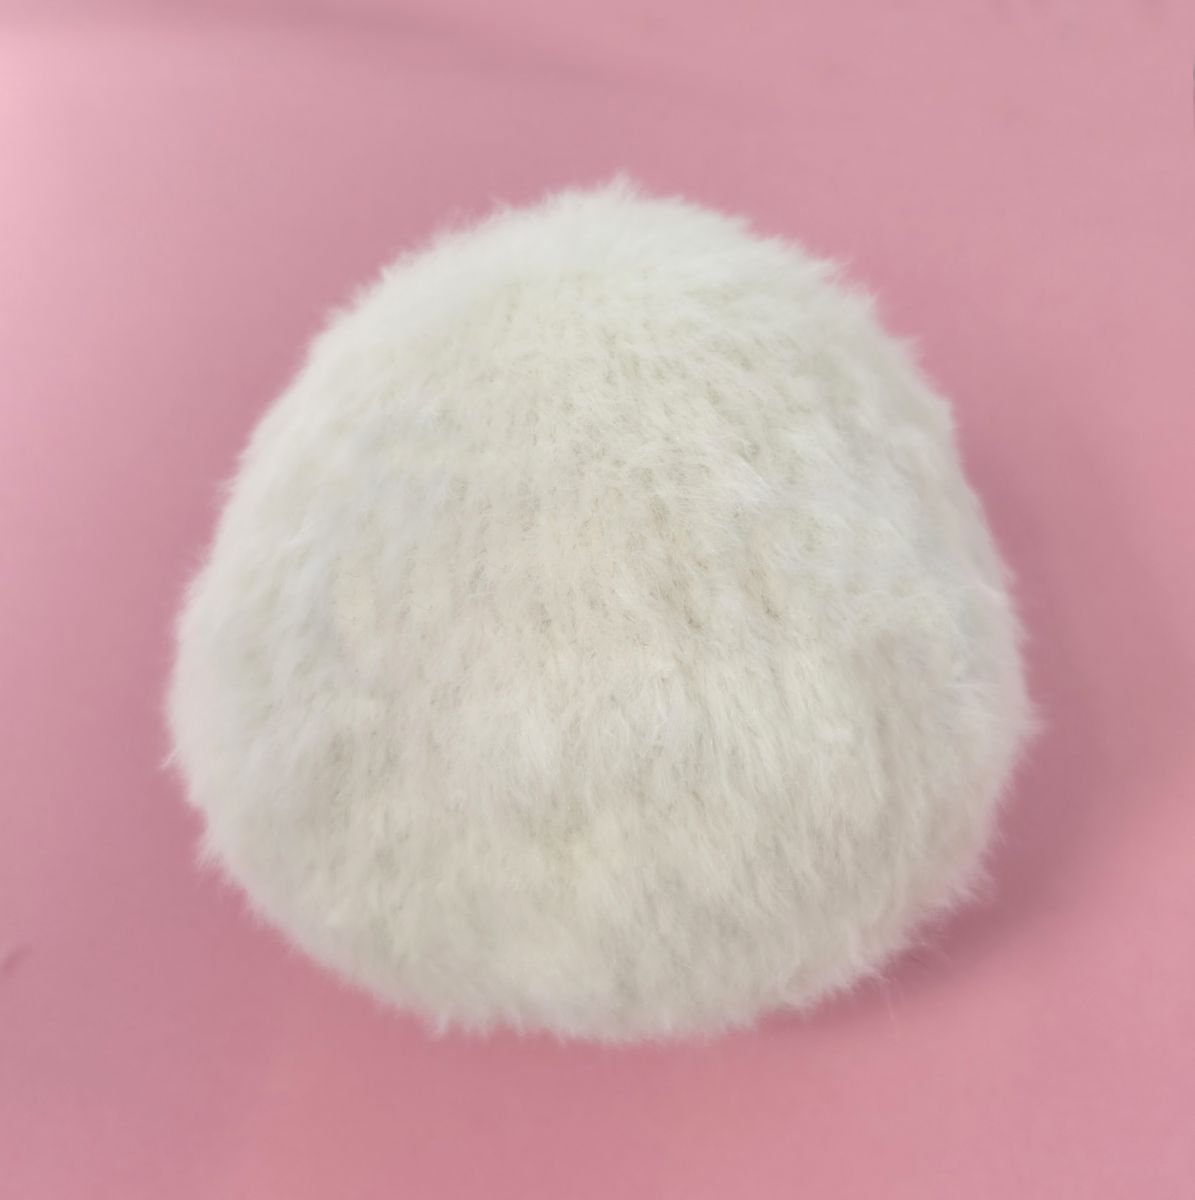
Bind off the remaining stitches. Then, sew the head together using a yarn needle and matching yarn. Take care to keep your stitches as even as possible for a neat and tidy finish. As you sew, gradually stuff the head with fiberfill.
Since I used safety eyes, I left a small opening while sewing the head closed. This makes it easier to insert the eyes and attach the safety washers from the inside later. Make sure the opening is large enough to work comfortably and secure the washers without difficulty, but avoid making it larger than necessary.
Muzzle
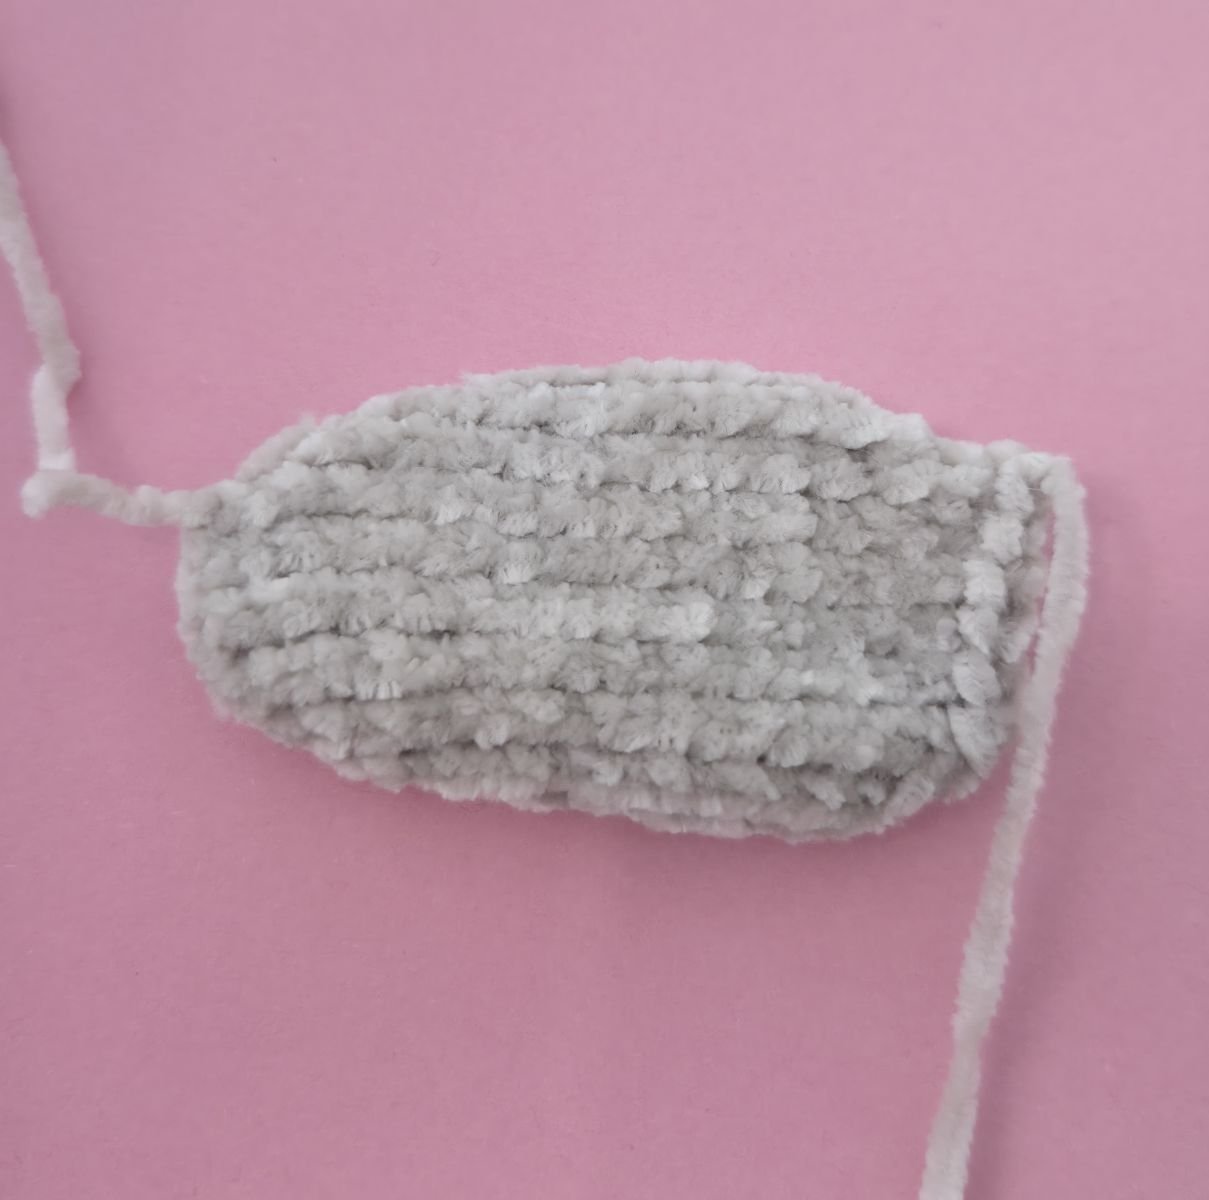
Cast on 8 stitches (ch) onto the knitting needle. Make sure the stitches are evenly stretched while knitting to ensure your knitted piece is nice and even.
1. 8 P
2. 1 K ved, 6 K, 1 K inc (10)
3. 10 P
4. 1 K ved, 8 K, 1 K inc (12)
5. 12 P
6. 1 K ved, 10 K, 1 K inc (14)
7. 14 P
8. 1 K ved, 12 K, 1 K inc (16)
9. 16 P
10. 16 K
11. 16 P
12. 16 K
13. 16 P
14. 16 K
15. 16 P
16. 1 K dec, 12 K, 1 K dec (14)
17. 14 P
18. 1 K dec, 10 K, 1 K dec (12)
19. 12 P
20. 1 K dec, 8 K, 1 K dec (10)
21. 10 P
22. 1 K dec, 6 K, 1 K dec (8)
23. 8 P
Bind off the remaining stitches. Sew the muzzle to the center of the lower part of the head. As you sew, gradually add a small amount of polyester fiberfill to give the muzzle a nice three-dimensional shape and gentle volume. Once the muzzle is attached, you can insert the eyes.
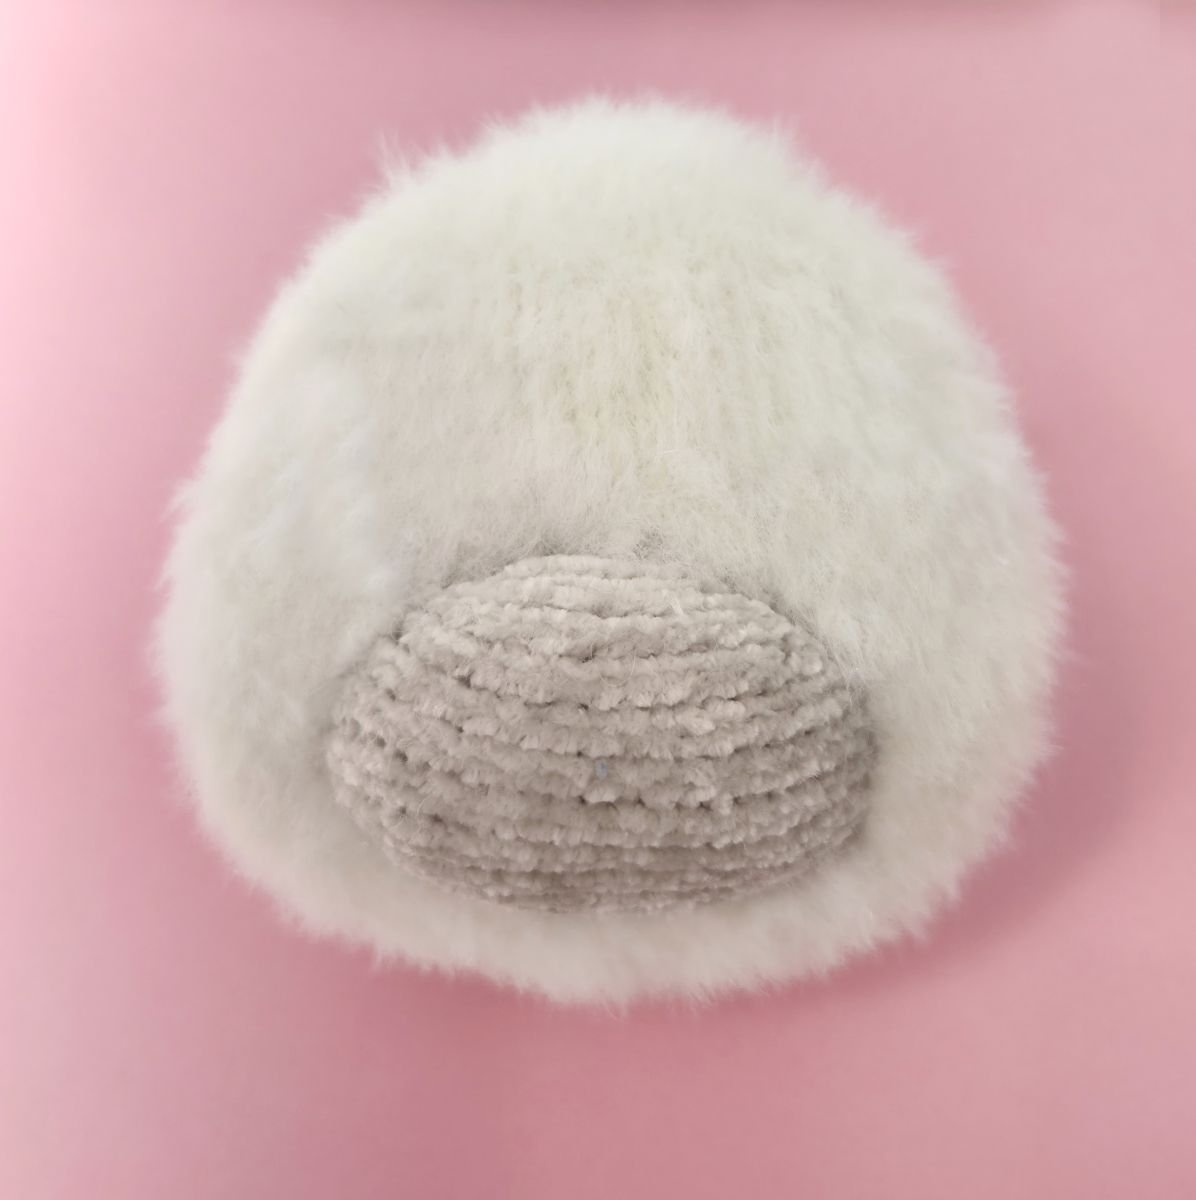
Please take extra care when attaching the eyes, especially if the toy is intended for children under 5 years of age. Safety eyes must be securely fastened and should not come loose during play. Always check carefully that they are firmly attached and cannot be pulled out. You are responsible for ensuring that all parts are securely and safely attached.
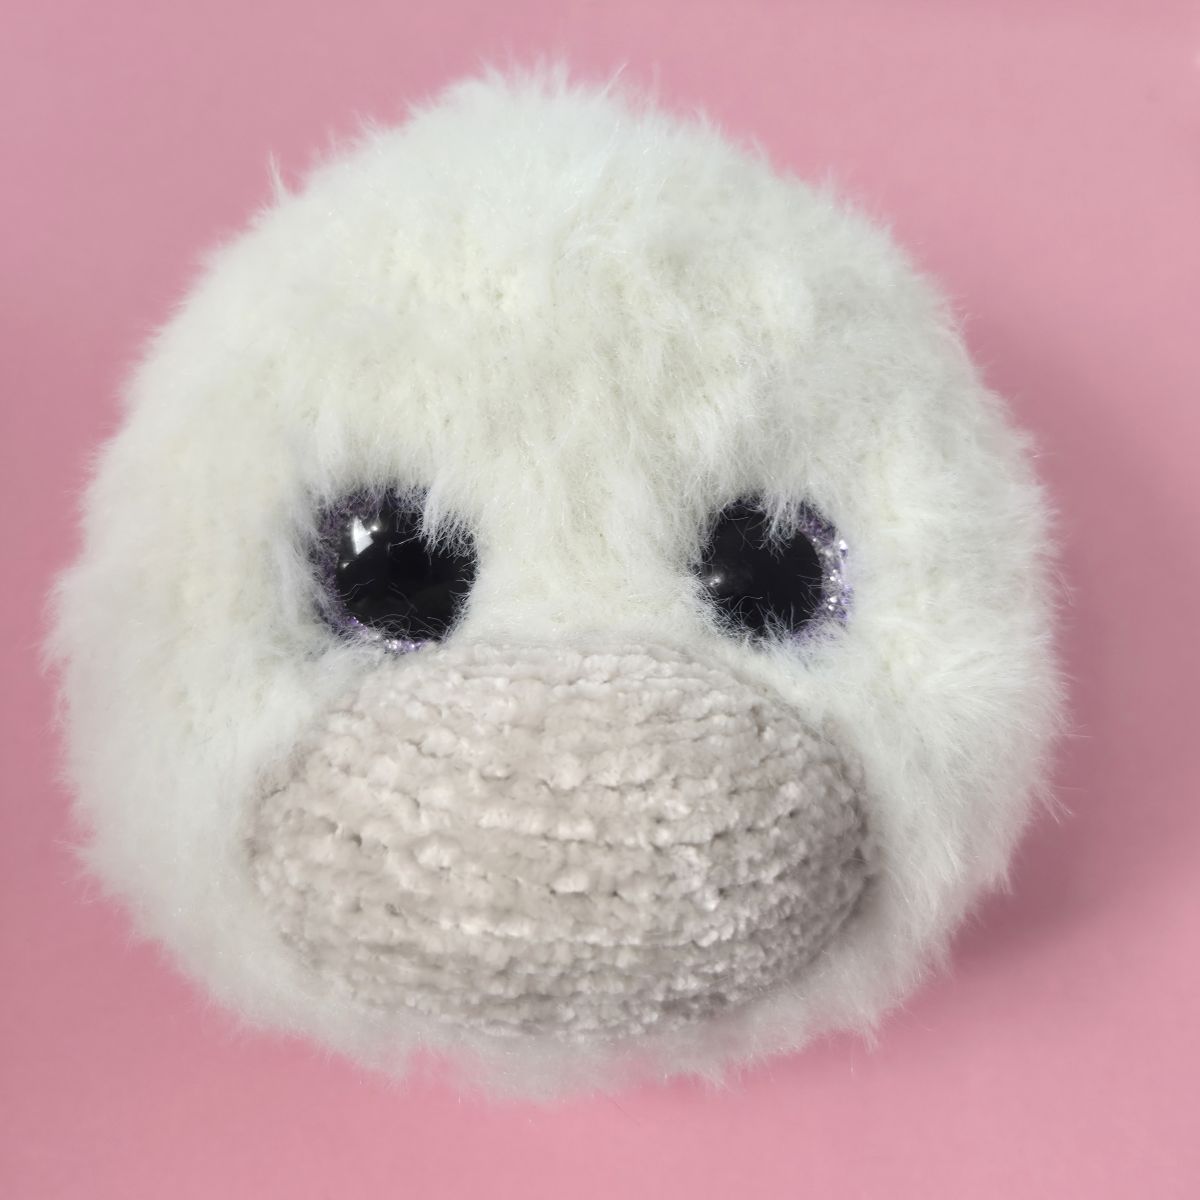
For my little goat, I used standard safety eyes. I placed them approximately 1.5 cm above the muzzle. Insert the eyes through the knitted fabric and secure them on the inside with the matching locking washers. Press the washers firmly into place to ensure the eyes remain secure.
Alternatively, you can use sew-on eyes, which are stitched directly onto the head with thread. If you choose this option, make sure they are attached securely and cannot come loose. When making toys for young children, safety should always be your top priority.
Feel free to experiment with different eye styles, sizes, and placements. Even small changes can give the face a completely different expression and make each little goat unique.
Once the eyes are securely attached, sew the opening closed.
Ears
Cast on 6 stitches (ch) onto the knitting needle. Make sure the stitches are evenly stretched while knitting to ensure your knitted piece is nice and even.
1. 6 P
2. 6 K inc (12)
3. 12 P
4. (1 K, 1 K inc)x 6 (18)
5. 18 P
6. (2 K, 1 K inc)x 6 (24)
7. 24 P
8. (3 K, 1 K inc)x 6 (30)
9. 30 P
10. (4 K, 1 K inc)x 6 (36)
11. 36 P
12. (5 K, 1 K inc)x 6 (42)
13. 42 P
14. 42 K
15. 42 P
16. 42 K
17. 42 P
18. 42 K
19. 42 P
20. 19 K, 1 dec, 19 K, 1 dec (40)
21. 40 P
22. 18 K, 1 dec, 18 K, 1 dec (38)
23. 38 P
24. 17 K, 1 dec, 17 K, 1 dec (36)
25. 36 P
26. (4 K, 1 dec)x 6 (30)
27. 30 P
28. (3 K, 1 dec)x 6 (24)
29. 24 P
30. 24 K
31. 24 P
Once the ears are finished, bind off the remaining stitches. Do not stuff the ears, as they should remain nice and flat. Fold each ear in half and sew the edges together. Then, attach the ears to the sides of the head. Before sewing them in place, try different positions until you are happy with how they look. Make sure both ears are attached at the same height.
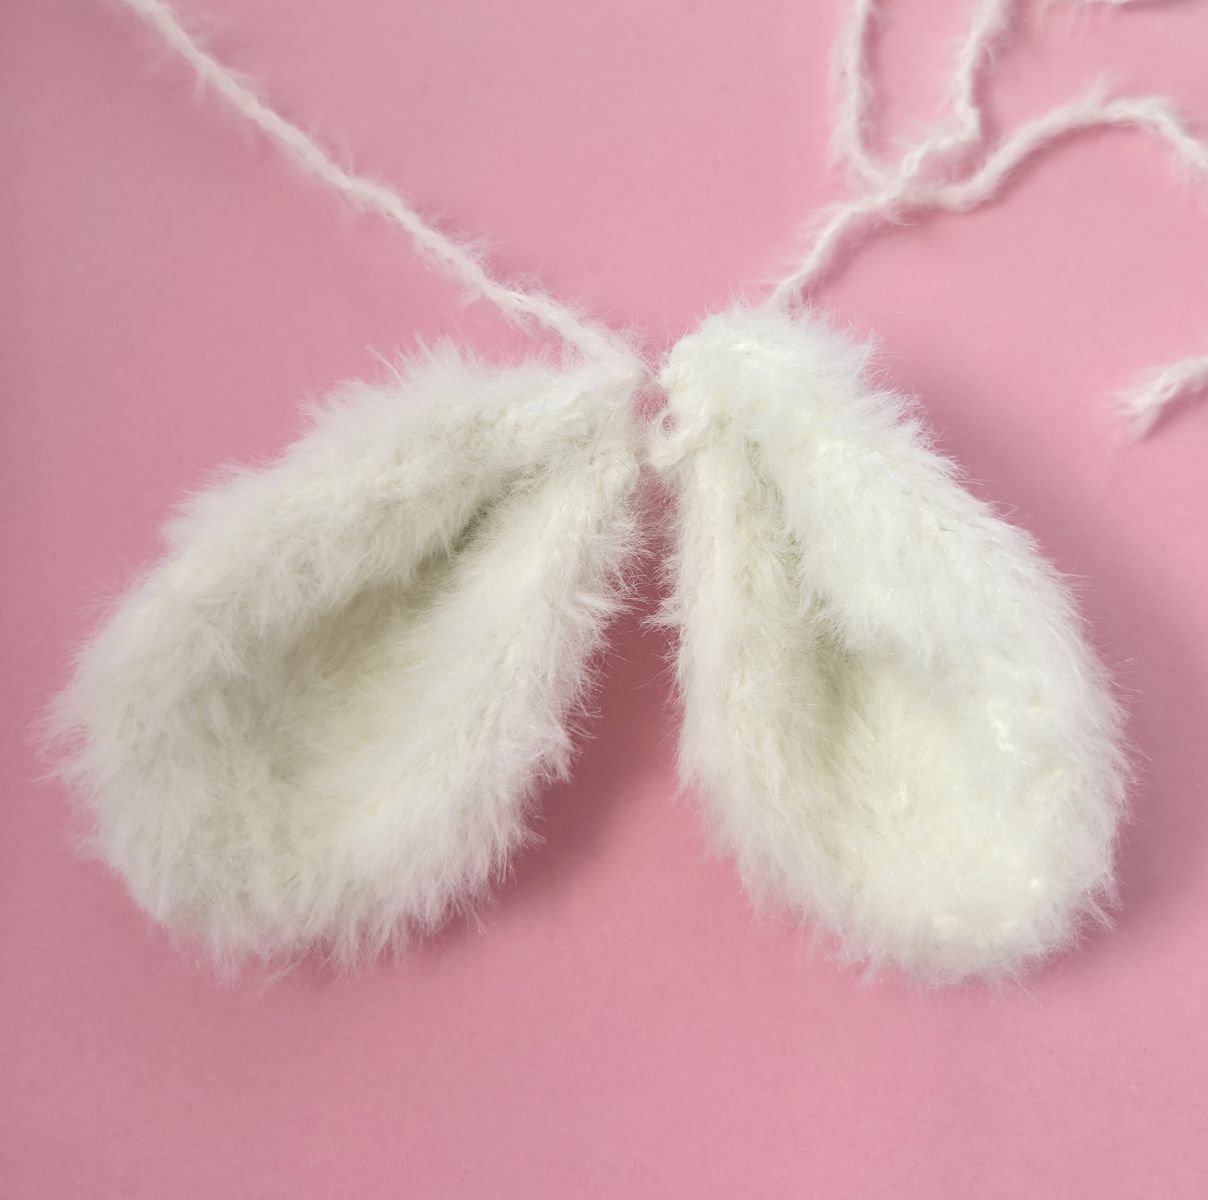
Next, sew the head onto the body. Take care to position it centrally and align it properly so that the little goat has balanced proportions.
Now, attach the legs. Position them as evenly and symmetrically as possible. You may find it helpful to use straight pins to hold the legs in place before sewing them on permanently. This allows you to check the placement from all angles and make any adjustments if necessary.
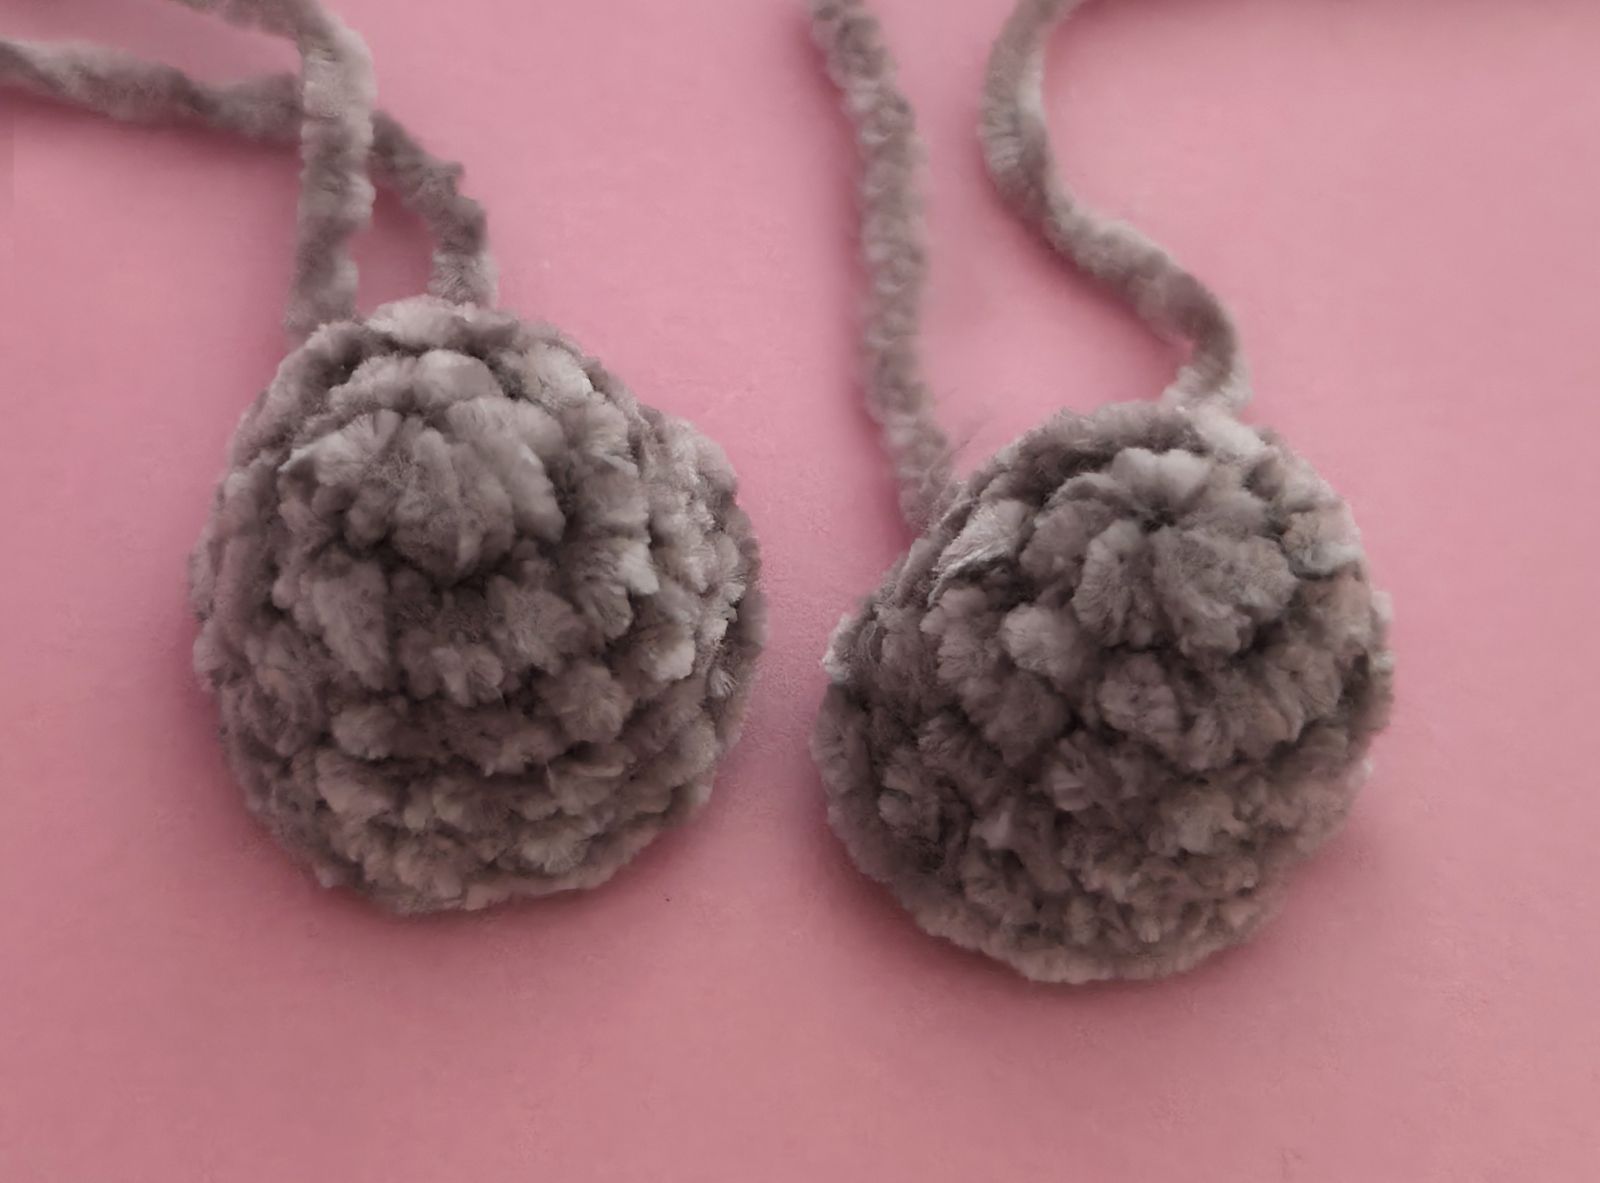
I chose to crochet the horns because I prefer their shape and appearance when worked in crochet. However, you are welcome to knit the horns instead. Later in the pattern, you will find instructions for knitted horns if you would like to keep the entire project knitted.
Horns
Crochet 6 sc into a magic ring,
1. 6 inc (12)
2. 12 sc
3. 12 sc
4. 5 sc, 1 inc, 5 sc, 1 inc (14), Sew to the left and right of the ears, stuffing in between.
Knitting horns
Cast on 6 stitches (ch) onto the knitting needle. Make sure the stitches are evenly stretched while knitting to ensure your knitted piece is nice and even.
1. 6 P
2. 6 K inc. (12)
3. 12 P
4. 12 K
5. 12 P
6. 5 K, 1 inc, 5 K, 1 inc (14)
7. 14 P
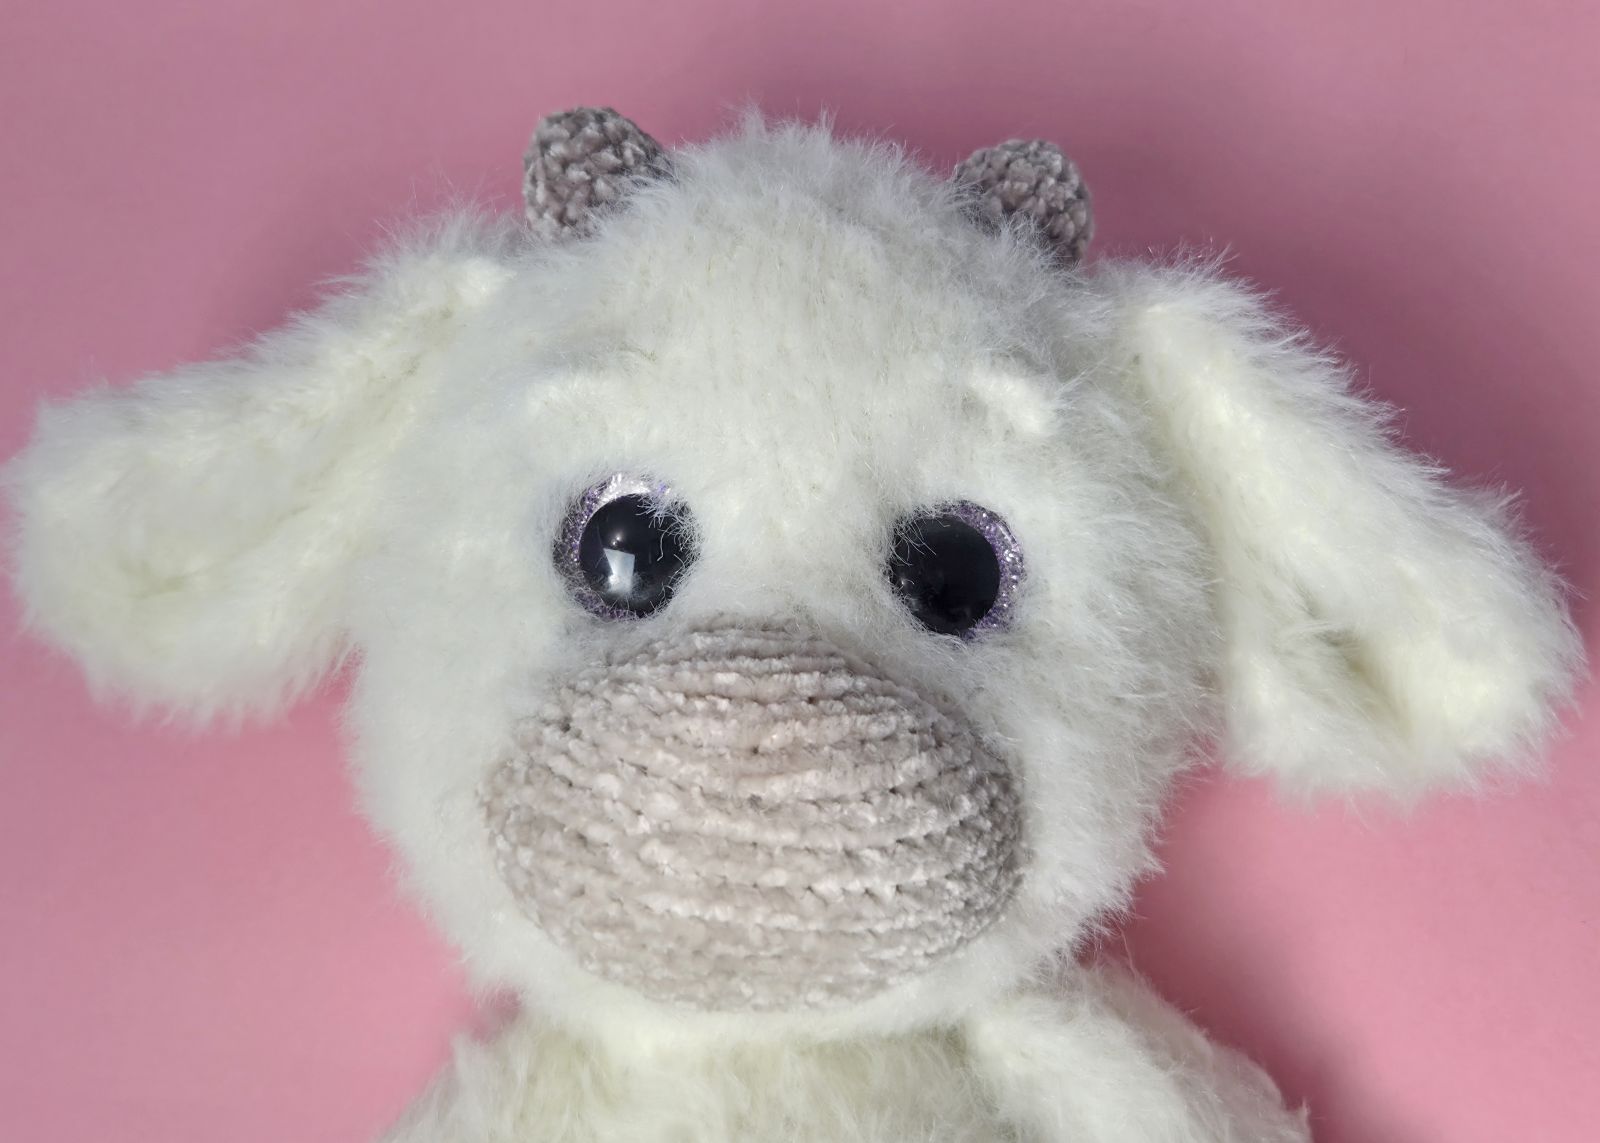
Bind off the remaining stitches. Sew the horns together and attach them to the head.
Tail
Cast on 6 stitches (ch) onto the knitting needle. Make sure the stitches are evenly stretched while knitting to ensure your knitted piece is nice and even.
1. 6 P
2. 6 K inc (12)
3. 12 P
4. 12 K
5. 12 P
6. (1 K, 1 K inc)x 6 (18)
7. 18 P
8. 18 K
9. 18 P
10. 18 K
11. 18 P
Bind off the remaining stitches and sew the sides together. Do not stuff the tail. Once finished, sew it to the lower back of the body.
Finishing and Shading
To make applying pastel chalk easier, first rub a small amount onto a sheet of paper to create fine pigment powder. Then, use a soft brush to pick up the pigment and gently apply it to the desired areas. This method allows for smooth, subtle, and even shading.
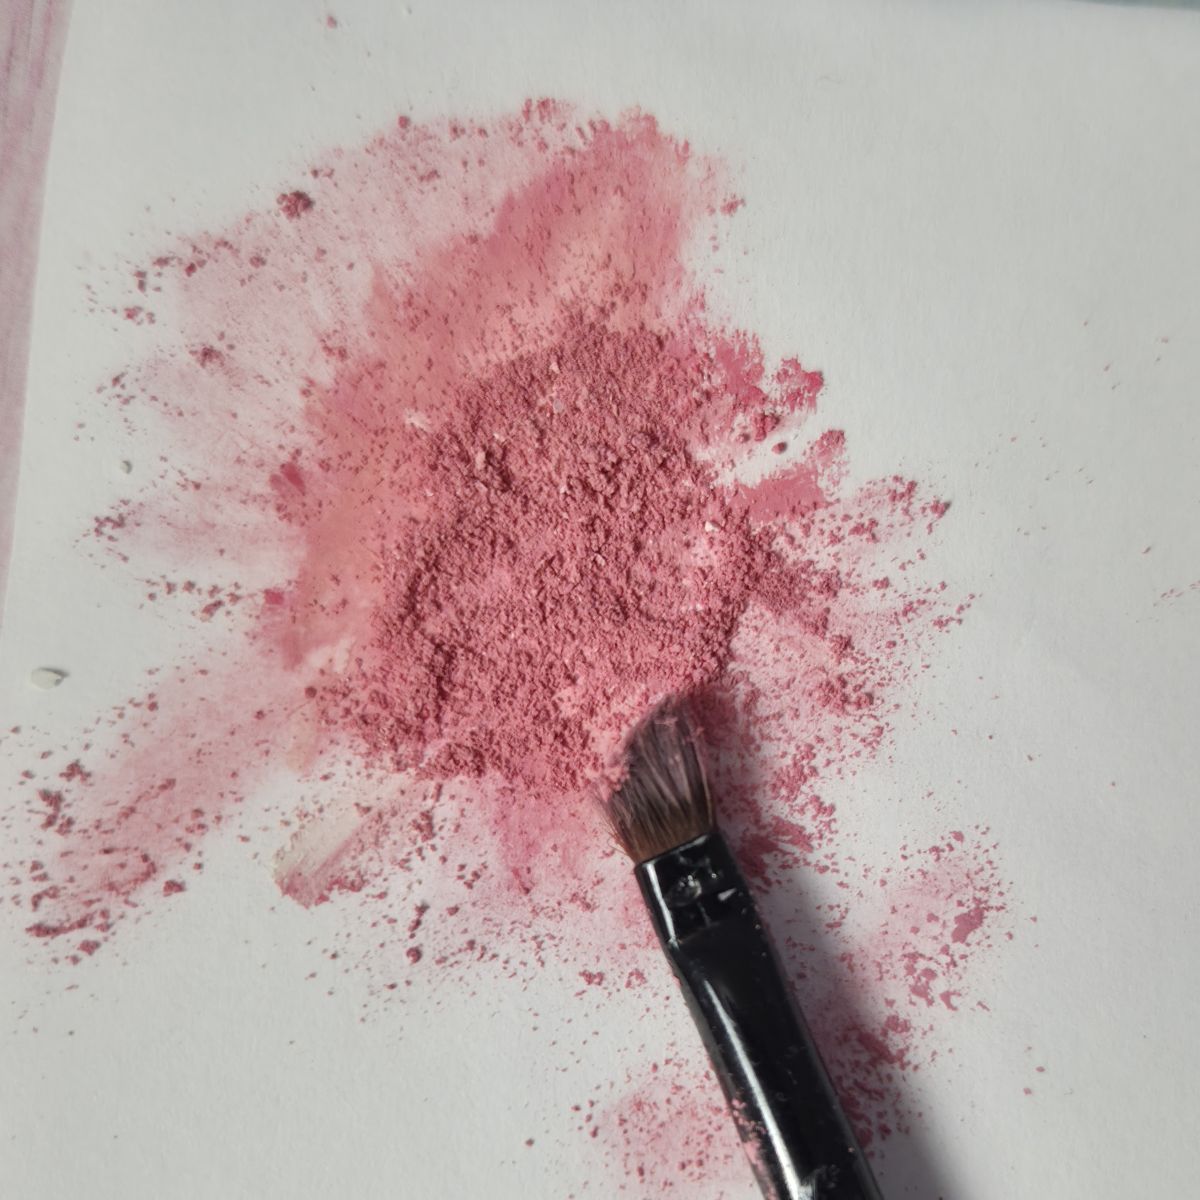
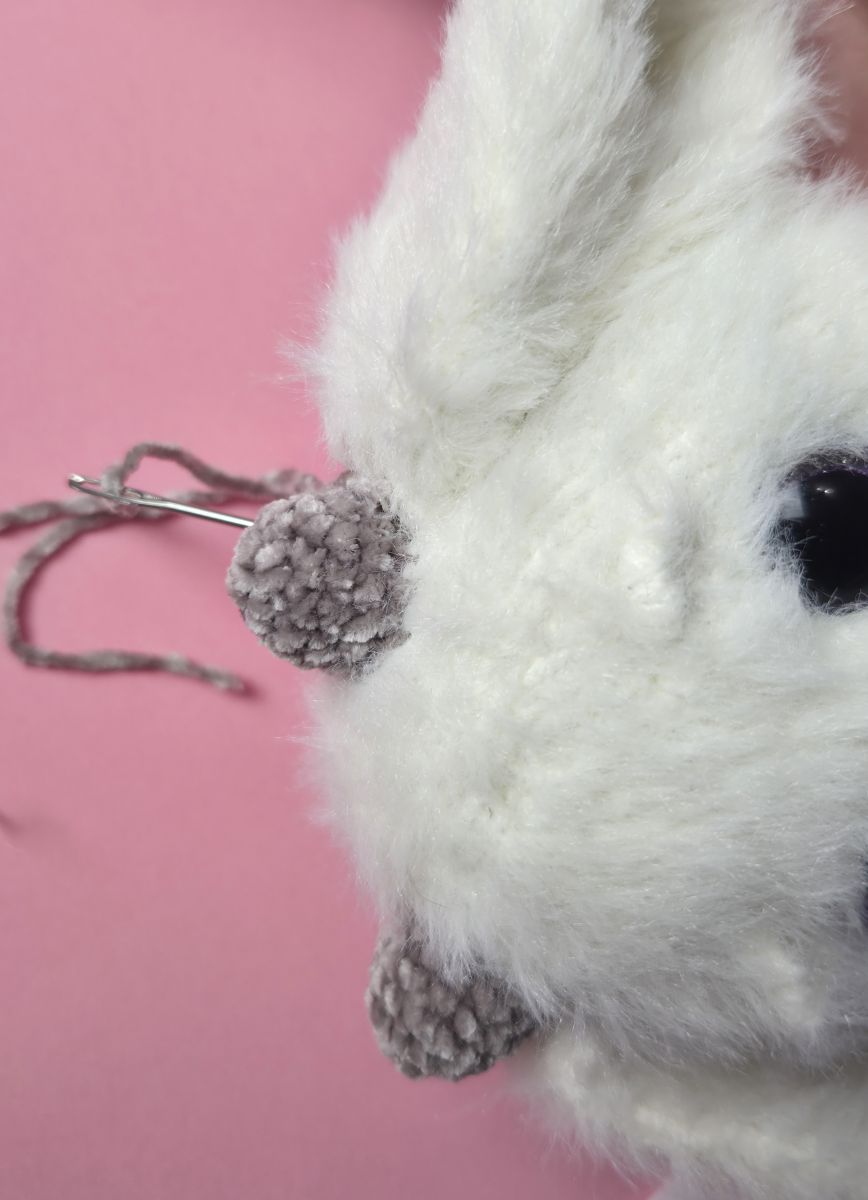
Next, return to the muzzle. Embroider the nose as shown in the photos, then lightly highlight it with pink pastel chalk or a light pink colored pencil.
For additional shading, gently tint the cheeks with a small amount of pink pastel chalk. Since the goat is knitted from white yarn, only a touch of color is needed. The goal is to create a soft, natural blush rather than a strong color effect.
I also added a very light gray shading inside the ears. If desired, you can apply a little shading around the eyes as well. These small details help bring the face to life and give your little goat a more expressive character.
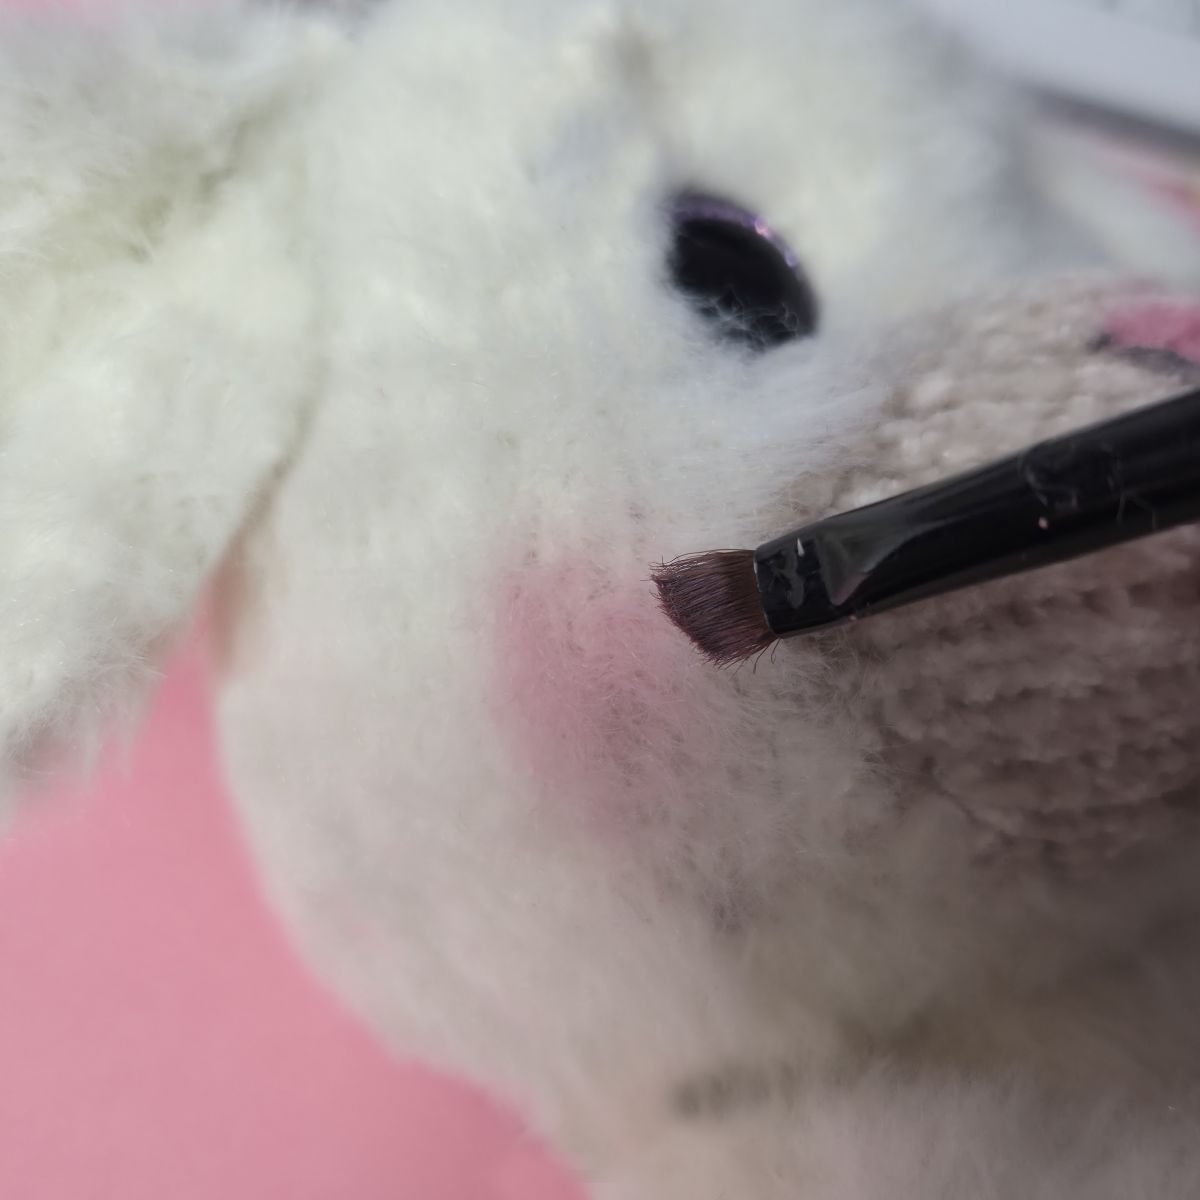
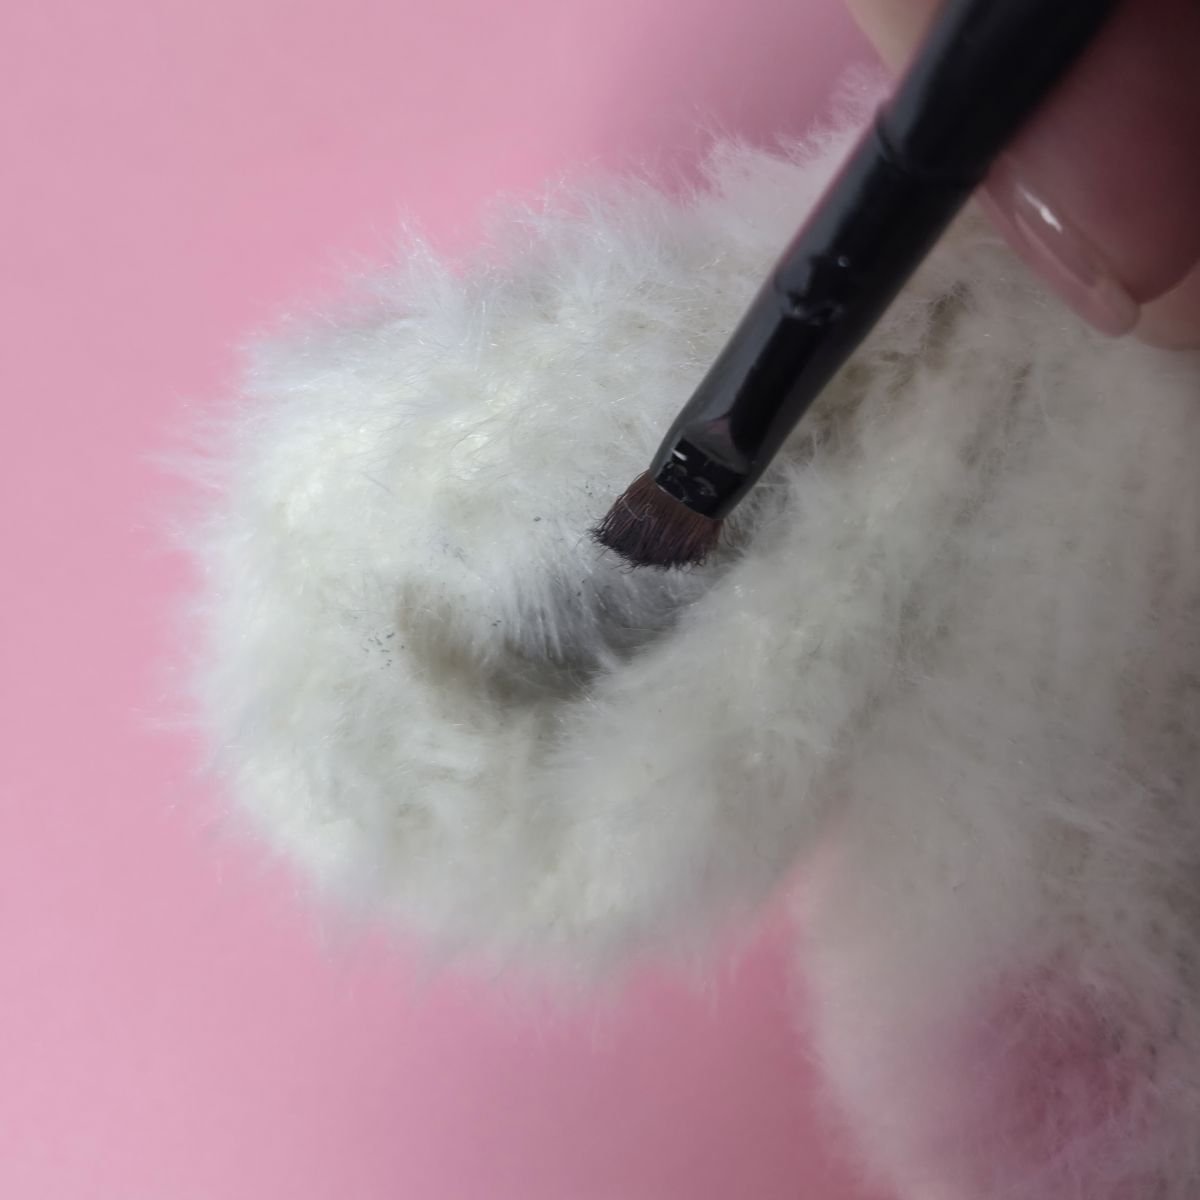
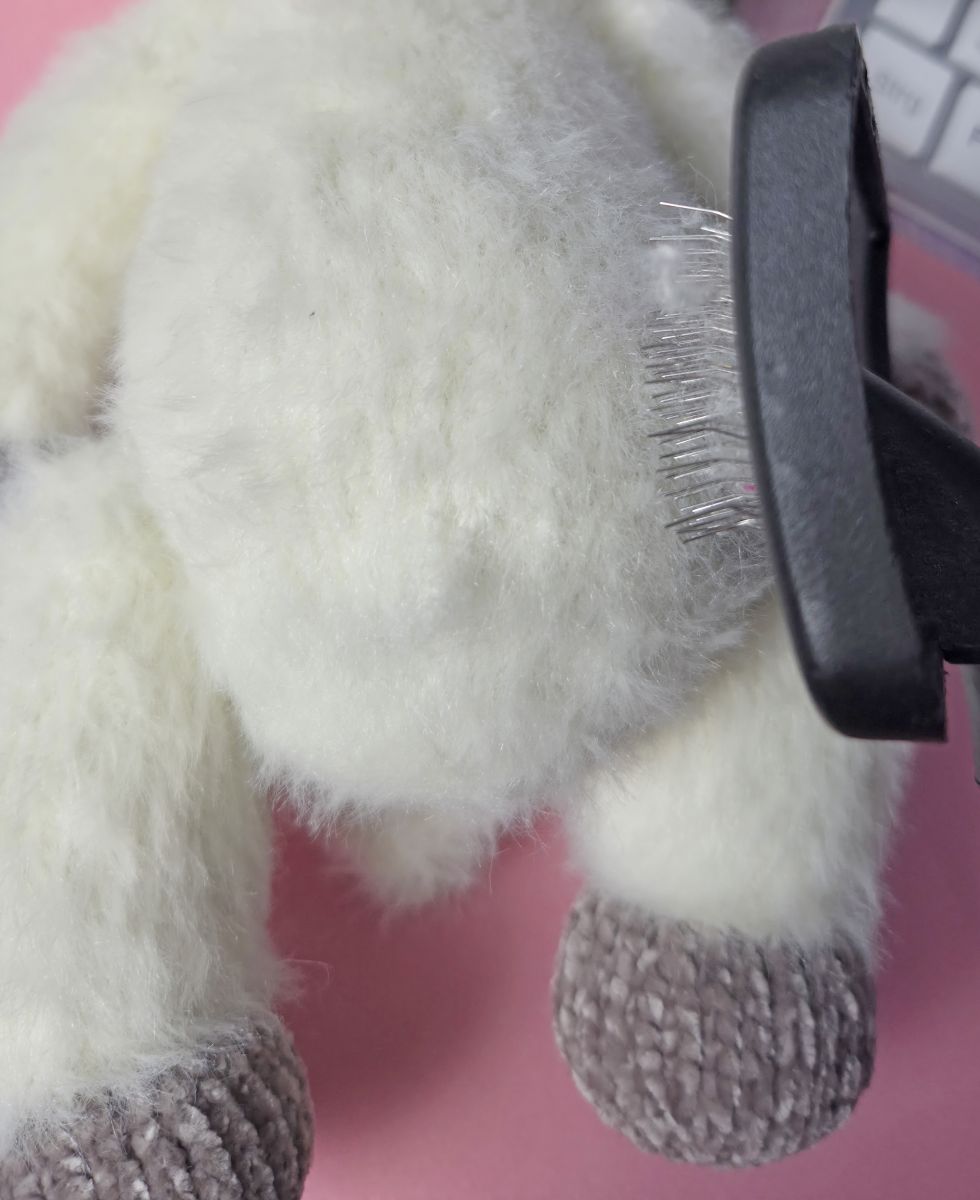
Finally, add the finishing touches to your goat. If you used fluffy yarn, it can be helpful to gently brush the finished toy. This softens the fibers, enhances the fur-like texture, and creates a more even appearance. A grooming brush designed for cats or other pets works particularly well for this purpose.
Brush the yarn carefully using gentle strokes and very little pressure. This loosens the fibers slightly and gives the little goat an extra-soft and cuddly finish.
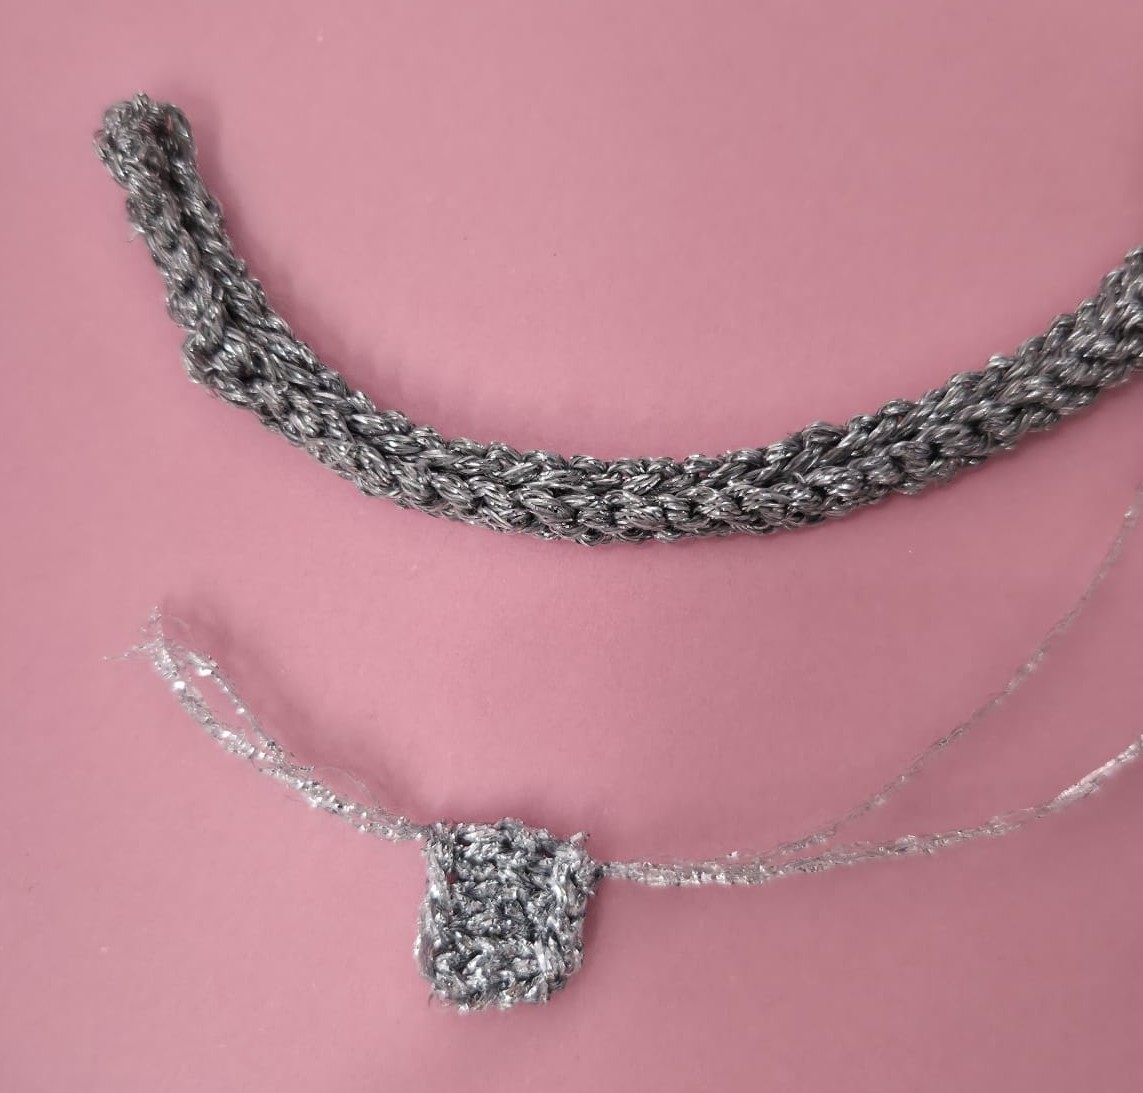
After finishing the goat, I decided to make a necklace. I had two different types of glitter yarn at home, although unfortunately I no longer remember their names. I used the darker color for the necklace and a slightly lighter color for the pendants.
Necklace
Cast on 46 stitches and distribute them evenly on the needle.
Row 1: 46 knit stitches
Row 2: 46 purl stitches
Row 3: 46 knit stitches
Bind off all stitches.
Pendants
Cast on 6 stitches and distribute them evenly on the needle.
Row 1: 6 knit stitches
Row 2: 6 purl stitches
Row 3: 6 knit stitches
Row 4: 6 purl stitches
Row 5: 6 knit stitches
Fold the piece in half and sew the sides together. Then attach the finished pendants to the necklace.