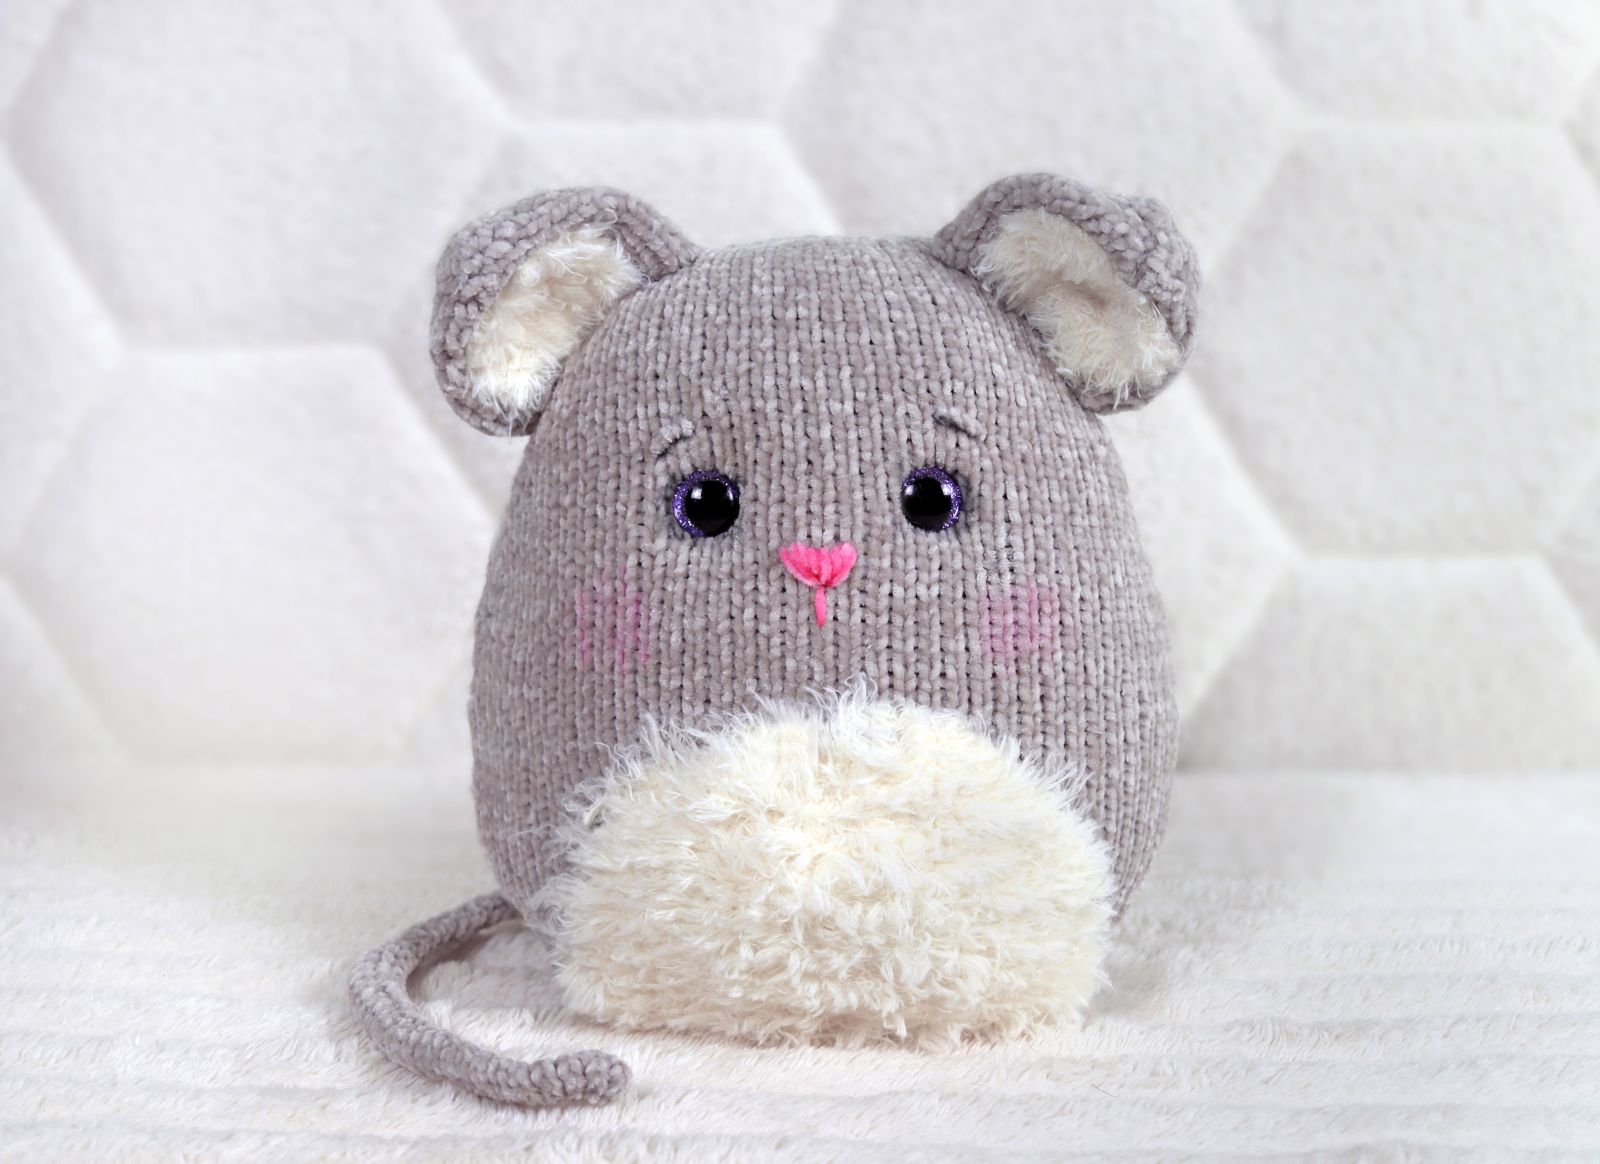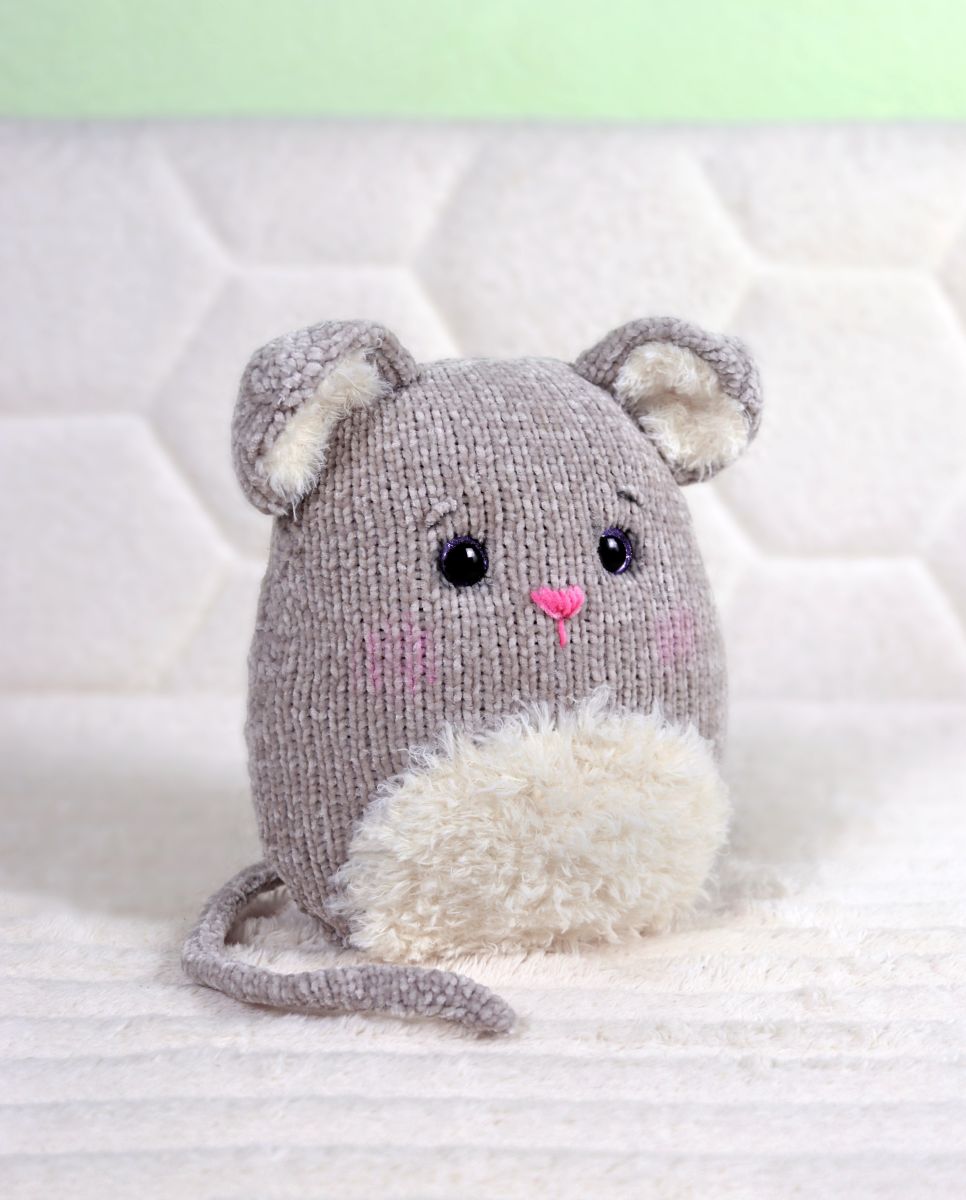
This little mouse works great as a small cushion or just a cute toy. The pattern is super easy to follow, so it’s perfect for beginners. Whether you give it as a gift for a toddler or use it as a cozy decoration in a child’s room, this little mouse looks adorable anywhere.
For this project, I used Katia Velvet Fine again because it’s just so soft and cuddly. The finished mouse is about 25 cm tall.
As always, feel free to play around a bit: you can knit the mouse with novelty yarn, smooth yarn, or even thicker or thinner yarn. The shapes are really simple, so it’s easy to try out different yarn types.
Knitting Instructions:
All parts are crafted entirely with two knitting needles.
Follow these steps:
First Row - Purl Stitches Begin by knitting the first row entirely in purl stitches. These will form the back side of your project, creating a neat texture.
Second Row - Knit Stitches In the second row, knit every stitch. This will produce a smooth, even front for your piece.
Repeating the Pattern Continue alternating between purl stitches in the odd-numbered rows and knit stitches in the even-numbered rows:
- Odd-numbered rows (e.g., 1st, 3rd, 5th): Work in purl stitches.
- Even-numbered rows (e.g., 2nd, 4th, 6th): Work in knit stitches.
This straightforward pattern of alternating knit and purl rows is ideal for beginners, offering an easy yet satisfying introduction to the craft.
Materials:
I used Katia Velvet Fine and knitted all parts with double‑stranded yarn.
- Katia Velvet Fine: 50 g / 160 m. Gray – 80 gr.
- Teddy-Wolle Fluffy White- 30 gr.
- Knitting needles 2,5 mm.
- Safety eyes 16 mm.
- Stuffing, tapestry needle, Fabric marker.
Abbreviations:
Ch – Chain(s)
inc – increase
dec – decrease
X dec – X- times decrease
X inc – X- times increase
P – purl
K– knit (garter stitch)
Body (Gray)
Cast on 12 stitches (ch) onto the knitting needle. Make sure the stitches are evenly stretched while knitting to ensure your knitted piece is nice and even.
1. 12 P
2. (1 K, 1 K inc)x 6 (18)
3. 18 P (18)
4. (2 K, 1 K inc)x 6 (24)
5. 24 P (24)
6. 1 K, 1 inc, 20 K, 1 inc, 1 K (26)
7. 26 P
8. 1 K, 1 inc, 22 K, 1 inc, 1 K (28)
9. 28 P
10. 1 K, 1 inc, 24 K, 1 inc, 1 K (30)
11. 30 P
12. 1 K, 1 inc, 26 K, 1 inc, 1 K (32)
13. 32 P
14. 32 K
15. 32 P
16. 1 K, 1 inc, 28 K, 1 inc, 1 K (34)
Knit a total of 15 rows in stockinette stitch:
On the front side of the work, knit all stitches across the row.
On the back side of the work, purl all stitches across the row.
17. 19. 21. 23. 25. 27. 29. 31. -34 P
18. 20. 22. 24. 26. 28. 30. – 34 K
32. 1 K, 1 inc, 30 K, 1 inc, 1 K (36)
33. 36 P
34. 36 K
35. 36 P
36. 36 K
37. 36 P
38. 1 K, 1 inc, 32 K, 1 inc, 1 K (38)
39. 38 P
Knit a total of 18 rows in stockinette stitch:
On the front side of the work, knit all stitches across the row.
On the back side of the work, purl all stitches across the row.
41. 43. 45. 47. 49. 51. 53. 55. 57– 38 P
40. 42. 44. 46. 48. 50. 52. 54. 56 – 38 K
58. 1 K, 1 dec, 32 K, 1 dec, 1 K (36)
59. 36 P
60. 36 K
61. 36 P
62. 1 K, 1 dec, 30 K, 1 dec, 1 K (34)
63. 34 P
64. 1 K, 1 dec, 28 K, 1 dec, 1 K (32)
65. 32 P
66. 1 K, 1 dec, 26 K, 1 dec, 1 K (30)
67. 30 P
68. 1 K, 1 dec, 24 K, 1 dec, 1 K (28)
69. 28 P
70. 28 P
71. 28 P
72. 1 K, 1 dec, 22 K, 1 dec, 1 K (26)
73. 26 P
74. 1 K, 1 dec, 20 K, 1 dec, 1 K (24)
75. 24 P
76. 1 K, 1 dec, 18 K, 1 dec, 1 K (22)
77. 22 P
78. 1 K, 1 dec, 16 K, 1 dec, 1 K (20)
79. 20 P
80. 1 K, 1 inc, 16 K, 1 inc, 1 K (22)
81. 22 P
82. 1 K, 1 inc, 18 K, 1 inc, 1 K (24)
83. 24 P
84. 1 K, 1 inc, 20 K, 1 inc, 1 K (26)
85. 26 P
86. 1 K, 1 inc, 22 K, 1 inc, 1 K (28)
87. 28 P
88. 28 K
89. 28 P
90. 1 K, 1 inc, 24 K, 1 inc, 1 K (30)
91. 30 P
92. 1 K, 1 inc, 26 K, 1 inc, 1 K (32)
93. 32 P
94. 1 K, 1 inc, 28 K, 1 inc, 1 K (34)
95. 34 P
96. 1 K, 1 inc, 30 K, 1 inc, 1 K (36)
97. 36 P
98. 36 K
99. 36 P
100. 1 K, 1 inc, 32 K, 1 inc, 1 K (38)
101. 38 P
Knit a total of 16 rows in stockinette stitch:
On the front side of the work, knit all stitches across the row.
On the back side of the work, purl all stitches across the row.
102. 104. 106. 108. 110. 112. 114. 116 – 38 K
103. 105. 107. 109. 111. 113. 115. 117 – 38 P
118. 1 K, 1 dec, 32 K, 1 dec, 1 K (36)
119. 36 P
120. 36 K
121. 36 P
122. 36 K
123. 36 P
124. 1 K, 1 dec, 30 K, 1 dec, 1 K (34)
Knit a total of 15 rows in stockinette stitch:
On the front side of the work, knit all stitches across the row.
On the back side of the work, purl all stitches across the row.
125. 127. 129. 131. 133. 135. 137. 139 – 34 P
126. 128. 130. 132. 134. 136. 138 – 34 K
140. 1 K, 1 dec, 28 K, 1 dec, 1 K (32)
141. 32 P
142. 32 K
143. 32 P
144. 1 K, 1 dec, 26 K, 1 dec, 1 K (30)
145. 30 P
146. 1 K, 1 dec, 24 K, 1 dec, 1 K (28)
147. 28 P
148. 1 K, 1 dec, 22 K, 1 dec, 1 K (26)
149. 26 P
150. 1 K, 1 dec, 20 K, 1 dec, 1 K (24)
151. 24 P
152. (2 K, 1 dec)x 6 (18)
153. 18 P
154. (1 K, 1 dec)x 6 (12)
155. 12 P
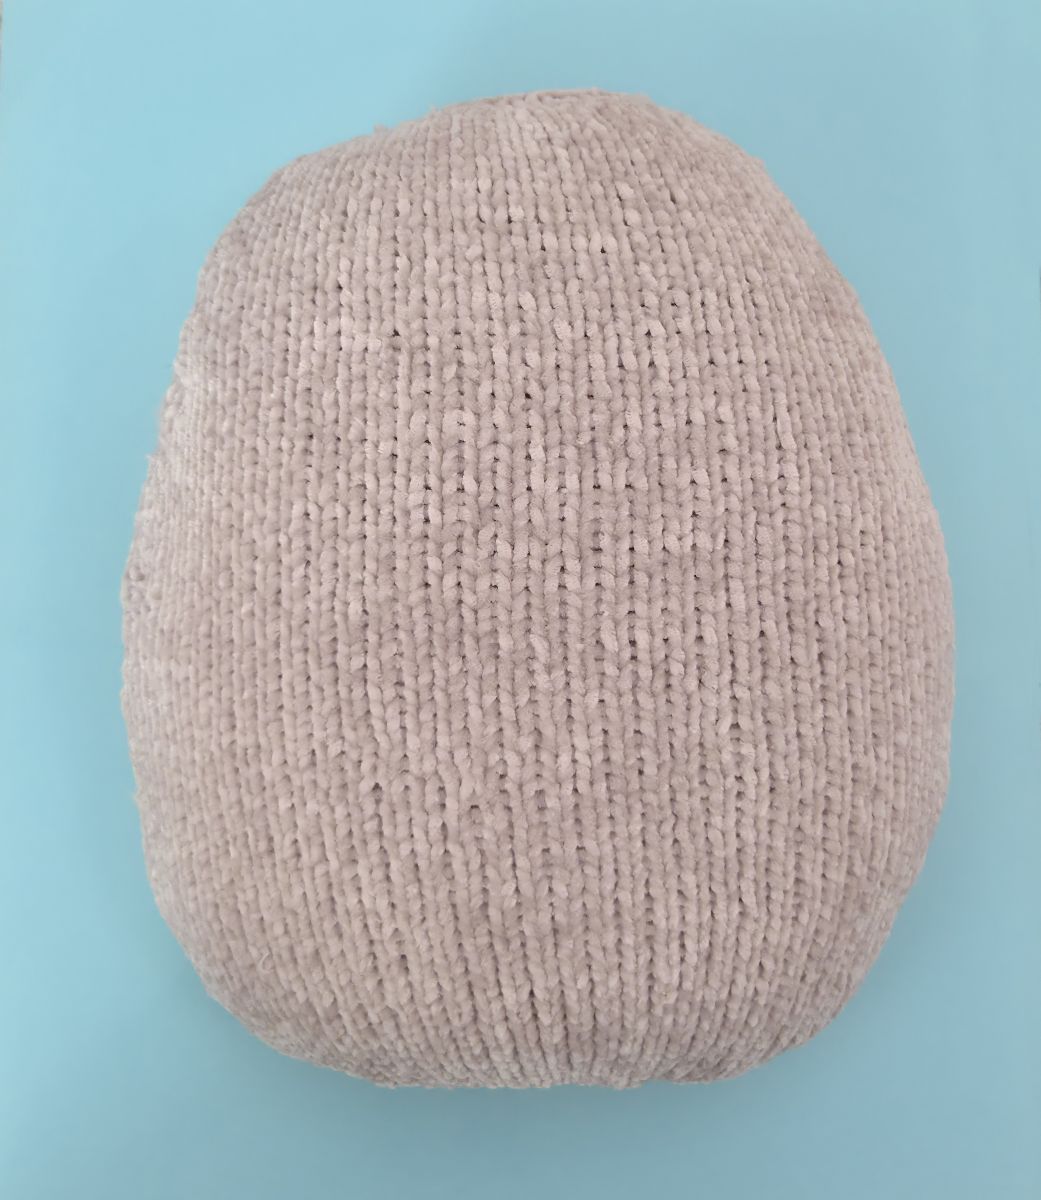
Bind off the remaining 12 stitches. Fold the body and sew it together using the same yarn. Start from the bottom, since a small opening at the top of the head is left for inserting the safety eyes. Make sure the seam stays neat and even.
As you sew, gently add small amounts of fiberfill. Don’t overstuff it — the mouse should stay fairly flat and have a soft, cushion‑like shape.
The white piece
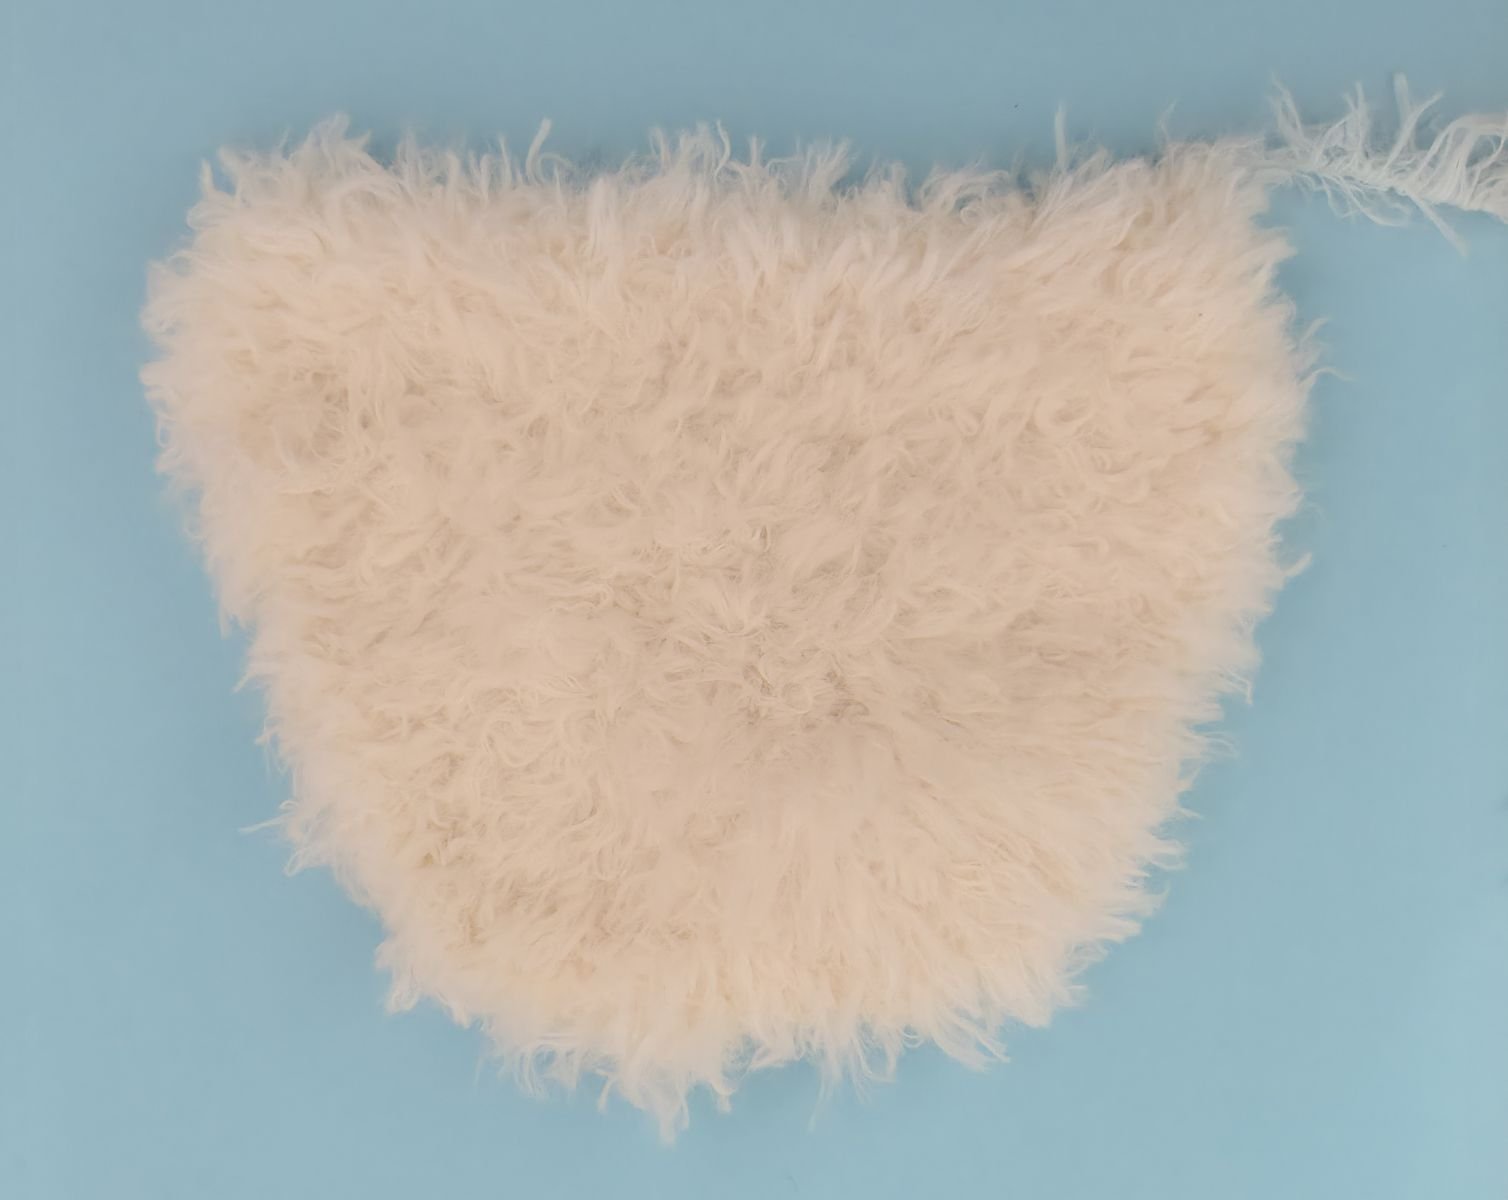
Cast on 12 stitches (ch) onto the knitting needle. Make sure the stitches are evenly stretched while knitting to ensure your knitted piece is nice and even.
1. 12 P
2. 1 K, 1 inc, 8 K, 1 inc, 1 K (14)
3. 14 P
4. 1 K, 1 inc, 10 K, 1 inc, 1 K (16)
5. 16 P
6. 1 K, 1 inc, 12 K, 1 inc, 1 K (18)
7. 18 P
8. 1 K, 1 inc, 14 K, 1 inc, 1 K (20)
Knit a total of 11 rows in stockinette stitch:
On the front side of the work, knit all stitches across the row.
On the back side of the work, purl all stitches across the row.
9. 11. 13. 15. 17. 19. – 20 P
10. 12. 14. 16. 18. – 20 K
20. 1 K, 1 inc, 16 K, 1 inc, 1 K (22)
21. 22 P
22. 1 K, 1 inc, 18 K, 1 inc, 1 K (24)
23. 24. P
24. 24 K
25. 24 P
26. 1 K, 1 inc, 20 K, 1 inc, 1 K (26)
Knit a total of 7 rows in stockinette stitch:
On the front side of the work, knit all stitches across the row.
On the back side of the work, purl all stitches across the row.
27. 29. 31. 33. – 26 P
28. 30. 32. – 26 K
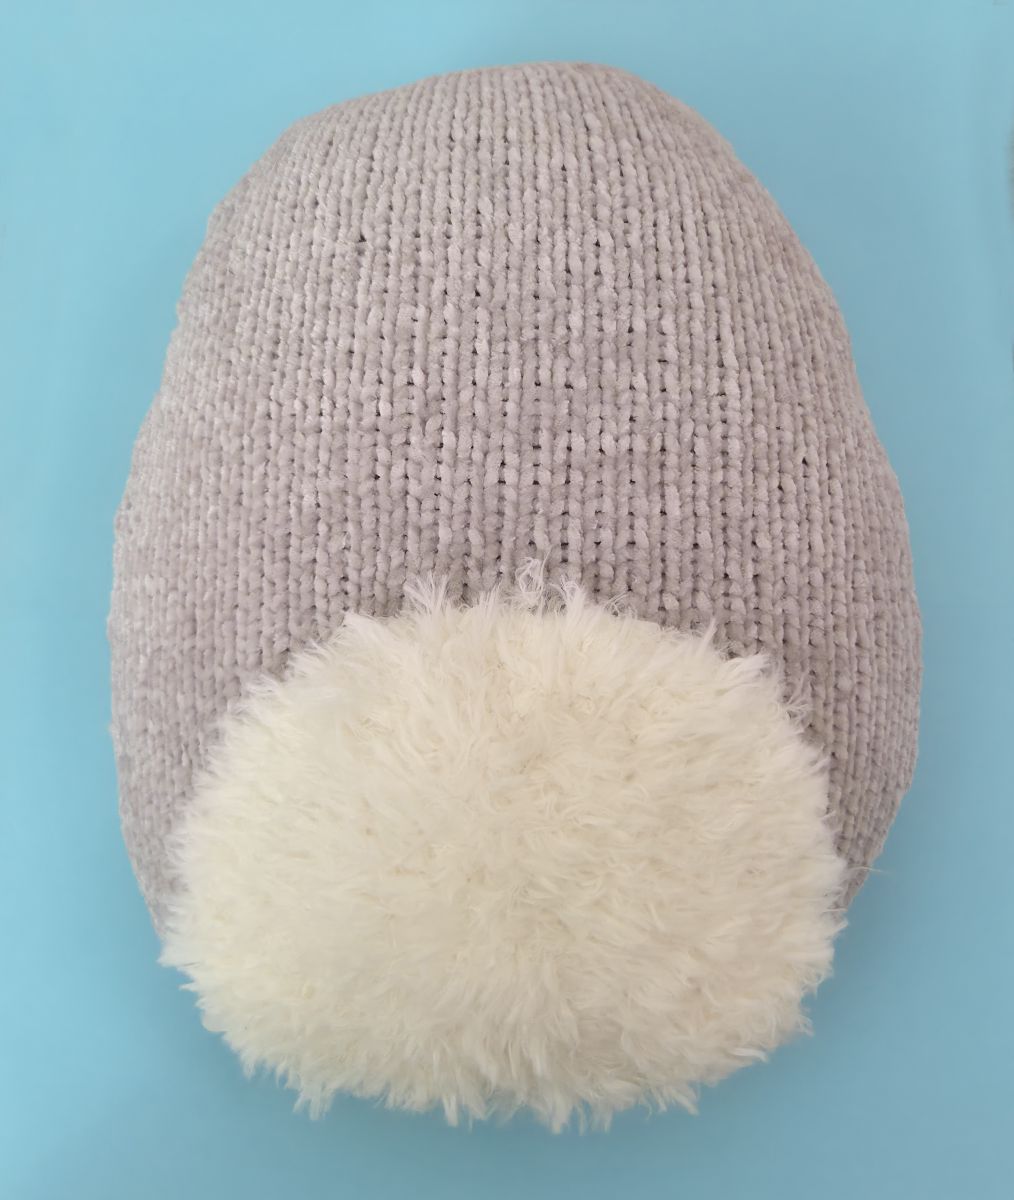
After binding off the remaining stitches, place the white piece on the lower part of the body. Make sure it sits nicely centered and has the same distance to the edges on both sides. Then sew it in place all the way around using small, even stitches.
Eyes
I used safety eyes with a small rim. One great thing about this type is that they sink slightly into the knitted fabric once attached. This happens because the locking piece on the inside is semi‑circular, which gently pulls the eye into the material and keeps it very secure.
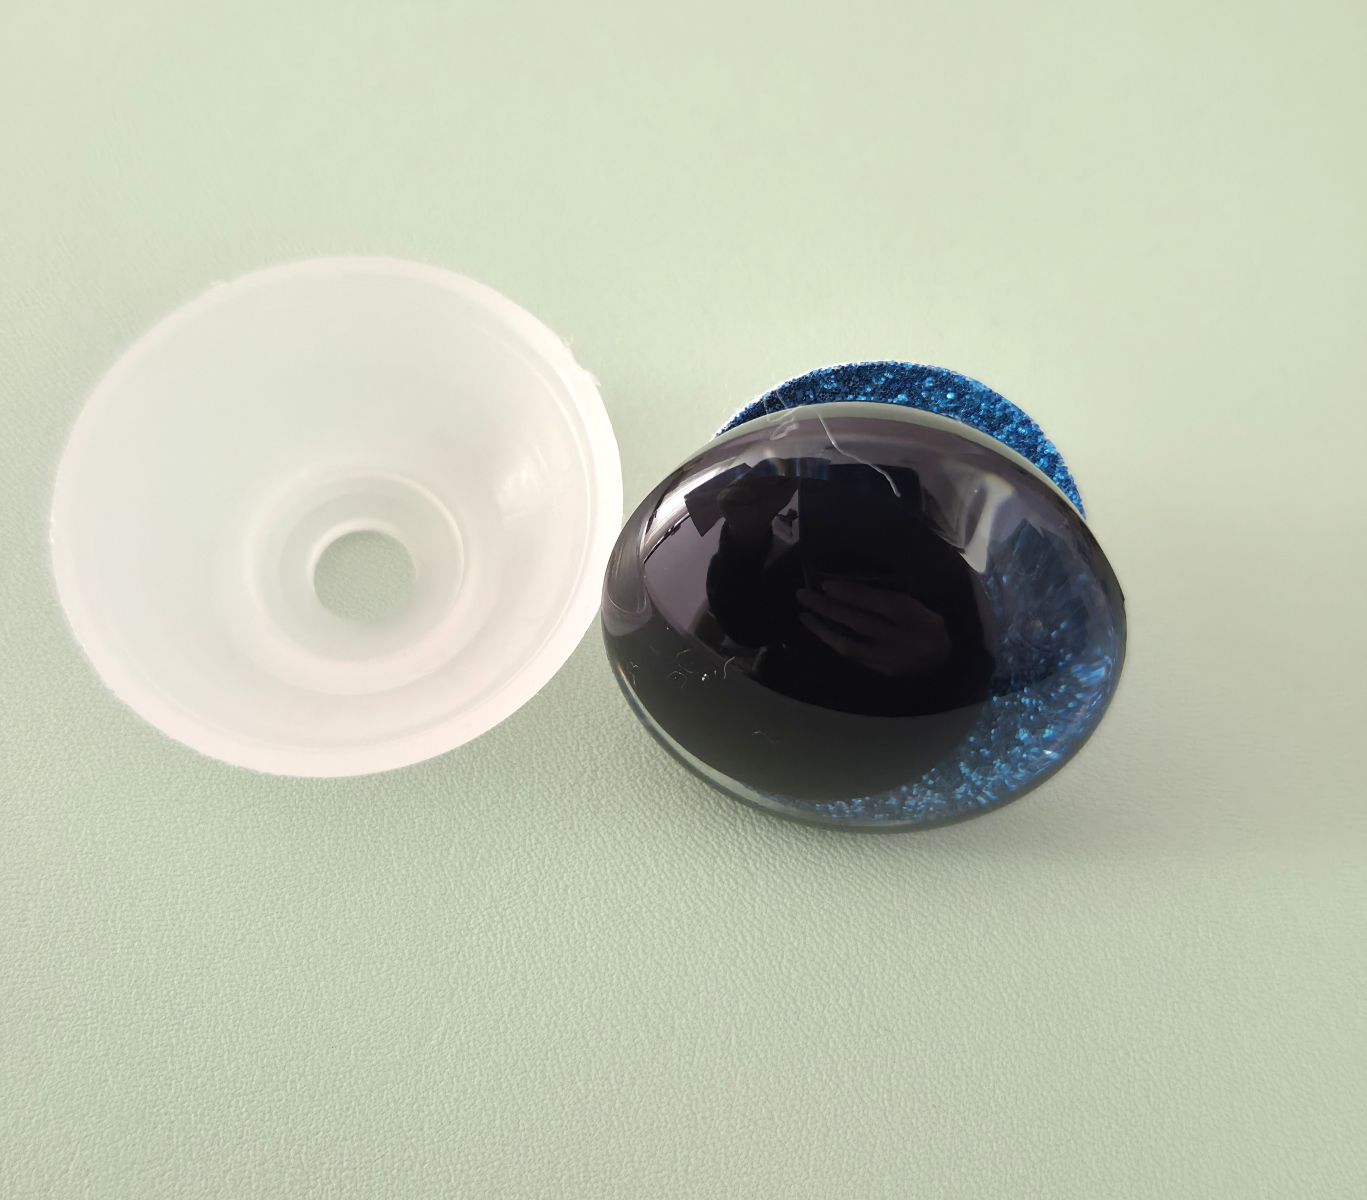
Carefully insert the safety eyes through the stitches at the marked spots and attach the locking piece on the inside. After that, make sure the eyes are firmly in place and can’t be pulled out during play.
.jpg)
You can adjust the placement and size of the eyes at this stage. Depending on the expression you want, you can set them a bit higher or lower, or use different sizes. Sew‑on eyes work well too, and if you don’t have the right materials, you can knit or crochet the eyes yourself.
Nose
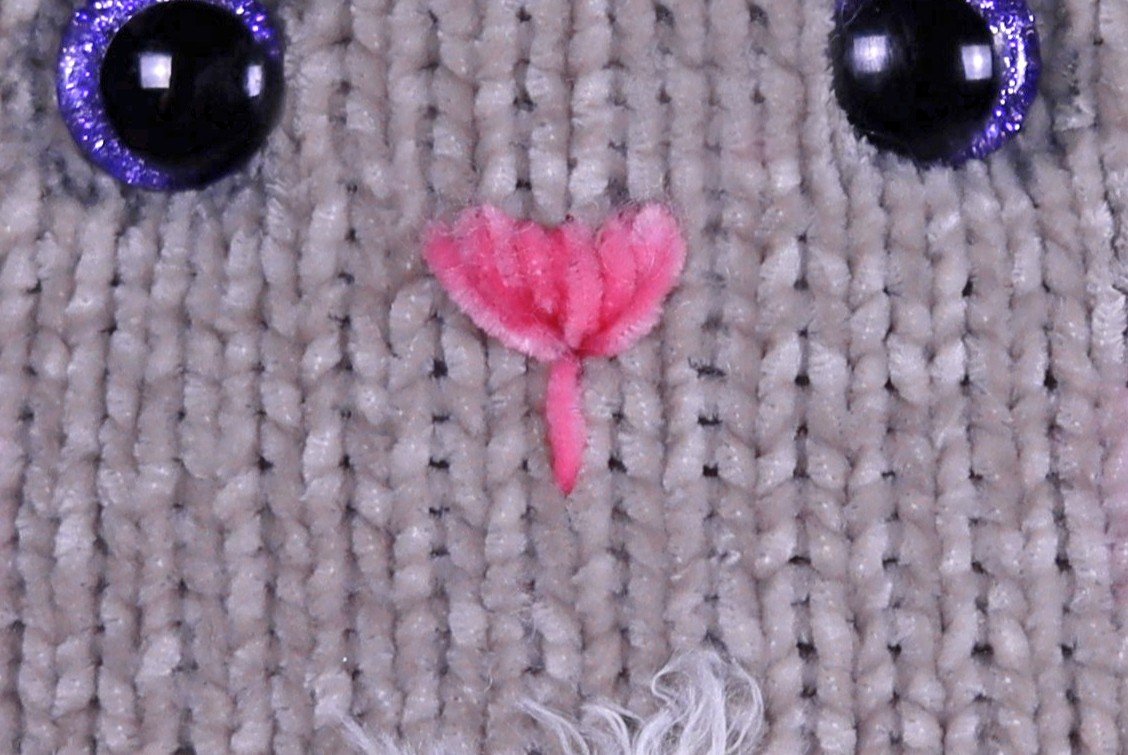
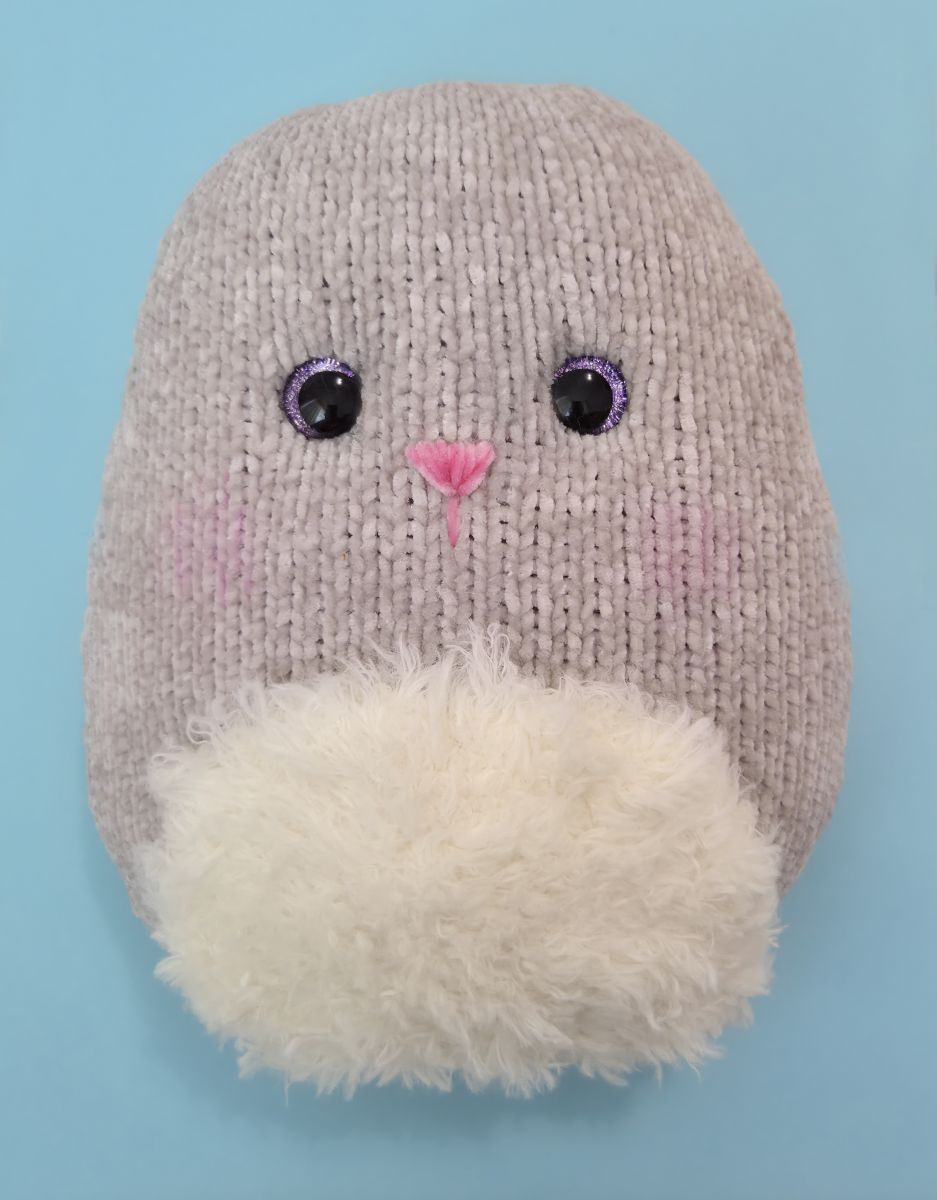
Once the eyes are attached, embroider the nose right in the center between them. I used a fine chenille yarn that matches the weight of the main yarn.
Work the nose as a small triangle: insert the needle at the same bottom point each time, and place the top stitch one stitch further over with each pass. This creates the typical triangular shape.
You can play around with this as well. I stitched slightly lower in the middle, which gave the nose a soft, heart‑like shape.
Eyebrows
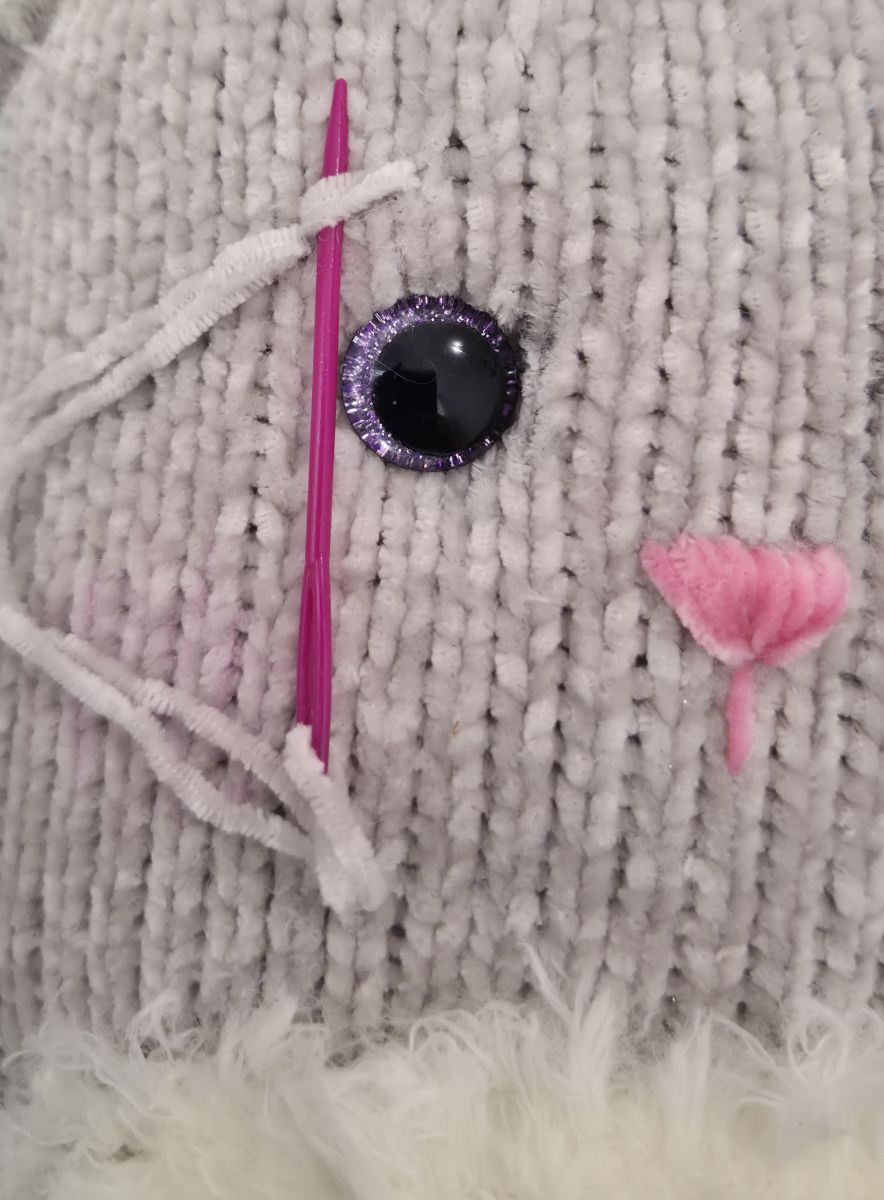
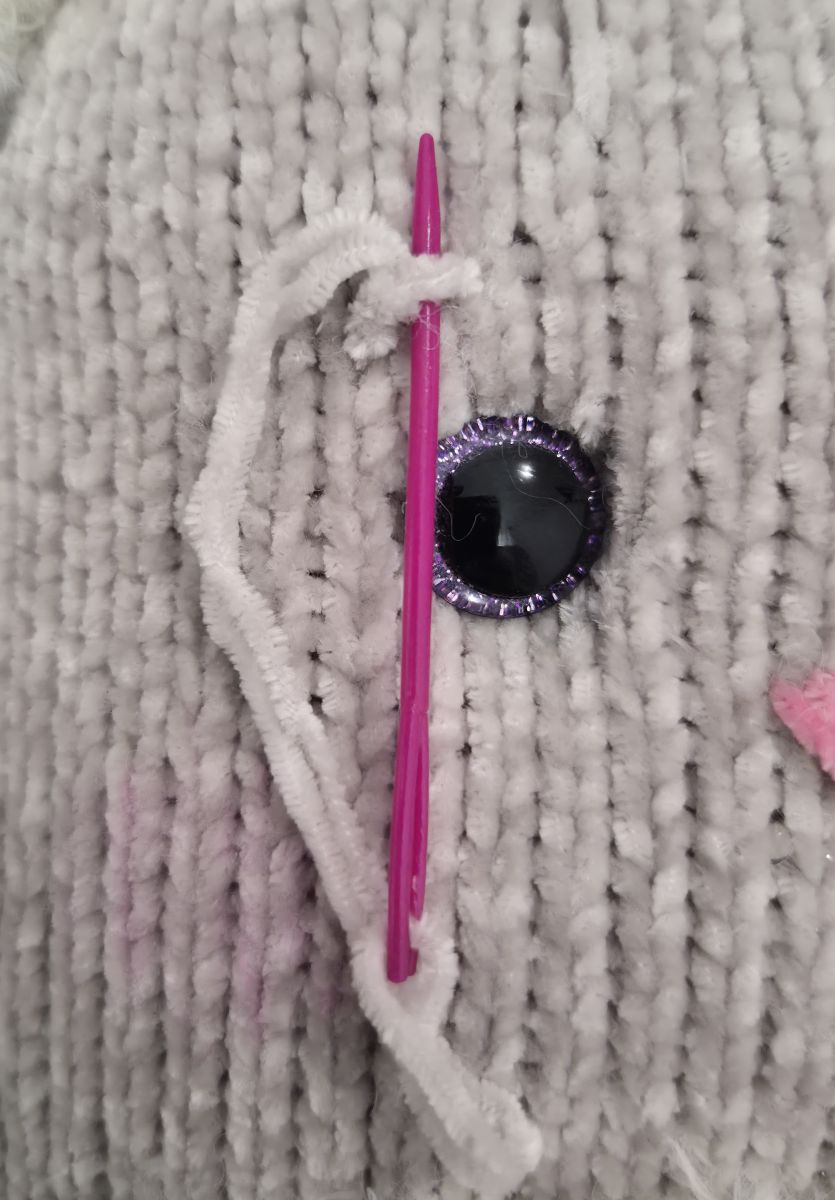
For the eyebrows, embroider a few stitches above each eye in the desired position. Then stitch around these base stitches. Insert and pull the thread out just beside the existing line each time, so the stitches are enclosed and the edge becomes softly rounded. This creates a small, neat eyebrow with a clear outline.
Tinting
I lightly shaded the cheeks, eyebrows, and eyes with colored pencils to give the face a softer and more lifelike expression.
Ears (2 pc. Gray)
Cast on 6 stitches (ch) onto the knitting needle. Make sure the stitches are evenly stretched while knitting to ensure your knitted piece is nice and even.
1. 6 P (6)
2. 6 K inc. (12)
3. 12 P
4. (1 K, 1 K inc)x 6 (18)
5. 18 P
6. 18 K
7. 18 P
8. (2 K, 1 K inc)x 6 (24)
9. 24 P
10. (3 K, 1 K inc)x 6 (30)
11. 30 P
12. 30 K
13. 30 P
14. 1 K, 1 inc, 26 K, 1 inc, 1 K (32)
15. 32 P
16. 1 K, 1 inc, 28 K, 1 inc, 1 K (34)
17. 34 P
18. 34 K
19. 34 P
20. 34 K
21. 34 P
22. 34 K
23. 34 P
24. 15 K, 1 dec, 15 K, 1 dec (32)
25. 32 P
Bind off the remaining 32 stitches. Fold the ears and sew them together using the same yarn, keeping your stitches neat and even.
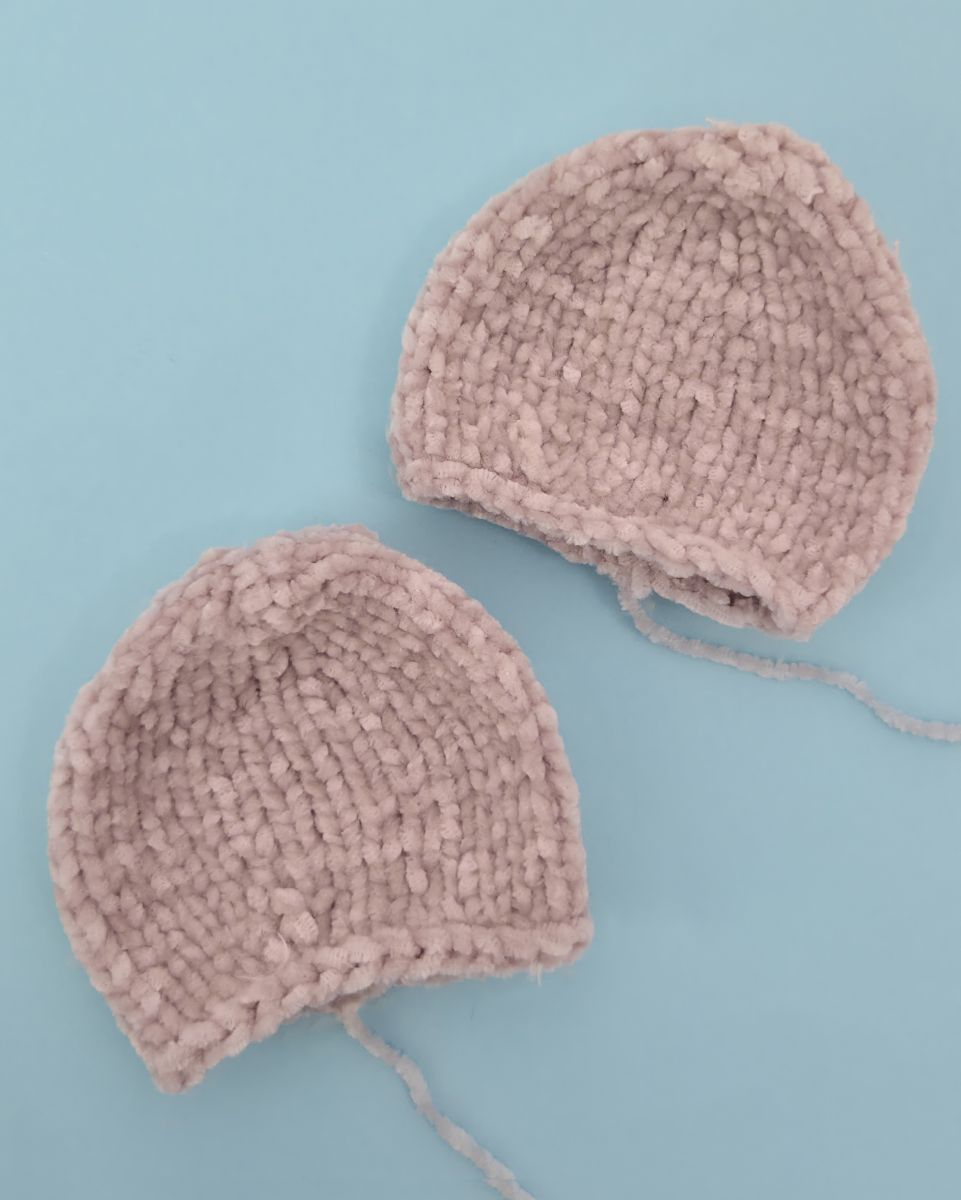
The white piece
Cast on 10 stitches (ch) onto the knitting needle. Make sure the stitches are evenly stretched while knitting to ensure your knitted piece is nice and even.
1. 10 P
2. 10 K
3. 10 P
4. 10 K
5. 10 P
6. 10 K
7. 10 P
8. 10 K
9. 10 P
10. 1 K, 1 dec, 4 K, 1 dec, 1 K (8)
11. 8 P
12. 8 K
13. 8 P
14. 1 K, 1 dec, 2 K, 1 dec, 1 K (6)
15. 6 P
Bind off the remaining 6 stitches.
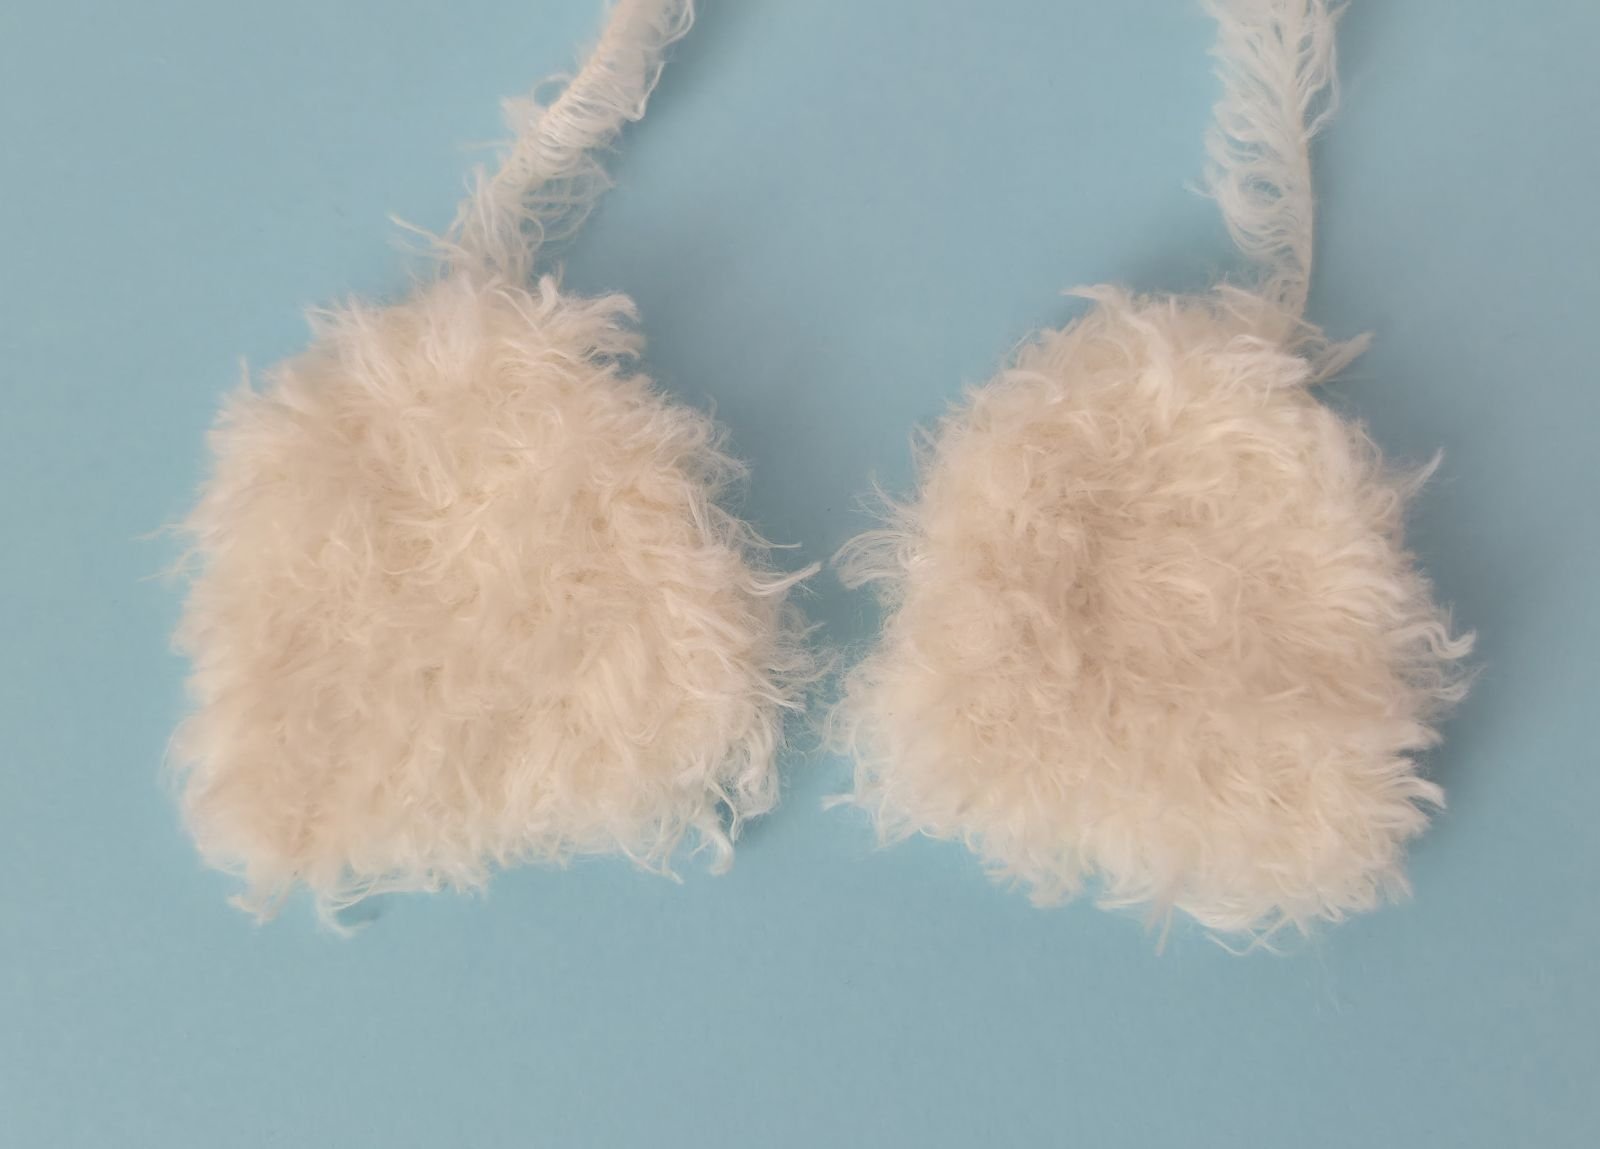
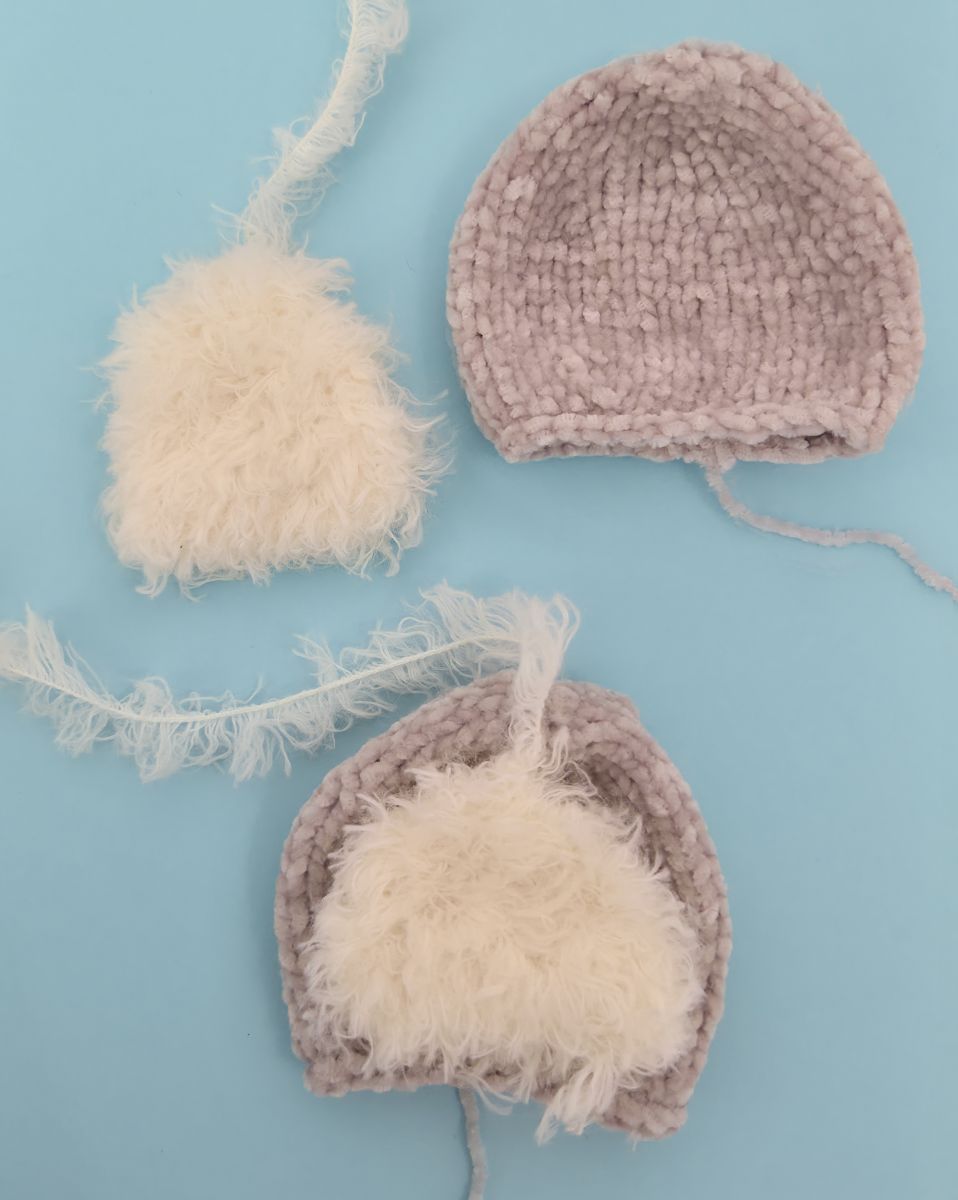
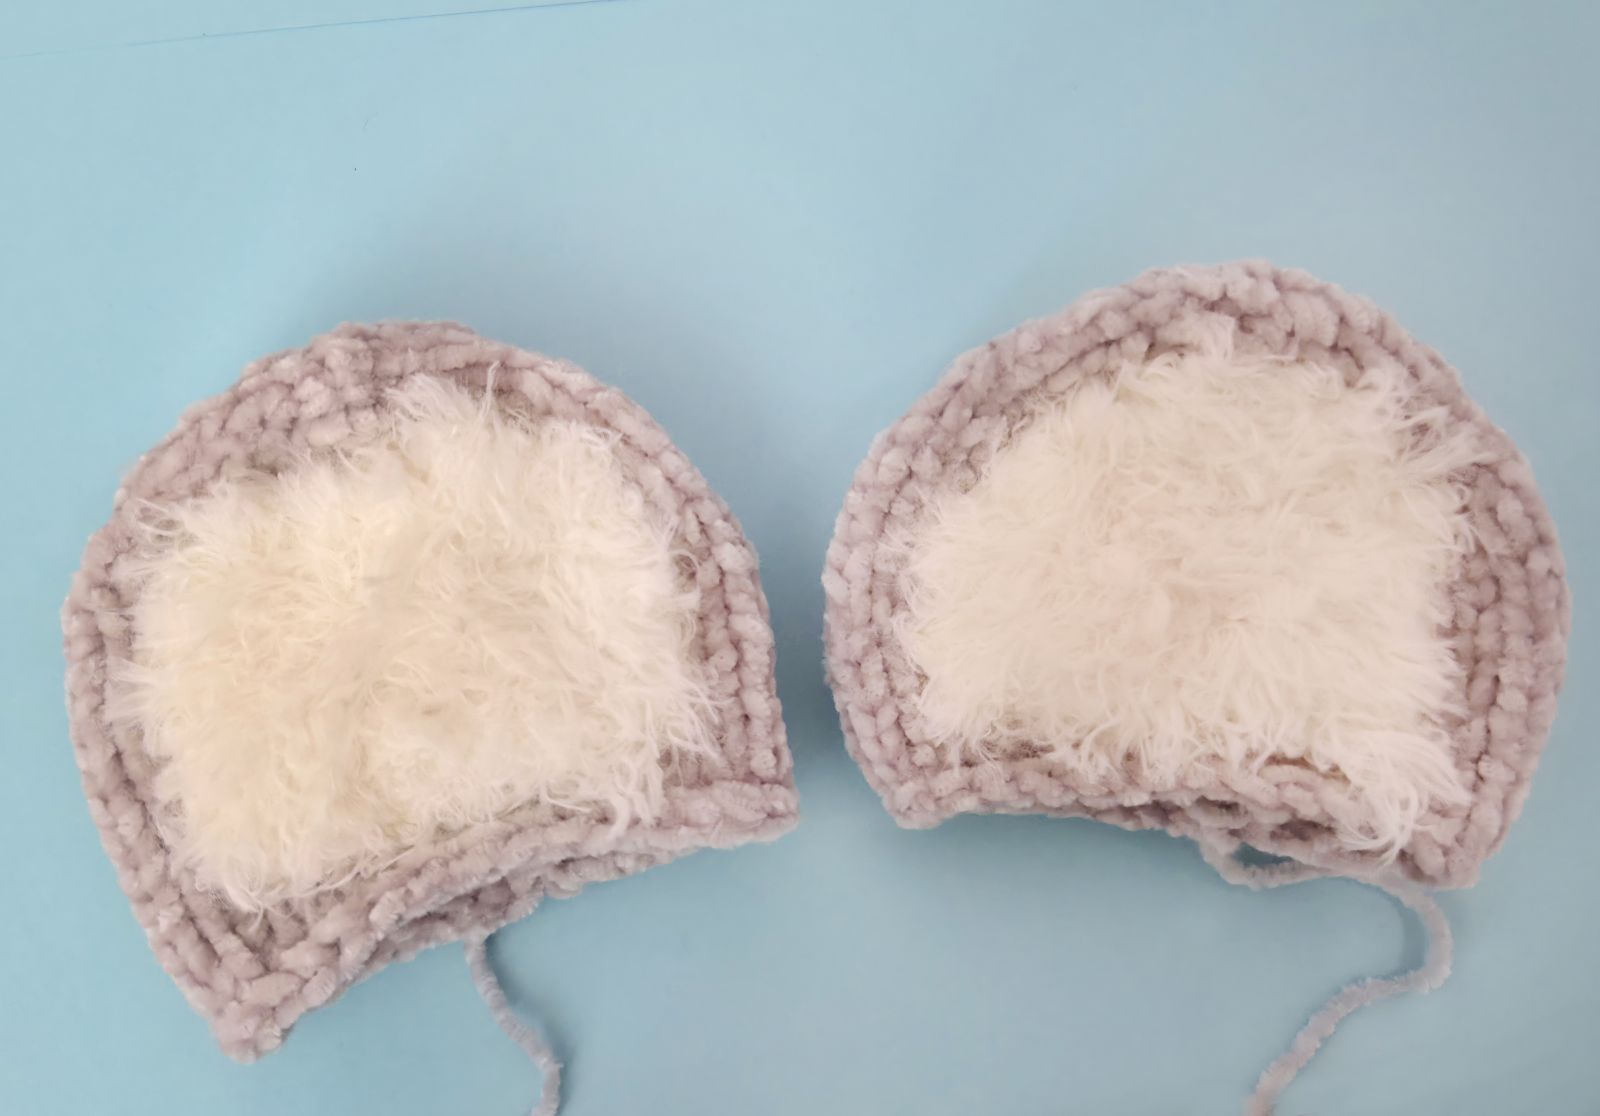
Place the white inner section inside the ear and sew it on carefully. Please refer to the images for guidance.
Sew the ears onto the head, one on the left and one on the right, making sure they sit evenly and symmetrically.
Tail
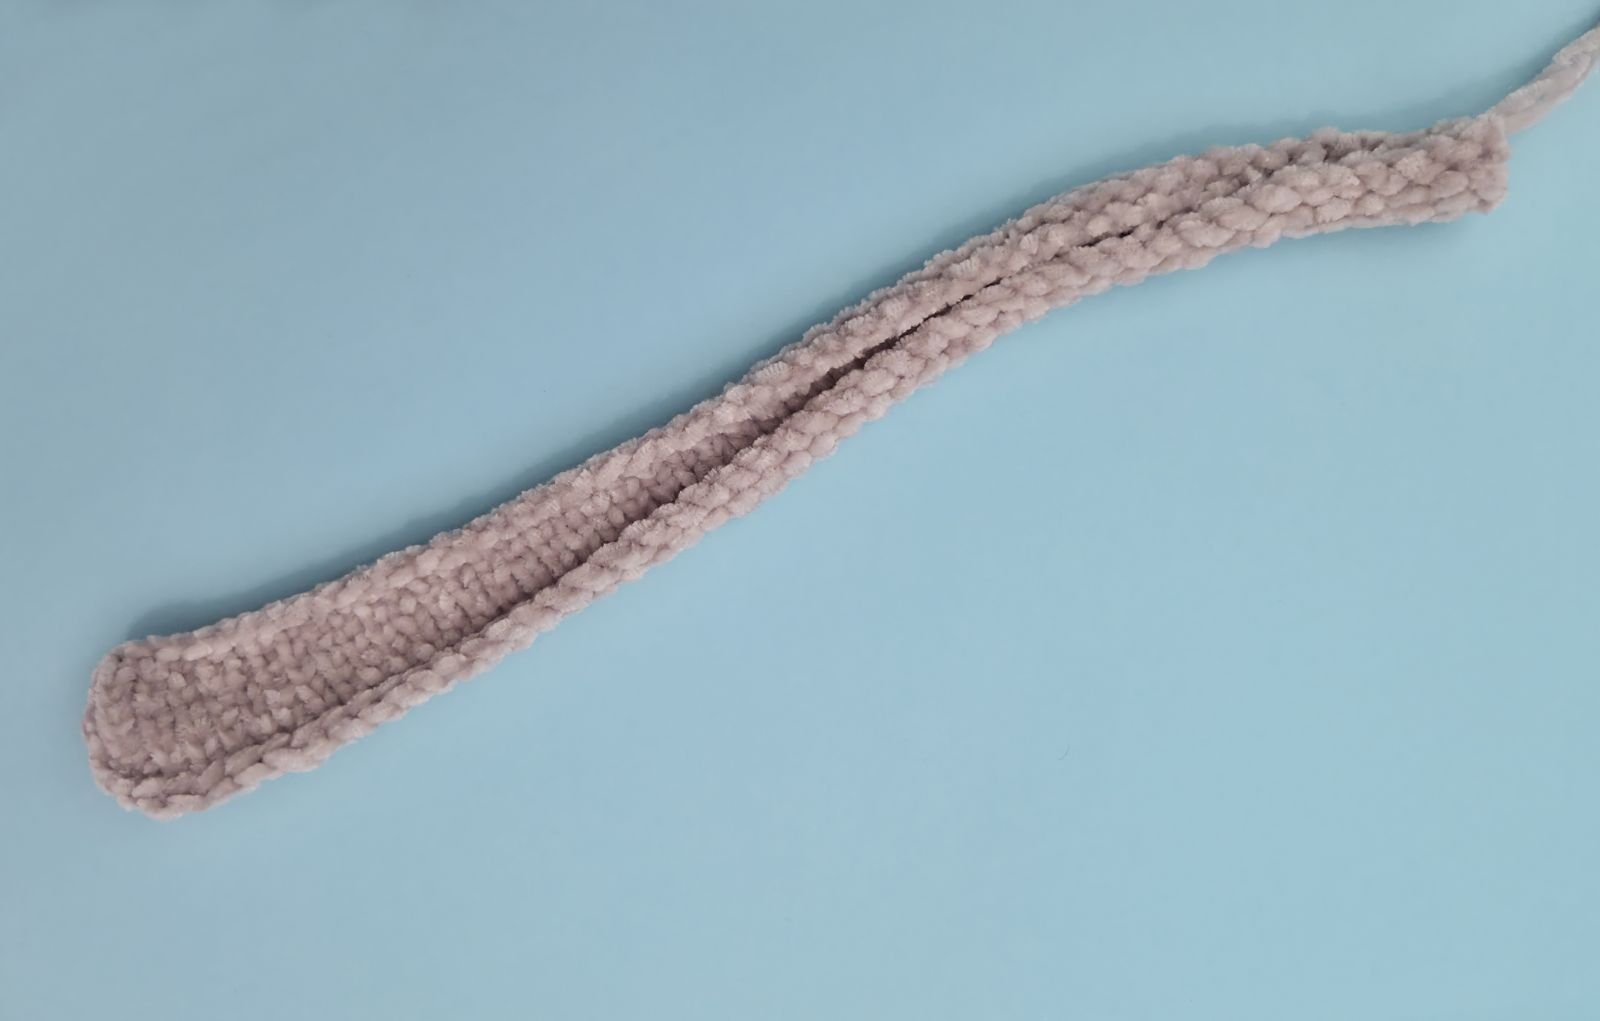
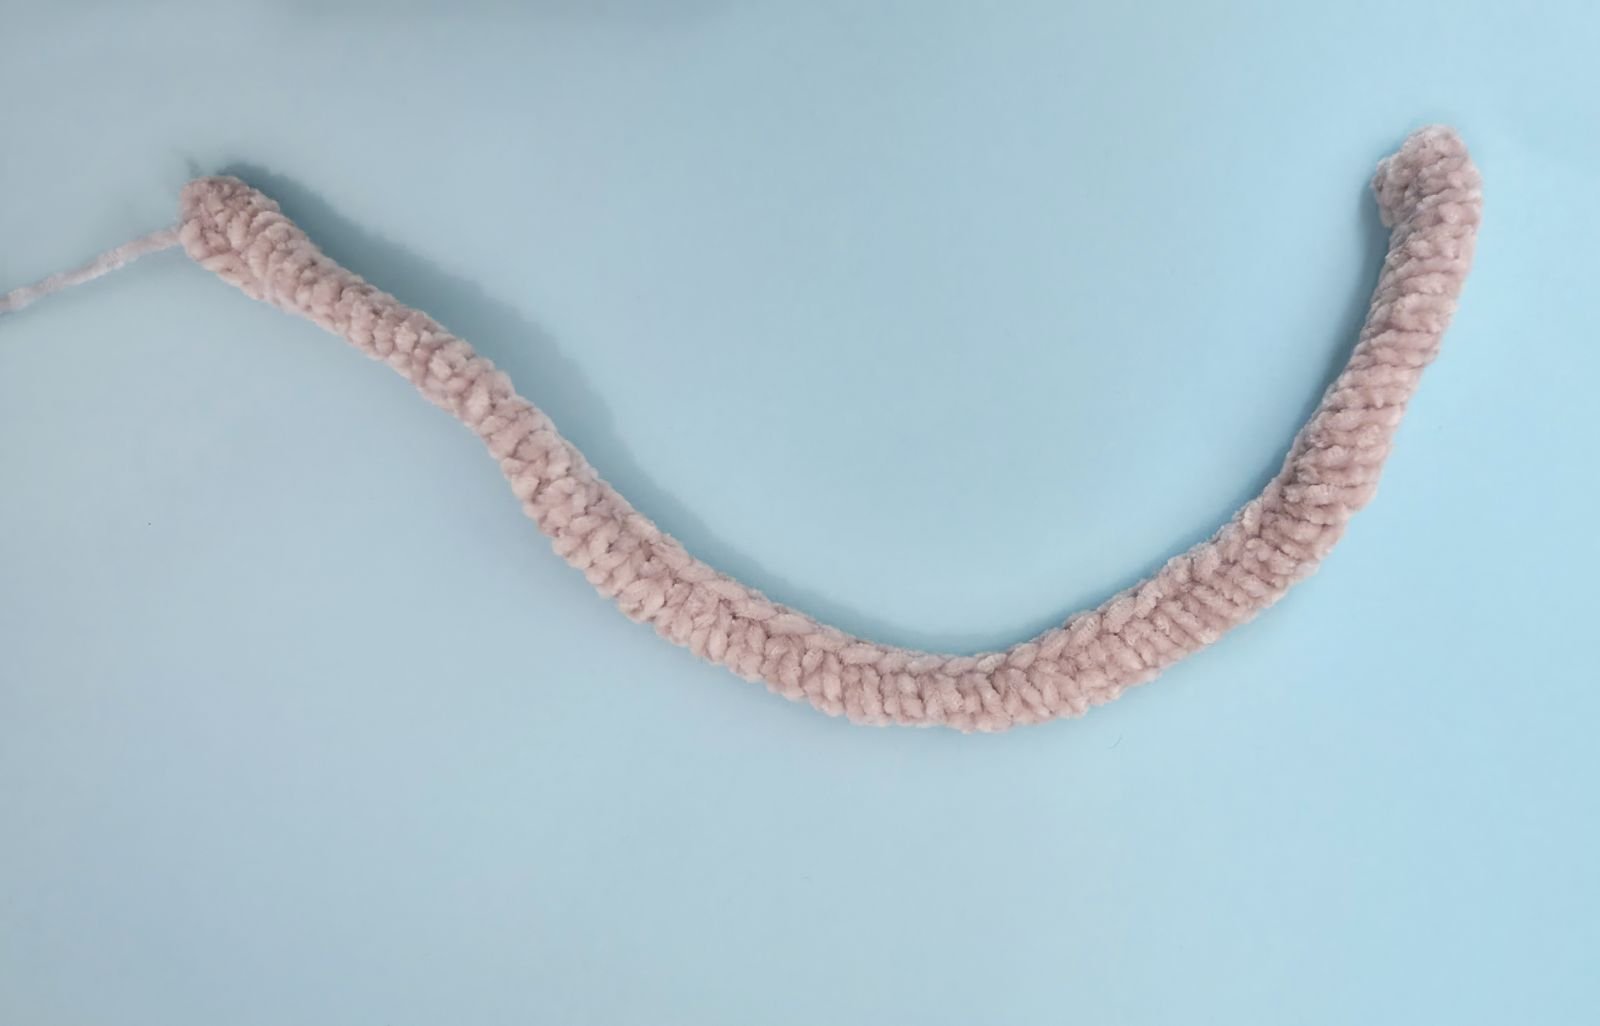
Cast on 42 stitches (ch) onto the knitting needle. Make sure the stitches are evenly stretched while knitting to ensure your knitted piece is nice and even.
1. 42 P
2. 42 K
3. 42 P
4. 42 K
5. 42 P
6. 42 K
7. 42 P
Bind off the stitches, fold the piece along the longer sides, and carefully sew it together. Then sew the tail onto the back, making sure it sits centered and securely.