
Small amigurumi projects are among the most popular crochet makes - and for good reason. They are quick to finish, require only a small amount of yarn, and are a wonderful way to use up leftover yarn from other projects. This cute pear keychain combines all of those benefits and makes a fun accessory for your own keys as well as a thoughtful little handmade gift.
With its cheerful face, tiny arms and legs, and little green leaf, this simple pear quickly turns into an eye-catching amigurumi character. The pattern guides you through the project step by step and is especially suitable if you already have some basic experience with amigurumi crochet. Thanks to its compact size, this pear keychain is also a perfect one-afternoon crochet project.
Before You Get Started
The body of the pear is worked in continuous rounds. Using a stitch marker to mark the beginning of each round will make it much easier to keep track of your stitches and ensure your stitch count stays accurate throughout the project.
As you crochet, stuff the body gradually with polyester fiberfill. Adding the stuffing little by little helps create a smooth, evenly shaped pear without any lumps or uneven spots.
The arms, legs, leaf, and hanging loop are all made separately and sewn onto the body at the end. Before attaching them permanently, it's a good idea to pin the pieces in place or use stitch markers to check their positioning. This allows you to make small adjustments and ensure that both arms and legs are attached evenly.
Finally, embroider the face to give your pear its adorable personality. Small details like the size of the eyes or the shape of the smile can completely change the expression, making every pear keychain a unique handmade creation.
Materials
To make your pear keychain, you'll need:
-
2.5 mm crochet hook
-
Cotton yarn (approx. 125 m / 50 g)
-
Approx. 10 g light green
-
Approx. 5 g dark green for the leaf
-
Small amount of light brown for the hanging loop
-
-
Black and white embroidery floss (or thin black and white cotton yarn) for the face
-
Polyester fiberfill
-
Stitch marker
-
Scissors
-
Yarn needle
-
Straight pins
Since this project uses only a small amount of yarn, it's a perfect way to use up leftover yarn from previous projects. Try experimenting with different shades of green to create a whole collection of unique pear keychains, each with its own personality.
Abbreviations
Please note: This pattern is written using US crochet terminology.
| MR | - | Magic Ring |
| ch | - | chain |
| sc | - | single crochet |
| hdc | - | half double crochet |
| dc | - | double crochet |
| tr | - | treble crochet |
| inc | - | increase |
| dec | - | decrease |
| [...] xn | - | Repeat the instructions inside the brackets [ ] a total of n times. |
Instructions
Body
Begin with light green yarn.
| Rnd 1: | 6 sc in MR | (6) |
| Rnd 2: | 6 inc | (12) |
| Rnd 3: | [inc, sc] x6 | (18) |
| Rnd 4: | [2 sc, inc] x6 | (24) |
| Rnd 5: | [inc, 3 sc] x6 | (30) |
| Rnd 6-9: | 30 sc (4 rounds) | (30) |
| Rnd 10: | [dec, 8 sc] x3 | (27) |
| Rnd 11: | [sc, dec, 6 sc] x3 | (24) |
| Rnd 12: | [2 sc, dec, 4 sc] x3 | (21) |
| Rnd 13: | [3 sc, dec, 2 sc] x3 | (18) |
You can now begin stuffing the body with polyester fiberfill. Add the stuffing a little at a time, allowing it to distribute evenly for a smooth, nicely rounded shape.
| Rnd 14: | [4 sc, dec] x3 | (15) |
| Rnd 15-17: | 15 sc (3 rounds) | (15) |
| Rnd 18: | [dec, 3 sc] x3 | (12) |
| Rnd 19: | [sc, dec, sc] x3 | (9) |
| Rnd 20: | [dec, sc] x3 | (6) |
Fasten off, leaving a short tail. Thread the yarn tail through the remaining six stitches, pull tight to close the opening, and weave in the end securely inside the body.
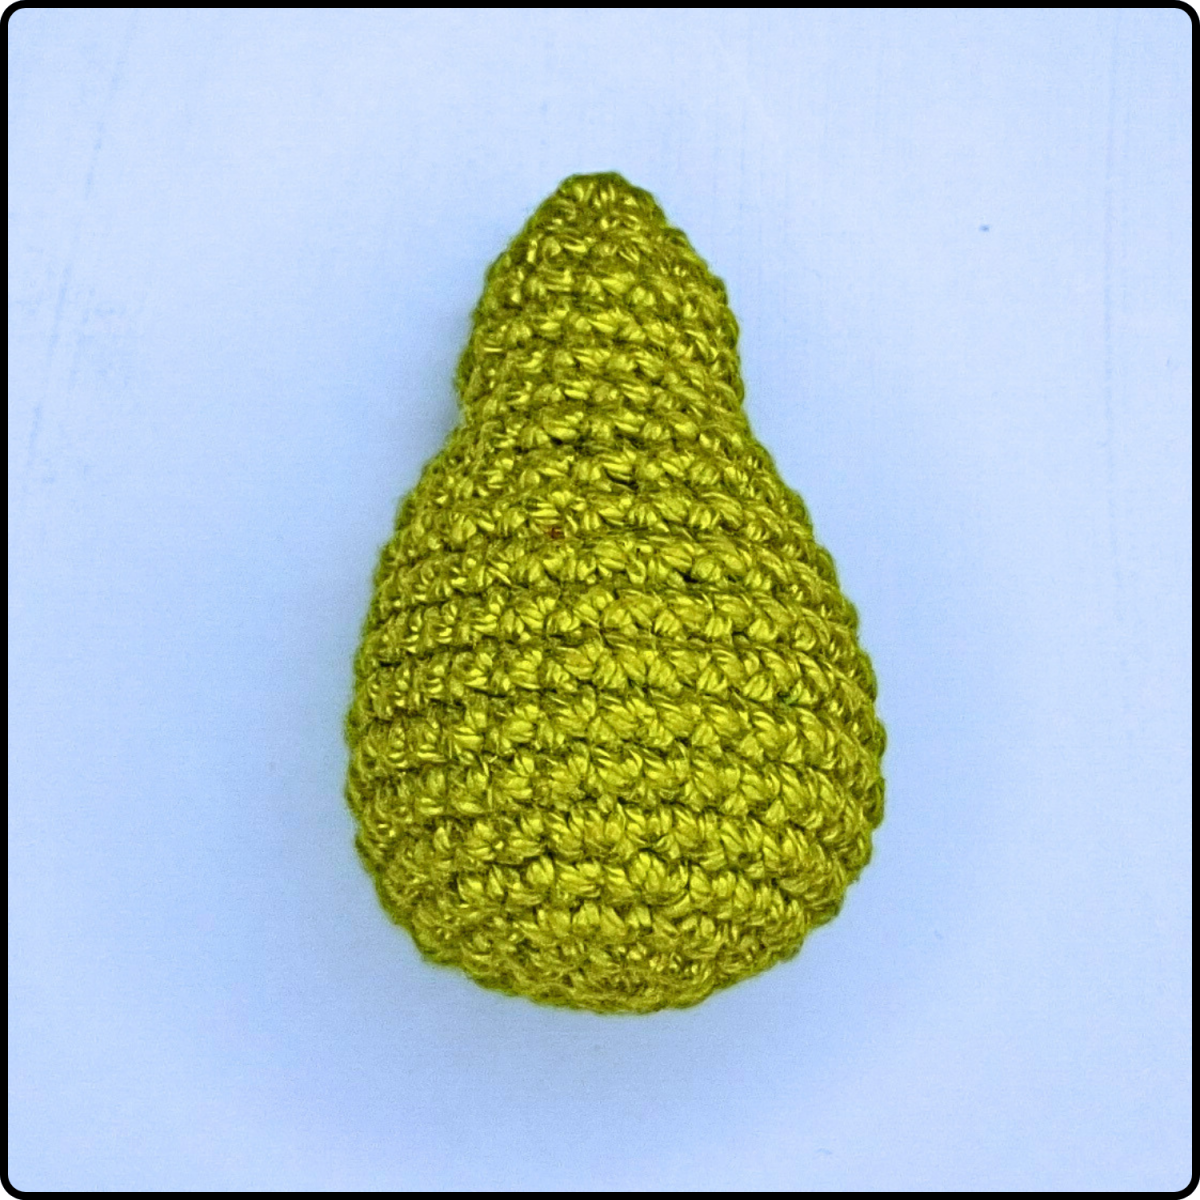
Hanging Loop
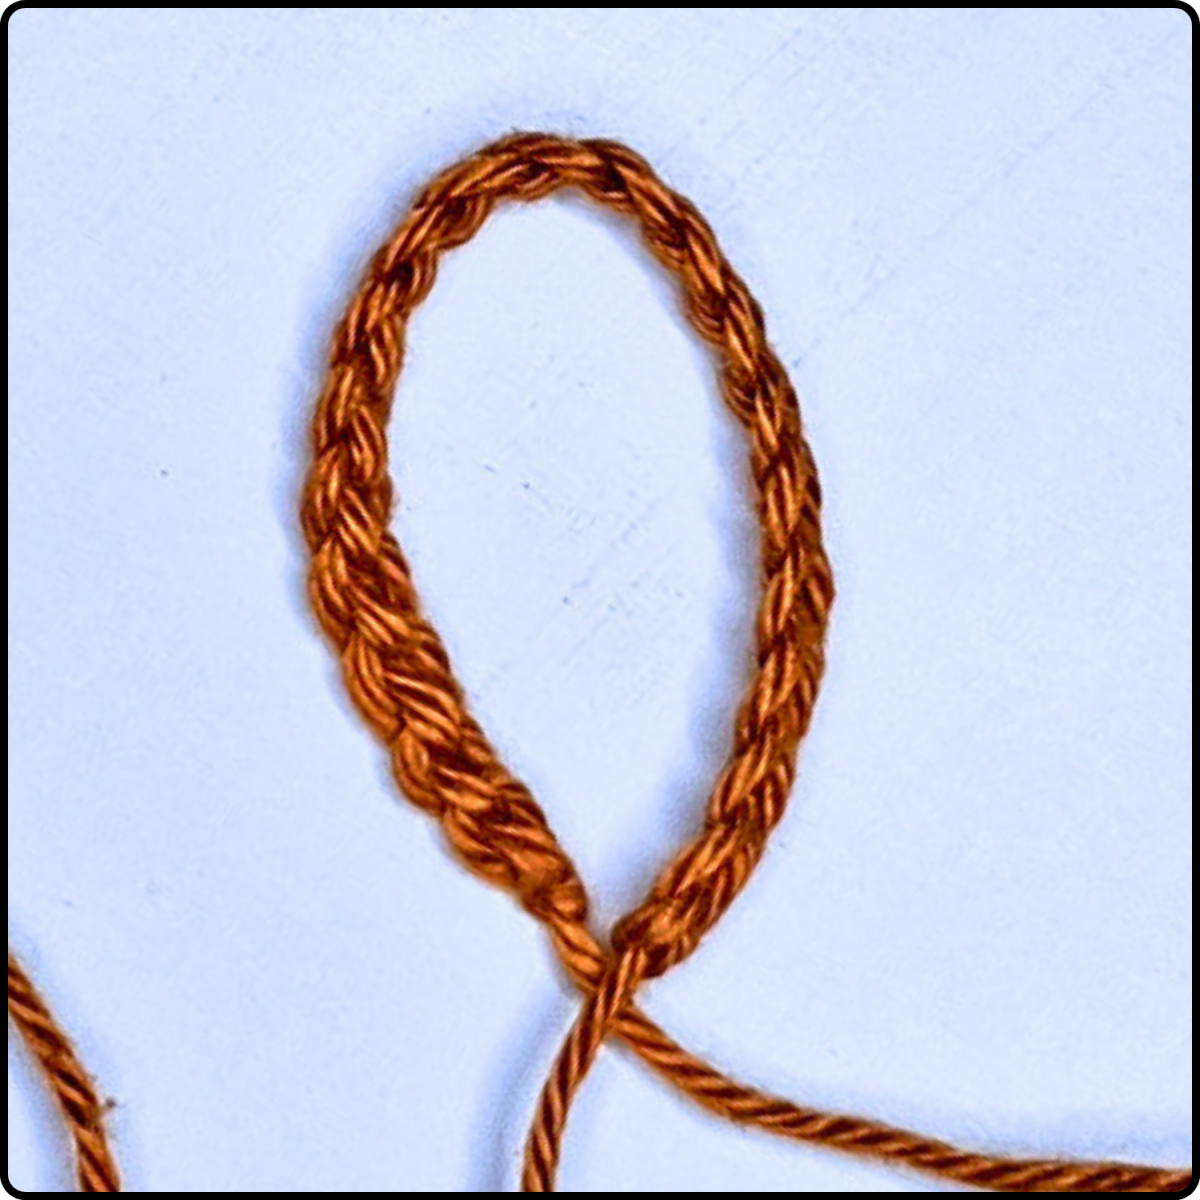
The hanging loop forms the pear's little stem and can be used to attach the finished keychain to a key ring or lobster clasp. Using light brown yarn, chain 20. Fasten off and pull the yarn through the last chain to secure it.
Leaf
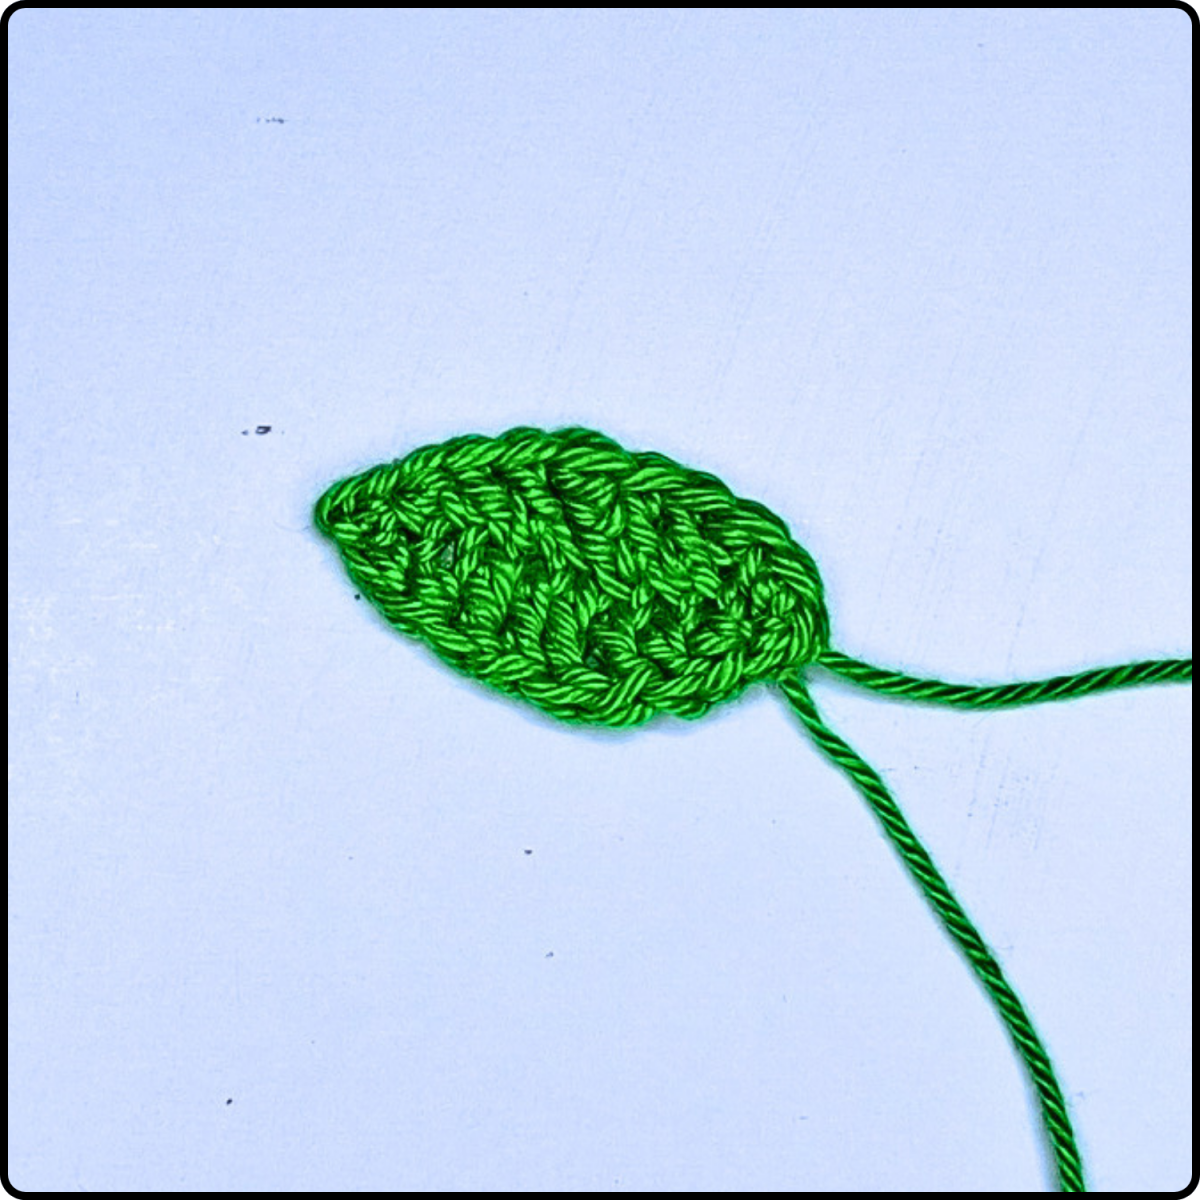
The small leaf is worked around a short foundation chain, creating a neat leaf shape by crocheting along both sides of the chain.
Using dark green yarn, chain 10. Starting in the second chain from the hook, work:
-
1 sc
-
1 hdc
-
2 dc
-
1 tr
-
2 dc
-
1 hdc
-
3 sc in the last chain
Now continue working along the opposite side of the foundation chain:
-
1 hdc
-
2 dc
-
1 tr
-
2 dc
-
1 hdc
-
1 sc
Fasten off, leaving a long tail for sewing the leaf to the pear later.
Arms (Make 2)
The arms are worked in rows and then folded and sewn together along the edge to create a neat, narrow shape.
Using light green yarn, chain 8.
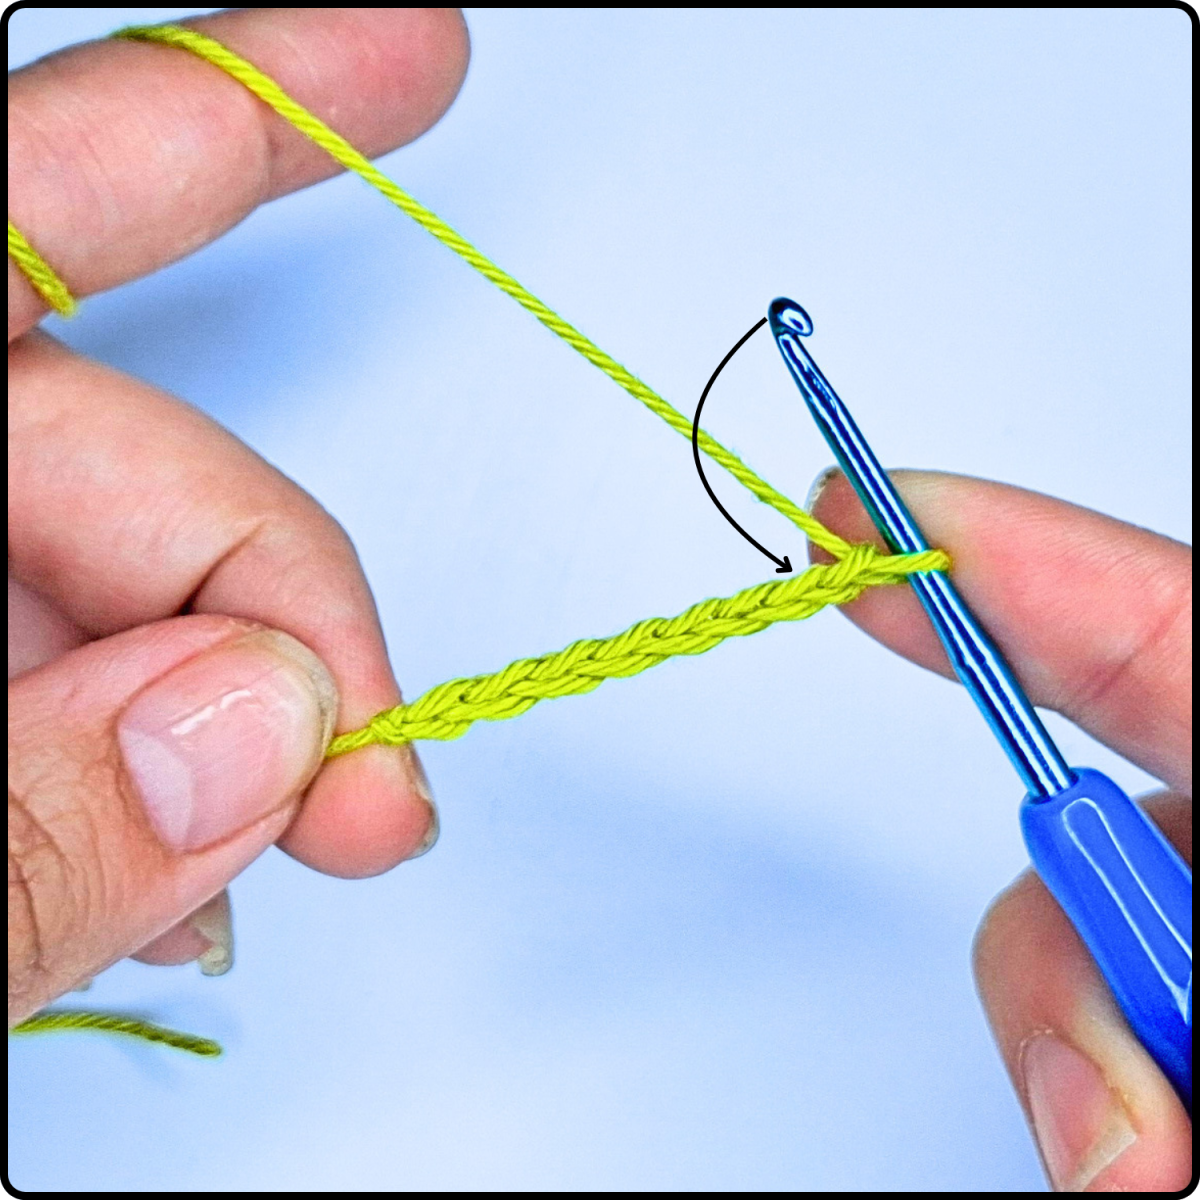
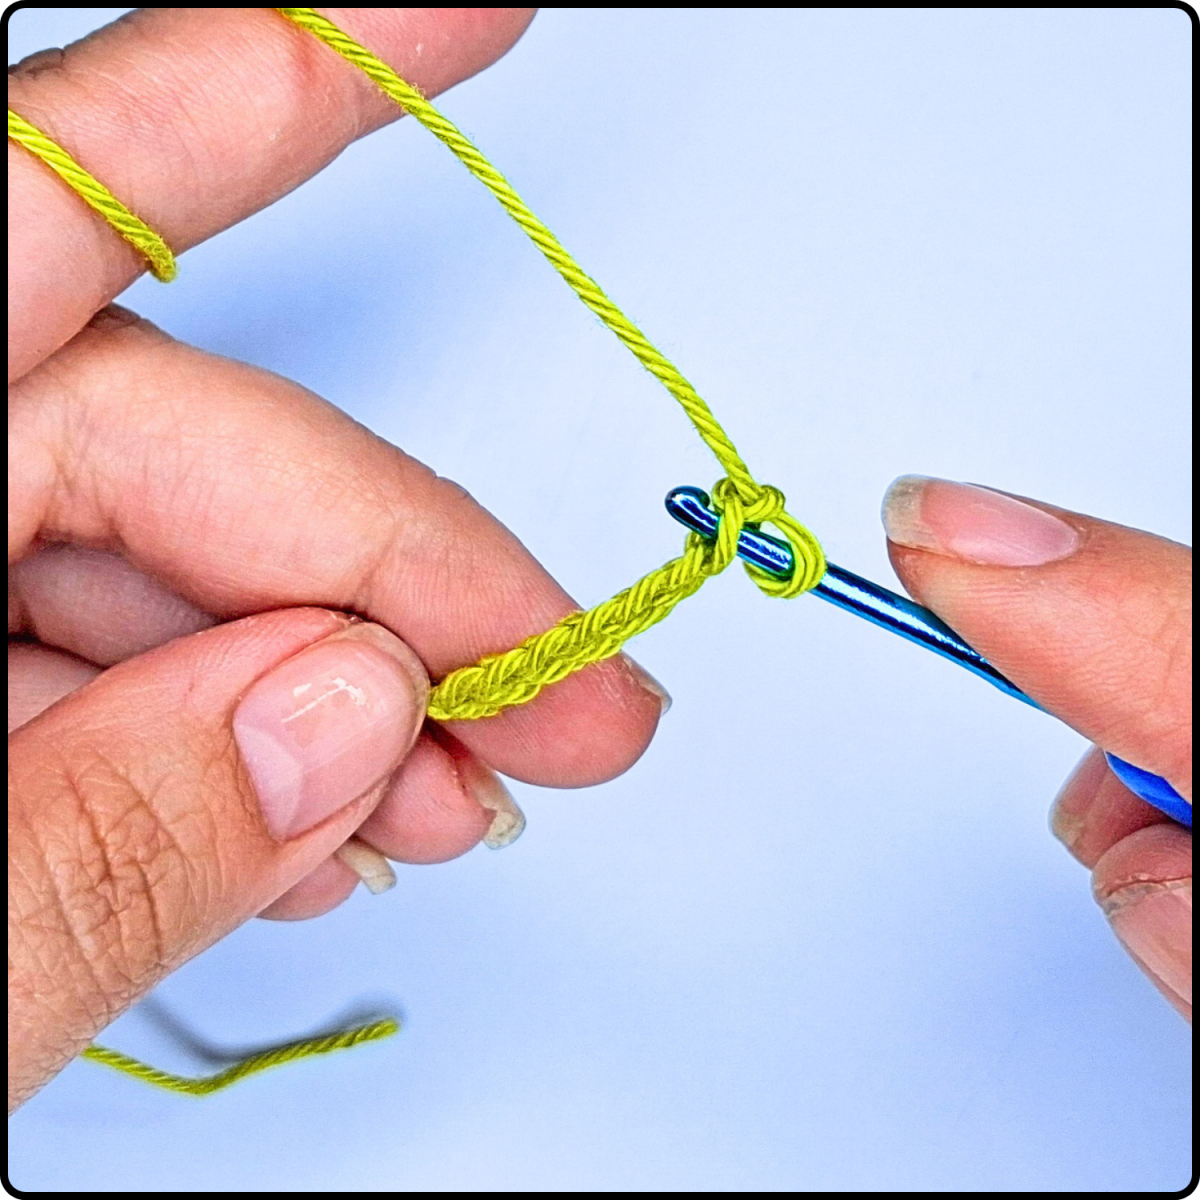
Starting in the second chain from the hook, work the first row as follows:
| Rnd 1: | 7 sc | (7) |
| Rnd 2-3: | ch, turn, 7 sc | (7) |
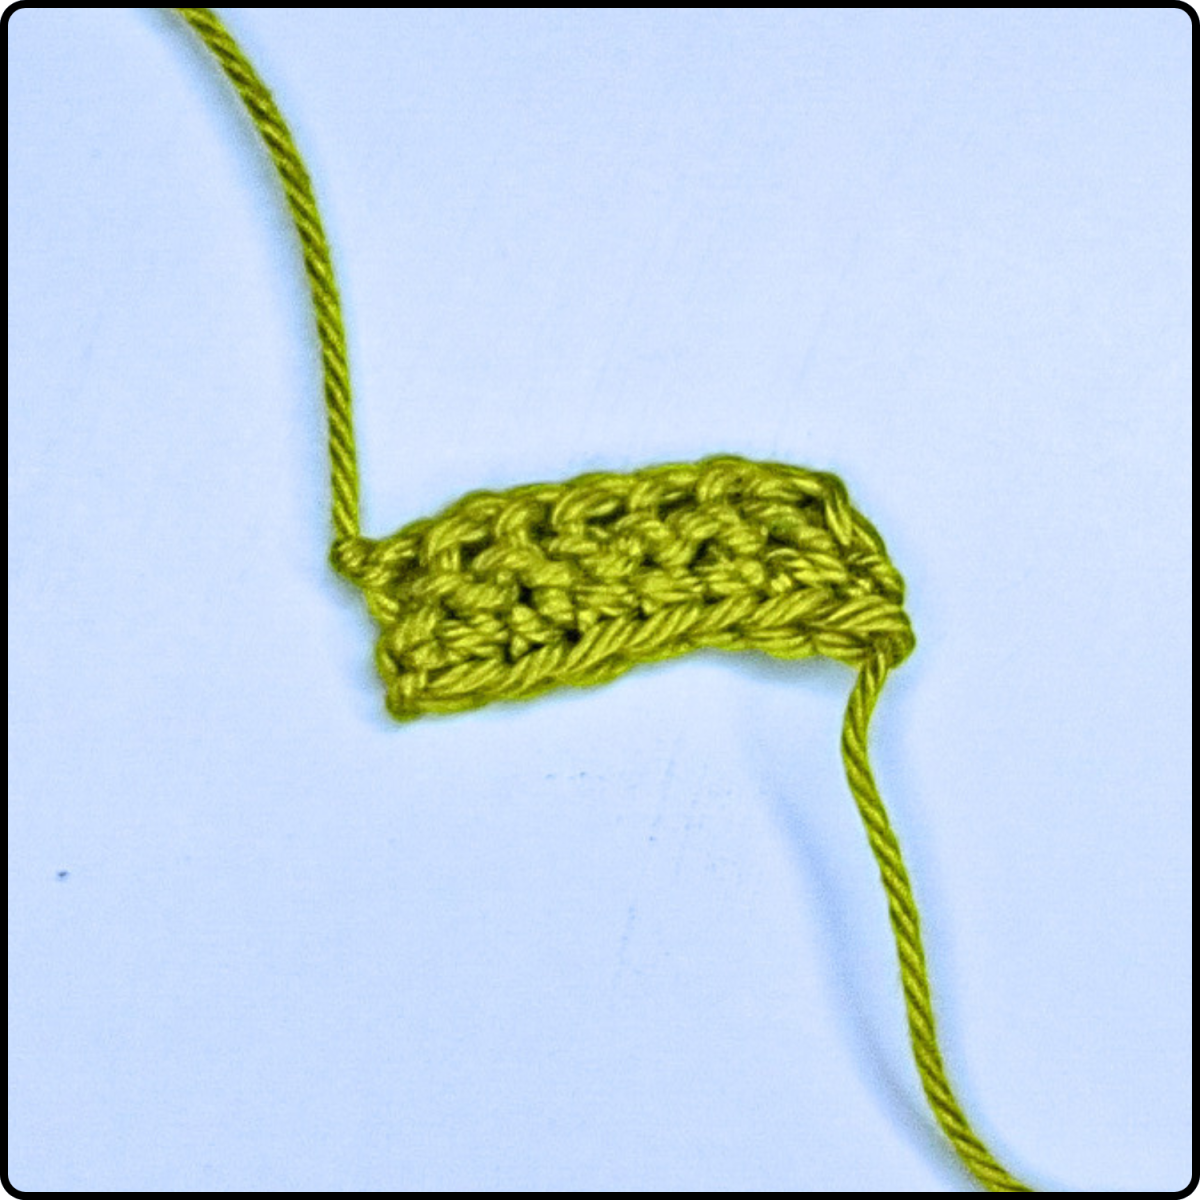
After completing the final row, fasten off, leaving a long tail. Fold the arm lengthwise and use the yarn tail to sew the edges together. Leave the remaining tail attached, as it will also be used to sew the arm to the body later.
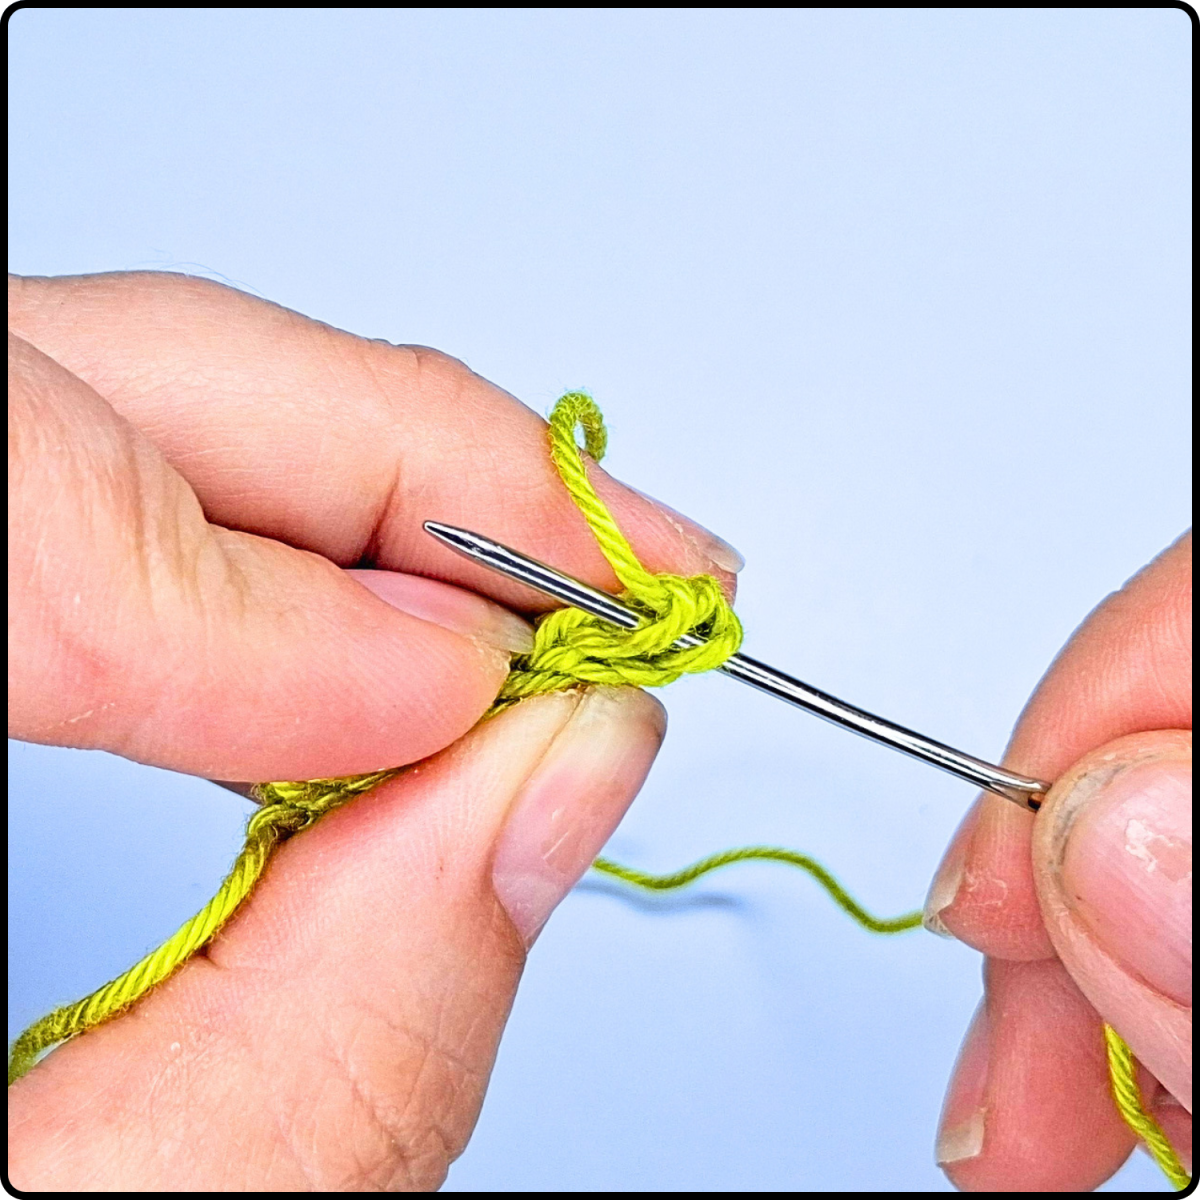
The remaining yarn tail, along with the beginning tail, can be used later to sew the arm to the body.
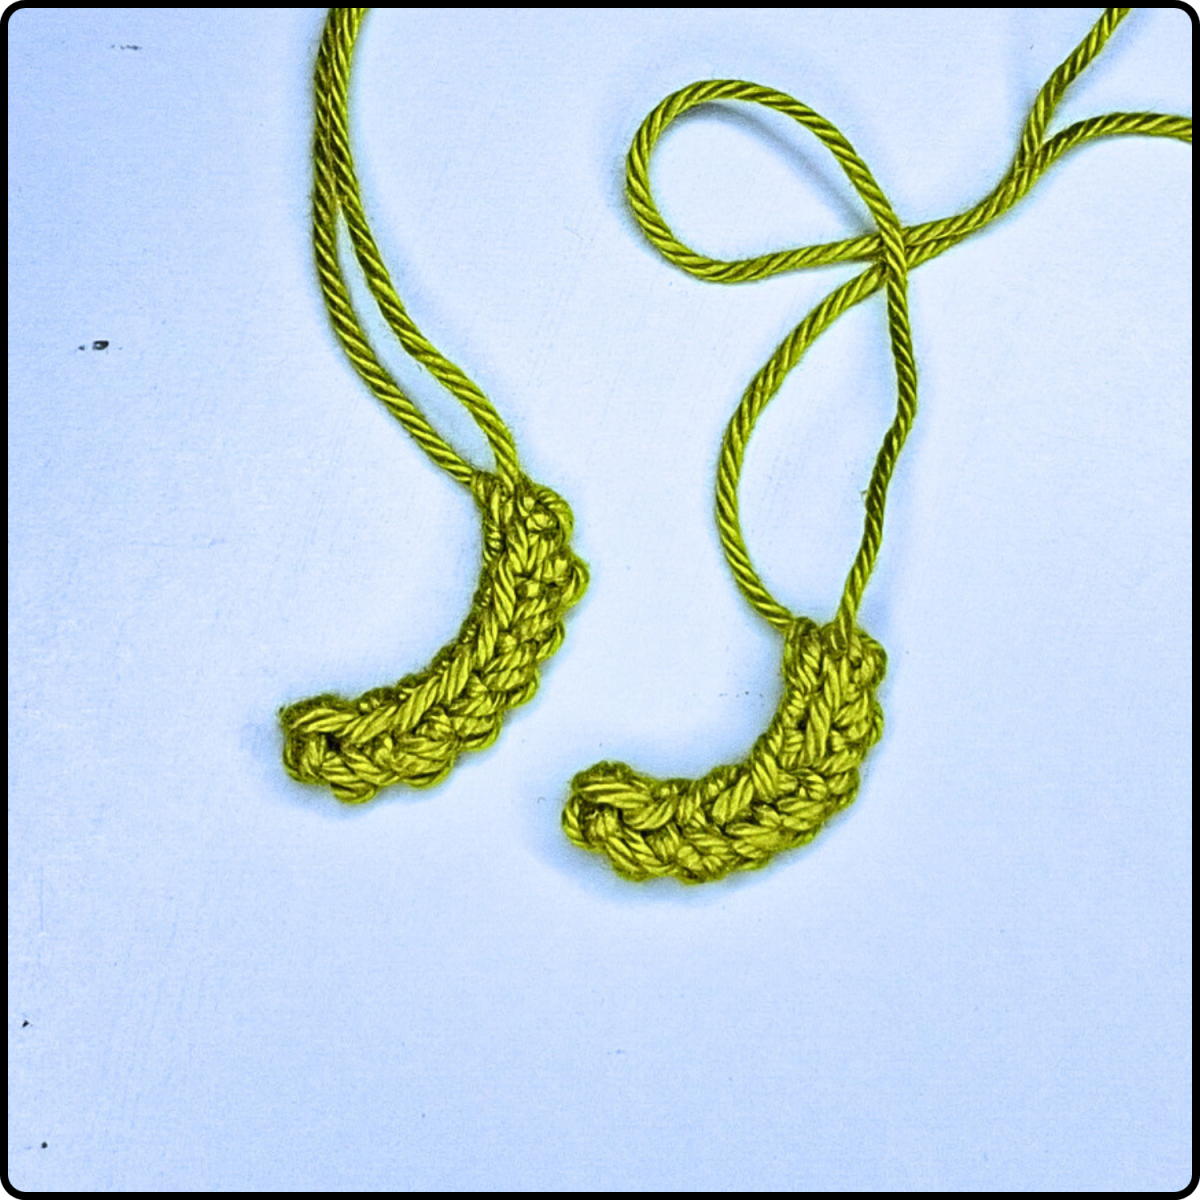
Legs (Make 2)
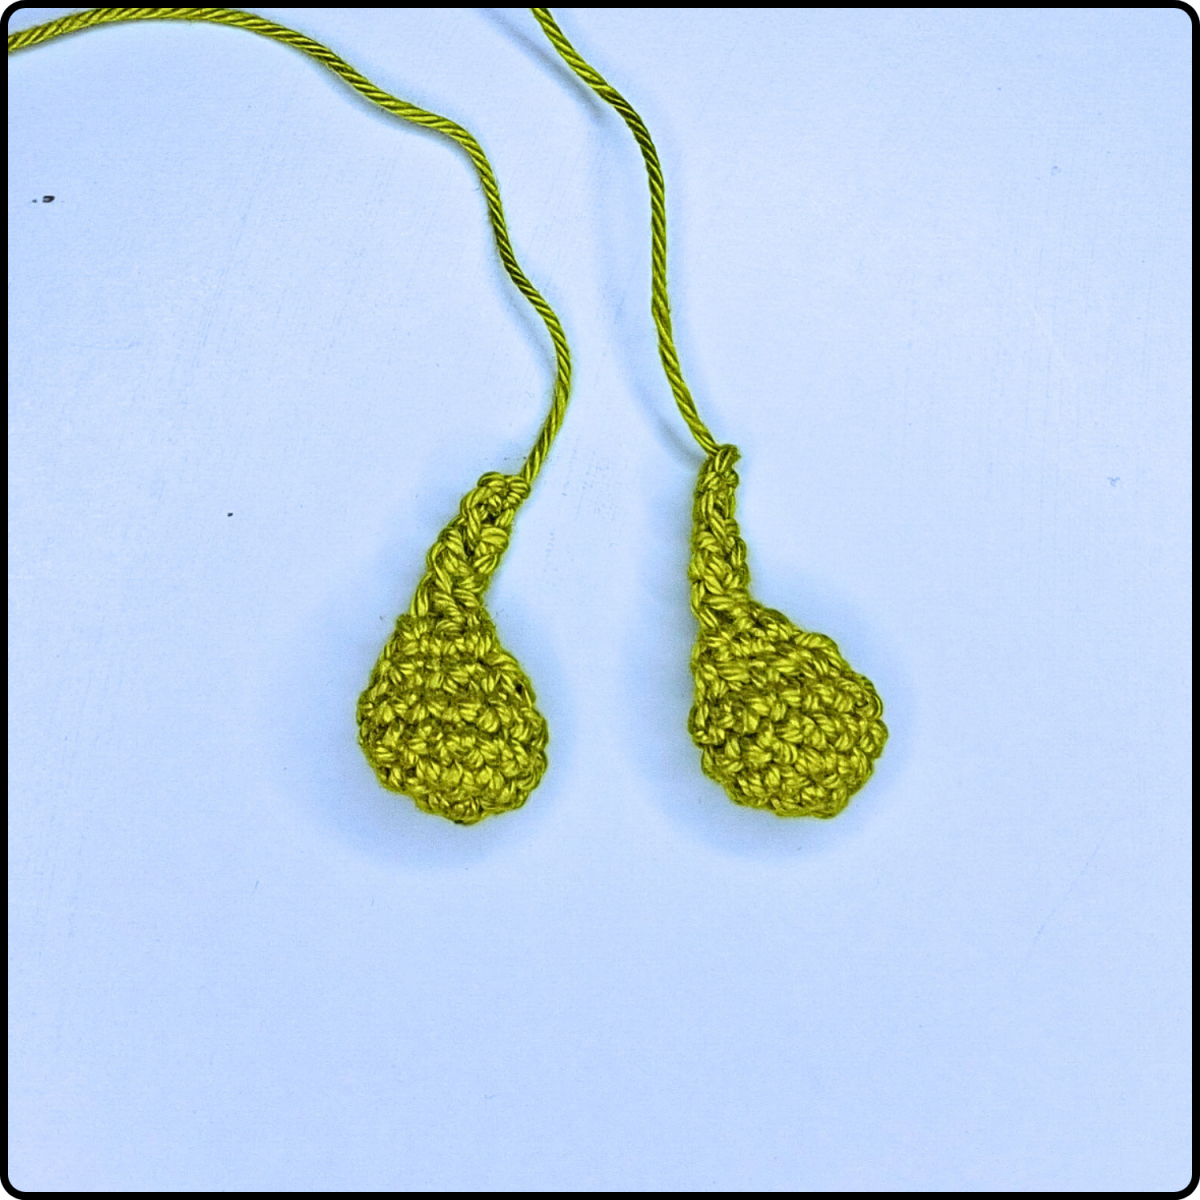
The little feet give the pear its adorable look. They are worked in continuous rounds first, then continued in rows to create the narrow legs.
Begin with light green yarn.
| Rnd 1: | 6 sc in MR | (6) |
| Rnd 2: | 6 inc | (12) |
| Rnd 3-4: | 12 sc | (12) |
| Rnd 5: | 6 dec | (6) |
Do not stuff the feet. First, hide the beginning yarn tail inside the foot. Then flatten the top opening and crochet it closed with 2 sc worked through both layers.
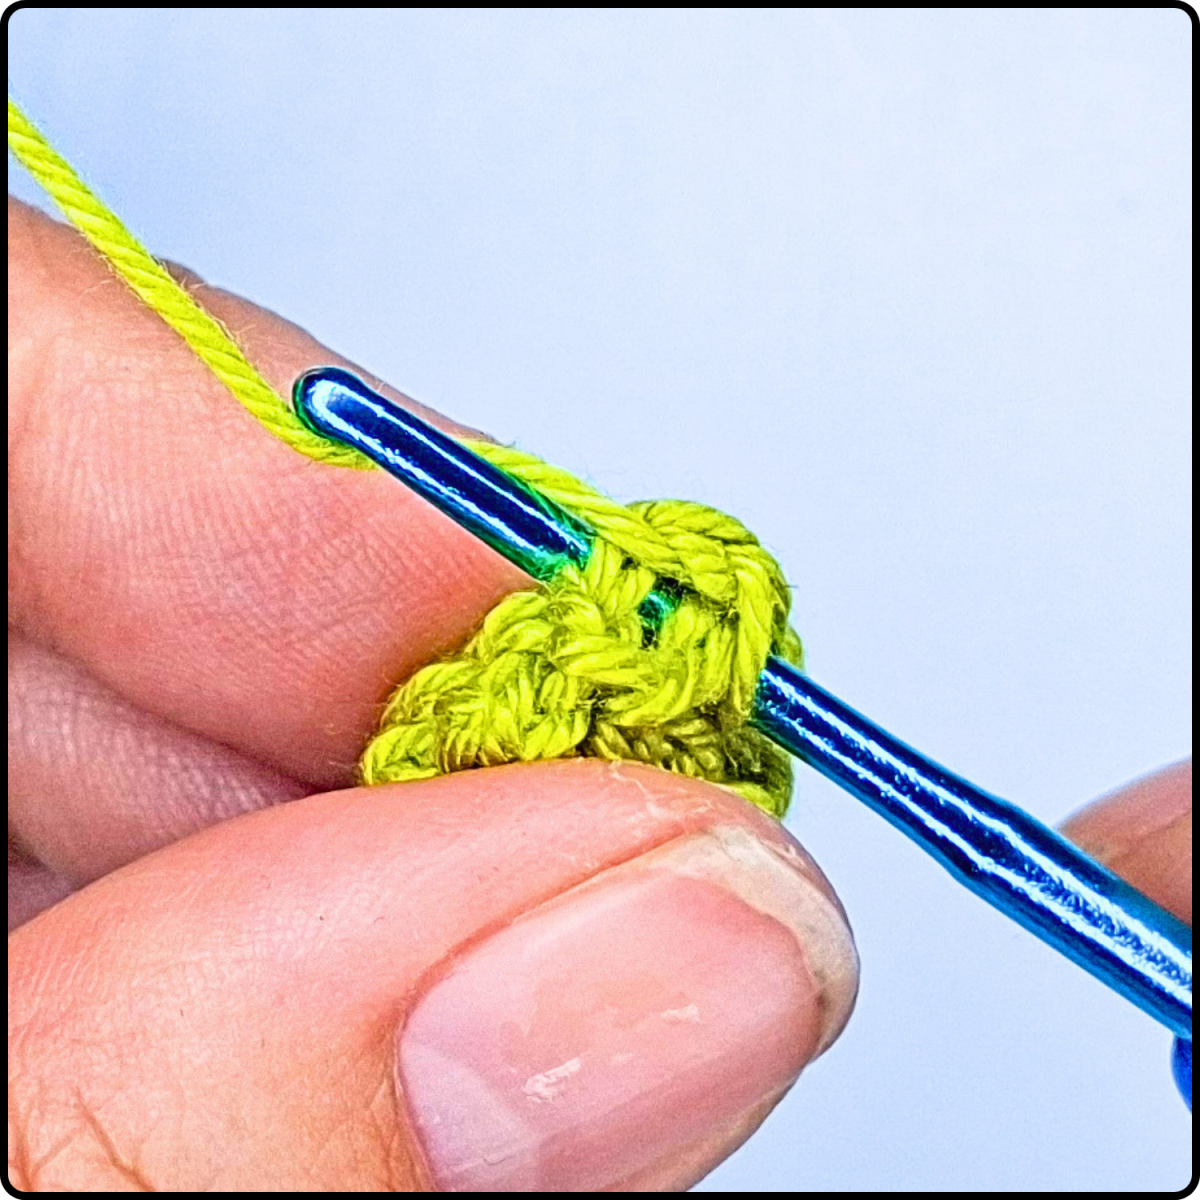
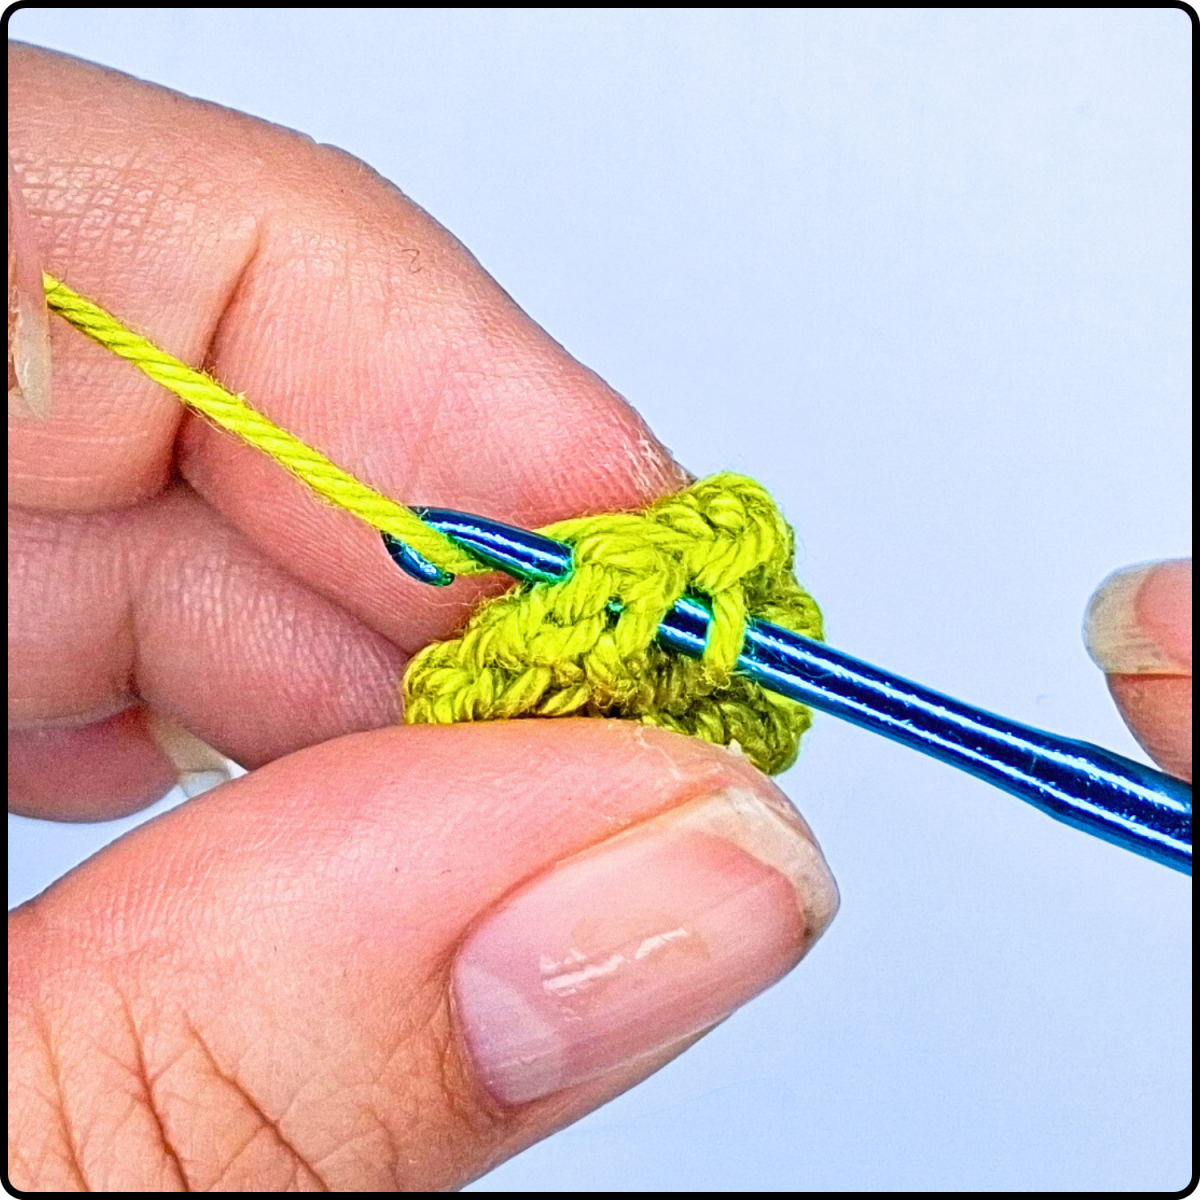
Continue working in rows as follows:
| Row 1: | ch, turn, dec | (1) |
| Row 2-4: | ch, turn, sc | (1) |
Fasten off, leaving a long tail so you can easily sew the leg to the body later.
Assembly
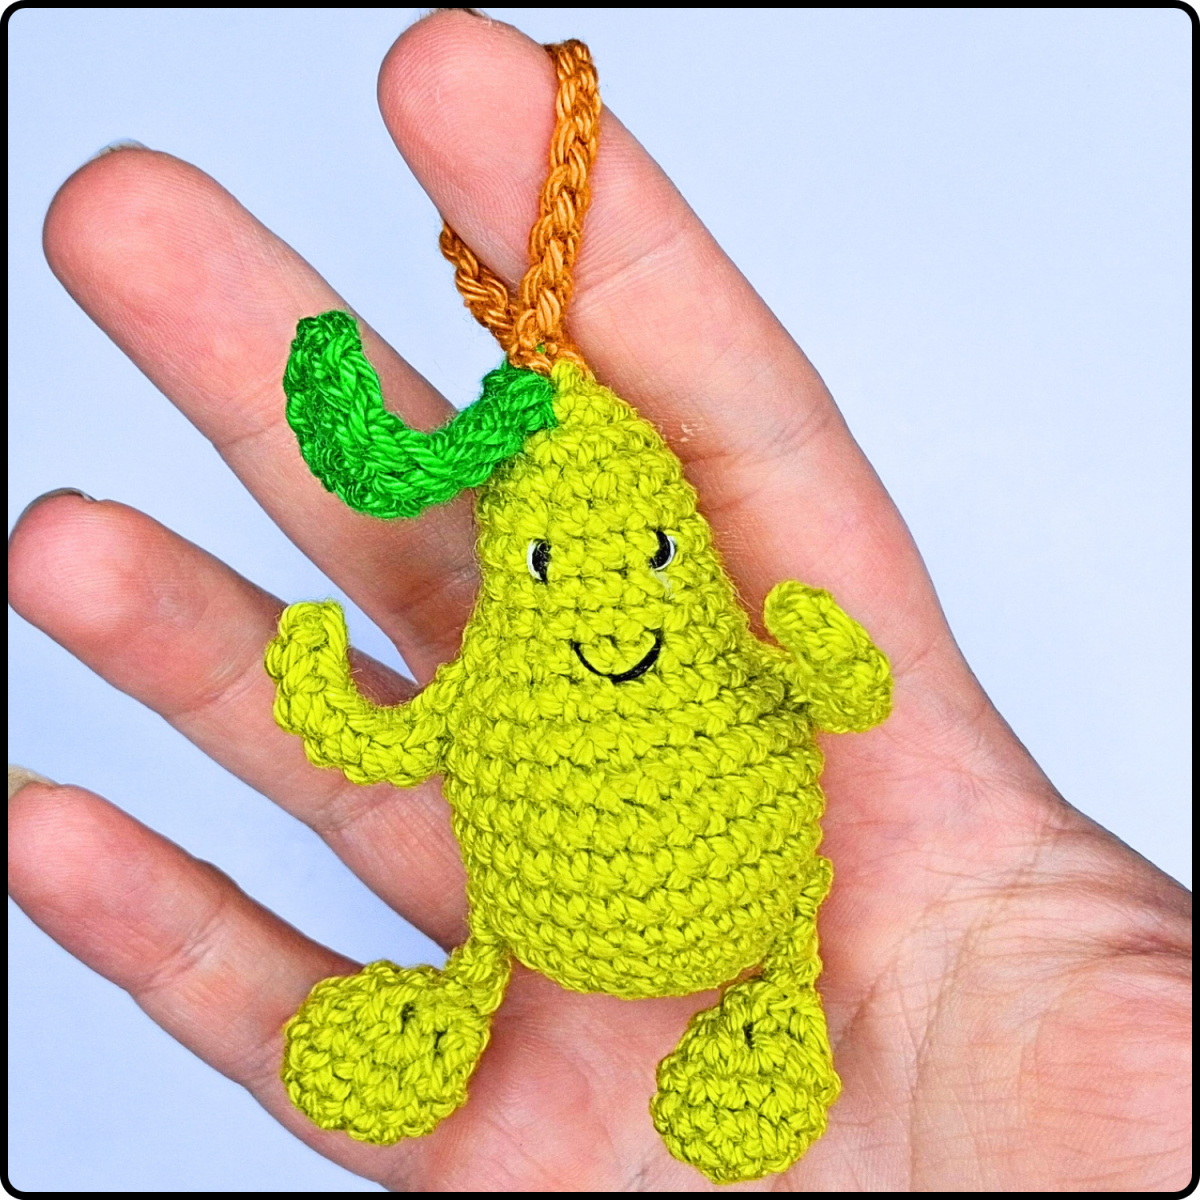
Now it's time to assemble your pear! Take your time with this step, as the placement of the individual pieces will have a big impact on the finished look.
Start by sewing the brown hanging loop to the center of the top of the pear. This will form the stem.
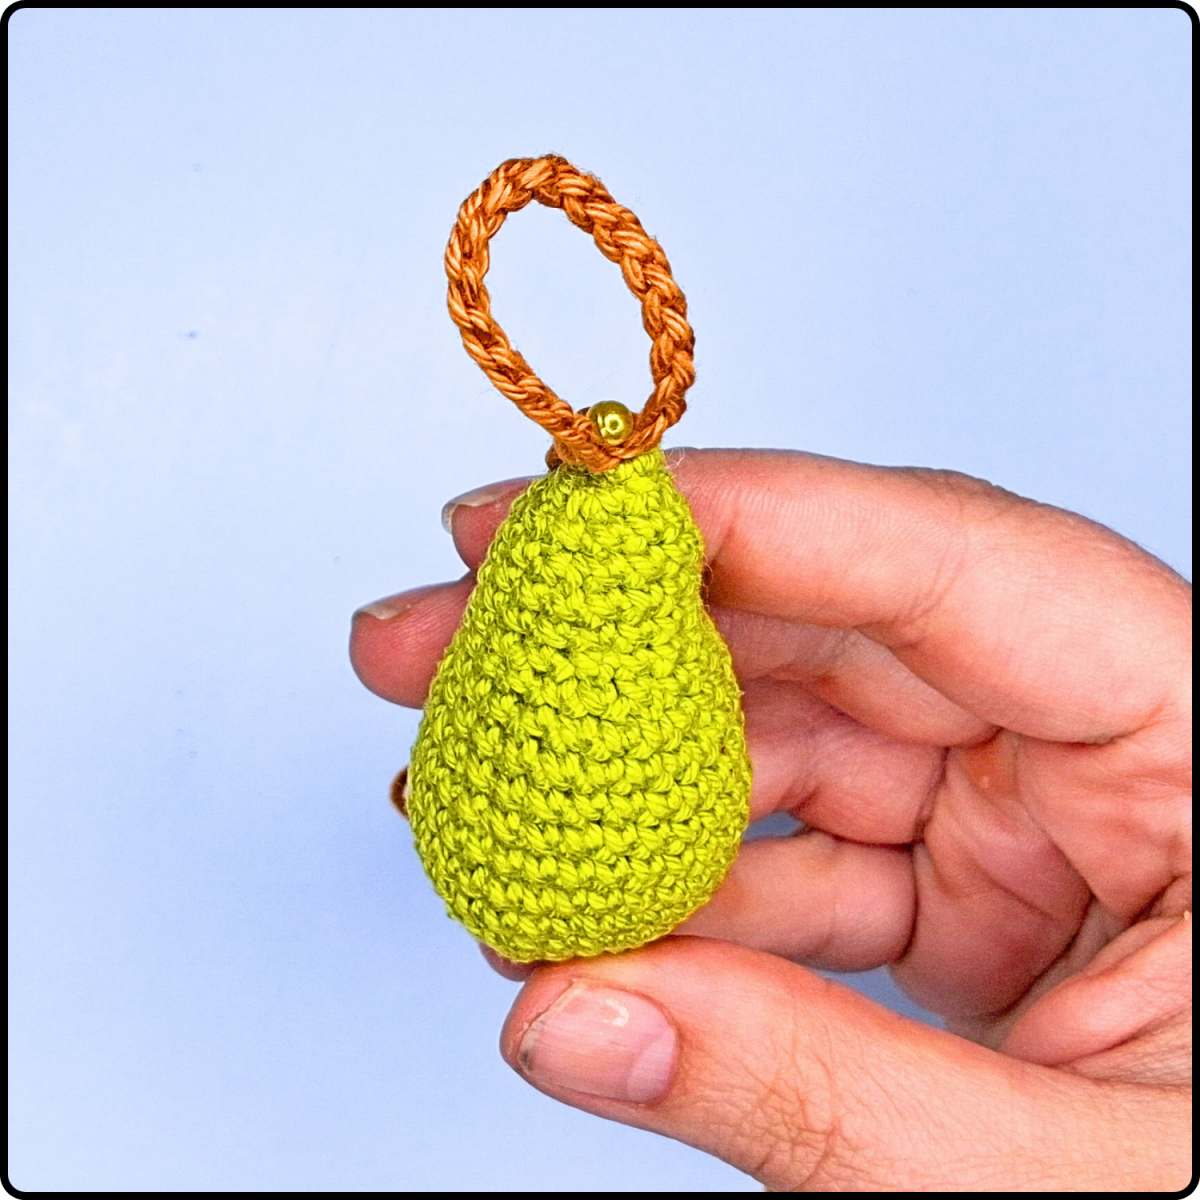
Next, sew the green leaf in place right beside the stem.
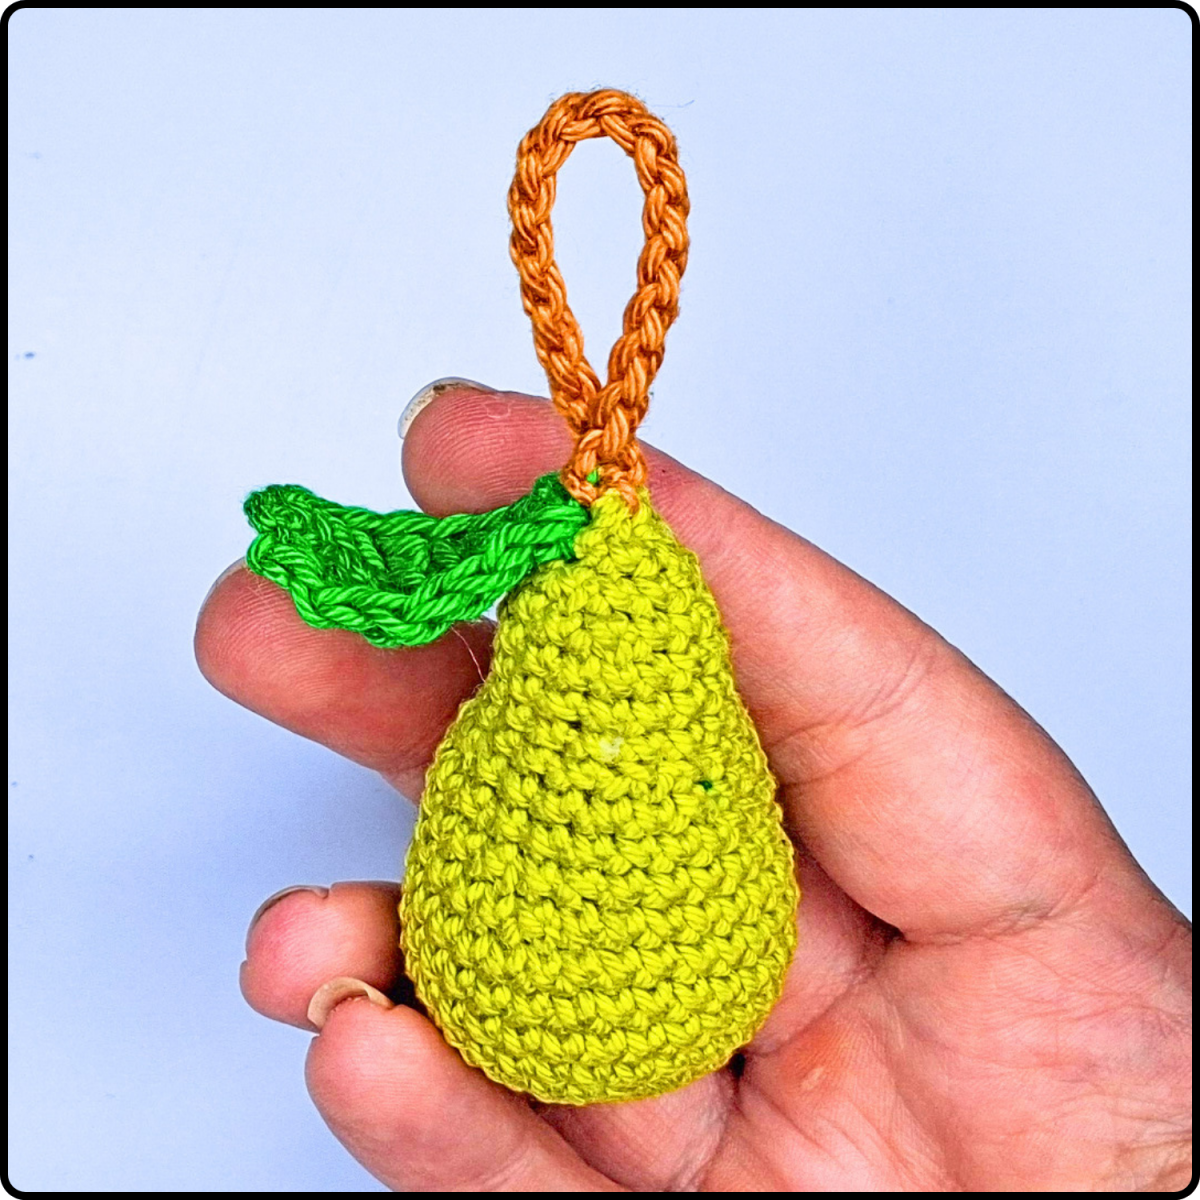
Attach the arms at approximately Round 11, making sure they are positioned evenly on both sides of the body.
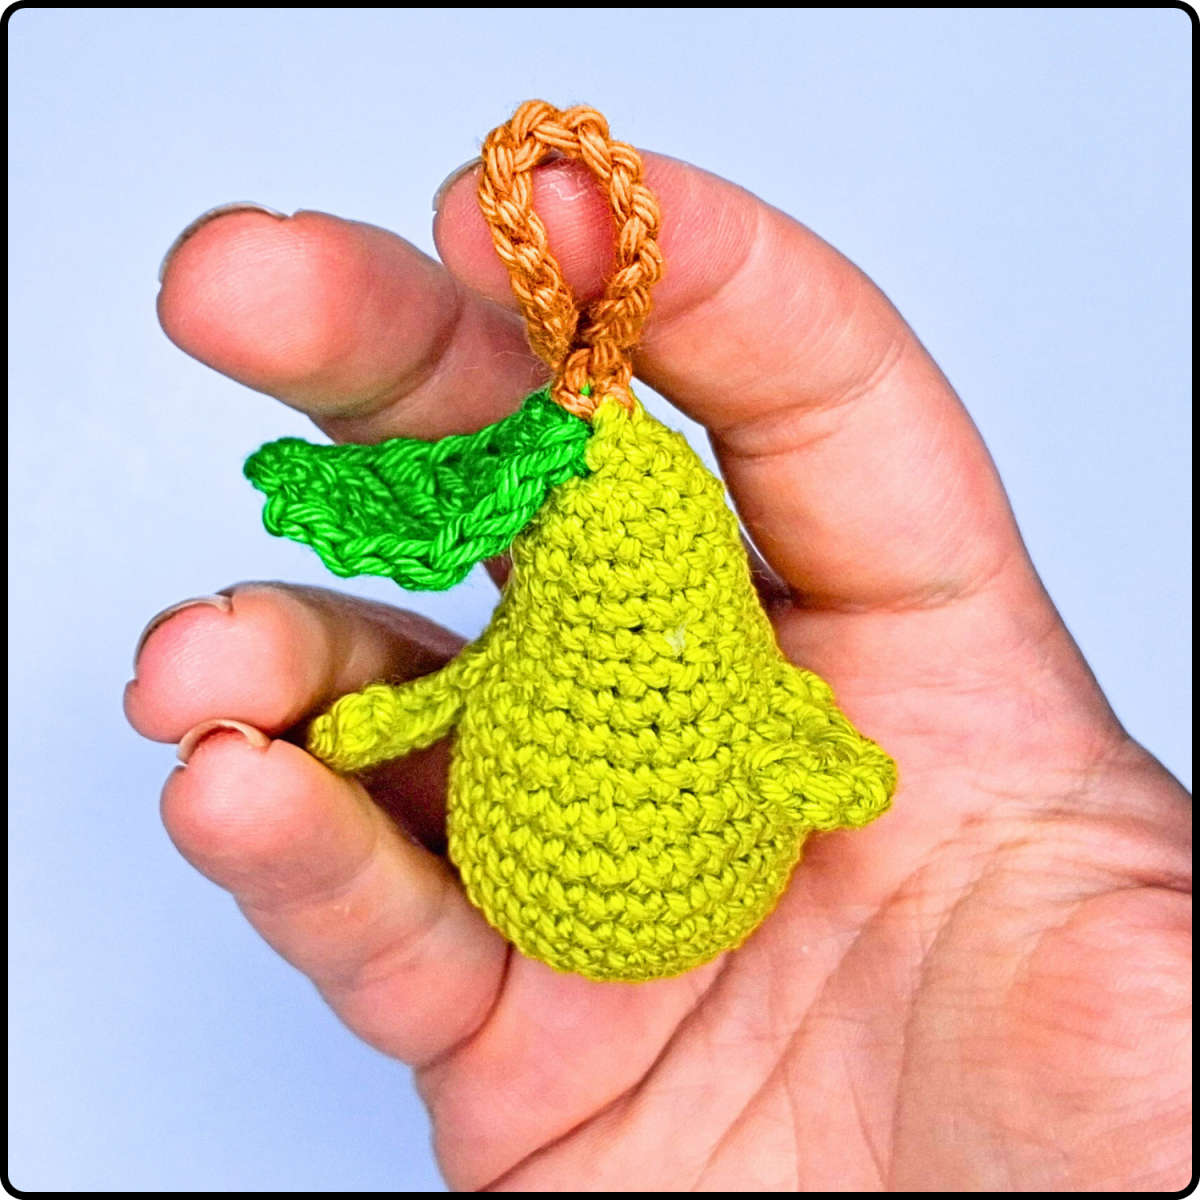
Finally, sew the legs onto the pear at approximately Round 5. Before securing everything permanently, double-check that all the pieces are aligned to achieve a balanced, symmetrical finish.
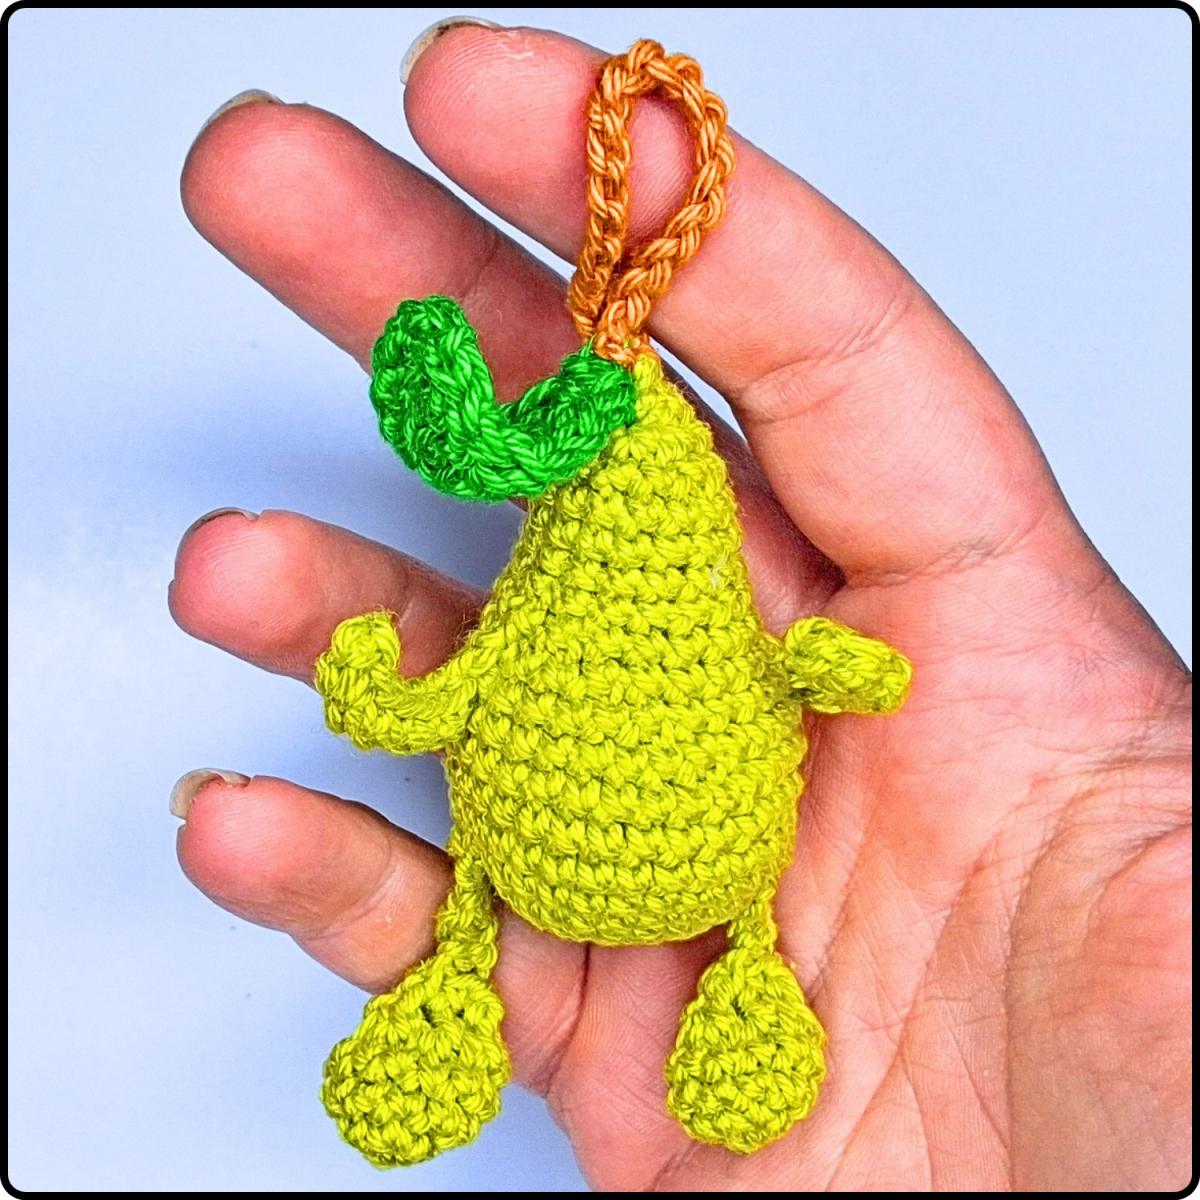
Embroidering the Face
The embroidered face is what brings your little pear to life. Take your time with this step, using neat, even stitches and checking the placement regularly to keep the face as symmetrical as possible.
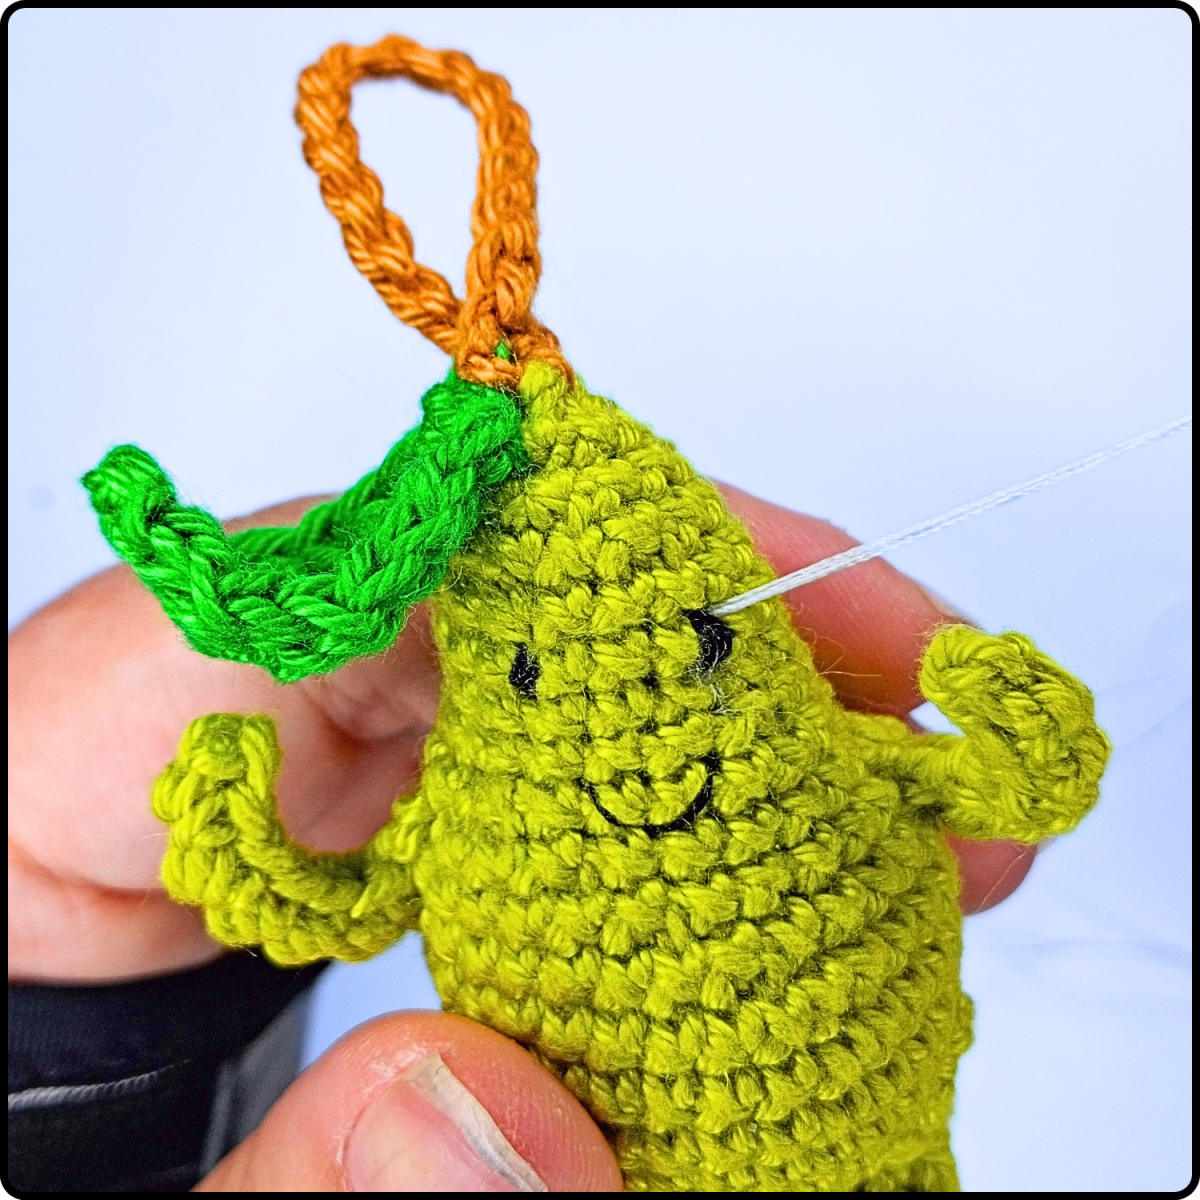
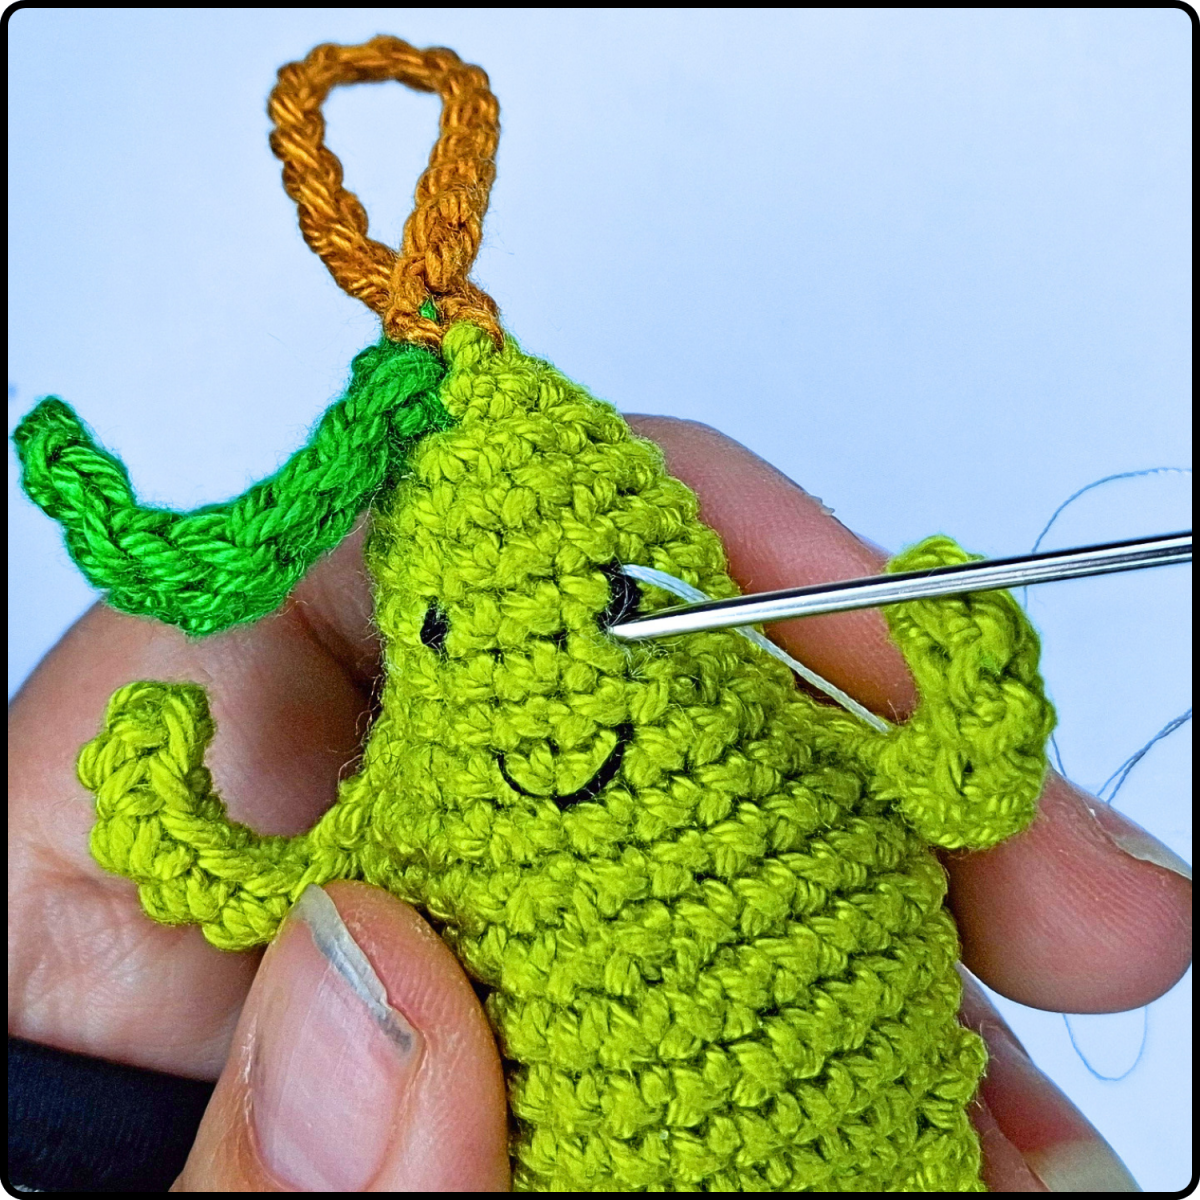
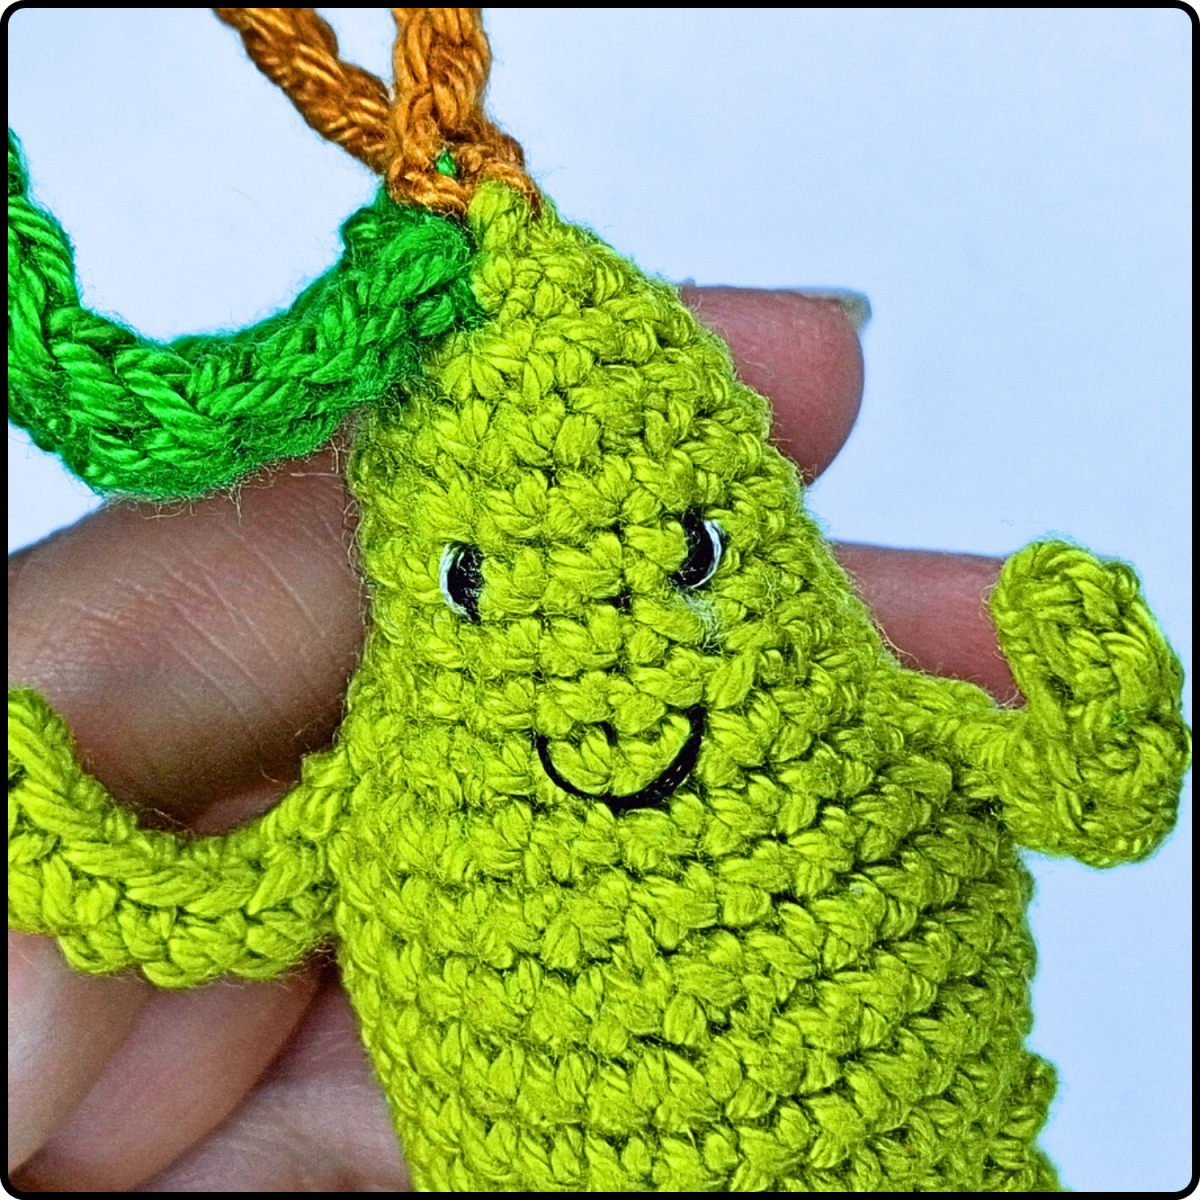
Start by embroidering the eyes with black yarn. Insert the needle just above Round 15 and bring it back out one stitch below. Repeat this process several times until the eye has reached your desired width. Embroider the second eye in the same way, leaving approximately three stitches between the eyes.
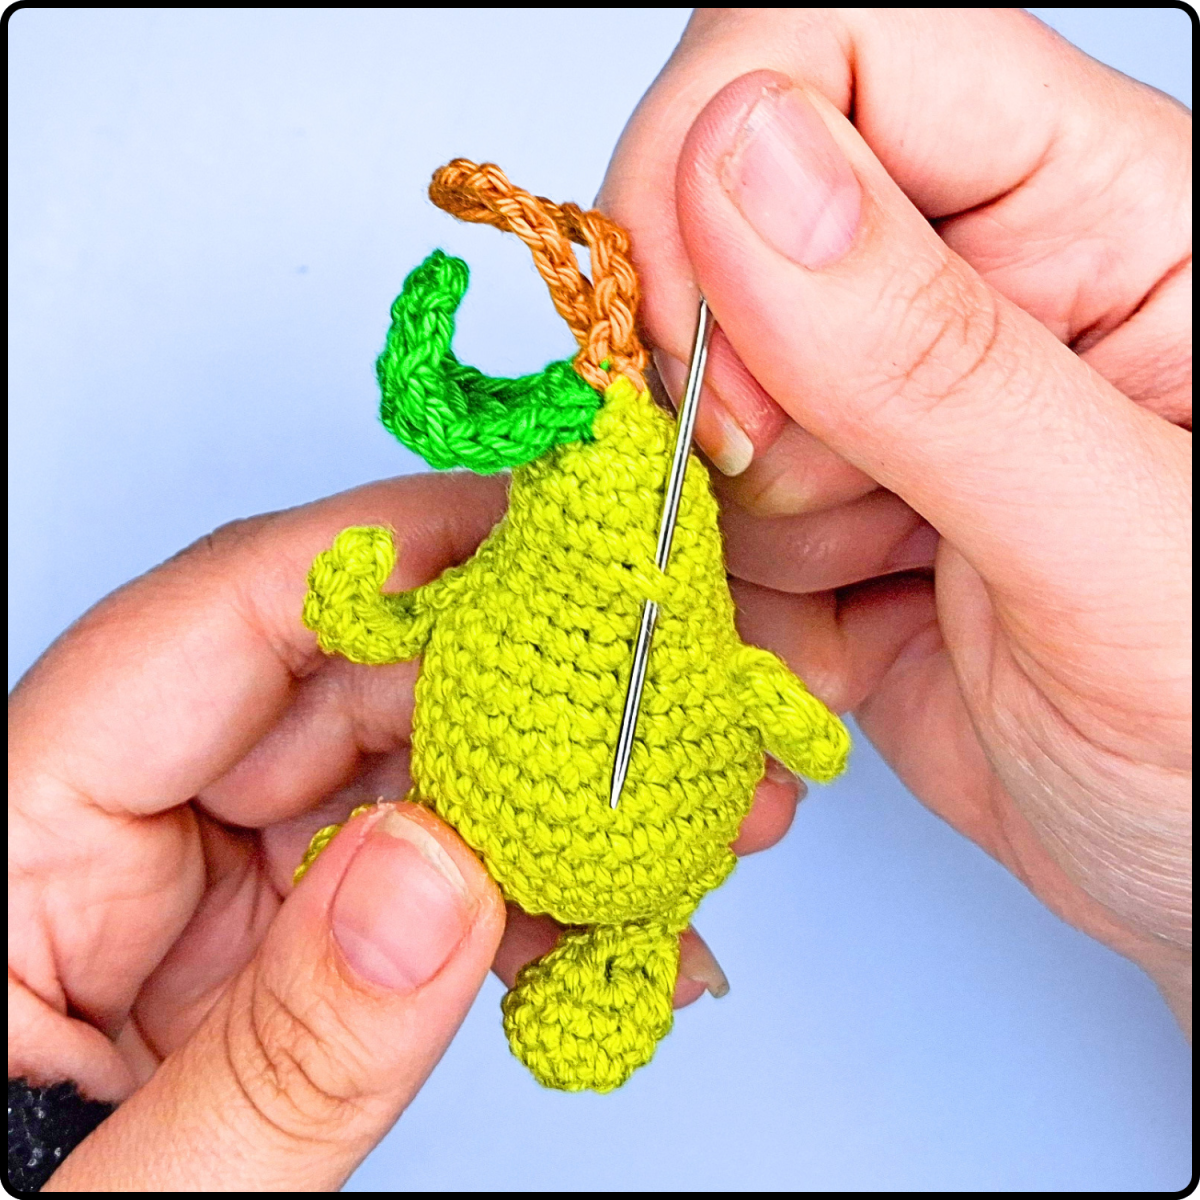
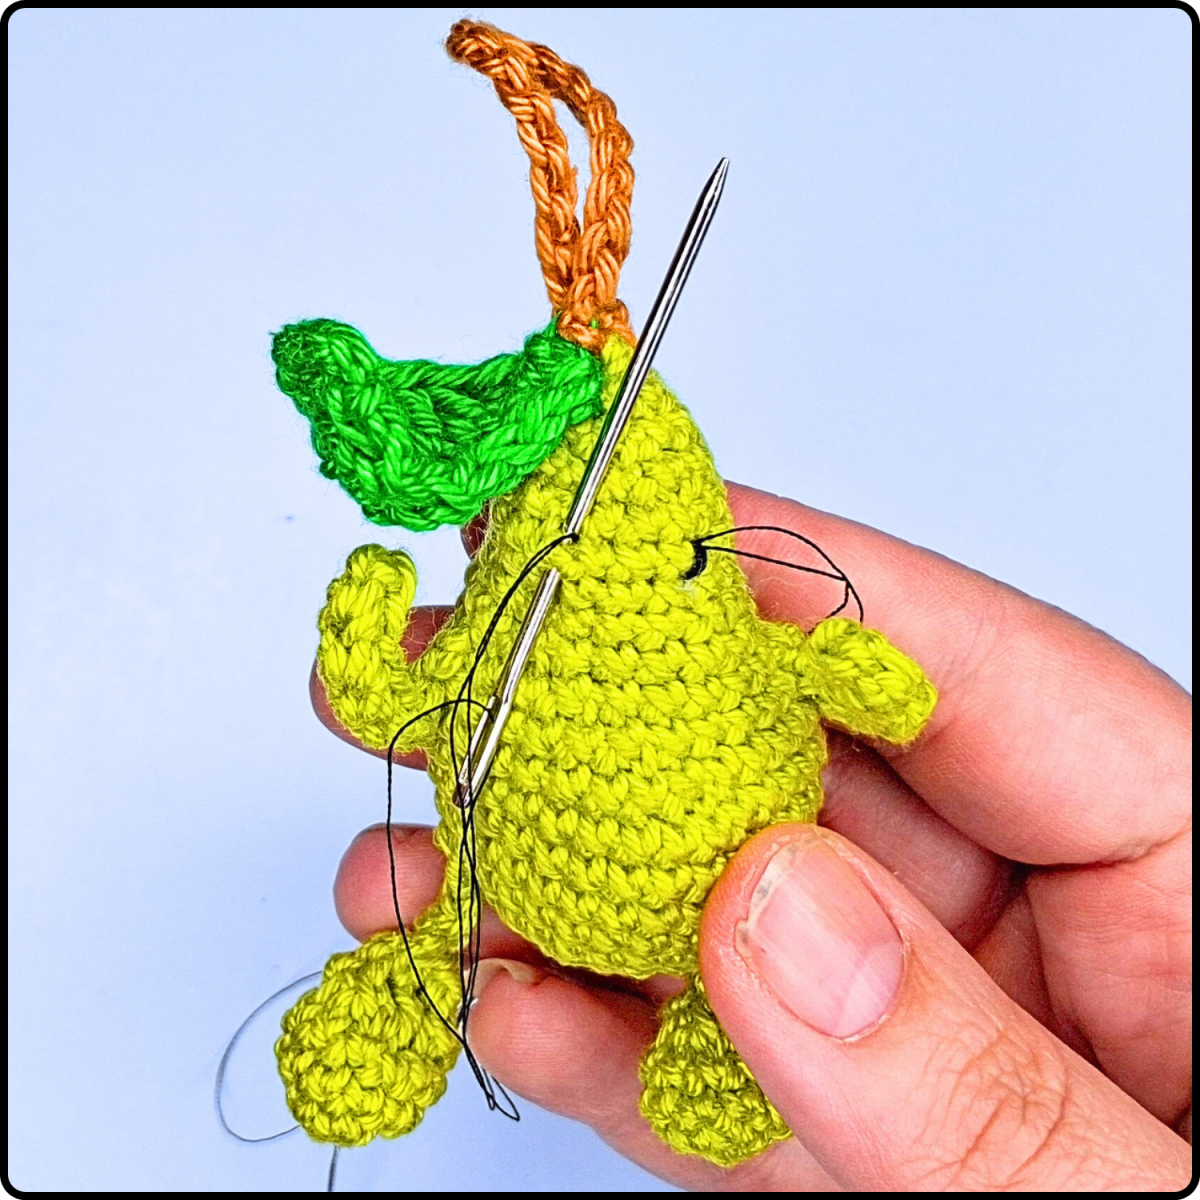
Next, embroider the mouth approximately 2–3 rounds below the eyes. Stretch the black yarn across two stitches, then secure it in the center by making a small stitch one round below. This creates the signature curved smile.
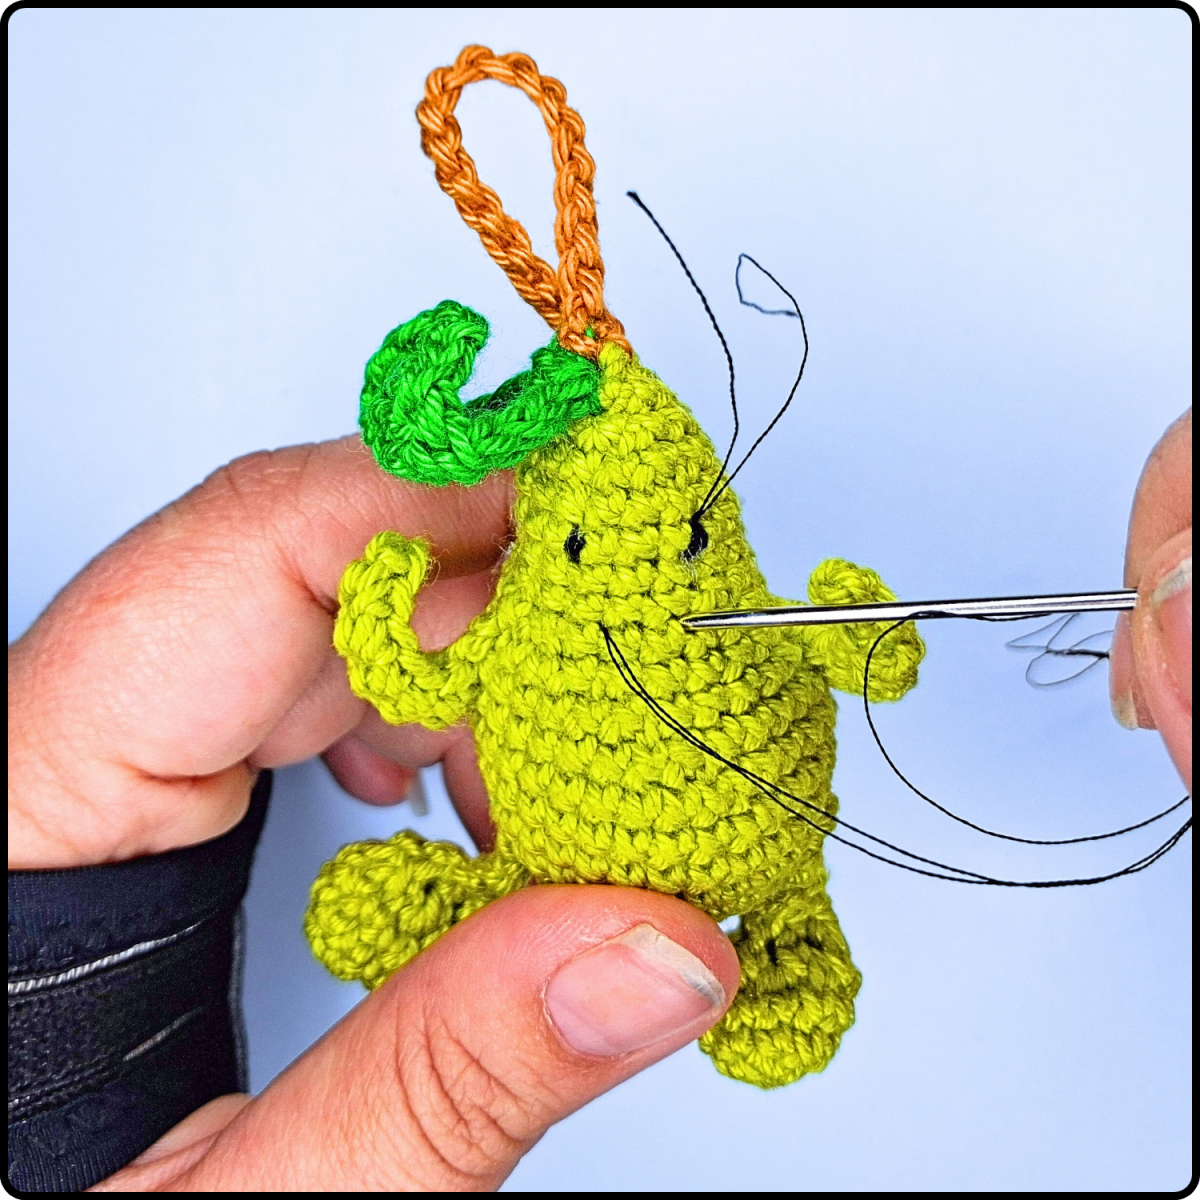
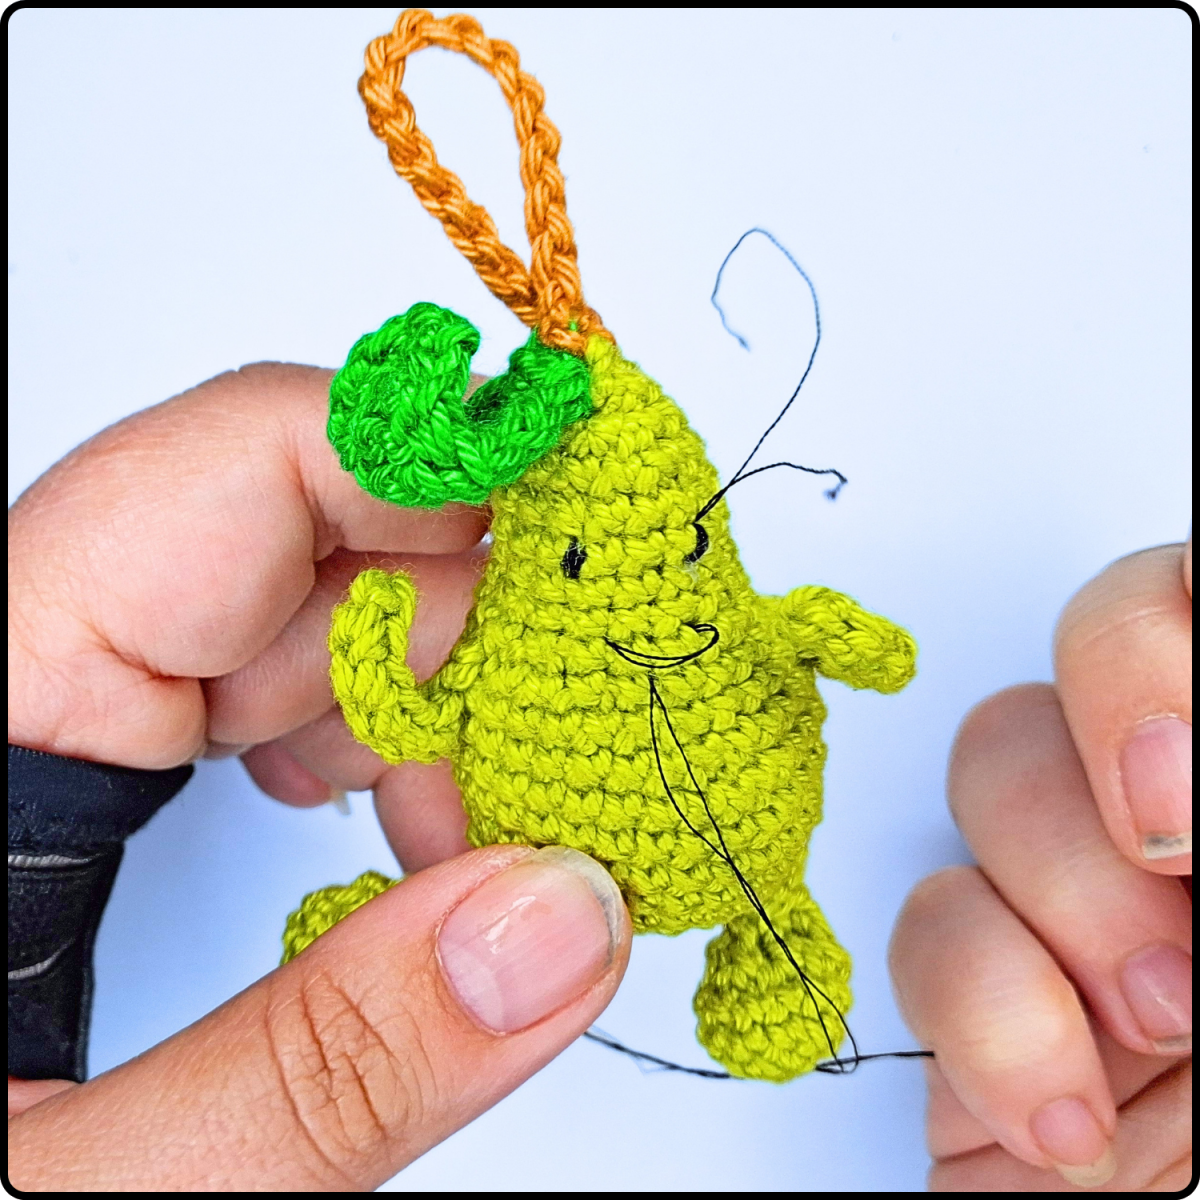
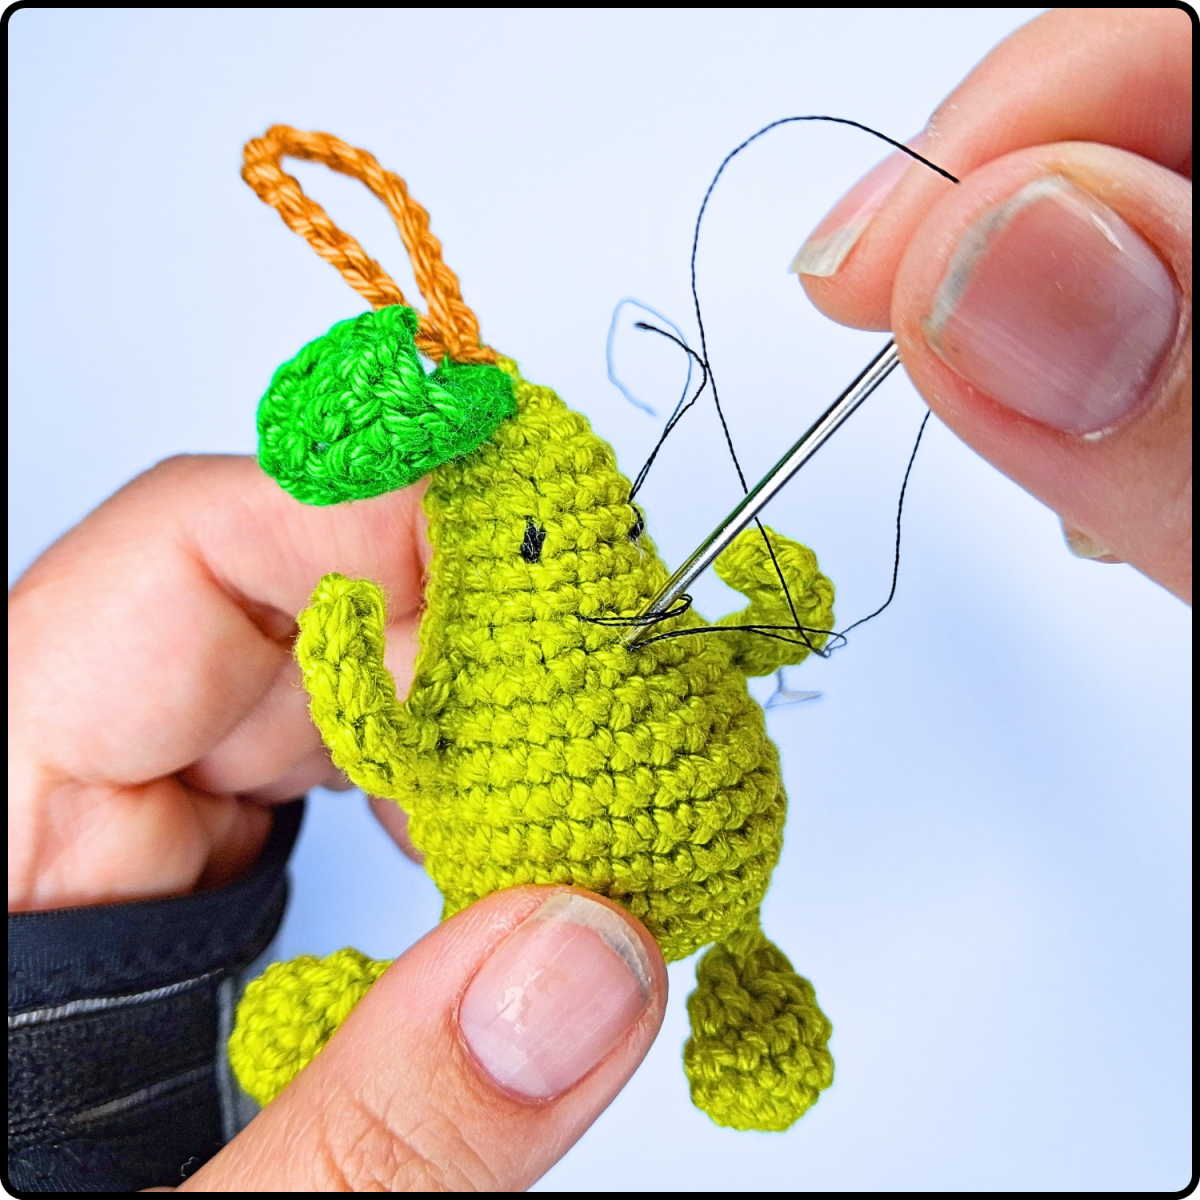
Finally, add small highlights to the eyes using white yarn. These simple accent stitches give your pear a bright, cheerful expression and bring your little amigurumi to life.
Congratulations - your pear keychain is finished!
I hope you enjoyed making this free crochet pattern and love how your little amigurumi pear turned out. Whether you use it as a keychain, a bag charm, or a thoughtful handmade gift, this adorable pear is sure to bring a smile wherever it goes. It's also a fun and creative way to put leftover yarn to good use.
If you're looking for more crochet inspiration, be sure to explore the rest of my blog. You'll find plenty of free crochet patterns, creative project ideas, and helpful crochet tips for every skill level.
Want to discover even more patterns? Visit my shop, where you'll find a growing collection of detailed, thoroughly tested crochet patterns designed to help you create beautiful handmade projects with confidence.
Happy crocheting, and I hope to see you again for your next crochet project!


