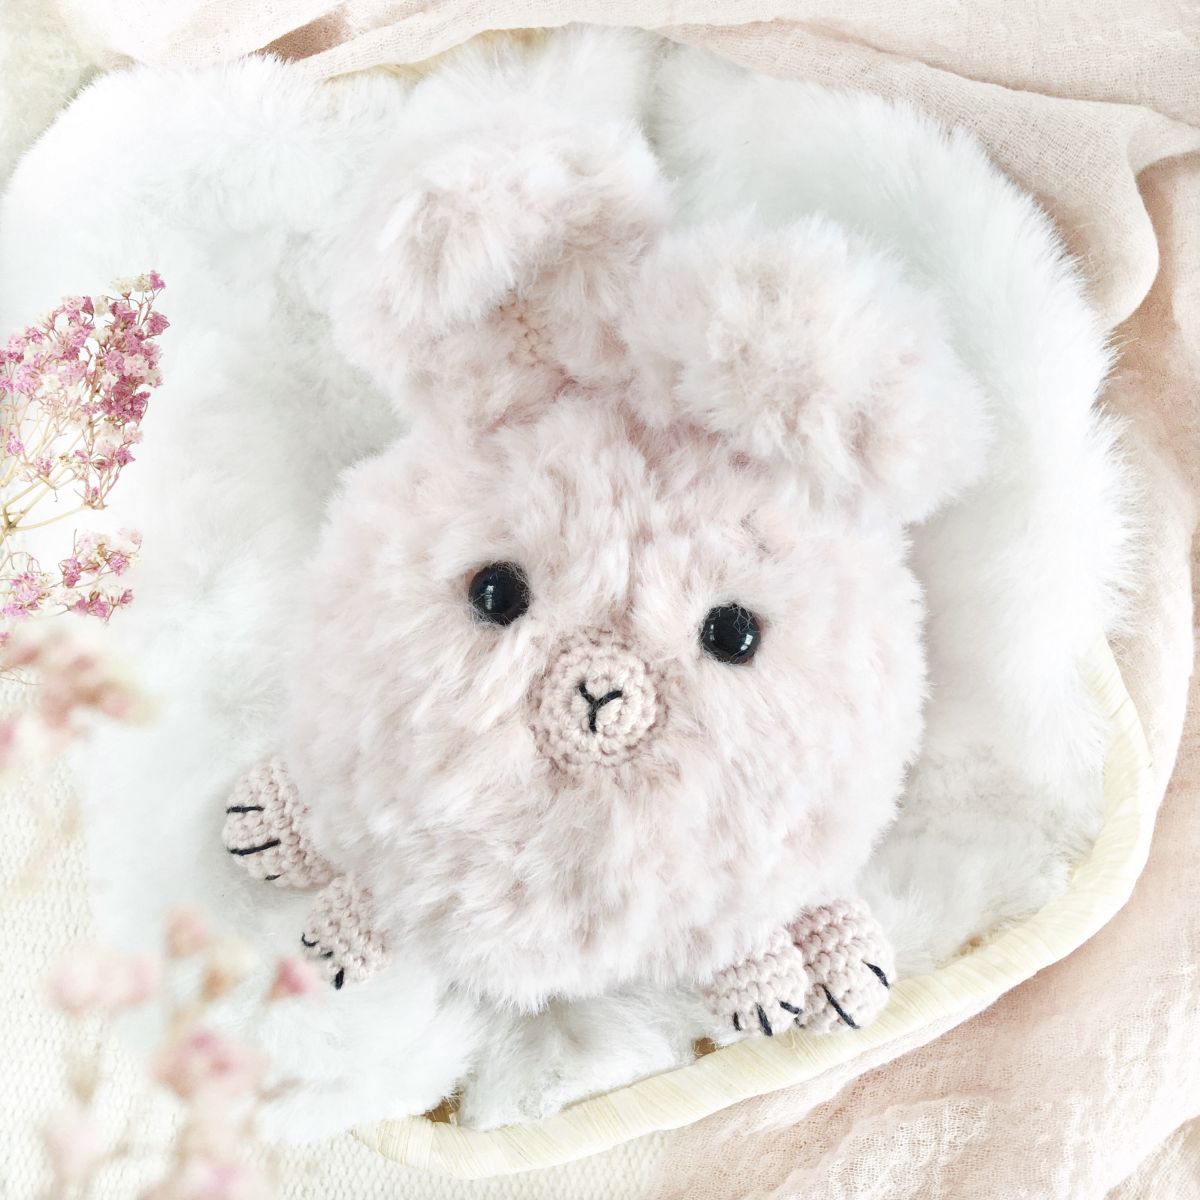
Heidi the Bunny crochet pattern
Bring Heidi, the cute and cuddly little bunny with adorable floppy ears, to life! Requiring very little yarn, she is the perfect choice for a quick yet heartwarming amigurumi project.
Cuddly Heidi is crocheted entirely in one piece, with no parts requiring sewing on. While the pattern is easy to follow, working with faux-fur yarn does require some practice, as the stitches can be hard to see; for this reason, I used a strand of cotton yarn held together with the fur yarn.
This cute bunny makes a wonderful little gift or a thoughtful "just because" present all year round.
The following step-by-step guide walks you through the entire crochet process. With detailed explanations and clear photos, crocheting this little bunny becomes a real pleasure.
Little Heidi can be crocheted using a wide variety of yarns, colors, and sizes, allowing you to let your creativity run wild.
---
The pattern for "Heidi the Bunny" is for private use only. It may not be sold, forwarded, reproduced, published, translated into other languages, exchanged for other patterns, or altered and passed on or sold as your own pattern. Selling the finished bunny made using this pattern is permitted in small quantities, provided the designer (Gutherz – Doreen Goedhart) is credited and current toy safety regulations are observed.
Thank you, and happy crocheting!
---
This pattern is suitable for: beginners (without faux fur yarn) and advanced crafters (with faux fur yarn).
Abbreviations: (You should be familiar with these basics.)
Rnd = round
Row = row
MR = magic ring
sc = single crochet
inc = increase (2 sc in 1 sc)
dec = decrease/crochet 2 stitches together
ch = chain
dc = double crochet
tch = turning chain
PS = Puff Stitch
FLO = front loop only
(…) x? = Everything within the bracket is crocheted x times
At the beginning you will find the number of the respective row/round.
The number of stitches in the completed row/round is in the brackets at the end.
Required material:
When crocheting with fur wool, we recommend using a thread. This should have a similar color to the fur wool. For Heidi the bunny, I also used the cotton yarn that I used for the paws, ears and snout as an additional yarn.
Crochet hook:
NS 2.5 mm and 4 mm (If you use a different needle size and/or yarn, the size of the finished cuddly toy may change.)
Yarn:
- Fur wool in light pink (1 ball of yarn, 50 g/65-75 m, e.g. MyBoshi Fellino, YarnArt Mink)
Tip: If you can't cope with fur wool at all, you can also use chenille yarn instead (without additional yarn).
- Skin color cotton (1 ball of yarn) and leftover yarn in black (50 g/100-125 m)
Eyes:
Savety eyes in 10 mm
In addition:
Scissors, a needle for sewing, stuffing, stitch marker, animal fur brush if necessary
PATTERN:
The size of the finished bunny with the materials specified is approx. 17 cm, including the ears.
Heidi's body and paws are crocheted in spiral rounds.
Front paw in cotton (NS 2.5 mm, 2x):
1. Rnd: 6 sc in MR (6)
2. Rnd: inc x6 (12)
3.-5. Rnd: 12 sc (3 rounds) (12)
6. Rnd: dec x6 (6)
Lightly stuff the paw, fold the opening together and crochet together with 3 sc. Cut the thread, pull it through the last loop, tighten and fasten sew.
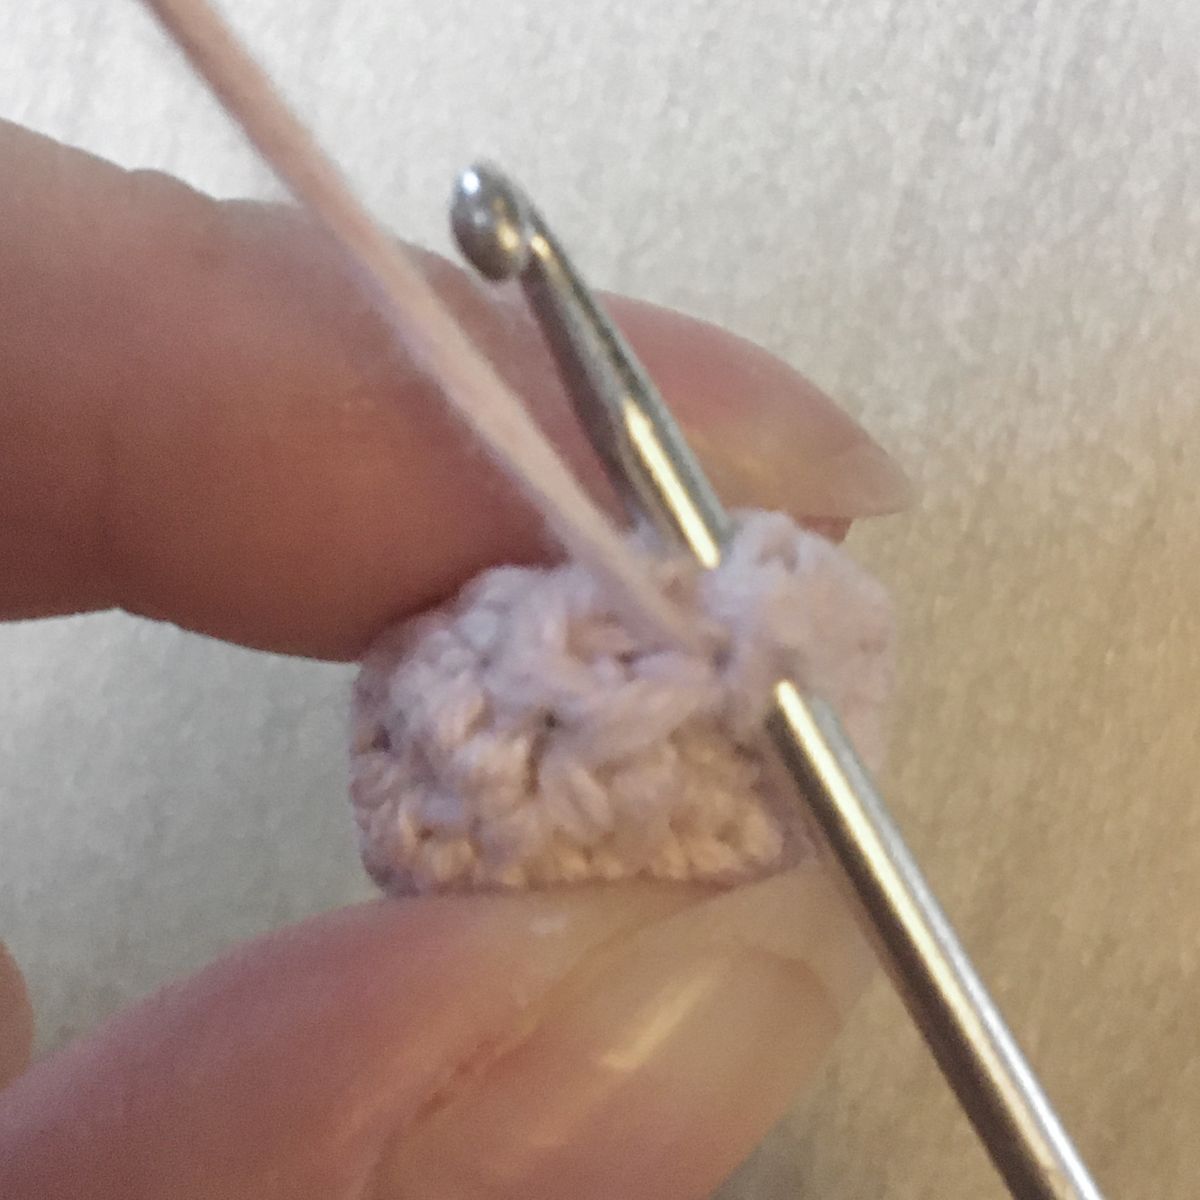
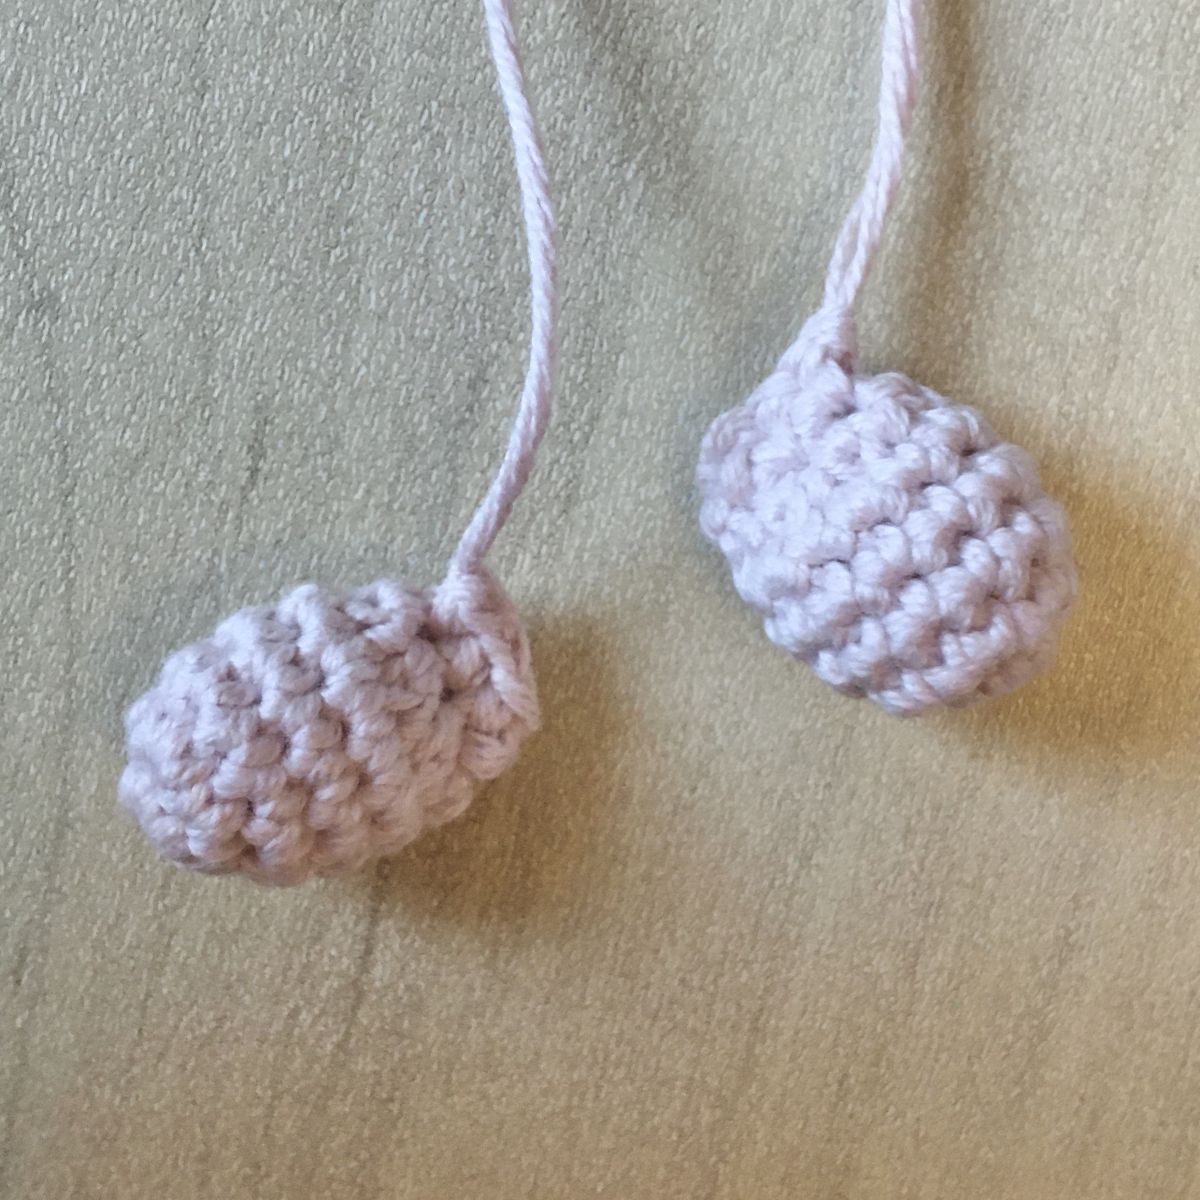
Hind paw in cotton (NS 2.5 mm, 2x):
1. Rnd: 6 sc in MR (6)
2. Rnd: inc x6 (12)
3. Rnd: (1 sc, inc) x6 (18)
4.-7. Rnd: 18 sc (4 rounds) (18)
8. Rnd: (1 sc, dec) x6 (12)
9. Rnd: 12 sc (12)
Lightly stuff the paw, fold the opening together and crochet together with 6 sc. Cut the thread, pull it through the last loop, tighten and fasten sew.
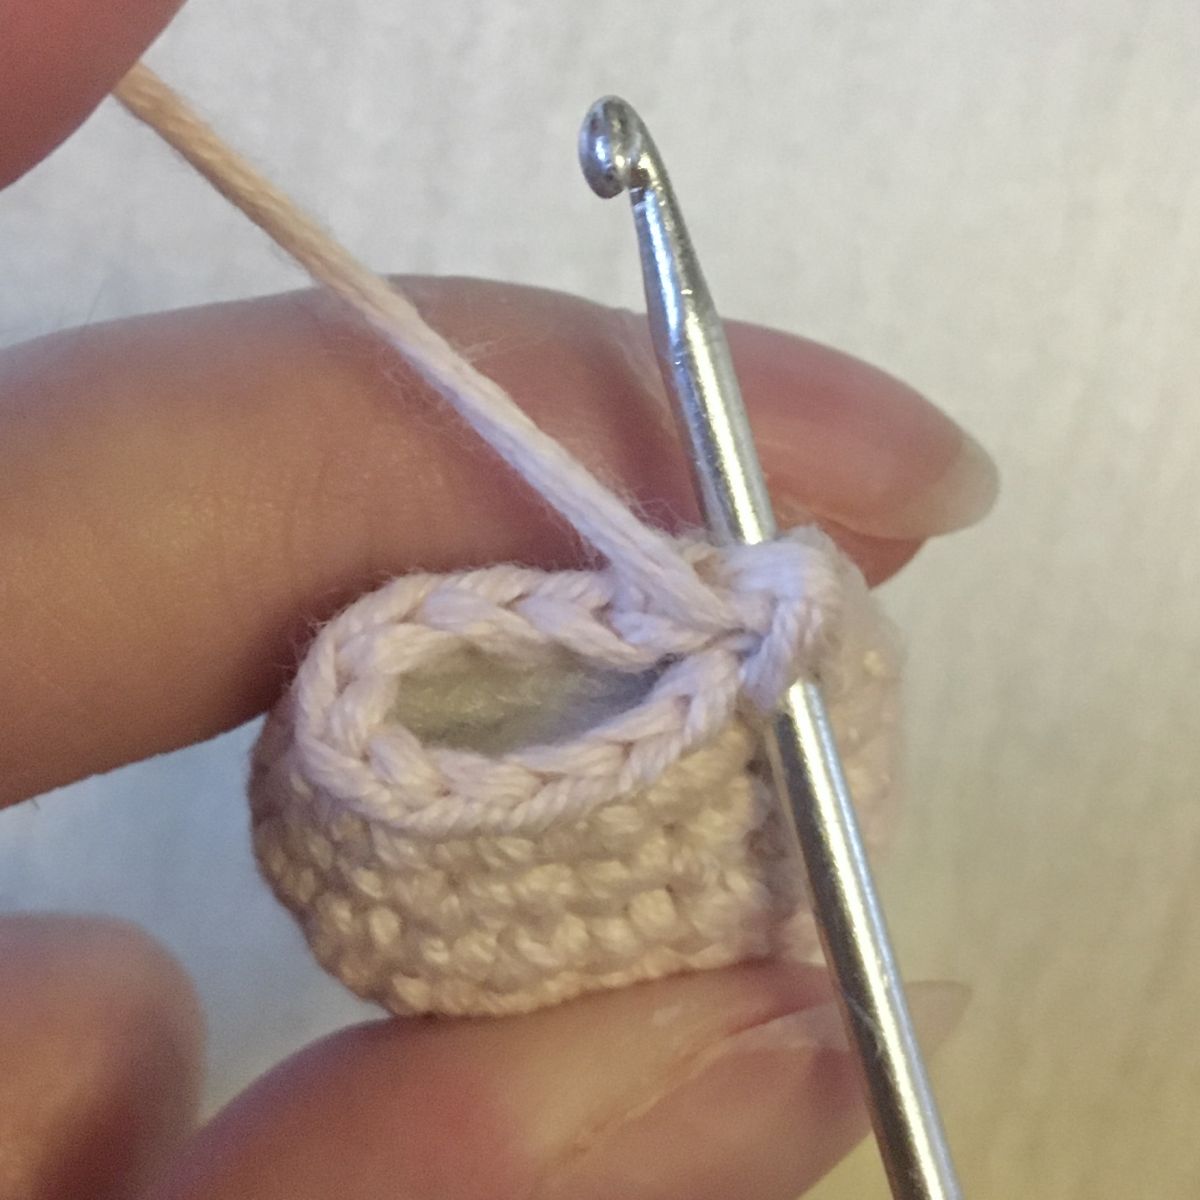
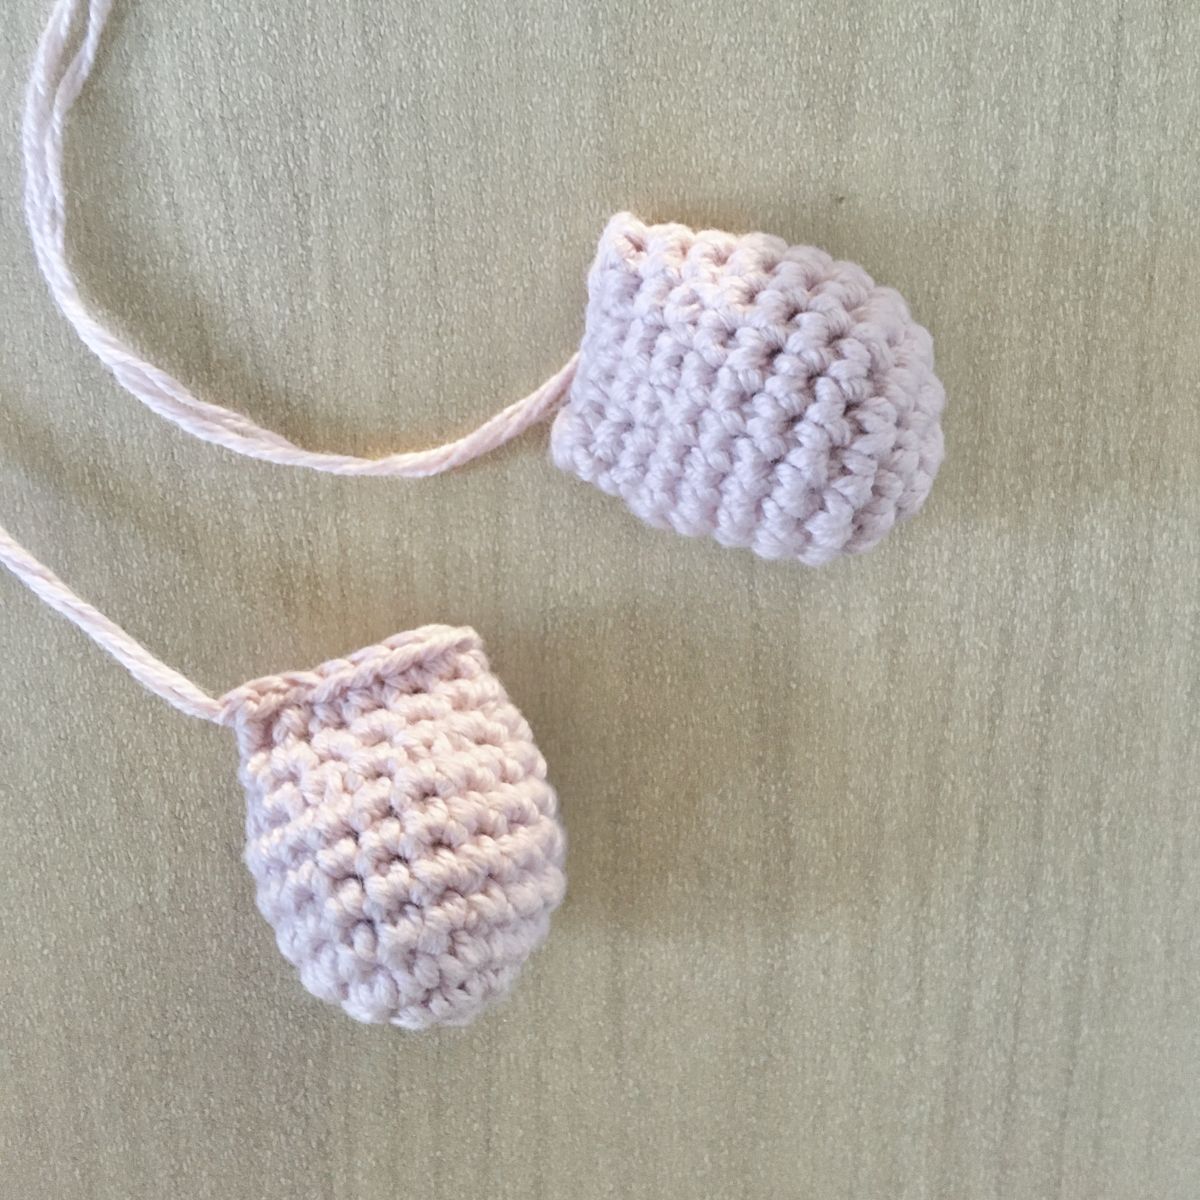
Ears in cotton (NS 2.5 mm, 2x):
The ears are crocheted in rows. A tch is crocheted after each row, which is not counted as a stitch and is skipped in the next row.
1. Row: 3 ch, 1 tch (3)
2. Row: inc, 1 sc, inc, 1 tch (5)
3. Row: 5 sc, 1 tch (5)
4. Row: inc, 3 sc, inc, 1 tch (7)
5.-11. Row: 7 sc, 1 tch (7 rows) (7)
12. Row: dec, 3 sc, dec, 1 tch (5)
13. Row: dec, 1 sc, dec, 1 tch (3)
14. Row: dec, 1 sc (2)
Cut the thread, pull it through the last loop, tighten and sew.
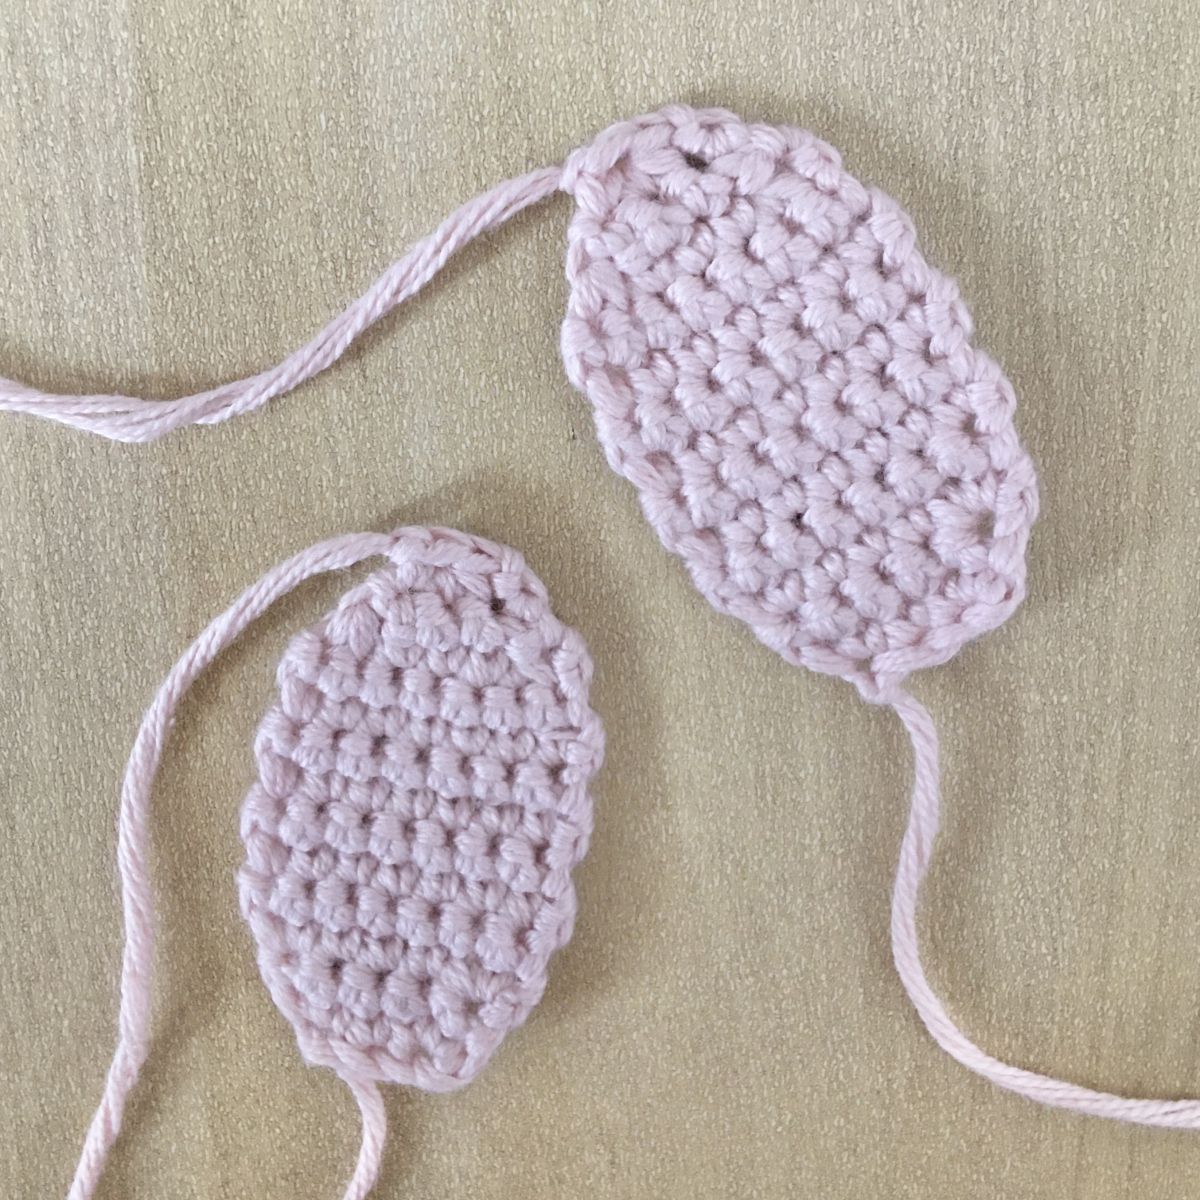
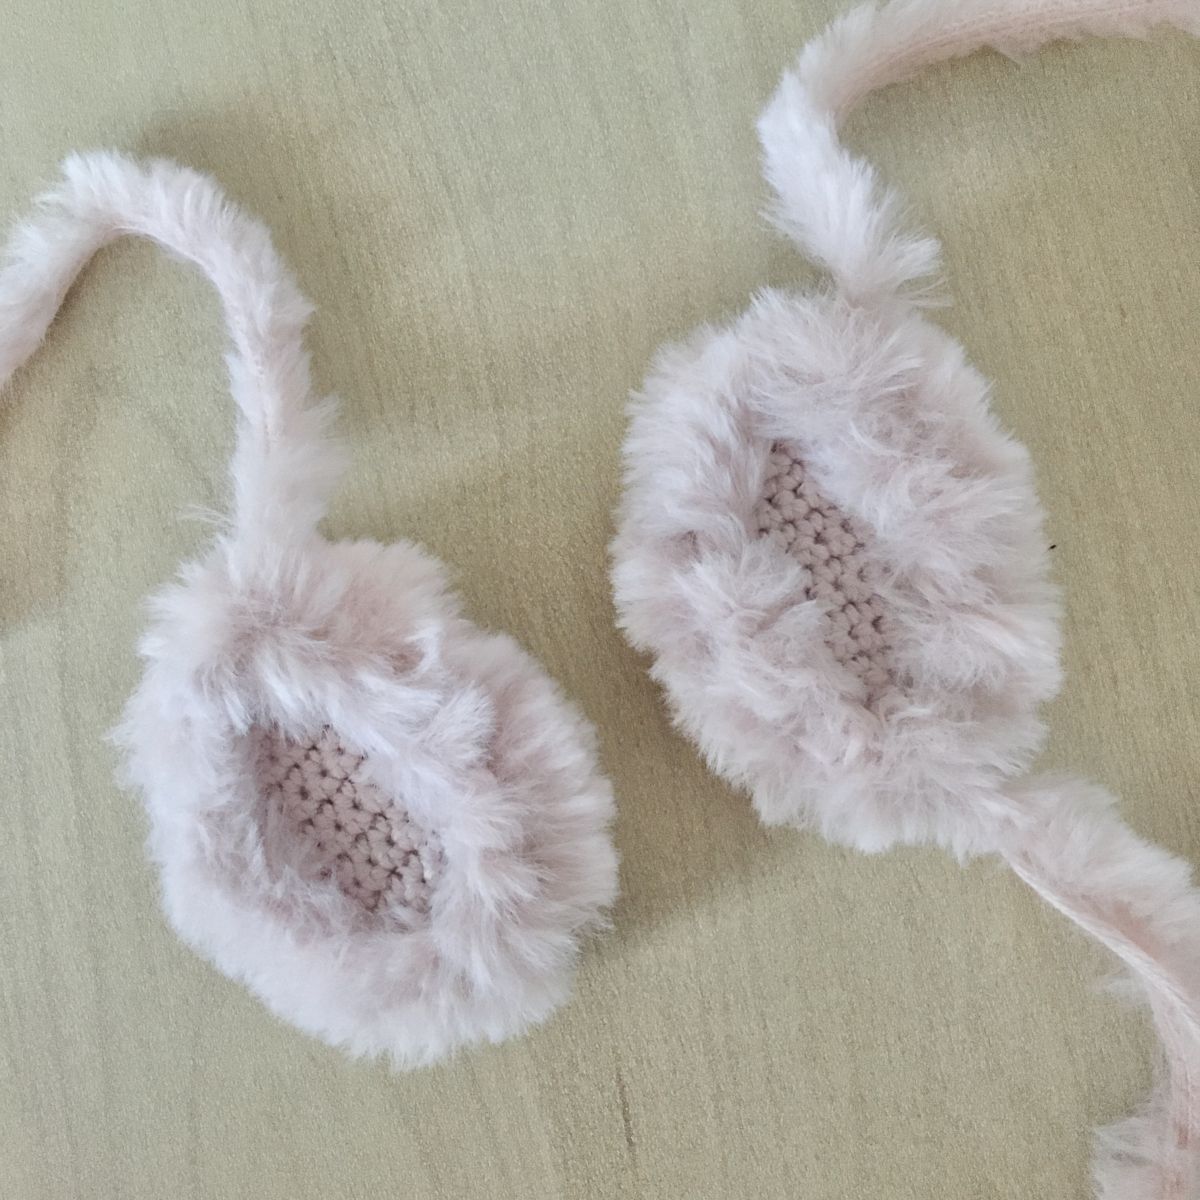
Ears in Fur wool (with cotton as an additional yarn, NS 4 mm, 2x):
1. Row: 2 ch, 1 tch (2)
2. Row: inc x2, 1 tch (4)
3.-7. Row: 4 sc, 1 tch (5 rows) (4)
8. Row: dec x2, 1 tch (2)
9. Row: dec (1)
The cotton thread is no longer needed and can therefore be cut and sewn.
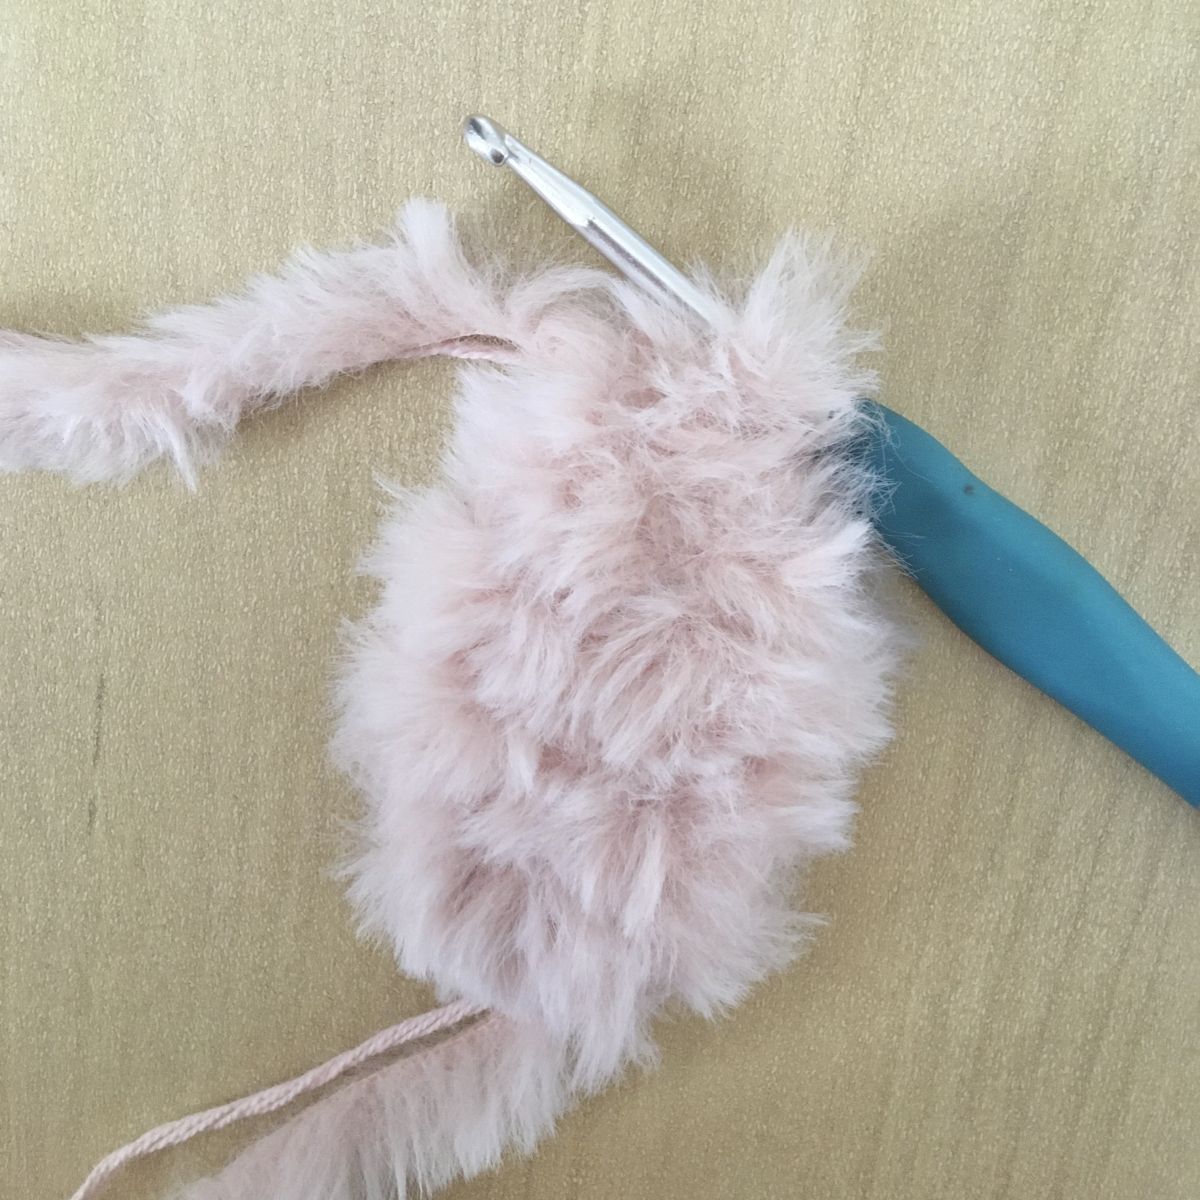
Now place the cotton ear on the ear with fur wool and crochet both together with the fur yarn and NS 2.5 mm with sc. Make sure to poke through both parts when crocheting together. The ears are not stuffed.
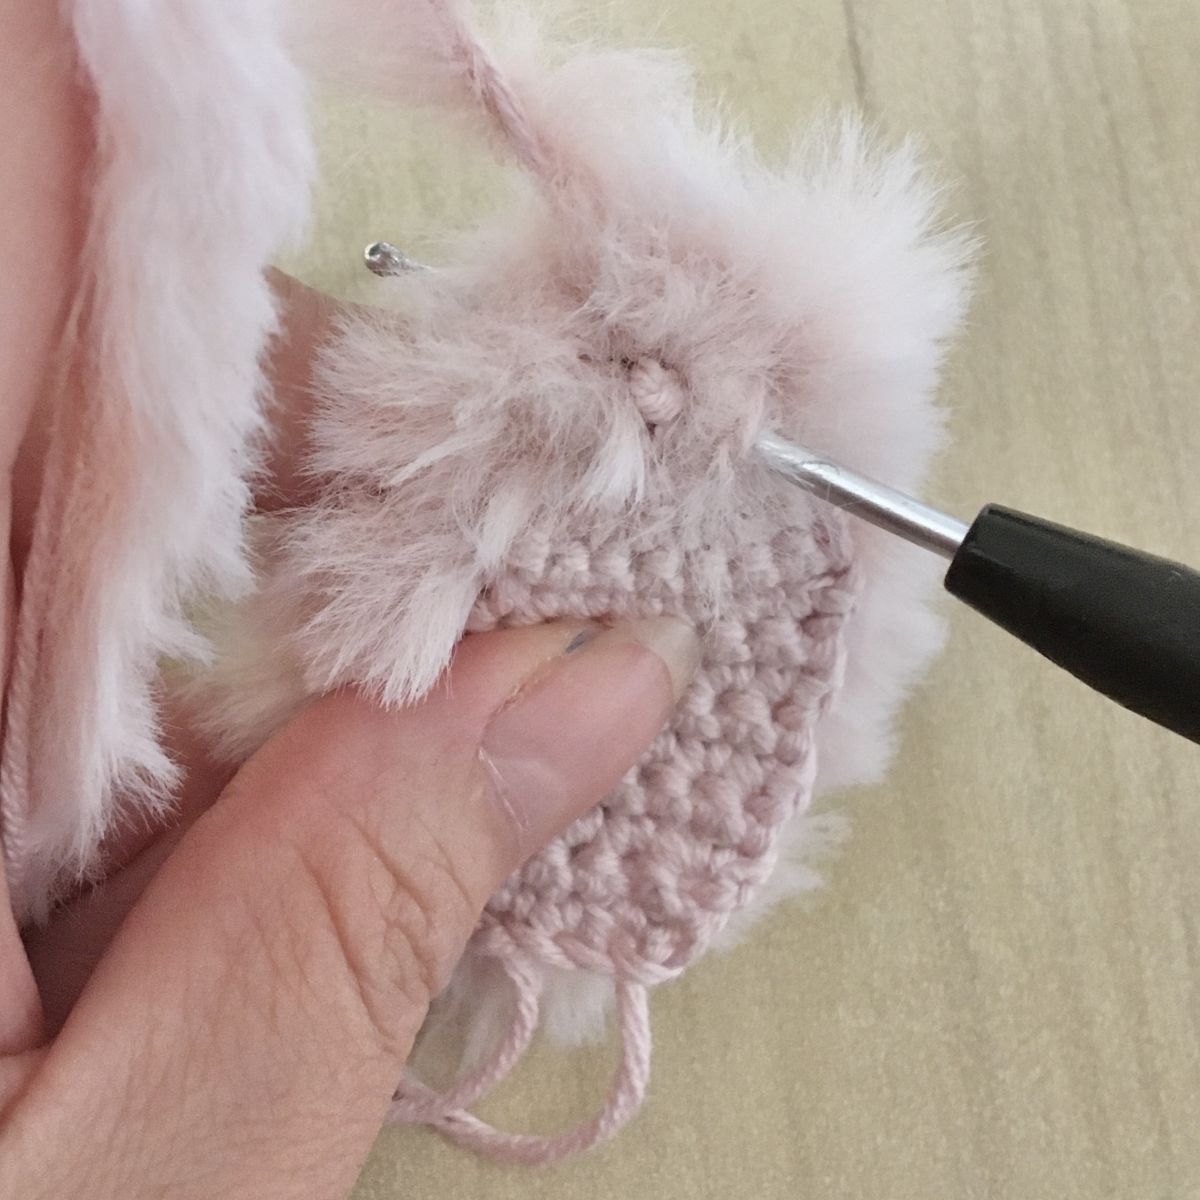
Bunny starting with the snout in skin color (cotton, NS 2.5):
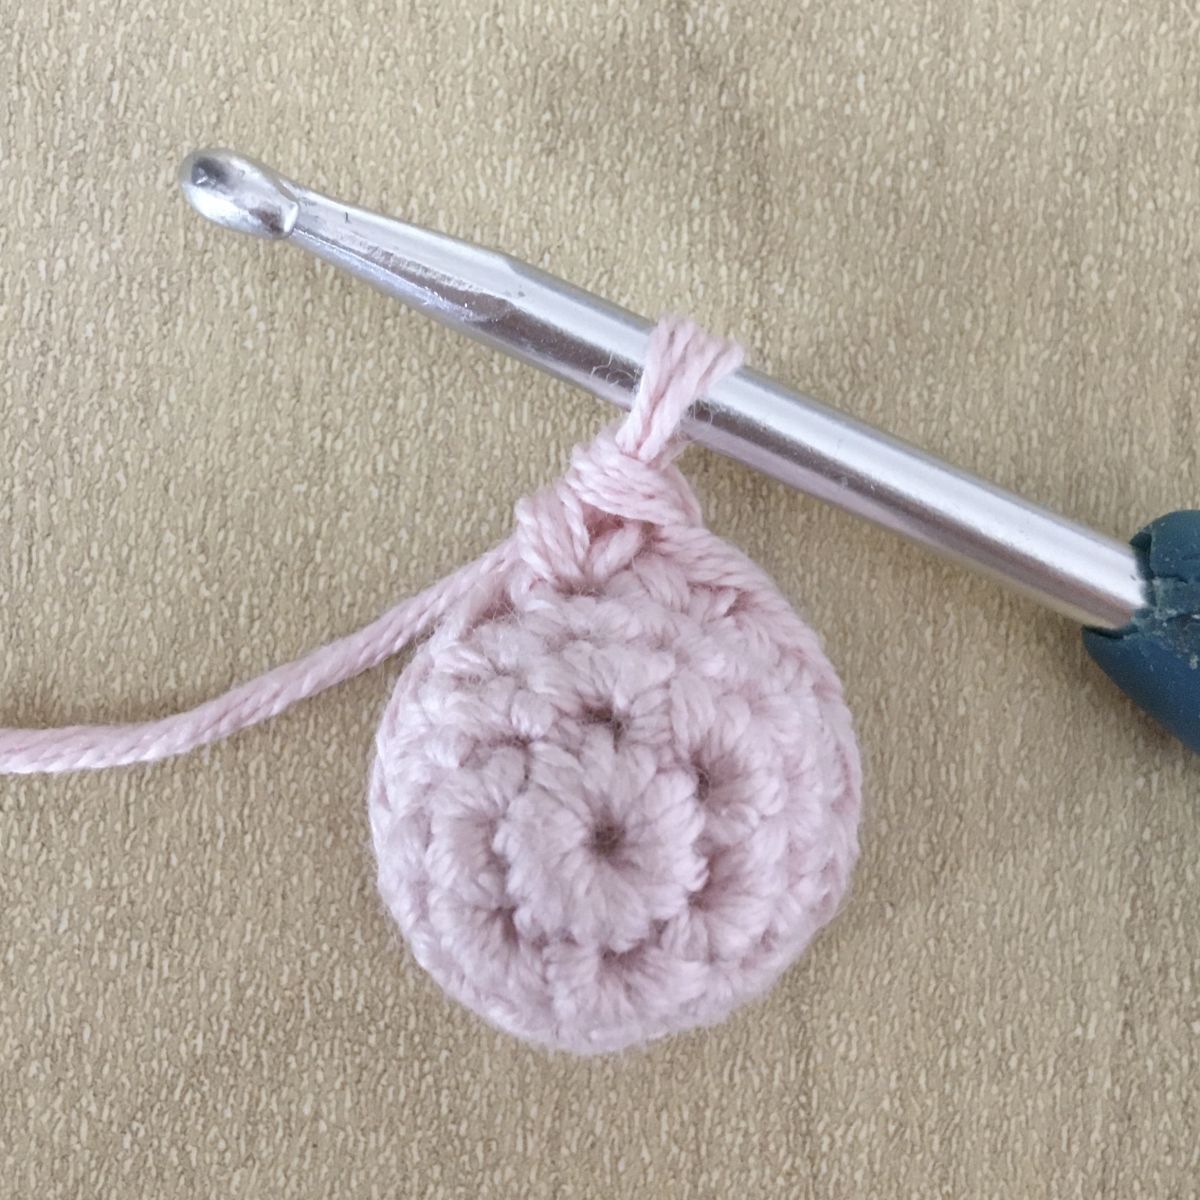
1. Rnd: 6 sc in MR (6)
2. Rnd: inc x6 (12)
3. Rnd: 12 sc (12)
Change to NS 4 mm:
4. Rnd: 12 sc (12)
Re-pin the fur wool and continue crocheting together with the cotton thread.
5. Rnd: (1 sc, inc) x6 (18)
6. Rnd: (2 sc, inc) x6 (24)
7. Rnd: (3 sc, inc) x6 (30)
8. Rnd: (4 sc, inc) x6 (36)
9. Rnd: (5 sc, inc) x6 (42)
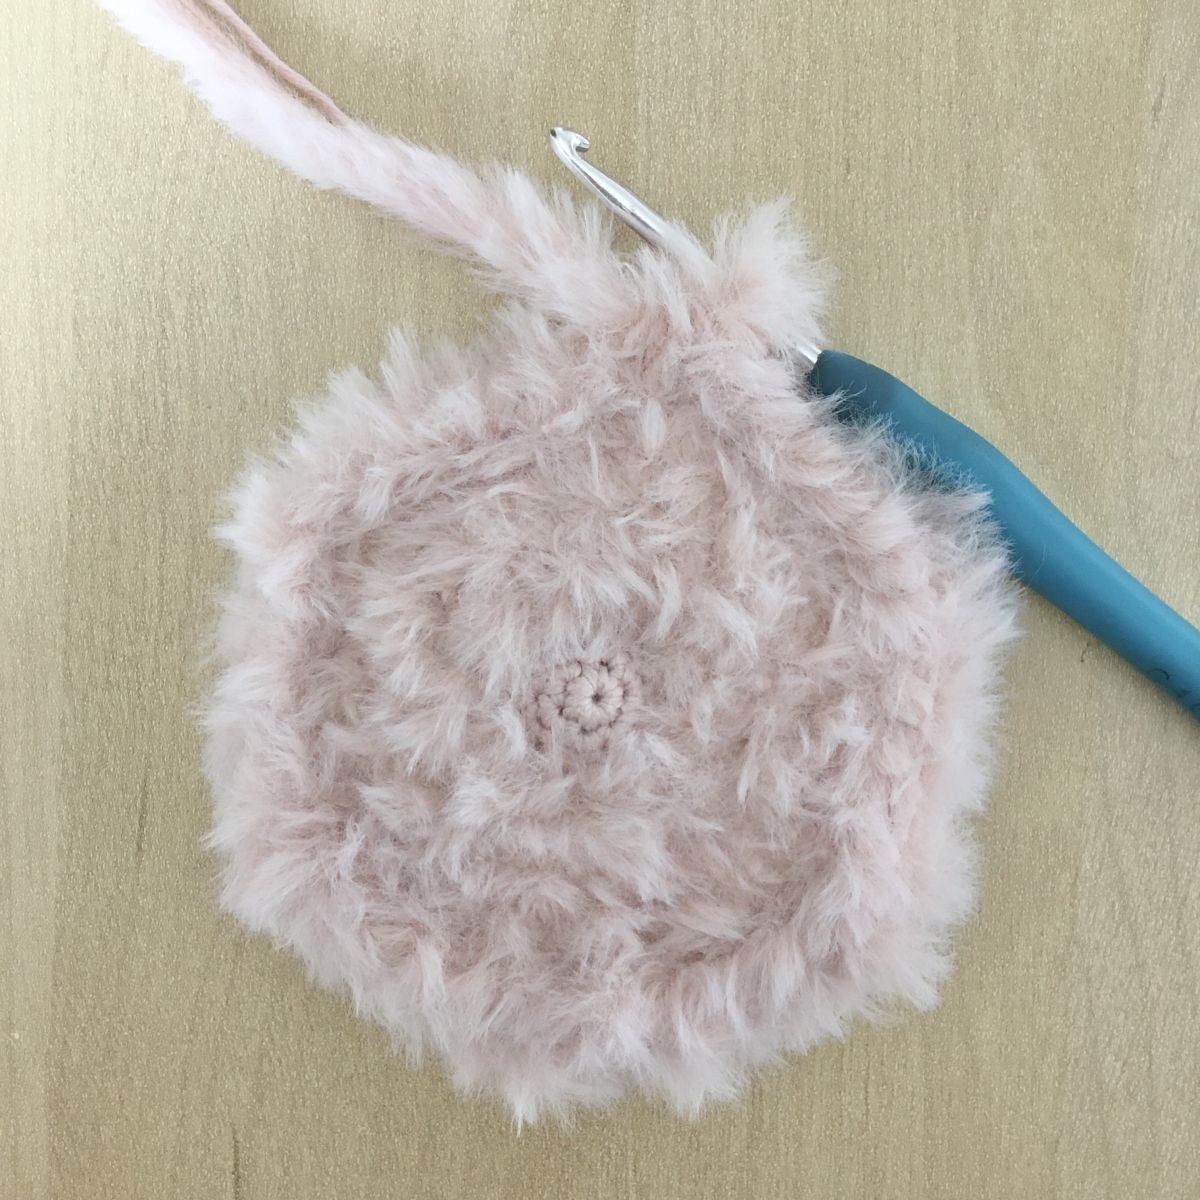
The paws are crocheted in using the 2.5 mm hook in the next round, as you likely won't be able to get through the cotton stitches with the 4 mm hook.
10. Rnd: 3 sc, crochet the 1st front paw with 3 sc, 13 sc, crochet the 1st ear with 3 sc, 1 sc, crochet the 2nd ear with 3 sc, 12 sc, crochet the 2nd front paw with 3 sc, 1 sc (42)
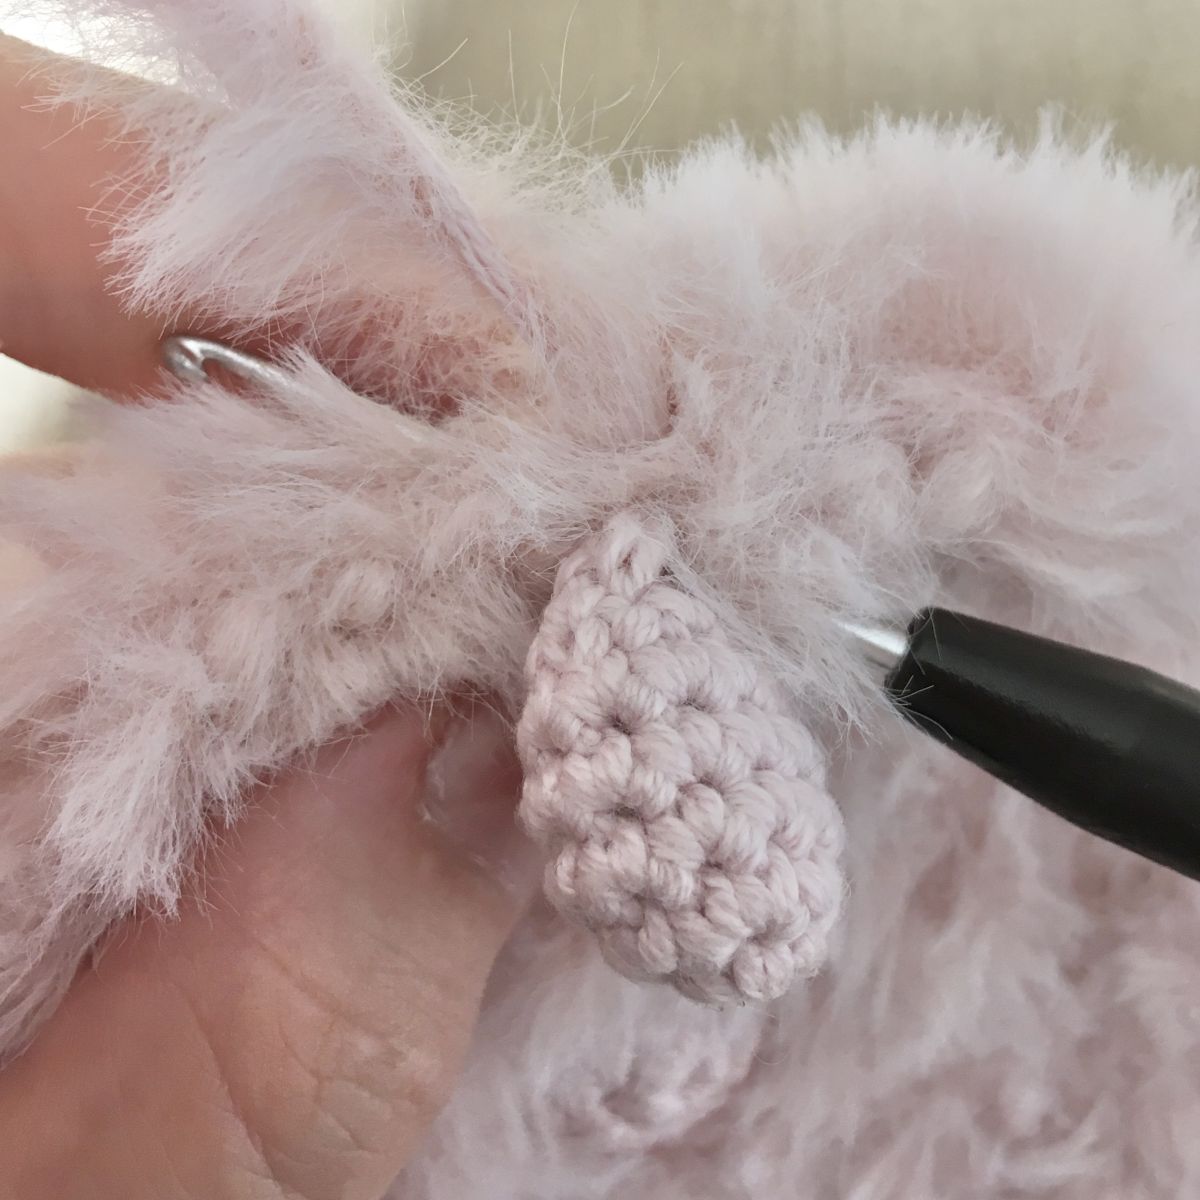
11. Rnd: 42 sc (42)
12. Rnd: 42 sc (42)
Insert the eyes between rounds 6 and 7, above the snout. Pay attention to their placement relative to the snout as shown in the photo below. You can use a needle to pull out the fine fibers of the fuzzy yarn from beneath the eyes.
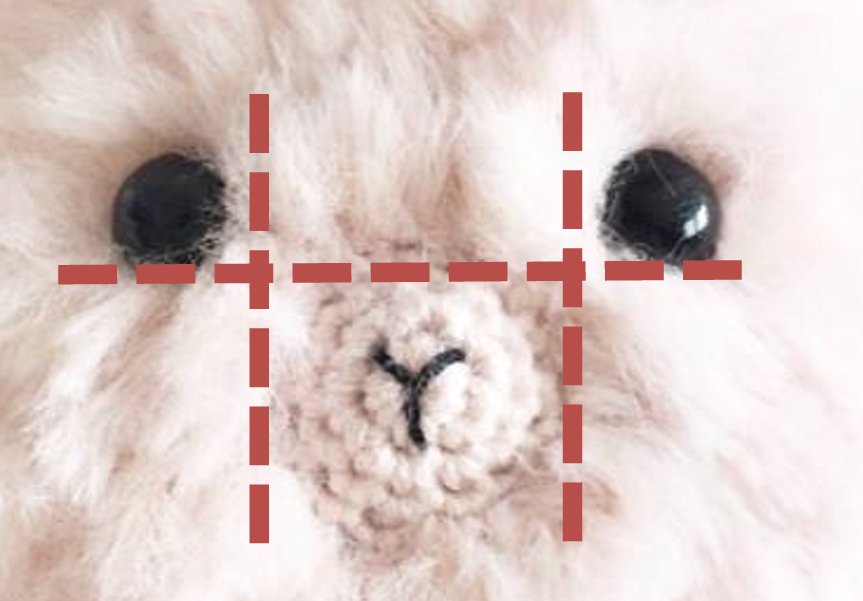
Stuff the small snout firmly.
13. Rnd: 5 sc, crochet 1st back leg with 6 sc, 25 sc, crochet 2nd back leg with 6 sc (42)
14.-17. Rnd: 42 sc (4 rounds) (42)
18. Rnd: (5 sc, dec) x6 (36)
19. Rnd: (4 sc, dec) x6 (30)
Stuff the body tightly with fiberfill.
In the next round the tail is crocheted with a puff stitch (PS). You crochet these as follows: Crochet an unfinished dc: Yarn over and insert your hook in the next stitch. Yarn over and pull through. Now you have 3 loops on your hook. Yarn over and pull through two loops. That’s your first unfinished dc. Repeat till you have 4 unfinished dc on your hook (in total 5 loops on your hook). Yarn over and pull through all 5 loops. After crocheting the next few stitches, you have to push the bobble outwards.
20. Rnd: 2 sc, PS, dec, (3 sc, dec) x5 (24)
21. Rnd: (2 sc, dec) x6 (18)
22. Rnd: (1 sc, dec) x6 (12)
23. Rnd: dec x6 (6)
Cut the threads, pull them through the FLO of the last 6 stitches, tighten (to close the hole), knot and sew.
Finish:
Using the black yarn, embroider a "Y" on the snout from the middle of the MR over the first round.
Afterwards, you can embroider two small lines above the eyes to serve as eyebrows.
If you like, you can embroider the bunny's paws with black yarn. The toes are modeled with 3 stitches over 2 rounds on the front legs and over 3 rounds on the back legs.
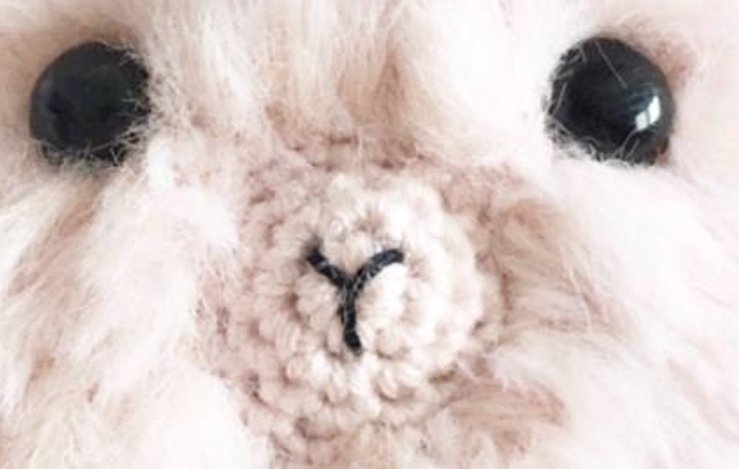
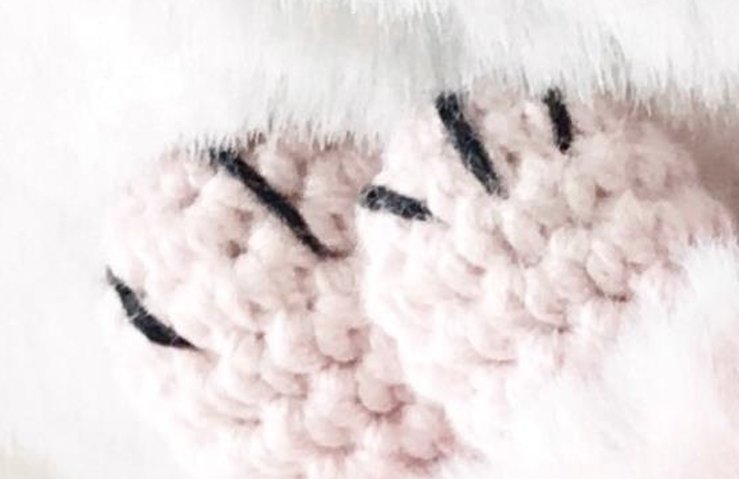
Your Heidi the Bunny is finished!
I hope you had a lot of fun crocheting.
You can find more crochet patterns on my blog here, and of course in the shop as well. I look forward to your visit!
Doreen Goedhart - Gutherzdesign