.JPG)
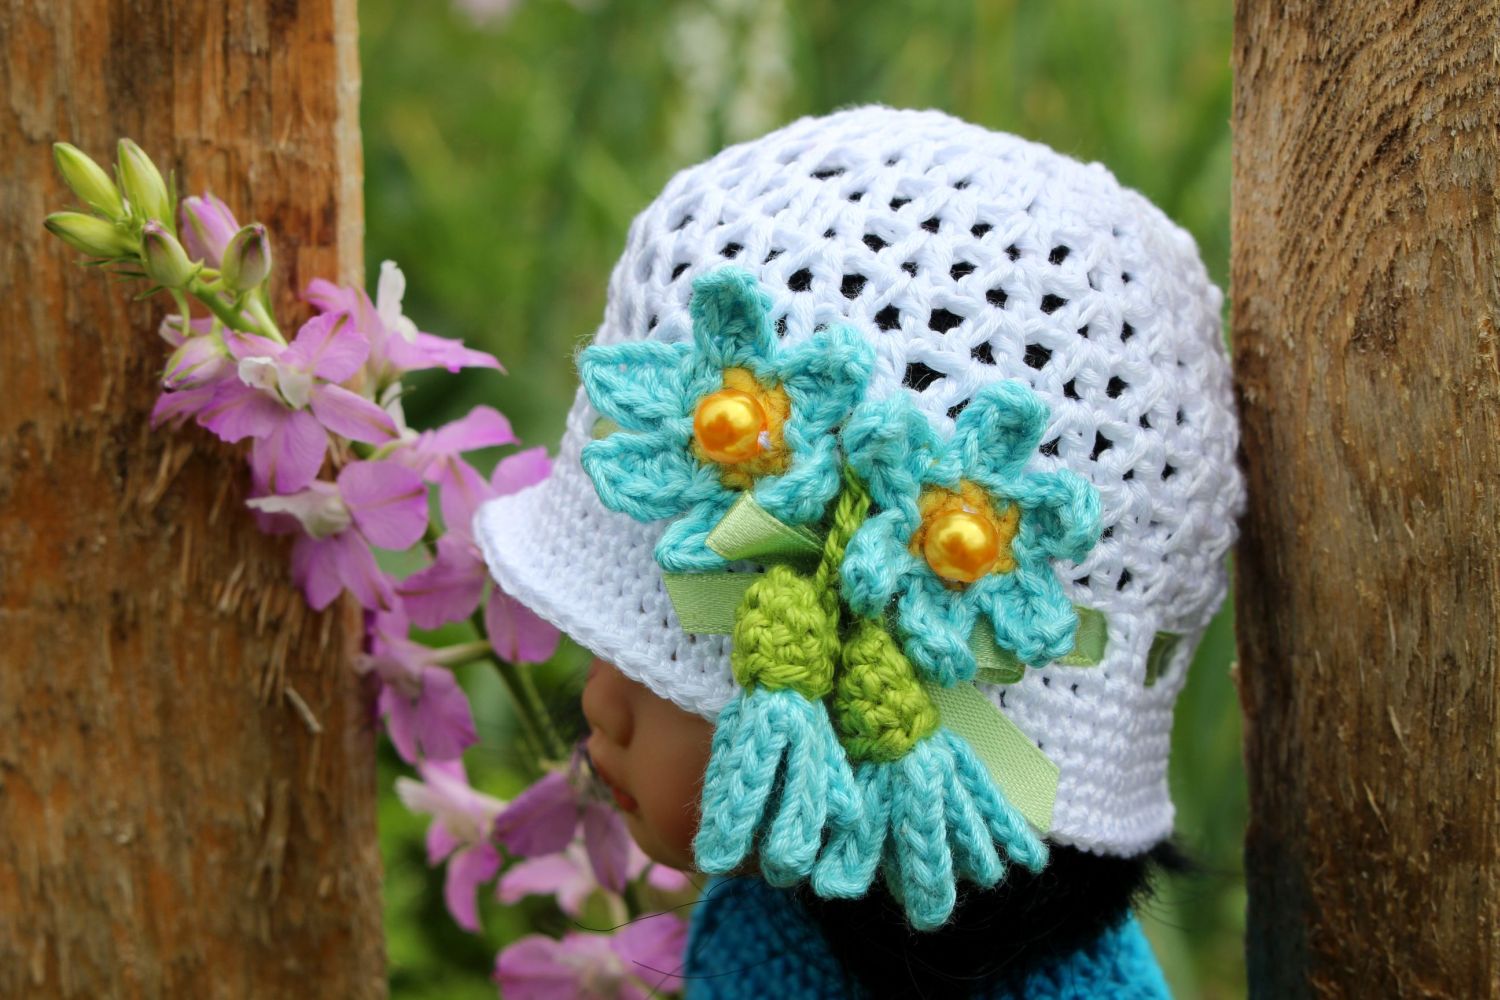
It’s time to expand your doll’s summer wardrobe and what could be more perfect than creating a crochet daisy hat for your 12-inch doll. Free, easy and fast crochet pattern for adorable hat for your 12-inch doll! The hat makes a great gift for any little girl who loves dressing her doll up! And gives you a lovely summer accessory to add to your dolls wardrobe. If you’re looking to practice crocheting in the round this is the perfect pattern to practice with! The pattern consists of several steps which are very detailed. The pattern comes with easy-to-follow written instructions and photo tutorial. The photo tutorial contains many helpful step-by-step pictures to make the project as easy to follow as possible. So let’s prep your doll for the sunny summer days and get started with this free crochet pattern!
SUPPLIES YOU NEED
Here is what you will need for this project: ca 30 gr cotton yarn (e.g. Schachenmayr Catania 125m/50g) in the following colors: white, green, light blue or turquoise and a bit of yellow or any color you choose, for this project you will need one size hook only - crochet hook C, scissors, tapestry needle, stitch markers, beads and satin ribbon.
SKILL LEVEL
I would classify this free crochet pattern as an advanced beginner. It is necessary to have some experience with crocheting before creating this project.
SIZE
The ready hat fits 12-14 inches doll, can be made bigger or smaller depending on the yarn and hook you use.
SKILLS YOU NEED
chain, single crochet, double crochet, half double crochet, slip stitch, increase, decrease
ABBREVIATIONS
Ch =chain
St = stitch
Sc = single crochet
Sl st = slip stitch
dec = decrease stitch (two single crochets together)
inc = increase stitch (two single crochets in the one stitch)
Dc = double crochet
Hdc = half double crochet
Tc = triple crochet
Rnd = Round
MC = Magic Ring
RS = Right side
* = repeat the instructions for the times indicated
(...) = total amount of stitches
TIPS
- Do not join rounds, work in a continuous spiral.
- Use a stitch marker or piece of yarn to keep track of the last stitch in each round
- All stitches are worked into both loops, unless stated otherwise in the pattern.
- When filling with polyester stuffing, pull apart each large chunk into many smaller chunks. This ensures an even distribution of firmness within the amigurumi
- Booties can be made in any desired colors.
Seamless way of changing color when working in the round
Pick up the new color at the end of the round: inset your hook into the stitch, yarn over the new color and pull through the stitch and the loop on your hook to complete the stitch.
To make a magic ring
- Loop the thread twice around your middle finger
- Put the hook under both loops, pull the yarn under the loops and hook the thread again
- Pull the thread through the new loop. The first crochet stitch is ready!
- Repeat the number of times needed.
- Pull the inner threads to tighten the ring.
Back Post Single Crochet:
Starting from the back of the work, insert hook from back to front, continue across the post, and insert hook from front to back, yarn over, draw the yarn forward, around the post, and through to the back of the work, yarn over and draw the yarn through the two loops on the hook.
V-STITCH
To complete each V-stitch, work (double crochet, chain 1, double crochet) in the same space or stitch:
Round 1: In the fourth chain from the hook work 2 double crochets, skip the next chain space, *2 double crochets in the next chain space, then skip the next chain space*, repeat * across the round.
Round 2: Work 2 double crochets in between each pair of double crochets from the row below. Insert your hook into the space between them. Repeat across the whole round.
In this pattern V-stitches are worked either: into V-stitches of the previous round (that is, into chain-1 space between 2 double crochets) or into space between two V-stitches of the previous round (that is, into space prior to next V-stitch).
INSTRUCTIONS
This design for crocheted doll hat is one of my favorites. It is pretty easy to make and to customize. I´ve divided these instructions into a few smaller sections. We start off by making a crochet hat first.
HAT
Chain 5 stitches, join with a slip stitch into a ring.
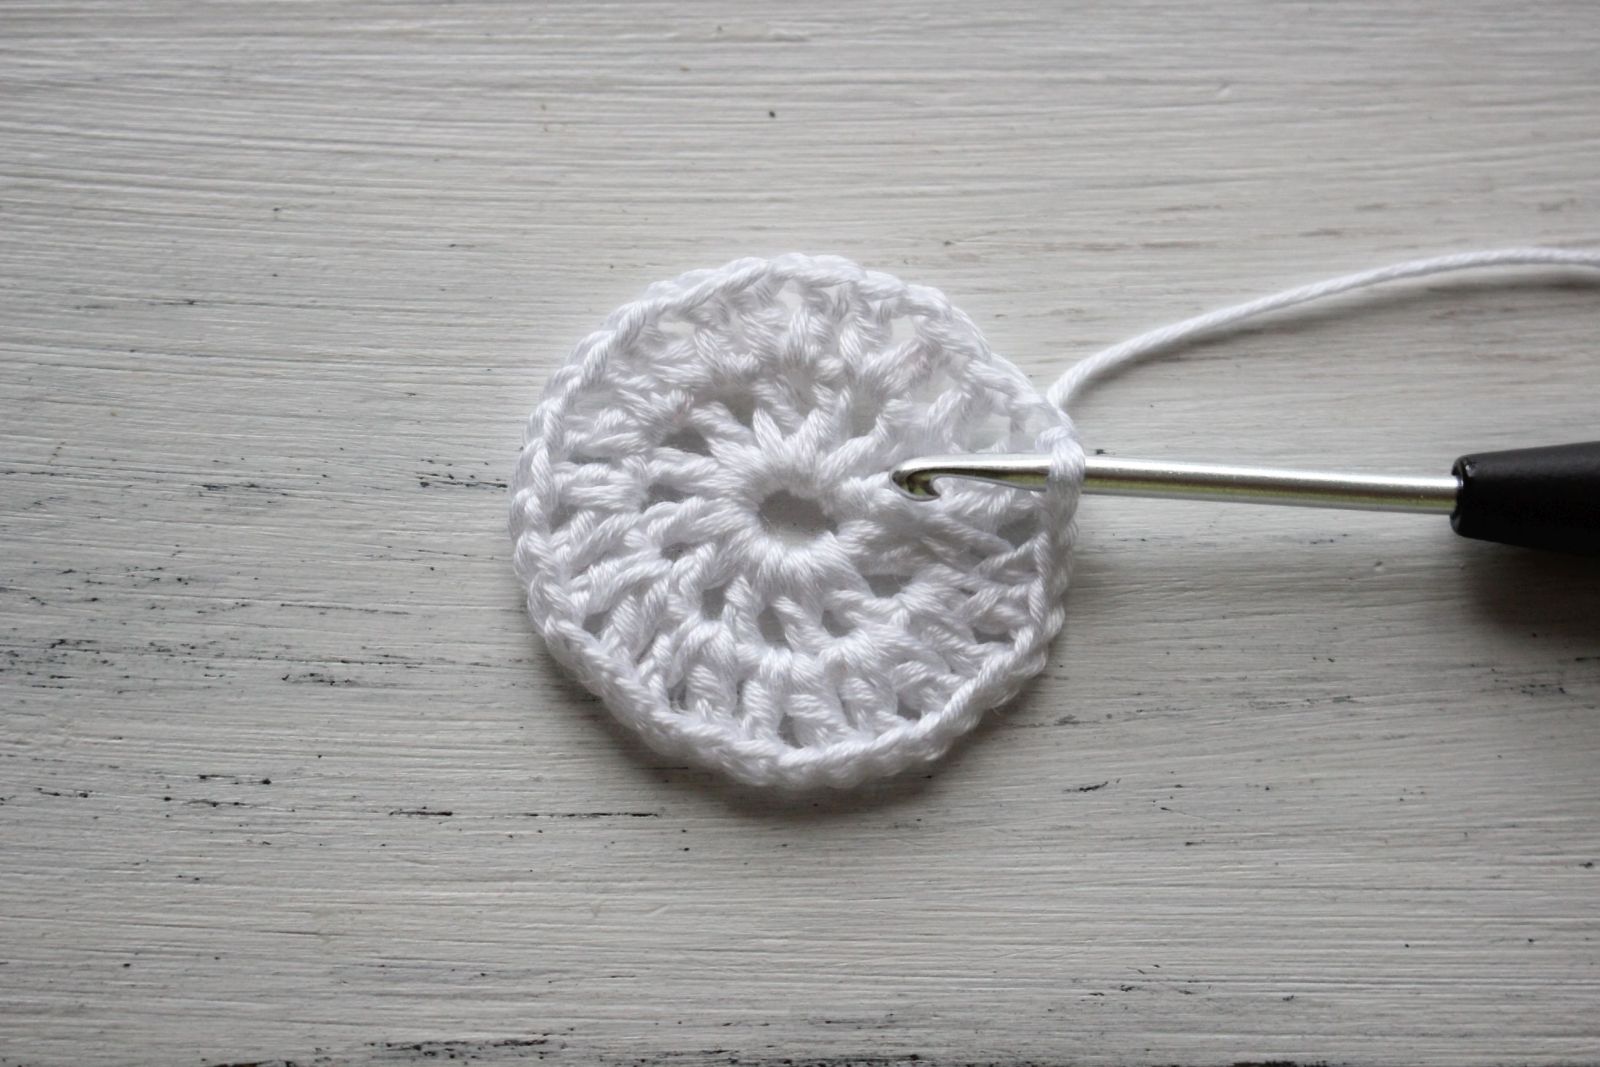
Round 1: Chain 4 stitches, *double crochet into the ring, chain 1* repeat from* 11 times. Join with slip stitch into 3rd chain of the beginning chain-4
Round 2: slip stitch into next chain-1 space, chain 4 stitches, double crochet in the same chain-1 space, V-stitch in each chain-1 space around. Join with a slip stitch into the 3rd chain of the beginning chain-4 (12 V-stitches)
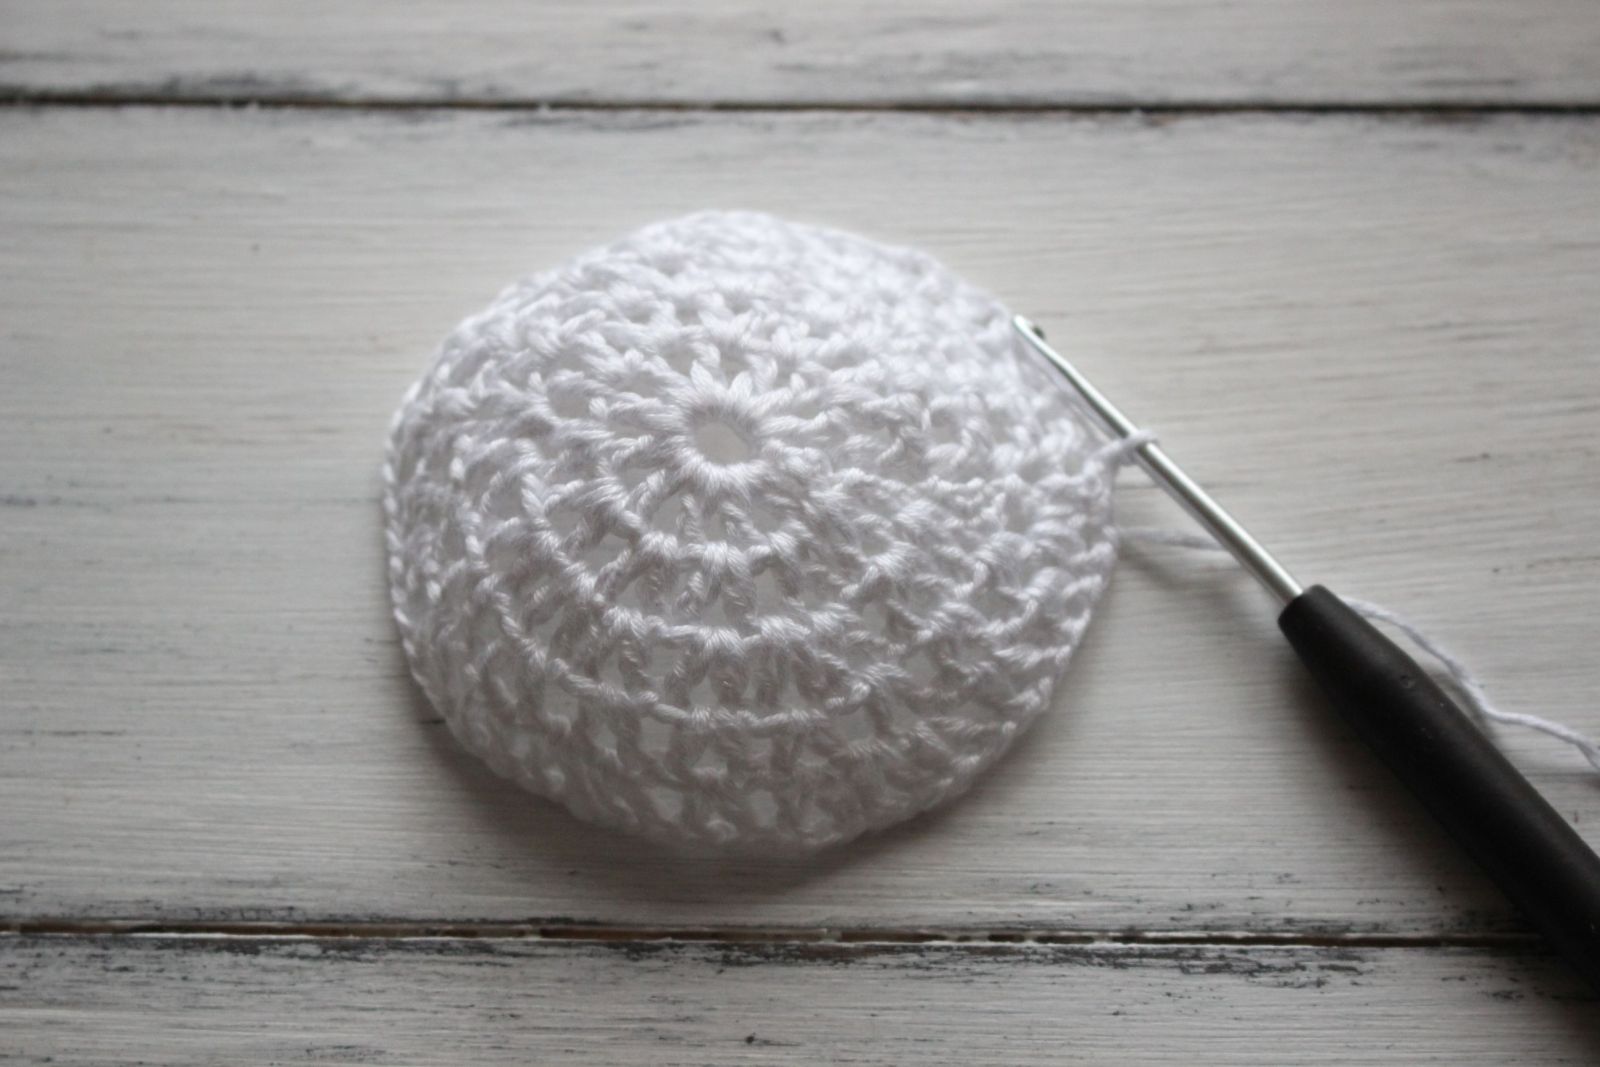
Round 3: *V-stitch in each of next 2 V-stitches, V-stitche in the next space between two V-stitches of the previous round* (18 V-stitches)
Round 4: V-stitch in each of next 18 V-stitches
Round 5: *V-stitcht in each of next 6 V-stitches, V-stitch in the next space between two V-stitches of the previous round* (21 V-stitches)
.JPG)
Rounds 6-9: V-stitch in each of next 21 V-stitches
Round 10: chain 3 stitches, double crochet in the next stitch, *chain 1, skip the next stitch, doubnle crochet in each of next 2 stitches*, repeat from* to* till the end of Rnd
.JPG)
Round 11: single crochet in each of next stitch till the end of the Rnd.
Round 12: *single crochet in each of next 4 stitches, increase*
All around hat crochet 4-5 Rnds in single crochets for the brim. Cut of your yarn and weave it into the edge of brim.
DAISY (2x)
I’ve created a classic daisy with a yellow center and white petals, but feel free to use any colors you prefer.

Round 1: chain 2 stitches, 6 single crochets in the 2nd stitch from hook or: 6 single crochets into a magic ring.
Change the yarn color.
Join your yarn by making a slip stitch in any stitch around.
Round 2: *chain 4 stitches, single crochet into the 2nd stitch from the hook, hdc in each of next 2 stitches, slip stitch*, repeat from* 6 times.
Fasten off.
If your petals start to curl in a little, tug at the yarn and give the petal a stretch to flatten them out. The petals should overlap a bit.
Block your crochet daisy flower.
STEM
.JPG)
Round 1: chain 7 stitches, 6 single crochets in the 6th stitch from the hook
Round 2: *single crochet in next stitch, increase* (9 stitches)
Round 3: single crochet in each of next 9 stitches. Cast off leaving a long tail.
PETALS
.JPG)
*chain 6 stitches, slip stitch in the 2nd stitch from the hook and each of next 4 stitches* 6 times, slip stitch.
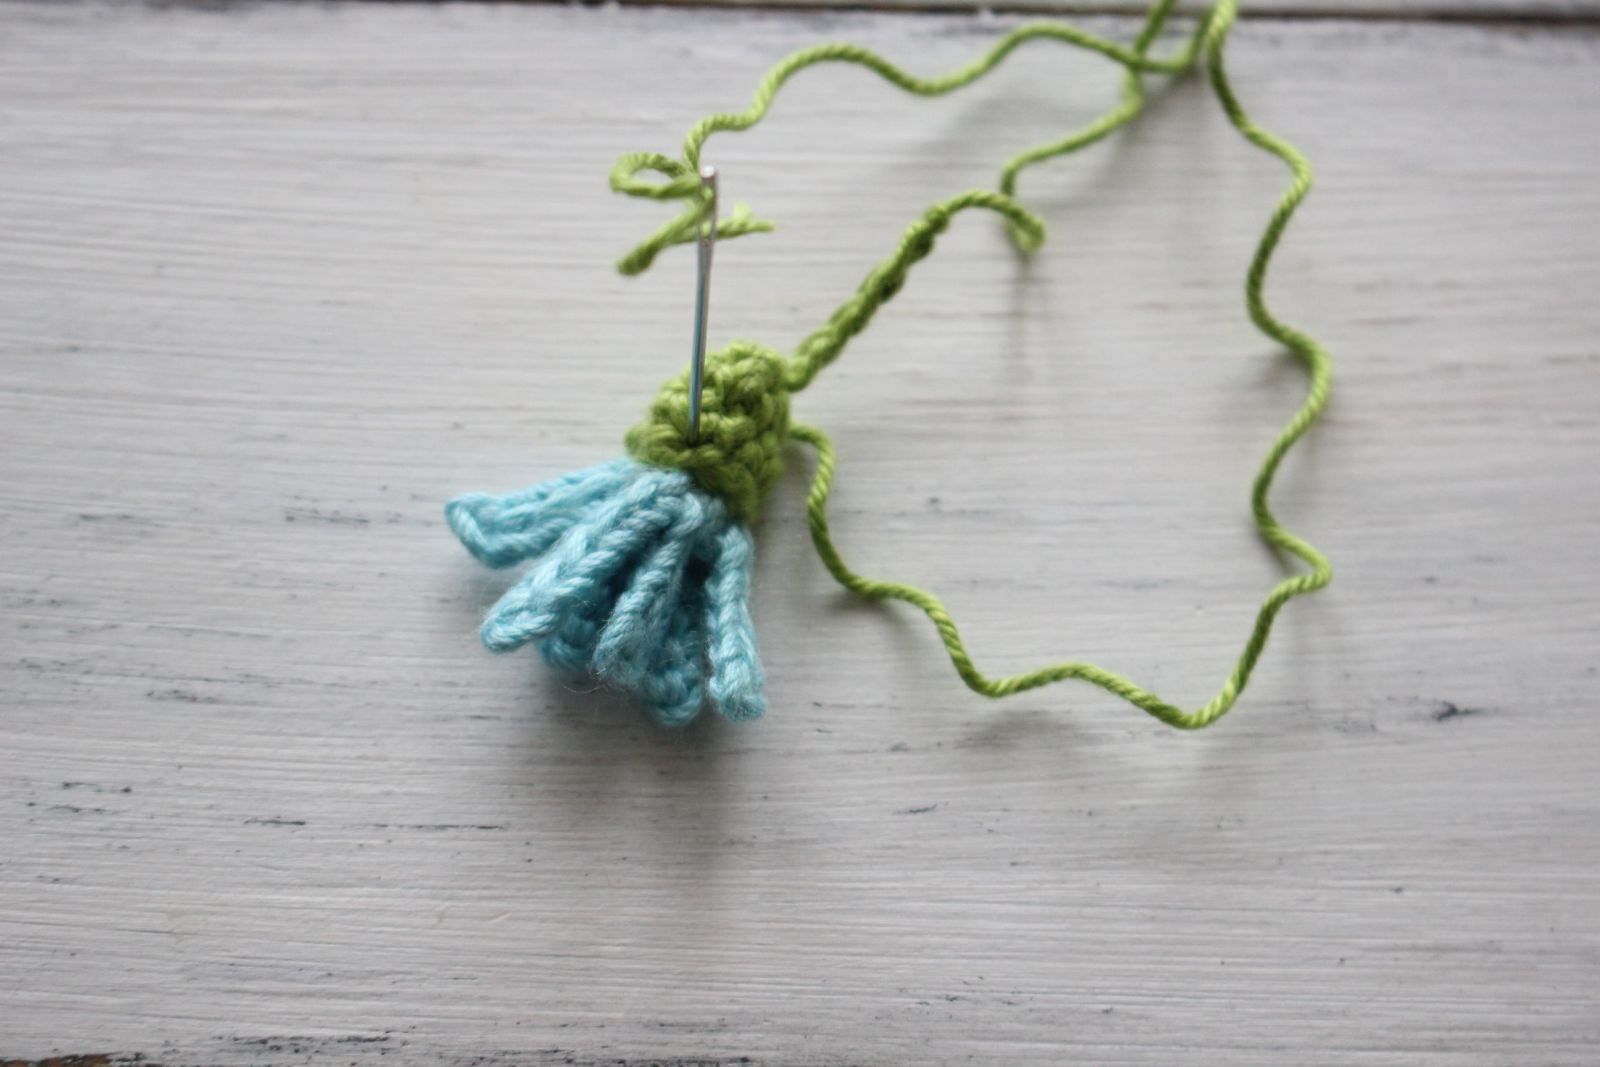
Fasten off. Attach petals to the stem as shown on the pic. Block your crochet daisy flower.
I hope you have enjoyed making these little daisies.
ASSEMBLY
.JPG)
Sew flowers to the hat. Add some beads to the center of your daisy. You can also add a small decorative button in the shape of a ladybug. Weave in all ends. Weave ribbon through spaces between dc´s.
I hope you enjoyed crocheting hat and found the pattern helpful. I would love to see your finished creations, so share a picture here or on Instagram by tagging me @tansuluucrafthaus.
Please write in comments about what you would like to see next and what topics you are interested in. It´ll give me great ideas for future projects.
Feel free to sell the finished item in smal amounts created with this free crochet pattern but please provide pattern credit back to me when posting online.
Happy crocheting! Feel free to contact me with any questions. Thank you for stopping by and have a lovely day!


