The Elephant
.JPG)
This elephant makes a wonderful companion for anyone who loves stuffed animals. It is soft, fluffy, and delightfully huggable, perfect as a bedtime buddy, for cuddling, or as a charming decoration in a child's room. The finished elephant measures approximately 32 cm in height. However, its size can be easily adjusted simply by changing the yarn thickness:
- Using thick chenille yarn creates a large, extra‑fluffy cuddly friend—ideal as a gift for small children or for anyone who loves soft companions.
- If you use thinner yarn, the elephant will turn out proportionally smaller, resulting in a more compact and handy little friend.
Knitting Instructions:
All parts are crafted entirely with two knitting needles.
Follow these steps:
First Row - Purl Stitches Begin by knitting the first row entirely in purl stitches. These will form the back side of your project, creating a neat texture.
Second Row - Knit Stitches In the second row, knit every stitch. This will produce a smooth, even front for your piece.
Repeating the Pattern Continue alternating between purl stitches in the odd-numbered rows and knit stitches in the even-numbered rows:
- Odd-numbered rows (e.g., 1st, 3rd, 5th): Work in purl stitches.
- Even-numbered rows (e.g., 2nd, 4th, 6th): Work in knit stitches.
This straightforward pattern of alternating knit and purl rows is ideal for beginners, offering an easy yet satisfying introduction to the craft.
Materials:
For the elephant, I used Katia Velvet Fine and knitted all parts with double‑stranded yarn. This creates a denser and more stable fabric.
- Katia Velvet Fine: 50 g / 160 m
White: 20 g. Grey: 160 g.
- Knitting needles 2,5 mm.
- Safety eyes 16 mm.
- Stuffing, tapestry needle, Fabric marker.
Abbreviations:
Ch – Chain(s)
inc – increase
dec – decrease
X dec – X- times decrease
X inc – X- times increase
P – purl
K– knit (garter stitch)
Nose
Cast on 12 stitches (ch) onto the knitting needle. Make sure the stitches are evenly stretched while knitting to ensure your knitted piece is nice and even.
1. 12 P
2. 12 K
3. 12 P
4. (1 K, 1 inc)x 6 (18)
5. 18 P
6. 18 K
7. 18 P
8. 18 K
9. 18 P
10. (2 K, 1 inc)x 6 (24)
Knit a total of 11 rows in stockinette stitch:
On the front side of the work, knit all stitches across the row.
On the back side of the work, purl all stitches across the row.
11. 13. 15. 17. 19. 21. - 24 P
12. 14. 16. 18. 20. – 24 K
22. (3 K, 1 K inc)x 6 (30)
Knit a total of 17 rows in stockinette stitch:
On the front side of the work, knit all stitches across the row.
On the back side of the work, purl all stitches across the row.
23. 25. 27. 29. 31. 33. 35. 37. 39 -30 P
24. 26. 28. 30. 32. 34. 36. 38. – 30 K
The stitches are not bound off, but instead distributed onto two auxiliary needles: 15 stitches on the first needle and 15 stitches on the second. These stitches will later form the two halves of the nose, which are knitted directly into the body.
Body
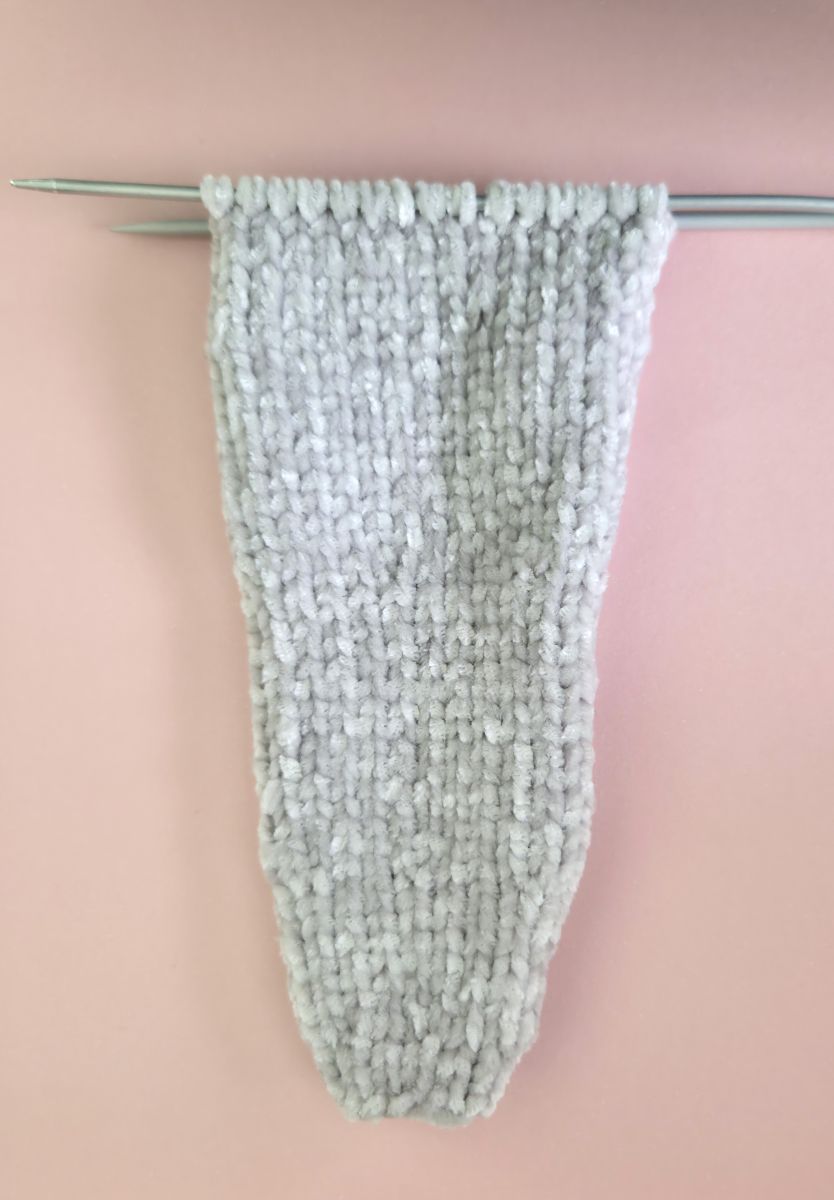
Cast on 12 stitches (ch) onto the knitting needle. Make sure the stitches are evenly stretched while knitting to ensure your knitted piece is nice and even.
1. 12 P
2. (1 K, 1 inc)x 6 (18)
3. 18 P (18)
4. (2 K, 1 inc)x 6 (24)
5. 24 P (24)
6. 1 K, 1 inc, 20 K, 1 inc, 1 K (26)
7. 26 P
8. 1 K, 1 inc, 22 K, 1 inc, 1 K (28)
9. 28 P
10. 1 K, 1 inc, 24 K, 1 inc, 1 K (30)
11. 30 P
12. 1 K, 1 inc, 26 K, 1 inc, 1 K (32)
13. 32 P
14. 32 K
15. 32 P
16. 1 K, 1 inc, 28 K, 1 inc, 1 K (34)
17. 34 P
18. 1 K, 1 inc, 30 K, 1 inc, 1 K (36)
Knit a total of 19 rows in stockinette stitch:
On the front side of the work, knit all stitches across the row.
On the back side of the work, purl all stitches across the row.
19. 21. 23. 25. 27. 29. 31. 33. 35. 37. -36 P
20. 22. 24. 26. 28. 30. 32. 34. 36. – 36 K
38. 1 K, 1 inc, 32 K, 1 inc, 1 K (38)
39. 38 P
40. 1 K, 1 inc, 34 K, 1 inc, 1 K (40)
Knit a total of 11 rows in stockinette stitch:
On the front side of the work, knit all stitches across the row.
On the back side of the work, purl all stitches across the row.
41. 43. 45. 47. 49. 51. – 40 P
42. 44. 46. 48. 50. – 40 K
52. 1 K, 1 inc, 36 K, 1 inc, 1 K (42)
53. 42 P
54. 42 K
55. 42 P
56. 1 K, 1 inc, 38 K, 1 inc, 1 K (44)
57. 44 P
58. 44 K
59. 44 P
60. 1 K, 1 inc, 40 K, 1 inc, 1 K (46)
Knit a total of 29 rows in stockinette stitch:
On the front side of the work, knit all stitches across the row.
On the back side of the work, purl all stitches across the row.
61. 63. 65. 67. 69. 71. 73. 75. 77. 79. 81. 83. 85. 87. 89. - 46 P
62. 64. 66. 68. 70. 72. 74. 76. 78. 80. 82. 84. 86. 88. – 46 K
90. 21 K, Bind off 4 stitches in the middle, 21 K
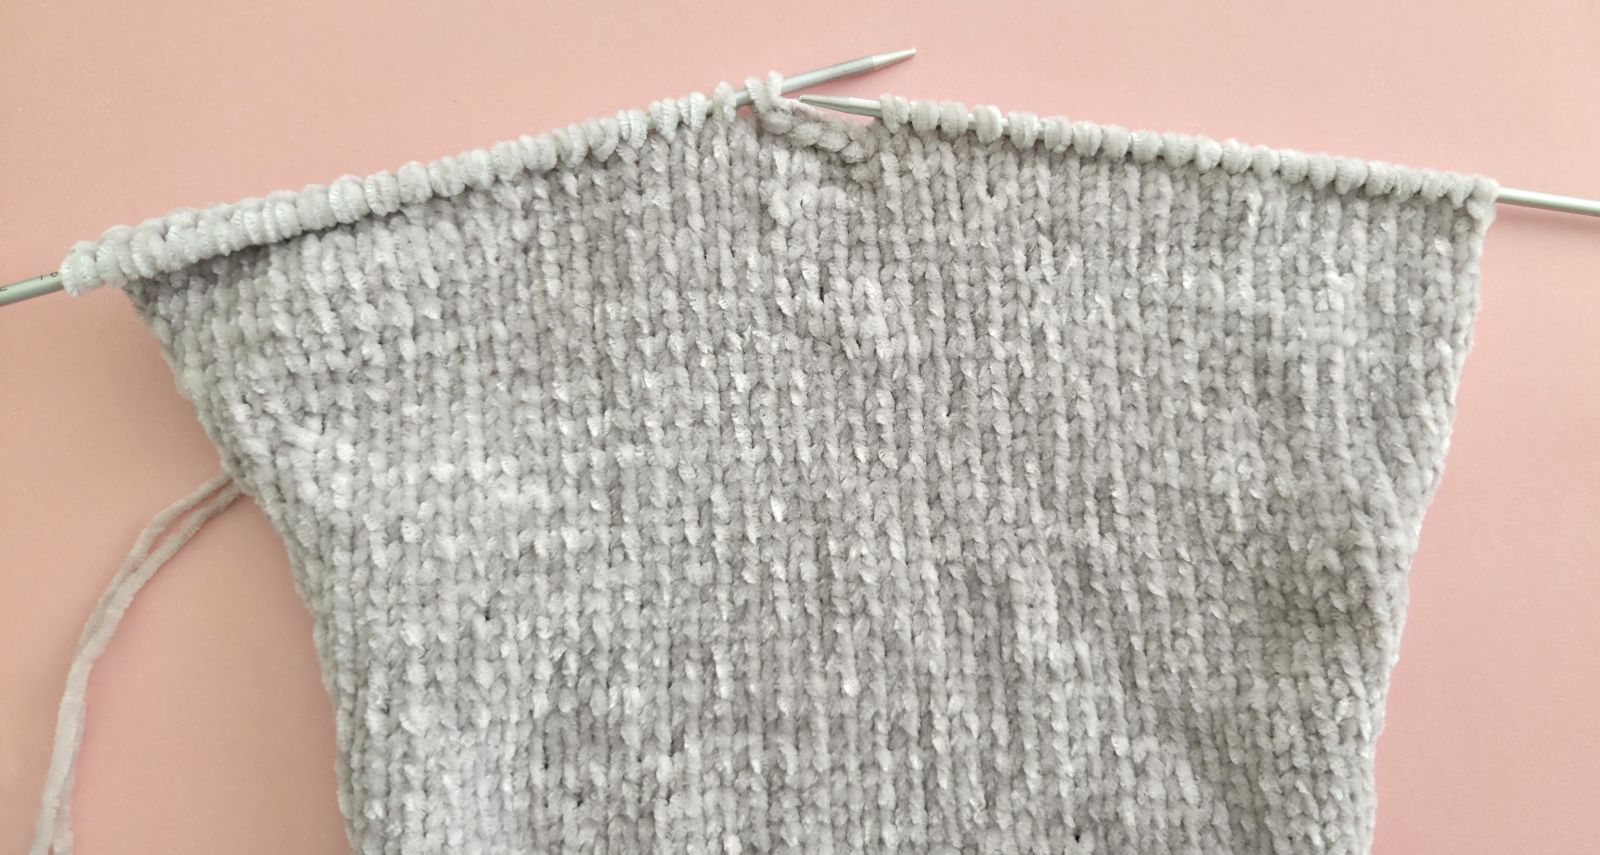
Next, continue working on the legs: first knit the first leg, then proceed with the second. If needed, you can place the first 21 stitches of the second leg onto a spare needle.
After that, continue knitting the leg as instructed.
1. 21 P
2. 21 K
3. 21 P
4. 21 K
5. 21 P
6. 21 K
7. 21 P
8. 19 K, 1 dec (20)
9. 20 P
10. 18 K, 1 dec (19)
11. 19 P
12. 17 K, 1 dec (18)
13. 18 P
14. 18 K
15. 18 P
16. 1 dec, 14 K, 1 dec (16)
17. 16 P
18. 16 K
19. 16 P
20. 1 dec, 12 K, 1 dec (14)
21. 14 P
22. 14 K
23. 14 P
24. 14 K
25. 14 P
26. 1 inc, 12 K, 1 inc (16)
27. 16 P
28. 16 K
29. 16 P
30. 1 inc, 14, 1 inc (18)
31. 18 P
32. 18 K
33. 18 P
34. 17 K, 1 inc (19)
35. 19 P
36. 18 K, 1 inc (20)
37. 20 P
38. 19 K, 1 inc (21)
39. 21 P
The stitches are not bound off; the yarn is cut and secured. Next, return to the second leg, reattach the working yarn, and continue knitting the second leg as described below
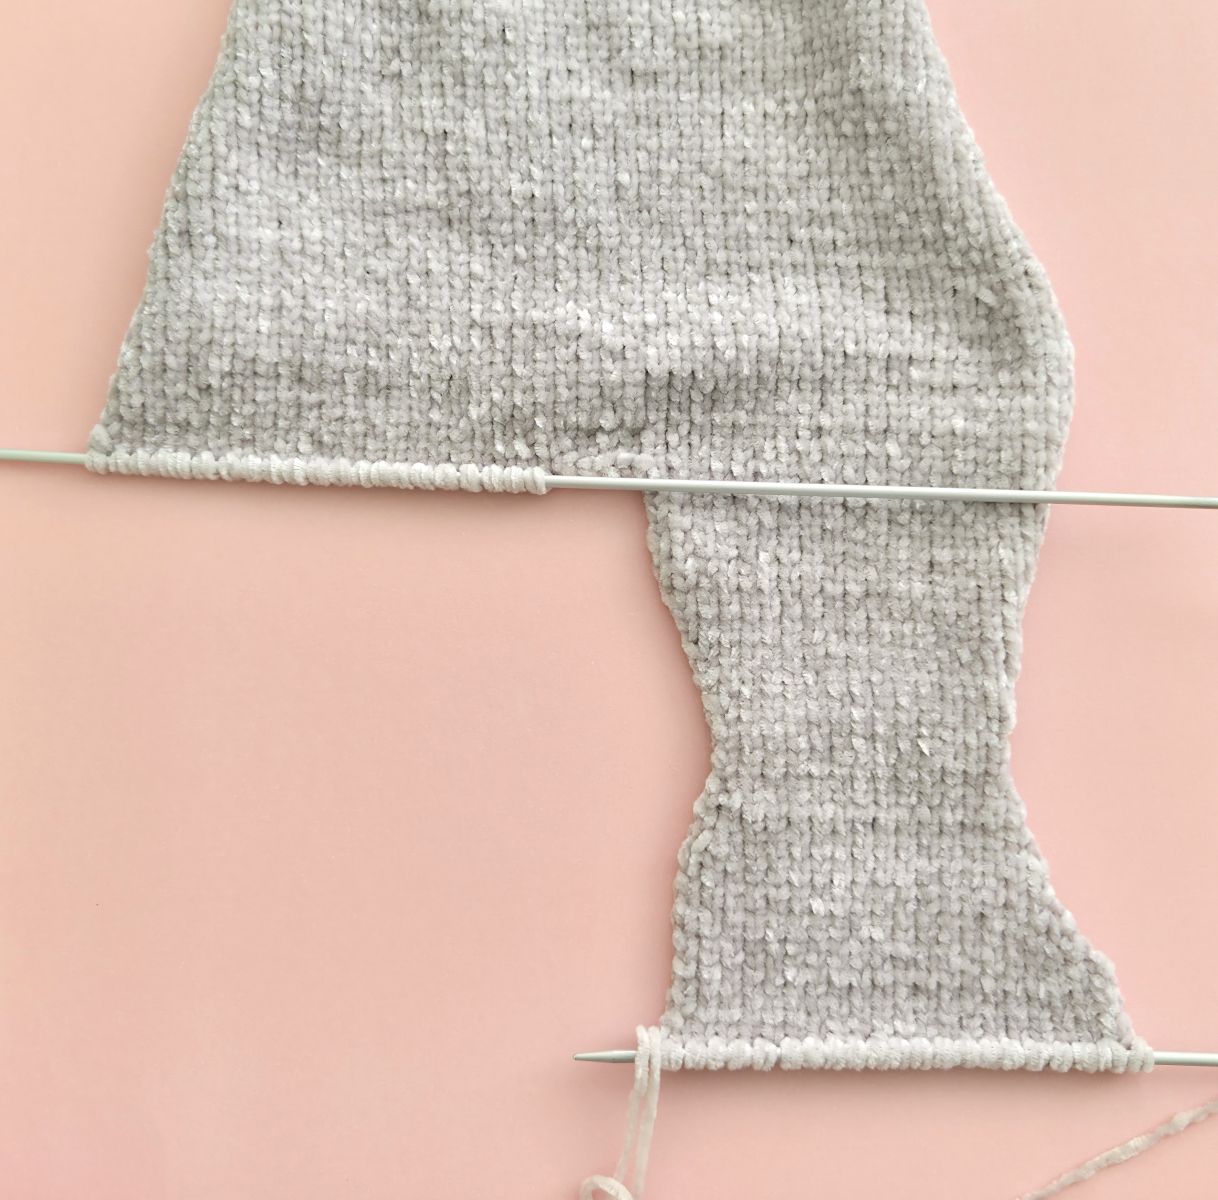
1. 21 P
2. 21 K
3. 21 P
4. 21 K
5. 21 P
6. 21 K
7. 21 P
8. 1 dec, 19 K (20)
9. 20 P
10. 1 dec, 18 K (19)
11. 19 P
12. 1 dec, 17 K (18)
13. 18 P
14. 18 K
15. 18 P
16. 1 dec, 14 K, 1 dec (16)
17. 16 P
18. 16 K
19. 16 P
20. 1 dec, 12 K, 1 dec (14)
21. 14 P
22. 14 K
23. 14 P
24. 14 K
25. 14 P
26. 1 inc, 12 K, 1 inc (16)
27. 16 P
28. 16 K
29. 16 P
30. 1 inc, 14, 1 inc (18)
31. 18 P
32. 18 K
33. 18 P
34. 17 K, 1 inc (19)
35. 19 P
36. 18 K, 1 inc (20)
37. 20 P
38. 19 K, 1 inc (21)
39. 21 P
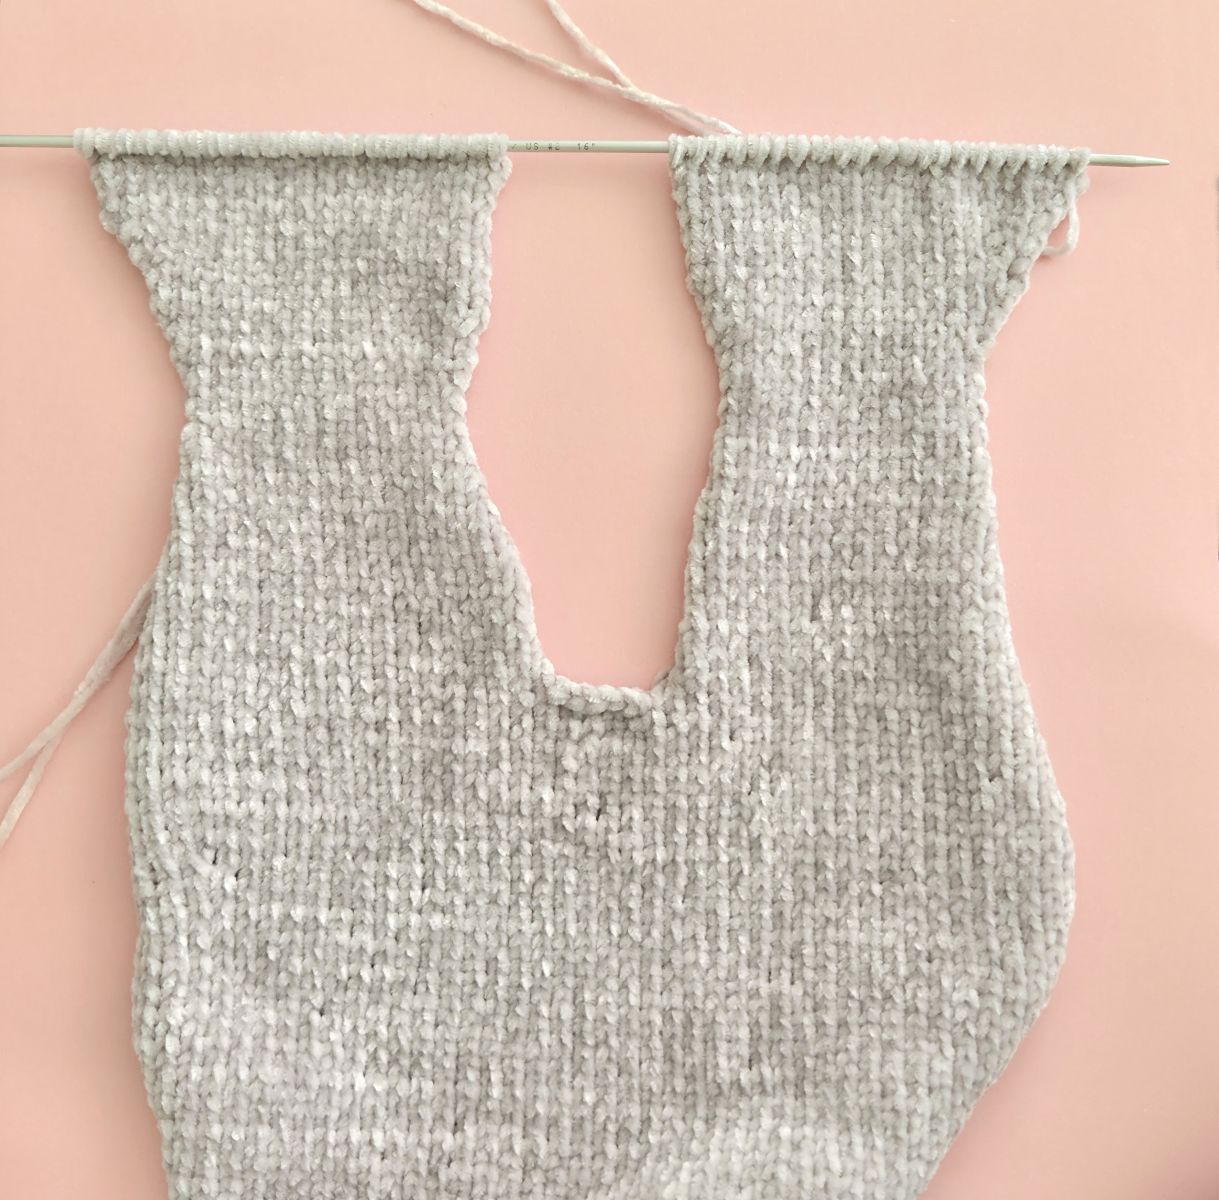
Next, the legs are joined to the body. First, knit 21 stitches along the first leg. Then cast on 4 stitches onto the needle. After that, join the second leg and knit 21 stitches along it as well.
You now have a total of 46 stitches back on the needle.
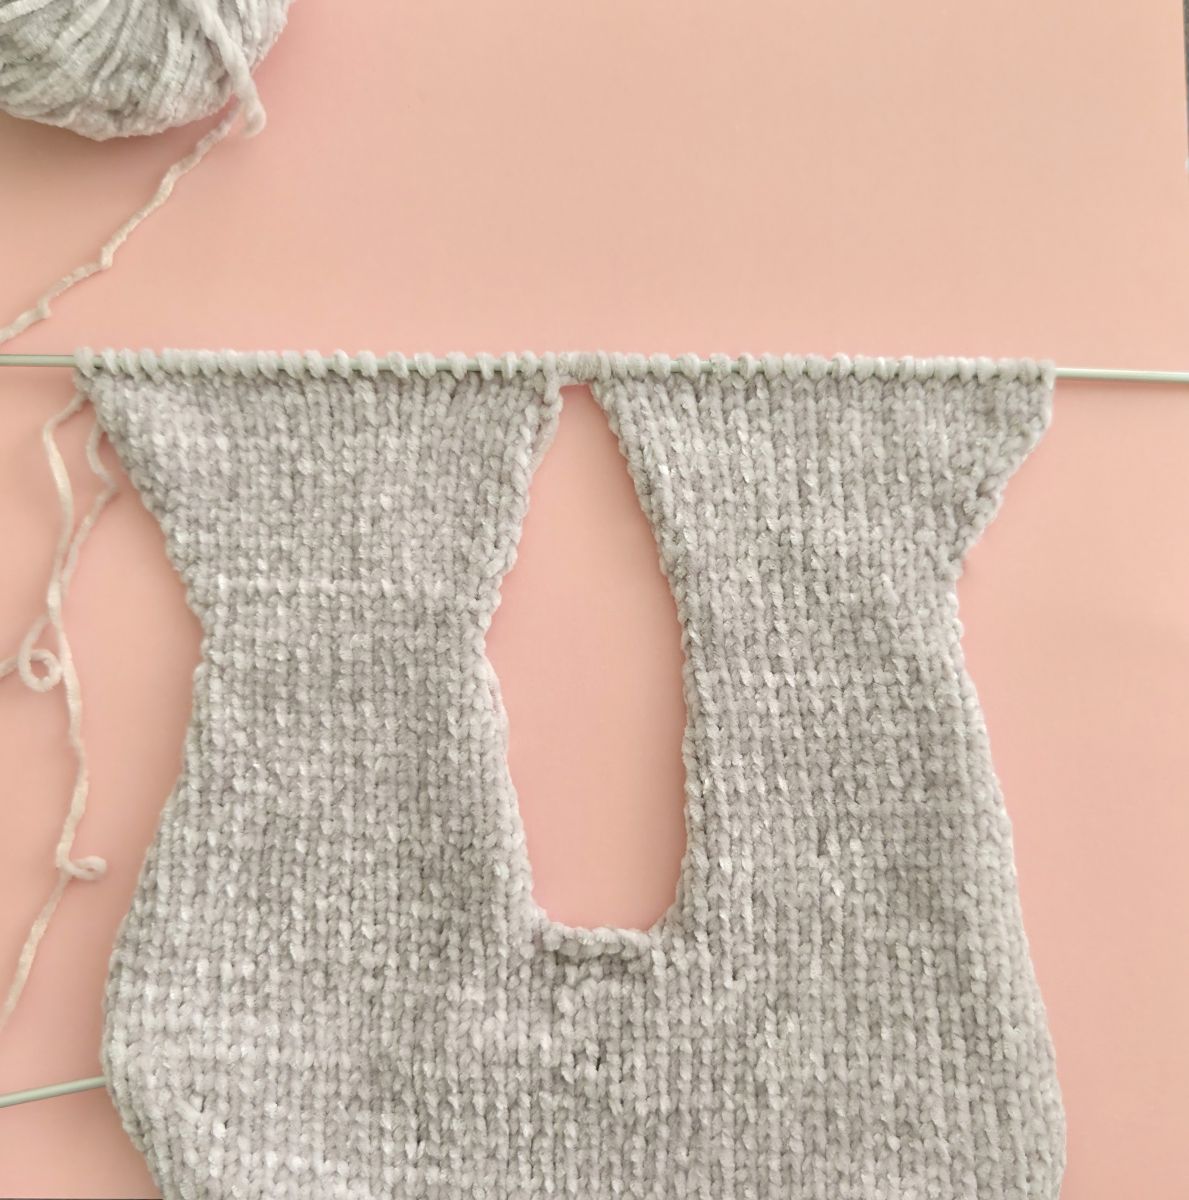
Knit a total of 29 rows in stockinette stitch:
On the front side of the work, knit all stitches across the row.
On the back side of the work, purl all stitches across the row.
1. 3. 5. 7. 9. 11. 13. 15. 17. 19. 21. 23. 25. 27. 29. – 46 P
2. 4. 6. 8. 10. 12. 14. 16. 18. 20. 22. 24. 26. 28. – 46 K
30. 1 K, 1 dec, 40 K, 1 dec, 1 K (44)
31. 44 P
32. 44 K
33. 44 P
34. 1 K, 1 dec, 38 K, 1 dec, 1 K (42)
35. 42 P
36. 42 K
37. 42 P
38. 1 K, 1 dec, 36 K, 1 dec, 1 K (40)
Knit a total of 11 rows in stockinette stitch:
On the front side of the work, knit all stitches across the row.
On the back side of the work, purl all stitches across the row.
39. 41. 43. 45. 47. 49. – 40 P
40. 42. 44. 46. 48. – 40 K
50. 1 K, 1 dec, 34 K, 1 dec, 1 K (38)
51. 38 P
52. 1 K, 1 dec, 32 K, 1 dec, 1 K (36)
Knit a total of 17 rows in stockinette stitch:
On the front side of the work, knit all stitches across the row.
On the back side of the work, purl all stitches across the row.
53. 55. 57. 59. 61. 63. 65. 67. 69. - 46 P
54. 56. 58. 60. 62. 64. 66. 68. – 46 K
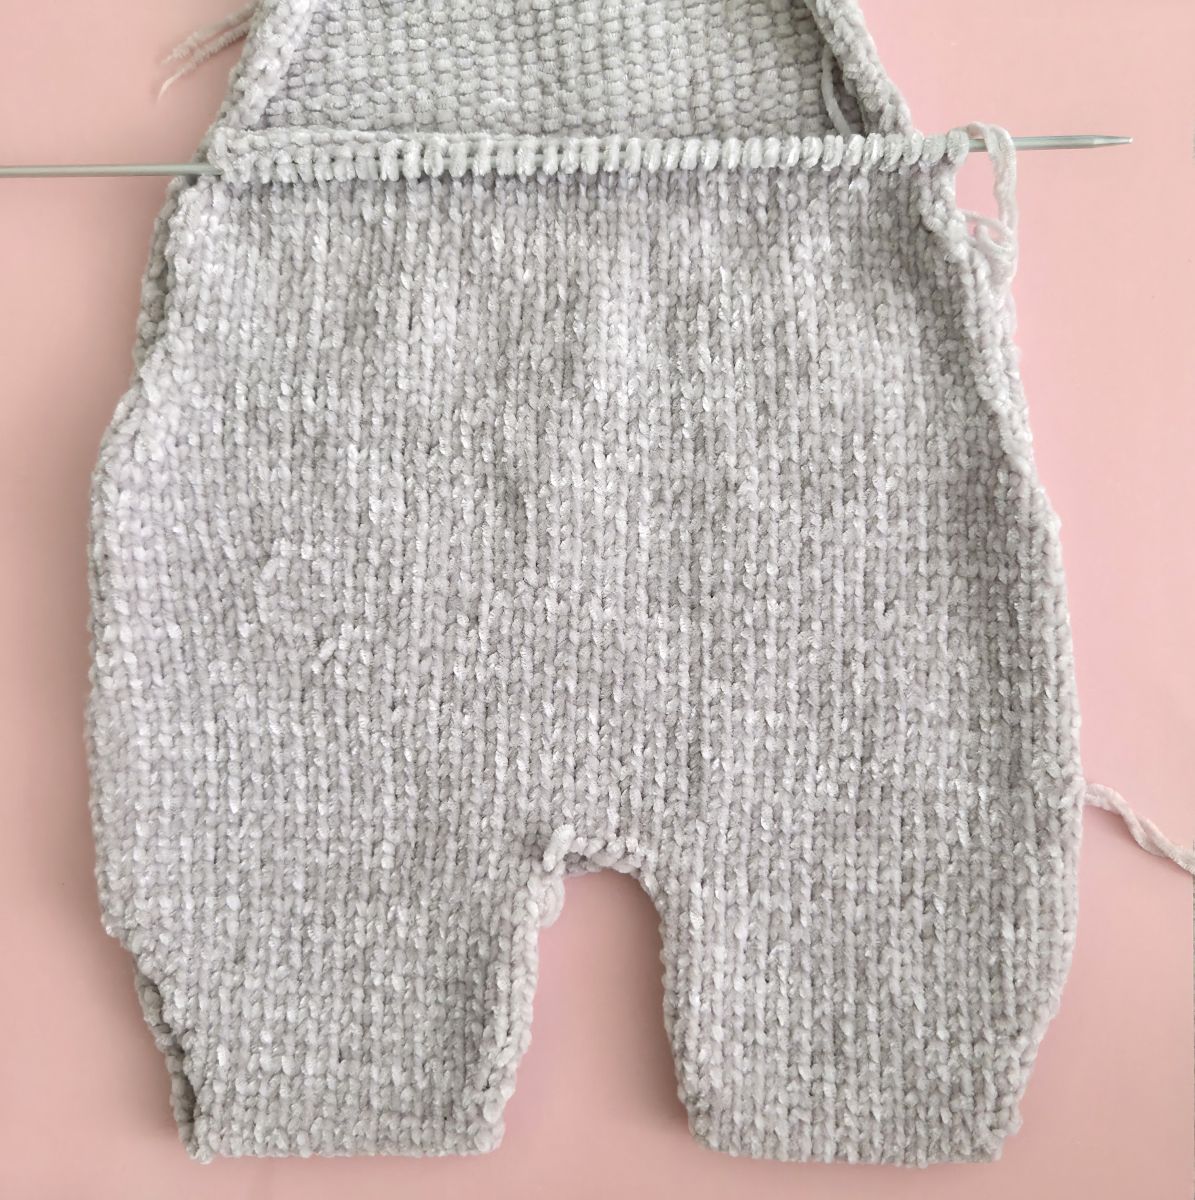
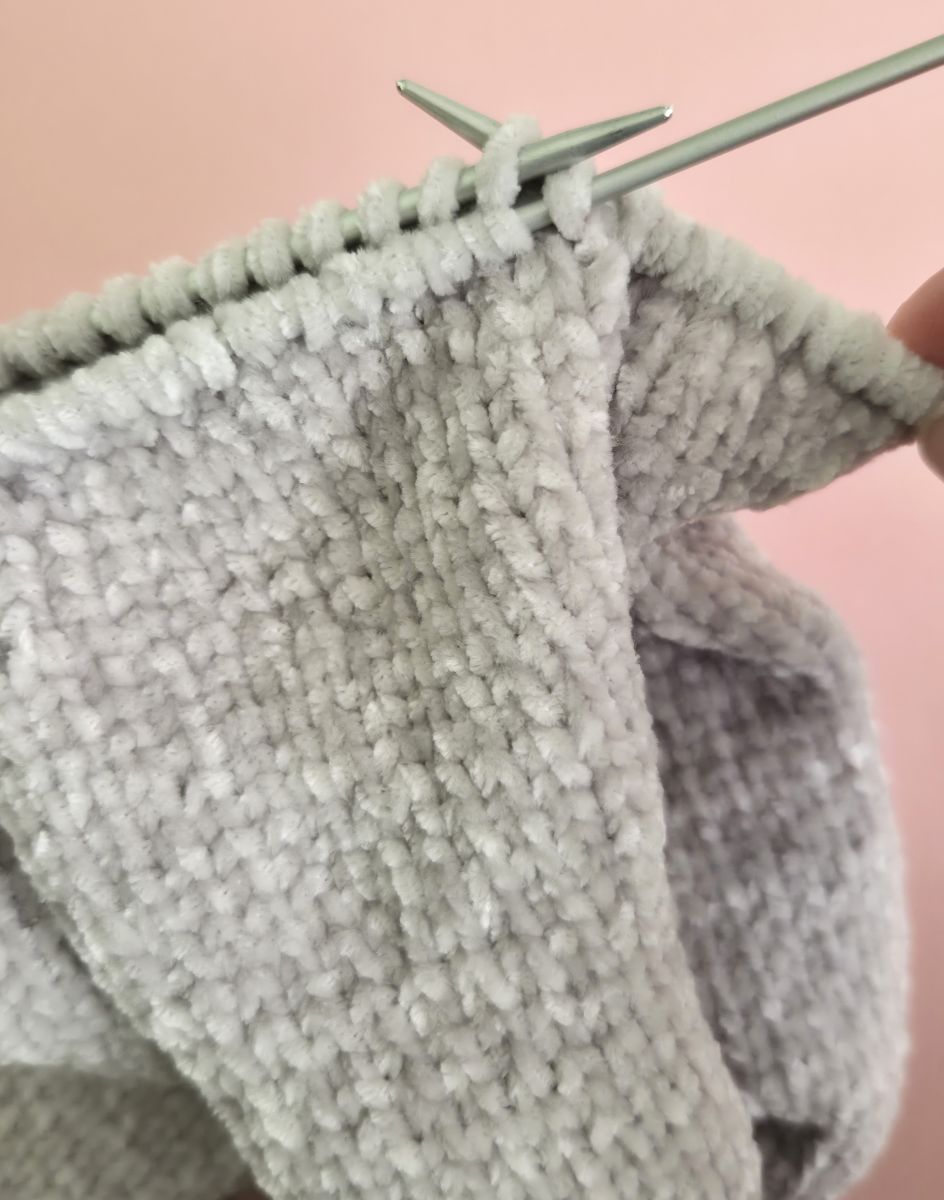
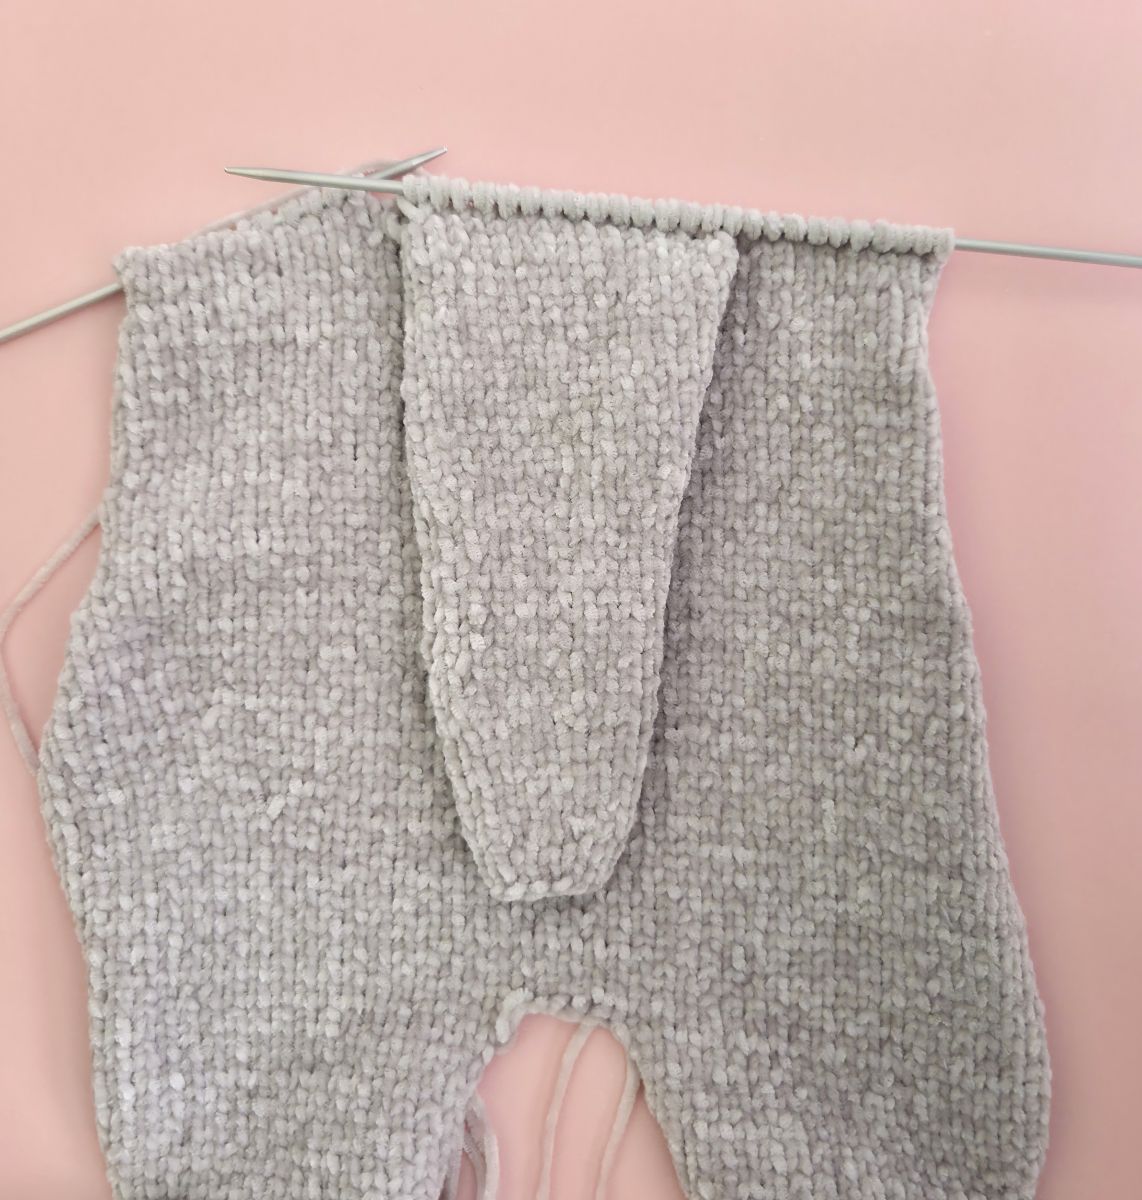
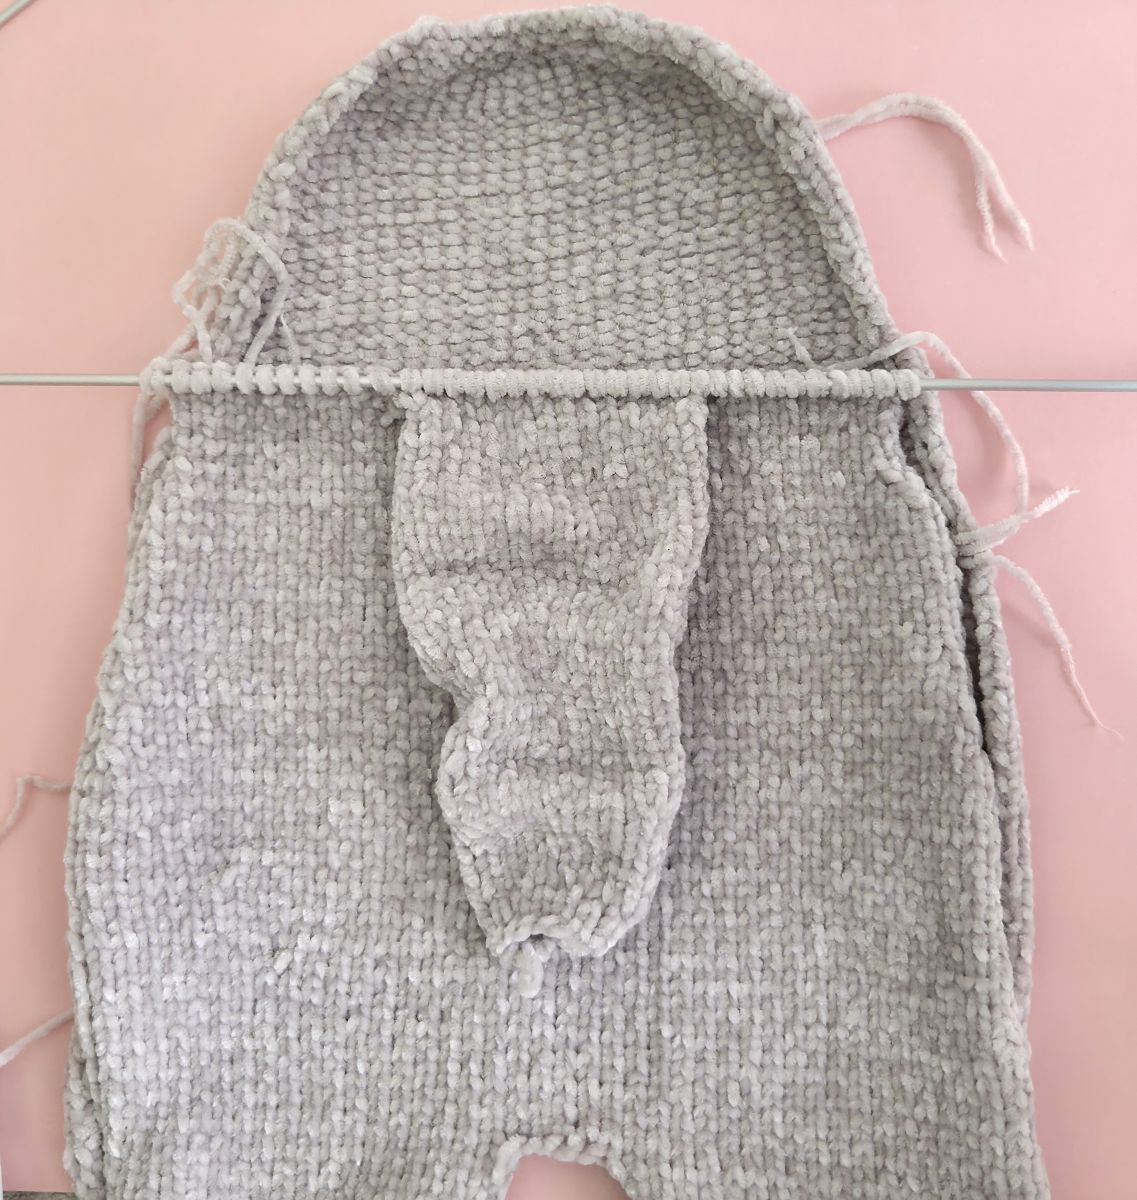
In Row 70, the nose is knitted directly into the body. Of course, the nose can also be sewn on after the body is completely finished, but I chose to knit it in because the final result looks neater and more seamless.
When knitting it in, the stitches of the nose and the stitches of the body are worked together in one step, creating a smooth, seamless join.
The nose consists of 30 stitches in total, which were already divided into two halves of 15 stitches each earlier in the process. First, the 15 back stitches of the nose are knitted together with the corresponding stitches of the body.
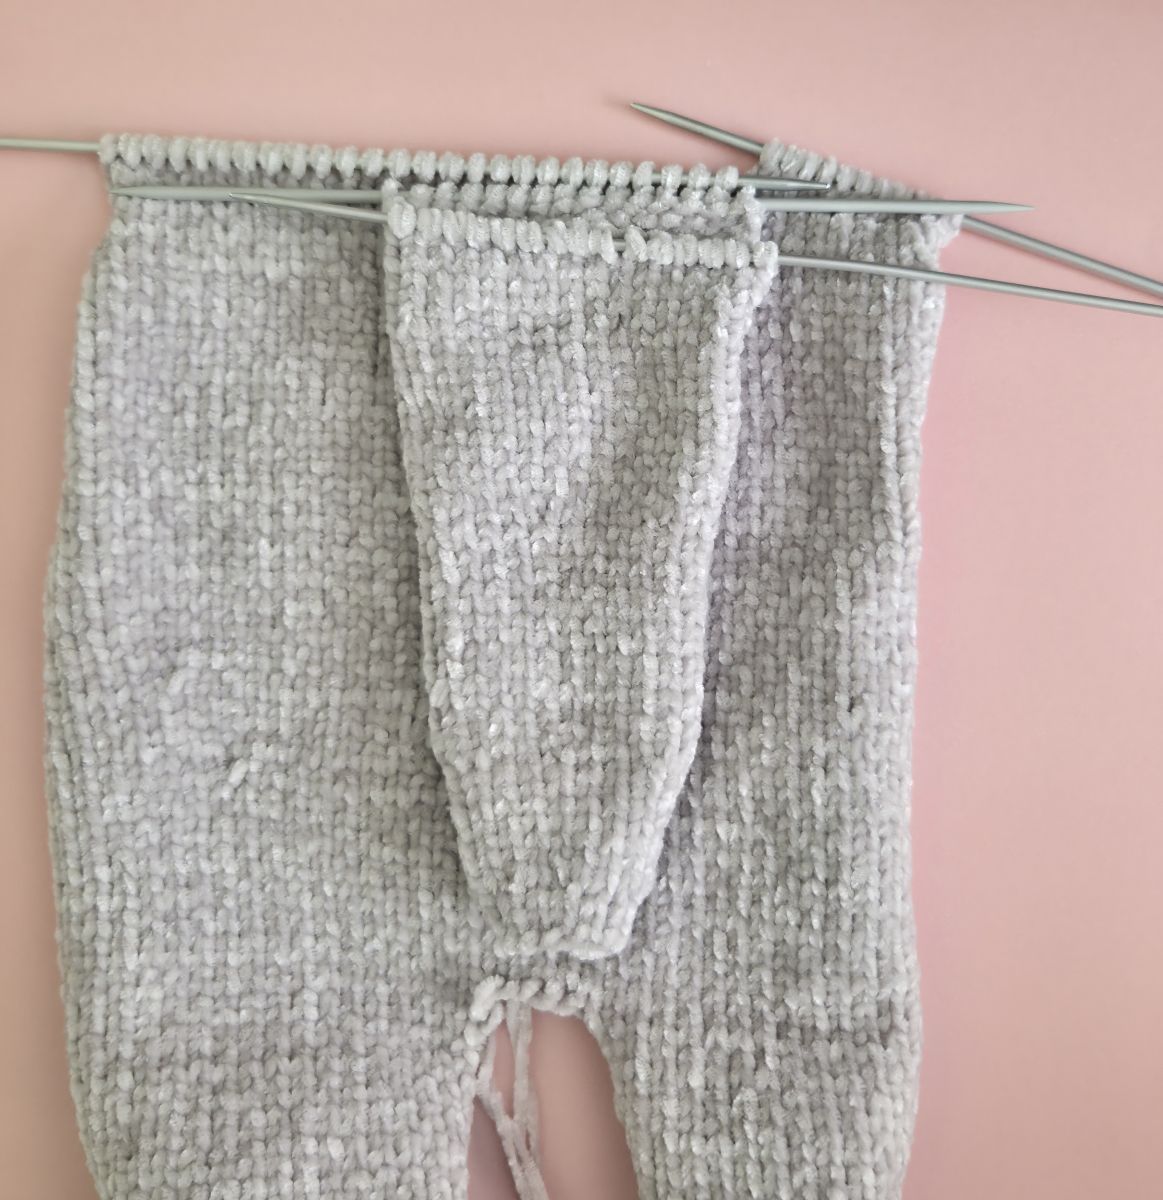
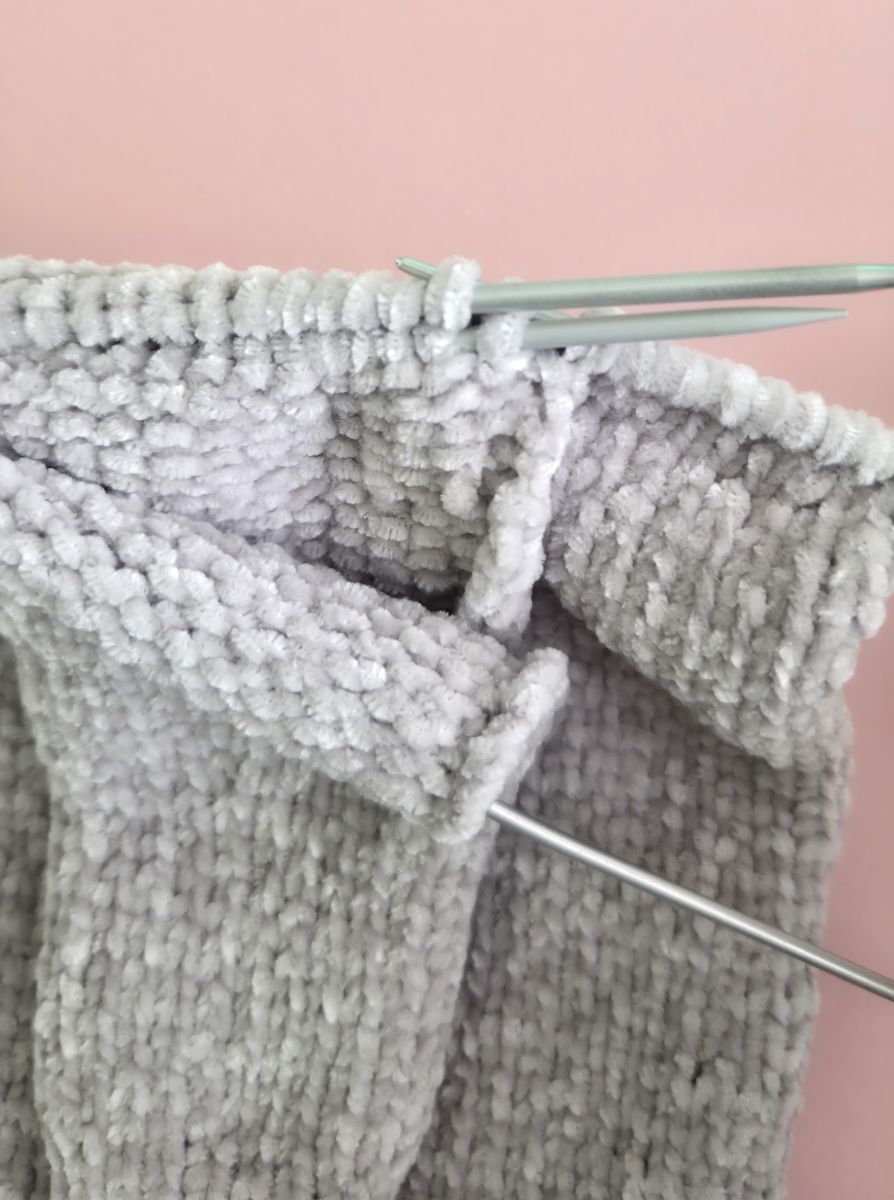
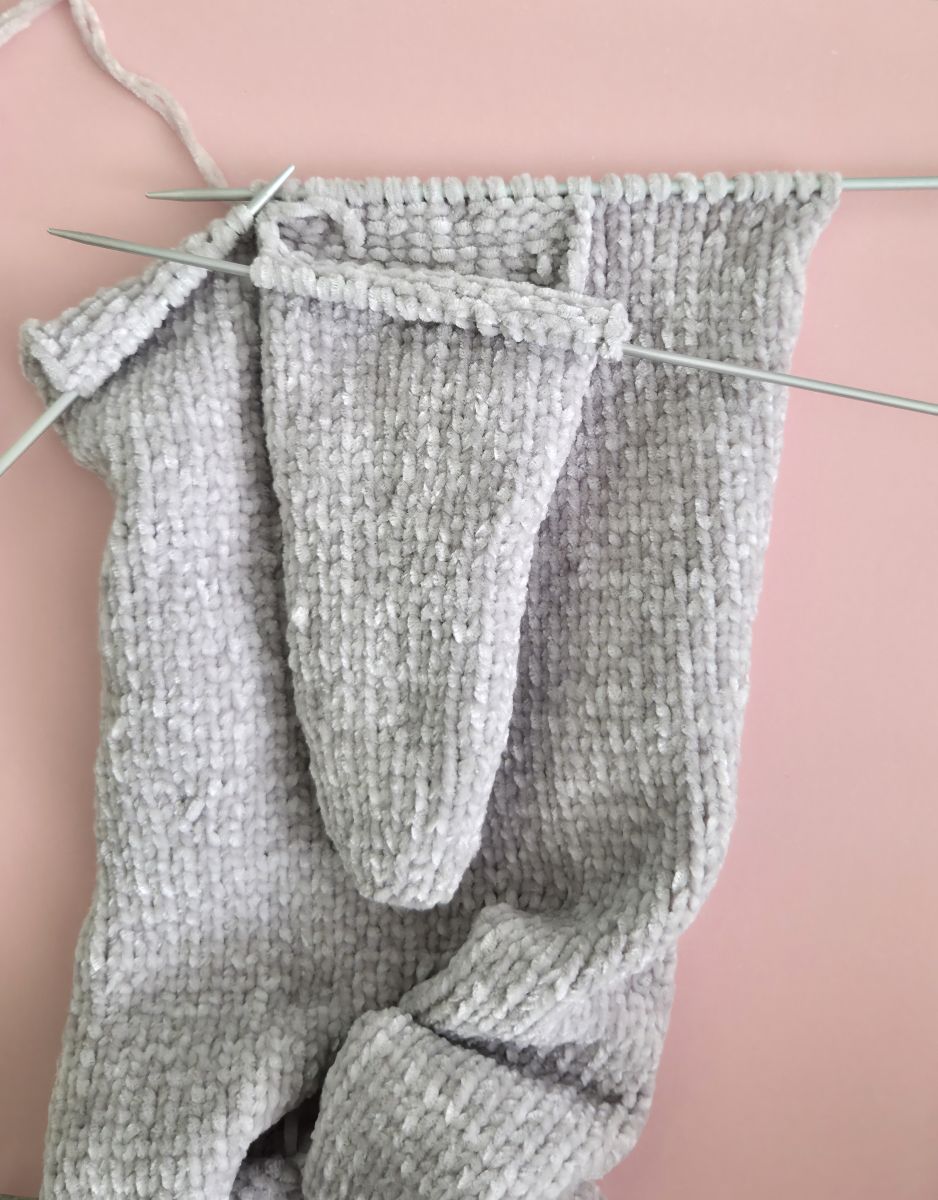
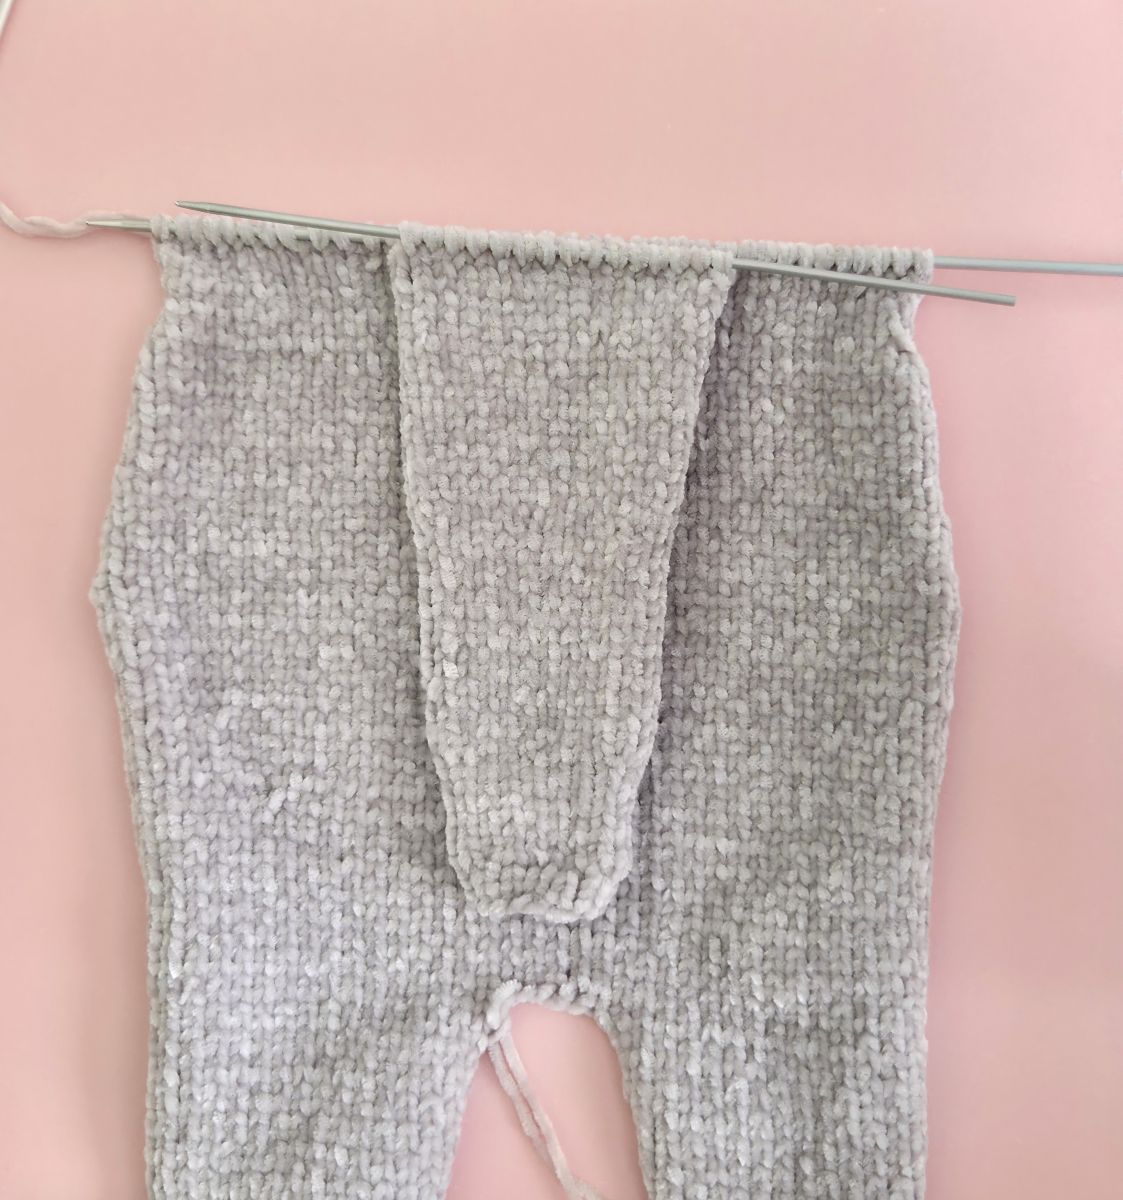
70. 10 K, 15 Ktogether with the nose, 11 K (36)
71. 36 P
72. Now, the 15 front stitches of the nose are picked up.
10 K, 15 K together with the nose, 11 K (36)
73. 36 P
74. 1 K, 1 dec, 30 K, 1 dec, 1 K (34)
75. 34 P
76. 1 K, 1 dec, 28 K, 1 dec, 1 K (32)
77. 32 P
78. 32 K
79. 32 P
80. 1 K, 1 dec, 26 K, 1 dec, 1 K (30)
81. 30 P
82. 1 K, 1 dec, 24 K, 1 dec, 1 K (28)
83. 28 P
84. 1 K, 1 dec, 22 K, 1 dec, 1 K (26)
85. 34 P
86. 1 K, 1 dec, 20 K, 1 dec, 1 K (24)
87. 24 P
88. (2 K, 1 dec)x6 (18)
89. 18 P
90. (1 K, 1 dec)x6 (12)
94. 12 P
Finally, bind off the remaining stitches. Then sew the body together using the same yarn, making sure the seam is neat and even. Begin by sewing the section between the legs, and then work your way upward from the bottom.
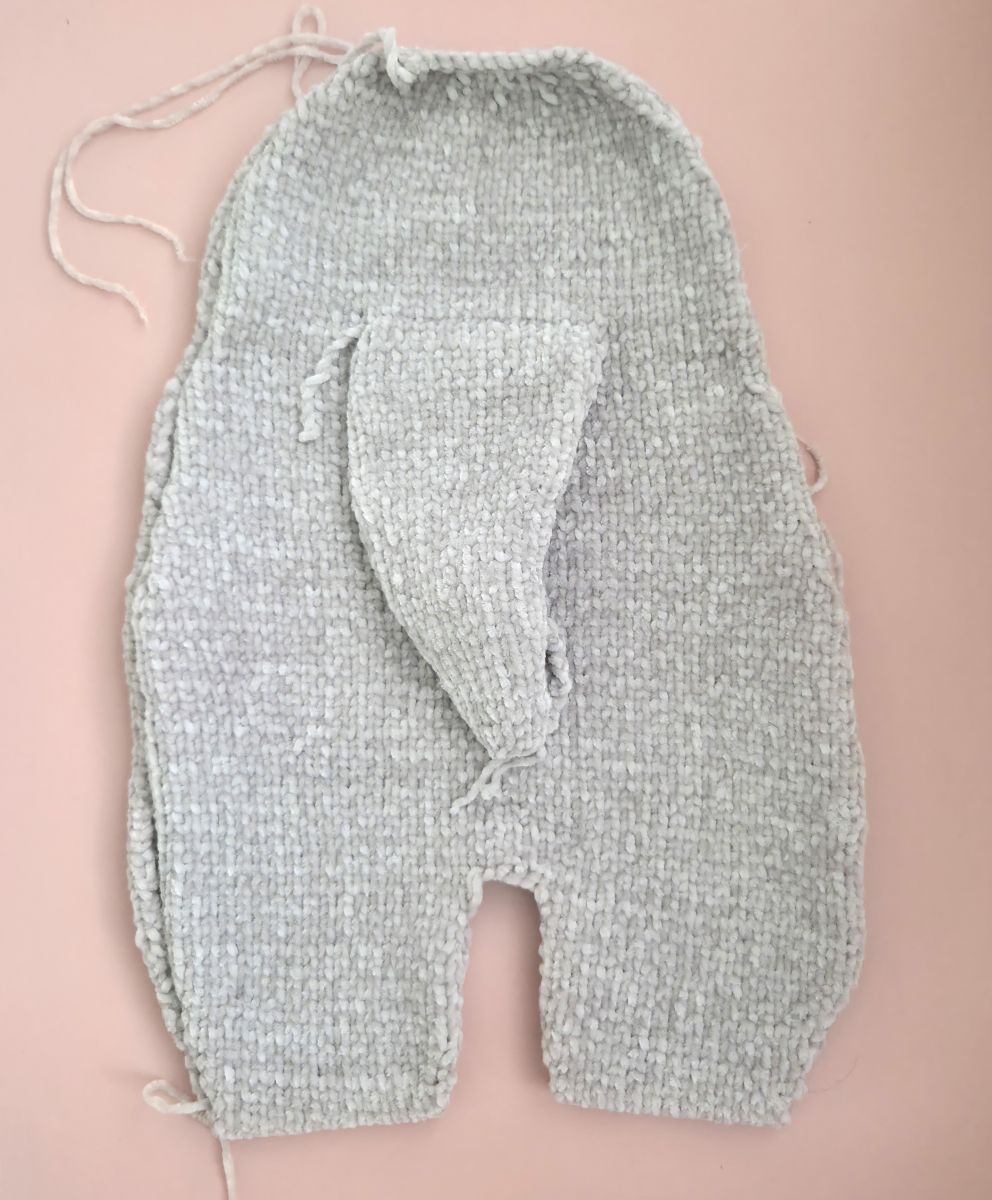
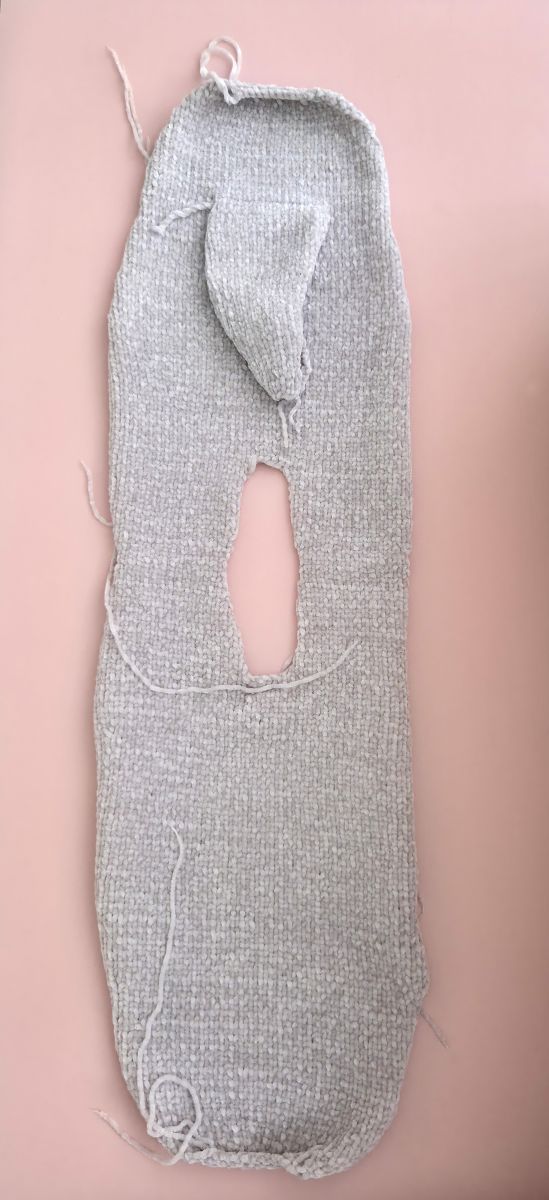
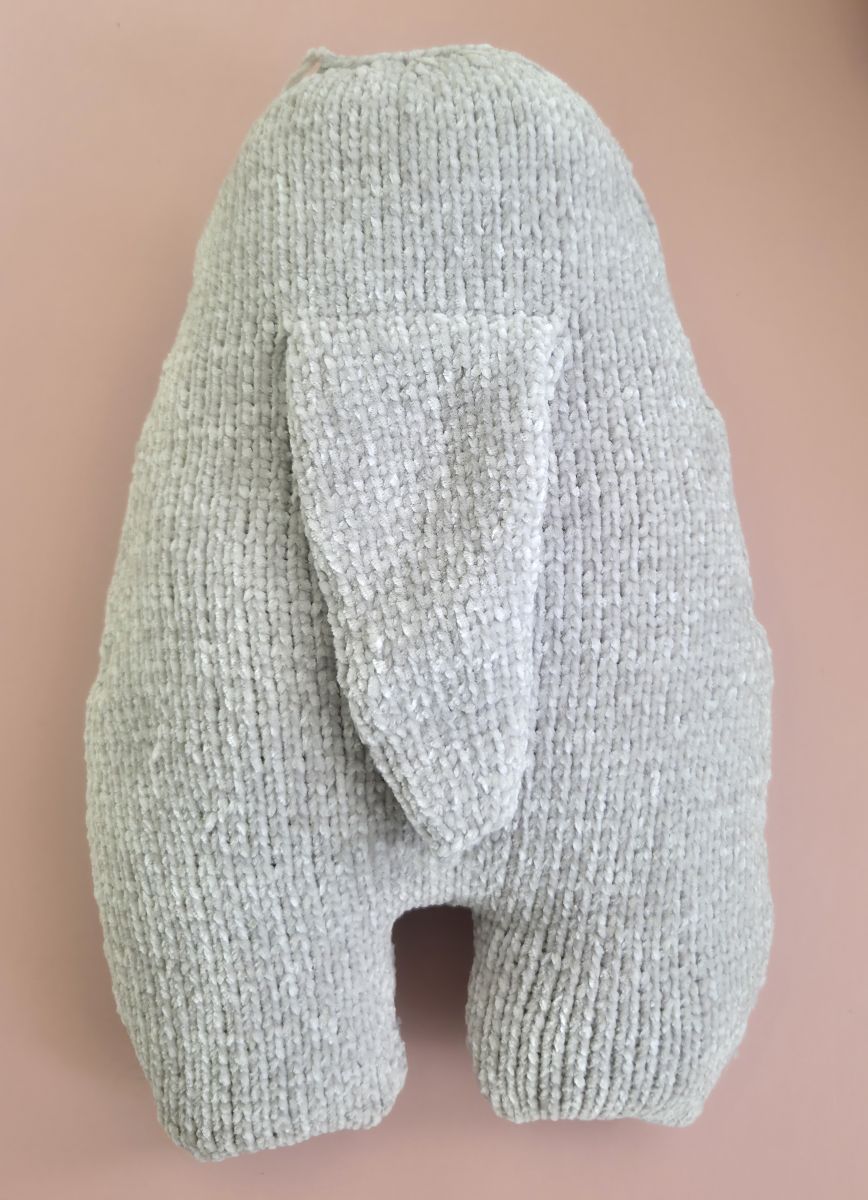
As you sew, gradually stuff the body with fiberfill so it keeps an even shape. Be careful not to overstuff, as the elephant is meant to remain relatively flat and resemble a pillow. Since I wanted a flat elephant, I knitted the body in two separate pieces.
At the top of the head, leave a small opening unsewn for now so you can insert the safety eyes.
Ears
Cast on 18 stitches (ch) onto the knitting needle. Make sure the stitches are evenly stretched while knitting to ensure your knitted piece is nice and even.
1. 18 P
2. 18 K
3. 18 P
4. 1 K, 1 inc, 14 K, 1 inc, 1 K (20)
5. 20 P
6. 1 K, 1 inc, 16 K, 1 inc, 1 K (22)
7. 22 P
8. 1 K, 1 inc, 18 K, 1 inc, 1 K (24)
9. 24 P
10. 24 K
11. 24 P
12. 1 K, 1 inc, 20 K, 1 inc, 1 K (26)
13. 26 P
14. 26 K
15. 26 P
16. 1 K, 1 inc, 22 K, 1 inc, 1 K (28)
17. 28 P
18. 28 K
19. 28 P
20. 28 K
21. 28 P
22. 1 K, 1 inc, 24 K, 1 inc, 1 K (30)
23. 30 P
24. 30 K
25. 30 P
26. 1 K, 1 inc, 26 K, 1 inc, 1 K (32)
27. 32 P
28. 32 K
29. 32 P
30. 1 K, 1 inc, 28 K, 1 inc, 1 K (34)
31. 34 P
32. 34 K
33. 34 P
34. 1 K, 1 inc, 30 K, 1 inc, 1 K (36)
Knit a total of 15 rows in stockinette stitch:
On the front side of the work, knit all stitches across the row.
On the back side of the work, purl all stitches across the row.
35. 37. 39. - 36 P
36. 38. – 36 K
40. 1 K, 1 dec, 30 K, 1 dec, 1 K (34)
41. 34 P
42. 34 K
43. 34 P
44. 1 K, 1 dec, 28 K, 1 dec, 1 K (32)
45. 32 P
46. 32 K
47. 32 K
48. 1 K, 1 dec, 26 K, 1 dec, 1 K (30)
49. 30 P
50. 30 K
51. 30 P
52. 30 K
53. 30 P
54. 1 K, 1 dec, 24 K, 1 dec, 1 K (28)
55. 28 P
56. 28 K
57. 28 P
58. 1 K, 1 dec, 22 K, 1 dec, 1 K (26)
59. 26 P
60. 26 K
61. 26 P
62. 1 K, 1 dec, 20 K, 1 dec, 1 K (24)
63. 24 P
64. 1 K, 1 dec, 18 K, 1 dec, 1 K (22)
65. 22 P
66. 1 K, 1 dec, 16 K, 1 dec, 1 K (20)
67. 20 P
68. 1 K, 1 dec, 14 K, 1 dec, 1 K (18)
69. 18 P
70. 18 K
71. 18 P
Finally, bind off the remaining stitches. Next, fold the ears in half and sew them together along the edge using the same yarn. Do not add any stuffing so the ears remain flat.
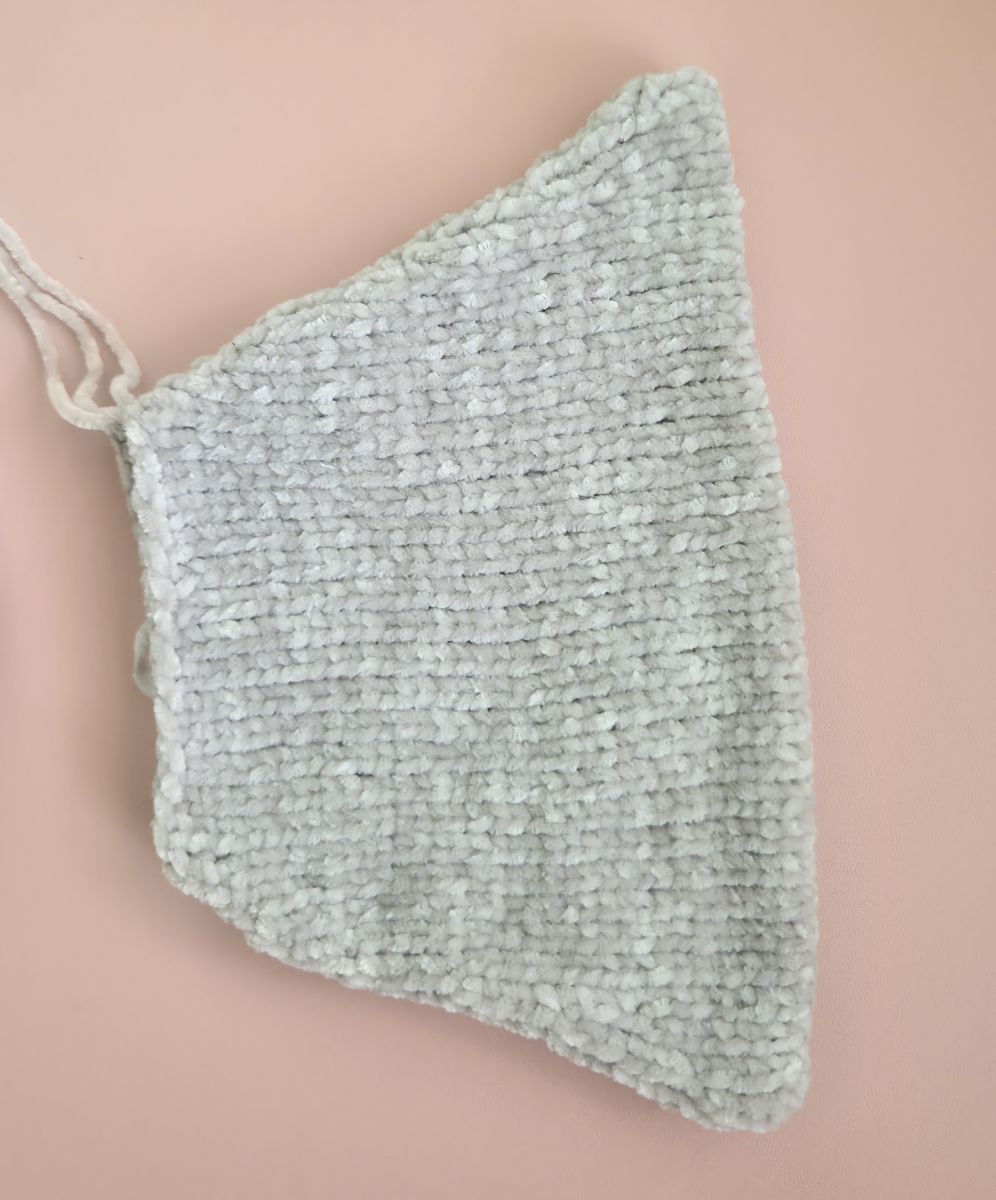
Sew the finished ears to the top of the body—one on the left and one on the right—positioned directly along the body seam. Make sure both ears are placed symmetrically and aligned evenly.
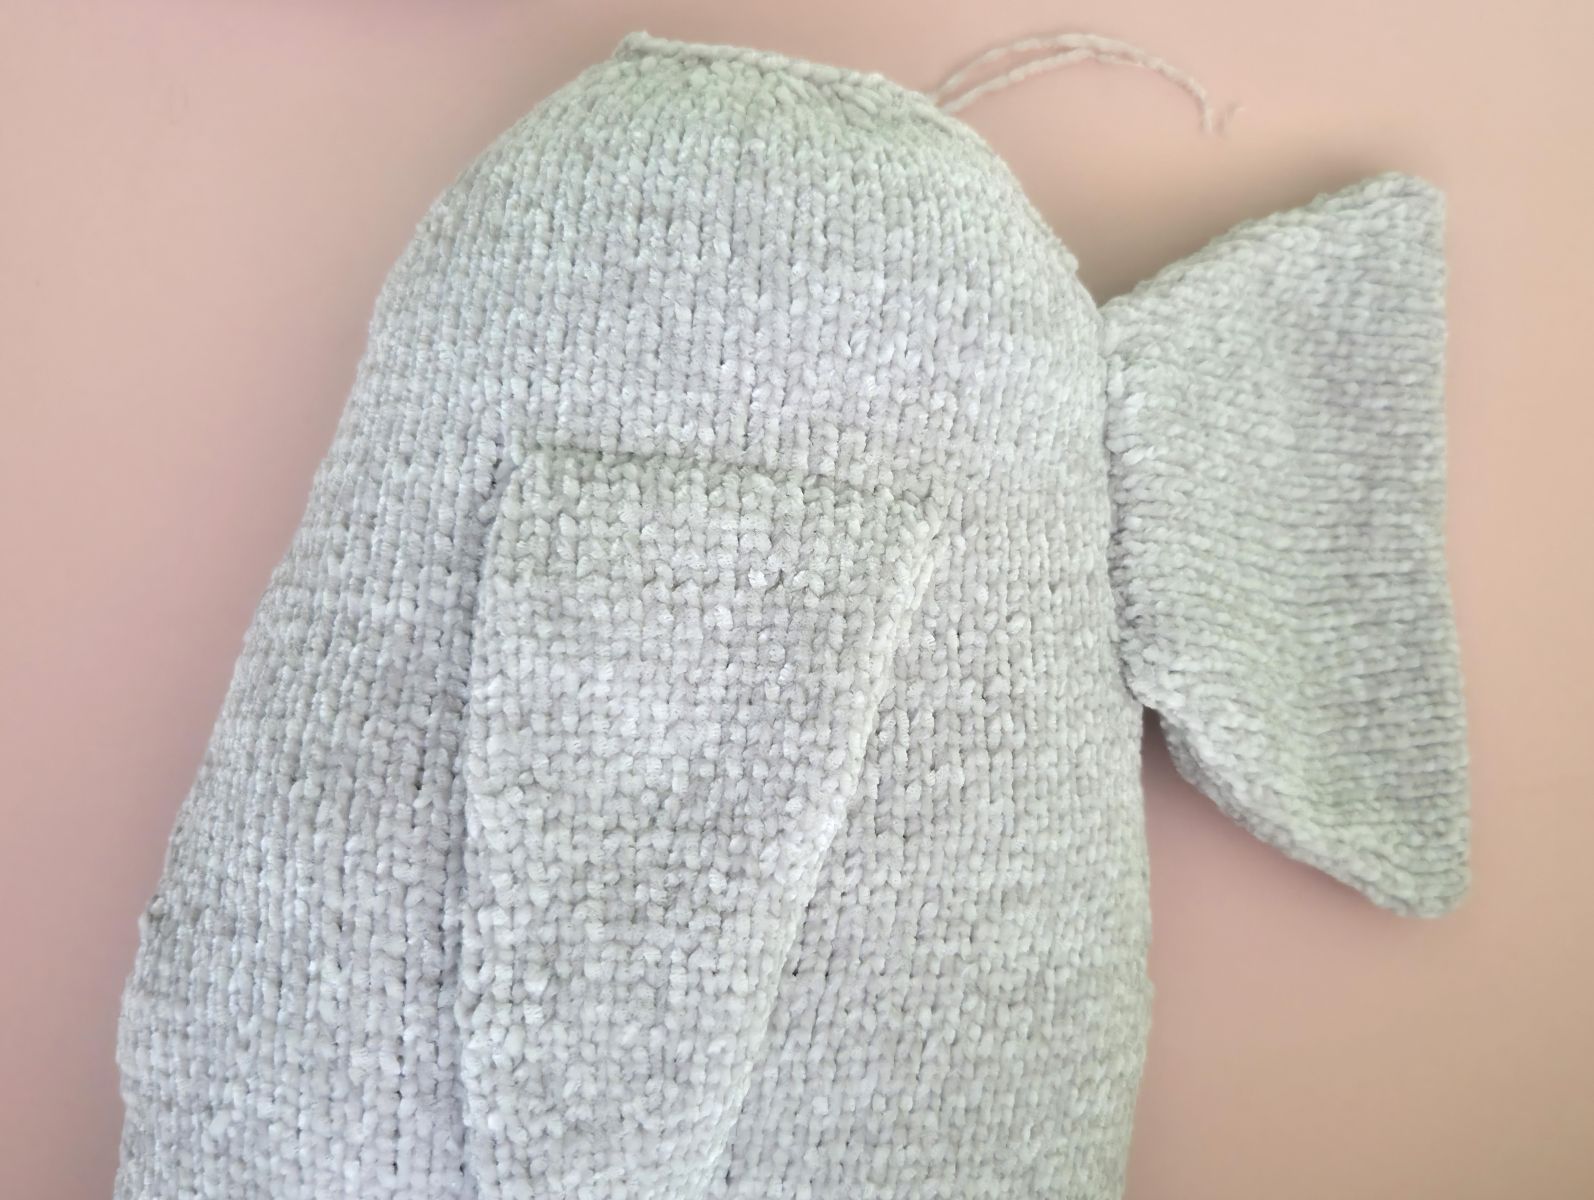
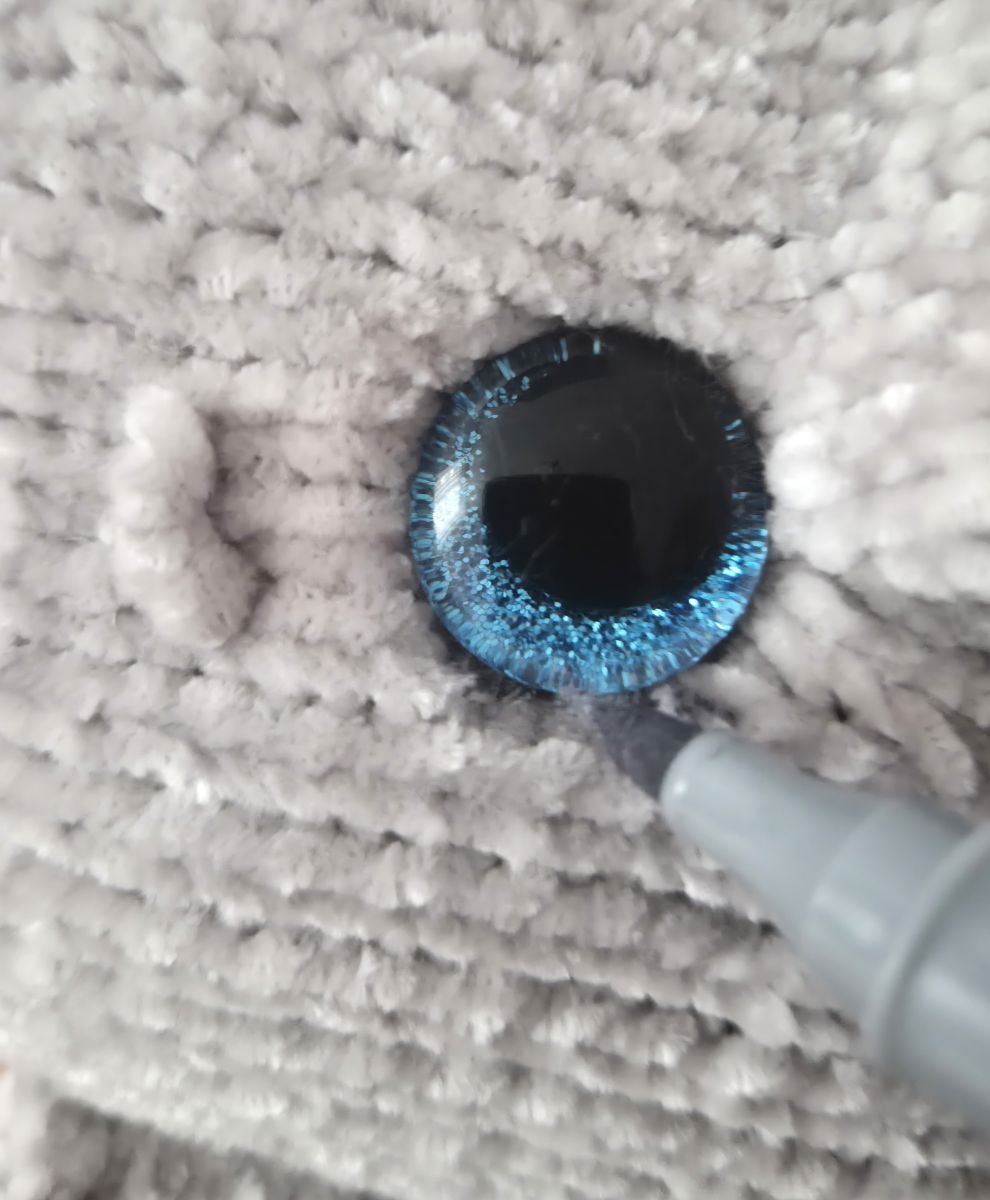
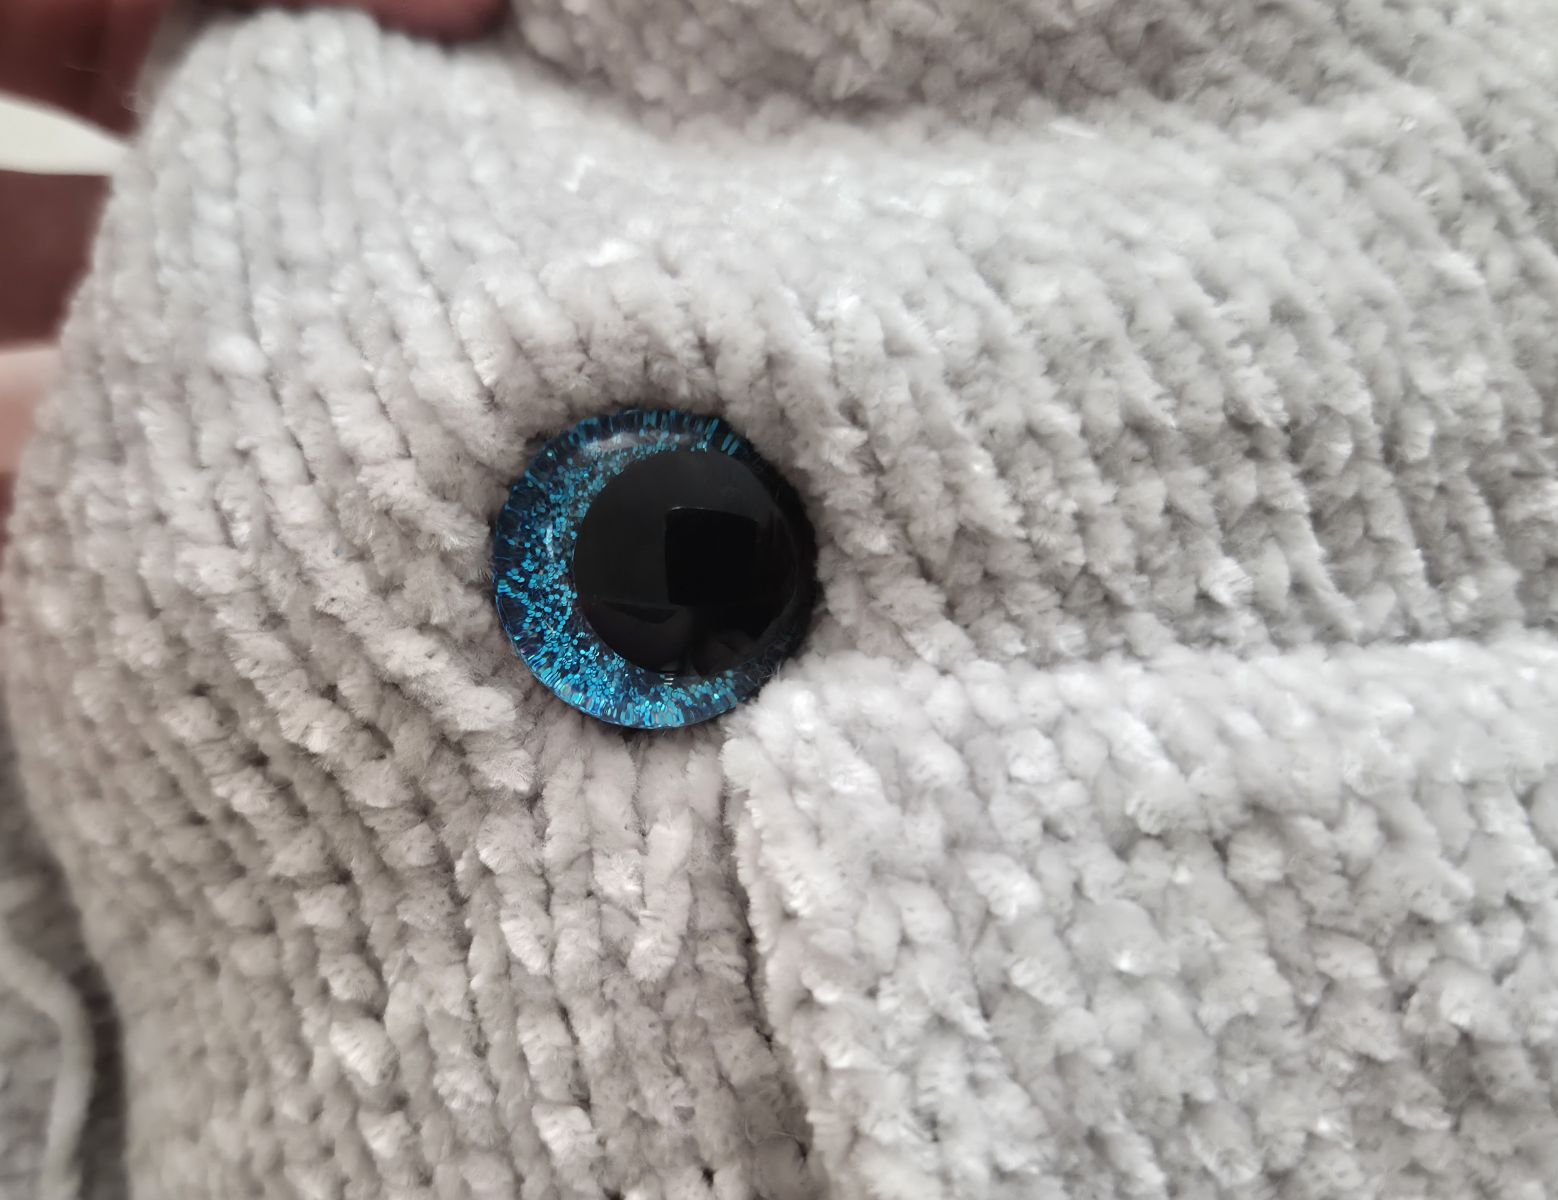
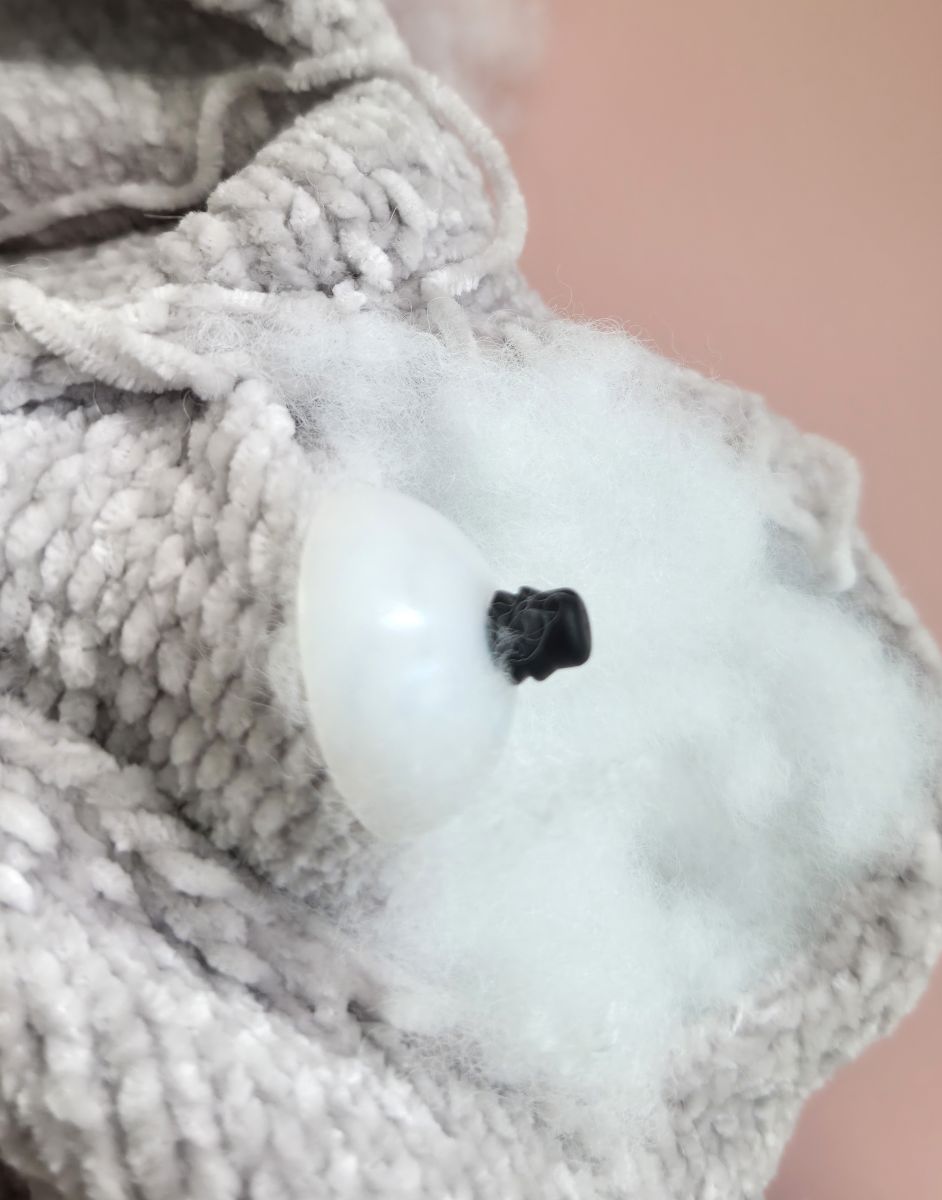
I used safety eyes with a rim. A particularly nice feature of this type is that, once attached, the eyes sink slightly into the knitted fabric. This effect is created by both the reinforced rim of the eye and the semi‑circular washer on the inside, which gently presses the eye into the material. This ensures a secure fit without needing to create indentations beforehand.
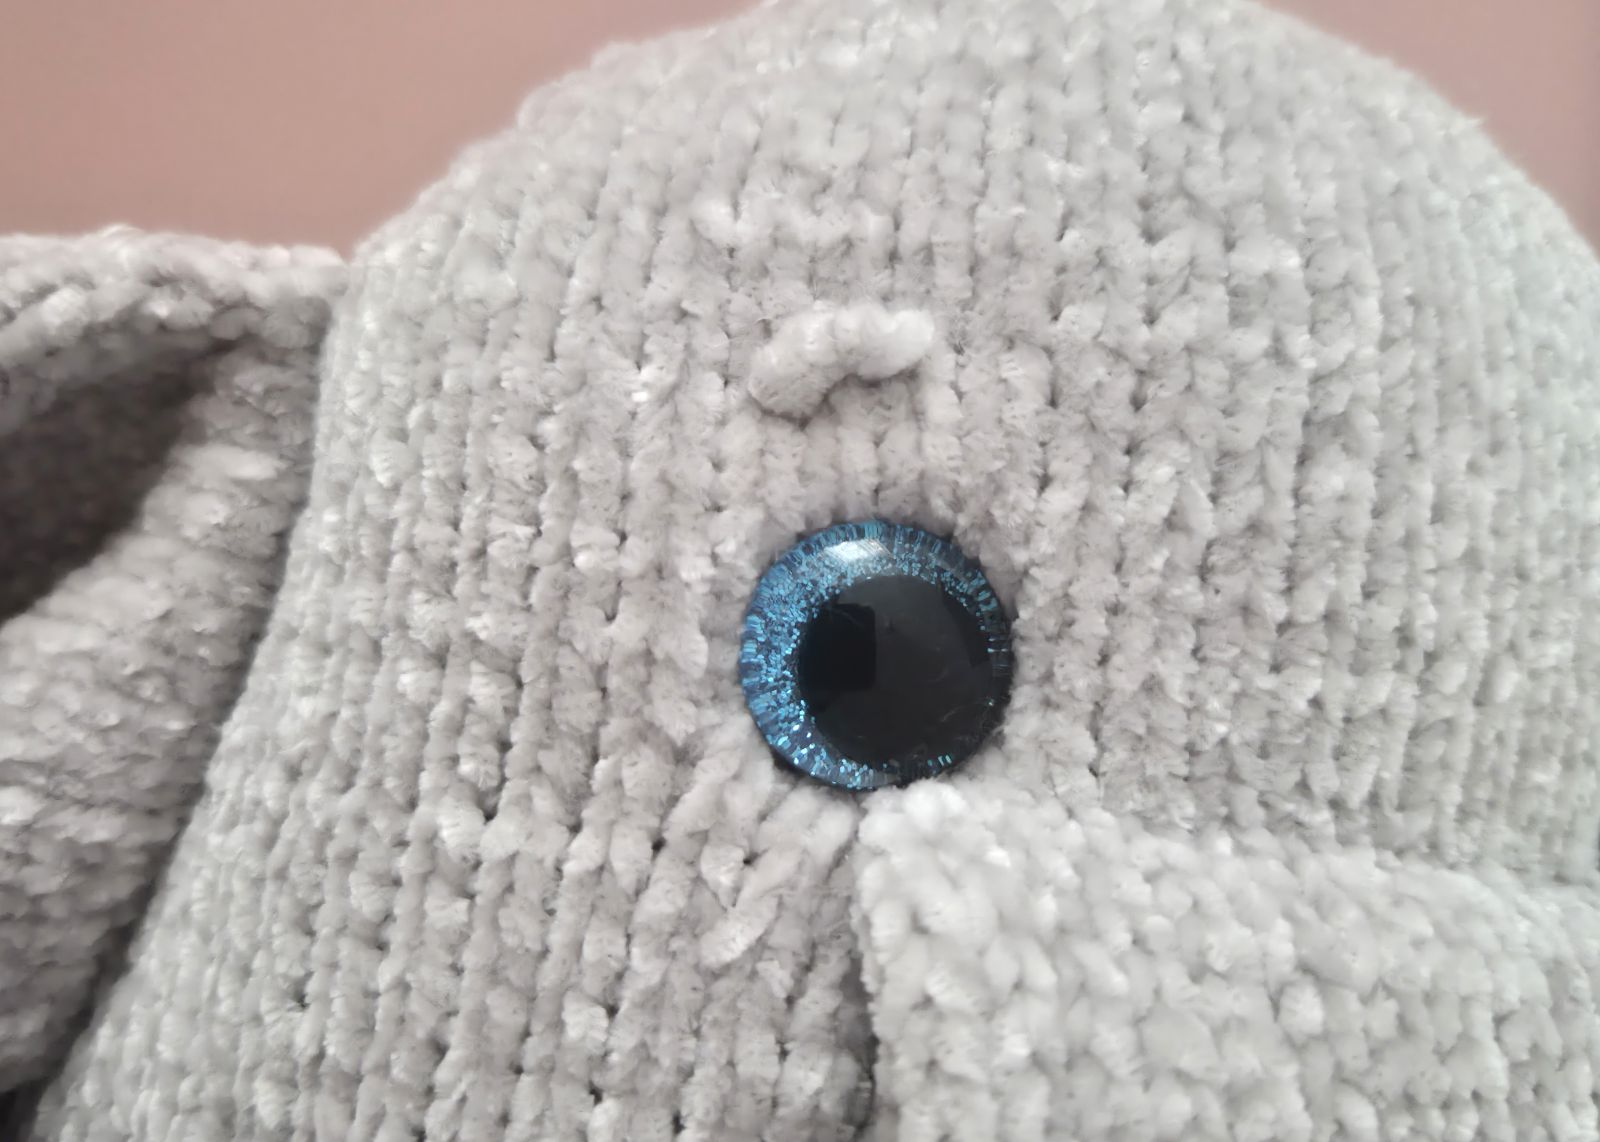
Carefully insert the safety eyes through the stitches in Round 74, directly next to the nose, and secure them on the inside with the matching washer. Afterward, check thoroughly that the eyes are firmly attached and cannot be pulled out or loosened during play. Loose eyes pose a safety risk for children, so extra care is essential here.
To embroider the eyebrows.
Vorelegs
Cast on 28 stitches (ch) onto the knitting needle. Make sure the stitches are evenly stretched while knitting to ensure your knitted piece is nice and even.
Knit a total of 9 rows in stockinette stitch:
On the front side of the work, knit all stitches across the row.
On the back side of the work, purl all stitches across the row.
1. 3. 5. 7. 9.– 28 P
2. 4. 6. 8.– 28 K
10. 12 K, 1 dec, 12 K, 1 dec (26)
11. 26 P
12. 26 K
13. 26 P
14. 26 K
15. 26 P
16. 11 K, 1 dec, 11 K, 1 dec (24)
Knit a total of 7 rows in stockinette stitch:
On the front side of the work, knit all stitches across the row.
On the back side of the work, purl all stitches across the row.
17. 19. 21. 23. – 24 P
18. 20. 22. – 24 K
Finally, the remaining stitches are bound off. Next, place the vorelegs together and sew them along the edge using the same yarn. The legs are lightly stuffed.
Afterward, sew the vorelegs to the sides of the body, one on the left and one on the right, positioned along the side seams.
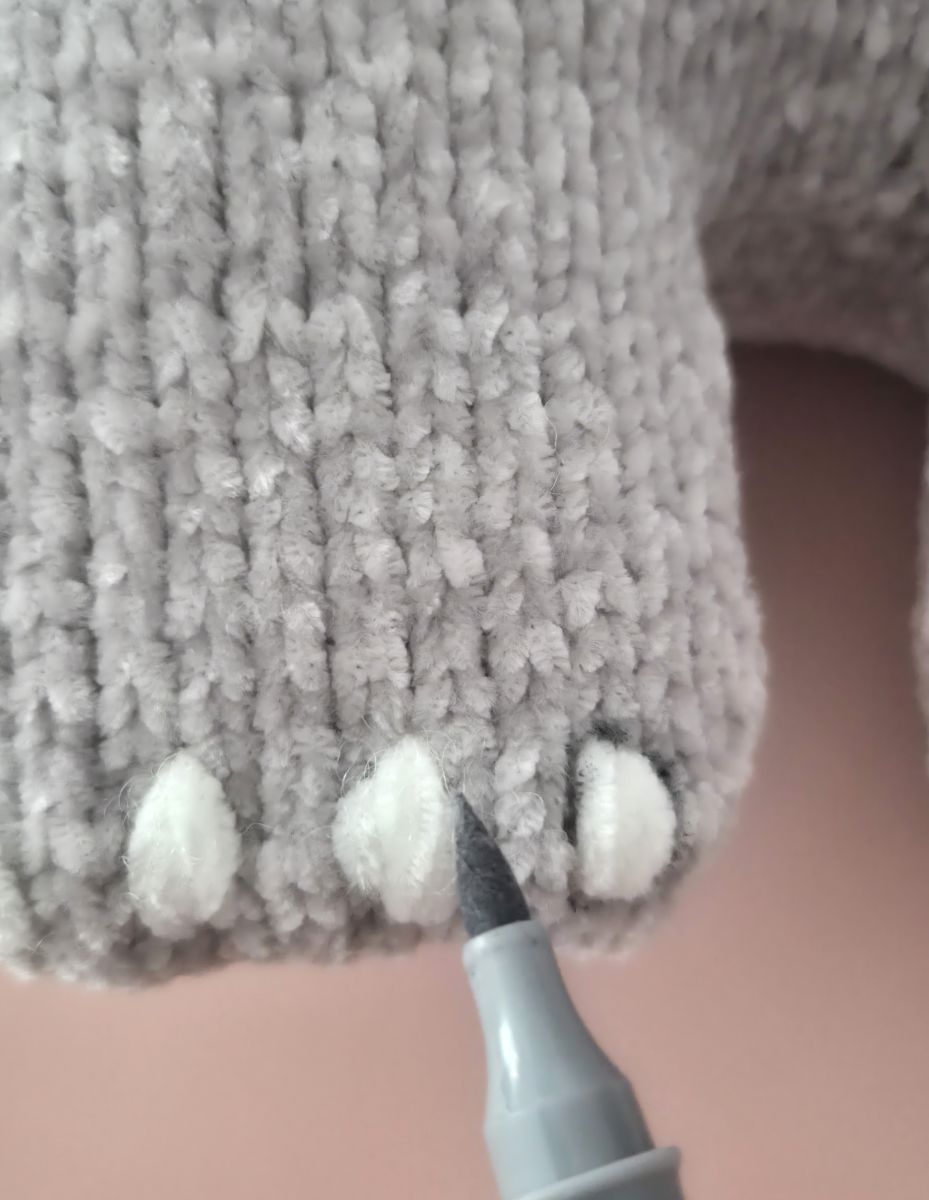
Optionally, the toes can be embroidered onto the legs using white yarn. Work four toes on each leg.
Belly (white)
Cast on 12 stitches (ch) onto the knitting needle. Make sure the stitches are evenly stretched while knitting to ensure your knitted piece is nice and even.
1. 12 P
2. (2 K, 1 inc)x 4 (16)
3. 16 P
4. (3 K, 1 inc)x 4 (20)
5. 20 P
6. 20 K
7. 20 P
8. (4 K, 1 inc)x 4 (24)
Knit a total of 11 rows in stockinette stitch:
On the front side of the work, knit all stitches across the row.
On the back side of the work, purl all stitches across the row.
9. 11. 13. 15. 17. 19. - 24 P
10. 12. 14. 16. 18. – 24 K
20. (4 K, 1 dec)x 4 (20)
21. 20 P
22. 20 K
23. 20 P
24. (3 K, 1 dec)x 4 (16)
25. 16 P
26. (2 K, 1 dec)x 4 (12)
27. 12 P
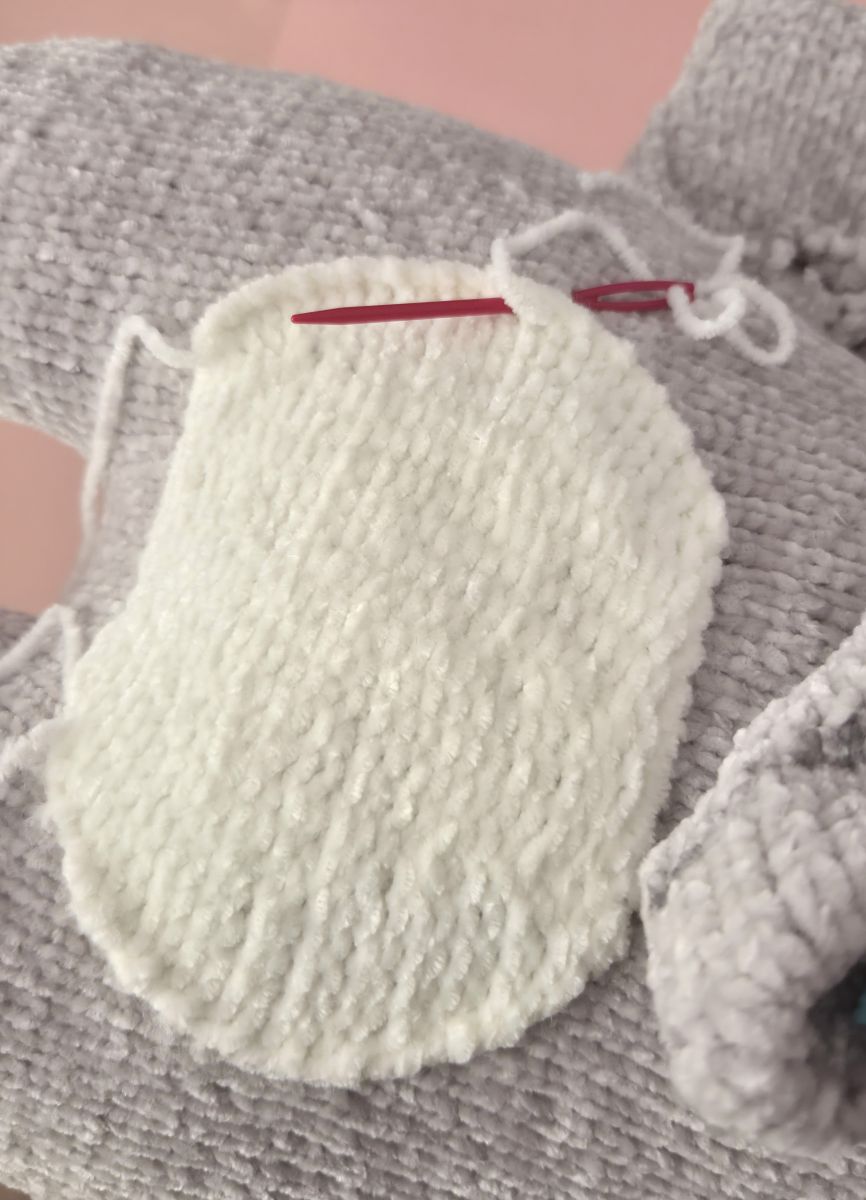
Bind off the stitches, leaving a long tail for sewing. I sewed the belly onto the left side. You can, of course, attach it to the right side instead; however, I personally find that placing it on the left gives the elephant a slightly more charming expression.
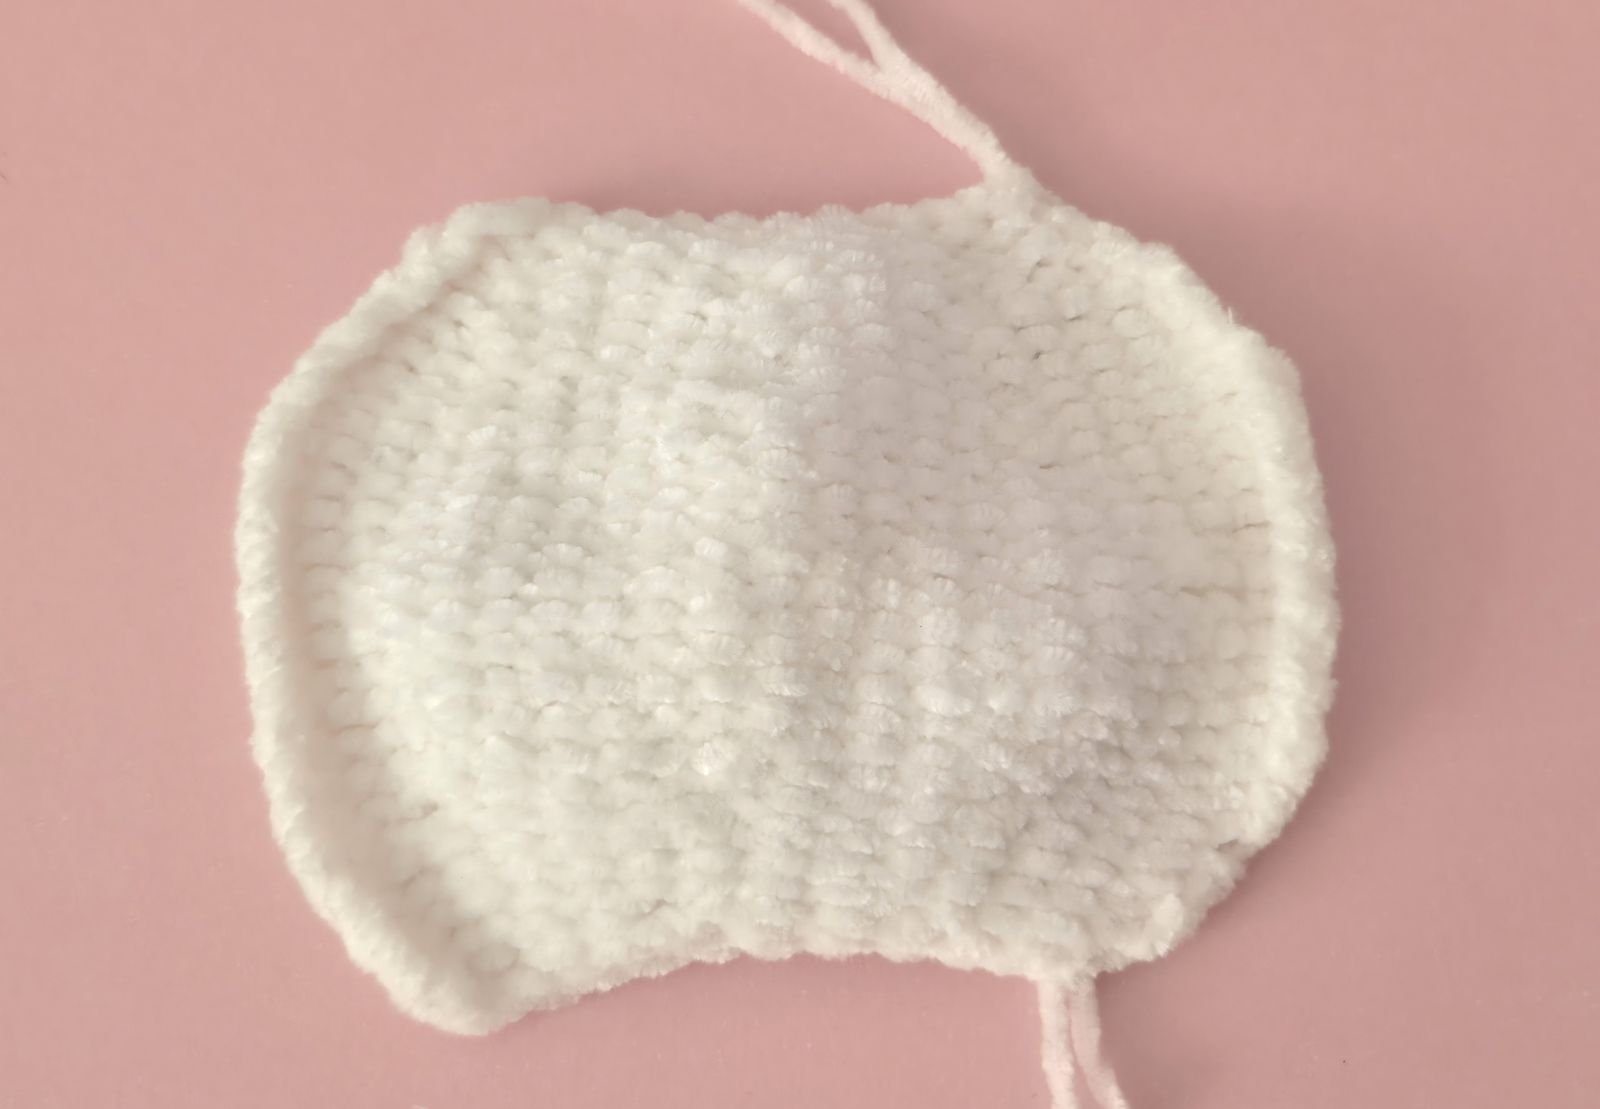
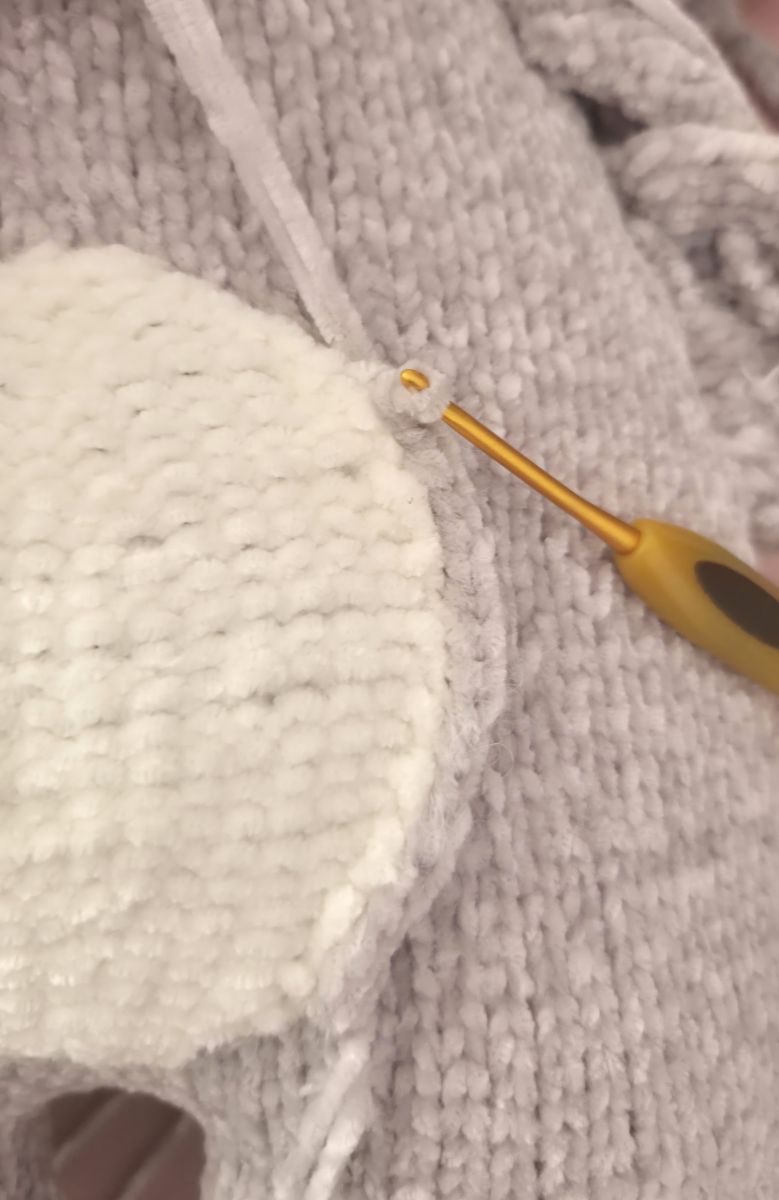
Finally, I decided to crochet a border all around the belly so that it appears as a seamless. To do this, I used a crochet hook and worked slip stitches all the way around. The technique is simple: insert the hook under the stitches, pull the yarn through, and continue working stitch by stitch. The only important thing is to ensure that the slip stitches look even and form a smooth, neat edge.
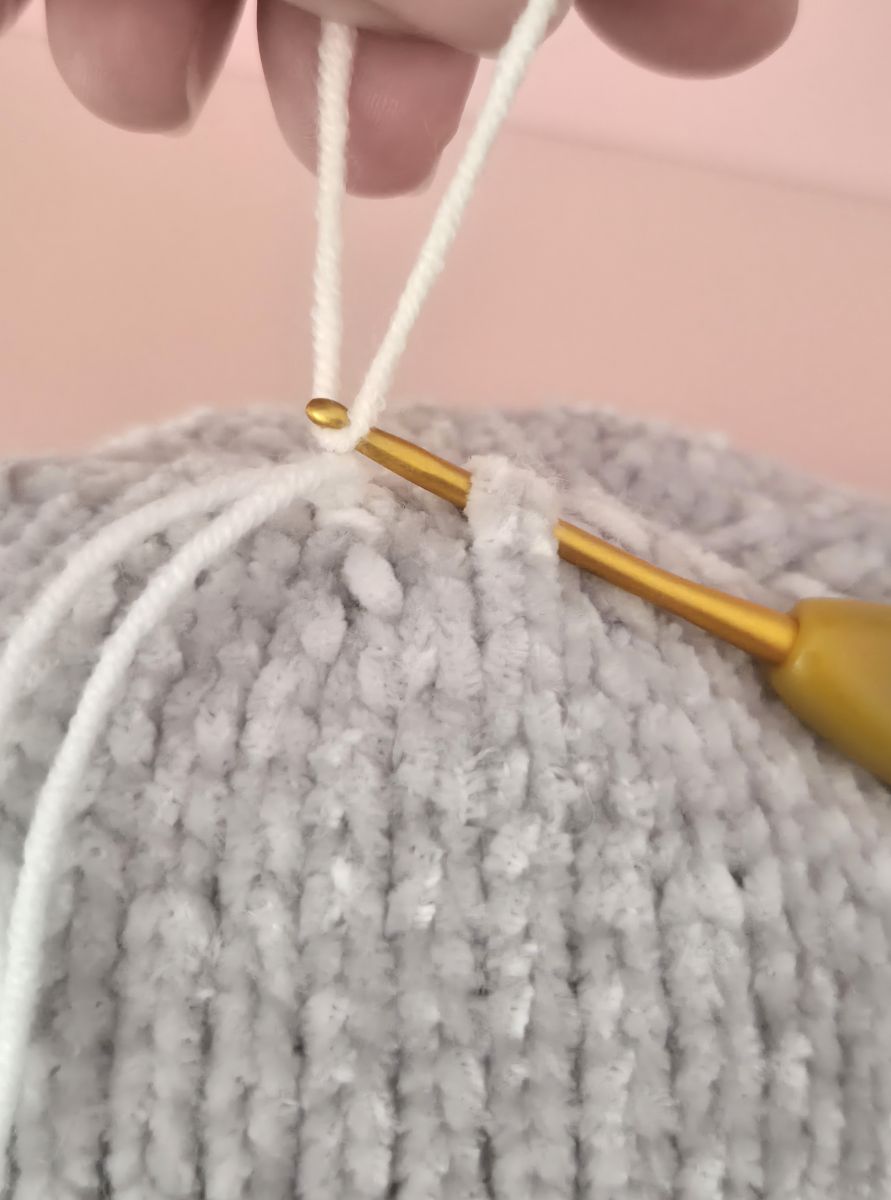
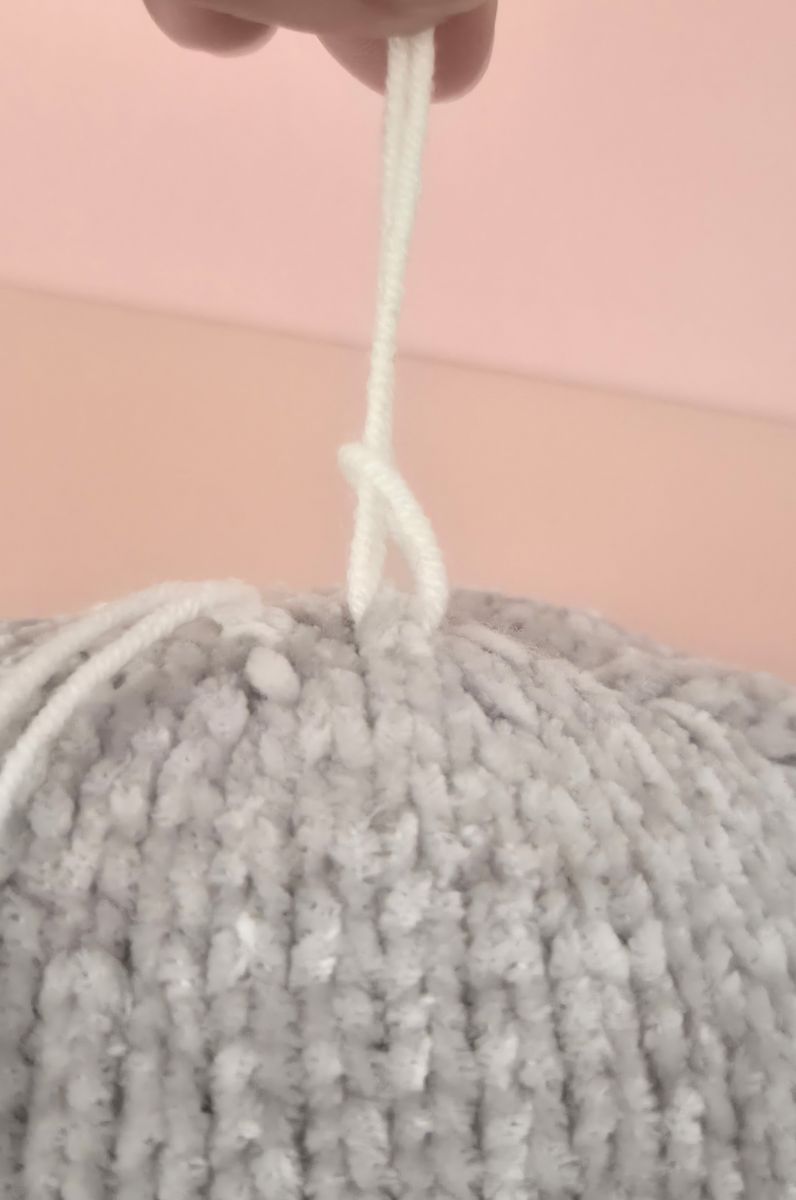
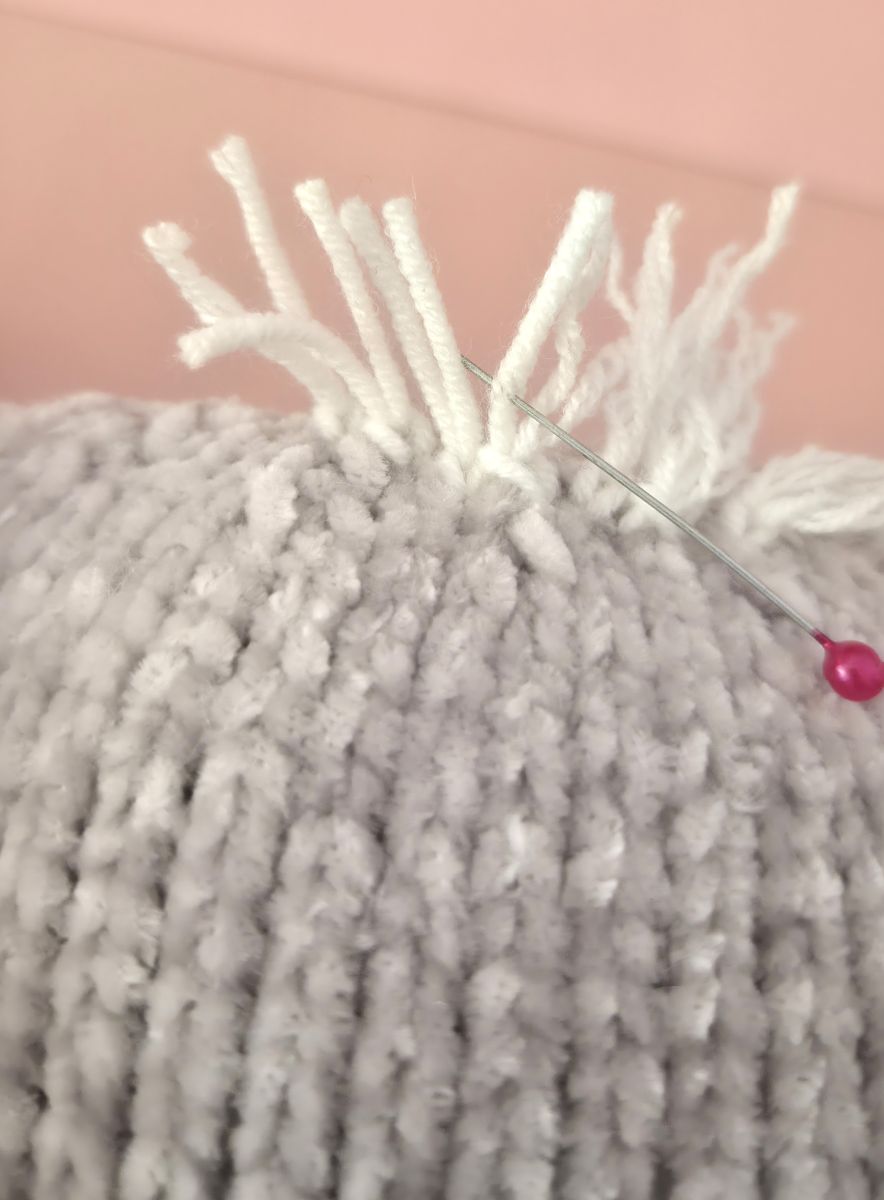
If desired, you can also add hair to the elephant. For the hair, I used cotton yarn, cut it into short strands, and attached them to the top of the head.
To do this, insert your crochet hook under a stitch, pull the yarn through, pass both ends through the resulting loop, and pull them tight. This creates a secure attachment.
Afterward, you can use a thin needle to gently fluff up the individual strands.
Elephant Tail
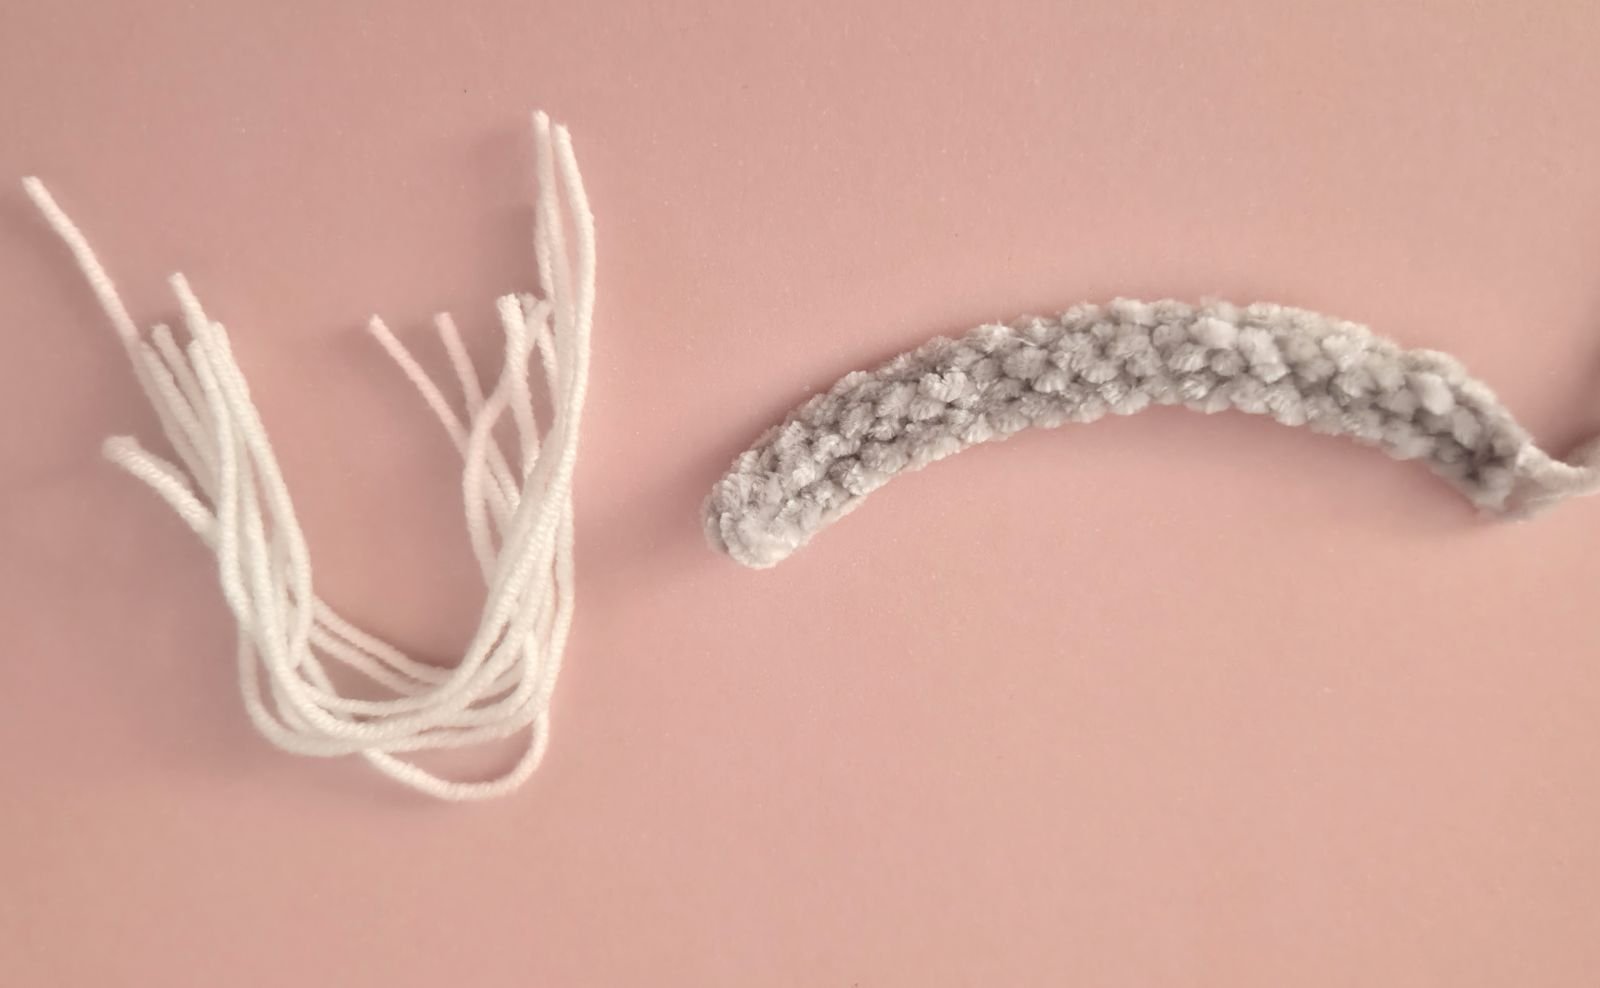
For the tail, cast on 21 chain stitches using your knitting needle.
1. Knit 21 stitches. Then bind off the stitches and securely fasten the yarn.
For the tip of the tail, I used the same method as for the hair: I threaded several short strands of cotton yarn through the end and then fluffed them out.
I added a bit of extra expression to the toes and eyes. To do this, I used a waterproof fabric marker to apply subtle shading.