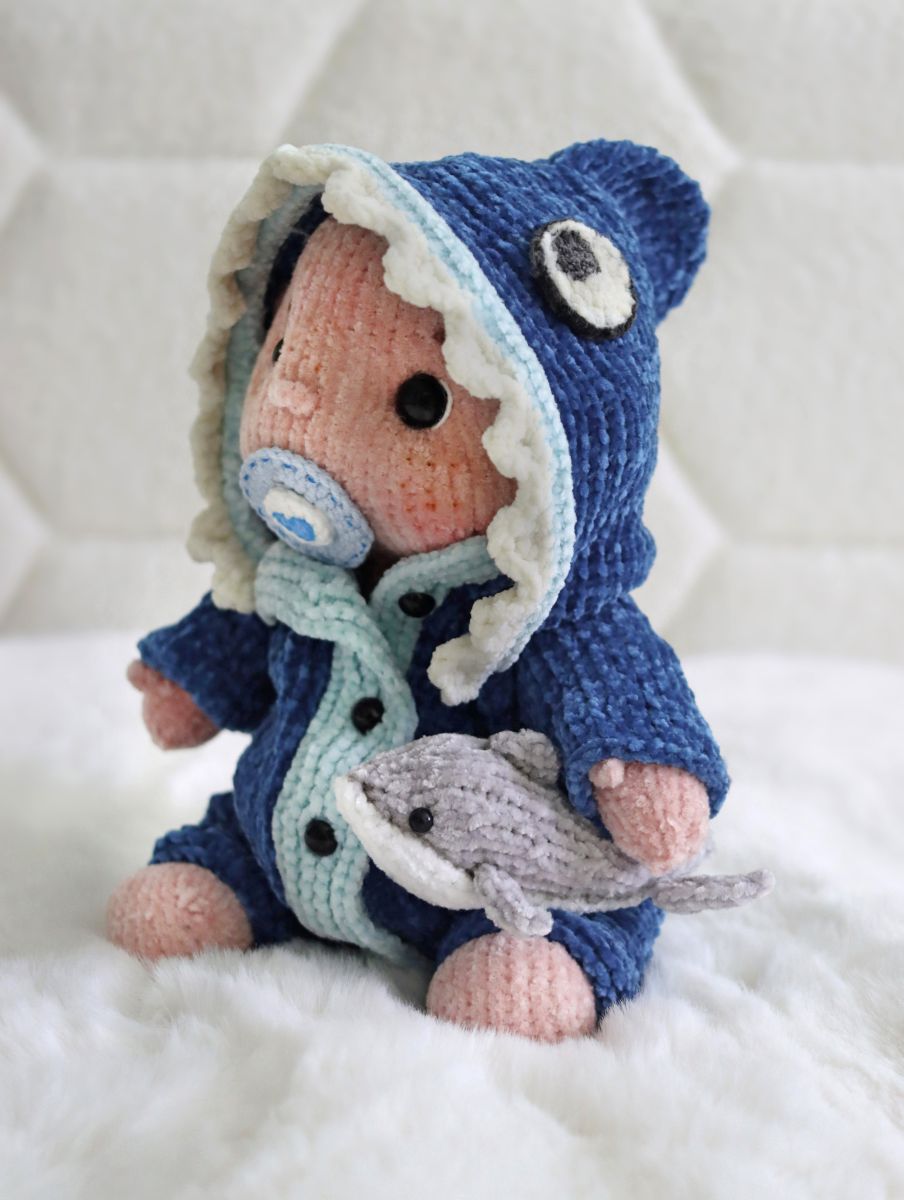
Baby Shark Jumpsuit
.jpeg)
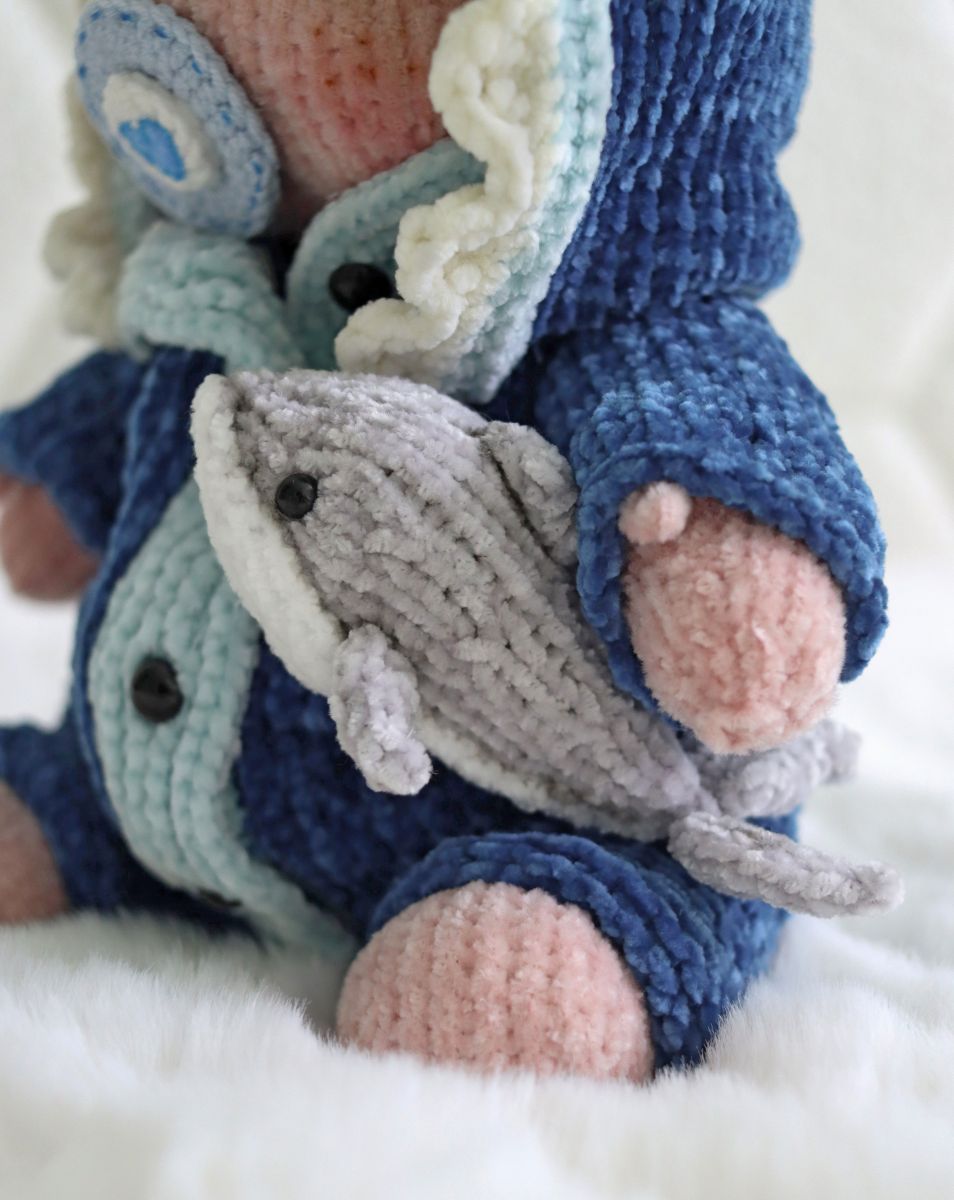
Hello everyone, after the knitted baby arrived at its little owner’s home, the question quickly came up whether it could have a few more outfits. At the little princess’s request, I knitted another onesie — this time in a shark design.
Today I’d like to share the pattern with you.
I recommend trying the onesie on the doll from time to time to check the fit. Since we all use different yarns, the onesie may turn out slightly too small or too big. This is very easy to adjust: simply add or remove a few stitches at the front, middle, and back. The pattern is very simple and does not change if you slightly adjust the stitch count.
If you’d like, you can send me your stitch count — I’m always happy to help you quickly adapt the pattern to your size.
The jumpsuit is suitable for dolls approximately 25–30 cm tall.
All pieces are knitted using two straight knitting needles.
For the raglan shaping, the following applies:
- Row 1 – knit stitches Work the first row from front to back in knit stitches.
- Row 2 – purl stitches Work every stitch of the row purlwise.
Continue alternating knit and purl rows in this way.
The odd‑numbered rows (Row 1, Row 3, Row 5, …) are knit rows, and the even‑numbered rows (Row 2, Row 4, Row 6, …) are purl rows.
Materials You Will Need
- Yarn for the clothing: Blue – 50 g, Light Blue – 20 g (Rico Ricorumi Nilli Nilli)
- Yarn for the dolphin: Grey – approx. 10 g, White – approx. 5 g (Rico Ricorumi Nilli Nilli)
- Knitting needles: 2.5 mm for the clothing
- Crochet hook: 2.5 mm, plus cable needles or a piece of yarn
- Notions: 1 extra‑long sewing needle, black fabric marker, buttons
Abbreviations:
CH – Chain(s)
inc – increase
dec – decrease
X dec – X- times decrease
X inc – X- times increase
ST – Stitch
P – purl
K– knit (garter stitch)
Reglan from top:
Cast on 34 CH,
1. 5 K, ( 3 K in one stitch), 5 K, ( 3 K in one stitch) , 10 K, ( 3 K in one stitch), 5 K, ( 3 K in one stitch) , 5 K
2. 42 P
3. 5 K, ( 1 inc , 1 K, 1 inc), 5 K, ( 1 inc , 1 K, 1 inc), 10 K, ( 1 inc , 1 K, 1 inc), 5 K, ( 1 inc , 1 K, 1 inc), 5 K
4. 50 P
5. 6 K, ( 1 inc , 1 K, 1 inc), 7 K, ( 1 inc , 1 K, 1 inc), 12 K, ( 1 inc , 1 K, 1 inc), 7K, ( 1 inc , 1 K, 1 inc), 6 K,
6. 58 P
7. 7 K, ( 1 inc , 1 K, 1 inc), 9 K, ( 1 inc , 1 K, 1 inc), 14 K, ( 1 inc , 1 K, 1 inc) 9 K, ( 1 inc , 1 K, 1 inc), 7 K
8. 66 P
9. 8 K, ( 1 inc , 1 K, 1 inc), 11 K, ( 1 inc , 1 K, 1 inc), 16 K ( 1 inc , 1 K, 1 inc), 11 K, ( 1 inc , 1 K, 1 inc), 8 K
10. 74 P
11. 9 K, ( 1 inc , 1 K, 1 inc), 13 K, ( 1 inc , 1 K, 1 inc), 18 K, ( 1 inc , 1 K, 1 inc), 13 K, ( 1 inc , 1 K, 1 inc), 9 K
12. 82 P
13. 10 K, ( 1 inc , 1 K, 1 inc), 15 K, ( 1 inc , 1 K, 1 inc), 20 K, ( 1 inc , 1 K, 1 inc), 15 K, ( 1 inc , 1 K, 1 inc), 10 K
14. 90 P
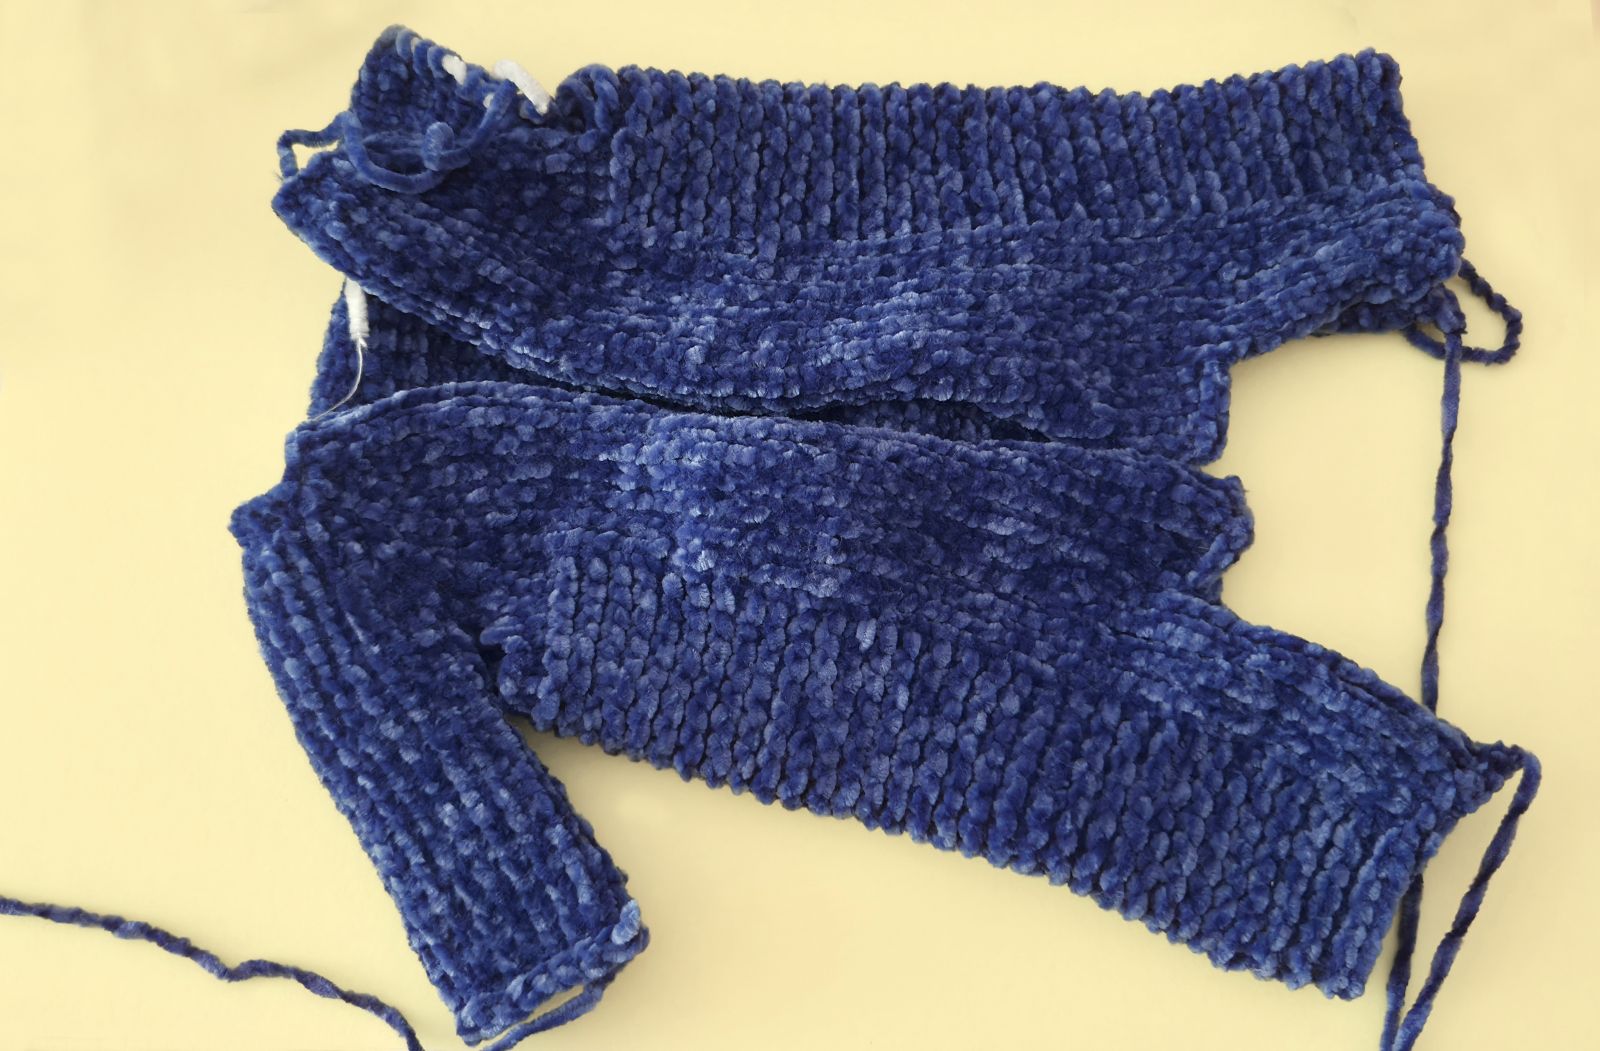
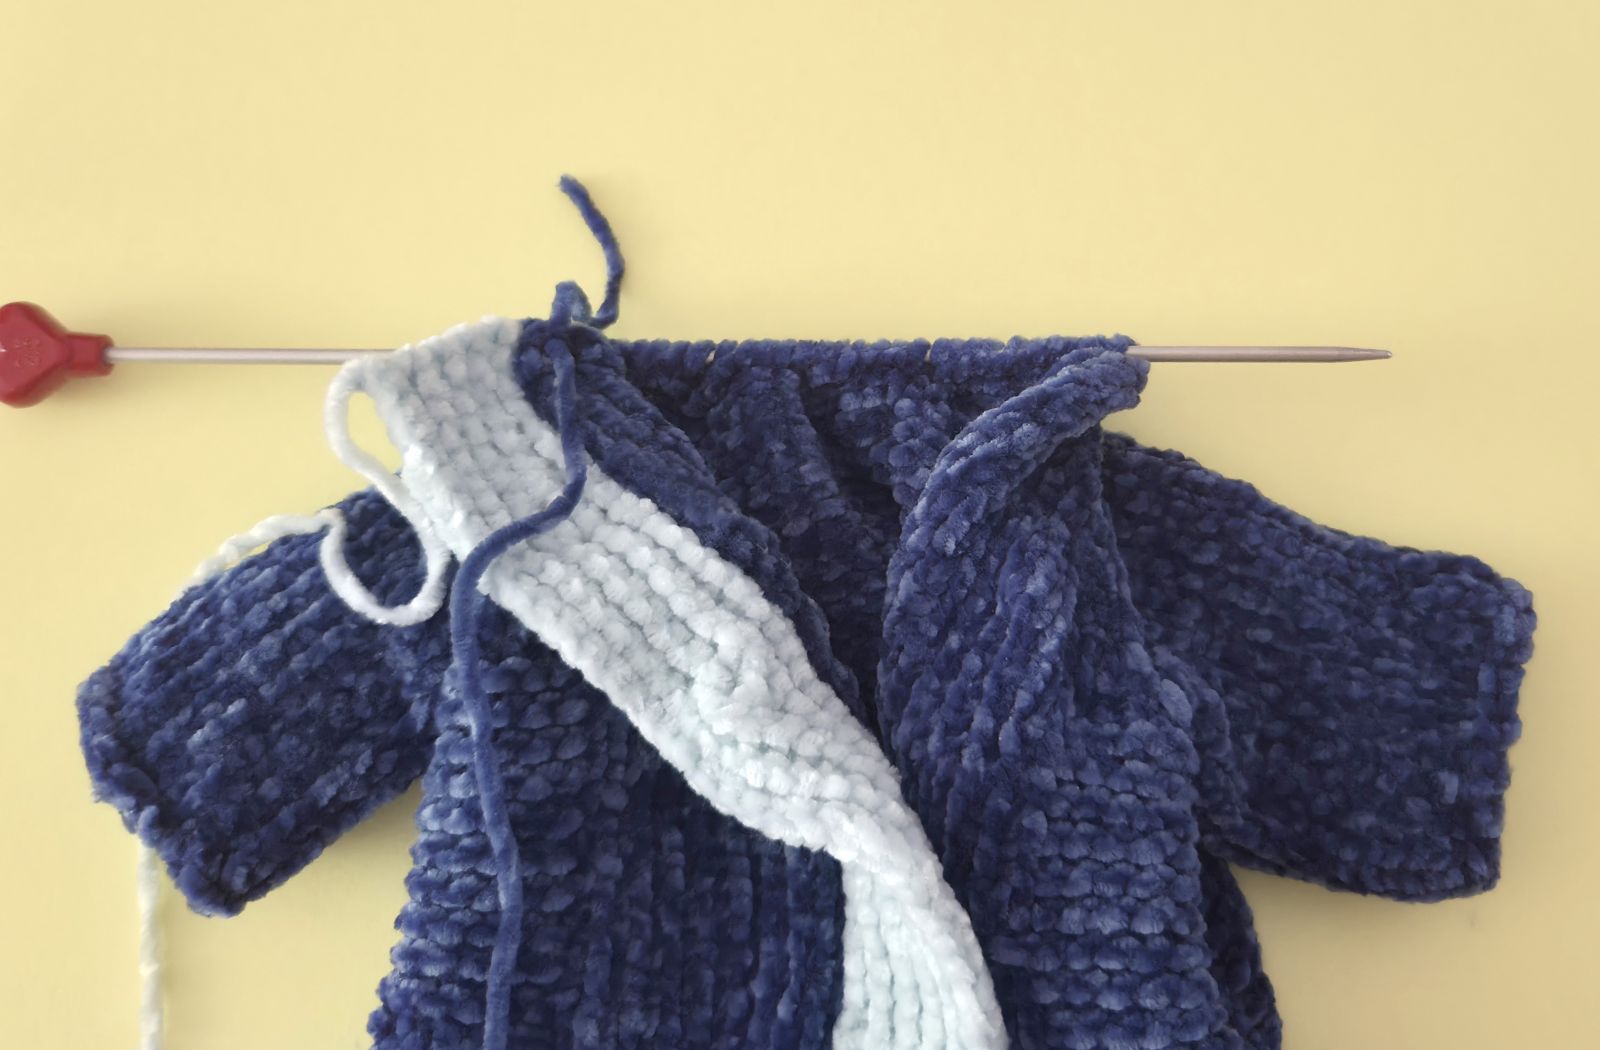
15. 14 K, 17 st on to a cable thread ( Sleeve), cast 5 ch, 28 K , 17 st on to a cable thread ( Sleeve), cast 5 ch, 14 K (42)
16. 66 P
17. 66 K
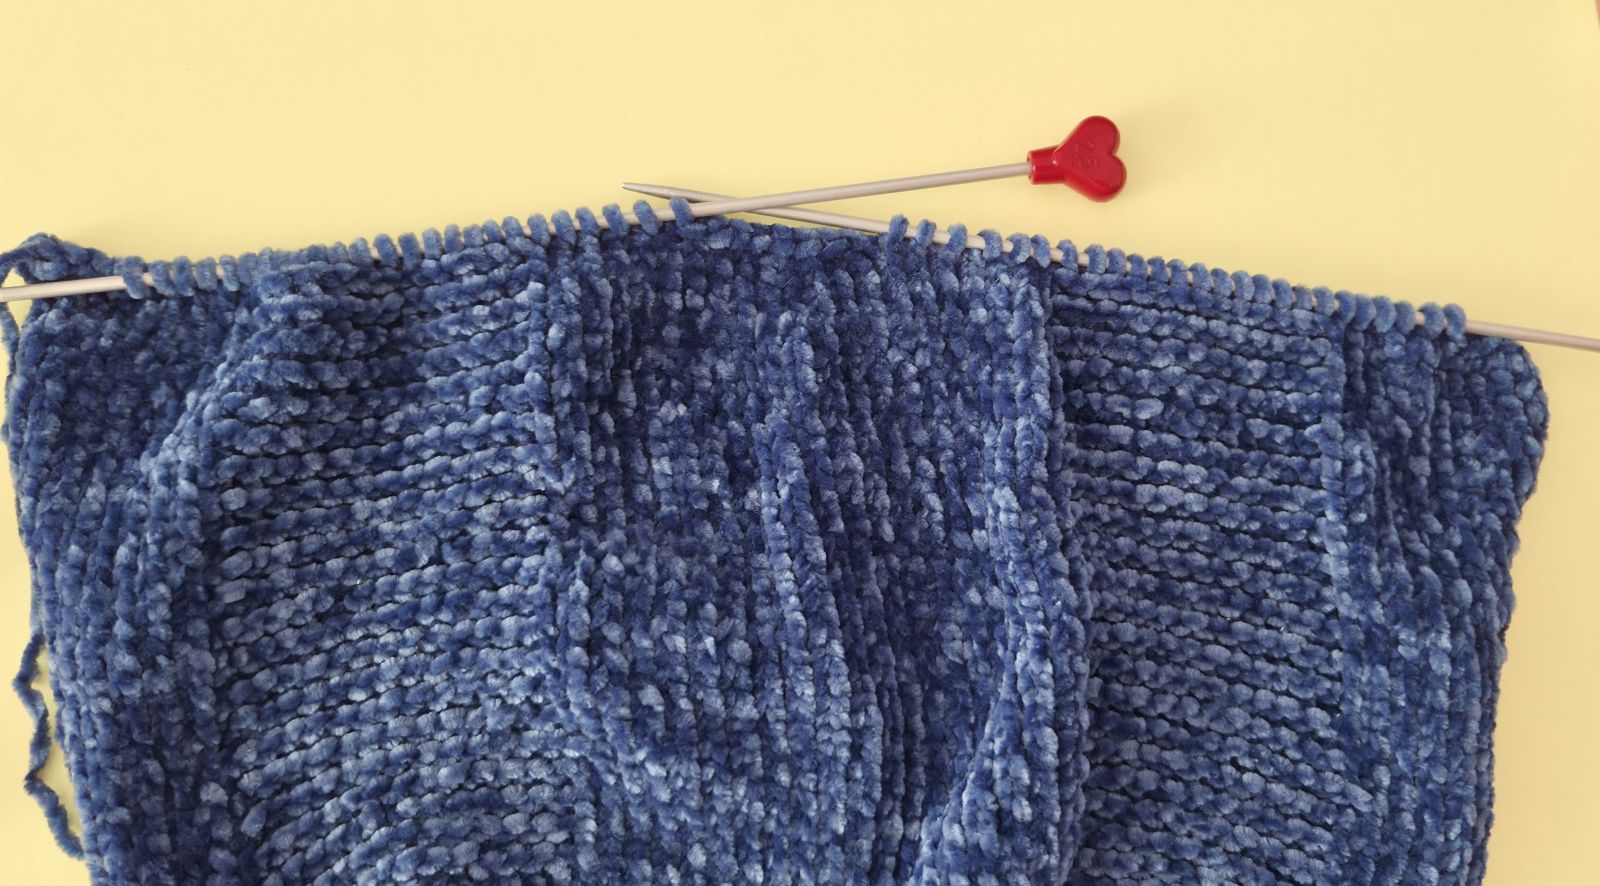
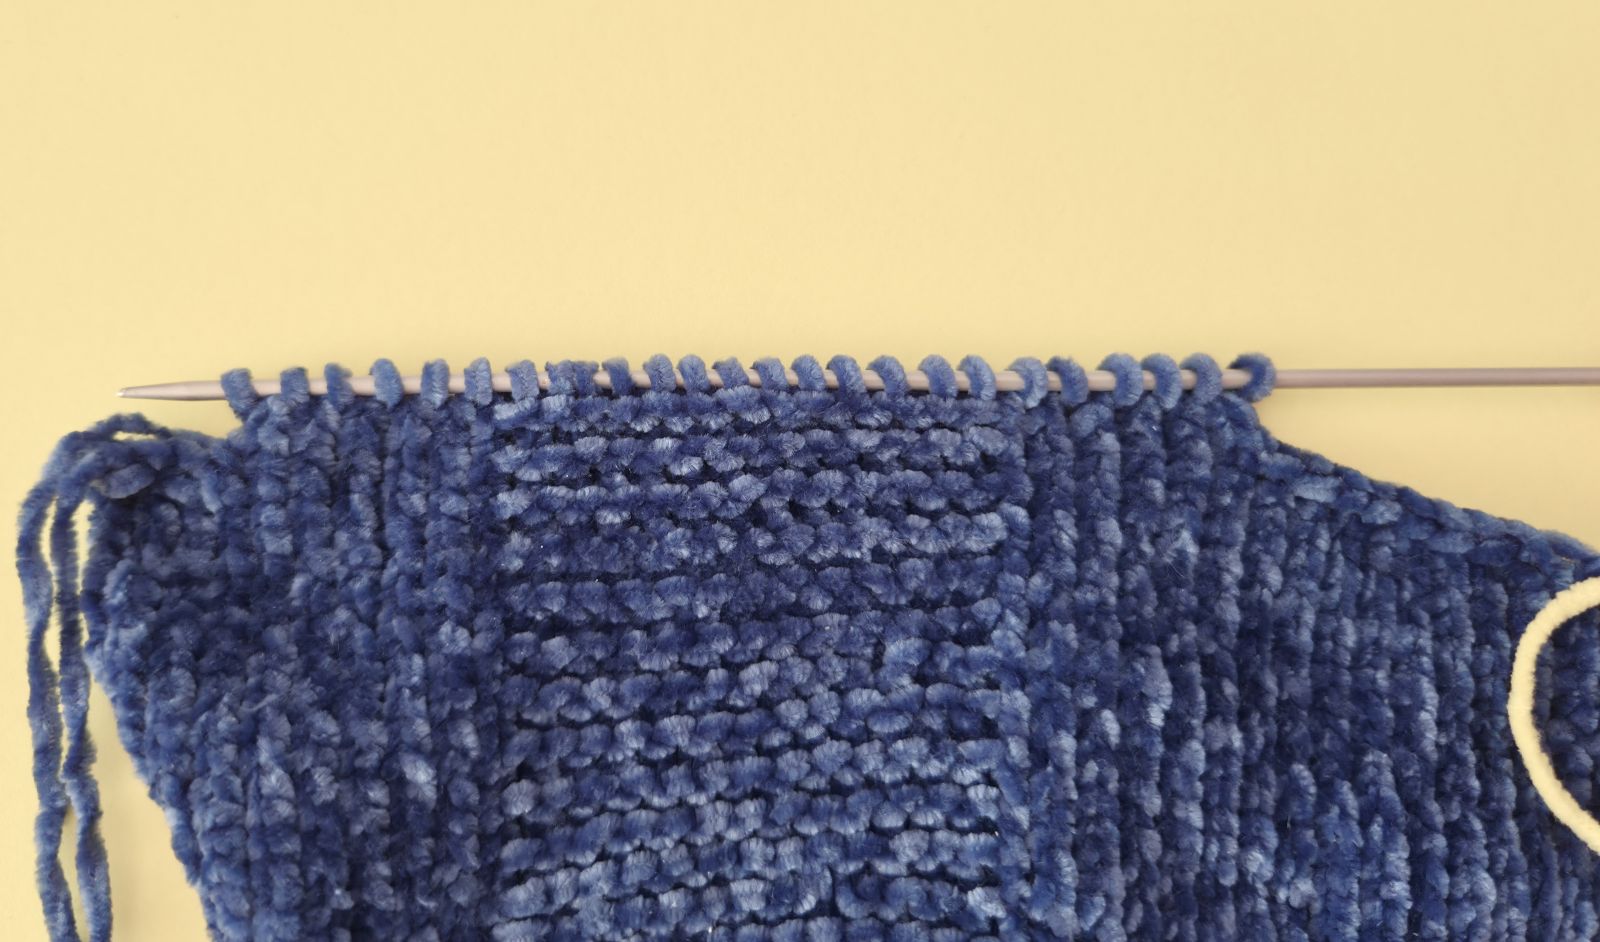
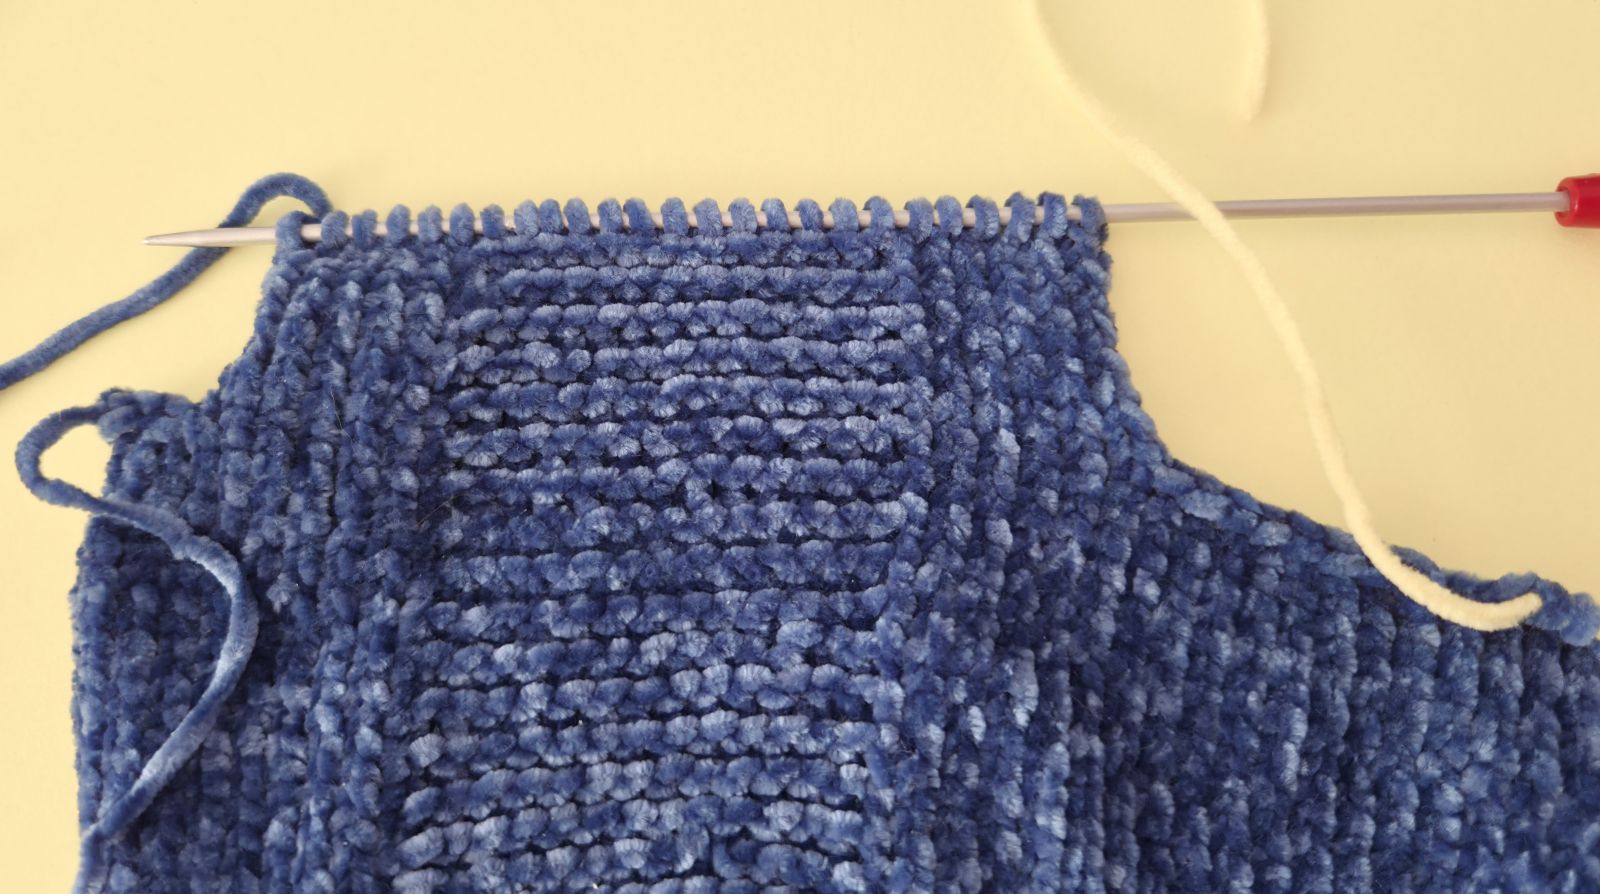
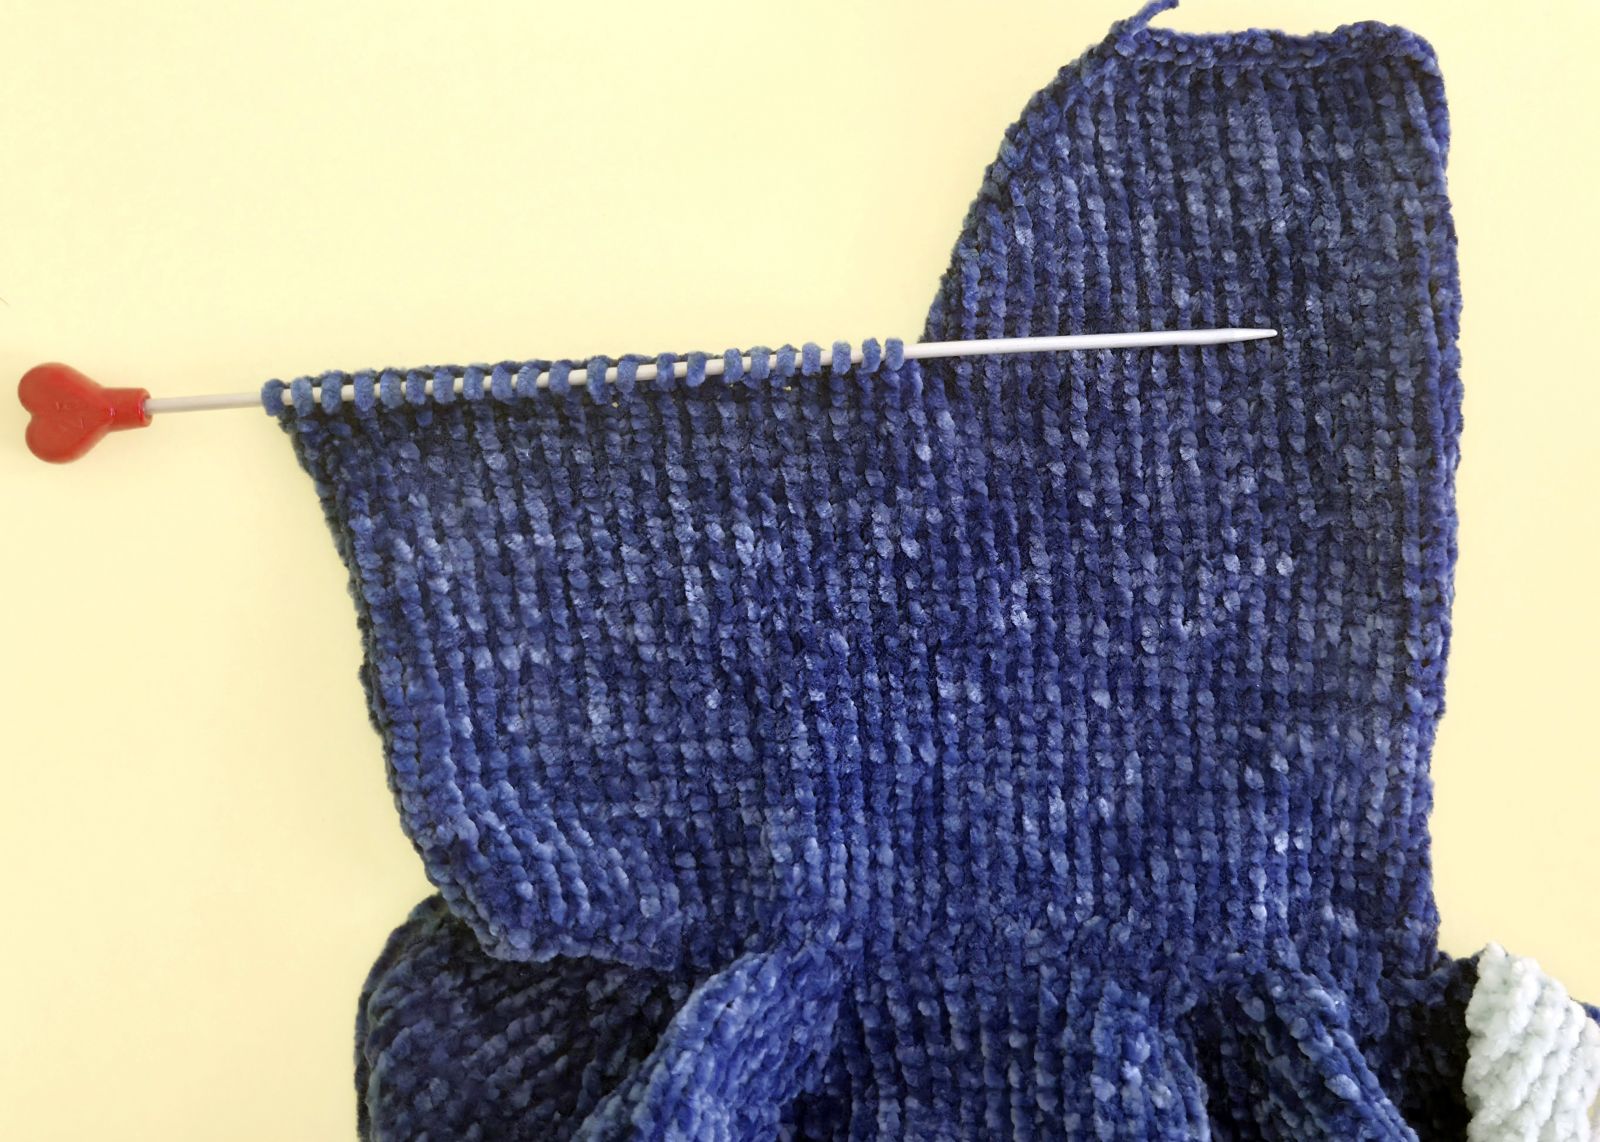
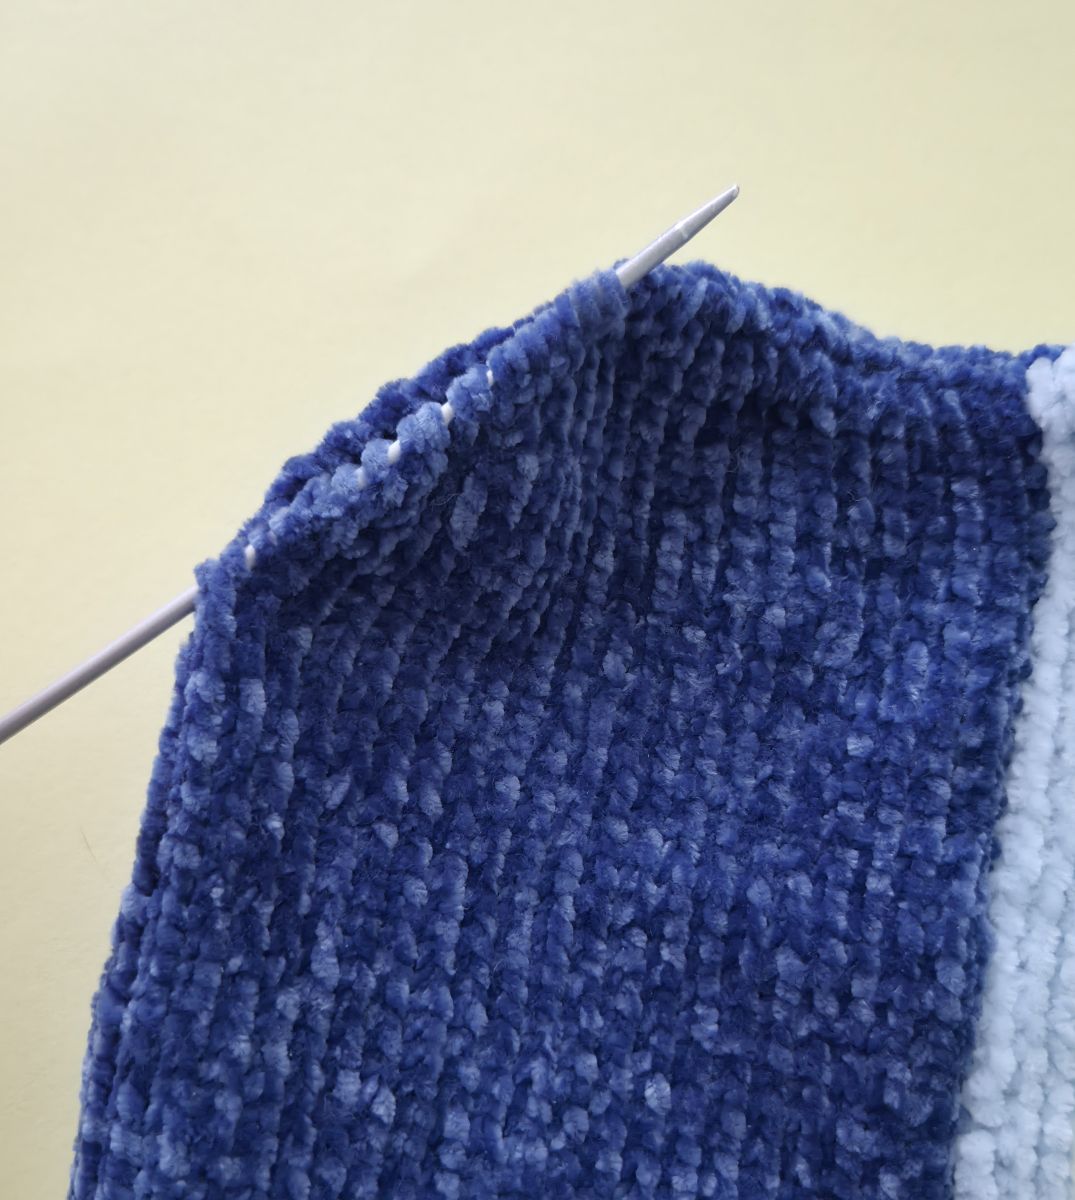
From Round 18 onwards, a pattern of alternating knit and purl stitches is worked. The next 41 rows are knitted in the same alternating sequence. On the front, the stitches appear in stockinette stitch, while on the back, knit and purl stitches alternate as described in the instructions. This knitting technique gives the jumpsuit its characteristic ribbed texture.
18. 20. 22. 24. 26. 28. 30. 32. 34. 36. 38. 40. 42. 44. 46. 48. 50. 52. 54. 56. 58. -
10 P, 13 K, 20 P, 13 K, 10 P (66)
19. 21. 23. 25. 27. 29. 31. 33. 35. 37. 39. 41. 43. 45. 47. 49. 51. 53. 55. 57. – 66 K
(If necessary, knit more or fewer rows; please try it on.)

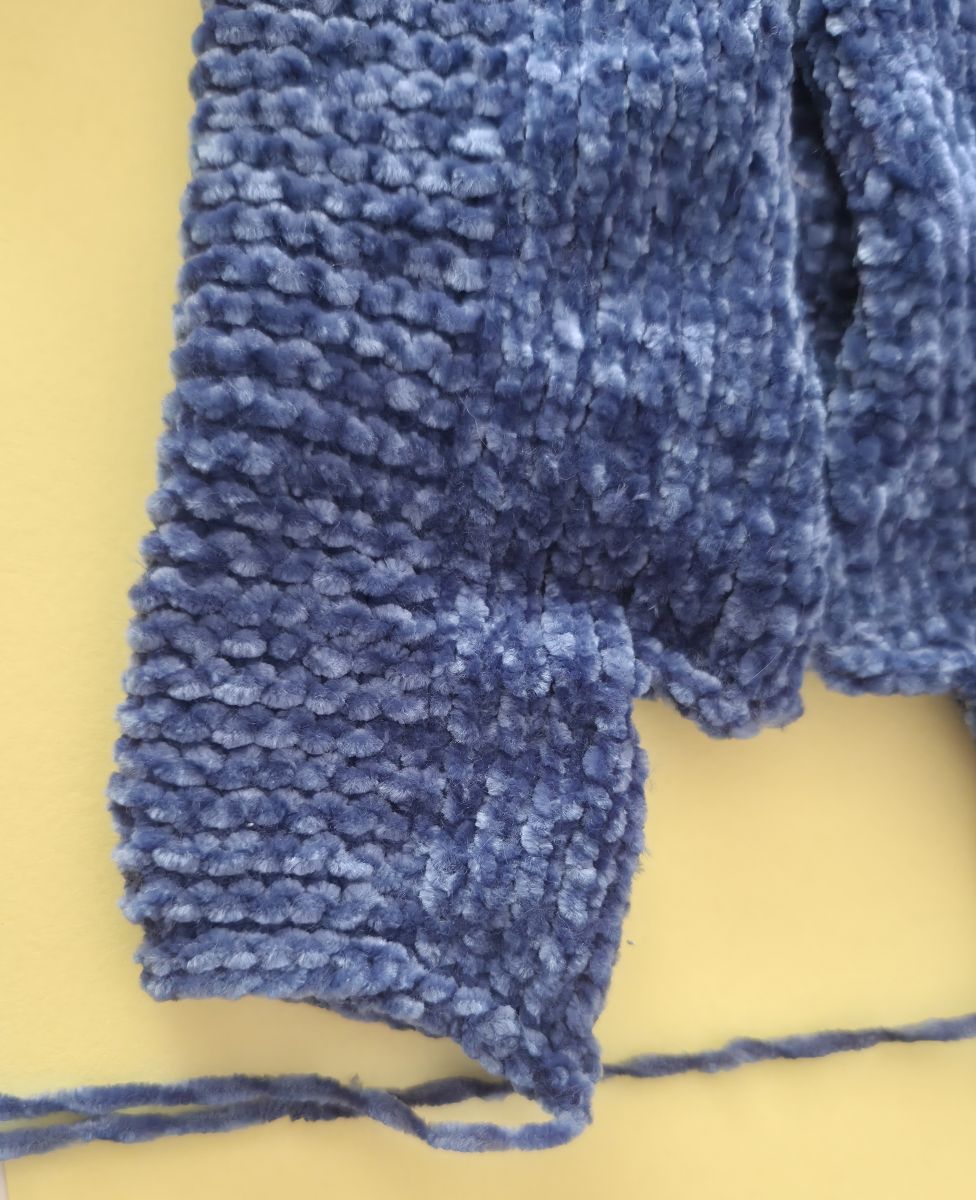
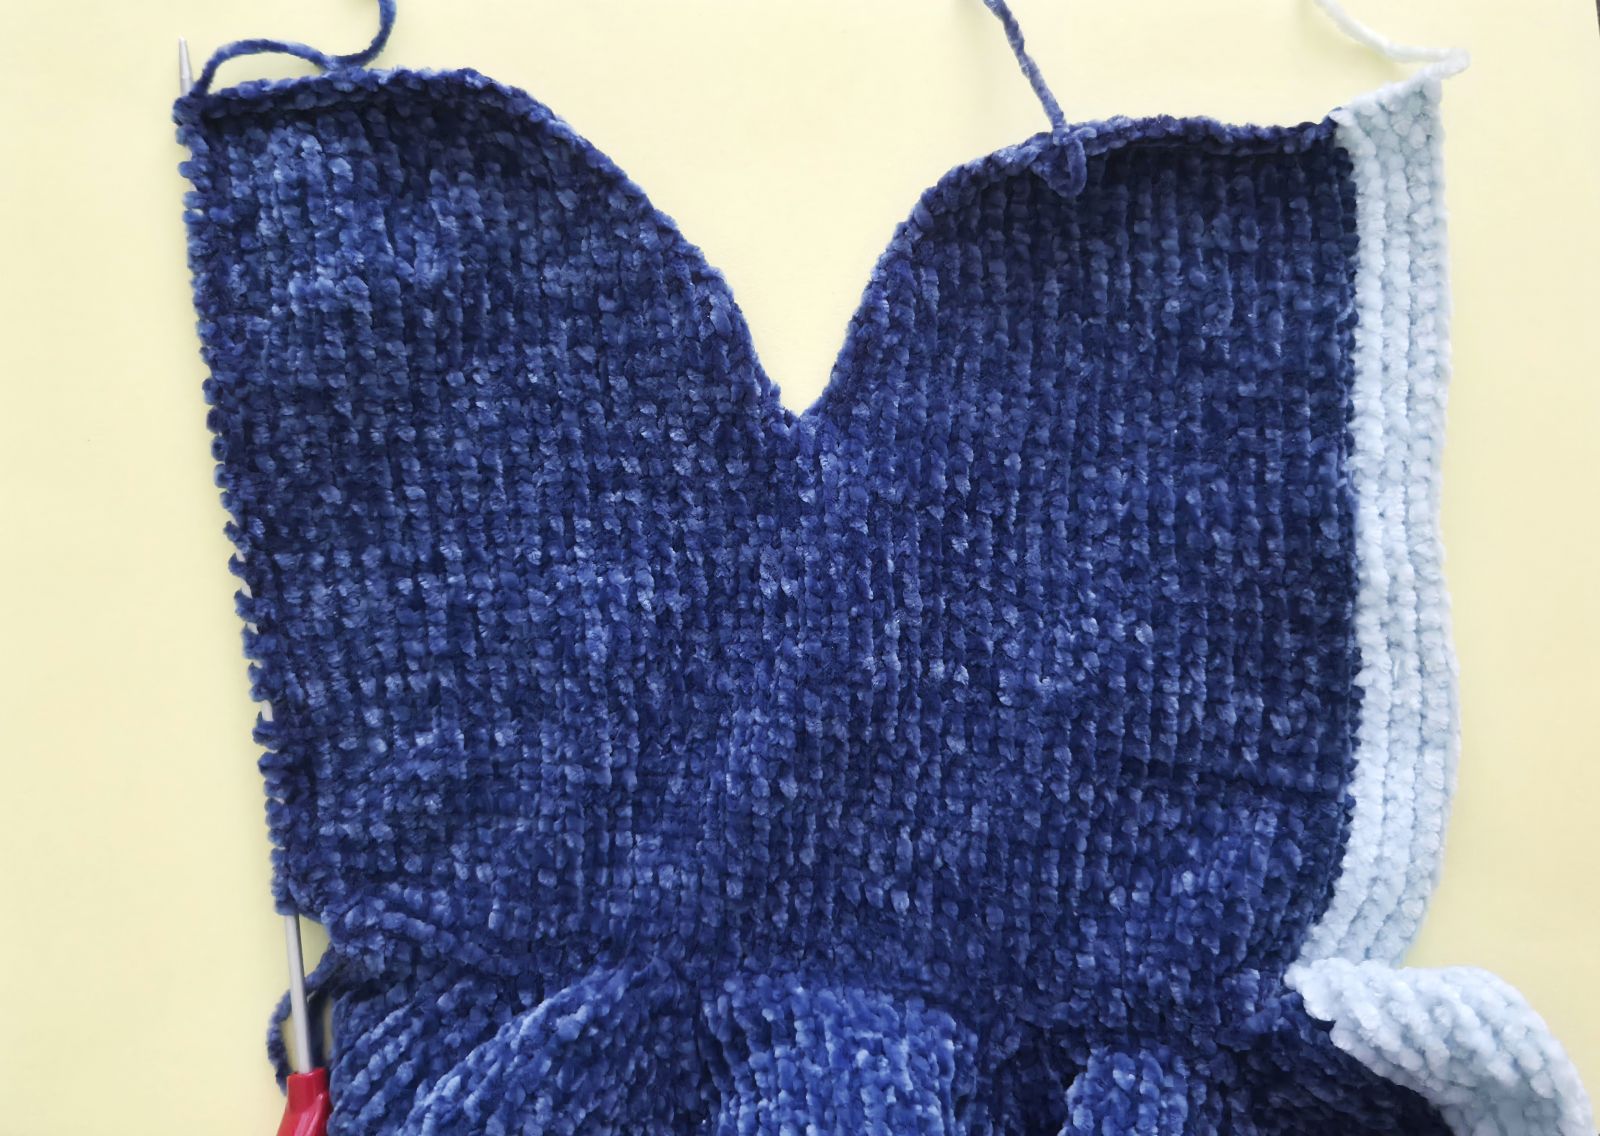
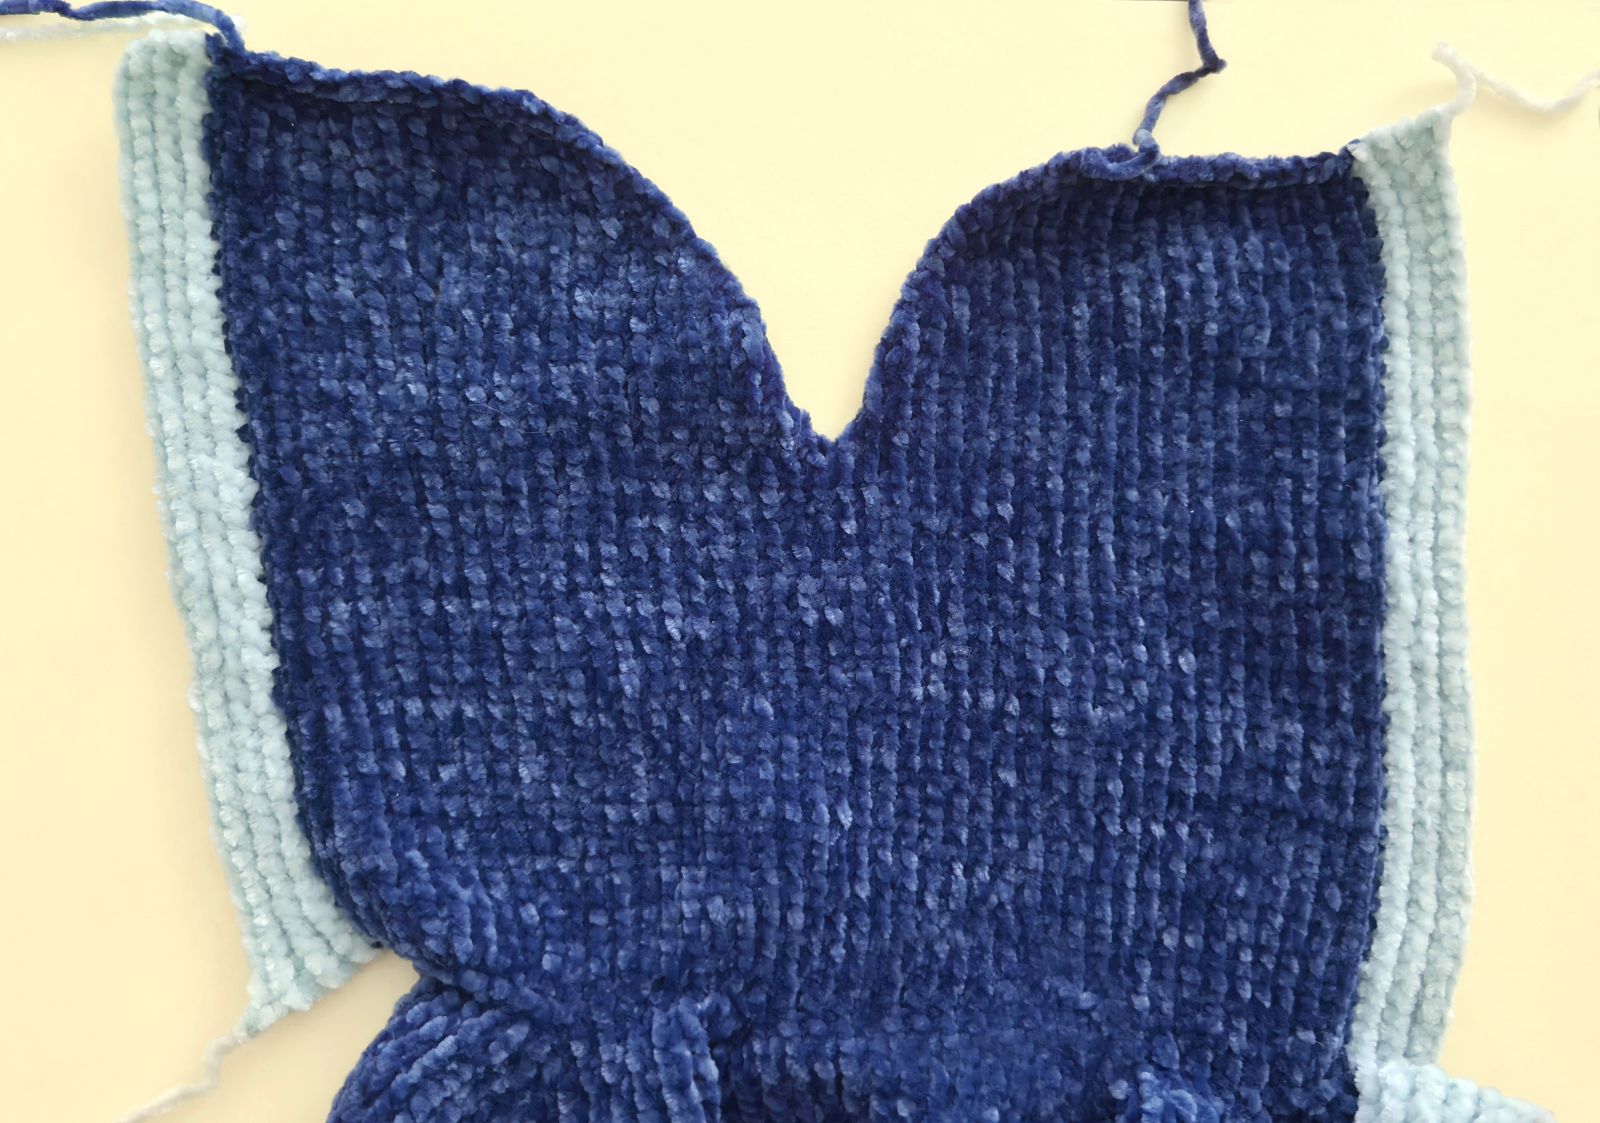
59. Cast off 4 stitches, knitt 25 stitches, cast off 8 stitches, continue knitt 25 stitches and cast off the last 4 stitches. Secure the yarn, cut it.Turn the work.
Slip 25 stitches for one leg onto a spare thread or stitch holder and continue working the second leg.
Rejoin the yarn and knit only the 25 stitches for the leg.
1. 6 P, 13 K, 6 P
2. 25 K
3. 6 P, 13 K, 6 P
4. 25 K
5. 6 P, 13 K, 6 P
6. 25 K
7. 6 P, 13 K, 6 P
8. 25 K
9. 6 P, 13 K, 6 P
10. 25 K
11. 6 P, 13 K, 6 P
12. 25 K
13. 6 P, 13 K, 6 P
14. 25 K
15. 6 P, 13 K, 6 P
Cast off, cut the yarn, and secure the end.
Then return to the 25 remaining stitches.
Transfer these stitches onto a knitting needle, rejoin the yarn, and work across the 25 stitches to form the second leg.
1. 6 P, 13 K, 6 P
2. 25 K
3. 6 P, 13 K, 6 P
4. 25 K
5. 6 P, 13 K, 6 P
6. 25 K
7. 6 P, 13 K, 6 P
8. 25 K
9. 6 P, 13 K, 6 P
10. 25 K
11. 6 P, 13 K, 6 P
12. 25 K
13. 6 P, 13 K, 6 P
14. 25 K
15. 6 P, 13 K, 6 P
Cast off, cut the yarn, and secure the end.
Sew together.
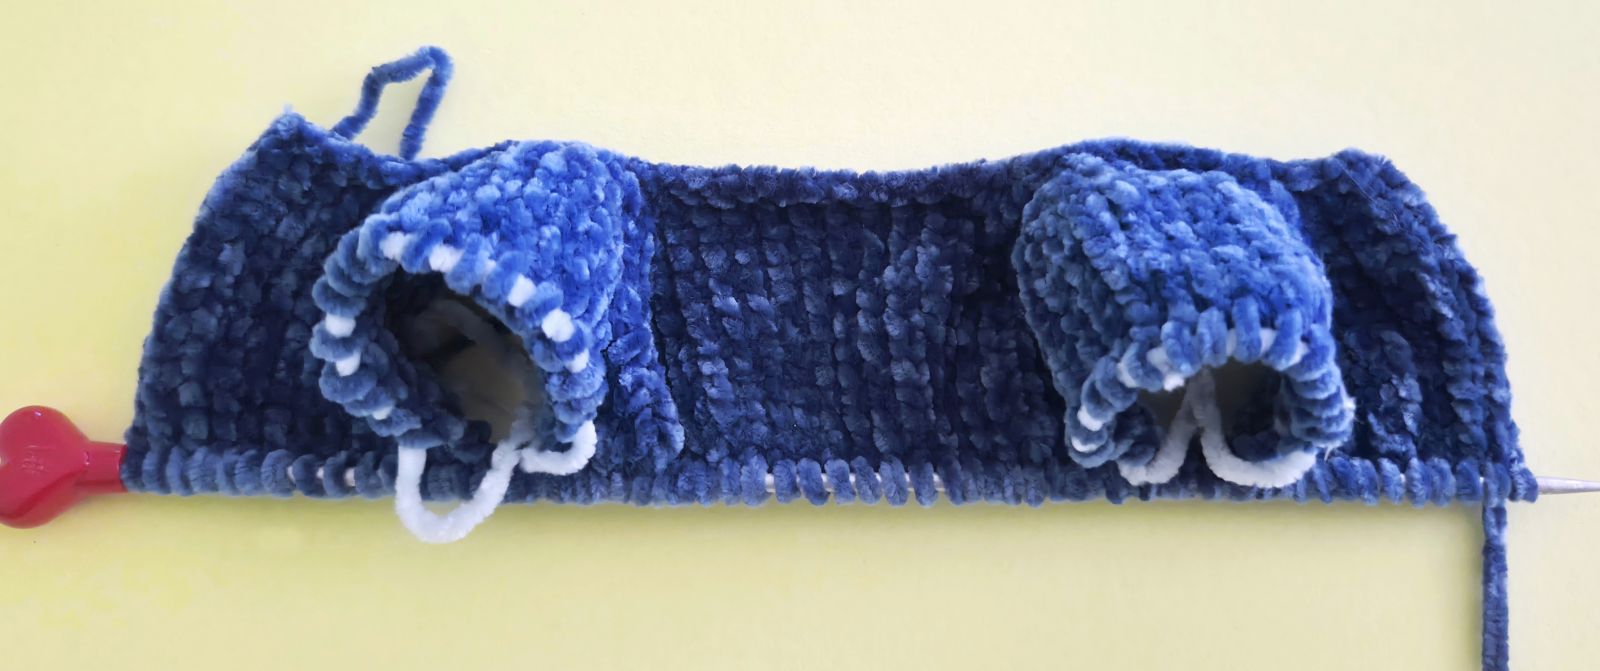
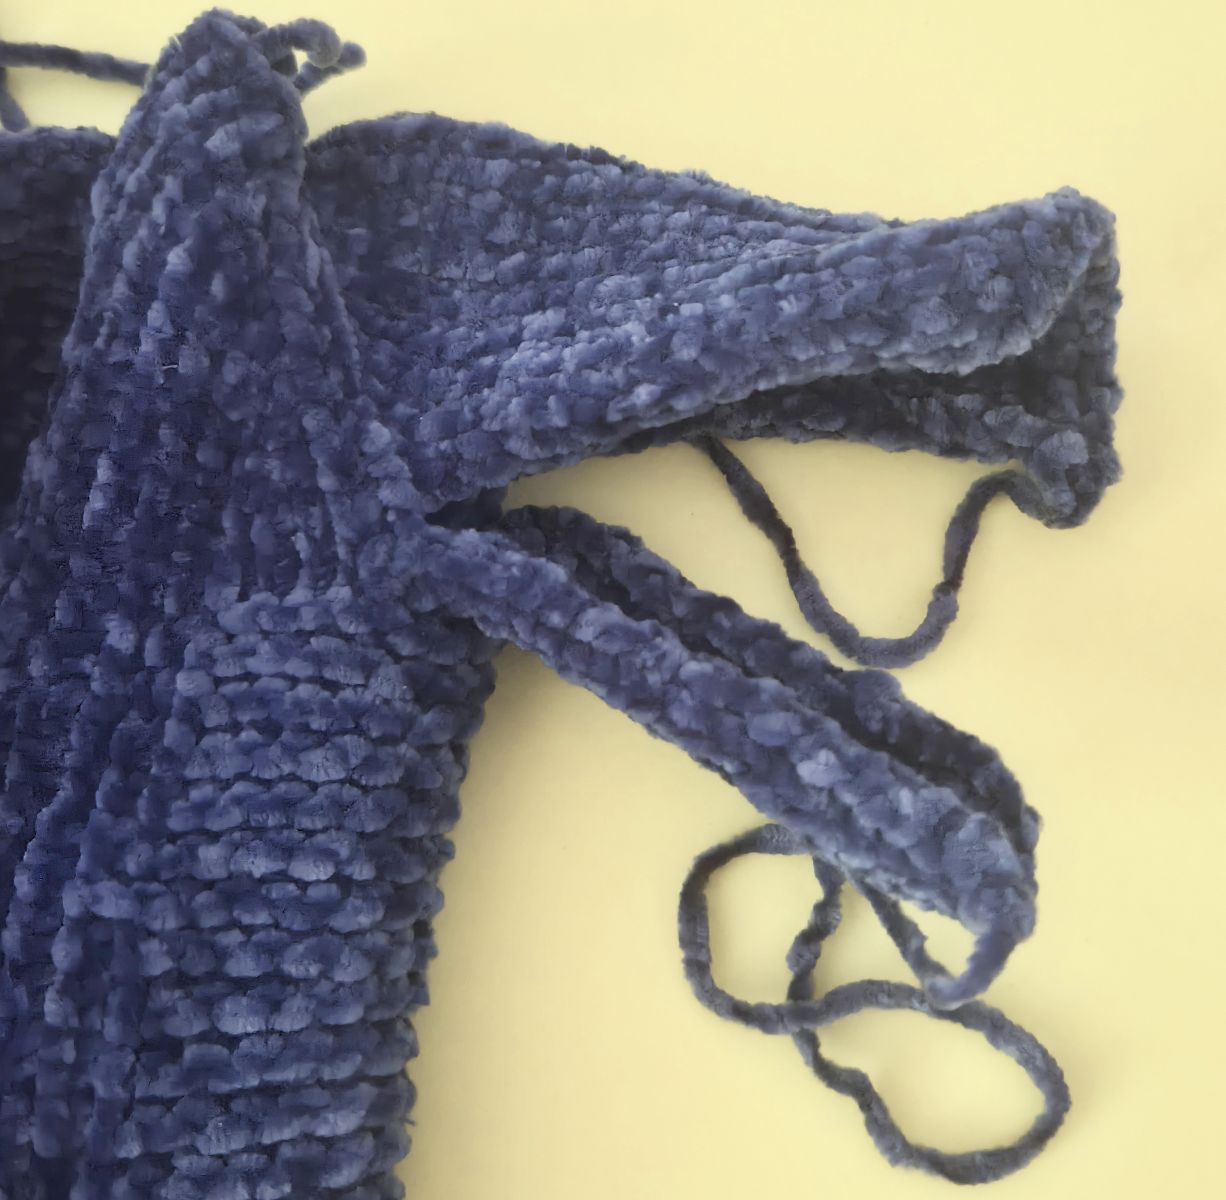
Sleeves
Distribute 17 stiches on a knitting needle
1. 3. 5. 7. 9. 11. 13. 15. 17. – 17 K
2. 4. 6. 8. 10. 12. 14. 16. 18. – 17 P
Cast off, cut the yarn, and secure the end.
Work the second sleeve in the same way.
When finished, fasten the yarn securely and weave in the ends.

Pick up 8 stitches at the bottom of the sleeve and knit the second part of the sleeve.
1. 3. 5. 7. 9. 11. 13. 15. 17. – 8 K
2. 4. 6. 8. 10. 12. 14. 16. 18. – 8 P
Cast off.
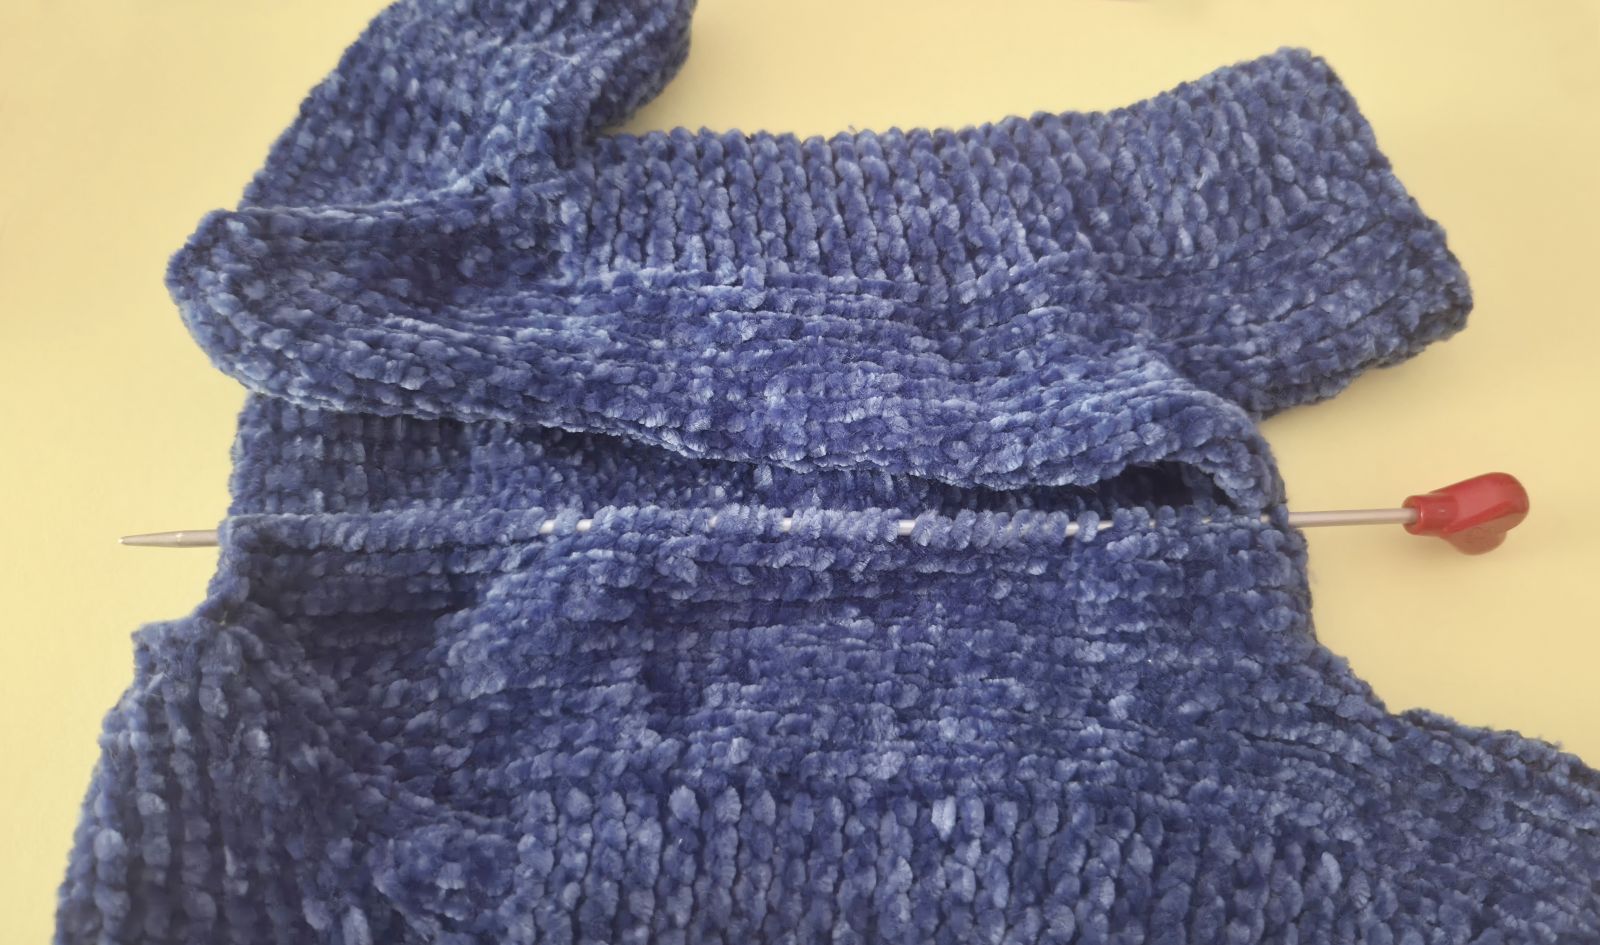
You can now either knit the hood first or continue working the jumpsuit in rows. I decided to continue knitting the jumpsuit first. The order is not crucial. I simply wanted to check whether the following pattern was suitable for continuing the project.
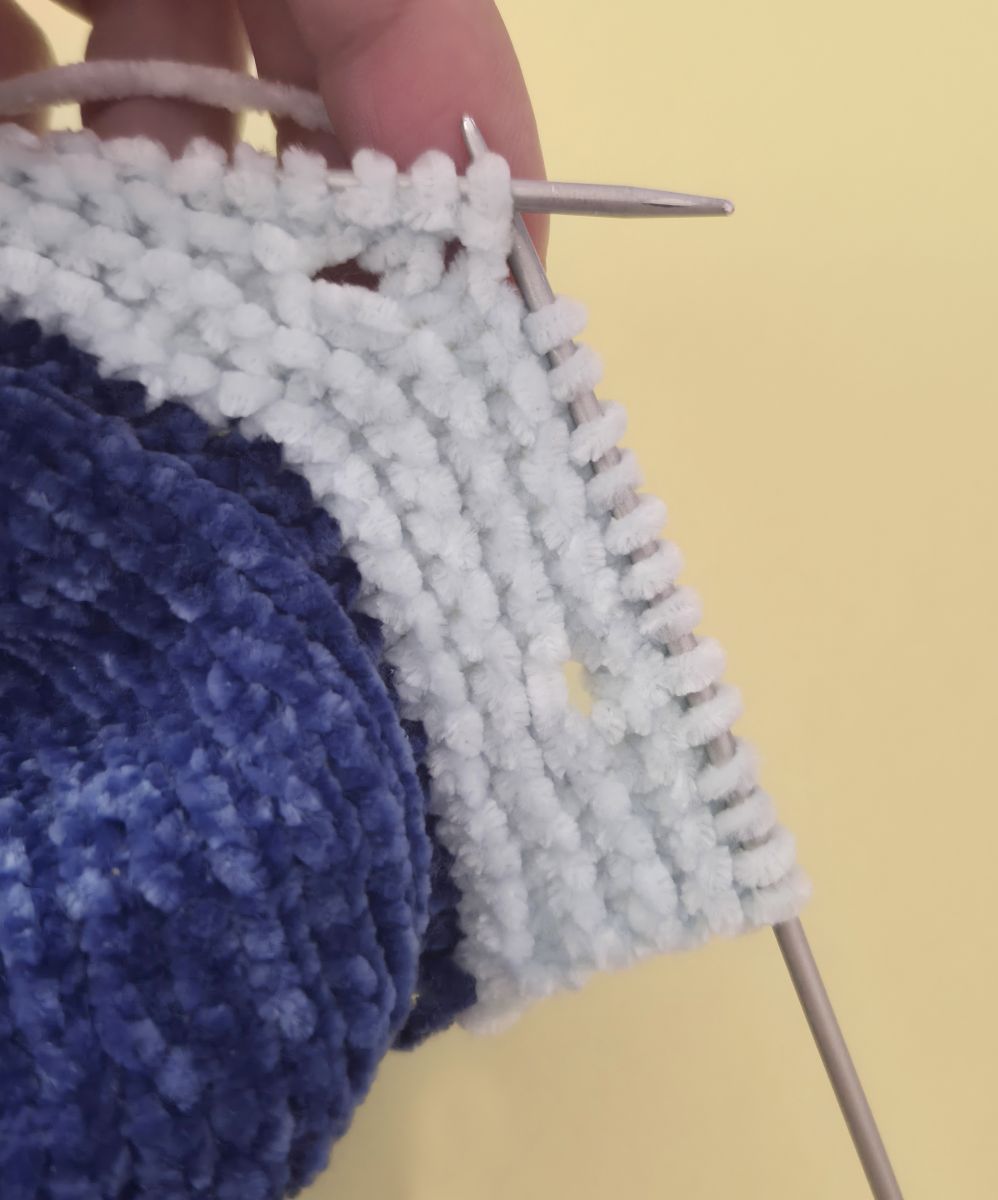
Next, work the button band. To do this, pick up stitches along the side of the jumpsuit; in my case, this is a total of 56 stitches. (It may be a few stitches more or less — the important thing is that the stitches are evenly distributed.) Attach the light blue yarn and continue knitting in the following pattern, which consists entirely of knit stitches.
1. 56 K, turn
2. 56 K, turn
3. 56 K, turn
4. 56 K, turn
5. Knit 6 stitches, bind off 2 stitches and cast on 2 stitches (1st buttonhole). Knit 8 stitches, bind off 2 stitches and cast on 2 stitches (2nd buttonhole). Knit 8 stitches, bind off 2 stitches and cast on 2 stitches (3rd buttonhole). Knit 8 stitches, bind off 2 stitches and cast on 2 stitches (4th buttonhole). Knit 8 stitches, bind off 2 stitches and cast on 2 stitches (5th buttonhole). Knit 8 stitches.
6. 56 K, turn
7. 56 K, turn
8. 56 K, turn
9. 56 K
Cast off, cut the yarn, and secure the end.
Hood
Distribute 34 sts at the top of a knitting needle,
1. 34 K
2. 34 P
3. (2 K, 1 K inc)x 11, 1 K inc (46)
Knit 32 rows
5. 7. 9. 11. 13. 15. 17. 19. 21. 23. 35. 37. 29. 31. 33.– 46 K
4. 6. 8. 10. 12. 14. 16. 18. 20. 22. 24. 26. 28. 30. 32. 34 – 46 P
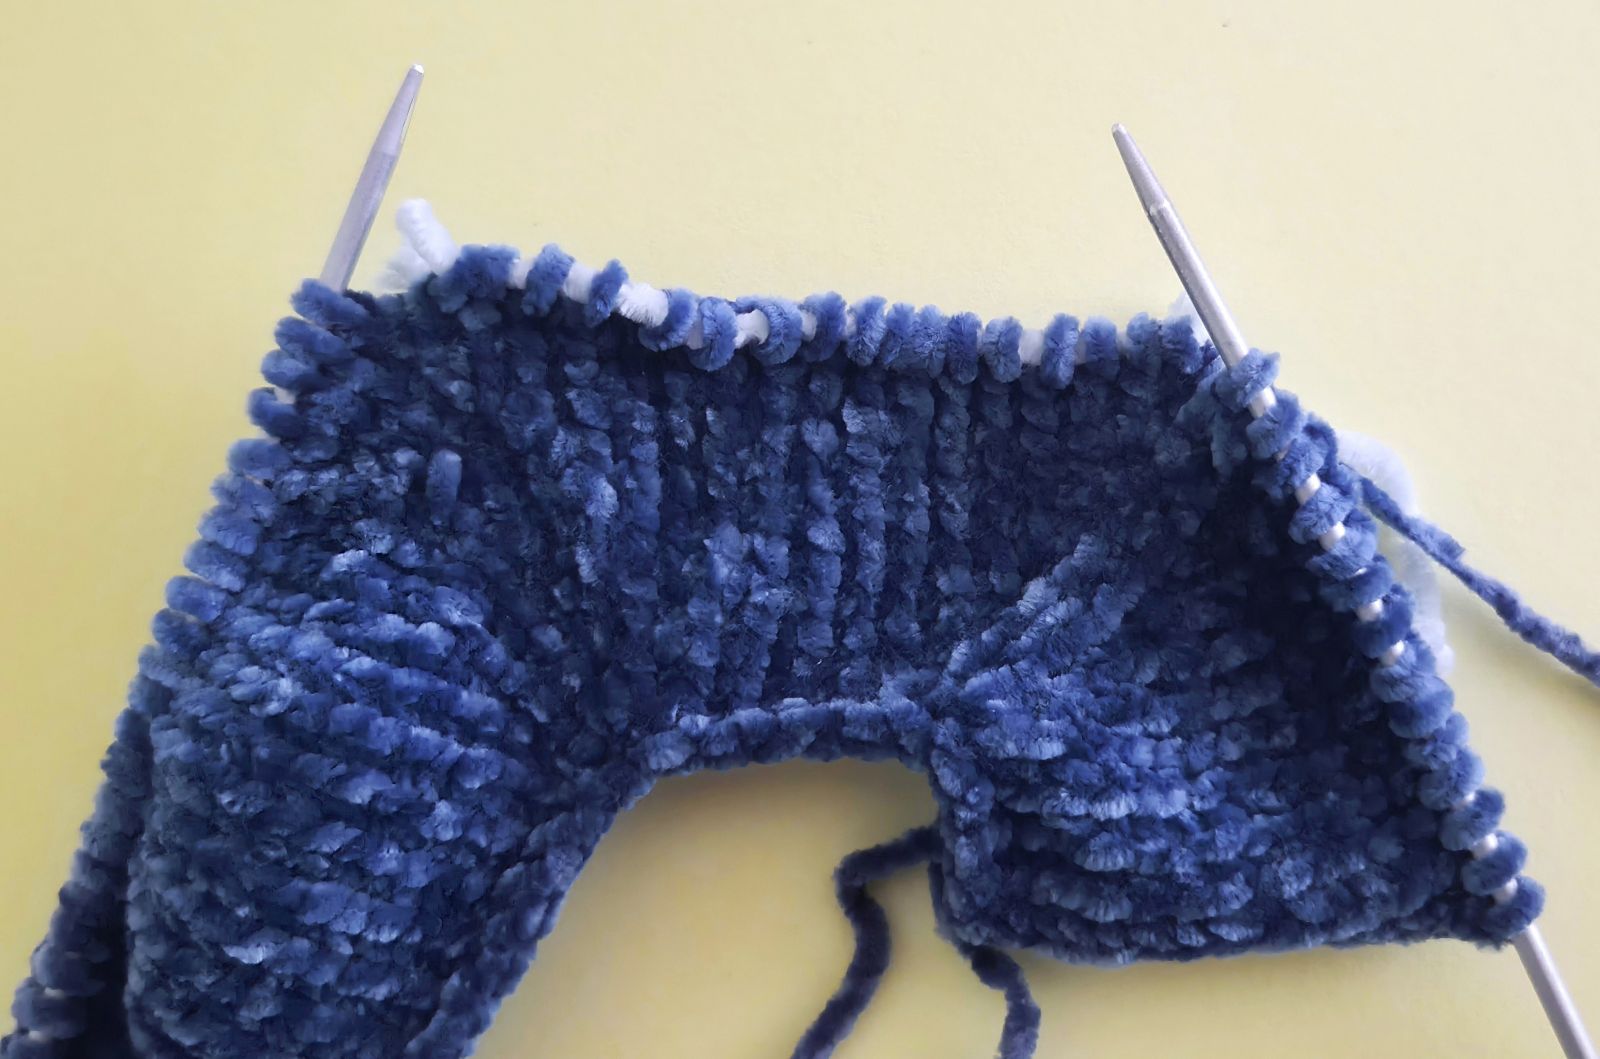
Divide the hood into two equal halves. Work the first half in rows until it is complete, then knit the second half.
1. 23 K, Turn
2. 23 P, Turn
3. 21 K, 1 dec, Turn
4. 22 P, Turn
5. 22 K, Turn
6. 22 P, Turn
7. 20 K, 1 dec, Turn
8. 21 P, Turn
9. 19 K, 1 dec, Turn
10. 20 P, Turn
11. 18 K, 1 dec, Turn
12. 19 P, Turn
13. 17 K, 1 dec, Turn
14. 18 P, Turn
15. 16 K, 1 dec, Turn
16. 17 P, Turn
17. 15 K, 1 dec, Turn
18. 16 P, Turn
19. 14 K, 1 dec, Turn
20. 15 P, Cast off, cut the yarn, and secure the end.
The second half will be knitted a little differently.
1. 23 K, Turn
2. 23 P, Turn
3. 1 dec, 21 K, Turn
4. 22 P, Turn
5. 22 K, Turn
6. 22 P, Turn
7. 1 dec, 20 K, Turn
8. 21 P, Turn
9. 1 dec, 19 K, Turn
10. 20 P, Turn
11. 1 dec, 18 K, Turn
12. 19 P, Turn
13. 1 dec, 17 K, Turn
14. 18 P, Turn
15. 1 dec, 16 K, Turn
16. 17 P, Turn
17. 1 dec, 15 K, Turn
18. 16 P, Turn
19. 1 dec, 14 K, Turn
20. 15 P, Turn
Cast off, cut the yarn, and secure the end.
Next, work the sides of the hood. These are also knitted first using light blue yarn. Since I am working with only two straight needles, I knit one side first and then the other. Once both sides are finished, they are sewn together.
Begin by picking up stitches along one side of the hood. I picked up a total of 50 stitches. It may be a few stitches more or less — the important thing is that the edge looks even.
1. 50 K, turn
2. 50 K, turn
3. 50 K, turn
4. 50 K, turn
5. 50 K, turn
6. 50 K, turn
Cast off, cut the yarn, and secure it. Repeat the same process on the second side of the hood.
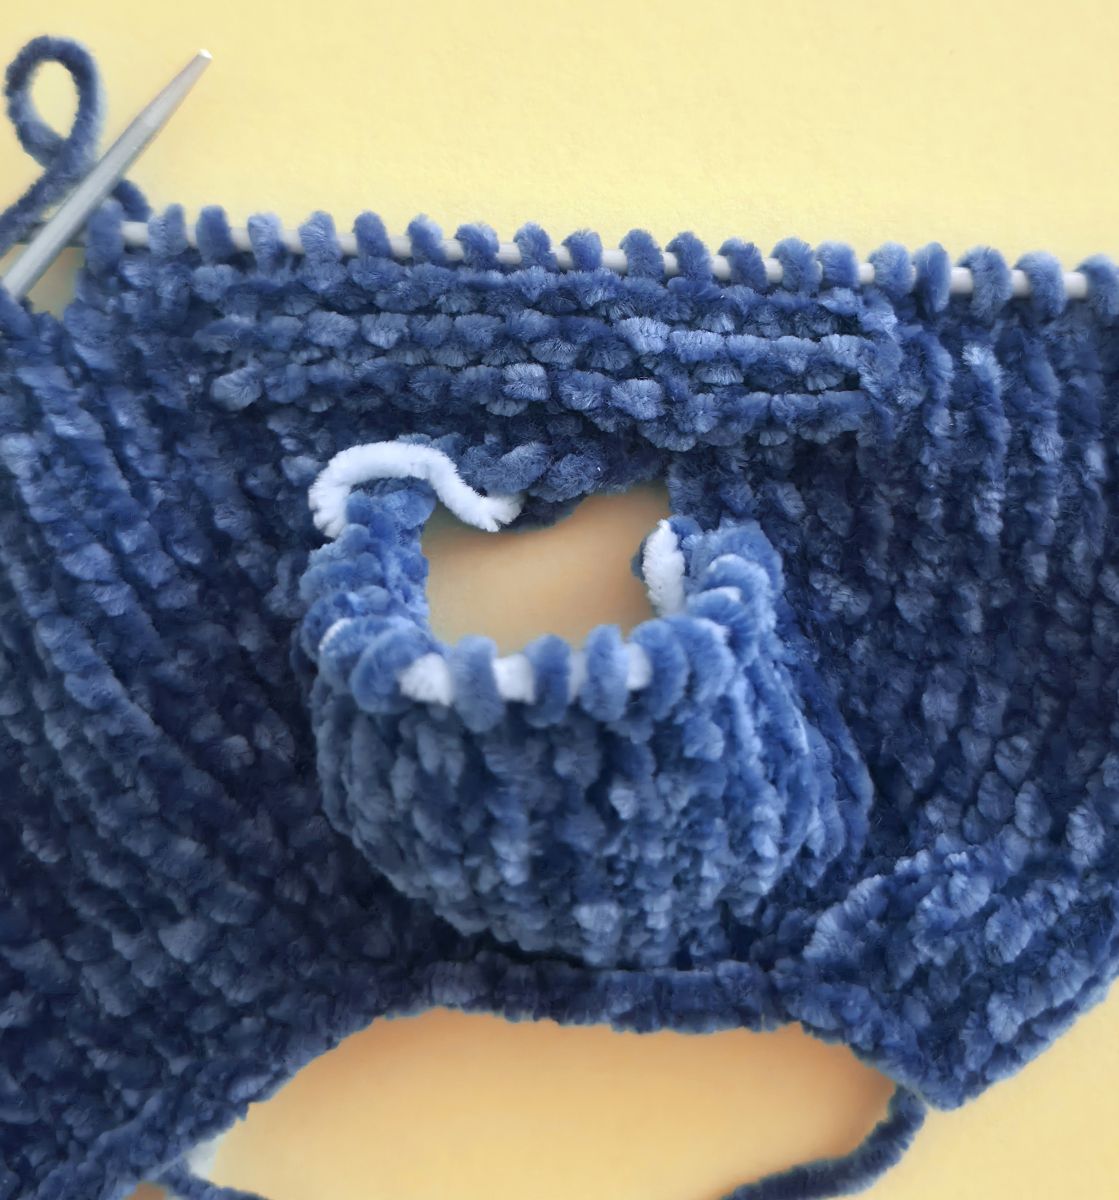
Now the hood can be sewn together. Only the light blue section and the upper part of the hood are joined. The V‑shaped area remains open; this opening is needed for the fin.
Knit the fin The opening for the fin is now worked identically on both sides. Since we are not knitting in the round and are still working with only two straight needles, the fin is knitted in two halves: first one side, then the other.
Pick up 20 stitches onto a knitting needle.
1. 20 K
2. 20 P
3. 1 dec, 16 K, 1 dec
4. 18 P
5. 1 dec, 14 K, 1 dec
6. 16 P
7. 1 dec, 12 K, 1 dec
8. 14 P
9. 1 dec, 10 K, 1 dec
10. 12 P
11. (1 dec, 1 K)x 4
12. 8 P
13. 4 dec
Cast off the first side of the fin. Then knit the second side of the fin in the same way. Finally, sew both sides of the fin together.
.jpg)
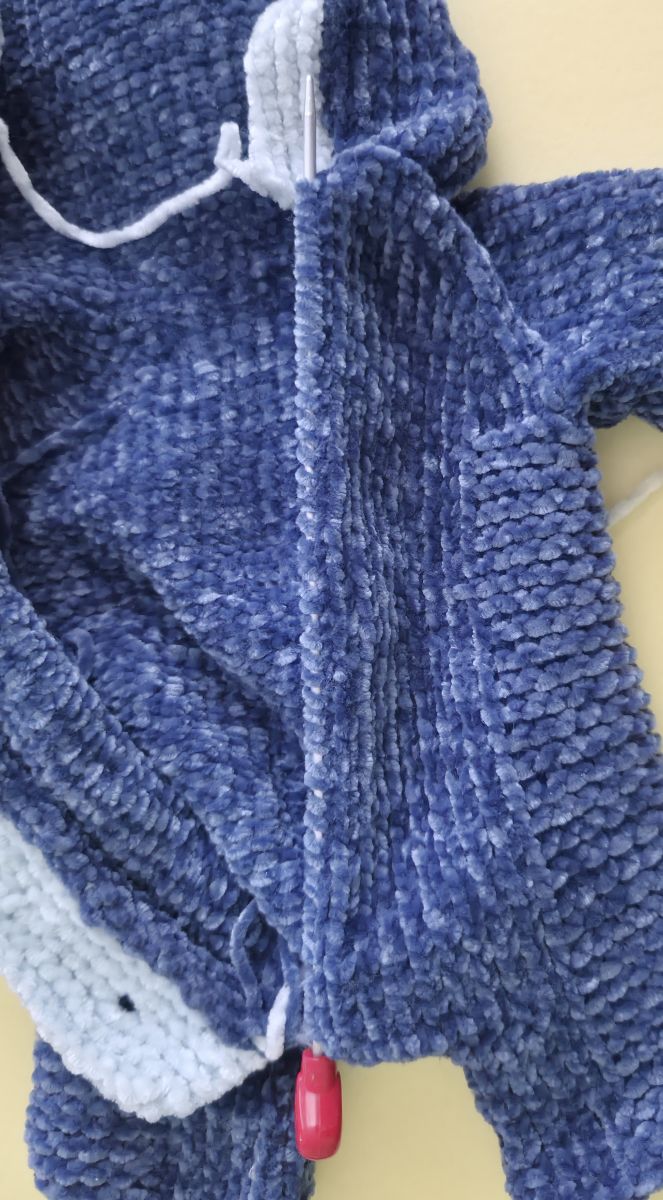
Next, work the second button band — the side where the buttons will later be sewn onto the jumpsuit. It is knitted in the same way as the first button band, but without buttonholes.
Pick up stitches along the side; in my case, this is a total of 56 stitches. Attach the light blue yarn and continue knitting in the following pattern, which consists entirely of knit stitches.
1. 56 K, turn
2. 56 K, turn
3. 56 K, turn
4. 56 K, turn
5. 56 K, turn
Cast off, cut the yarn, and secure it. Sew on the buttons.
The light blue knitted part of the hood is now folded in half and sewn together. Pay close attention to creating a clean, even edge, as the teeth will be sewn onto this edge later.
.jpg)
.jpg)
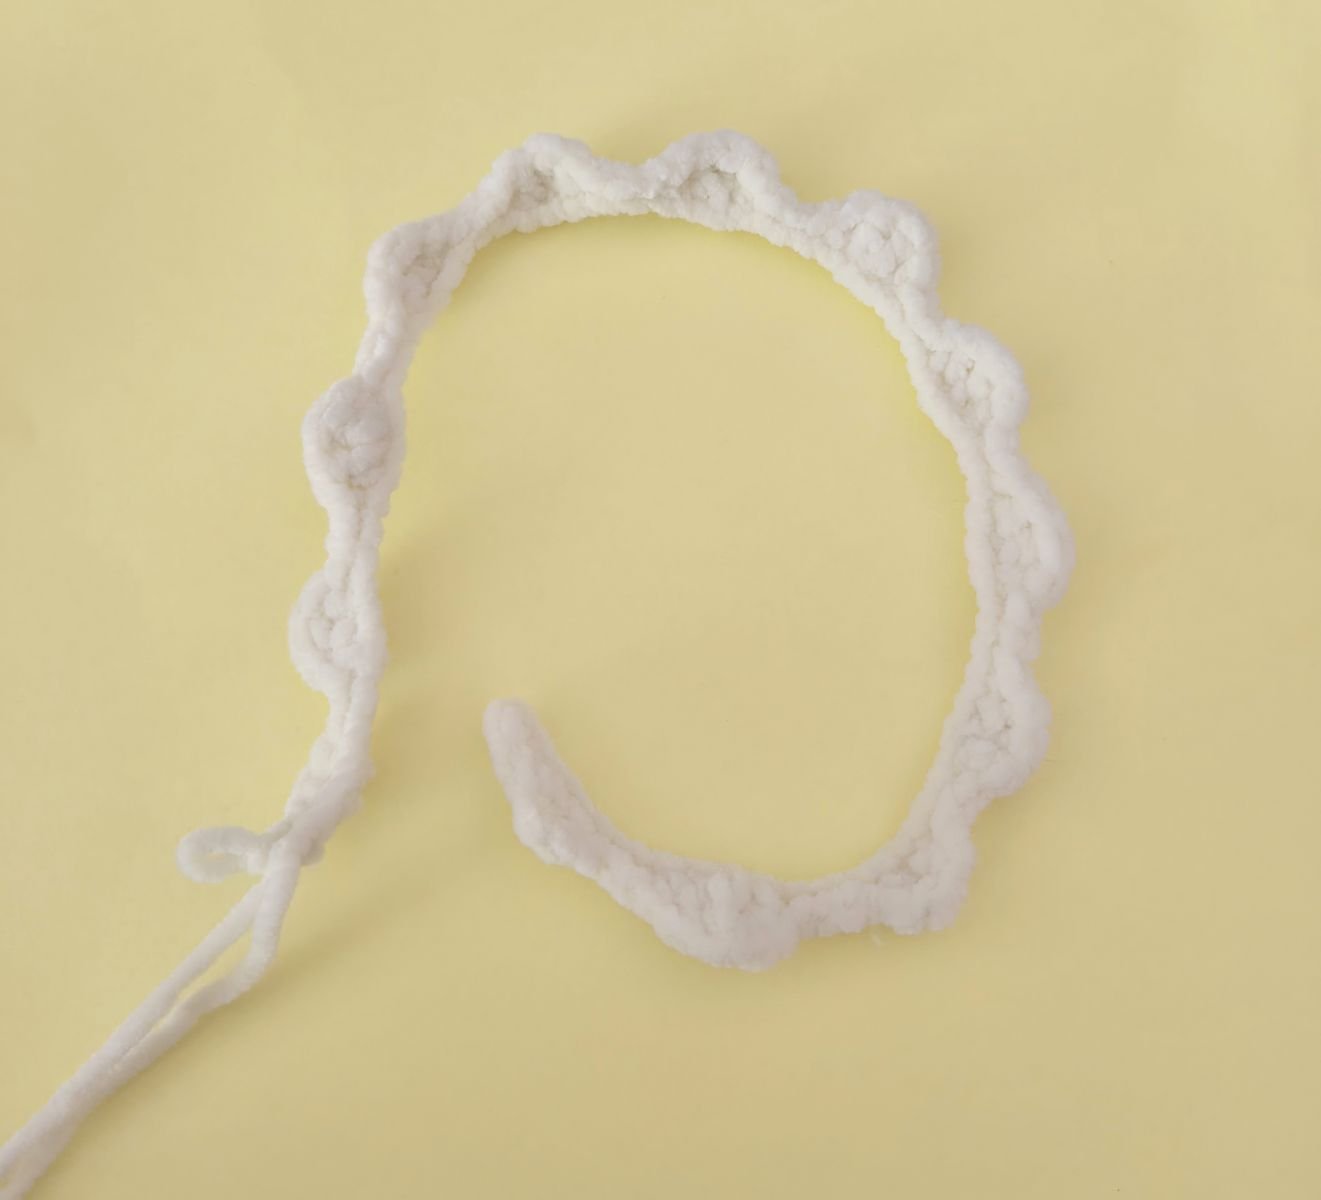
White yarn is used for the teeth. I crocheted the teeth because it is much faster than knitting. First, crochet a chain of stitches as long as the edge of the hood.
Each tooth is worked the same way: 1 double crochet, 1 treble crochet, 1 double crochet.
Three slip stitches are crocheted between each tooth. Once the entire chain of teeth is finished, it is sewn along the edge of the hood.
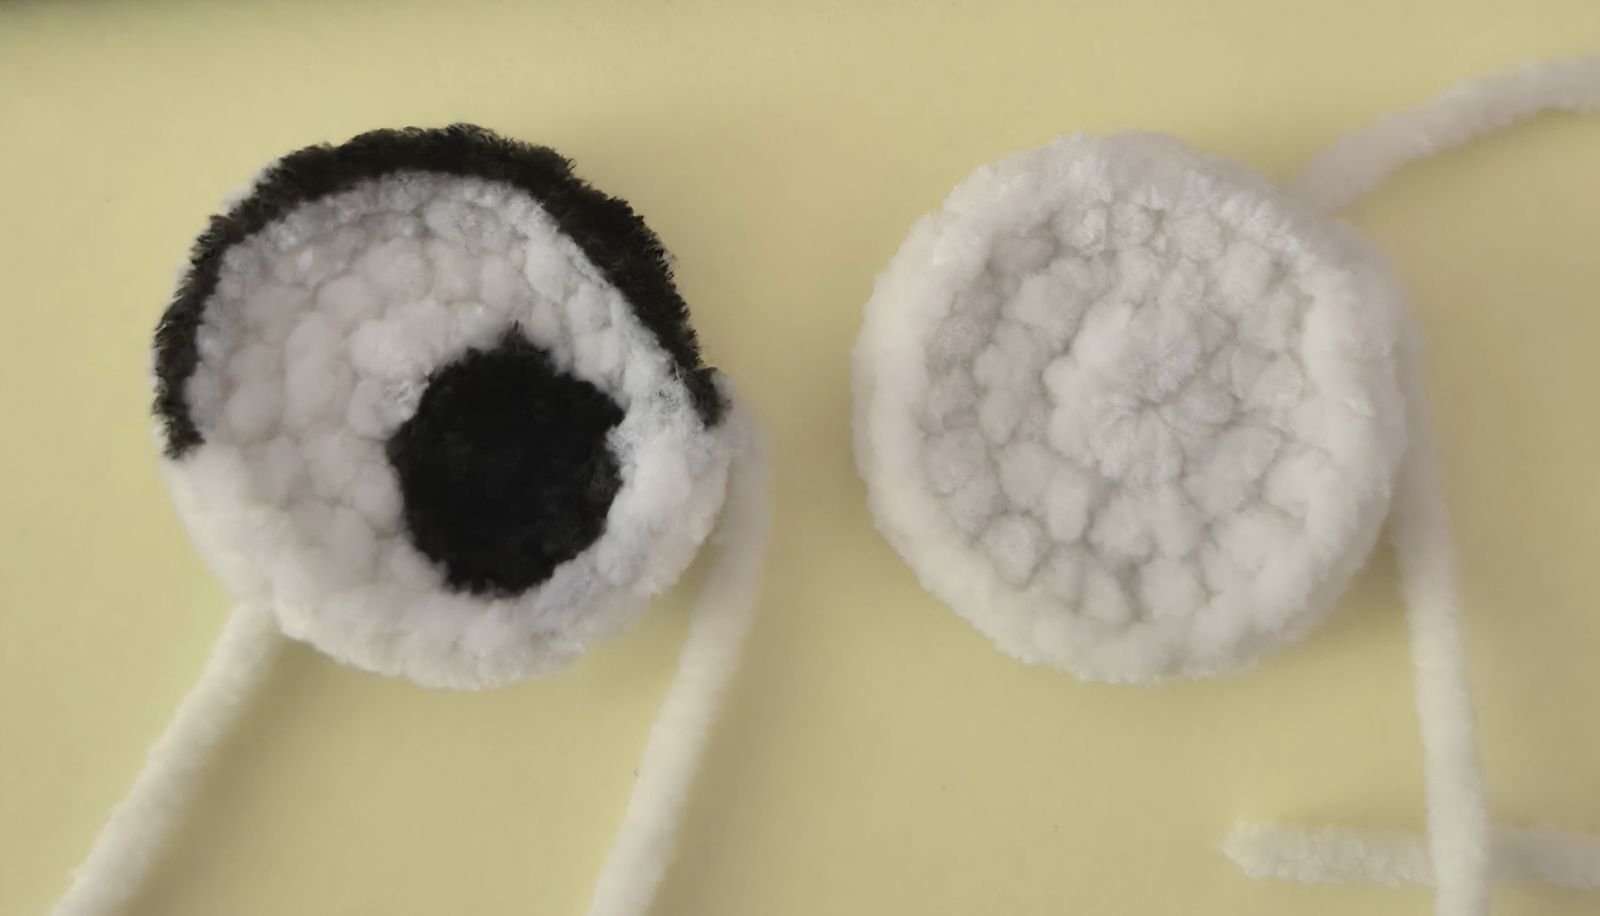
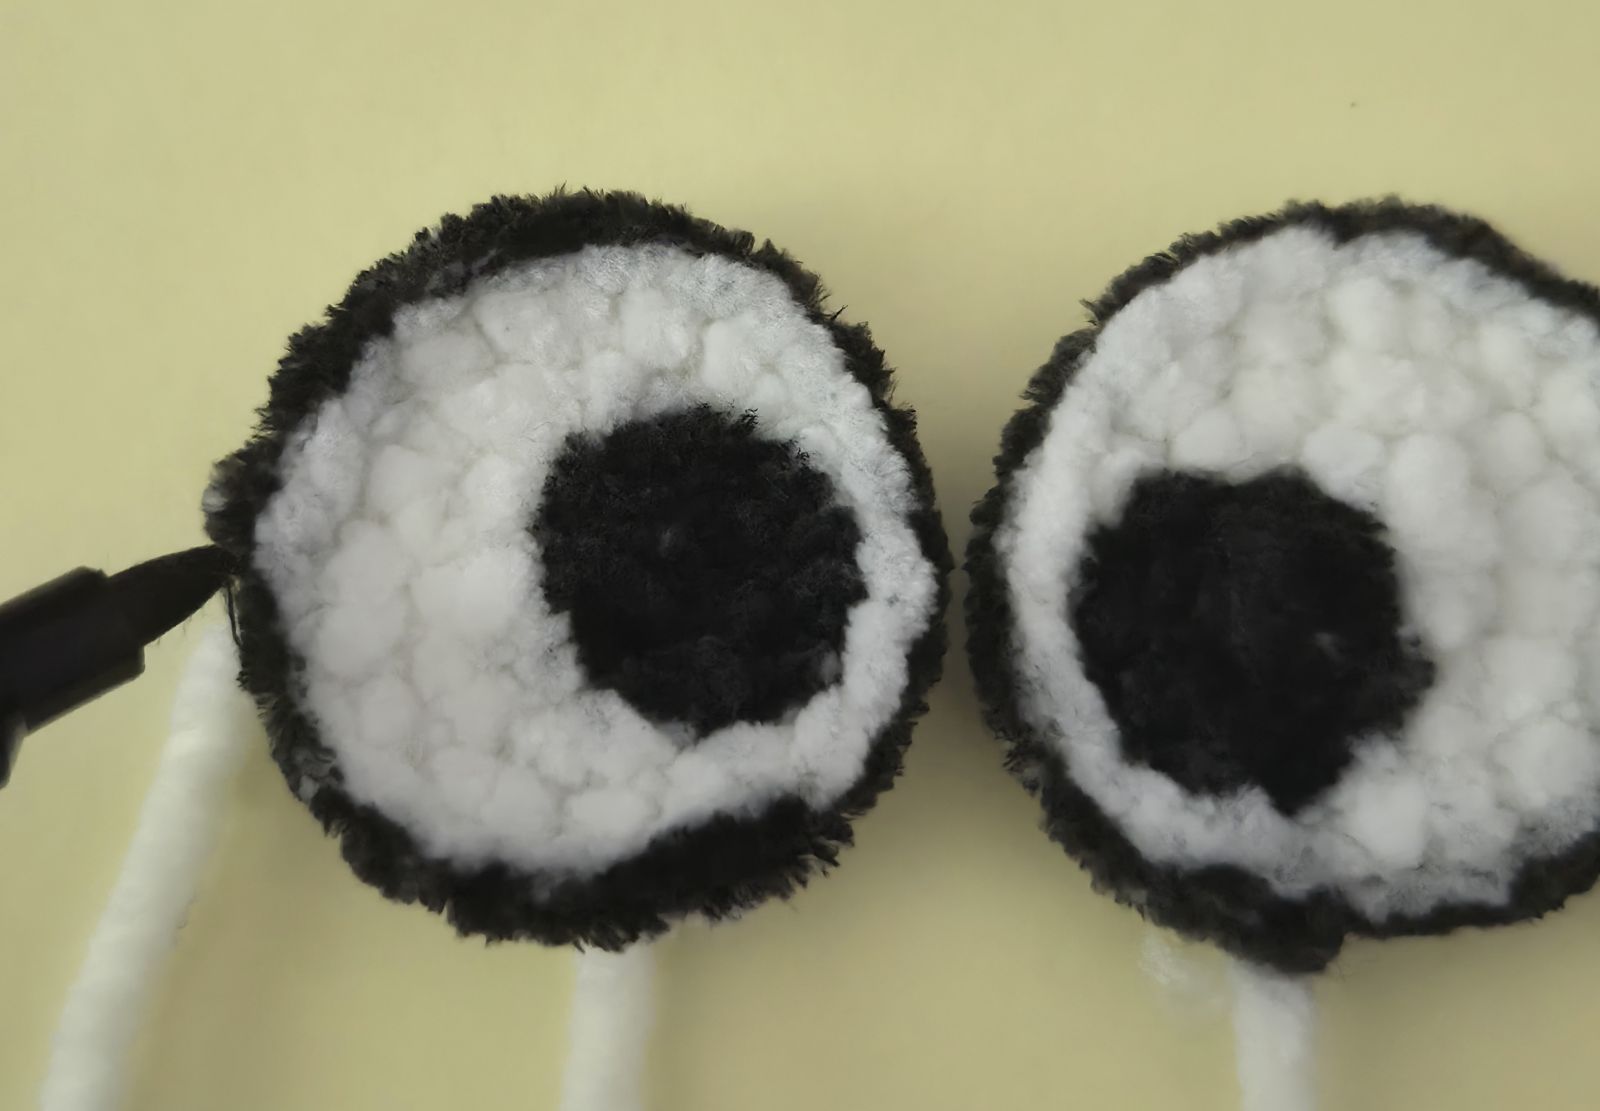
Shark Eyes
I used the same yarn for the eyes as for the teeth.
1. Crochet 6 sc into a magic ring.
2. 6 inc (12)
3. (1 sc, 1 inc)х6 (18) Attach the thread.
Using a fabric marker, I colored the edges of the eyes black and then colored the eyes themselves. Since the fabric marker is waterproof, the eyes will not wash out.
Dolphin
Of course, a knitted baby needs a little toy to hold. Since the baby is wearing a shark jumpsuit, we chose a small dolphin to go with it. This mini dolphin can also be knitted as a keychain or as a separate little toy. That’s why the instructions for it are included in the pattern.
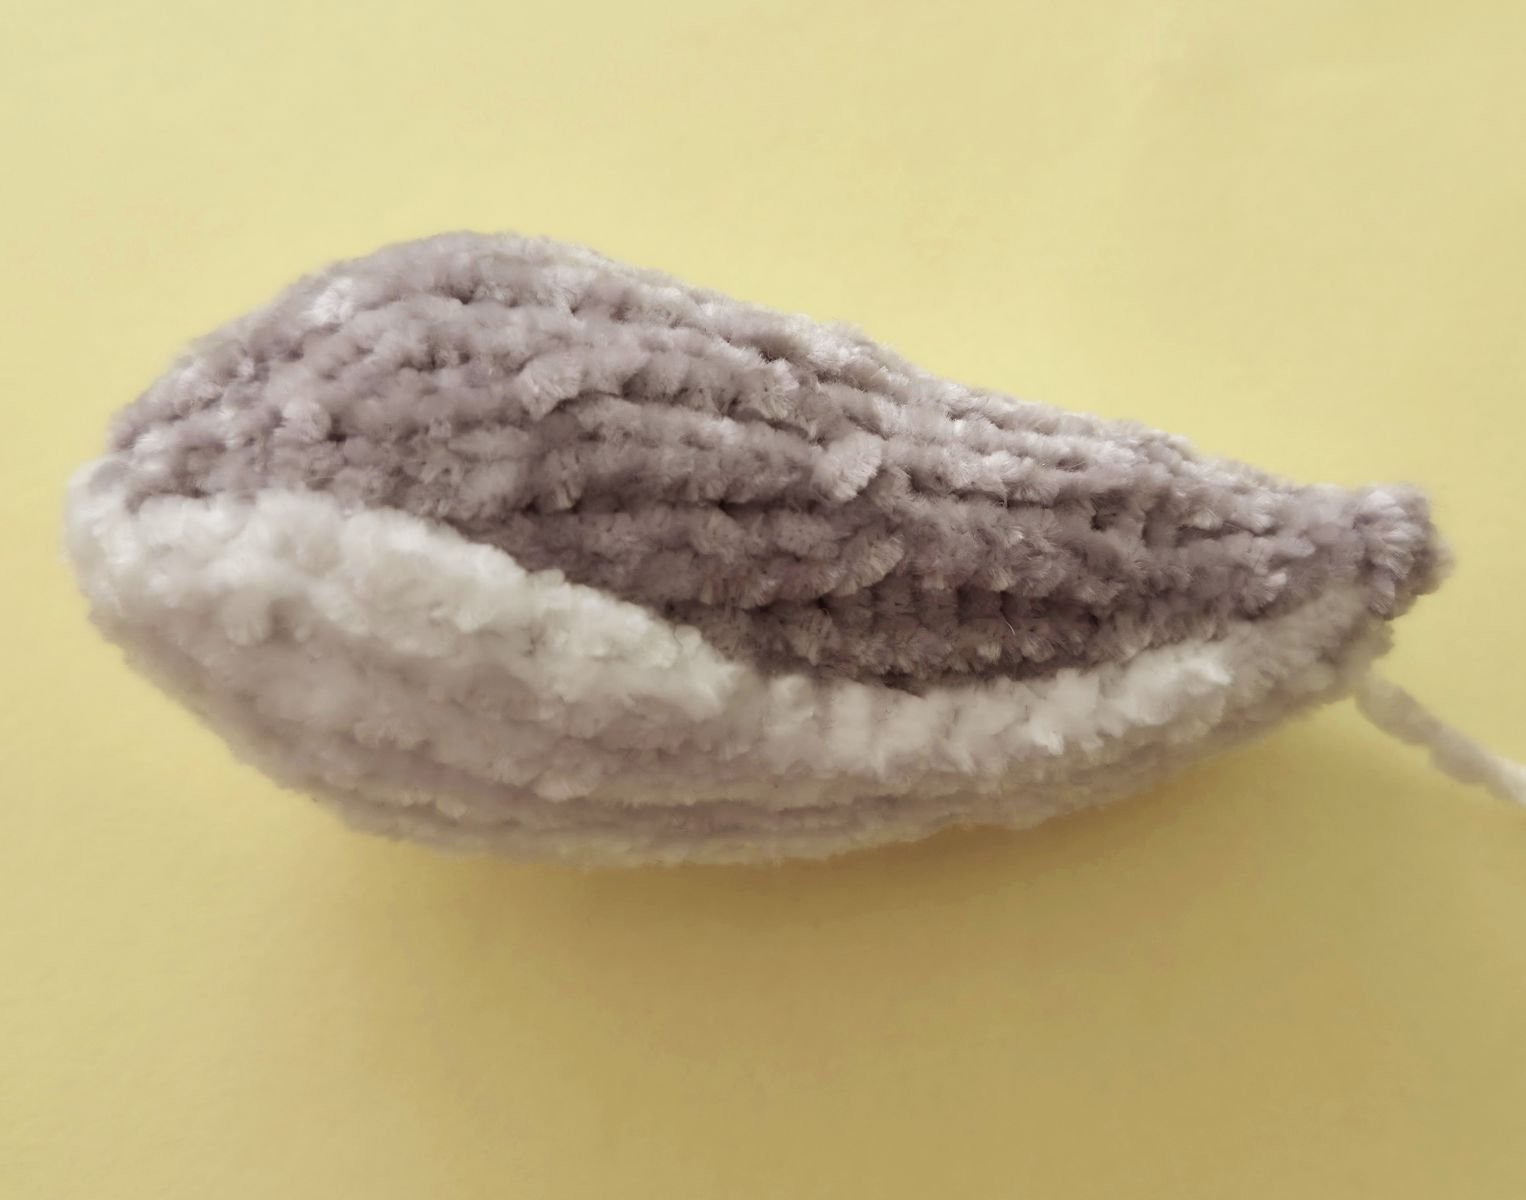
Body
Cast on 6 stitches (ch) onto the knitting needle.
1. 6 P
2. 6 K inc (12)
3. 12 P
4. 12 K
5. 12 P
6. (1 K, 1 K inc)x 6 (18)
7. 18 P
8. (2 K, 1 K inc)x 6 (24)
9. 24 P
10. 24 K
11. 24 P
12. 24 K
13. 24 P
14. (2 K, 1 dec)x 6 (18)
15. 18 P
16. 18 K
17. 18 P
18. 18 K
19. 18 P
20. (1 K, 1 dec)x 6 (12)
21. 12 P
22. 12 K
23. 12 P
24. 6 dec
Finally, cast off the remaining 6 stitches. Then sew the body together using the same yarn. While sewing, gradually stuff the body with fiberfill.
.jpg)
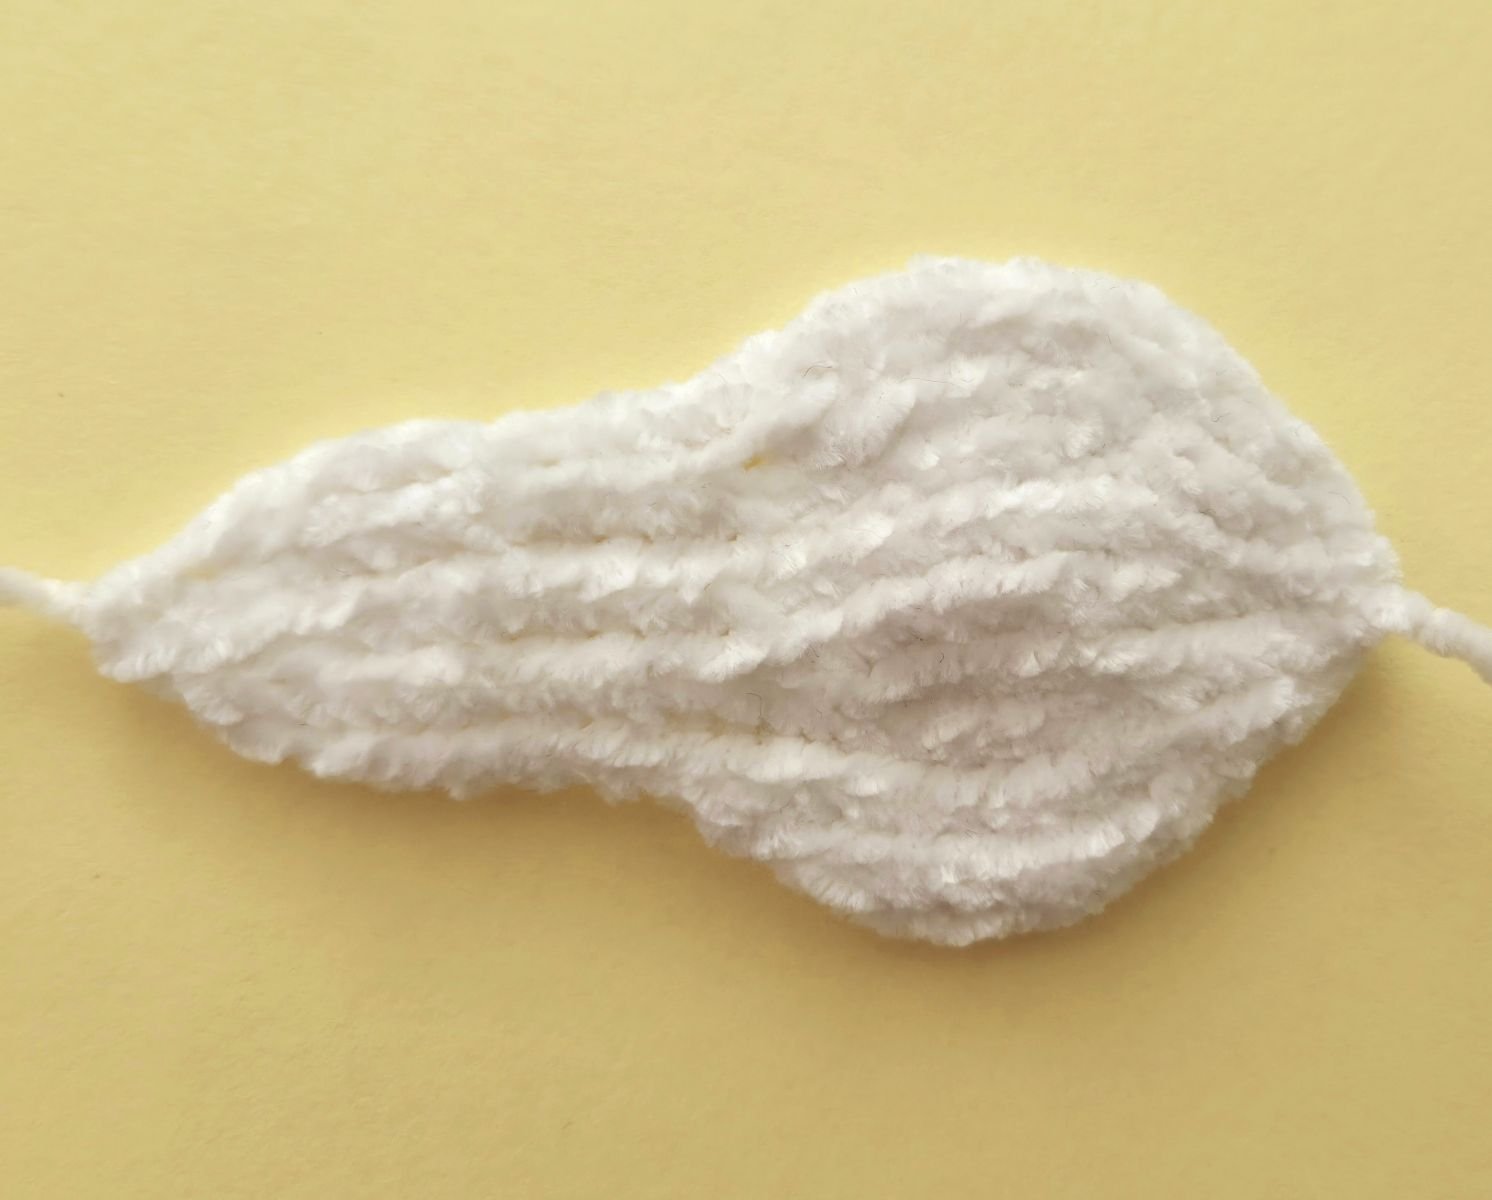
White part of the body
Cast on 3 stitches (ch) onto the knitting needle.
1. 3 P
2. 3 K inc (6)
3. 6 P
4. 6 K
5. 6 P
6. (1 K, 1 K inc)x 3 (9)
7. 9 P
8. (2 K, 1 K inc)x 3 (12)
9. 12 P
10. 12 K
11. 12 P
12. 12 K
13. 12 P
14. (2 K, 1 dec)x 3 (9)
15. 9 P
16. 9 K
17. 9 P
18. 9 K
19. 9 P
20. (1 K, 1 dec)x 3 (6)
21. 6 P
22. 3 dec
23. 3 P
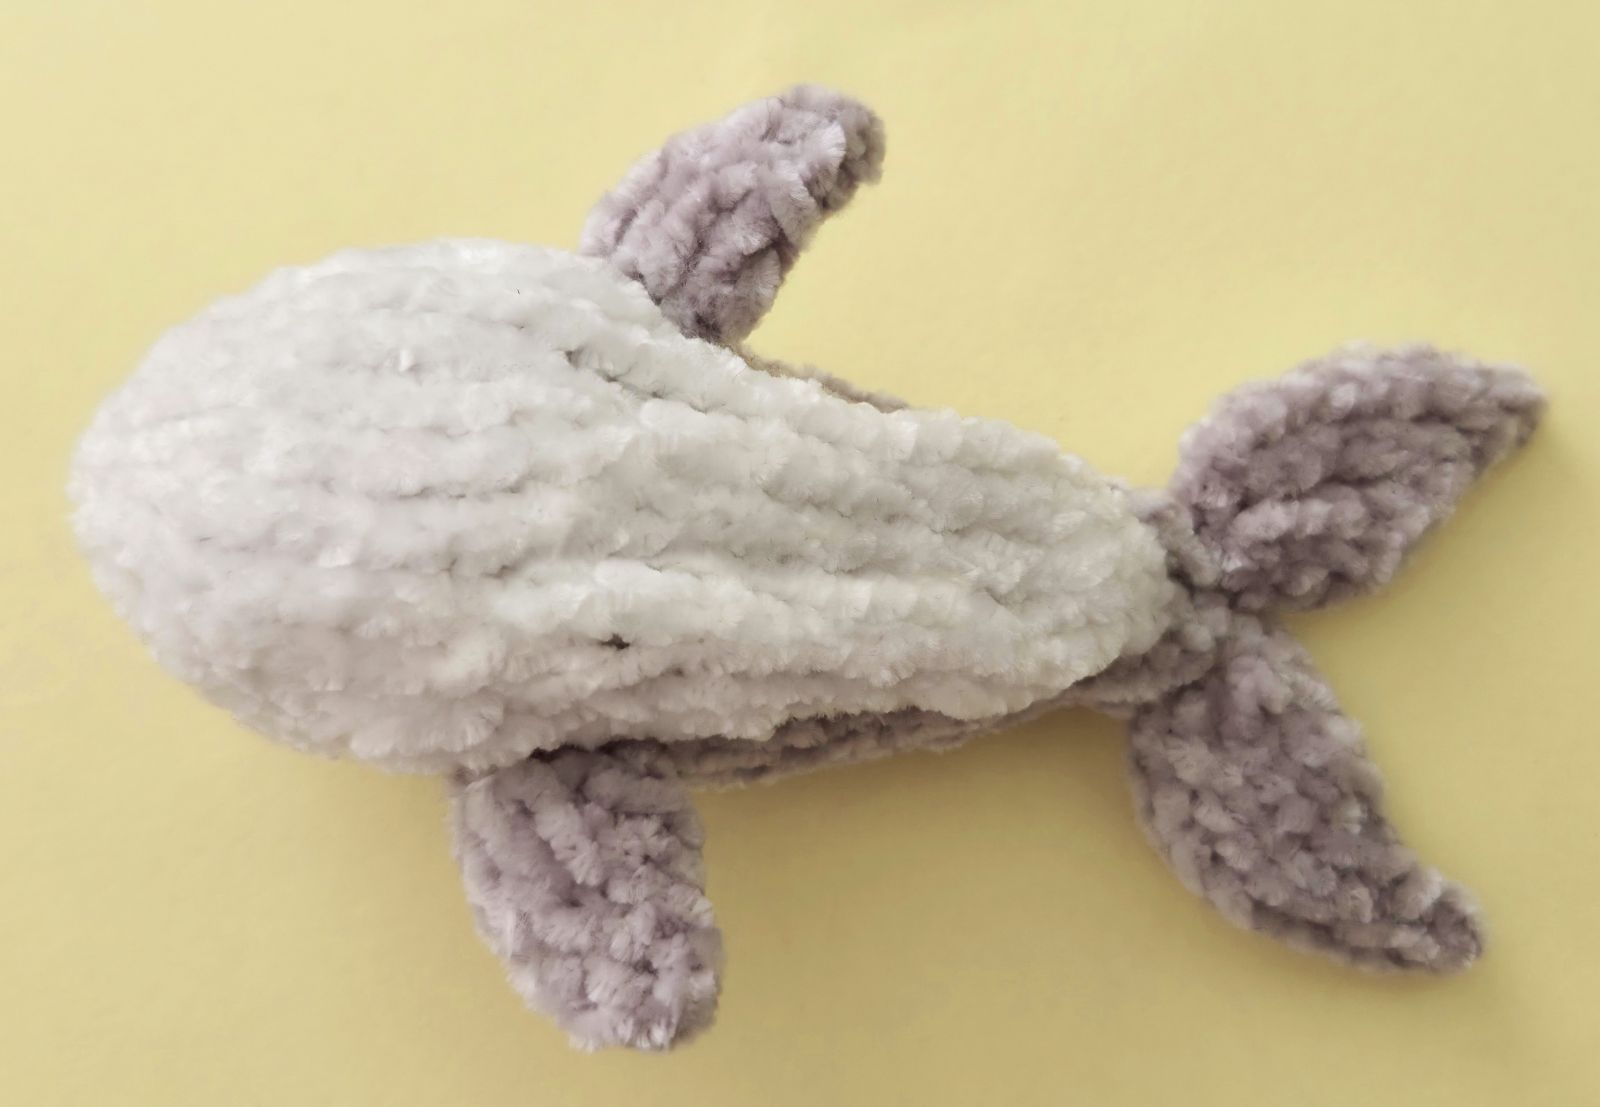
The white belly piece is positioned at the bottom of the body after casting off. I placed it so that the body seam is closed. Then the white belly piece is neatly and securely sewn to the body on both the left and right sides.
Two separate pieces are crocheted for the dolphin's tail.
Cast on 9 stitches (ch) onto the knitting needle.
1. 9 P
2. 9 K
3. 9 P
4. 1 dec, 5 K, 1 dec (7)
5. 7 P
6. 1 dec, 3 K, 1 dec (5)
7. 5 P
8. 1 dec, 1 K, 1 dec (3)
9. 3 P
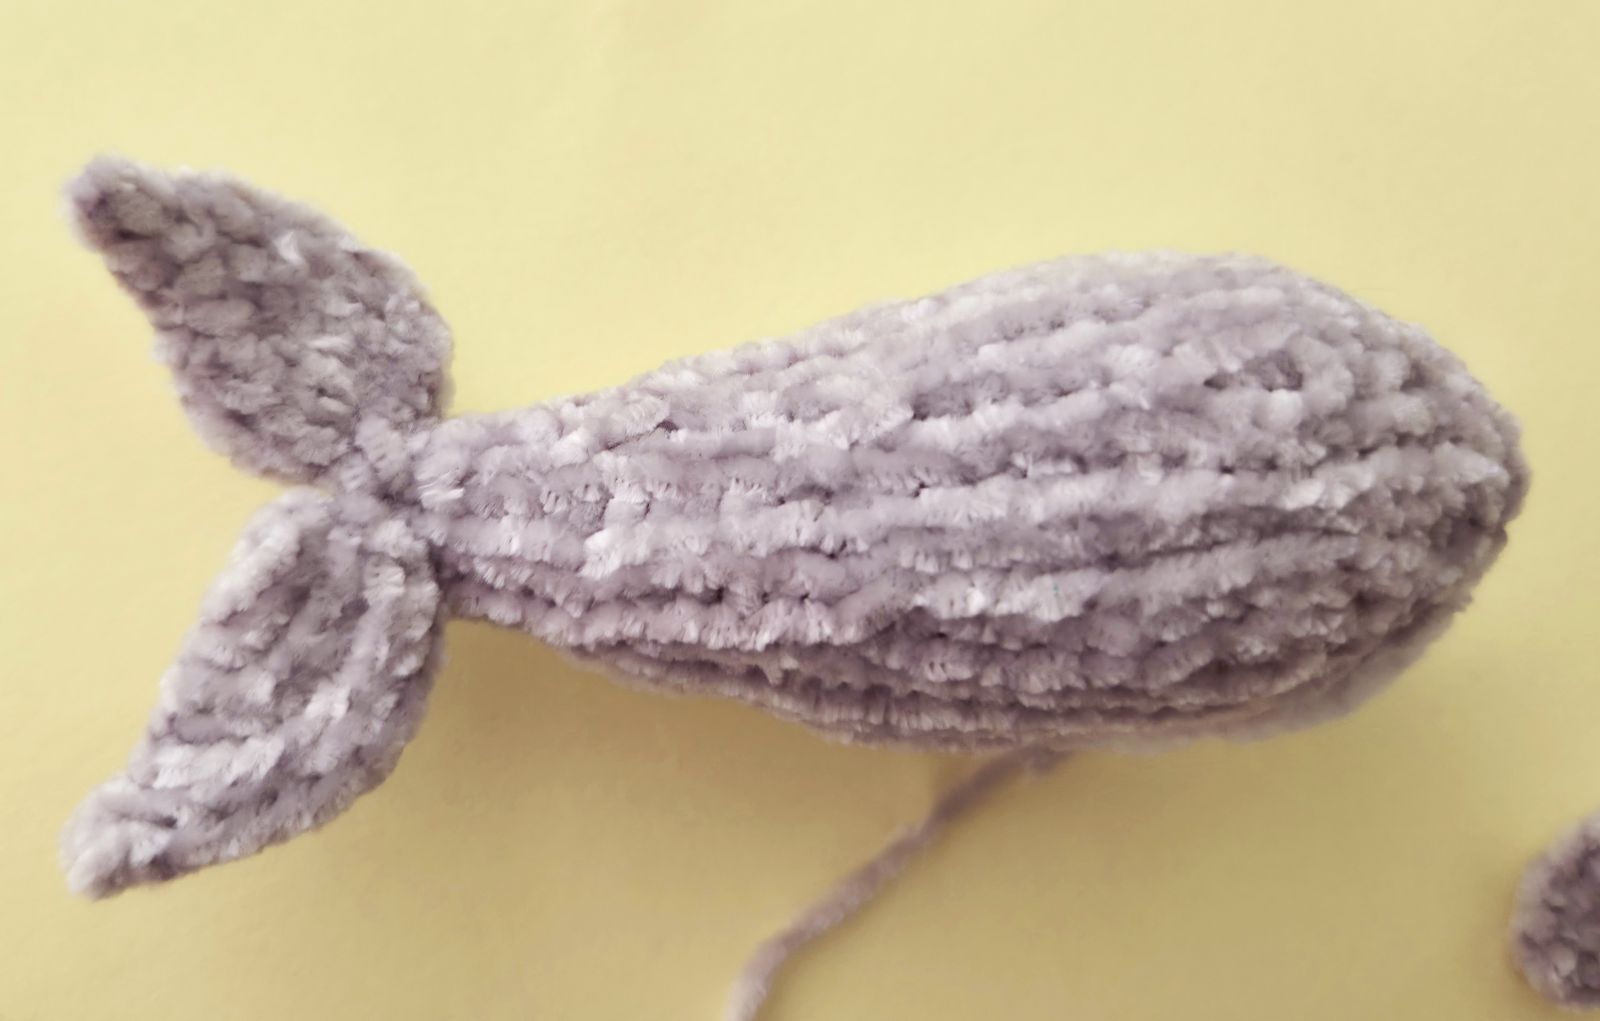
Cast off, fold the pieces in half, and sew them together. Then attach the tail to the end of the body.
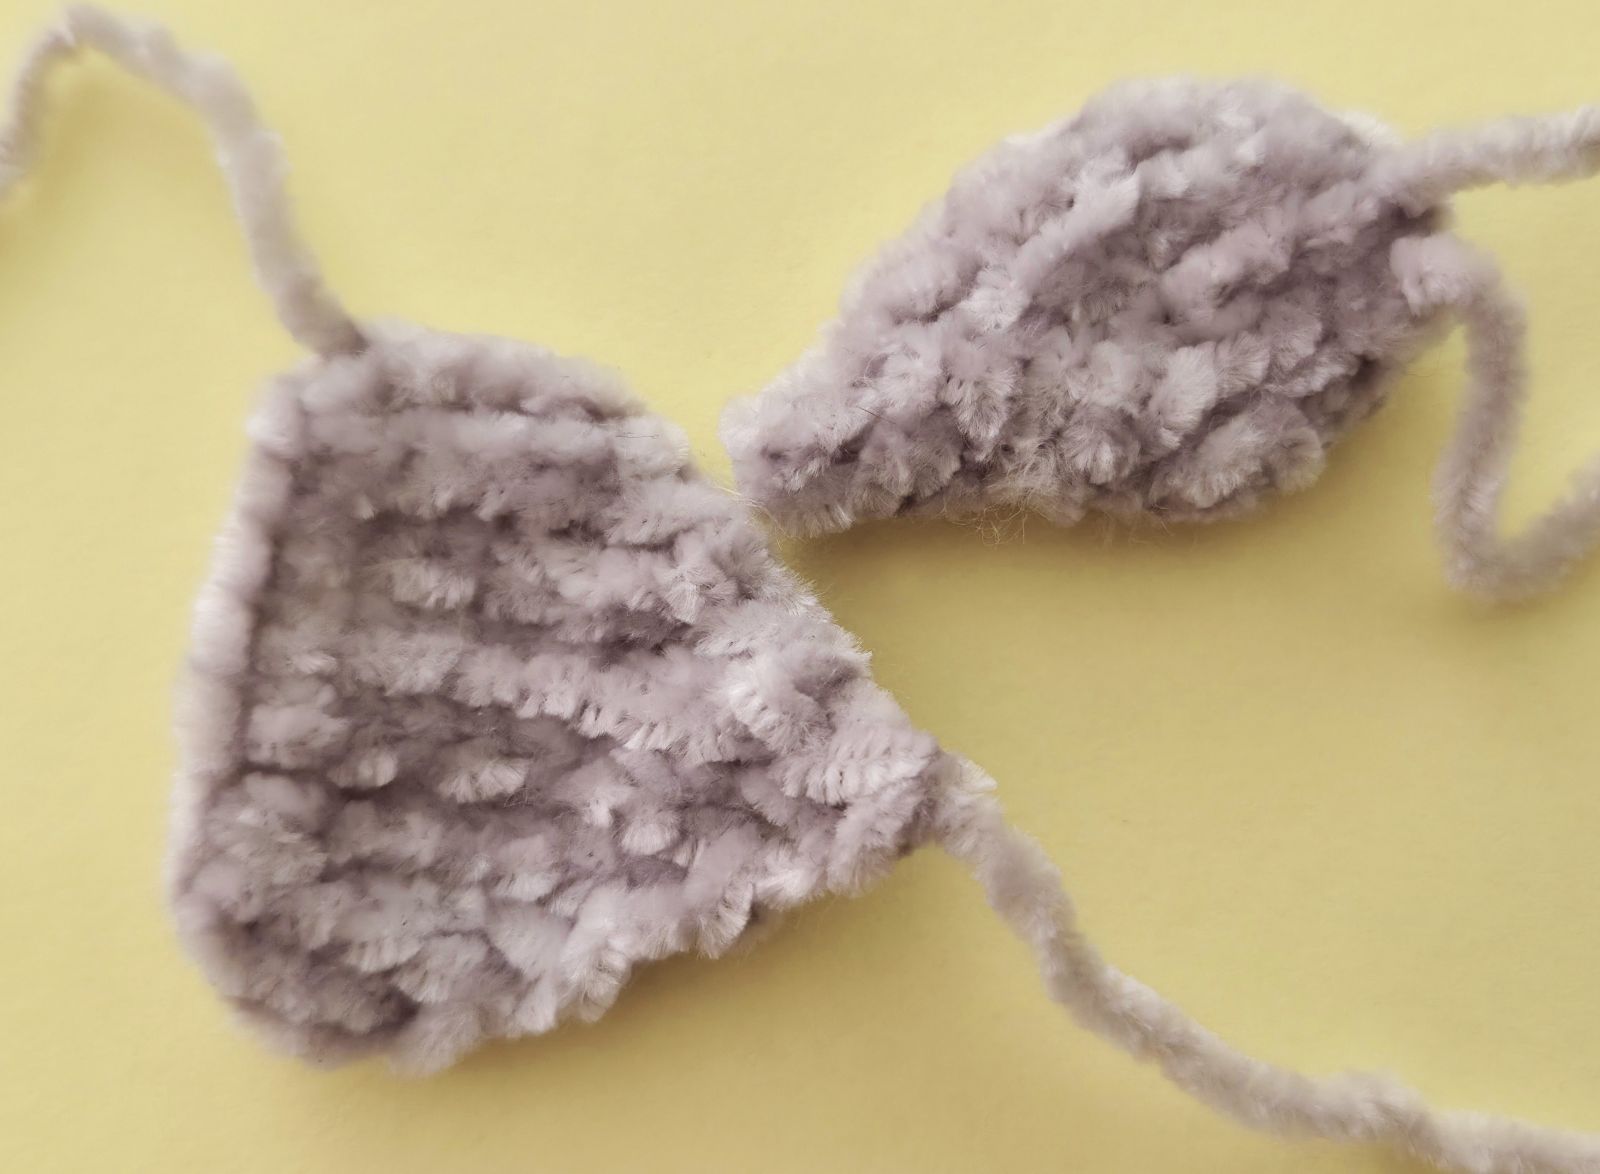
Fin (2 pieces)
Cast on 6 stitches (ch) onto the knitting needle.
1. 6 P
2. 6 K
3. 6 P
4. 1 dec, 2 K, 1 dec (4)
5. 4 P
6. 2 dec
Cast off, sew the sides together, and then attach them to the left and right sides of the body.
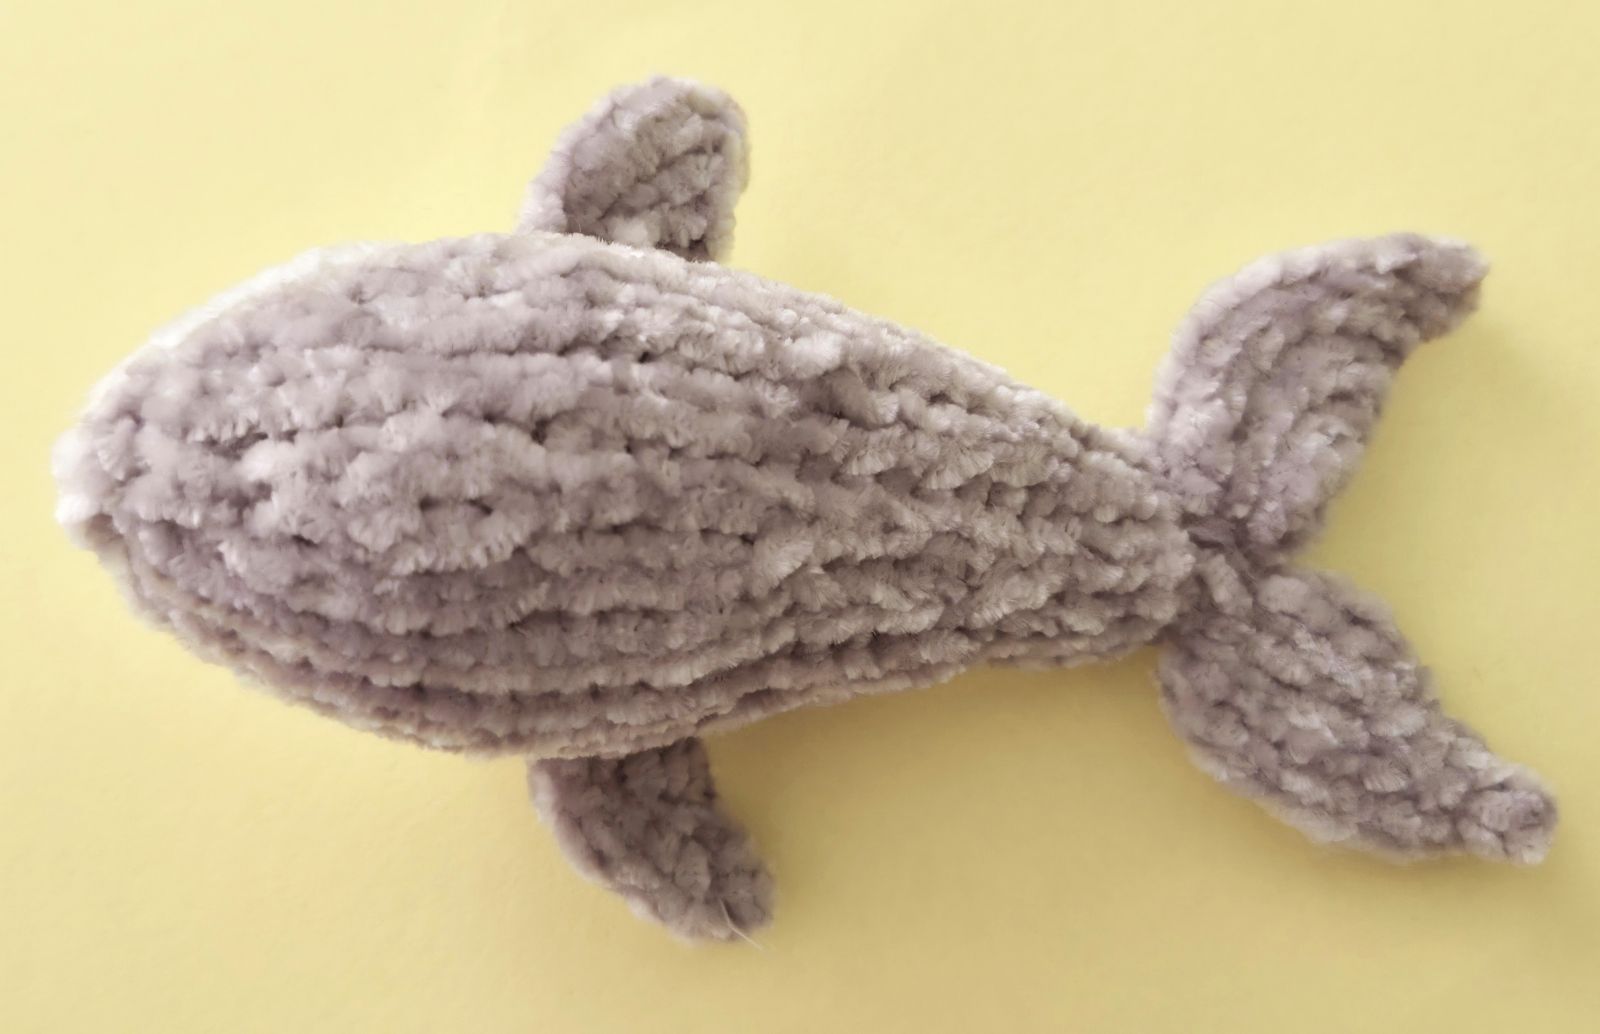
The small fin, which will later be sewn onto the top of the back, is quick to knit. Cast on 6 chain stitches and then purl 6 stitches. Next, decrease 3 stitches, purl the remaining 3 stitches, and knit the last 3 stitches together.
Fold the finished piece in half and sew it together. Then attach the small fin to the top of the back.
I used small sew‑on eyes for the dolphin. Please note: if the toy is intended for small children, the eyes must be secured very firmly, as there is a risk of swallowing. I therefore sewed the eyes on very securely.
Alternatively, crocheted eyes can be used. For this, make a magic ring with 6 single crochet stitches and sew it on as an eye. This option works especially well if you have thin black yarn on hand — unfortunately, I didn’t have any at home.
Finally, I lightly shaded the transition between white and grey with a coloured pencil. And with that, our little dolphin is finished.