For me, spring doesn’t begin loudly. It begins quietly. With more light in the morning. With open windows.
With the desire to make our home feel a little fresher.
A few days ago, we were standing outside in front of a willow shrub. My children wanted to know what it was, why it looked so soft, and whether that meant spring had already arrived.
When we came back home, they wanted to “hang up a little spring.”
Not big. Not playful. Not overloaded.
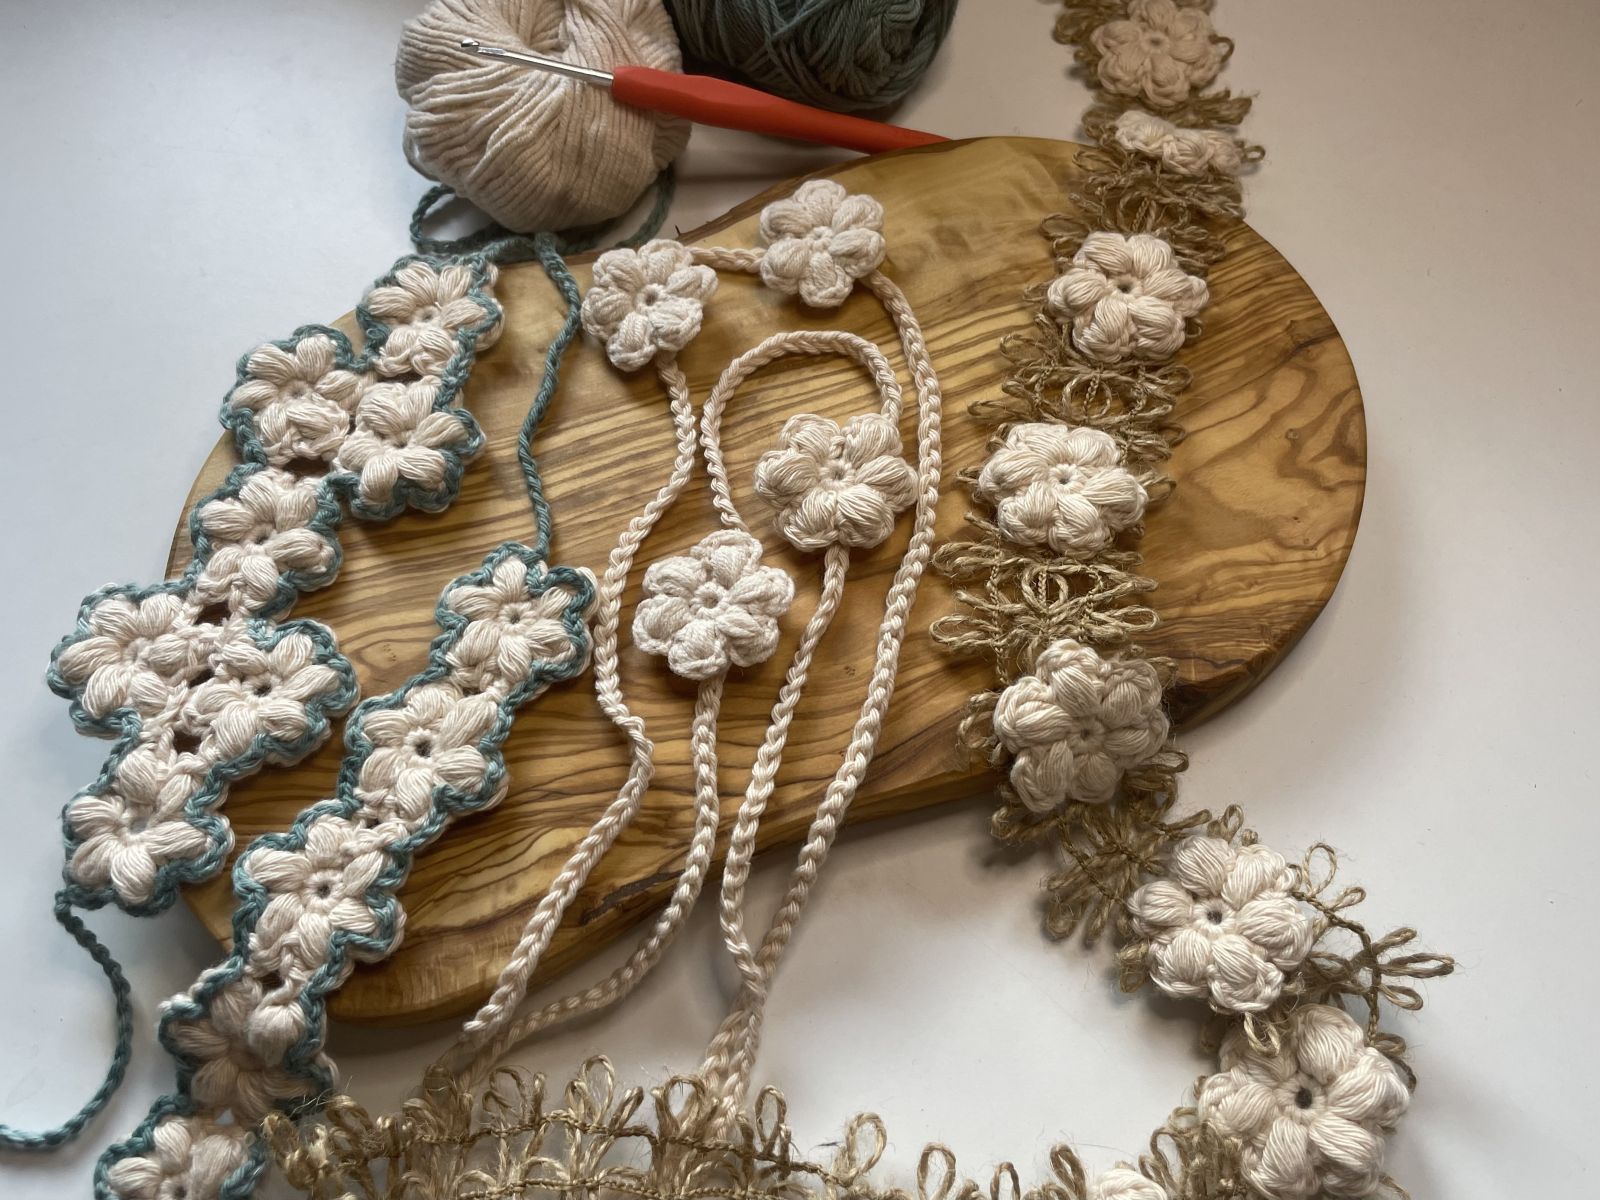
That’s how this minimalist spring ring was created – a wire hoop wrapped in green yarn with three small daisies placed in the lower third.
Reduced. Calm. Modern.
I especially love projects like this. They fit into everyday family life, can be made in between other tasks – and remain visible for a long time.
If you love flowers as much as I do, take a look at my flower headband pattern in the shop. There I show you step by step how to crochet these small blossoms in different variations that bring spring directly into your hair. The daisies on this ring follow the same idea – just for your home.
And now, let’s start by crocheting the ring.
🧶 And this is how it’s made:
We use the following stitches:
Chain stitch – Yarn over and pull through the loop.
Slip stitch – Insert the hook into the stitch, yarn over and pull through the loop on the hook.
Single crochet – Insert the hook into the stitch and pull up a loop. Two loops are on the hook. Yarn over and pull through both loops.
🧶 Materials
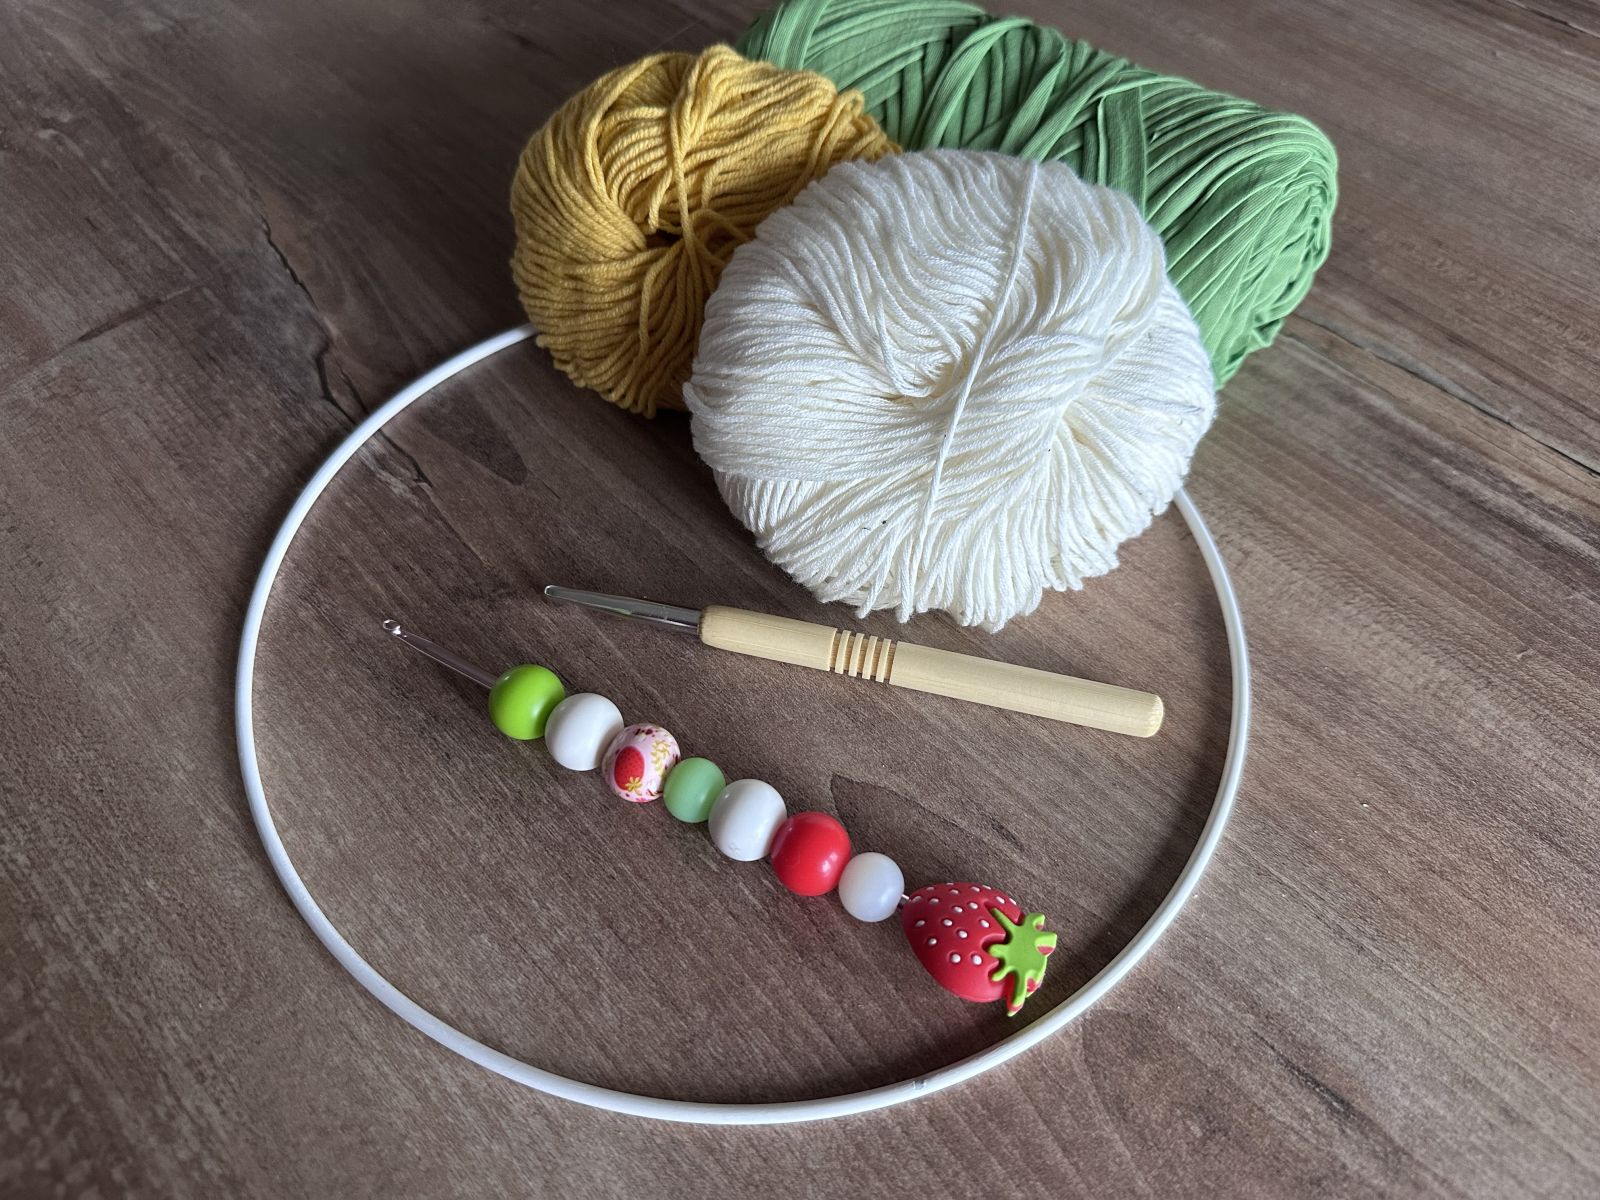
For the ring:
• Wire hoop (approx. 18–20 cm diameter)
• Green T-shirt yarn
• Crochet hook size 6 mm
• Scissors
For the daisies:
• Yellow cotton yarn
• White cotton yarn
• Crochet hook 3–3.5 mm
• Tapestry needle
The ring intentionally remains without additional leaves.
The green already takes over the role of foliage.
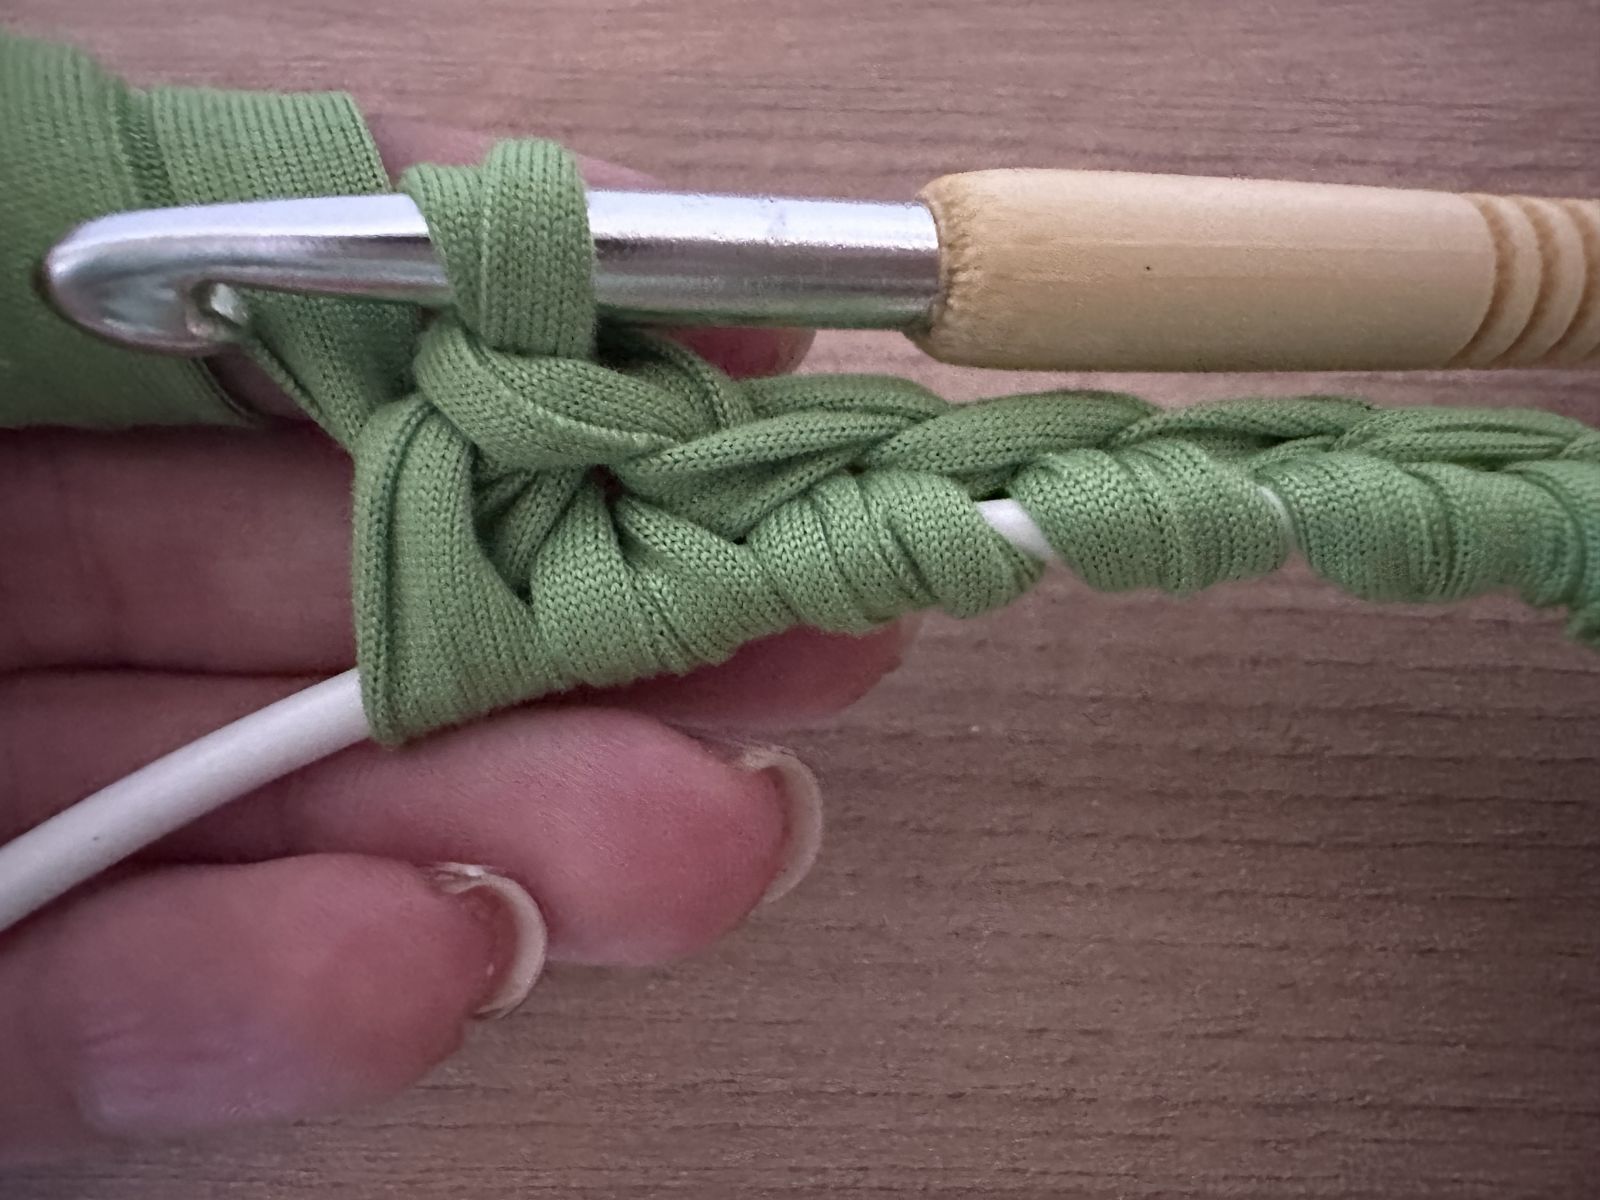
🌿 Wrapping the Wire Neatly – The Foundation Makes the Difference
A neatly wrapped wire looks high-quality. An uneven wire is immediately noticeable. That’s why it’s worth working carefully here.
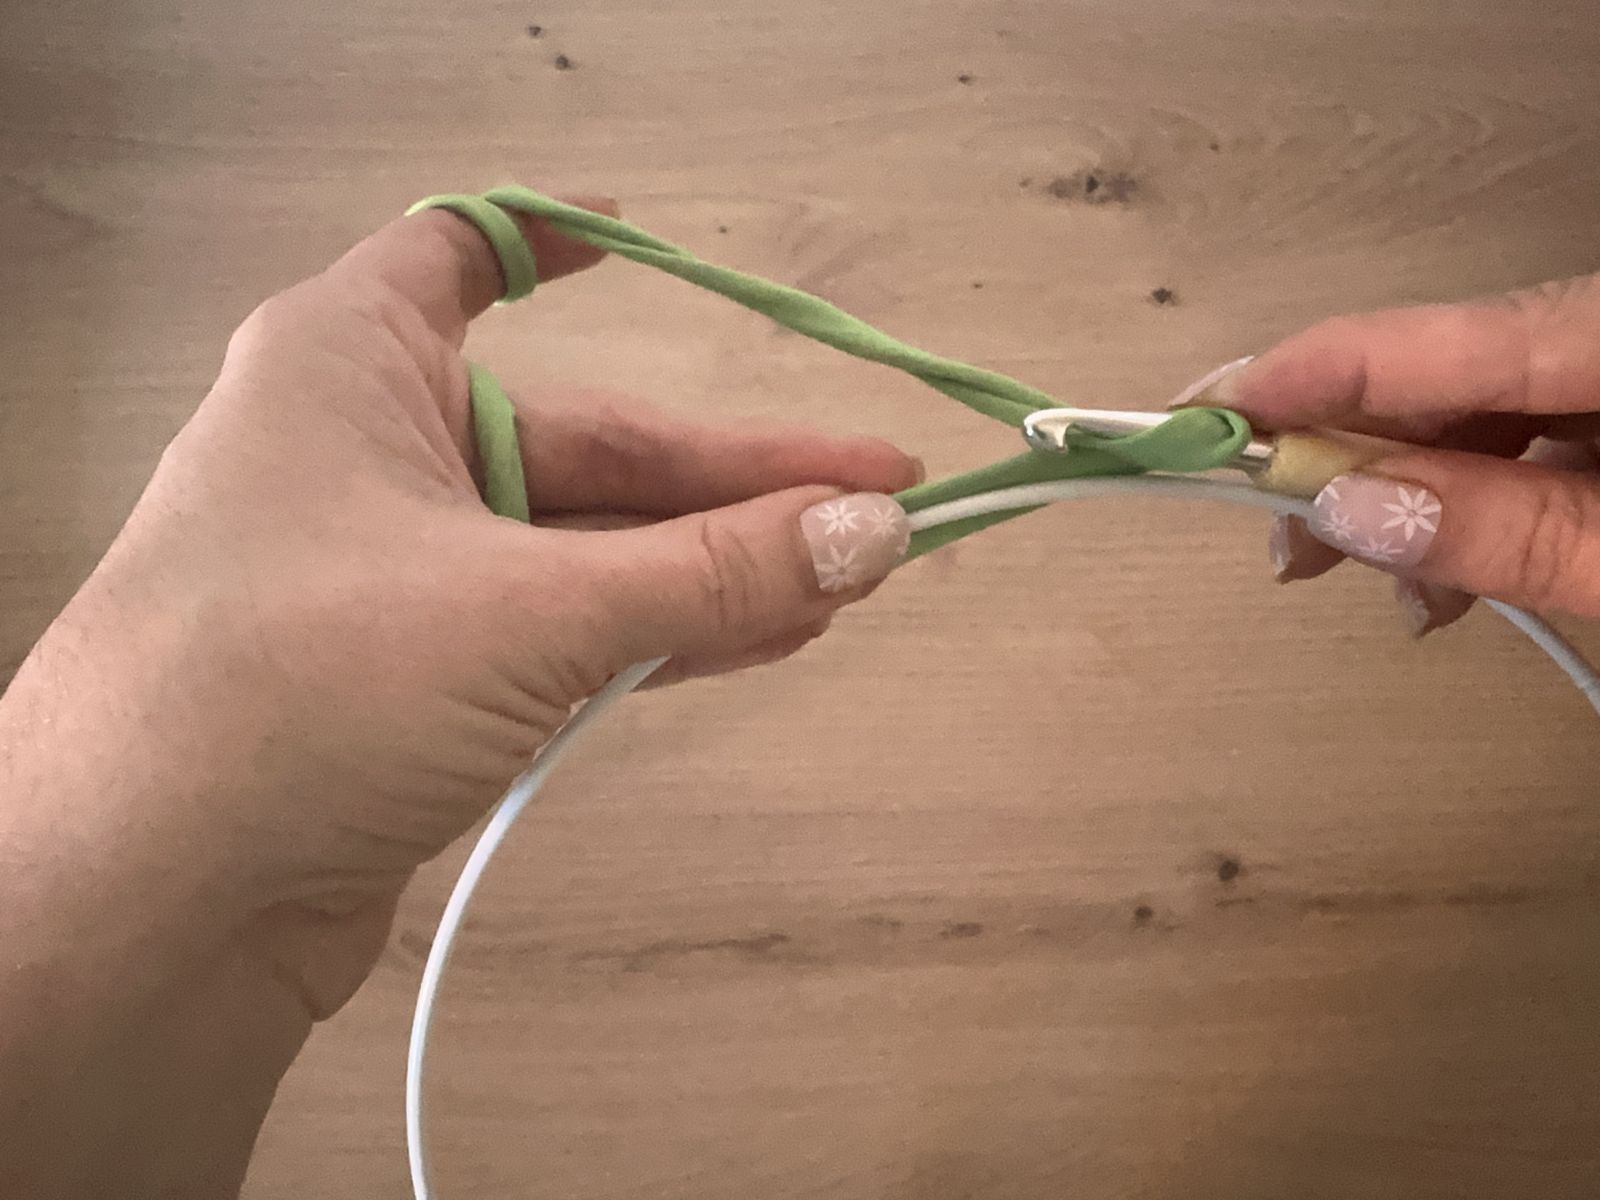
Step 1 – Crochet Over the Beginning Tail
Lay the beginning tail parallel along the wire.
1 Insert the hook from the front under the wire.
2 Pull up the working yarn.
3 Pull it to the front.
4 You now have two loops on the hook.
5 Yarn over again and pull through both loops.
The first single crochet is complete.
Important:
The beginning tail continues to lie along the wire and will automatically be crocheted over in the following stitches.
Advantages:
• additional stability
• less weaving in
• clean finish
.jpeg)
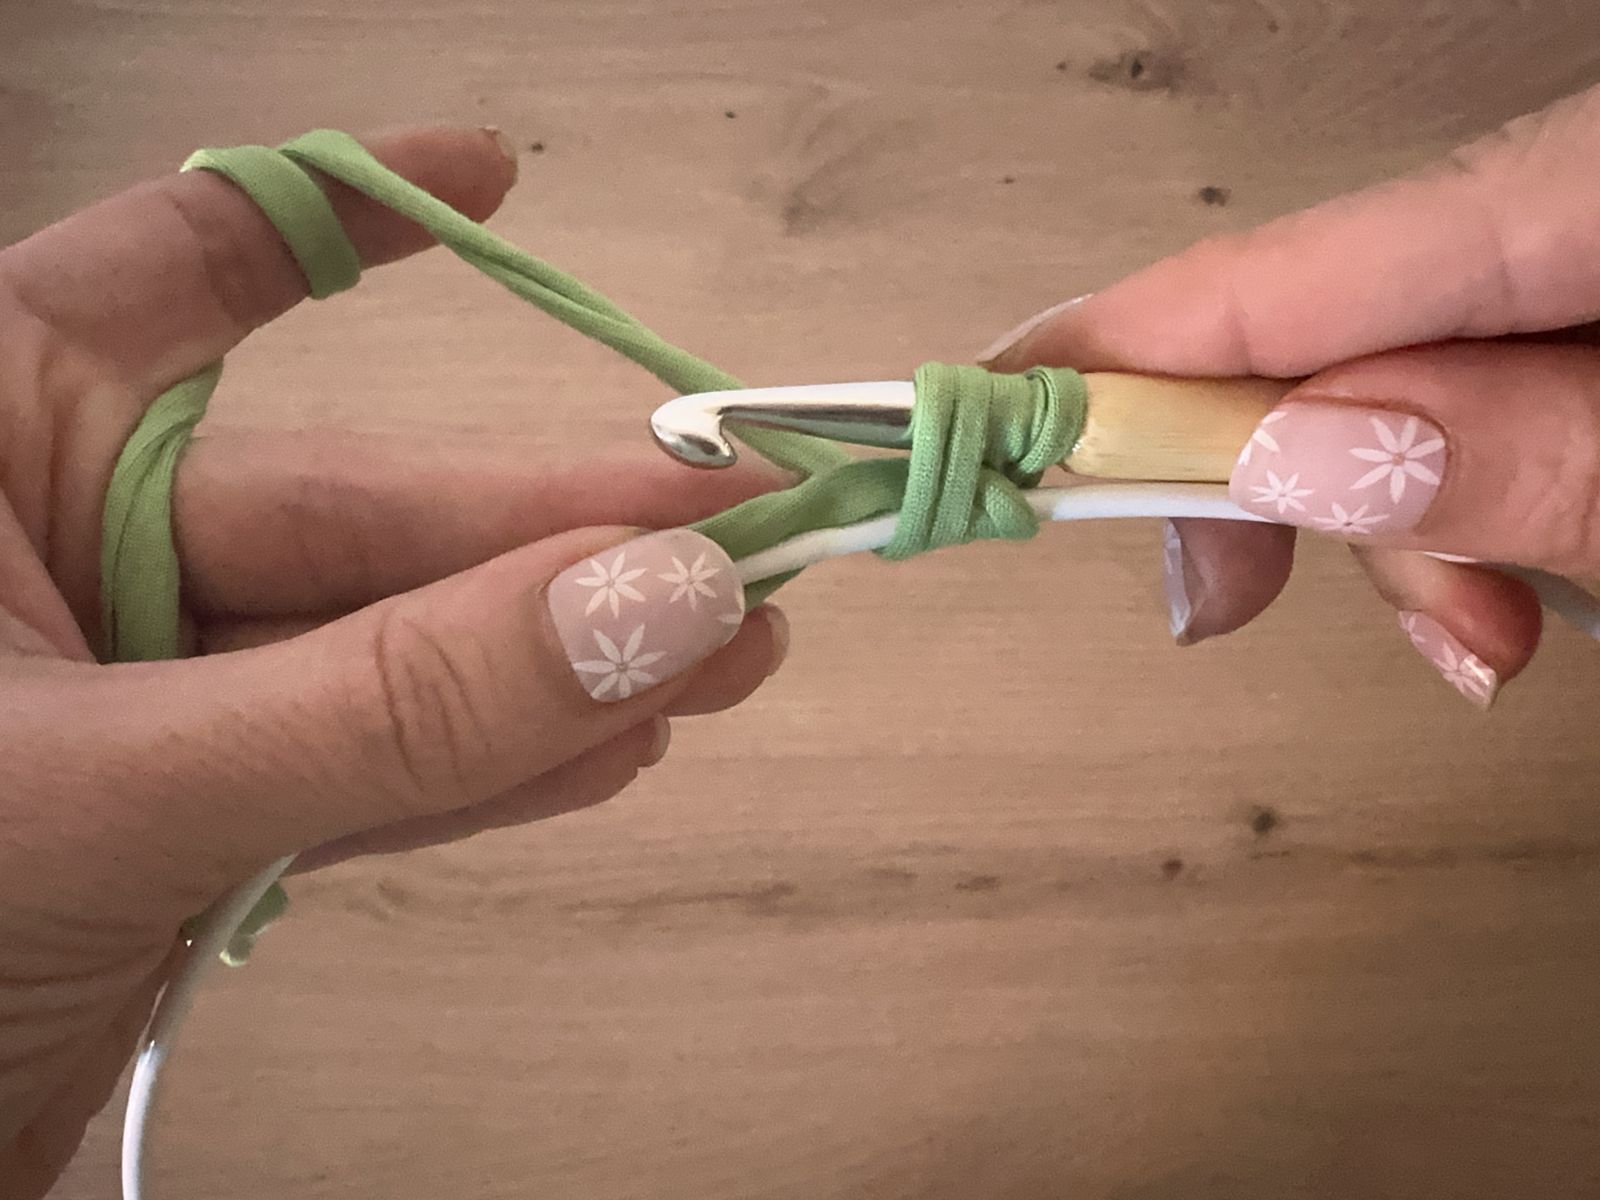
Step 2 – Fully Cover the Wire
Repeat:
• Insert hook under the wire
• Yarn over
• Pull through
• Yarn over again
• Pull through both loops
Place the stitches closely next to each other. Occasionally push them together if they have shifted apart. This ensures that no holes or gaps are visible in the end.
Pay attention to:
• even tension
• no gaps
• a calm, even stitch pattern
Work until the entire wire is covered. Don’t worry if the stitches twist slightly around the wire while crocheting. You can adjust and slide them into position at the end or in between. Just make sure everything is aligned correctly before joining, so you don’t connect it twisted.
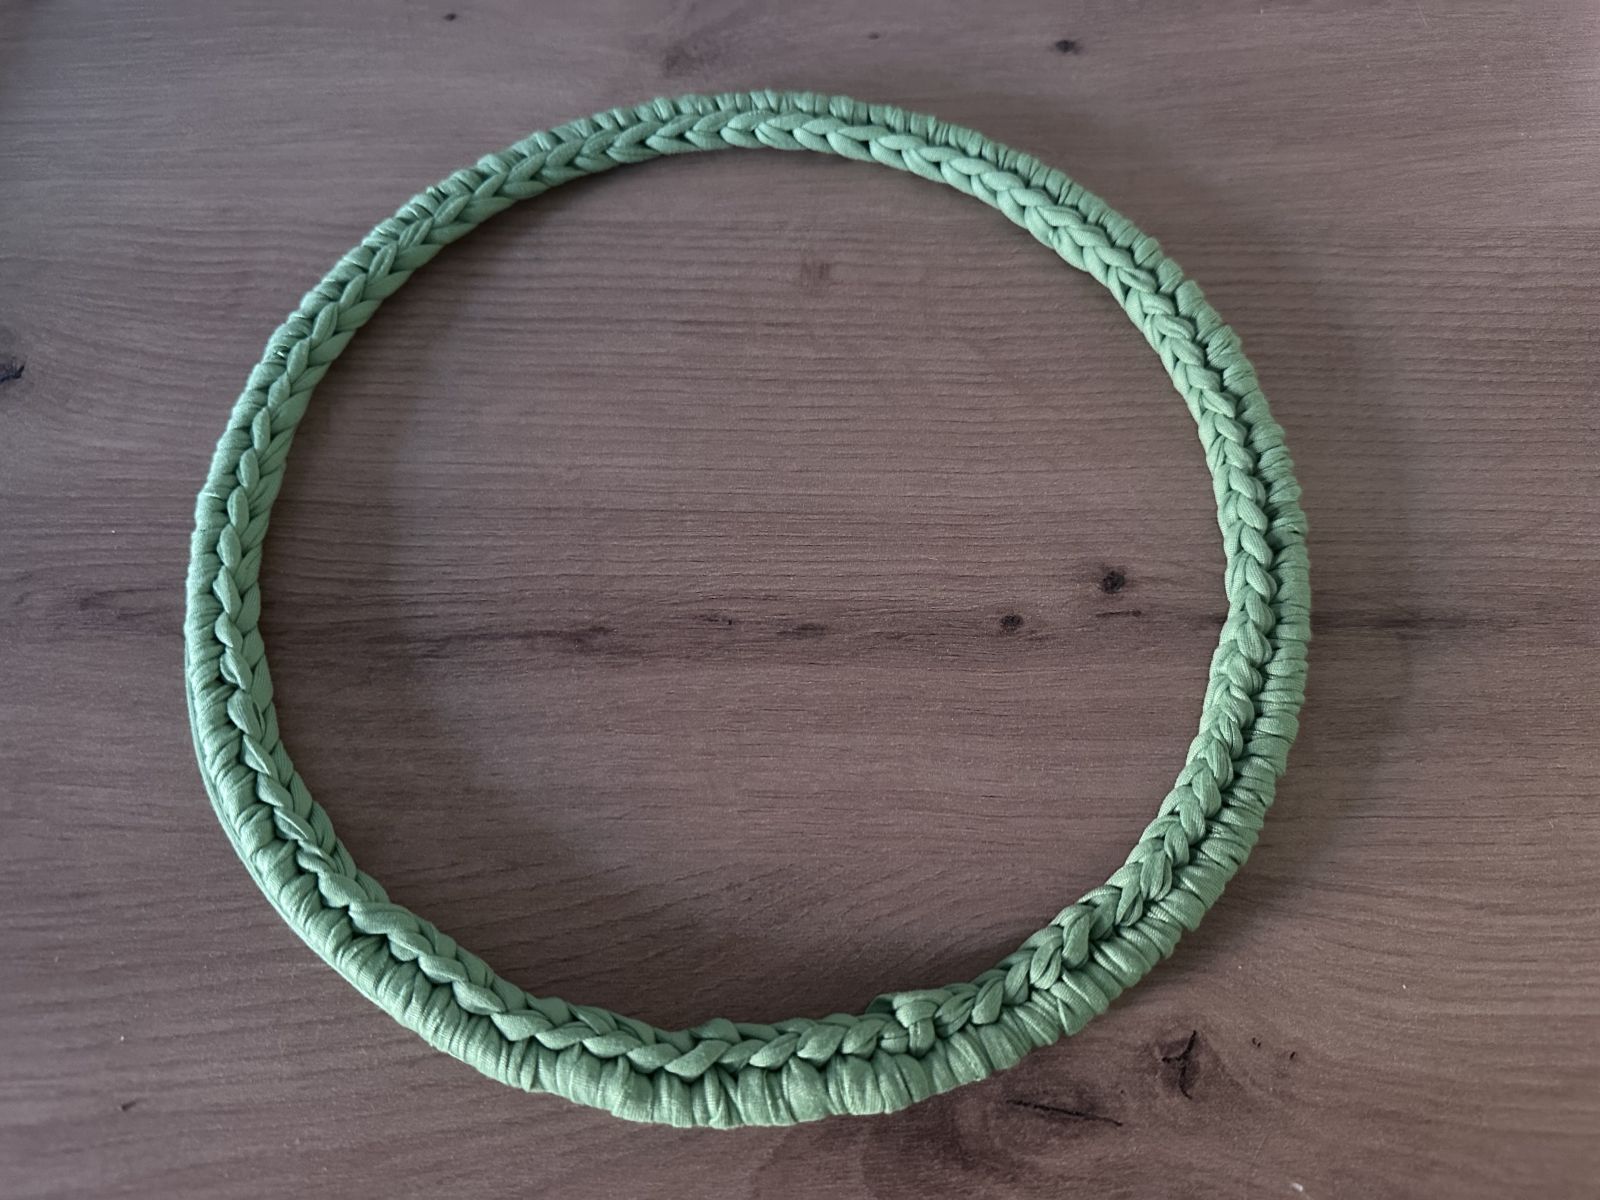
Close with a slip stitch into the first single crochet.
Common Mistakes – and How to Avoid Them
Too loose tension:
If the wire shows through, the stitches are too loose. Work deliberately tight and close together.
Twisted yarn:
T-shirt yarn can curl. Let it hang loosely from time to time so it can relax.
Uneven beginning:
After 5–6 stitches, check whether the beginning tail is securely enclosed.
These details later make the difference between “handmade” and “professional.”
🔄 Design Possibilities with a Wrapped Wire
One often overlooked but very interesting aspect of wrapping a wire hoop is the orientation of the stitches.
Once the wire is completely covered, you can slightly shift and rotate the crocheted stitch row on the wire. Depending on how you align the ring later, the effect and the way it reflects light changes noticeably.
Single crochet stitches form a clear “V” structure. You can deliberately:
• let the “V” shapes face outward
• or turn them inward
If the “V” stitches face outward, the ring appears more textured and lively. The surface gains depth because the stitches are more visible.
If you turn the stitches inward, the look becomes calmer and almost closed. The ring appears smoother and more modern.
.jpeg)
Ring with outward-facing stitch structure.
Ring with inward-turned stitch structure.
Both are technically worked the same way – it is simply a matter of orientation.
For those who prefer something more extravagant, there is even a third option: You can shift the stitches slightly diagonally along the wire to create a subtle spiral effect. Instead of placing them exactly next to each other, gently rotate the structure as you go. The result is subtle but visible – especially in stronger light.
This variation looks more modern and graphic and works particularly well if you combine several rings.
Especially with minimalist projects, it’s worth playing with such details. Often the special effect is not created by additional elements, but by conscious alignment.
🌼 Crocheting the Daisies – 18 Delicate Petals
.jpeg)
The flowers are crocheted separately and sewn on later.
Yellow Center
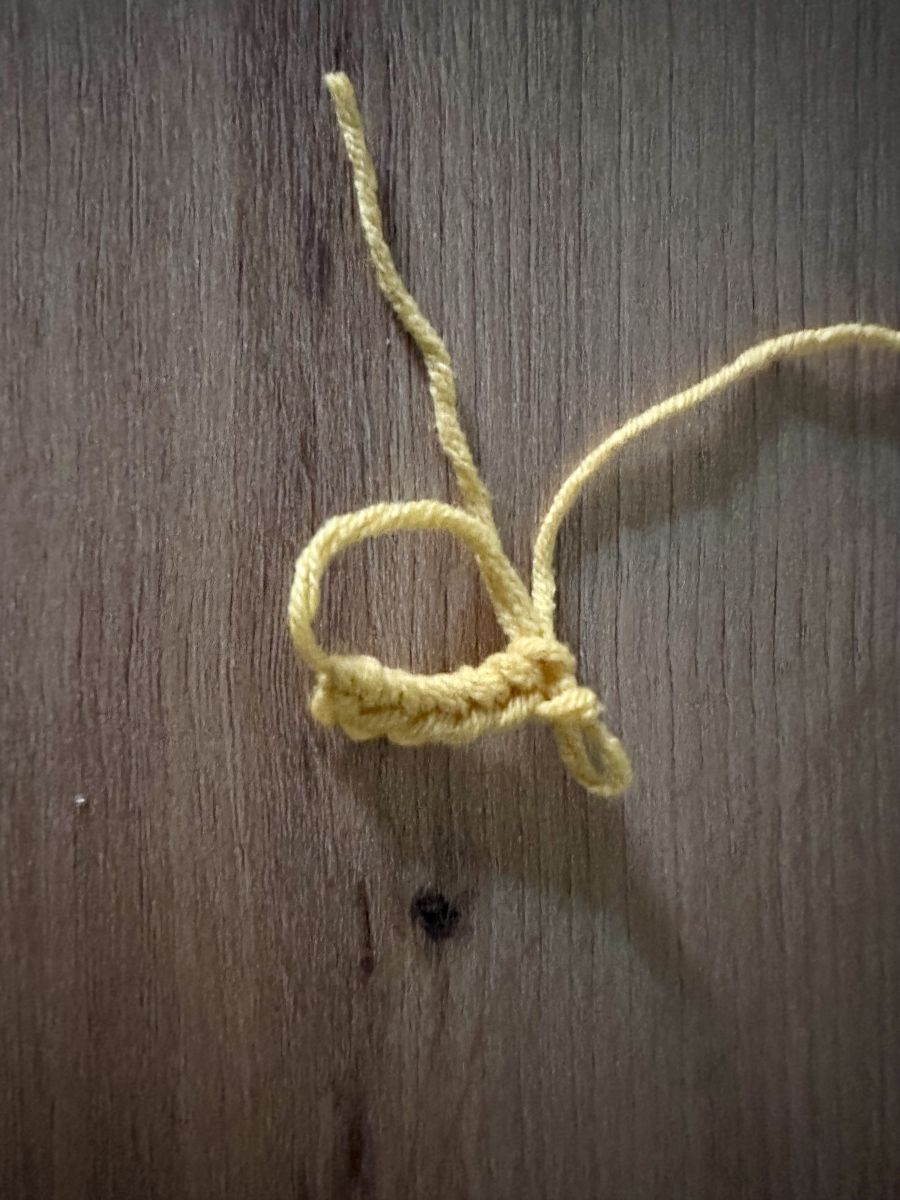
- 6 single crochet into a magic ring
- Close with a slip stitch
.jpeg)
🎨 Color Change – Start Fresh on Purpose
I do not change the color in the last stitch.
Instead:
• Finish the yellow round completely
• Cut the yellow yarn
• Attach white yarn freshly
.jpeg)
Attach white yarn:
1 Insert hook under an edge stitch
2 Pull up a white loop
3 Pull through
4 Secure with a chain stitch
This method ensures:
• clear color separation
• neat appearance
• no yarn showing through
White yarn is attached freshly.
🌼 Working the Petals
Into each of the 6 yellow stitches, crochet 3 petals. A total of 18 petals are created.
One petal:
1 5 chain stitches
.jpeg)
2 1 single crochet into the 3rd chain from the hook
3 1 slip stitch into the next chain
4 1 slip stitch into the last chain
5 1 slip stitch into the same single crochet of the yellow circle
.jpeg)
Repeat this sequence three times in the same stitch. Then move to the next stitch.
.jpeg)
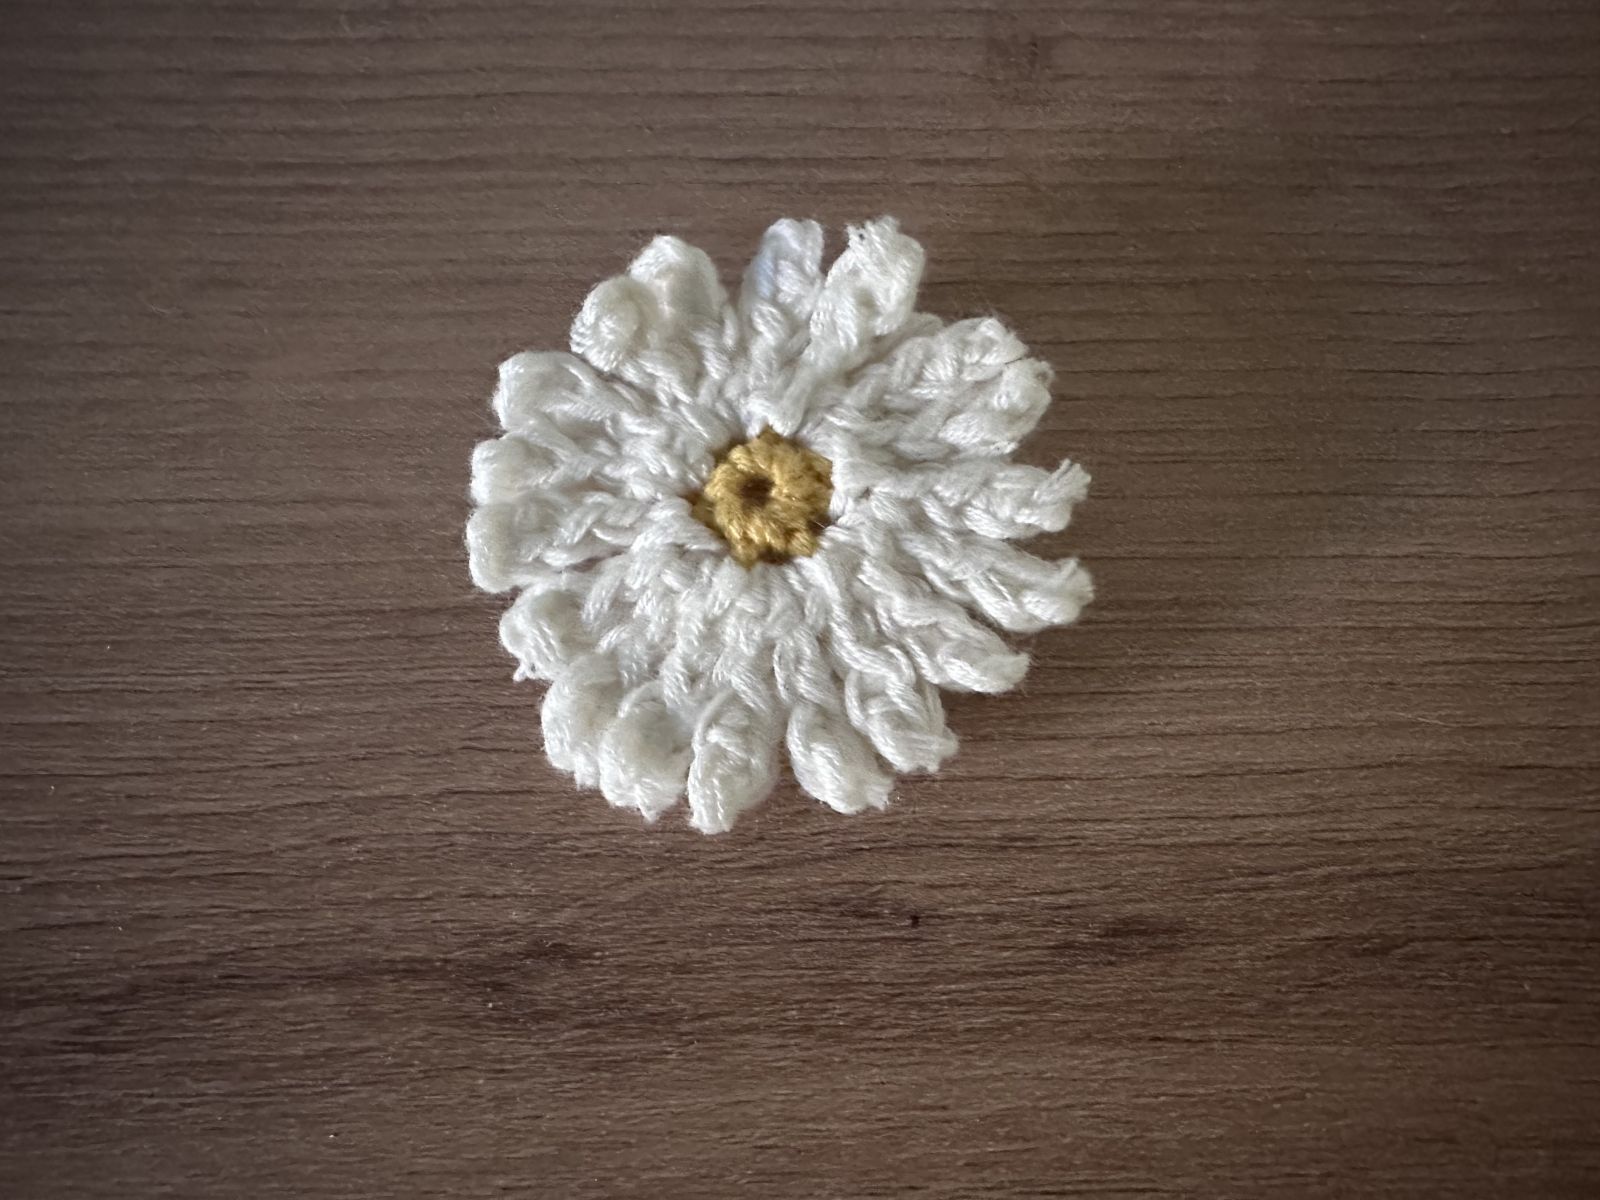
Finished daisy
🌿 Attaching the Flowers to the Ring
Arrangement:
• Two flowers next to each other
• One slightly offset above
This creates a gentle line in the lower third.
Using the white yarn:
• Insert under one stitch of the ring
• Make 2–3 securing stitches
• Weave in so it is not visible on the back
.jpeg)
Attaching to the ring
🌼 Why This Ring Intentionally Remains Minimalist
The green ring already takes over the role of foliage.
Additional leaves would:
• make the composition denser
• reduce the modern effect
• distract from the clean design
Reduction is what makes this project strong.
🏡 Design Variations
You can vary:
• smaller ring (12–14 cm)
• larger ring (25 cm, 5 flowers)
• two rings layered
• combine with cream-colored flowers
Important:
The upper third remains free. This keeps the design modern.
🌿 Connection to Other Spring Projects
The daisies follow the same flower idea as my flower headbands.
👉 Flower Headband Pattern on Crazypatterns
And from the same yarn, more spring projects are currently being created – small, sturdy home accessories that are decorative and at the same time help keep things organized.
Sometimes it starts with one flower.
And suddenly a small spring collection begins to grow.
🌼 Conclusion
This minimalist spring ring shows how powerful small details can be. Three daisies bring lightness.
The green ring provides calm and stability. The delicate flowers create movement.
Not playful. Not overloaded. But consciously reduced.
A small project with a clear effect – and perhaps the beginning of a whole series.
If you enjoy small, everyday spring ideas like this, follow me here on Crazypatterns. In the coming weeks, more projects will emerge that capture this lightness – including a new storage idea that perfectly matches this ring. That way you won’t miss anything and can expand your spring collection step by step


