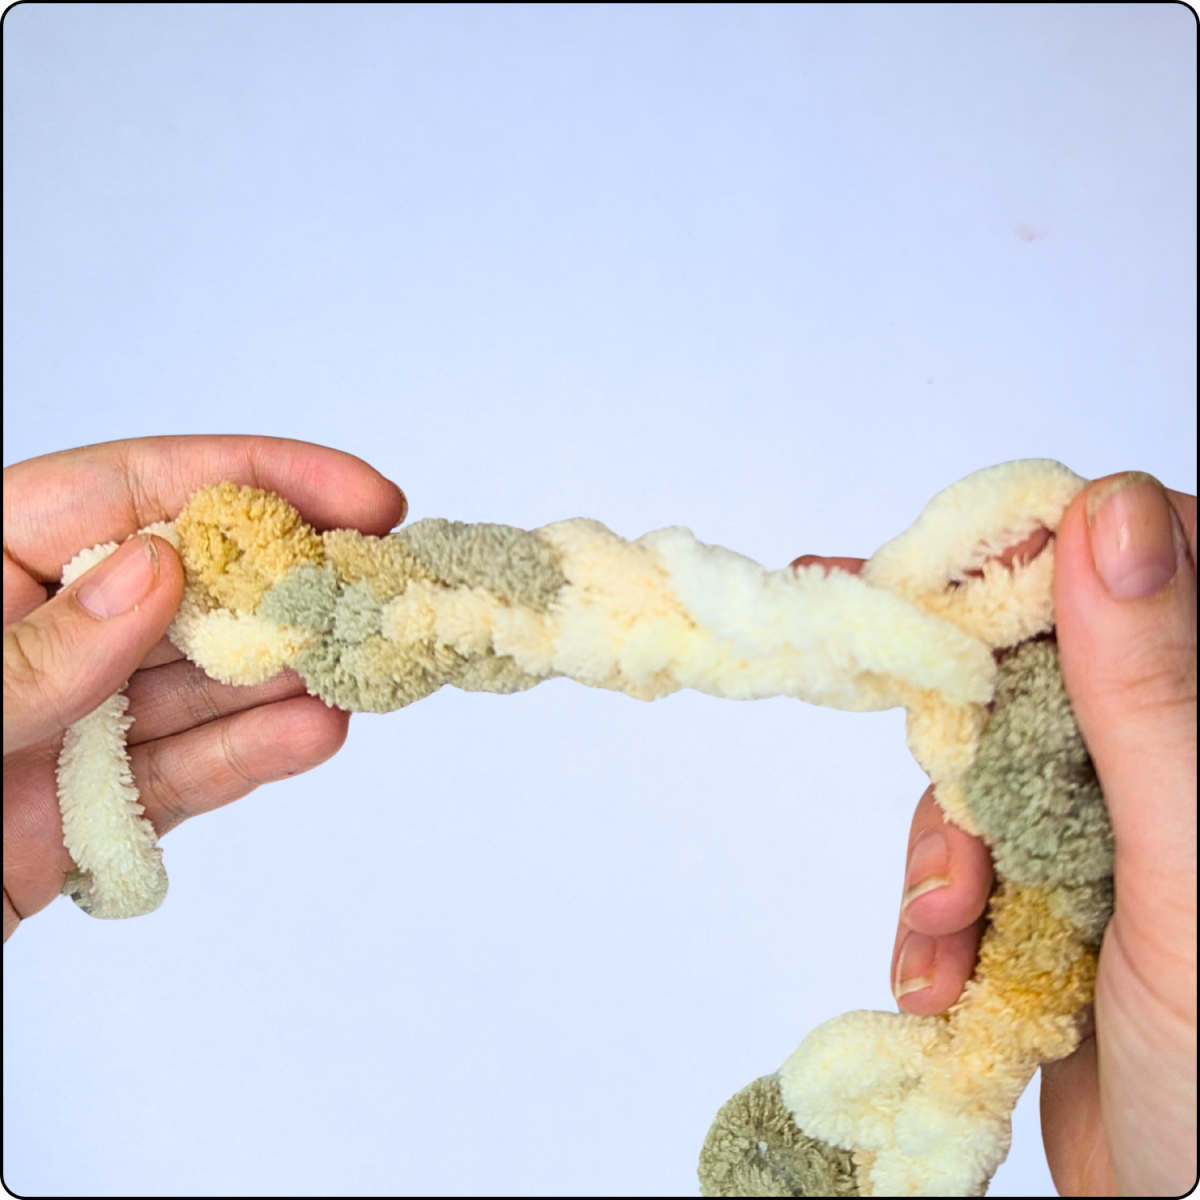
Crocheting with loop yarn opens up a very special way of crocheting. With many types of loop yarn, you work directly with pre-formed loops and can complete your project entirely without a crochet hook, using only your fingers. The loops replace traditional yarn overs and stitch movements. This technique creates soft, voluminous crochet pieces such as blankets, scarves, pillows, or baby accessories. To achieve a neat, even, and stable stitch pattern, there are a few specific techniques you should be familiar with.
In this basic guide, I’ll show you the most important stitch types and techniques you need for crocheting with loop yarn: chain stitches, single crochet, slip stitches, half double crochet, double crochet, treble crochet, the magic ring, as well as increases and the invisible decrease.
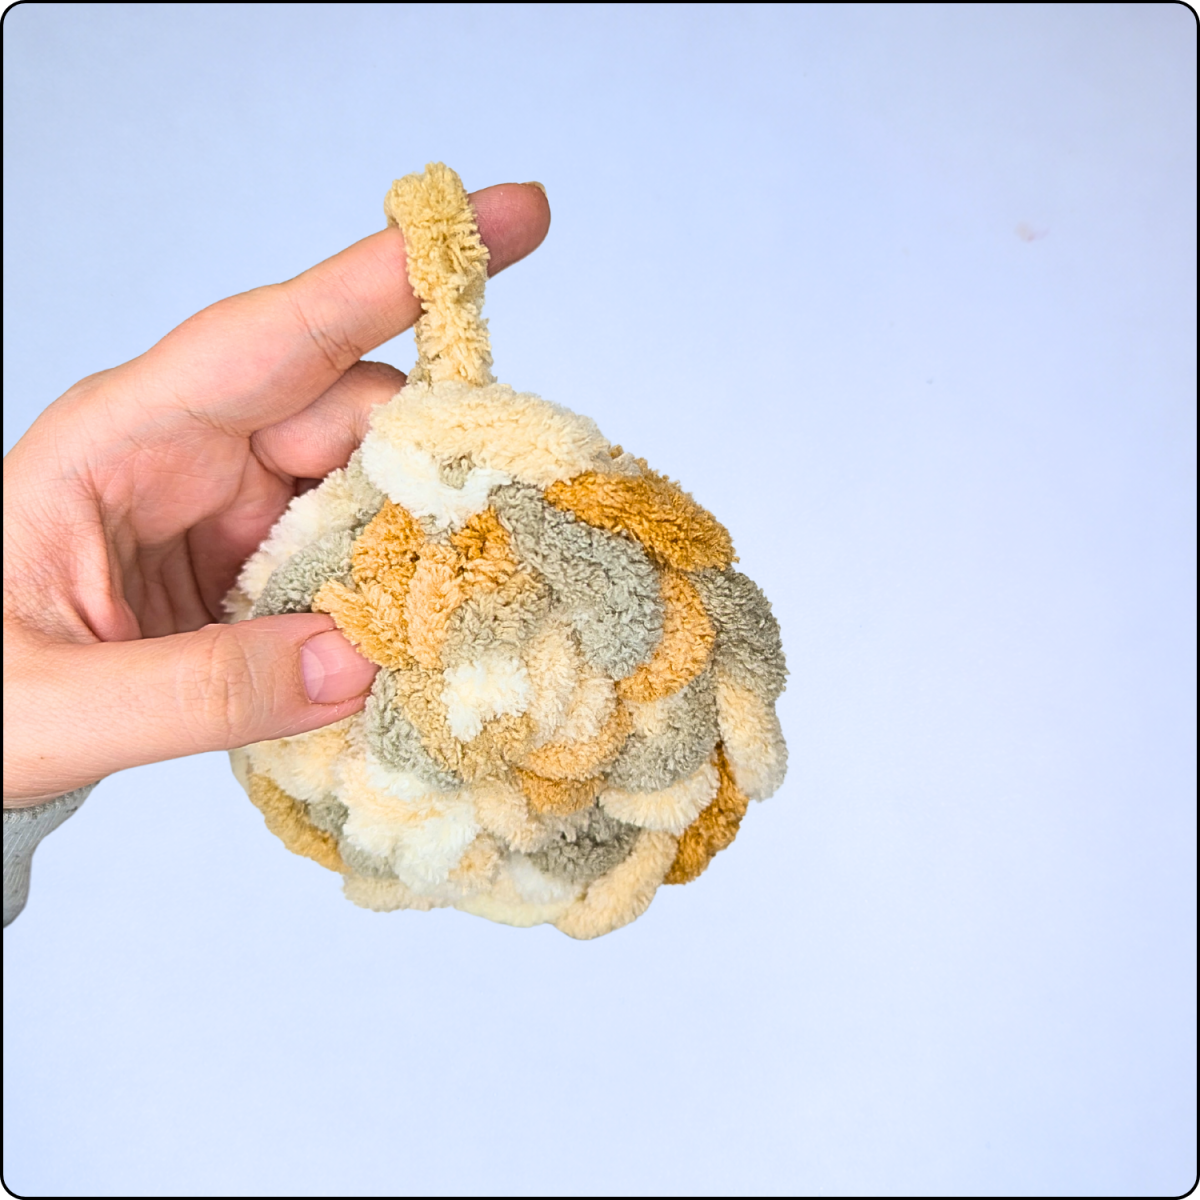
What Is Loop Yarn – and How Is It Different from Regular Yarn?
Loop yarn is a specially manufactured yarn with evenly pre-formed loops already integrated into the strand. These loops determine the stitch size and help create a very consistent and uniform stitch pattern. Because the loops are already defined, many projects can be worked directly with your fingers and completely without a crochet hook.
Basic Rule for a Clean Stitch Pattern
When working with loop yarn, the loop itself determines the stitch — not your wrapping technique. Pay close attention to the following points:
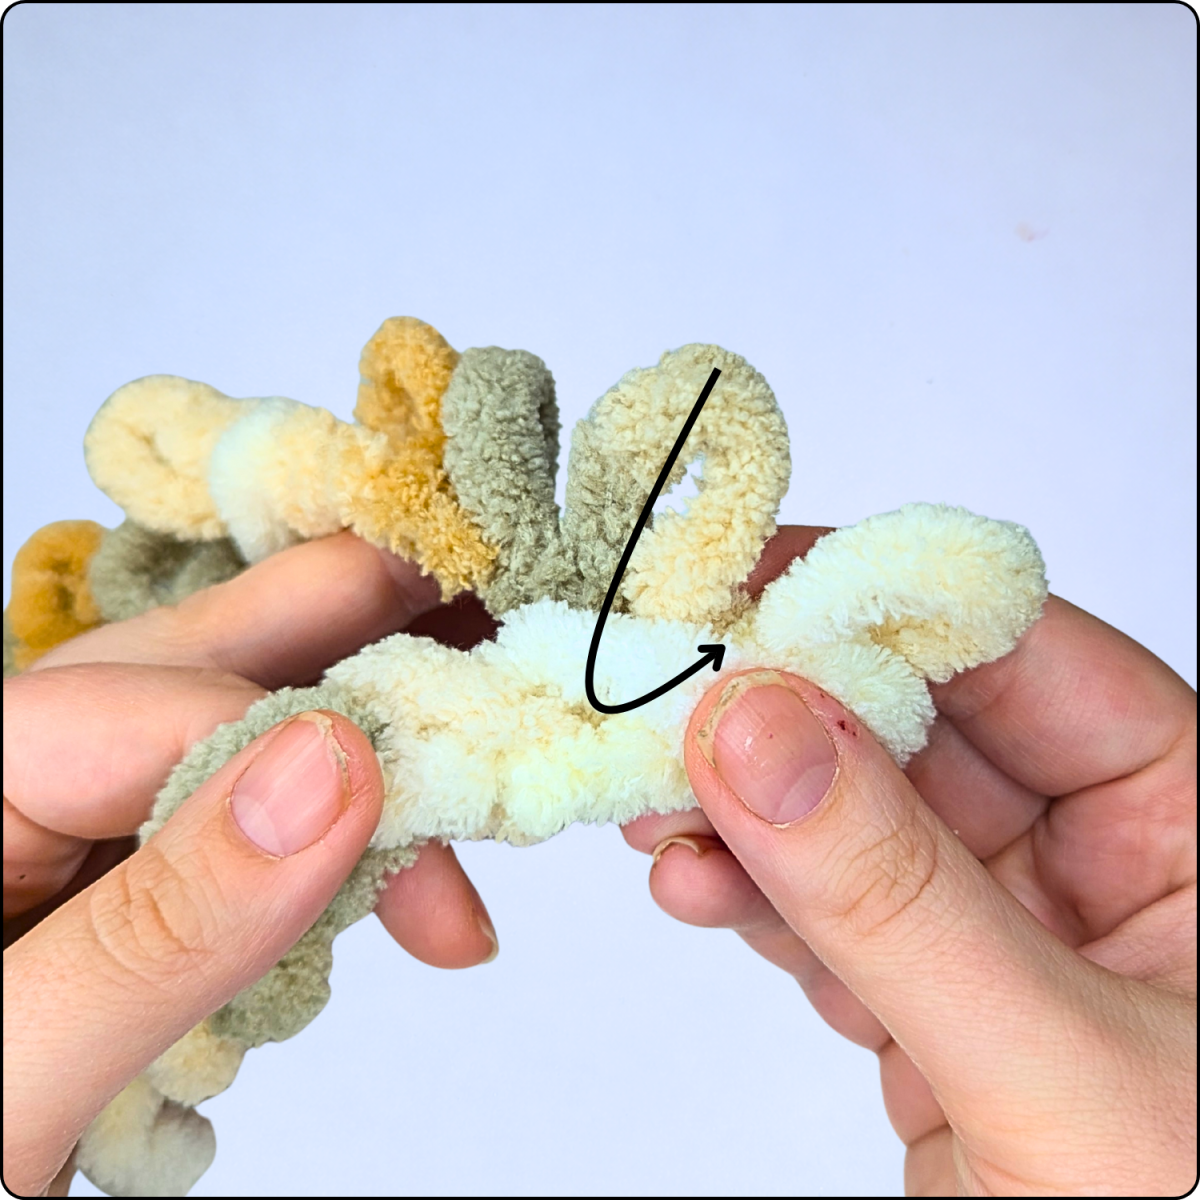
- Loop direction: All loops should face the same direction; otherwise, the surface can look uneven.
- Do not twist the loops: Twisted loops can create small knots or bumps in your work.
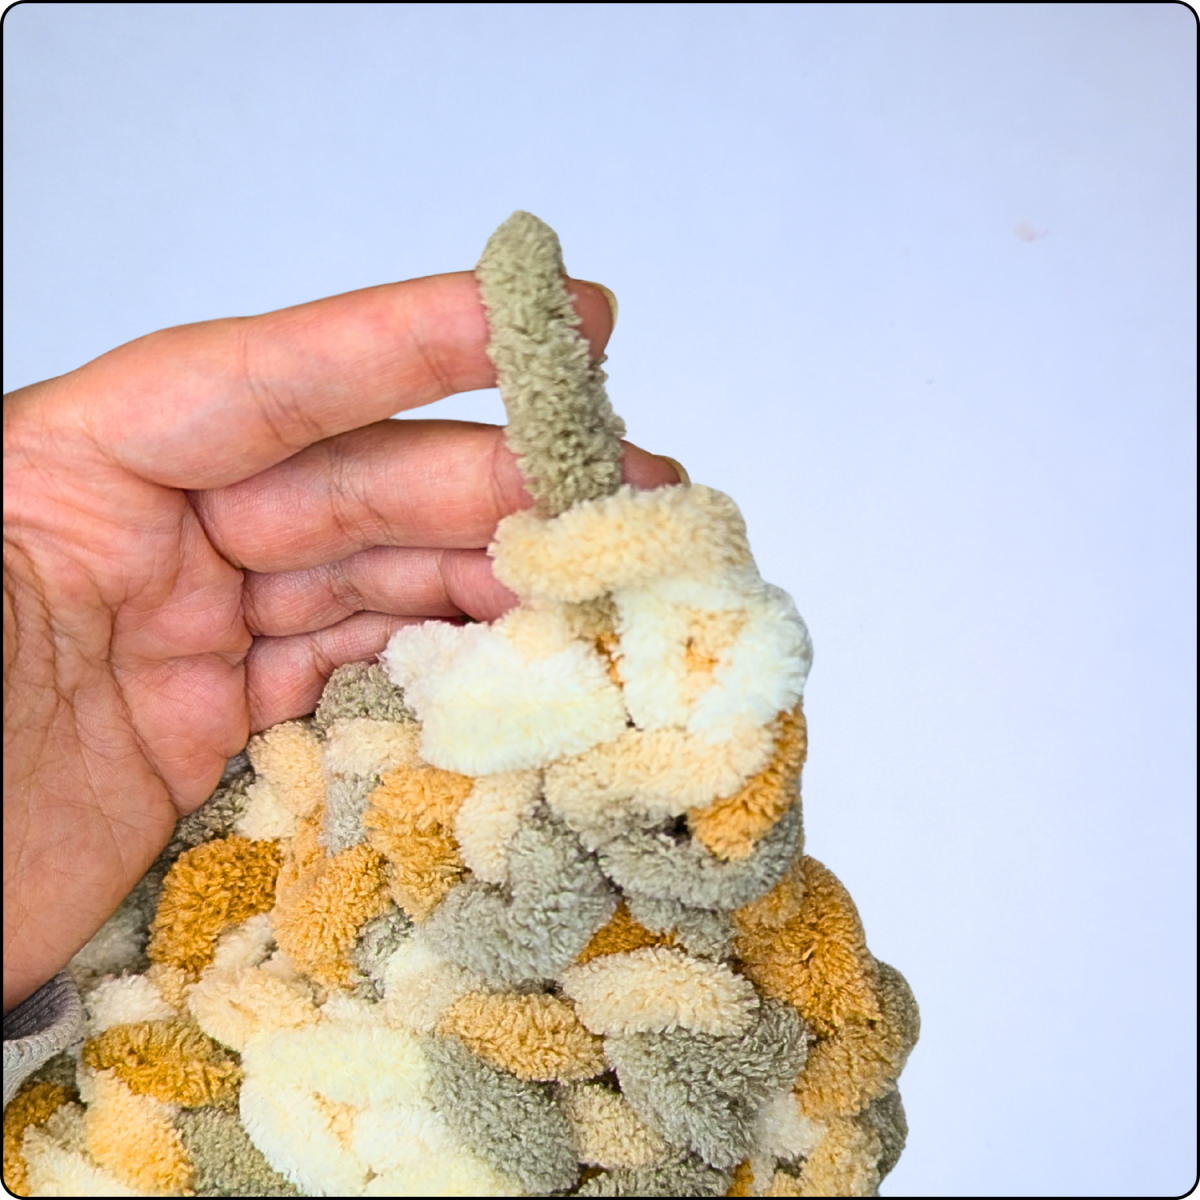
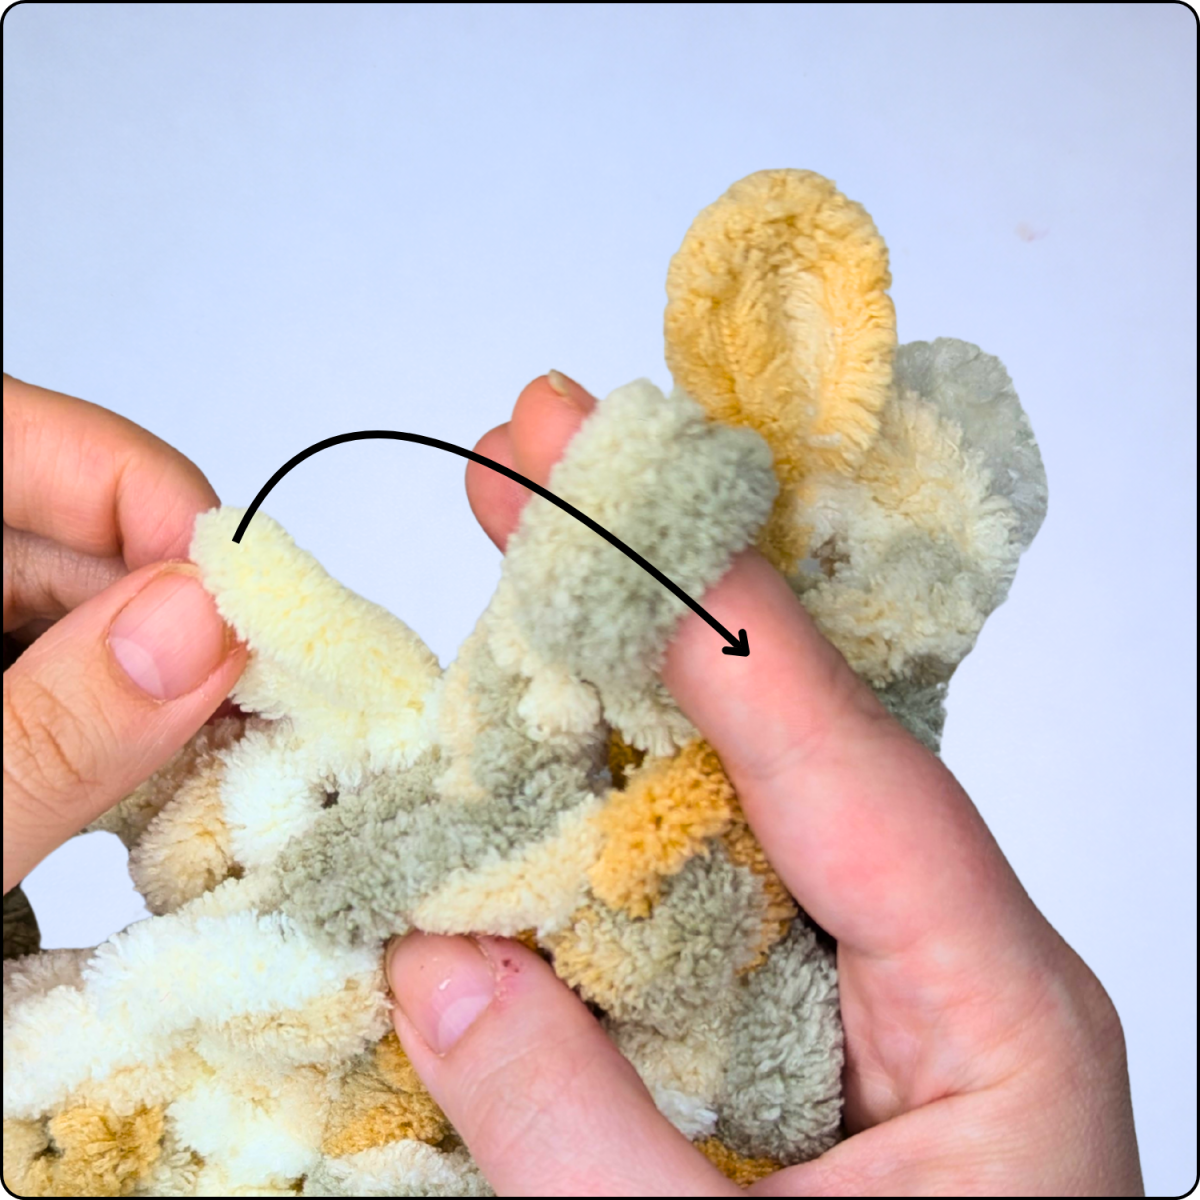
Preparation: Starting Tail & Initial Loop / Slip Knot
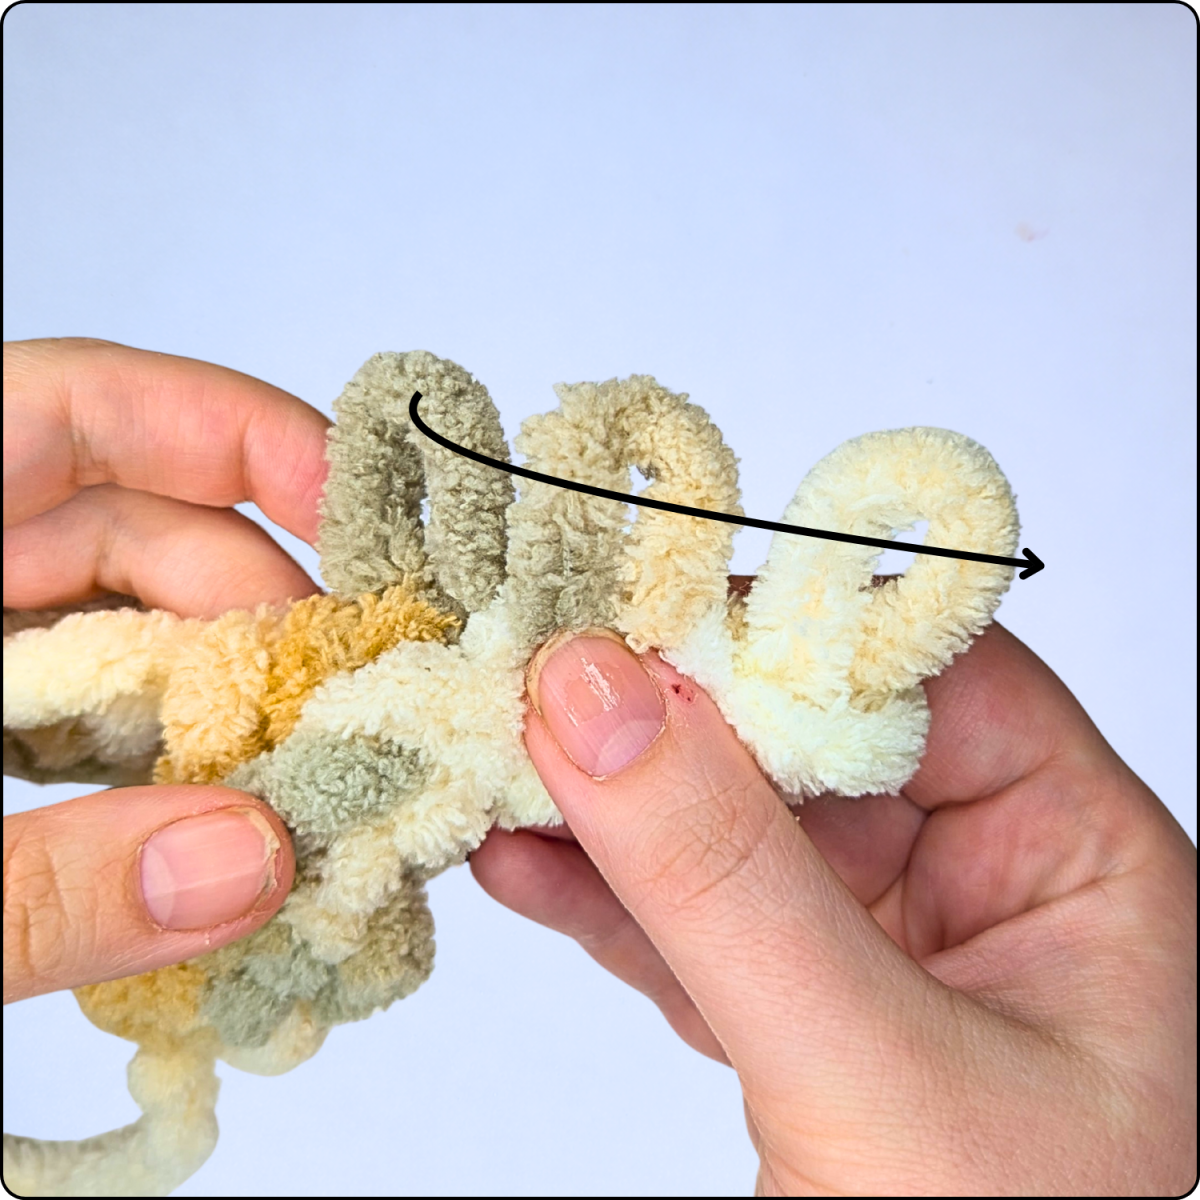
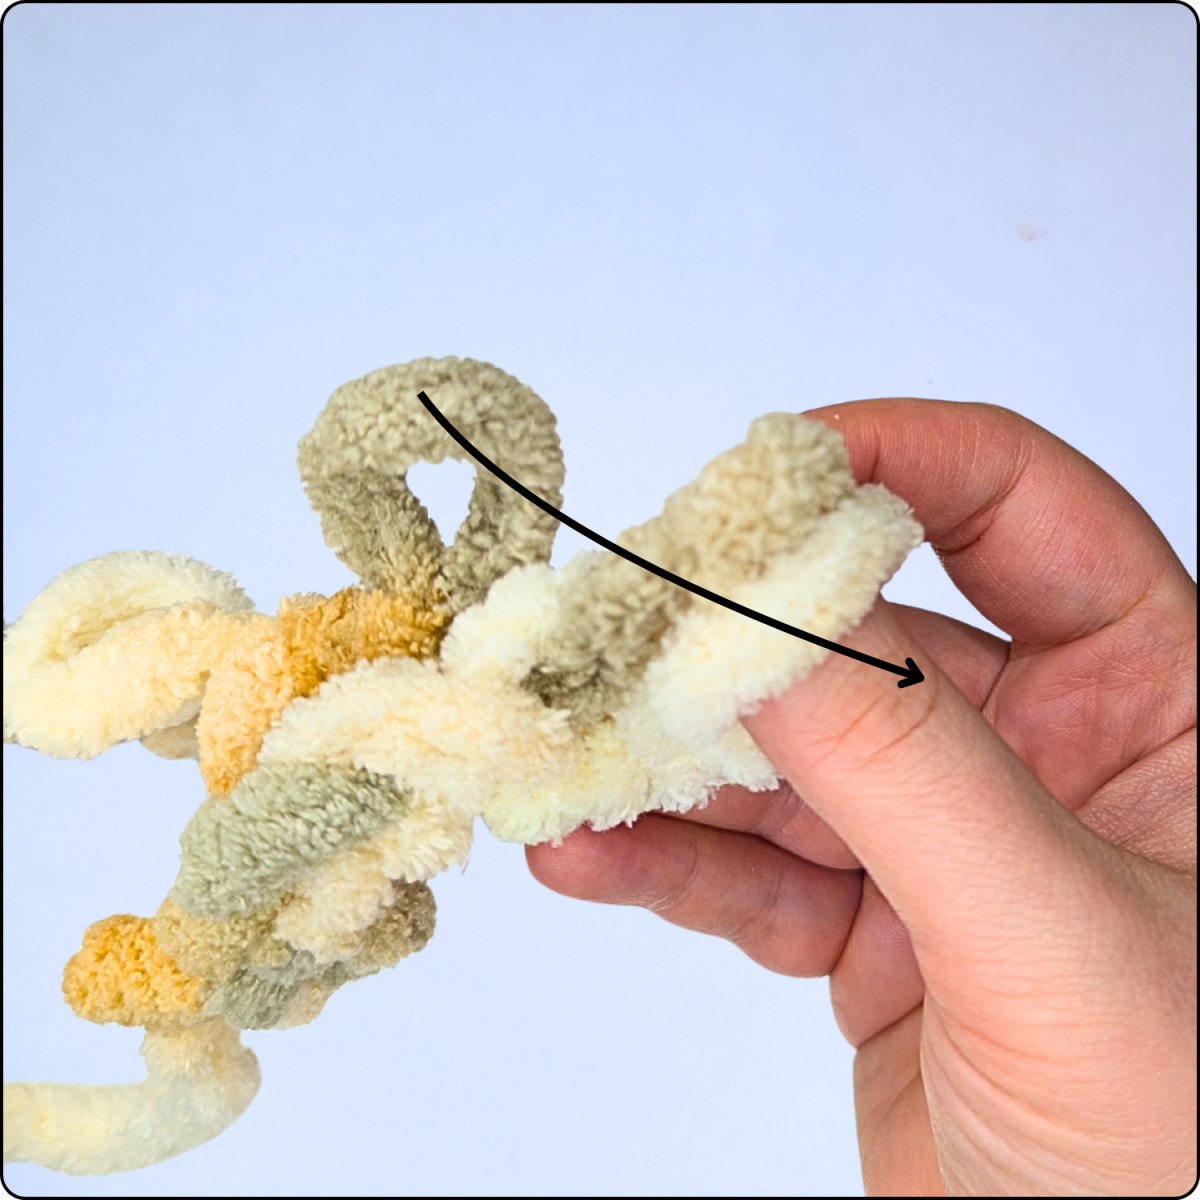
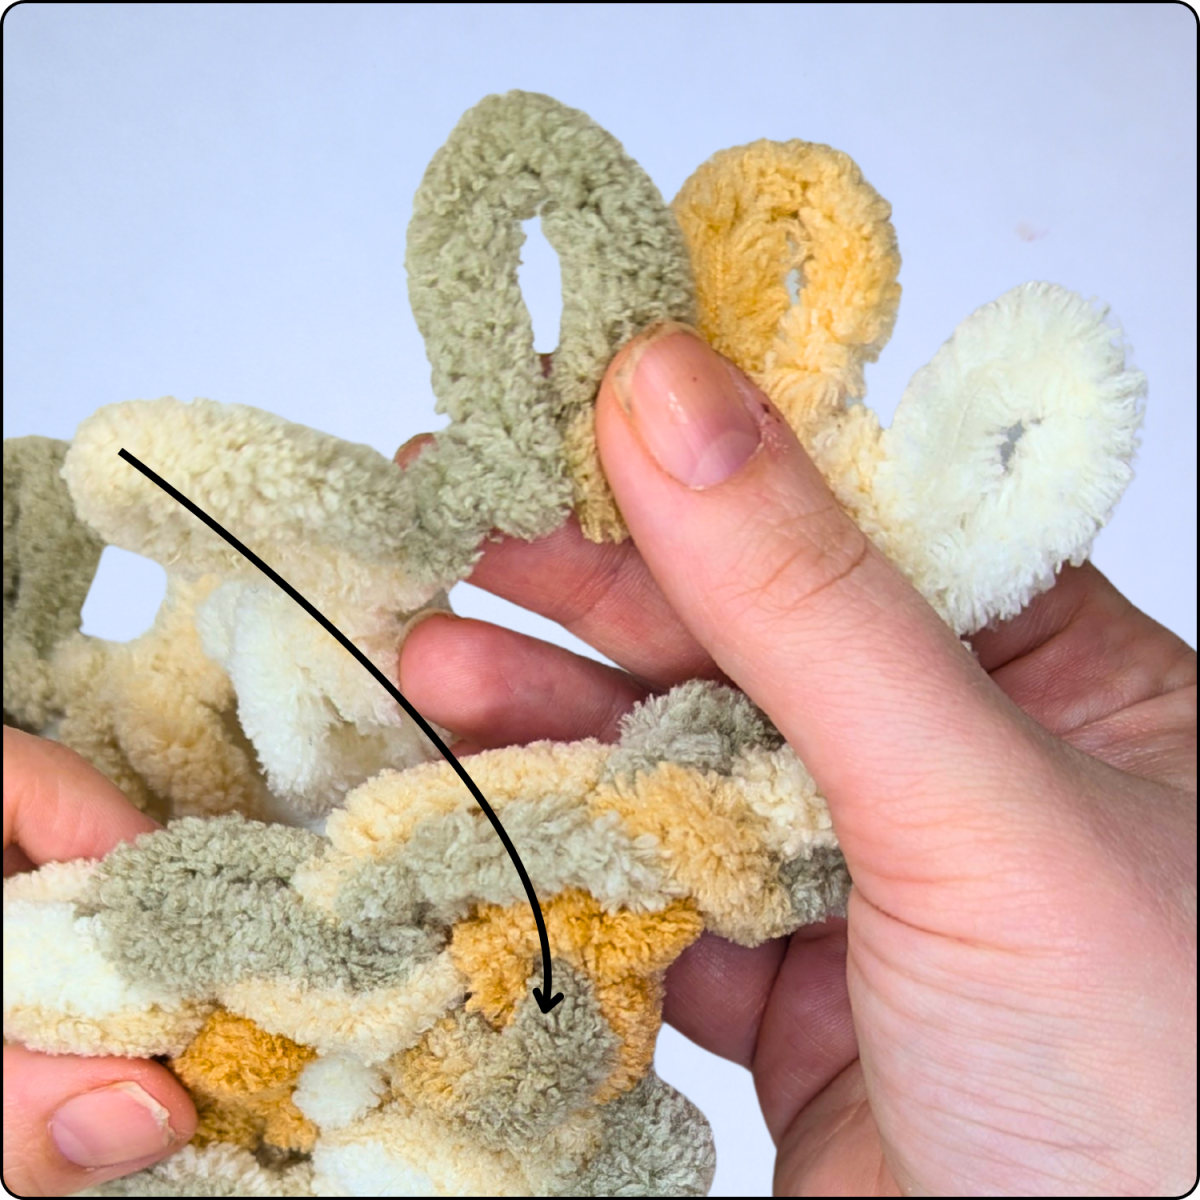
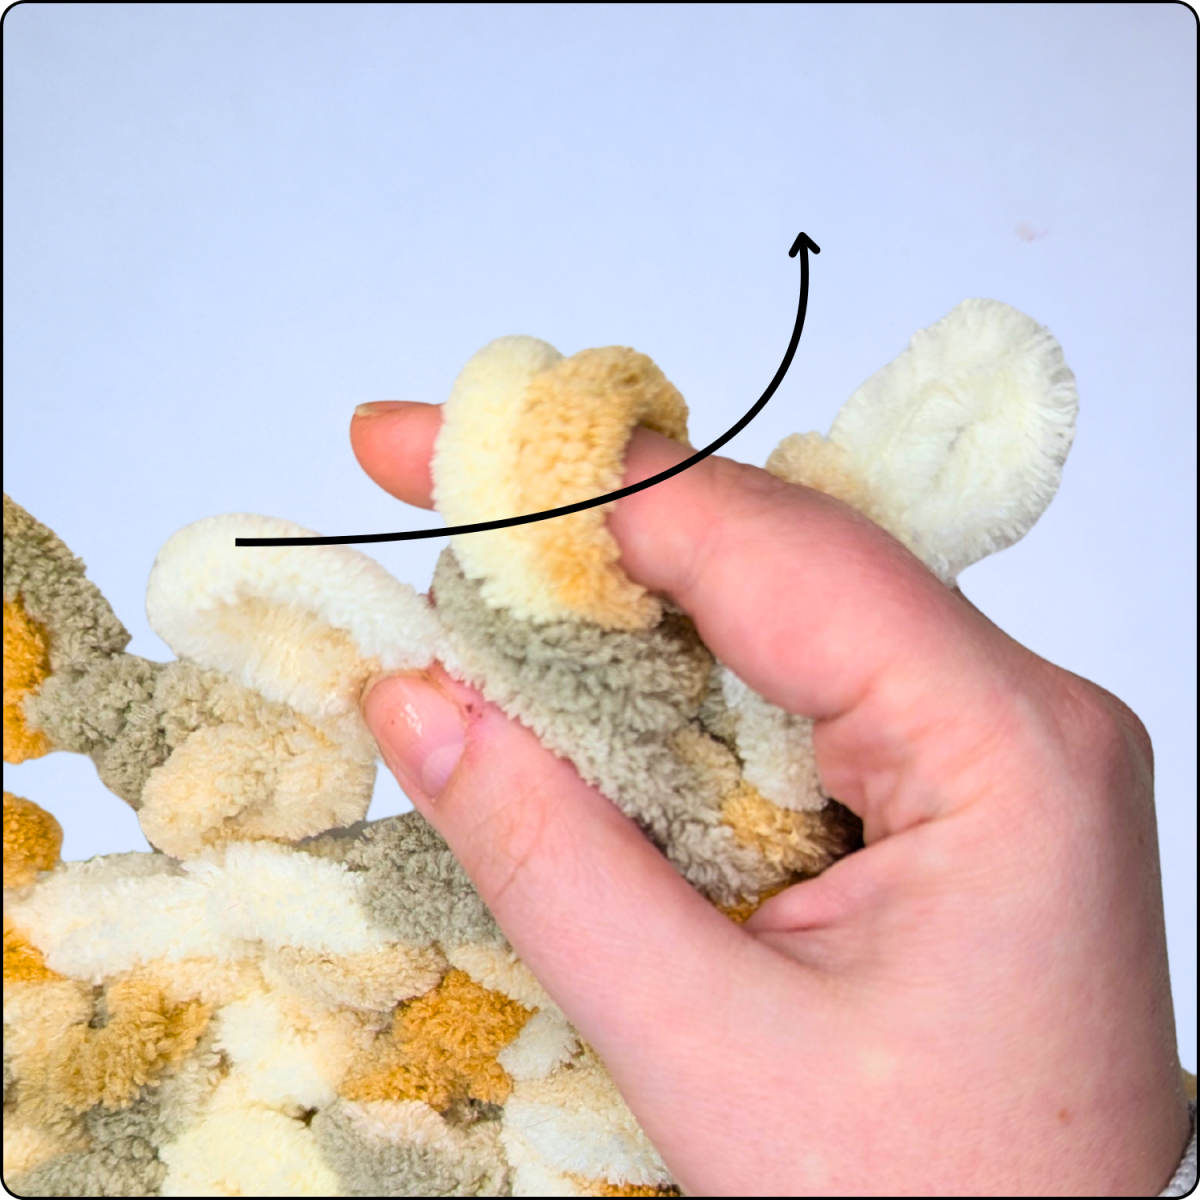
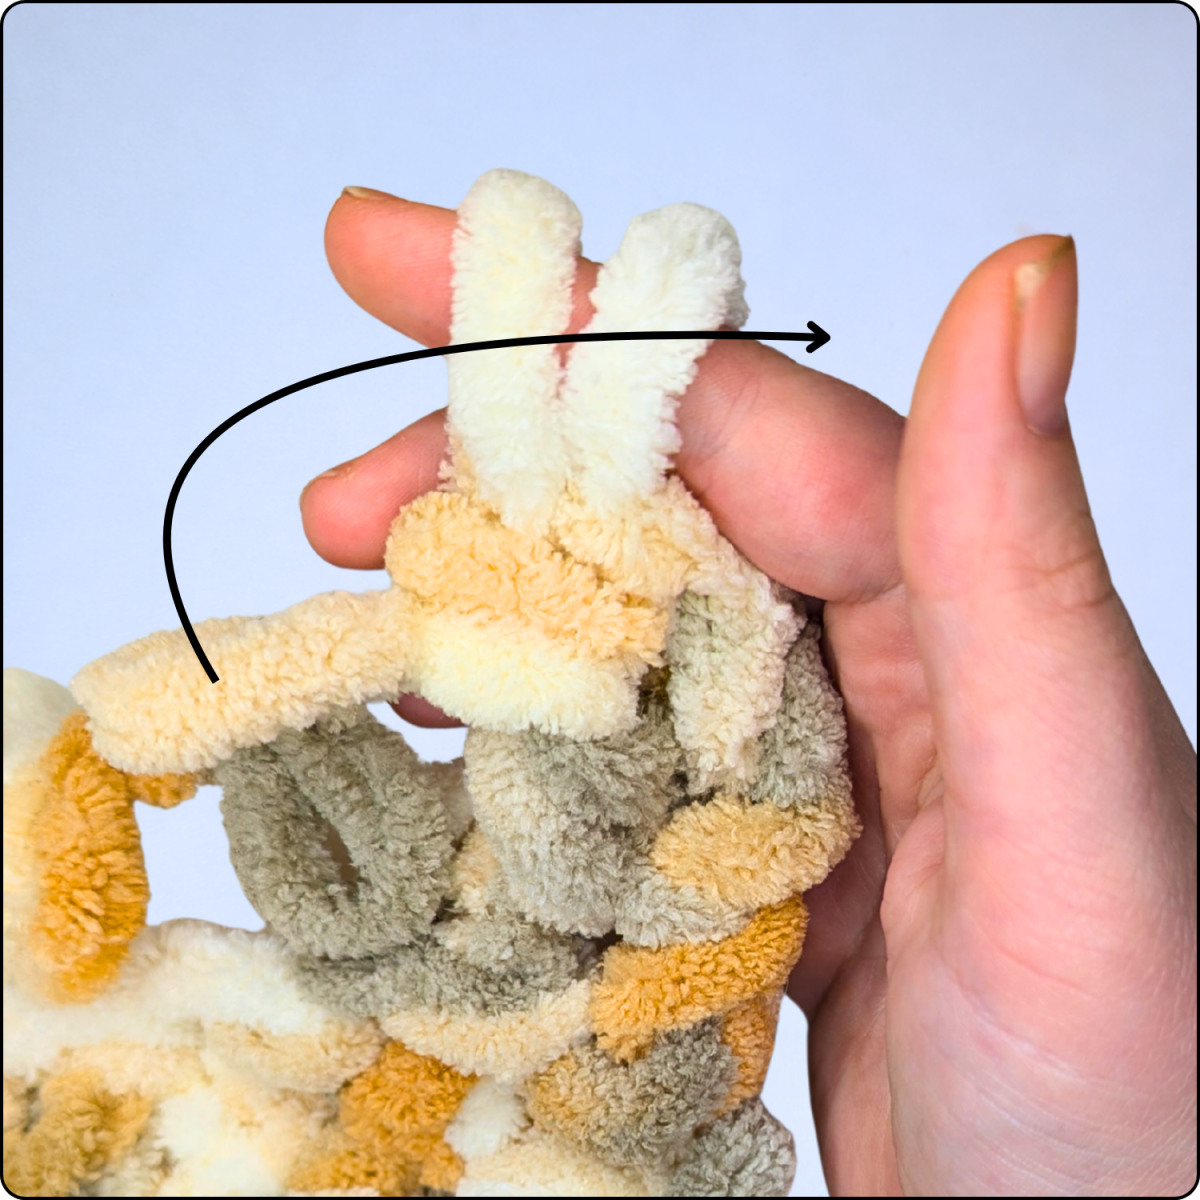
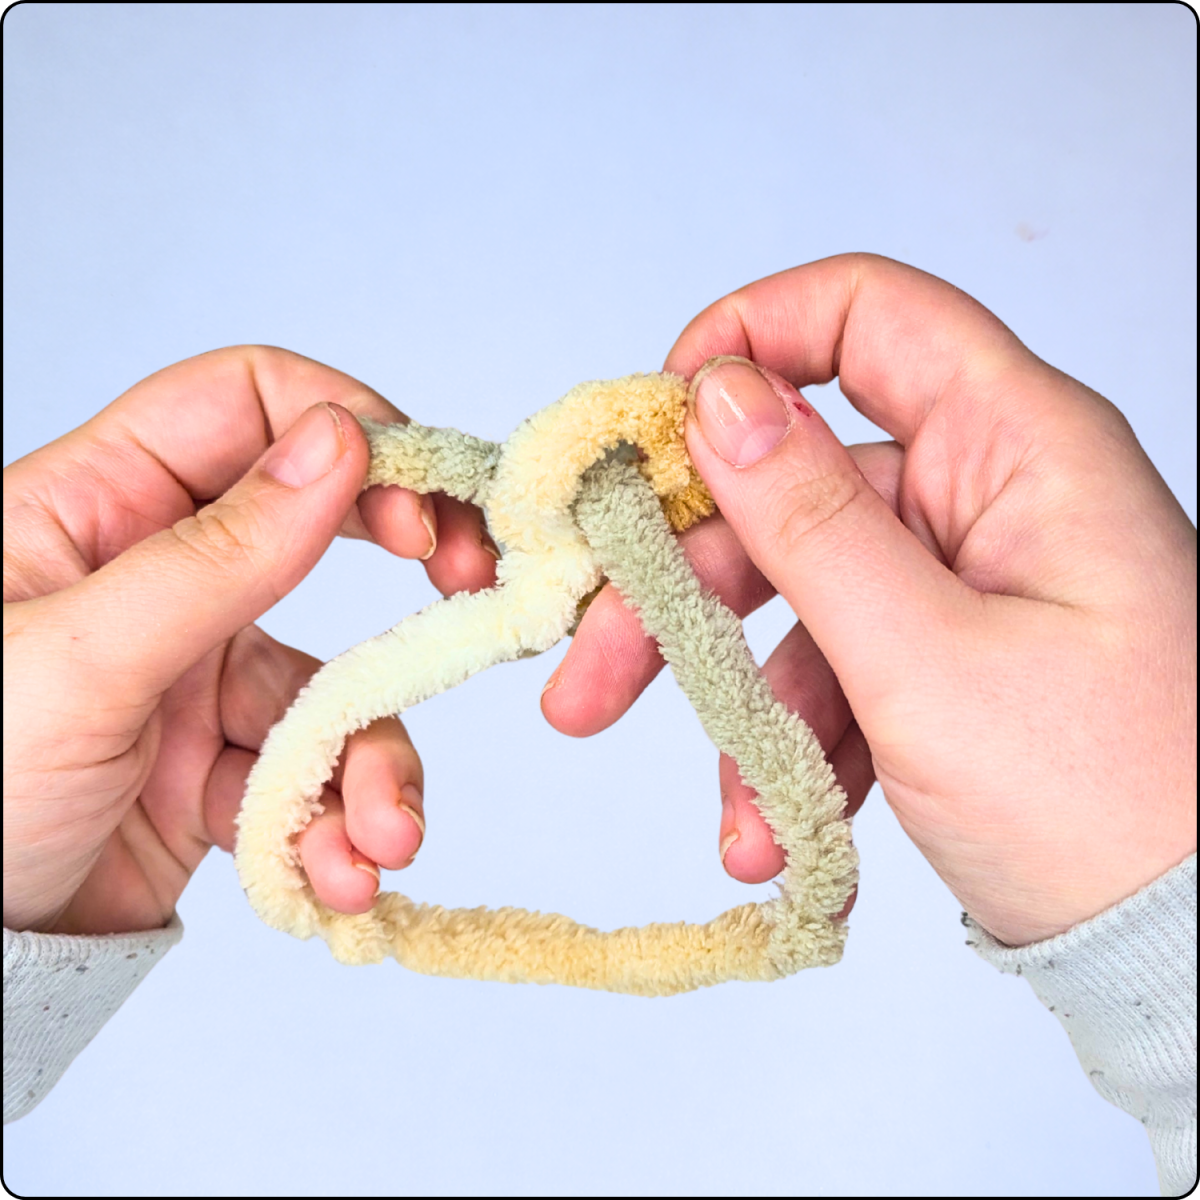
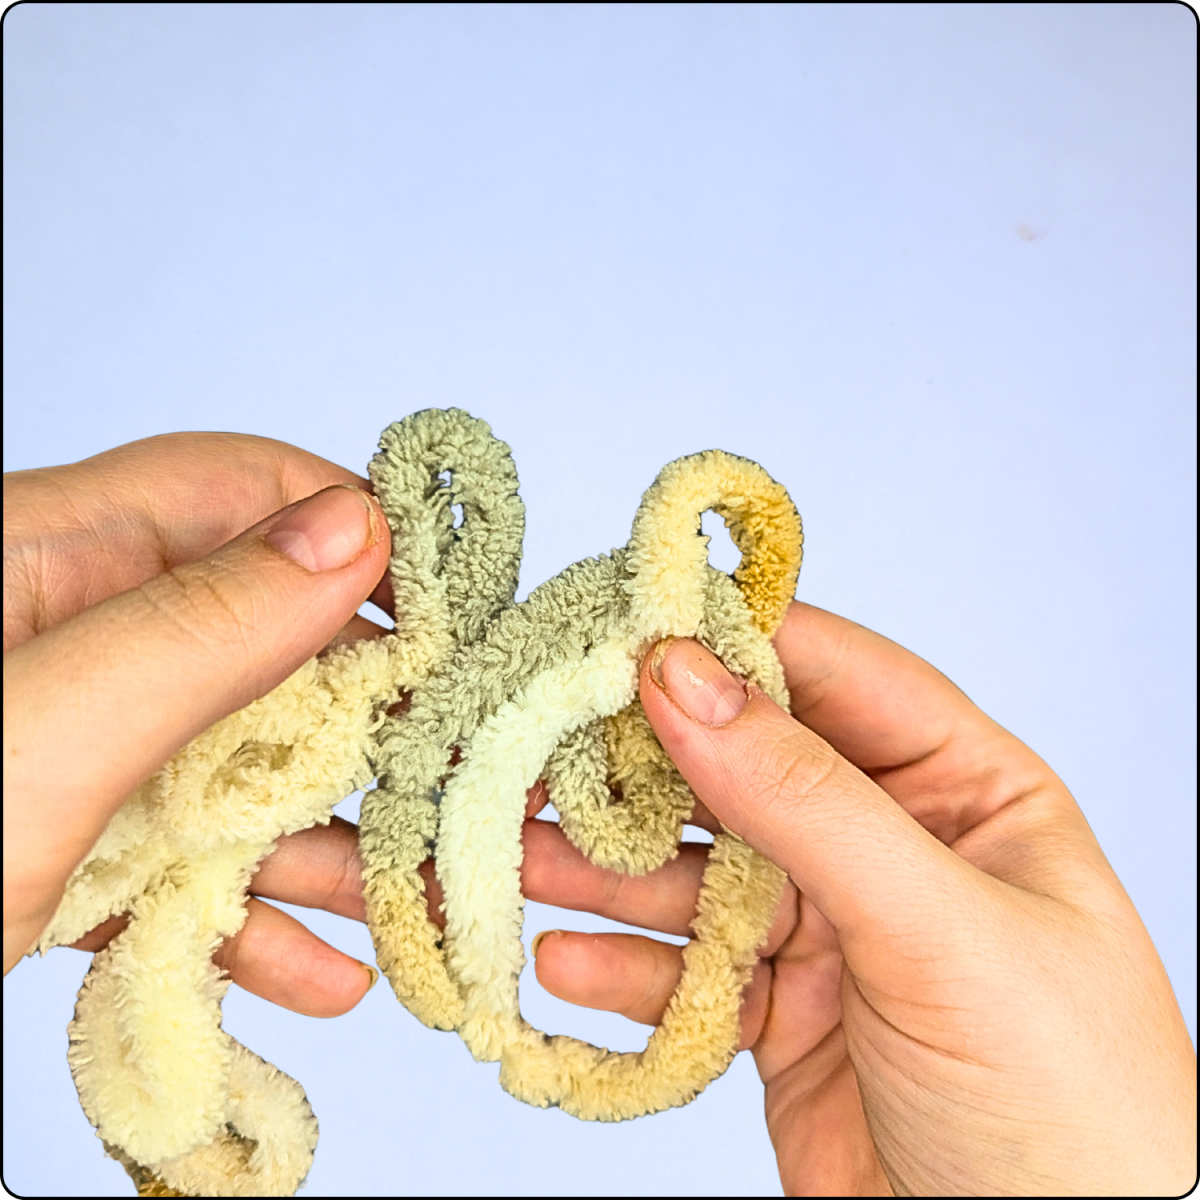
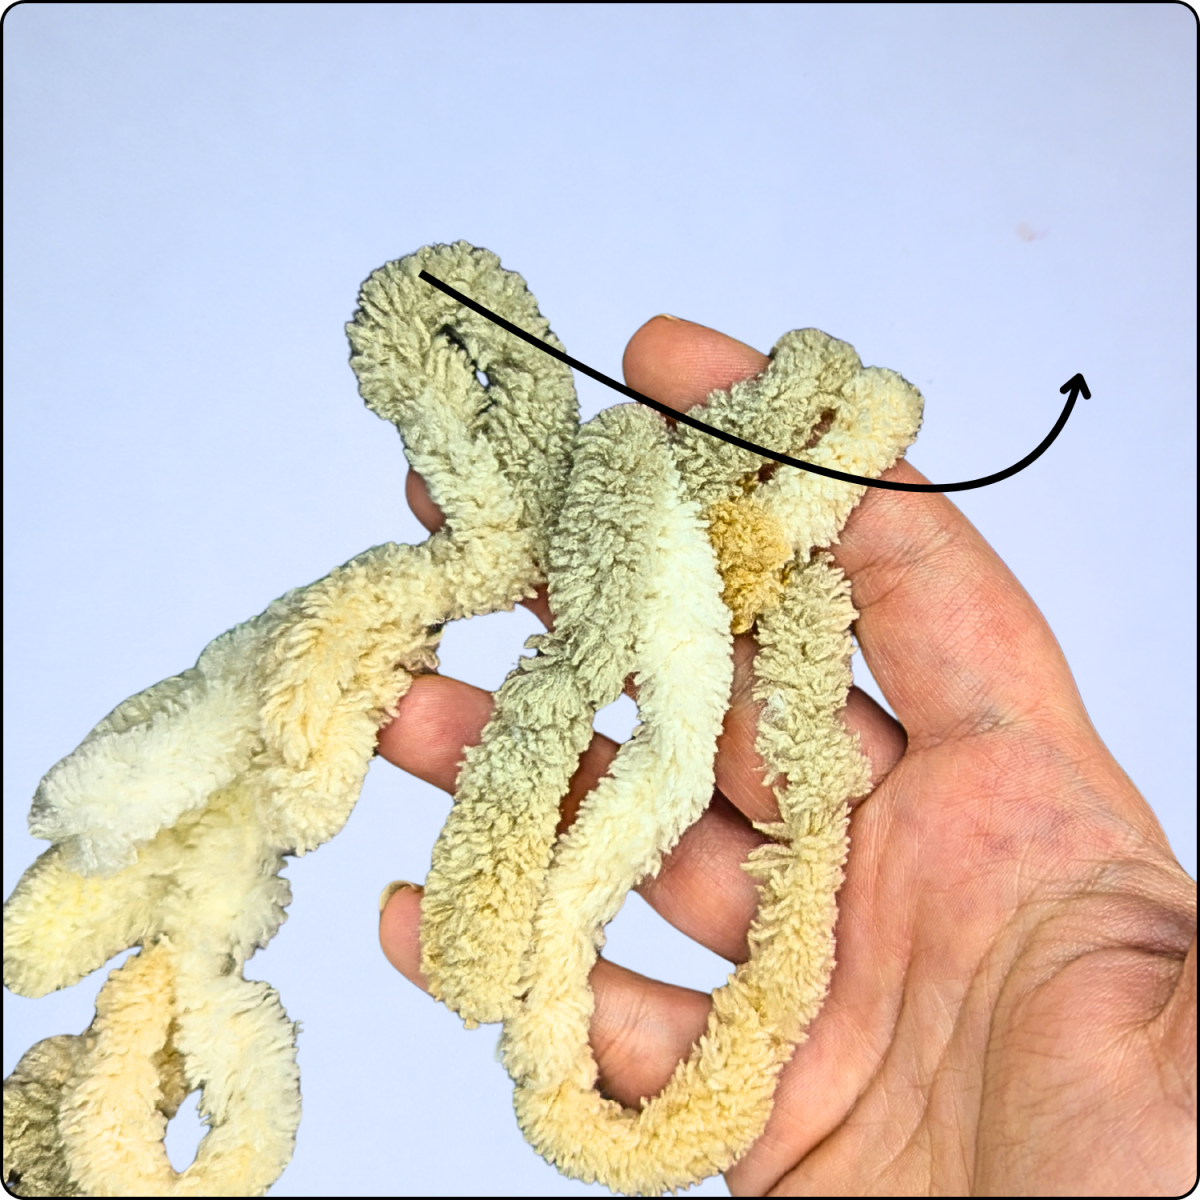
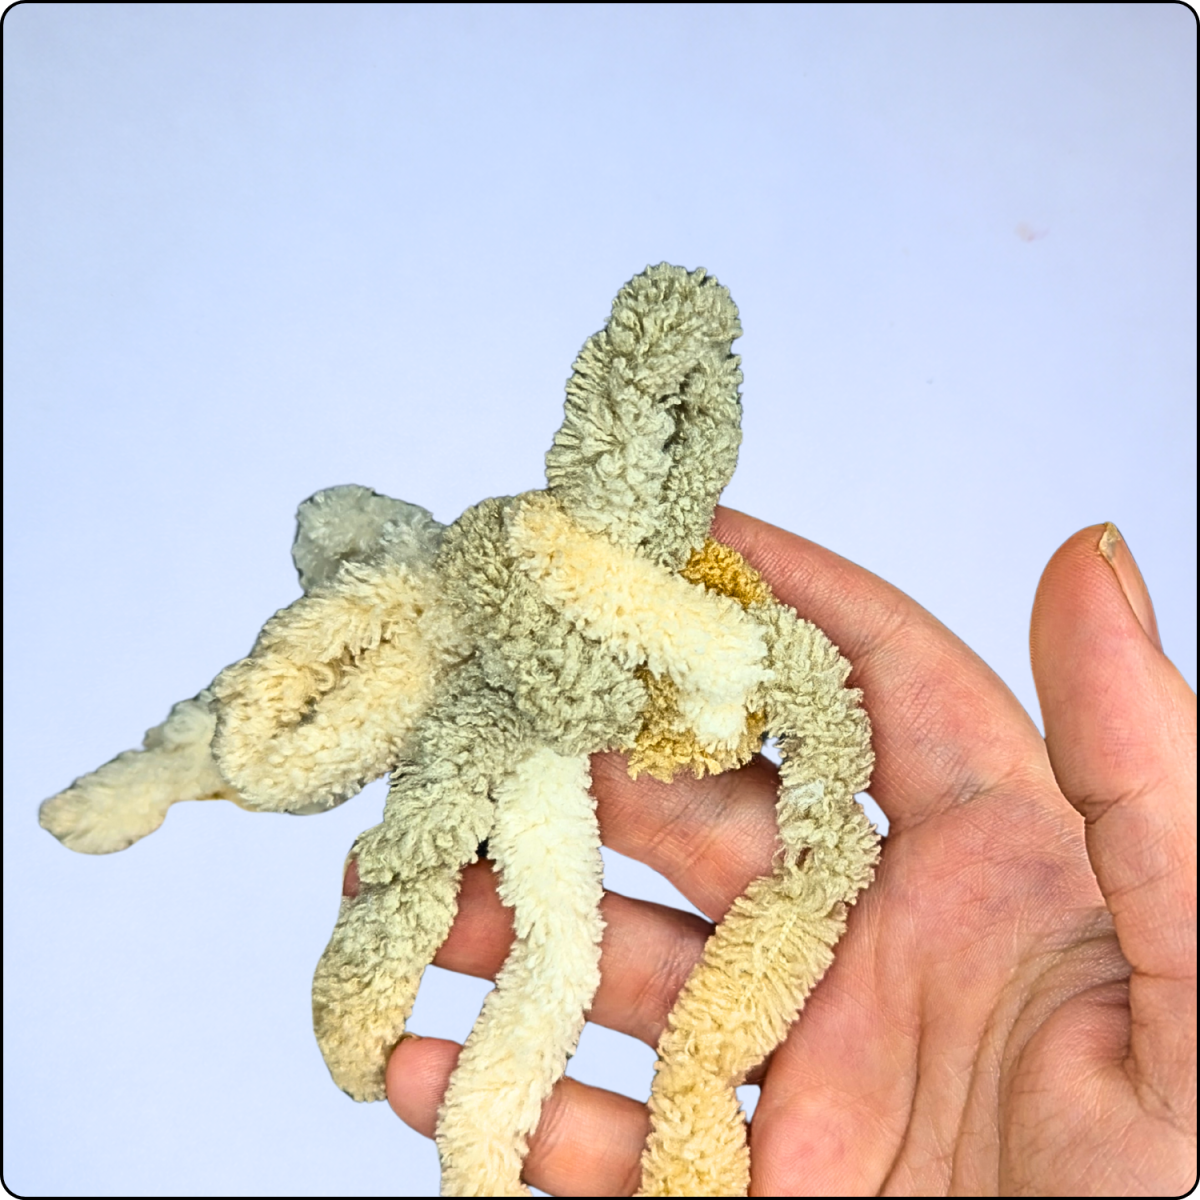
Many loop yarns do not have traditional yarn tails and instead begin directly with the first loop. For weaving in later or for techniques like the magic ring, it can be helpful to extend the starting tail. To do this, carefully cut open a few loops with scissors, as shown in the images below:
.png)

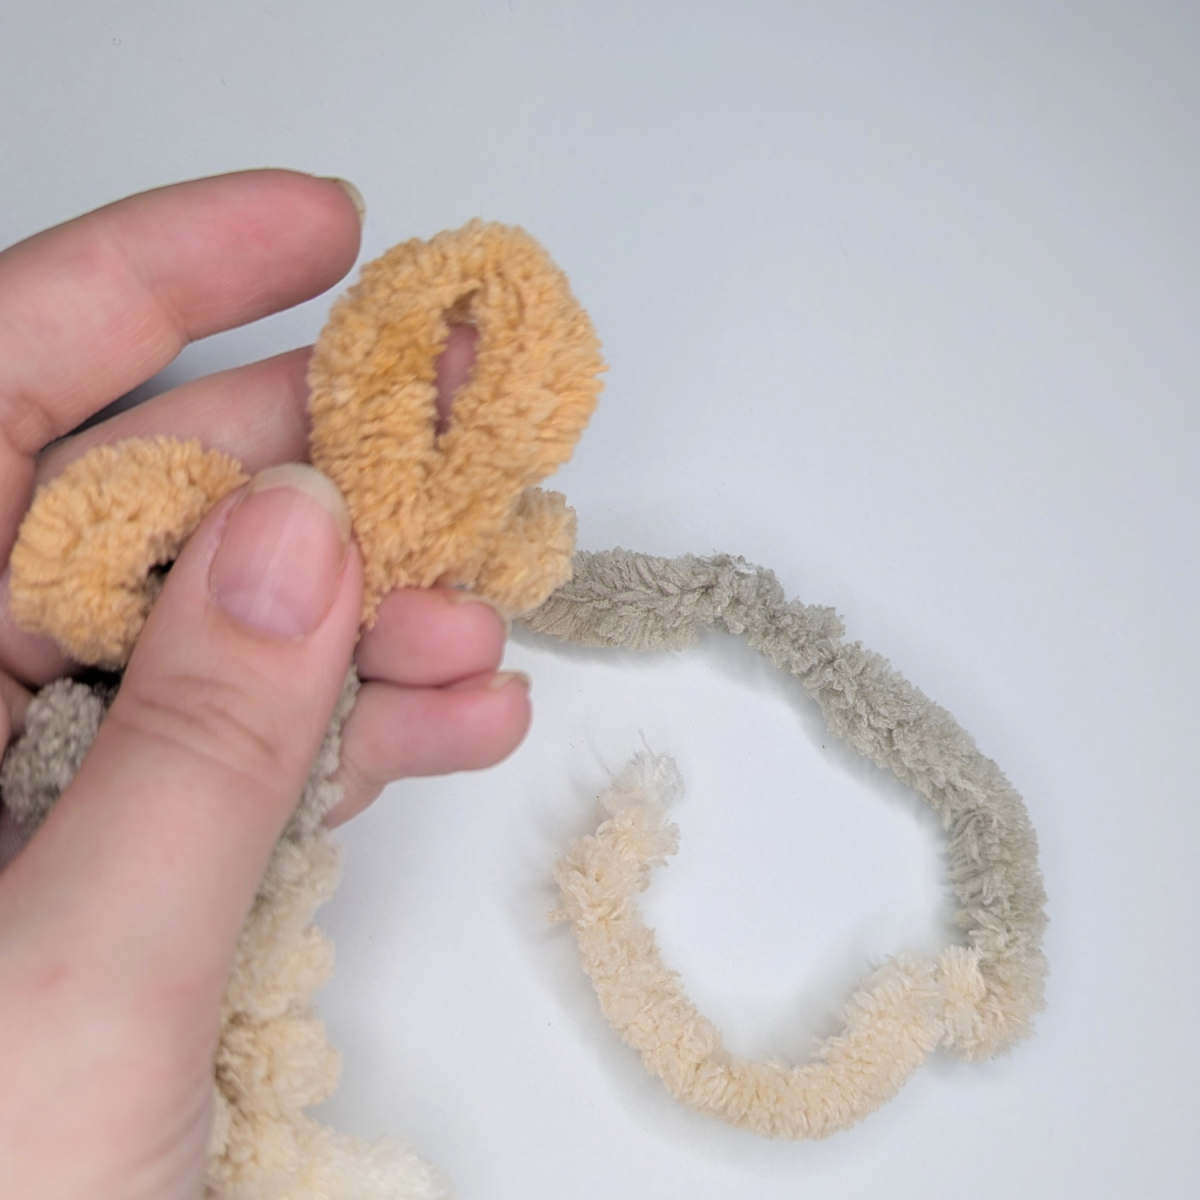
Repeat this process until the starting tail reaches the desired length. You can then begin your crochet project using the first loop of the yarn as your starting loop.
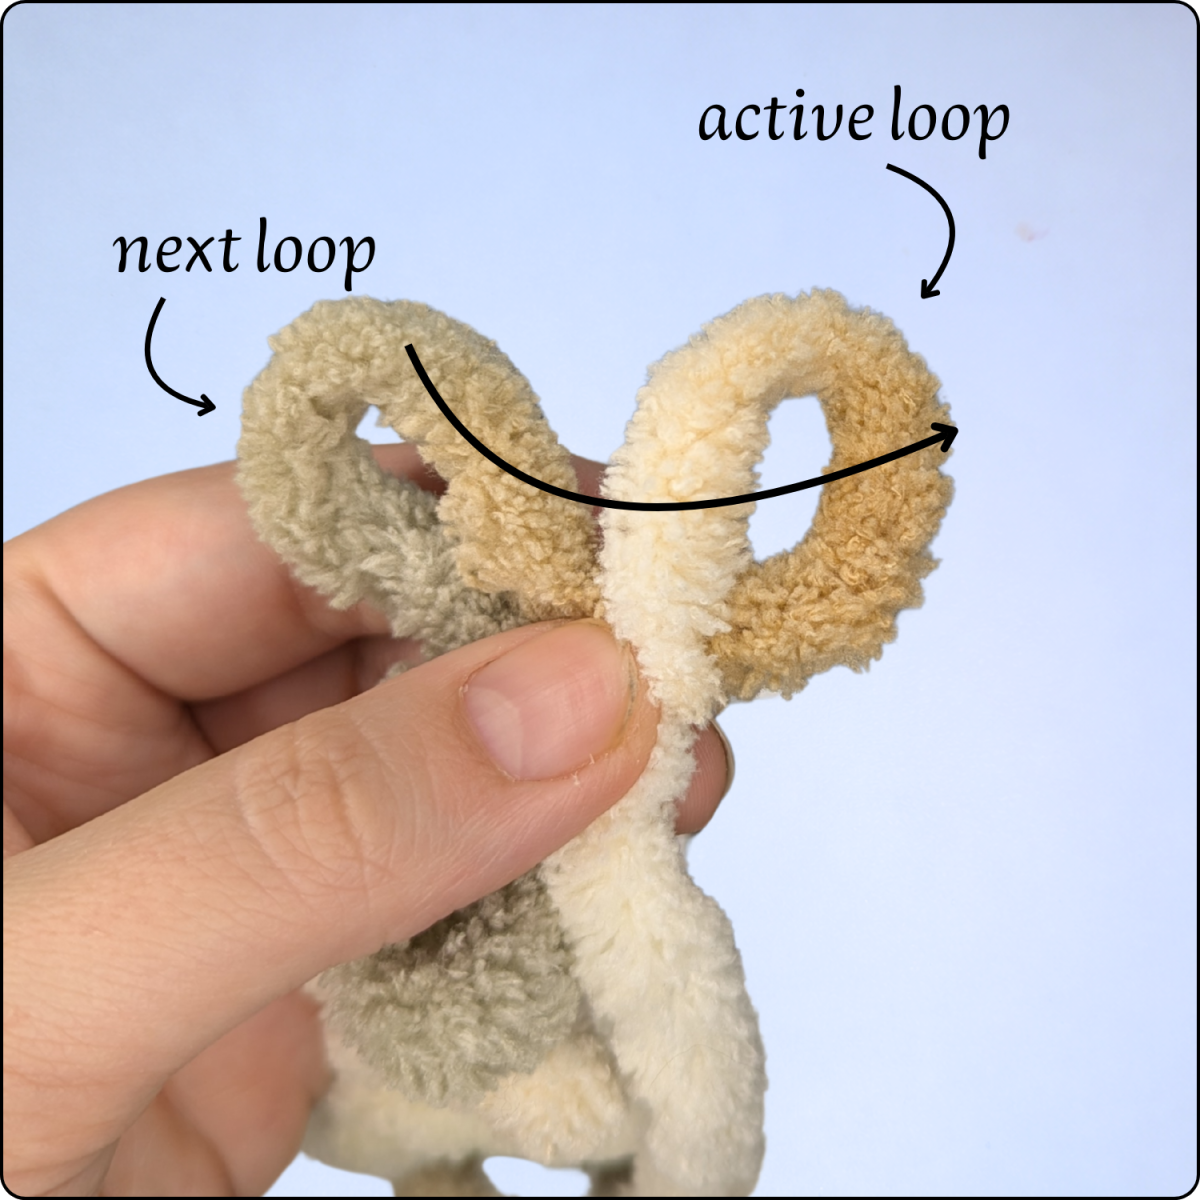
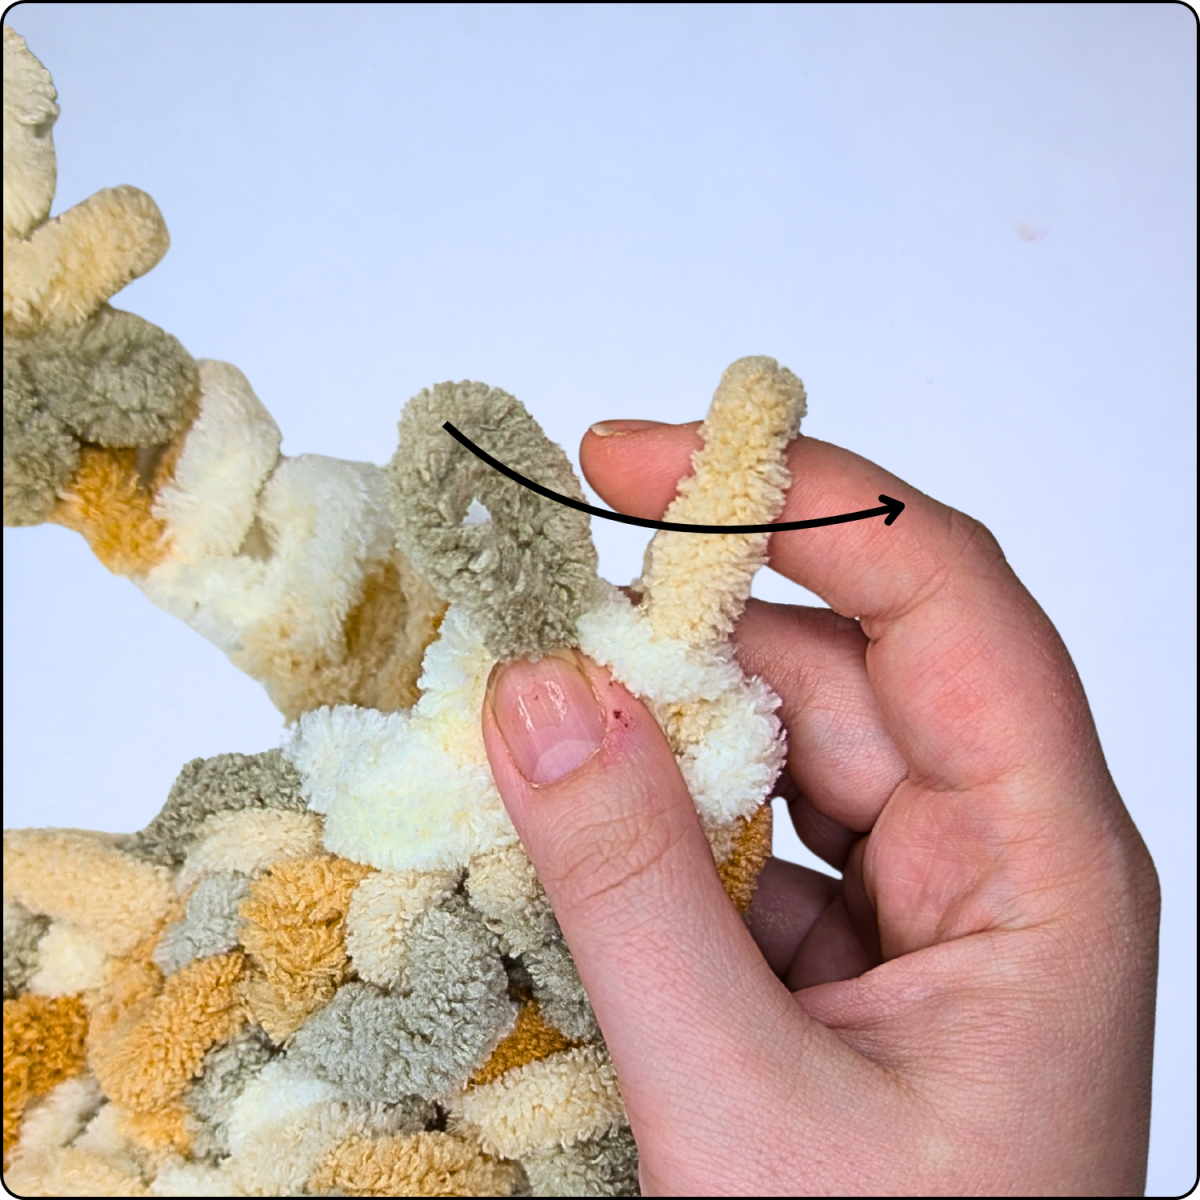
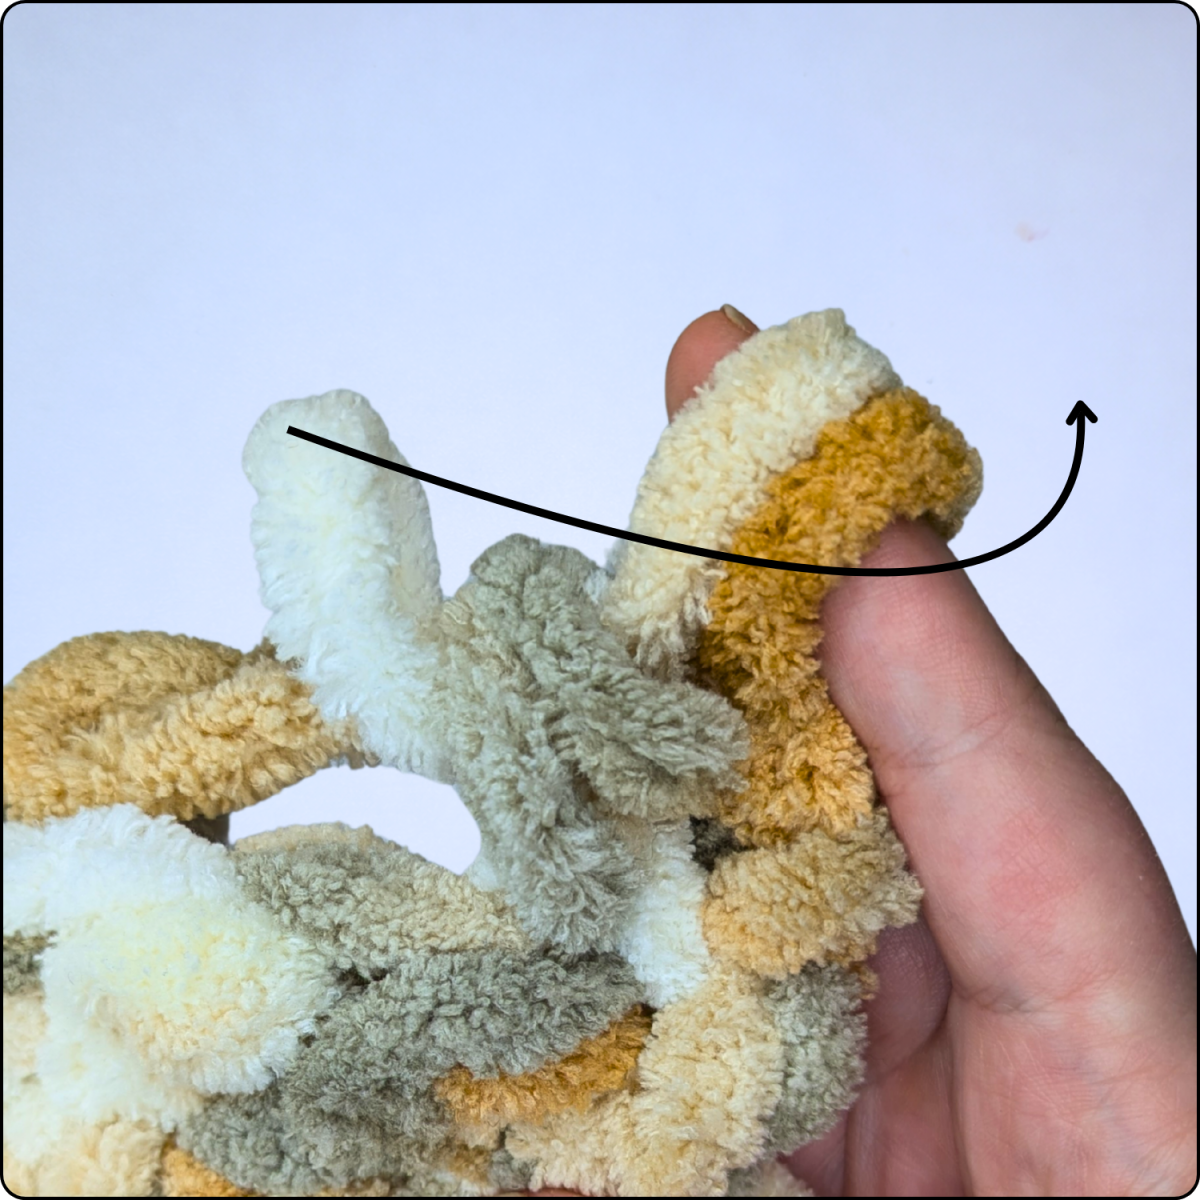
Technique 1: Chain Stitches (ch) with Loop Yarn
Chain stitches are used for the starting chain, turning chains, or openwork patterns.
How it works:
-
You have one active loop (the last loop you worked with).
-
Pull the next loop of the yarn directly through the active loop.
-
To create a chain, repeat this process until you have reached the desired number of chain stitches.

Important tips:
-
Always count chain stitches as visible loops that clearly form a chain.
-
Make sure the chain does not twist, especially when working long starting chains.
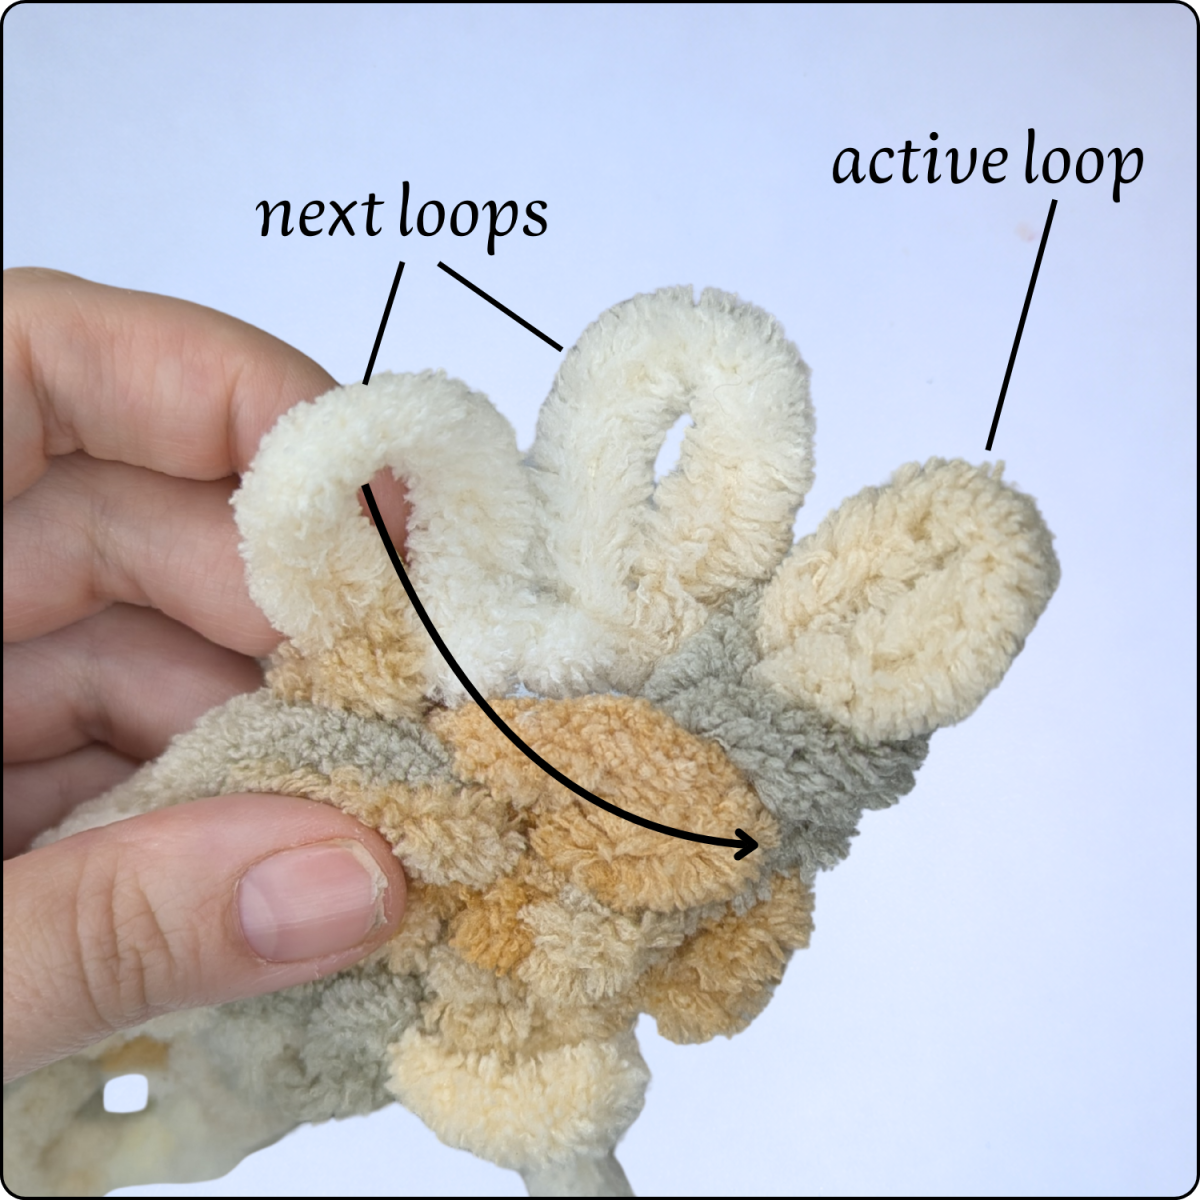
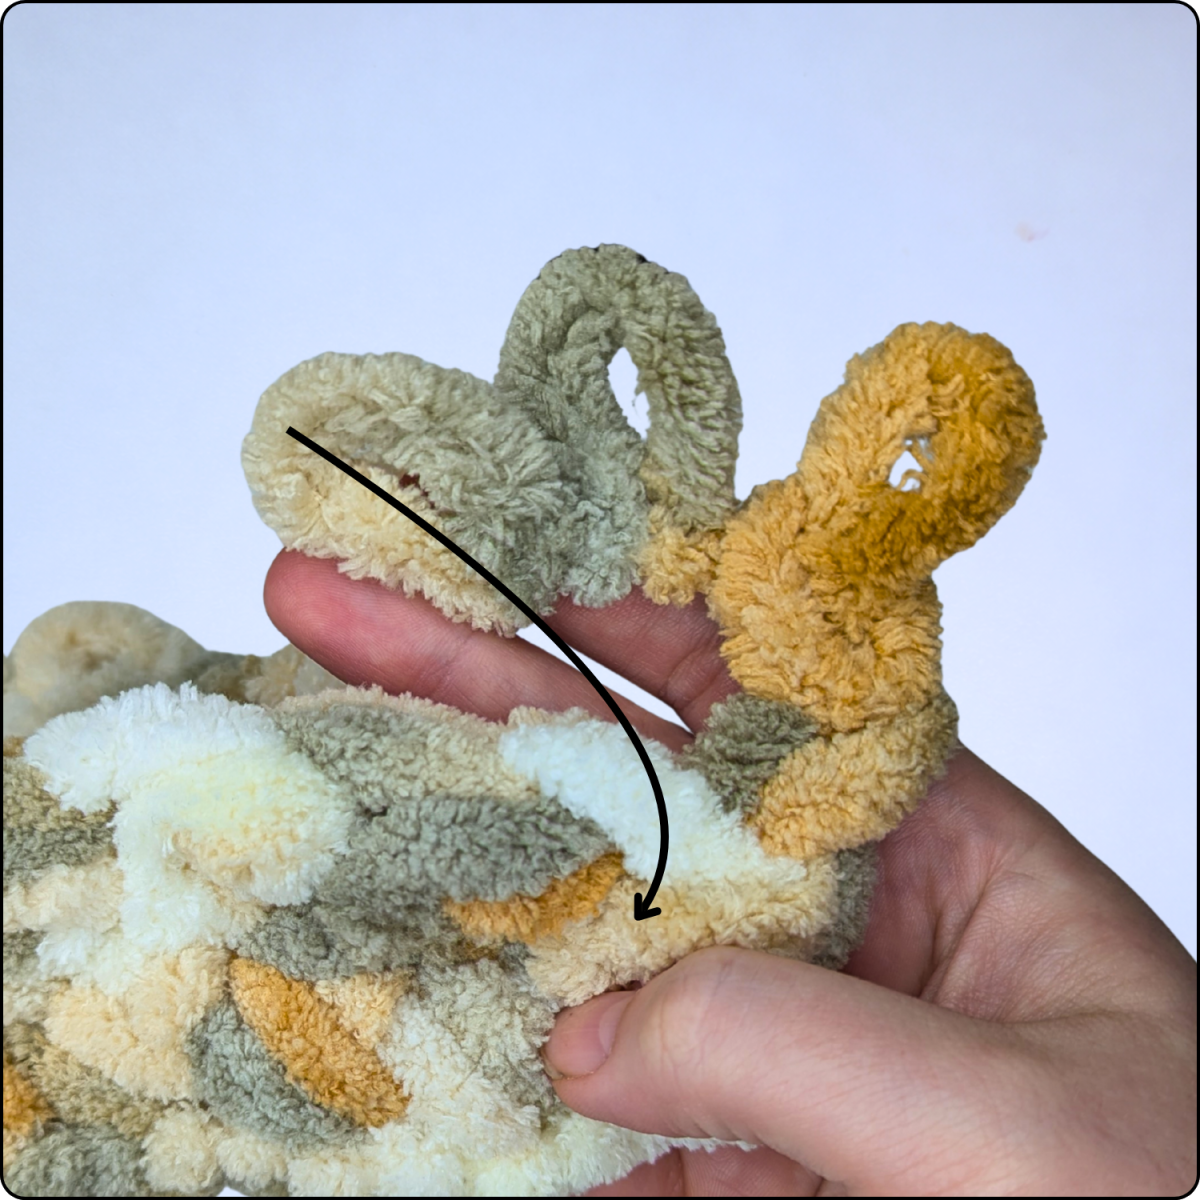
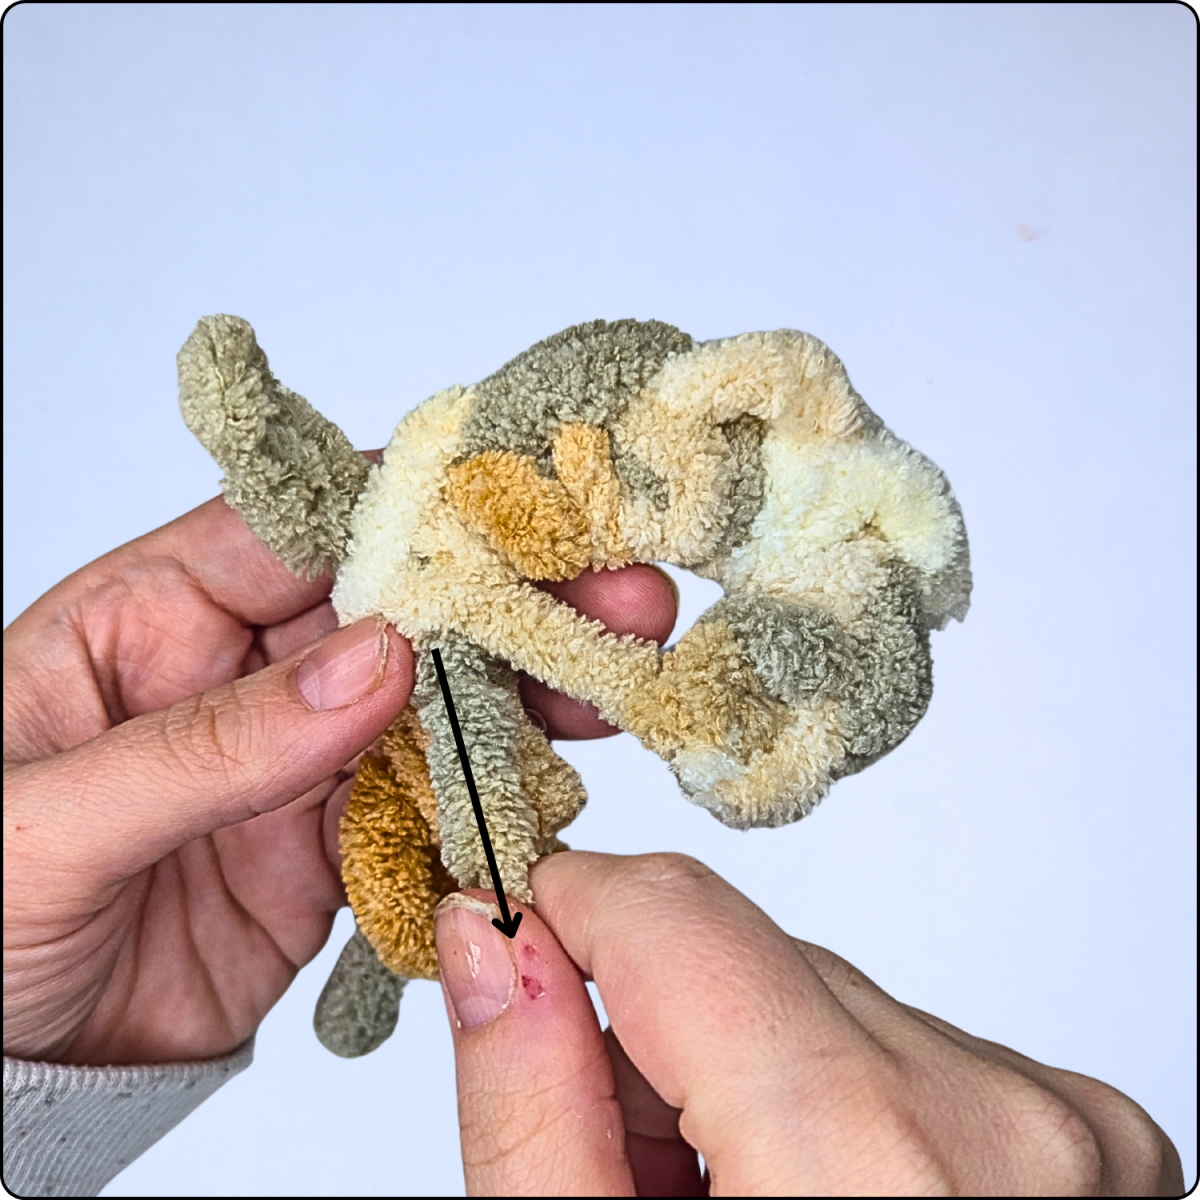
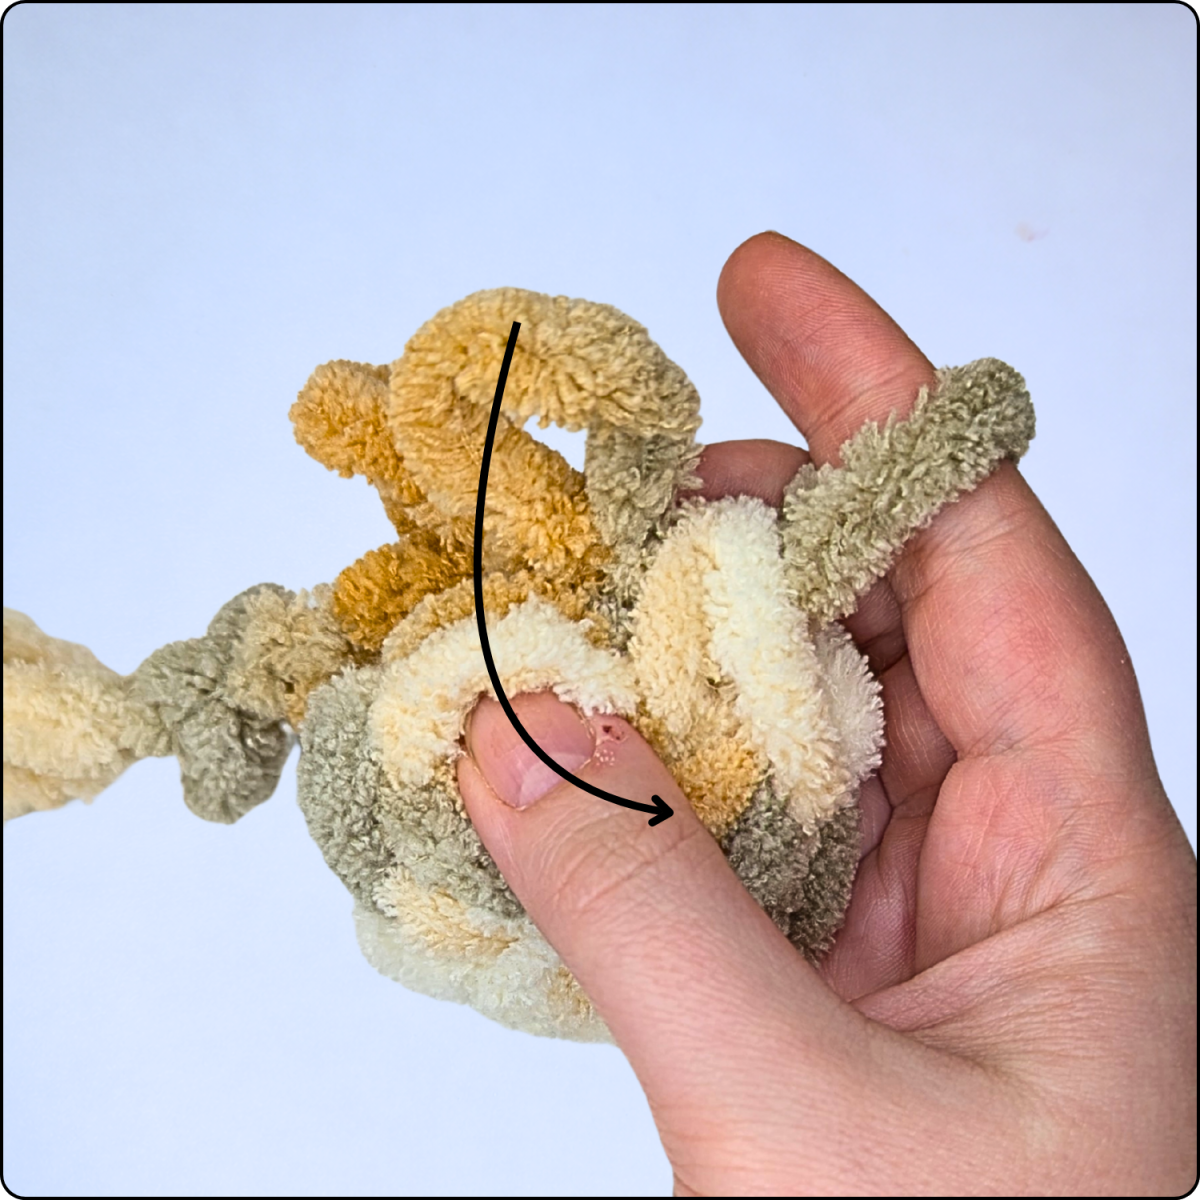
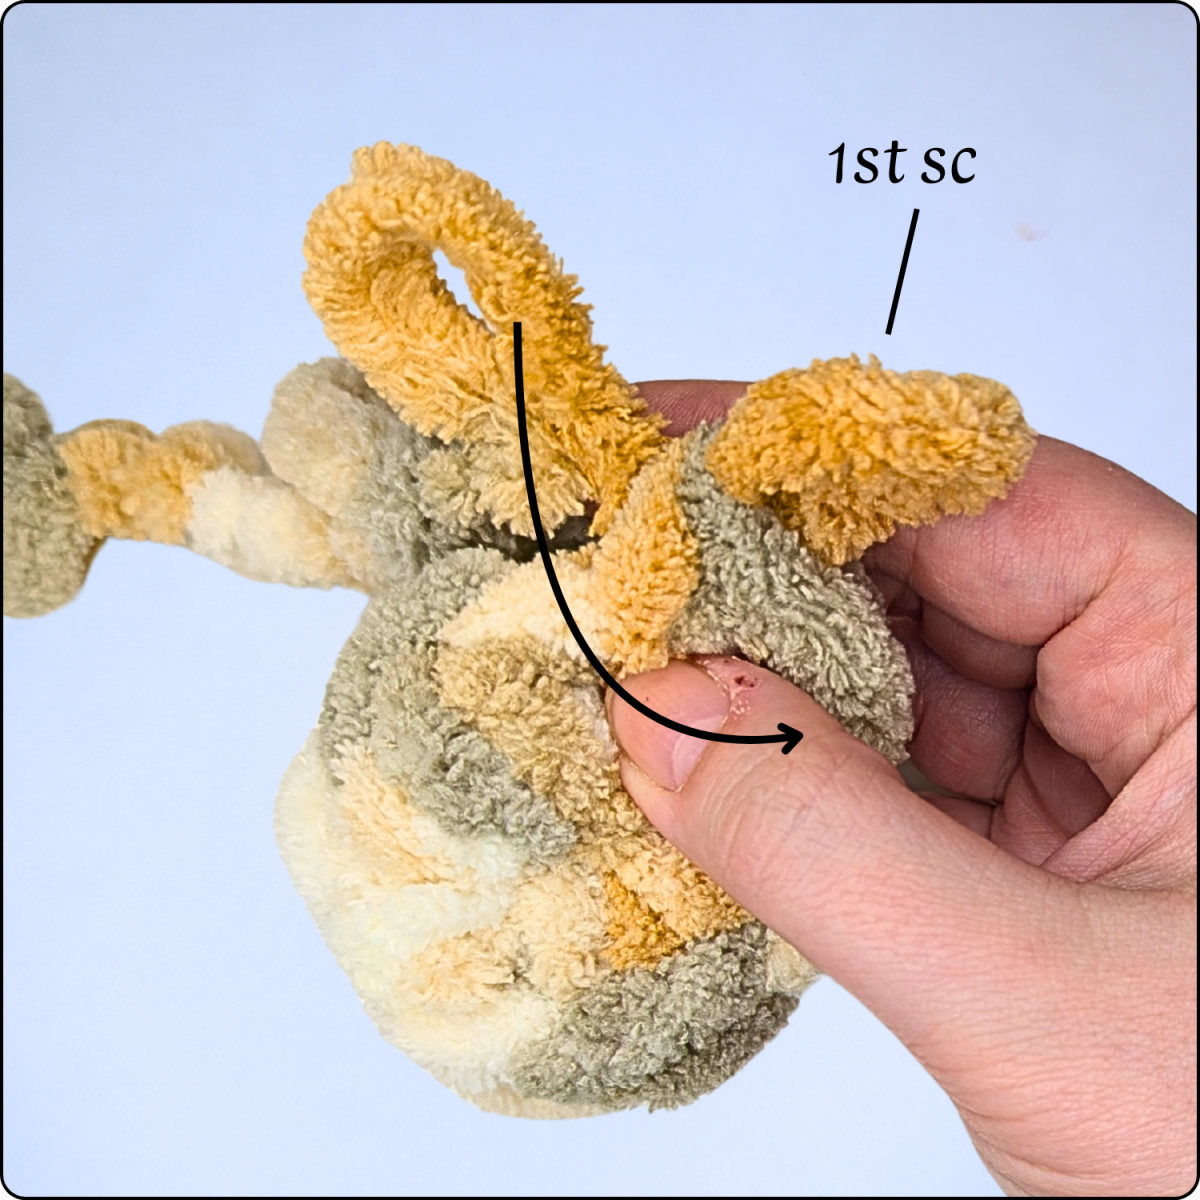
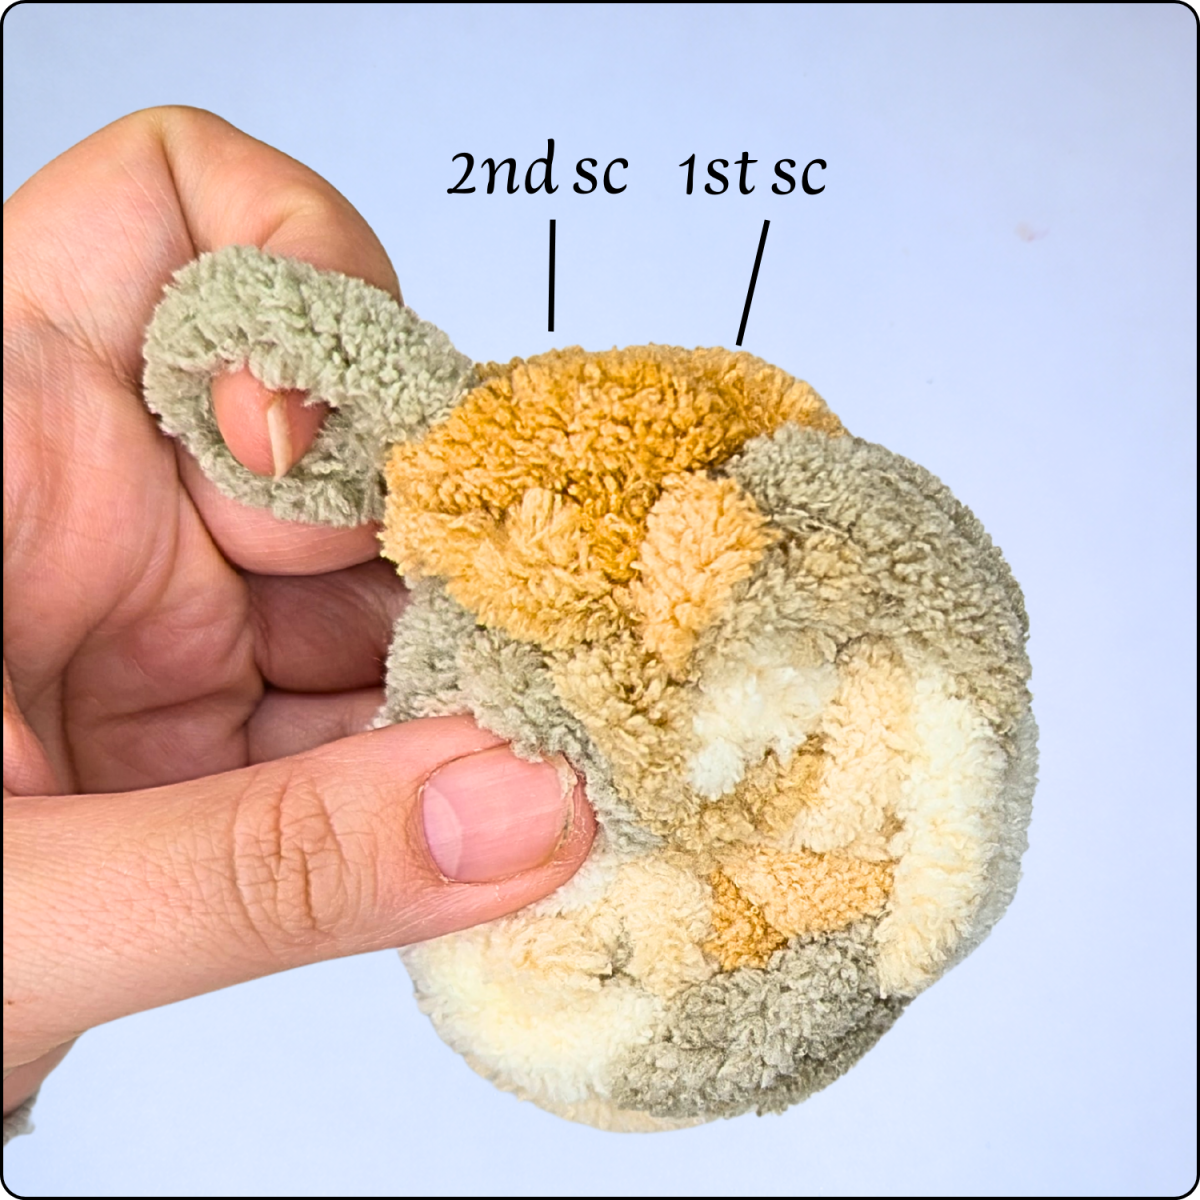
Technique 2: Single Crochet (sc) with Loop Yarn
The single crochet stitch is the most important basic stitch when crocheting with loop yarn. It is perfect for dense, sturdy projects such as pillow covers, bags, baskets, or designs with an amigurumi-style look.
How it works:
-
Insert your finger into the target stitch:
-
When working in rows: usually under both strands of the stitch
- When working in rounds: into the next stitch of the previous round
-
-
Pull the next loop of the yarn forward through the stitch.
- Pull the following loop of the yarn through both loops — your single crochet stitch is complete.
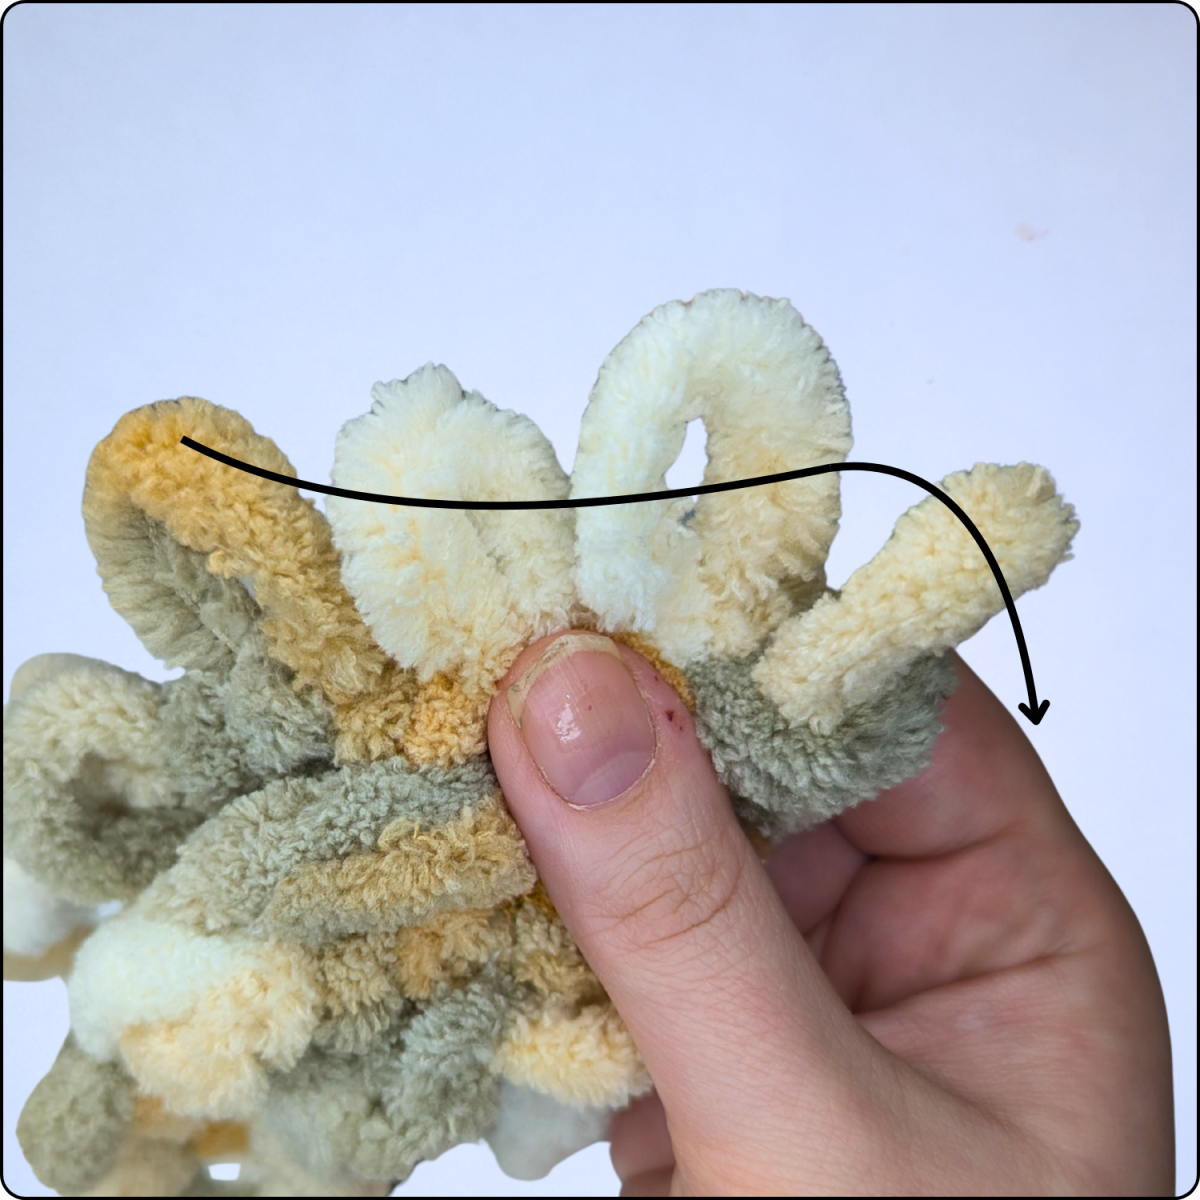
Beginner tip: Mark the first and/or last stitch of each row with a stitch marker. When crocheting with loop yarn, it’s easy to “lose” the edge because the yarn is so soft and fluffy.
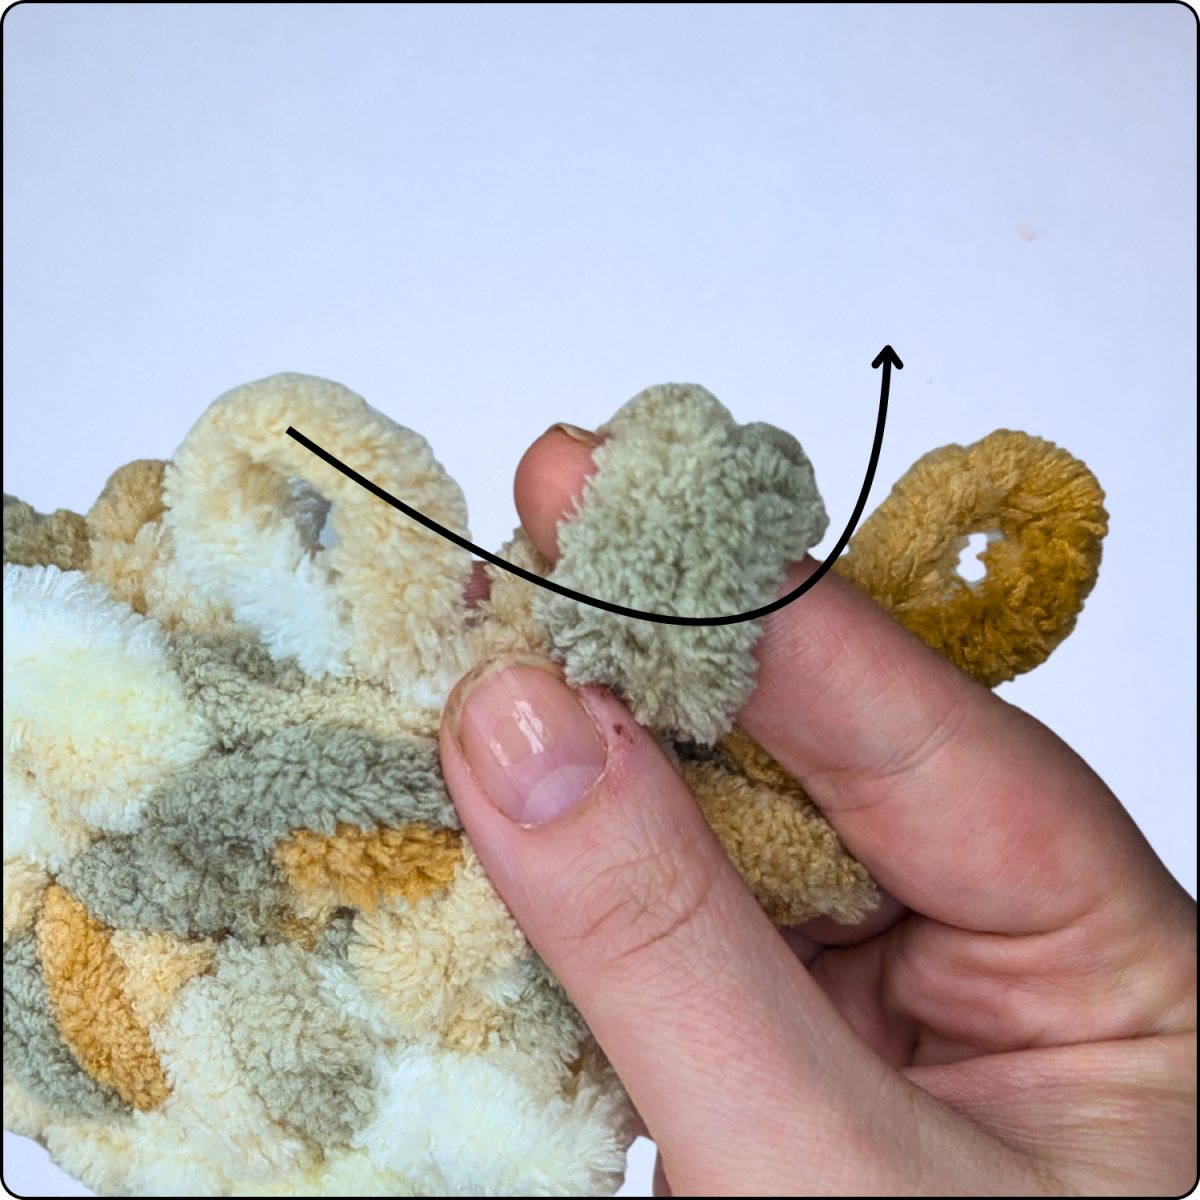
Technique 3: Slip Stitch (sl st) with Loop Yarn
Slip stitches are ideal for joining pieces together, closing rounds or creating a neat finish, when working with loop yarn.
How it works:
-
Insert your finger into the target stitch.
-
Pull the next loop of the yarn through the stitch and directly through the active loop.
-
One active loop remains.
When slip stitches are especially useful:
-
Closing rounds when working in joined rounds
-
Creating an invisible or neat finish at the end of a project
-
Joining crochet pieces together
Technique 4: Half Double Crochet (hdc) with Loop Yarn
Half double crochet stitches are slightly taller than single crochet but denser than double crochet stitches. They are ideal for warm, cozy, and solid crochet fabrics when working with loop yarn.
How it works:
-
Yarn over: With loop yarn, this means holding one loop “ready” before inserting your finger.
-
Tip: You can place the next loop over a finger as a yarn over.
-
-
Insert your finger into the target stitch and pull the loop through it — you now have three loops ready.
-
Pull the next loop through all three loops to complete the half double crochet stitch.

Technique 5: Double Crochet (dc) with Loop Yarn
Double crochet stitches create a more open, airy stitch pattern and build height more quickly. They are perfect for projects like blankets, scarves, and loose, soft pillow fronts when working with loop yarn.
How it works:
-
Yarn over (hold one loop ready).
-
Insert your finger into the target stitch.
-
Pull the next loop through — three loops are now ready.
-
Pull the next loop through the first two loops — two loops remain.
-
Pull the next loop through the remaining two loops to complete the double crochet stitch.
Turning chains: At the beginning of a new row of double crochet stitches, you usually need 2 chain stitches to create a clean and even edge.
Technique 6: Treble Crochet (tr) with Loop Yarn
Treble crochet stitches are even taller and create a very light, airy fabric. They are perfect for lightweight blanket patterns, textured designs, or whenever you want to build fabric quickly when crocheting with loop yarn.
How it works:
-
Yarn over twice (hold two loops ready).
-
Insert your finger into the target stitch.
-
Pull one loop through — four loops are now ready.
-
Pull the next loop through the first two loops — three loops remain.
-
Pull the next loop through the next two loops — two loops remain.
-
Pull the next loop through the last two loops to complete the treble crochet stitch.
Technique 7: Magic Ring with Single Crochet Using Loop Yarn
The magic ring is the classic starting method for working in the round, such as for hats, baskets, or amigurumi-style shapes. When crocheting with loop yarn, the magic ring is worked a little differently than with regular yarn.
To create a magic ring with loop yarn, you will need a long starting tail, as this tail is used later to tighten and close the ring.
How to work single crochet stitches into a magic ring with loop yarn:
-
Lay the starting tail into a loose ring and hold it gently between your fingers. Make sure a sufficiently long end of the starting tail remains visible so you can pull on it later.
-
Pull the starting tail through the first loop of the yarn. This loop becomes your starting loop.
-
Pull the next loop of the yarn into the center of the ring.
-
Then pull the following loop from outside the ring through both the loop located inside the ring and the starting loop. For better handling you can lay both loops over one of your fingers.
-
The first single crochet stitch in the magic ring is now complete.
-
Repeat these steps until you have worked the desired number of single crochet stitches into the magic ring.
-
Gently pull on the starting tail until the opening in the center of the ring closes completely.
Important: Throughout the entire process, make sure the end of the starting tail remains free and is not accidentally worked into the stitches. Only then the magic ring can be tightened neatly and securely.
Technique 8: Increase (inc) with Loop Yarn
Increases are used to make rounds larger (for example, when creating circular shapes) or to widen your work when crocheting in rows with loop yarn.
Basic principle: An increase means working two stitches into the same stitch.
How to make an increase in single crochet with loop yarn:
-
Work one single crochet stitch normally into the target stitch.
-
Work a second single crochet stitch directly into the same stitch.
→ You have now turned one stitch from the previous round into two stitches.
The same principle applies to half double crochet, double crochet, and treble crochet. Simply work two (or more) complete stitches into the same stitch.
Technique 9: Invisible Decrease (dec) with Loop Yarn
The invisible decrease is especially popular for amigurumi and round shapes because it creates a much smoother and more even stitch pattern than standard decrease methods. This technique also works with loop yarn — you just need to carefully feel and identify the stitch loops.
Invisible decrease in single crochet with loop yarn:
-
Look at the next two stitches of the round and locate their front loops.
-
Pull the next loop of the yarn first through the front loop of the second next stitch in the round.
-
Then pull the same loop through the front loop of the next stitch in the round.
-
Pull the next loop of the yarn through both the loop that was just pulled through the front loops and your active loop.
→ You have now turned two stitches from the previous round into one stitch in the current round.
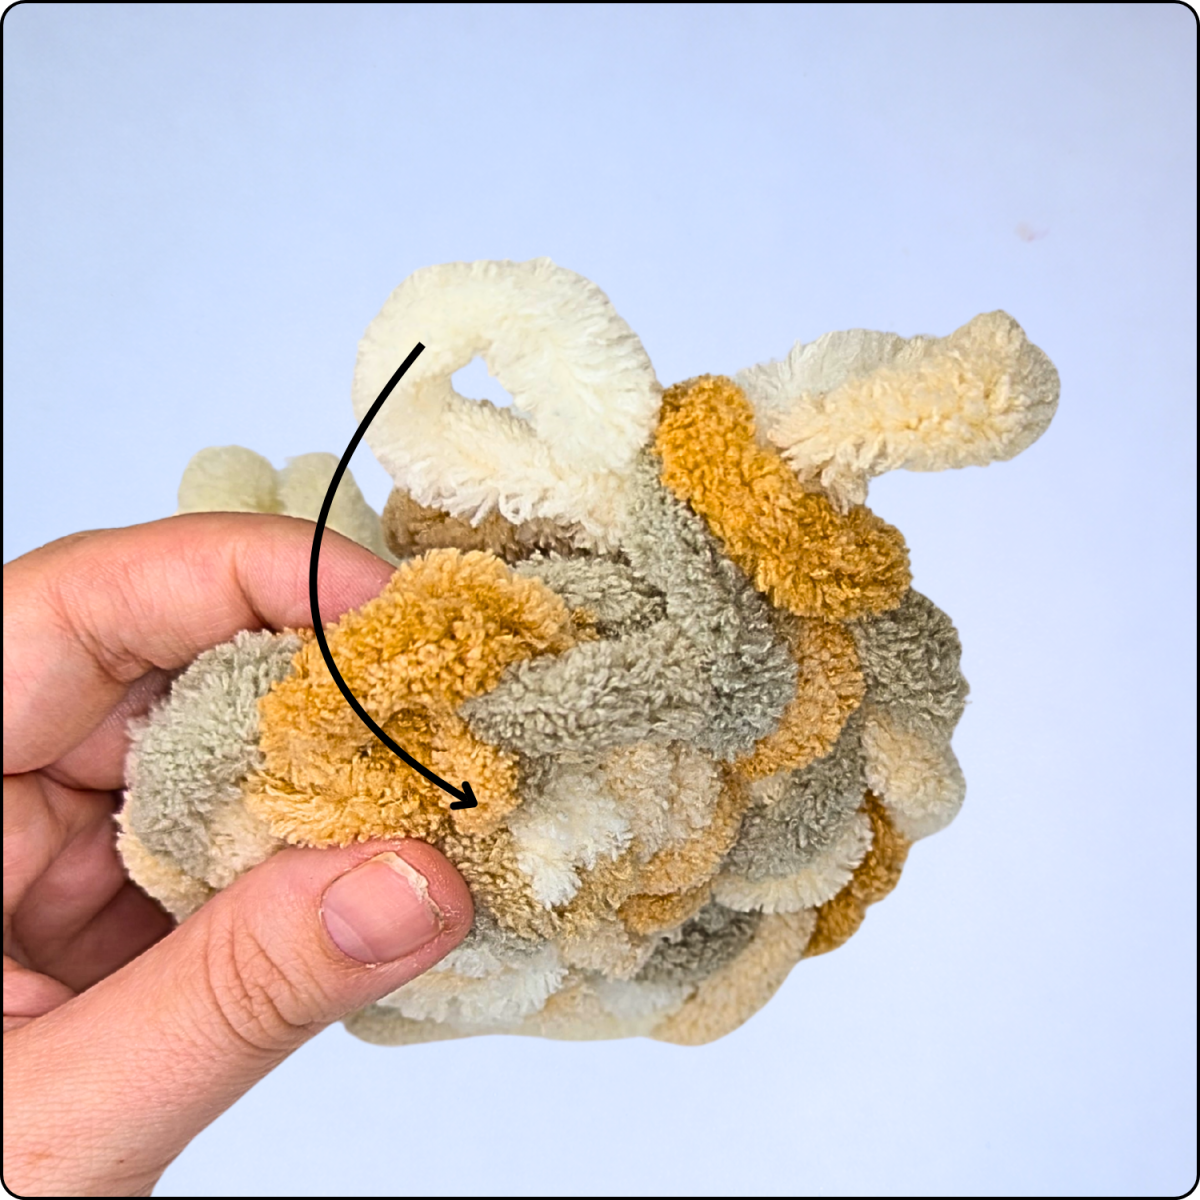
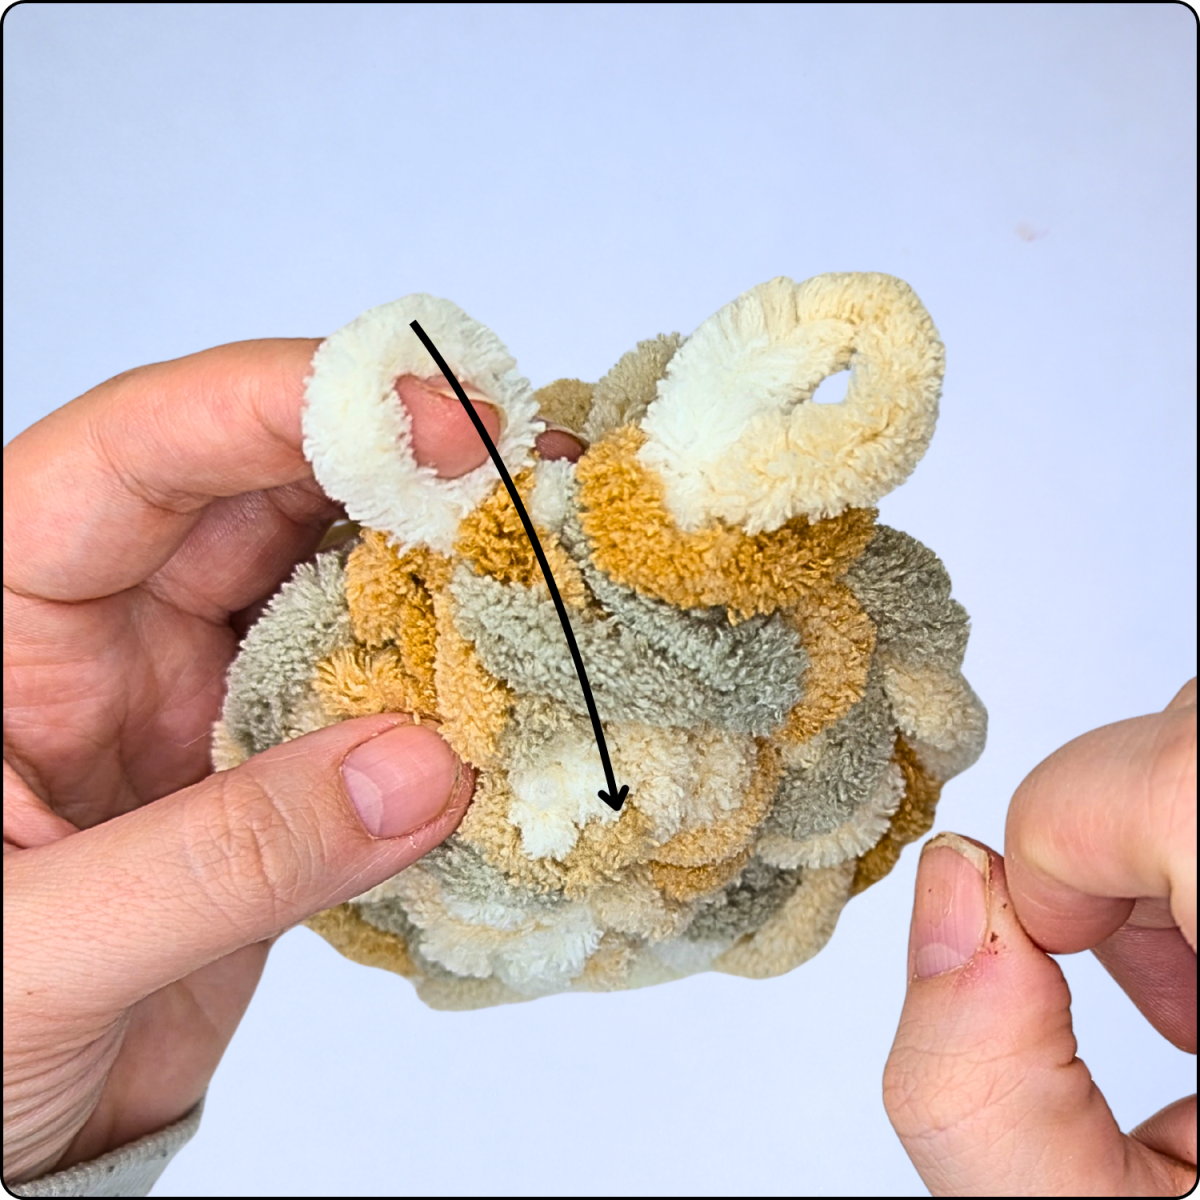
Bonus Techniques That Make Crocheting with Loop Yarn Easier
1) Working in Spiral Rounds vs. Joined Rounds
- Spiral rounds: You simply continue crocheting without closing the round. This method is very popular for single crochet stitches and is commonly used in amigurumi-style projects. Be sure to mark the first stitch of each round.
- Joined rounds: Each round is closed with a slip stitch, and the next round begins with chain stitches. This creates a clear, defined round edge but may result in a visible seam.
Recommendation: For flat or two-dimensional projects (such as rugs), joined rounds often look neater. For baskets, amigurumi, or other three-dimensional projects, spiral rounds are especially practical.
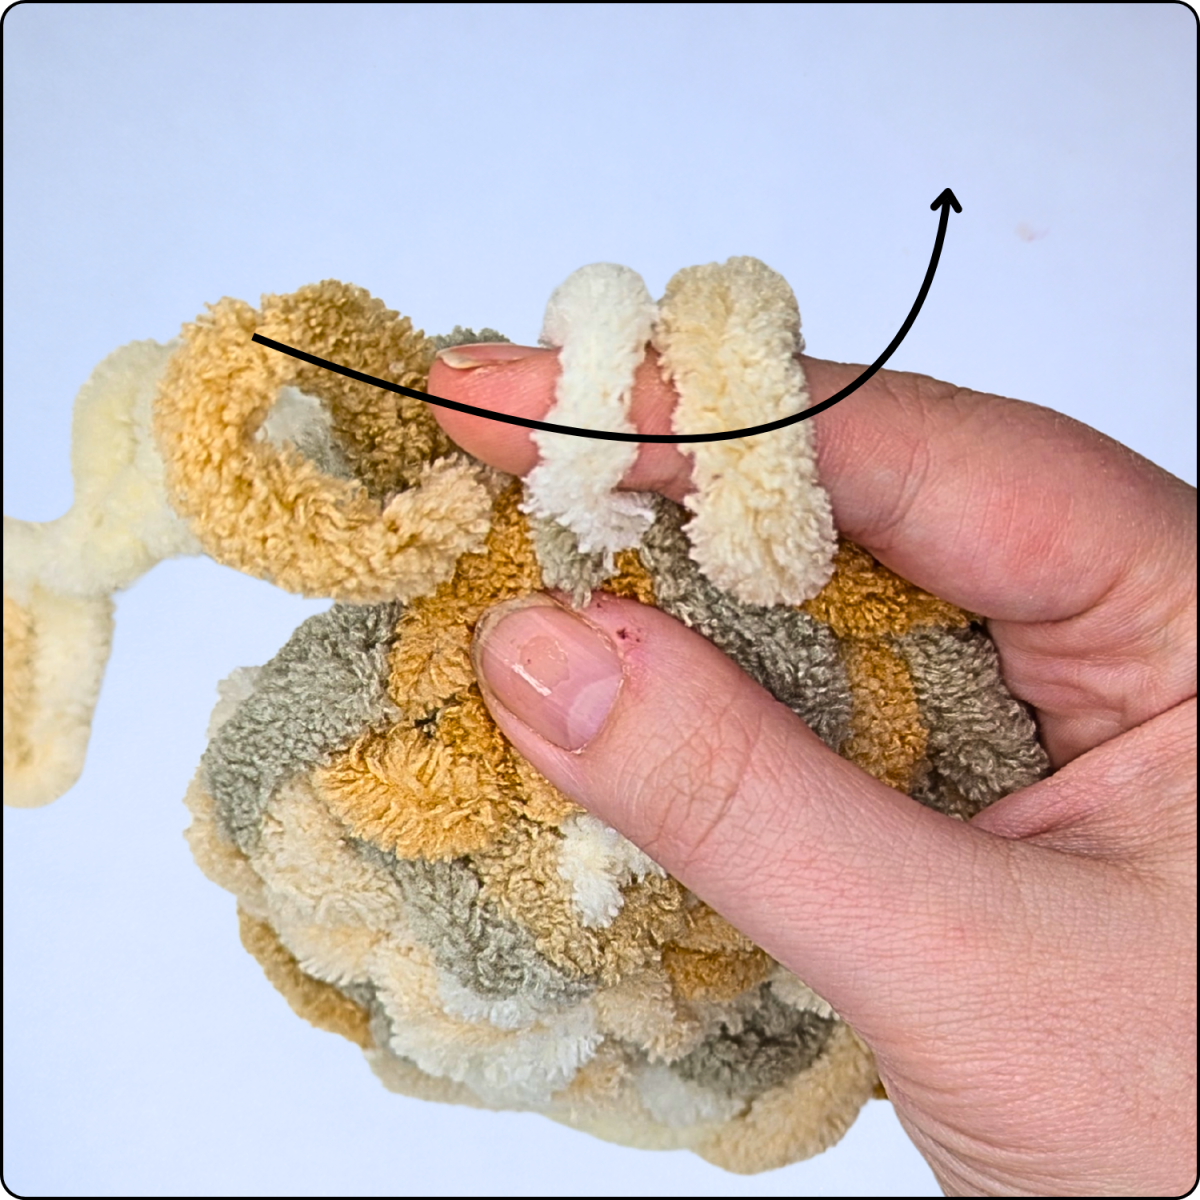
2) Finding Stitches in Fluffy Loop Yarn
Loop yarn is soft — and that’s exactly why stitch loops can easily hide.
- Touch tip: Run your finger along the edge until you feel the typical “V” or "X" shape (as with standard stitches) or the two strands/loops of the stitch.
- Light tip: Work in daylight or use a bright lamp. Good lighting makes it much easier to identify stitches.
- Stitch markers: Use them early and often. They are especially helpful at the beginning or end of rows, or at regular intervals, to keep track of your stitch count.
3) Securing and Weaving in Ends
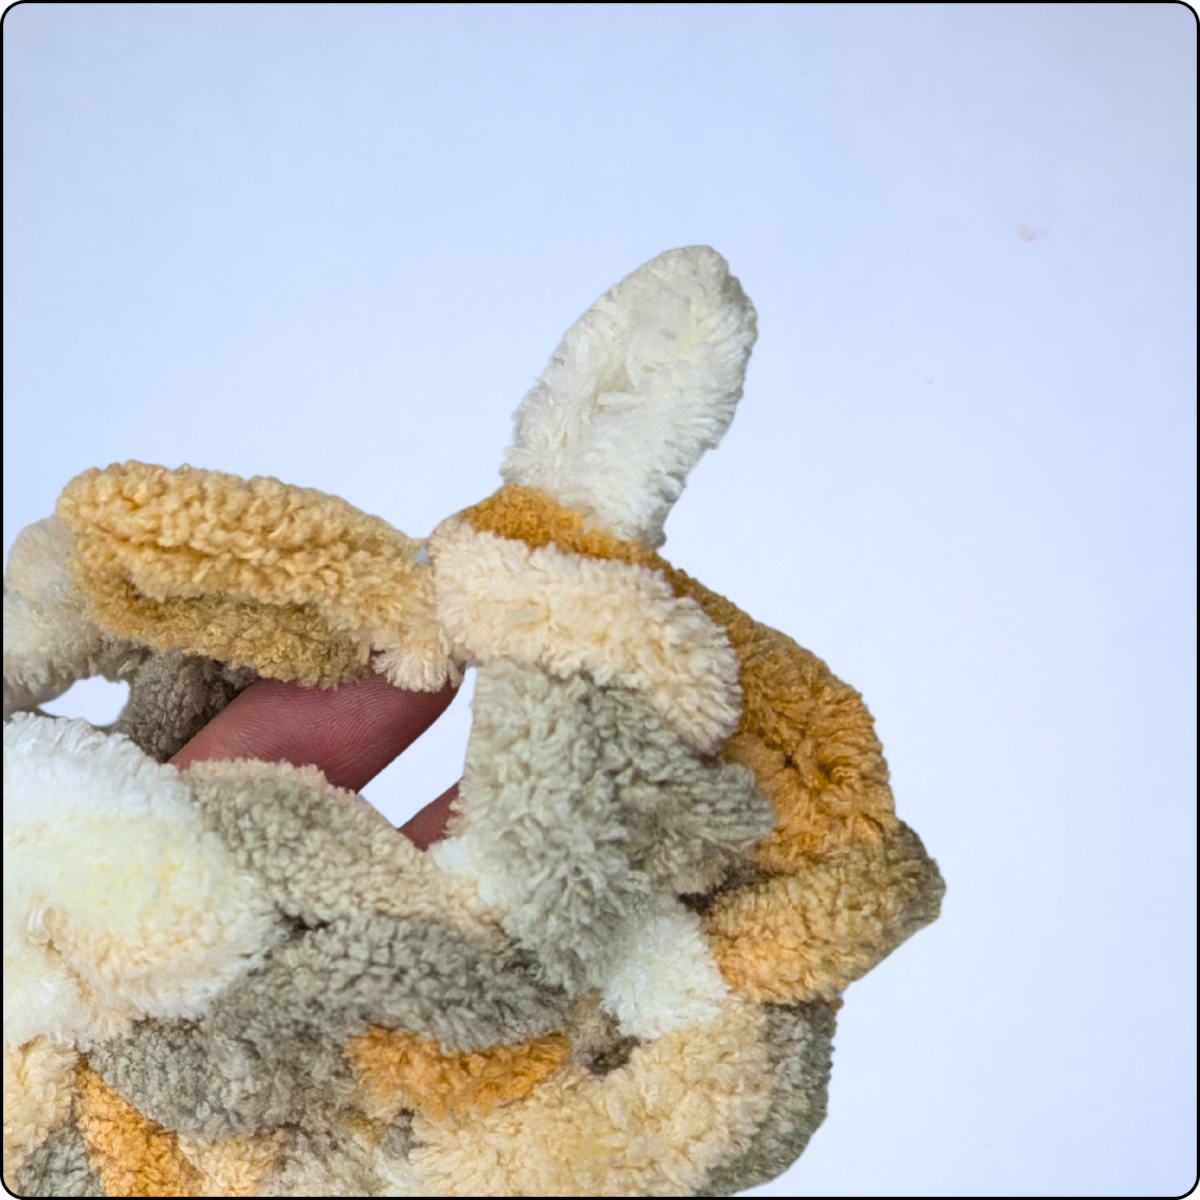
Even when working with loop yarn, there is always a beginning and an end — and these should be secured properly to prevent your project from coming undone.
-
Pull the yarn end through the final loop and tighten it, similar to a fastening knot. To do this, carefully open a few loops to create a usable yarn tail.
-
Weave the yarn tail several times in opposite directions through the inside of your project. No needle is required for this step.
-
With very fluffy loop yarn, weaving in the ends is often sufficient. For items that will receive heavy use (such as bags or pillows), it’s best to add an extra knot for longer durability.
Conclusion: Loop Yarn Can Do (Much More Than Just Blankets)
With the basic stitches and techniques covered in this guide, you are well prepared to work with loop yarn successfully — whether you are crocheting in rows, working in the round, or shaping your projects with increases and decreases. Loop yarn is an excellent material for achieving quick results, while still allowing you to create surprisingly professional-looking crochet pieces when a few basic techniques are applied correctly.
If you’d like, feel free to follow my blog and visit my shop. Even though there are currently only a few crochet patterns available, I’m continuously working on new designs — so you won’t miss any upcoming patterns, tips, or creative projects.


