Nice that you are part of our Scrappy, i.e. fabric scraps quilt challenge!
Now it's time for the second block of the quilt challenge, the Rail Fence Block.
You can find out what's behind this challenge with the strange name and how to sew the first block, the Nine Patch Block, in this block post:
This brings me straight to our new patchwork pattern, the Rail Fence Block. Like the Nine Patch Block, you can sew this block very easily from fabric scraps, preferably cotton.
The structure of the Rail Fence Block
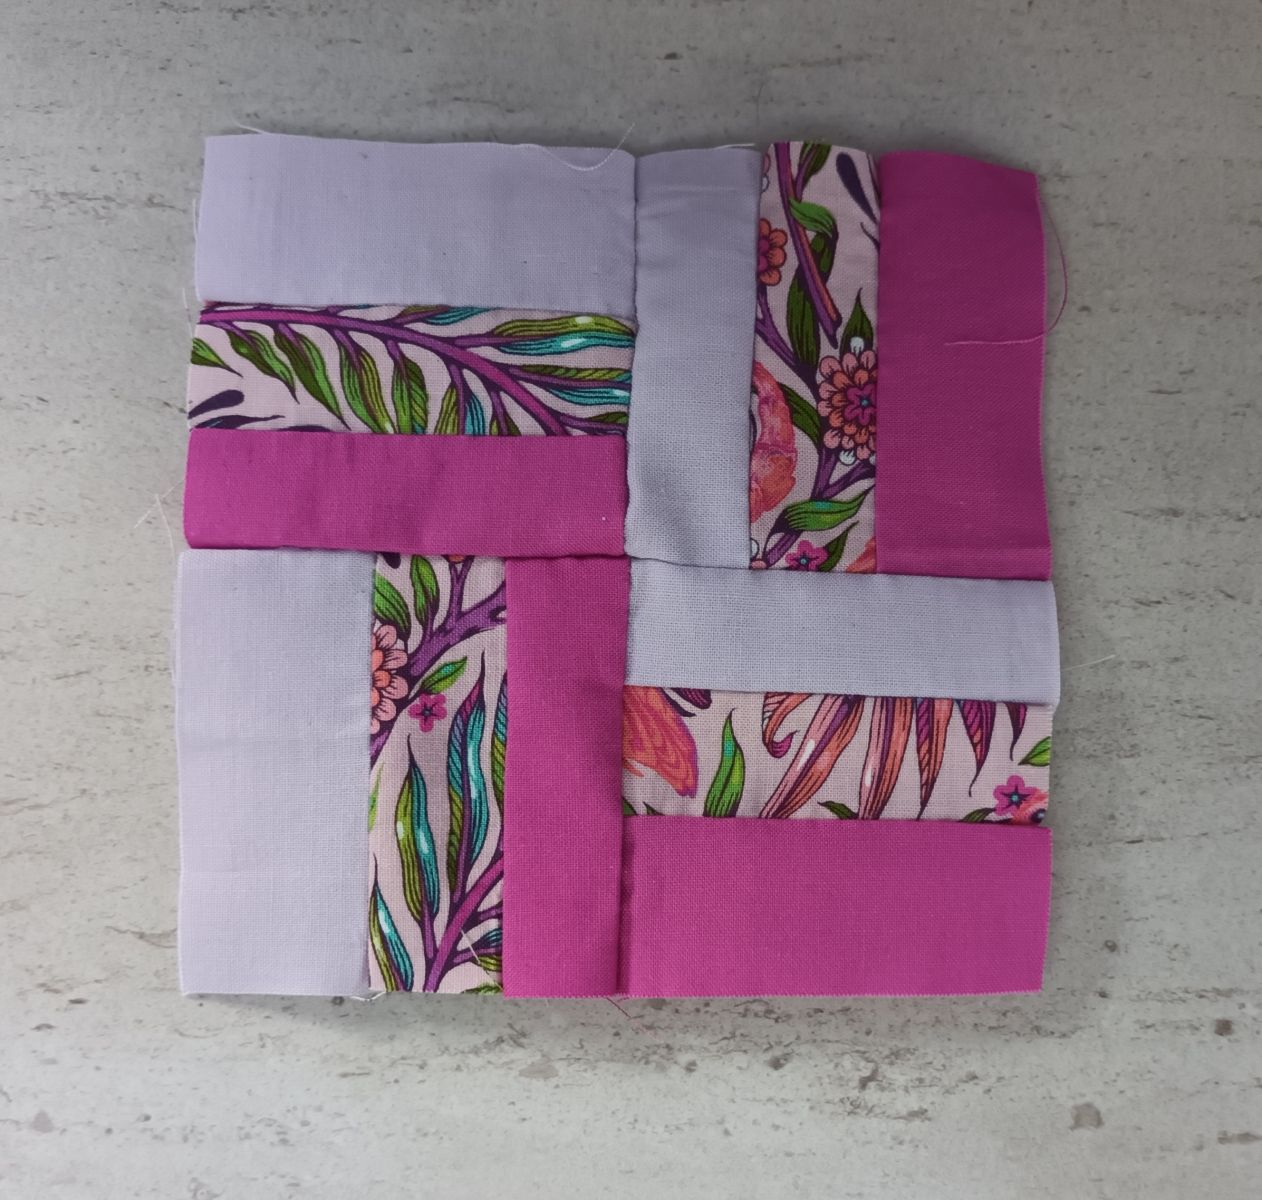
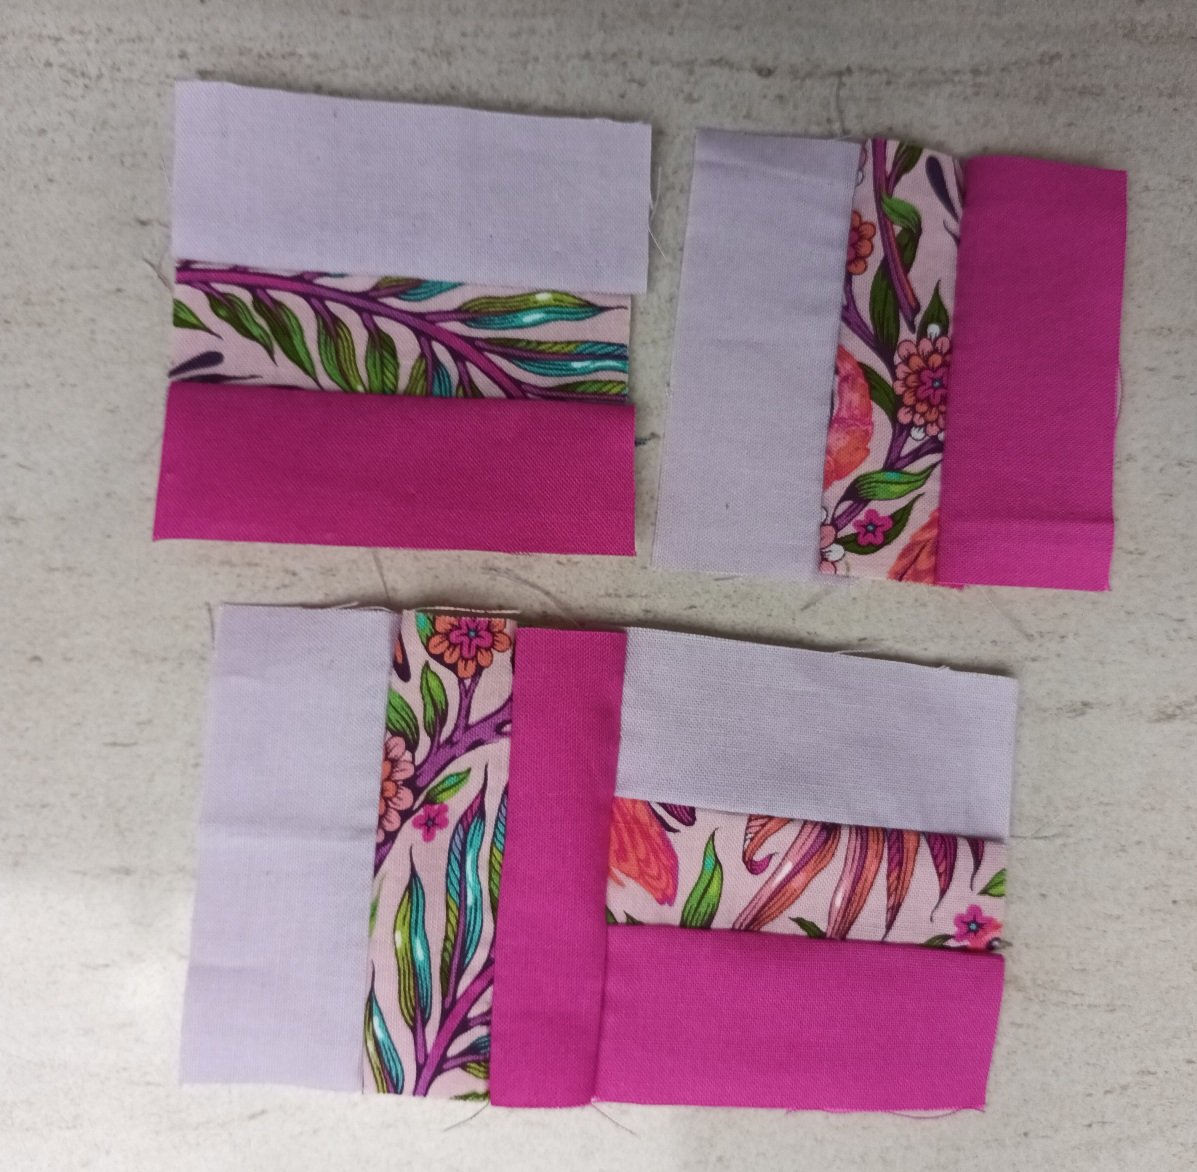
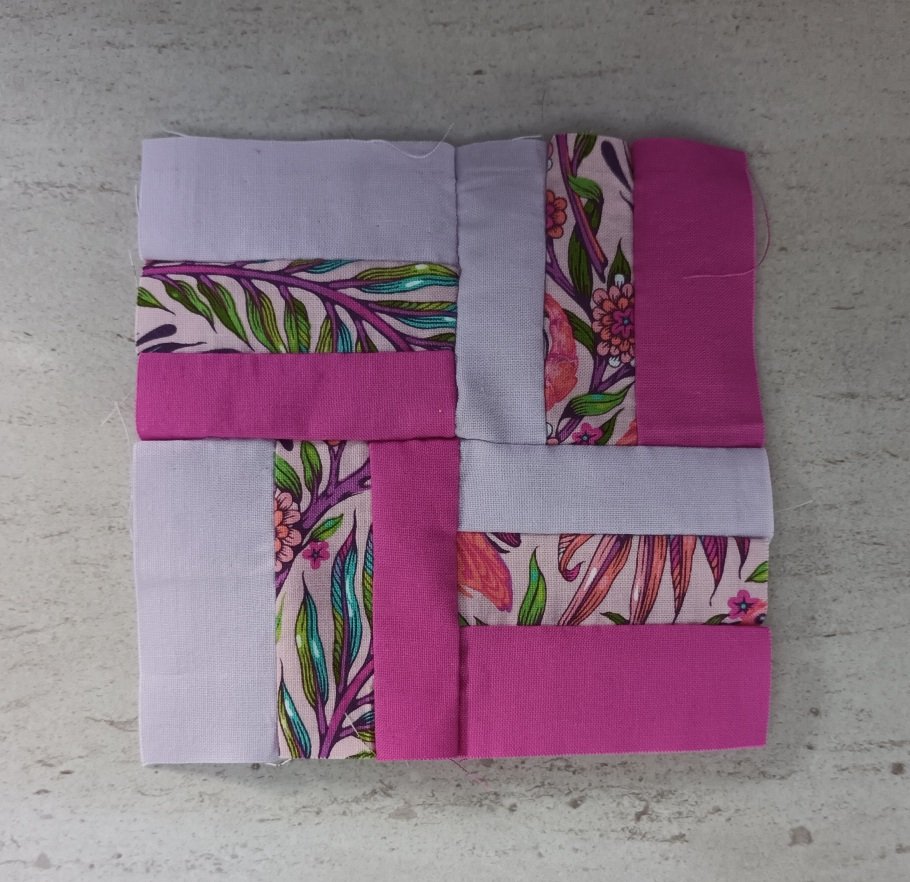
The Rail Fence Block consists of 4 sub-blocks, i.e. mini squares, which make up the large block. There are two squares next to each other and two on top of each other.
Here you will immediately recognize the difference to the Nine Patch Block from the first part of our Scrappy Quilt Challenge, because it was made with 3 x 3 squares.
Each individual, small square in the Rail Fence Block consists of several strips.
The individual mini squares in the block are arranged alternately horizontally and vertically, creating an interesting pattern. If you sew this patchwork block several times and arrange it in a quilt, the horizontal and vertical stripes create beautiful pattern and color gradients.
With the Rail Fence Block, there are different ways to design the pattern, depending on how you arrange the stripes horizontally and vertically.
The Rail Fence Block is so wonderfully variable:
You can sew the respective mini square from 3, 4 or 5 strips.
You can cut the strips at the same height or at different heights. It is important that you make sure that the mini squares are square afterwards and that the overall size of the block matches your other blocks.
The name Rail Fence Block and the naming
Rail Fences are fences in which several horizontal wooden slats lie on top of each other and are attached to vertical posts.
I think the name of the Rail Fence Block is a very good example of how the old, traditional patchwork blocks often got their names from the quilters' living environment. Sometimes the blocks were also used to make a political statement, either directly or indirectly. In any case, the blocks “lived” together with the quilters. This is also the reason why many traditional blocks have different names. At that time, there were few or no distribution options. As a result, it was possible that different quilters suddenly had the idea for a new block and each named it differently.
The size of the block
This block also has a finished size of 12 x 12 cm.
The individual strips have a seam allowance of 0.75 cm. The unfinished block (including seam allowances) therefore measures 13.5 cm.
Cutting the Rail Fence Block to size
This block can be made very well from fabric remnants. One option is to repeat the fabric strips, i.e. the patterns and/or colors of the individual strips, in each of the four mini squares. You can see this variation in my sewn block.
Of course, you can also play with the colors and, for example, choose 1 strip in the same shade but with different patterns within the four mini squares. It just depends on your individual stash of fabric scraps, the scraps, how you want to design this block.
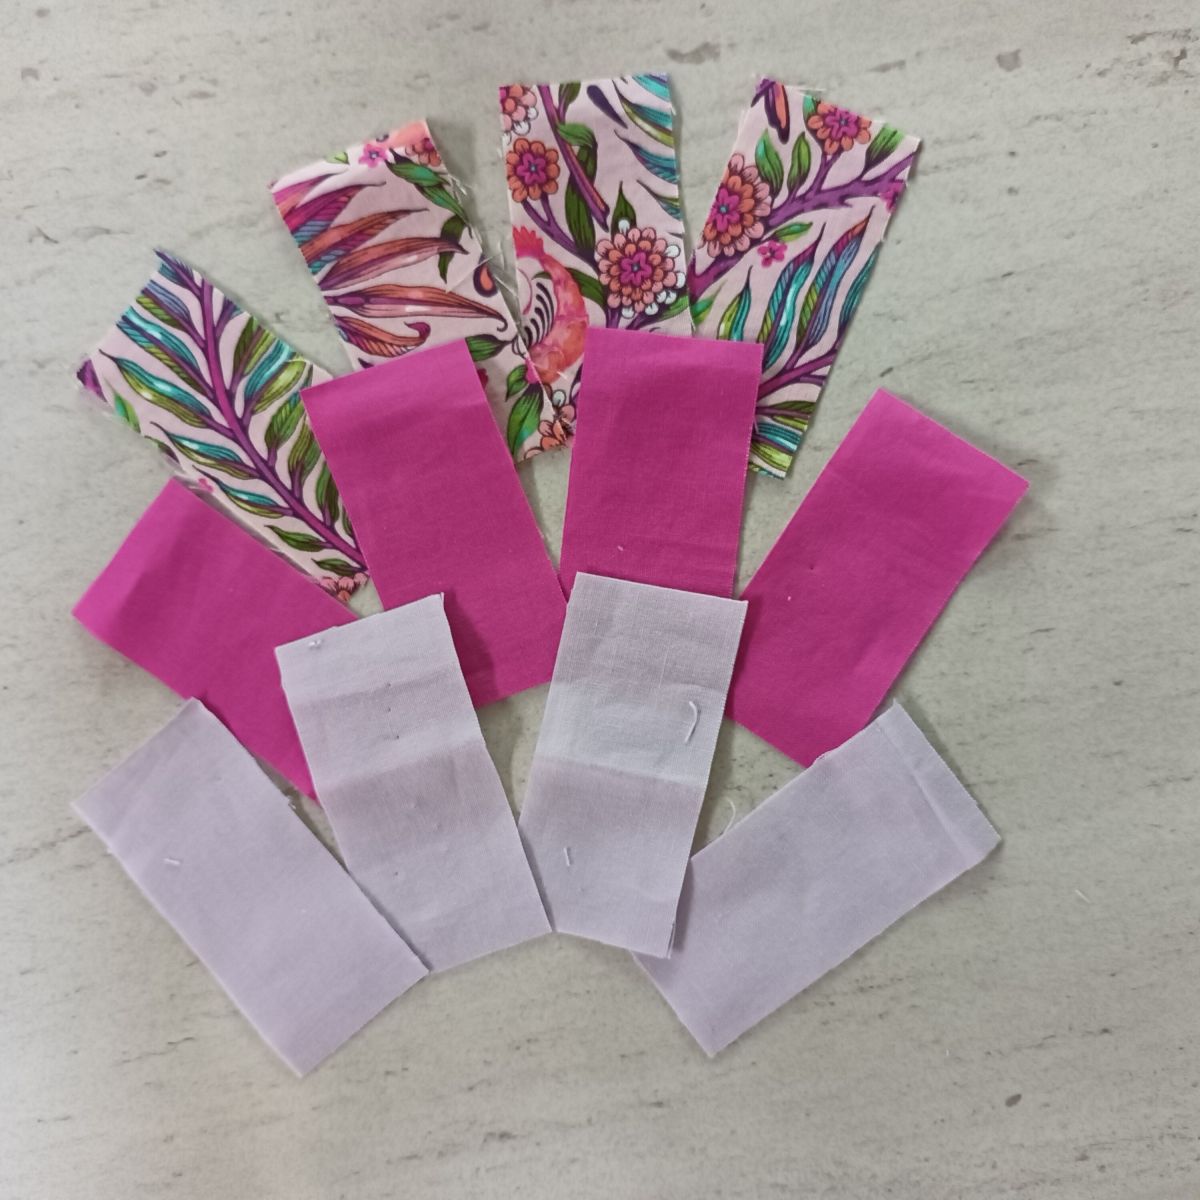
We need 12 strips 7.5 cm long for the block.
The height of the strips depends on whether you want to sew the 4 mini squares with 3, 4 or 5 strips each.
Here is an explanation of the individual options:
3, 4 or 5 strips per mini square?
Let's start with the biggest challenge, namely designing the block with 5 stripes.
The Rail Fence Block with 5 strips
In purely mathematical terms, each strip would then be 1.2 cm high (plus seam allowances).
1.2 cm plus 1.5 cm (2 x 0.75 cm seam allowance) = 2.7 cm
However, the patchwork rulers have dimensions of 0.25 cm each.
So again, you have various options for designing the pattern:
You can cut the strips 2.75 cm high and then sew them together with a slightly larger seam allowance.
Or you can sew the higher strips together with the usual seam allowance and cut the outer strips later to get the right overall size of the block.
If the outer strips are patterned, I think it is less noticeable if the outer strips are a little smaller.
Alternatively, we can also say that it is part of artistic freedom that the outer stripes are a little narrower 😉
If you don't like this “jumble”, then you can opt for 3 or 4 stripes. :-)
As you can see, you always have different options when patchworking. For me, this individuality (do I want to work precisely or do I want to be creative?) is one of the best parts of patchwork and quilting.
The Rail Fence Block with 4 stripes
If you want 4 strips, then each strip has a height of 1.5 cm (plus seam allowances).
1.5 cm plus 1.5 cm (2x 0.75 cm seam allowance) = 3 cm
The Rail Fence Block with 3 strips
The block I am showing you has three strips. Each strip has a height of 2 cm plus seam allowances.
2 cm plus 1.5 cm (2x 0.75 cm seam allowance) = 3.5 cm
If you want to sew the same block with me, then cut 12 strips that are 3.5 cm high and 7.5 cm long.
Please remember to choose three different fabrics with different colors and/or patterns.
The Challenge for this block
1st Challenge: Decide!
Decide quickly how many stripes your block should have. Don't think about it for hours, but decide spontaneously.
The second decision concerns the selection of your fabric scraps and the arrangement of the stripes. Ask your gut and then get started.
2nd Challenge: How much precision do you need?
Perhaps you have already noticed when reading the description above regarding the number of strips? How much accuracy do you need to feel comfortable? Does my statement that you can “make the strips a little bigger” and “just cut them to size later” give you a stomach ache?
Personally, this is one of my ongoing challenges... How much precision and how much “creative imprecision” do I need to feel comfortable AND sew a successful quilt? It remains an adventure for me with every new quilt 😉.
In the first block of this challenge, the Nine Patch Block, I already described some basic challenges. To what extent do these challenges also apply to you?
How to sew the Rail Fence Block
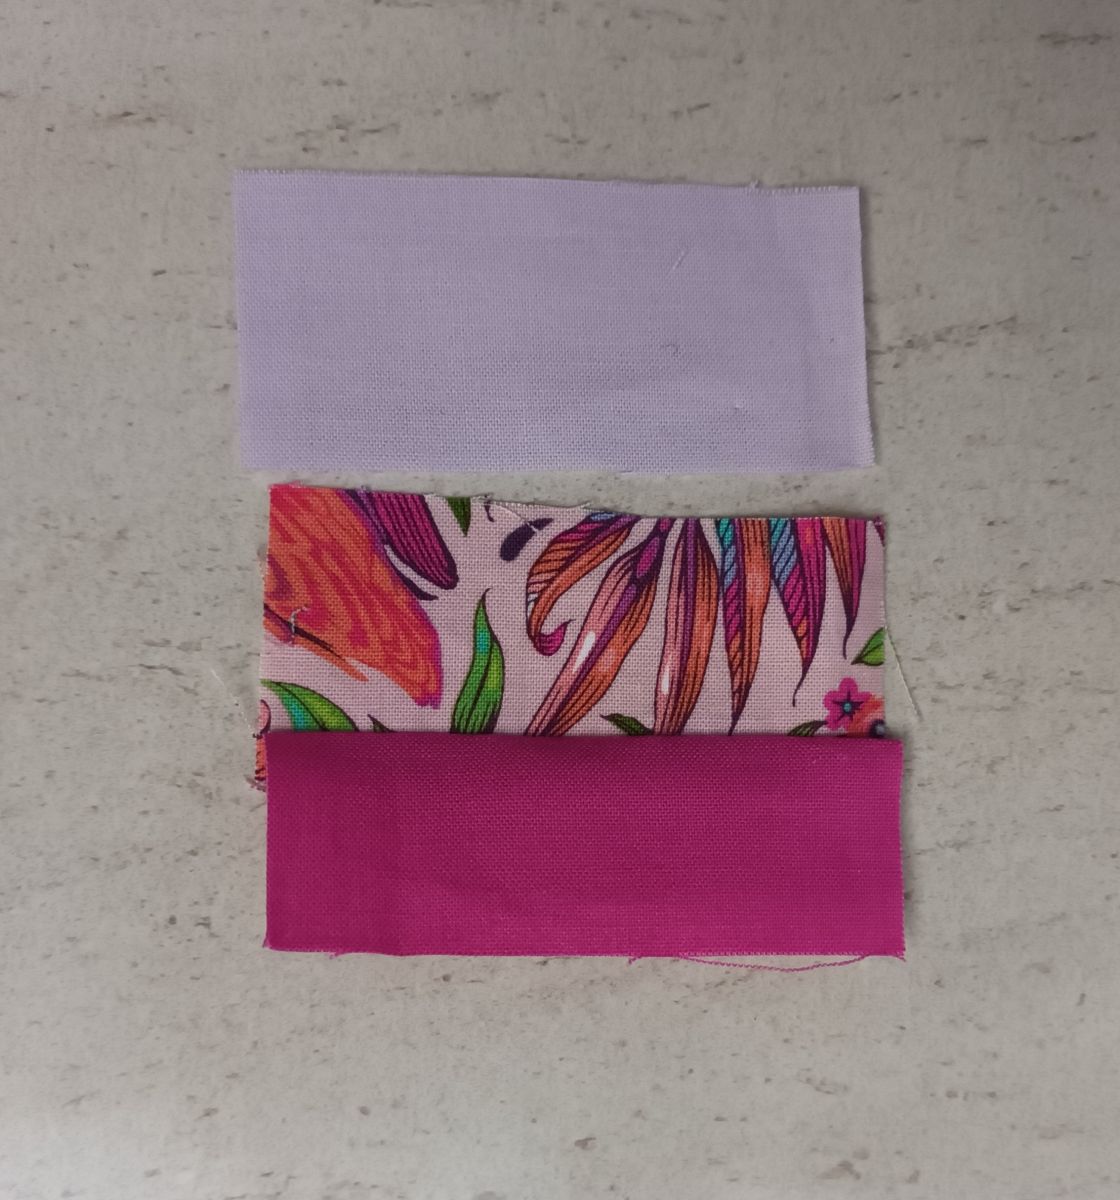
First, cut the strips in the above size and quantity in your favorite patterns and colors.
.jpg)
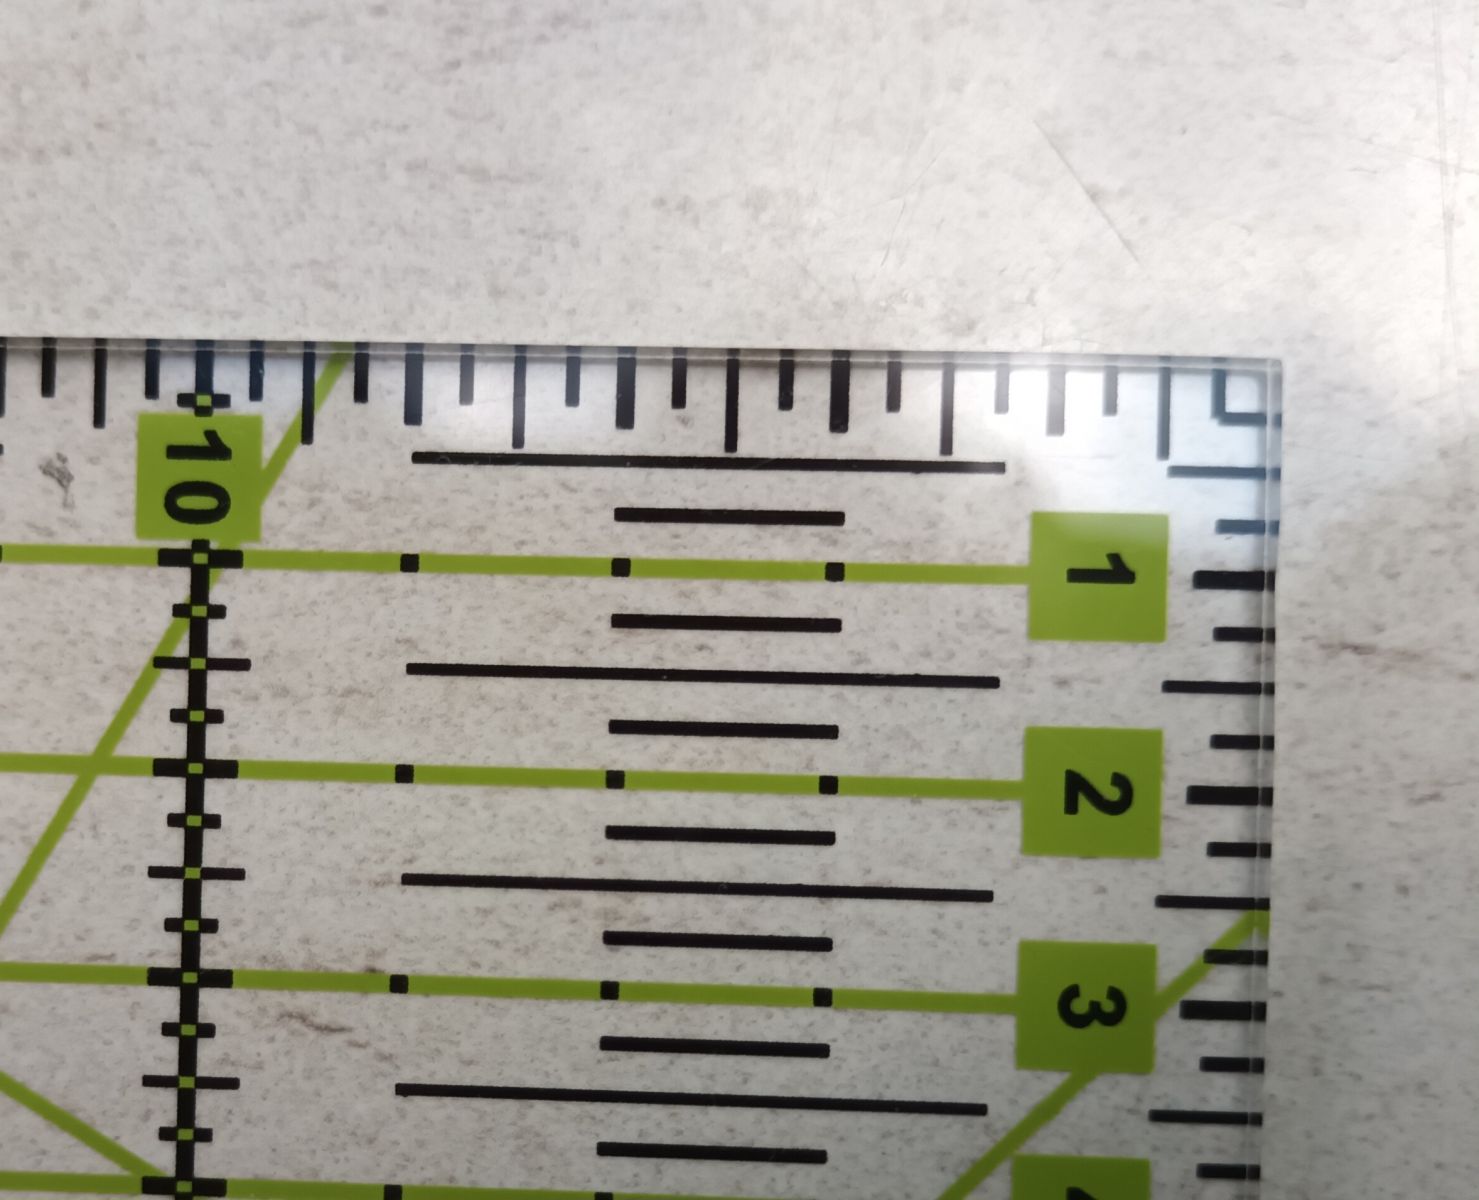
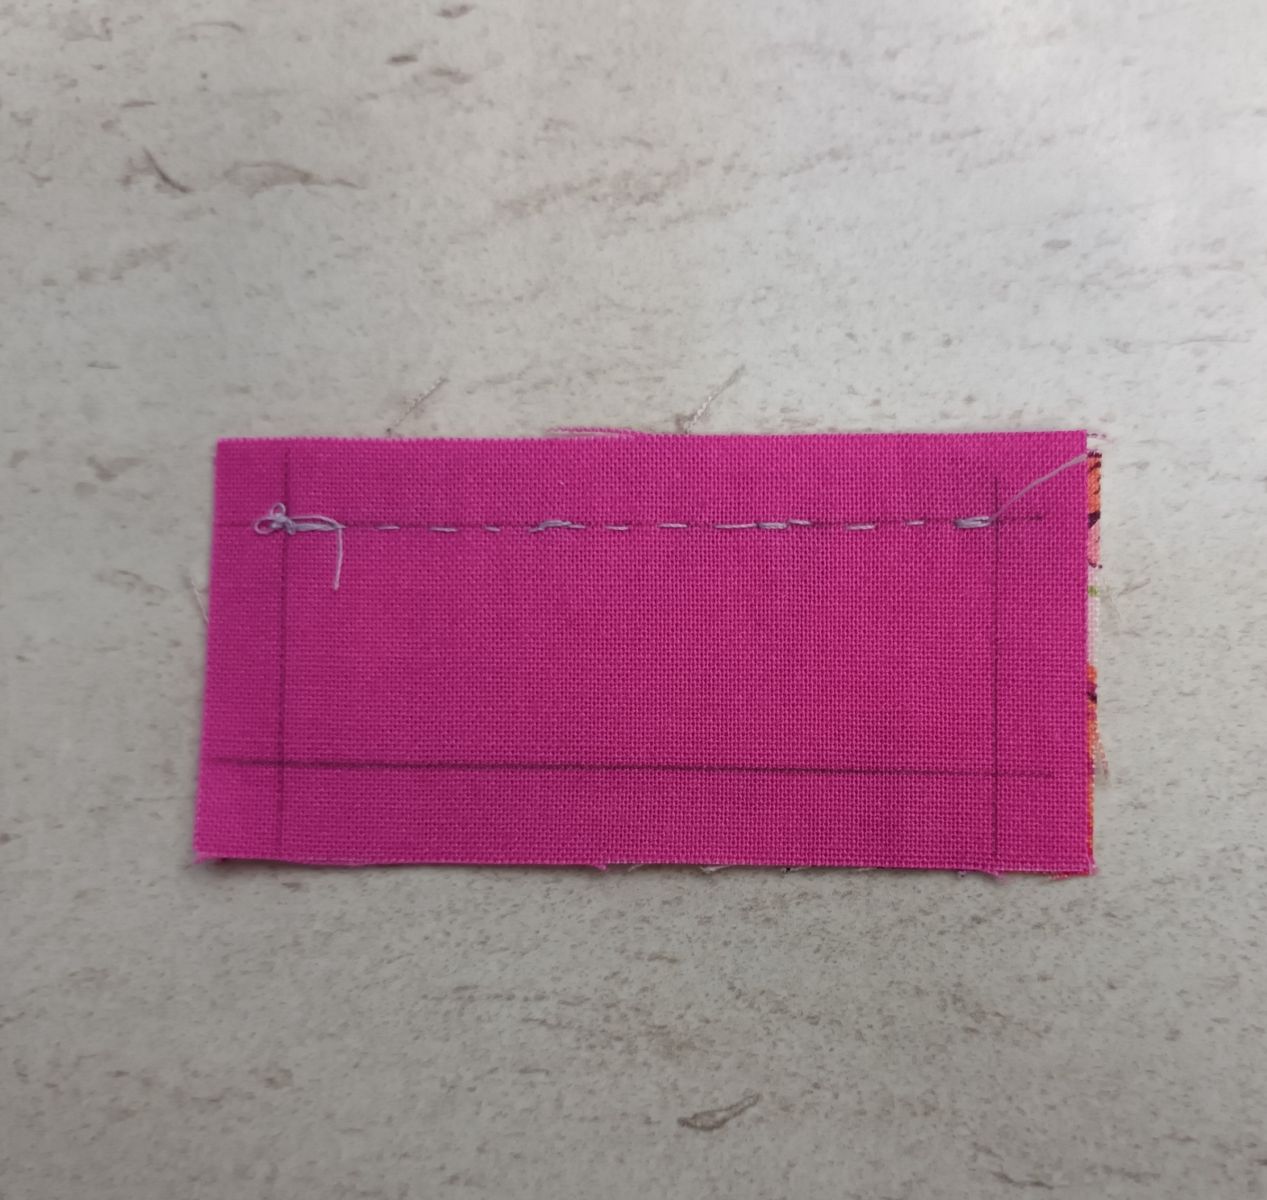
I sewed this block while traveling and didn't have a sewing machine with me. I use a ruler and a soft pencil to draw the seam lines so that my seams are nice and straight when sewing by hand.
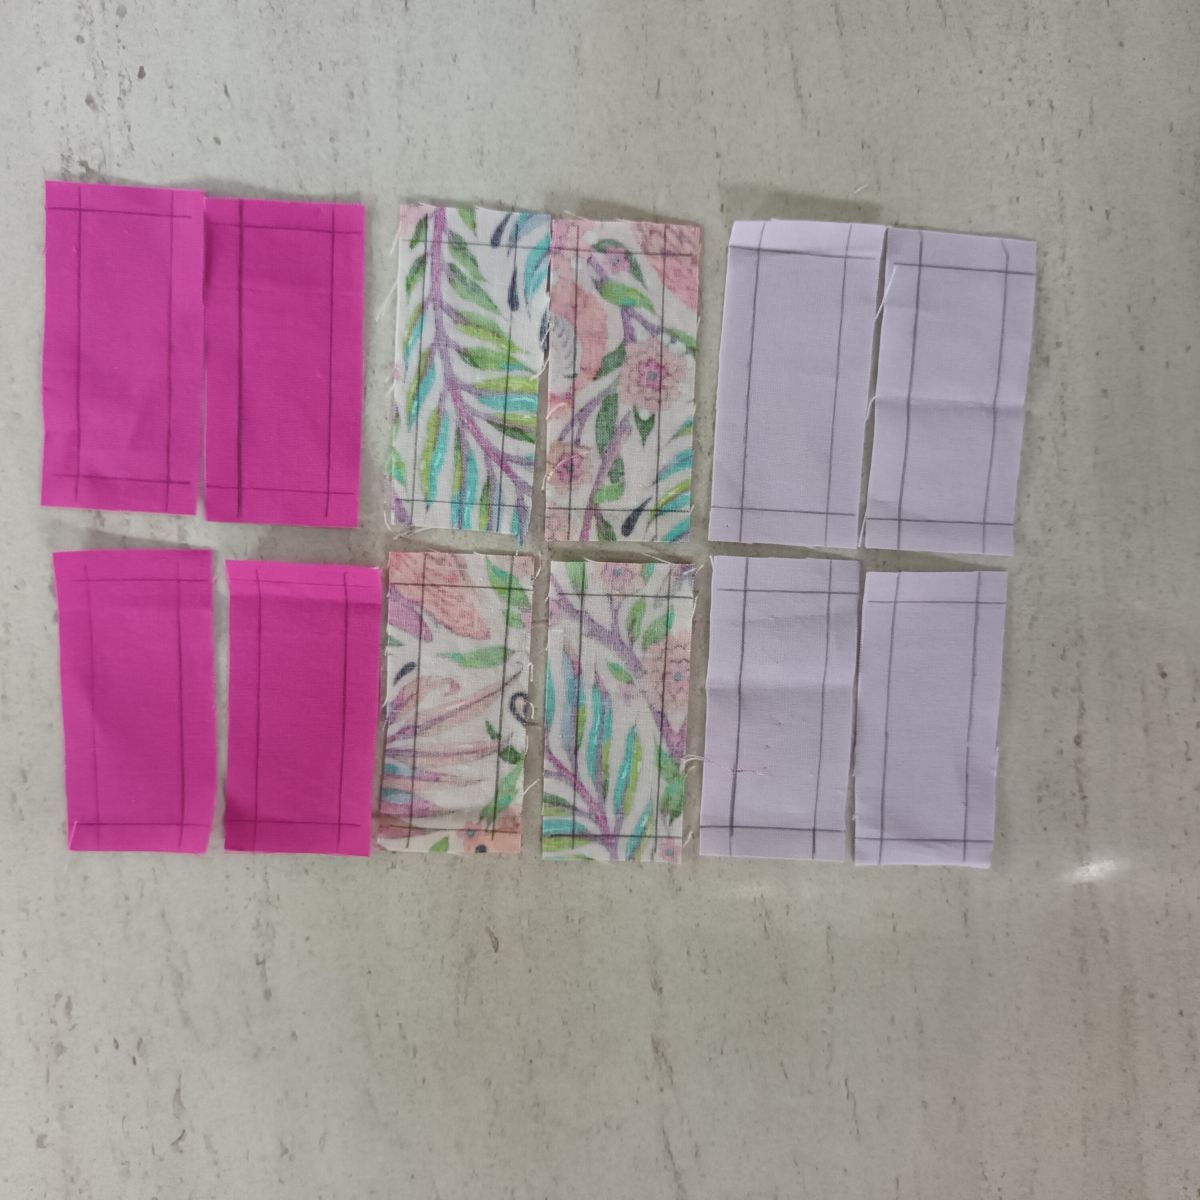
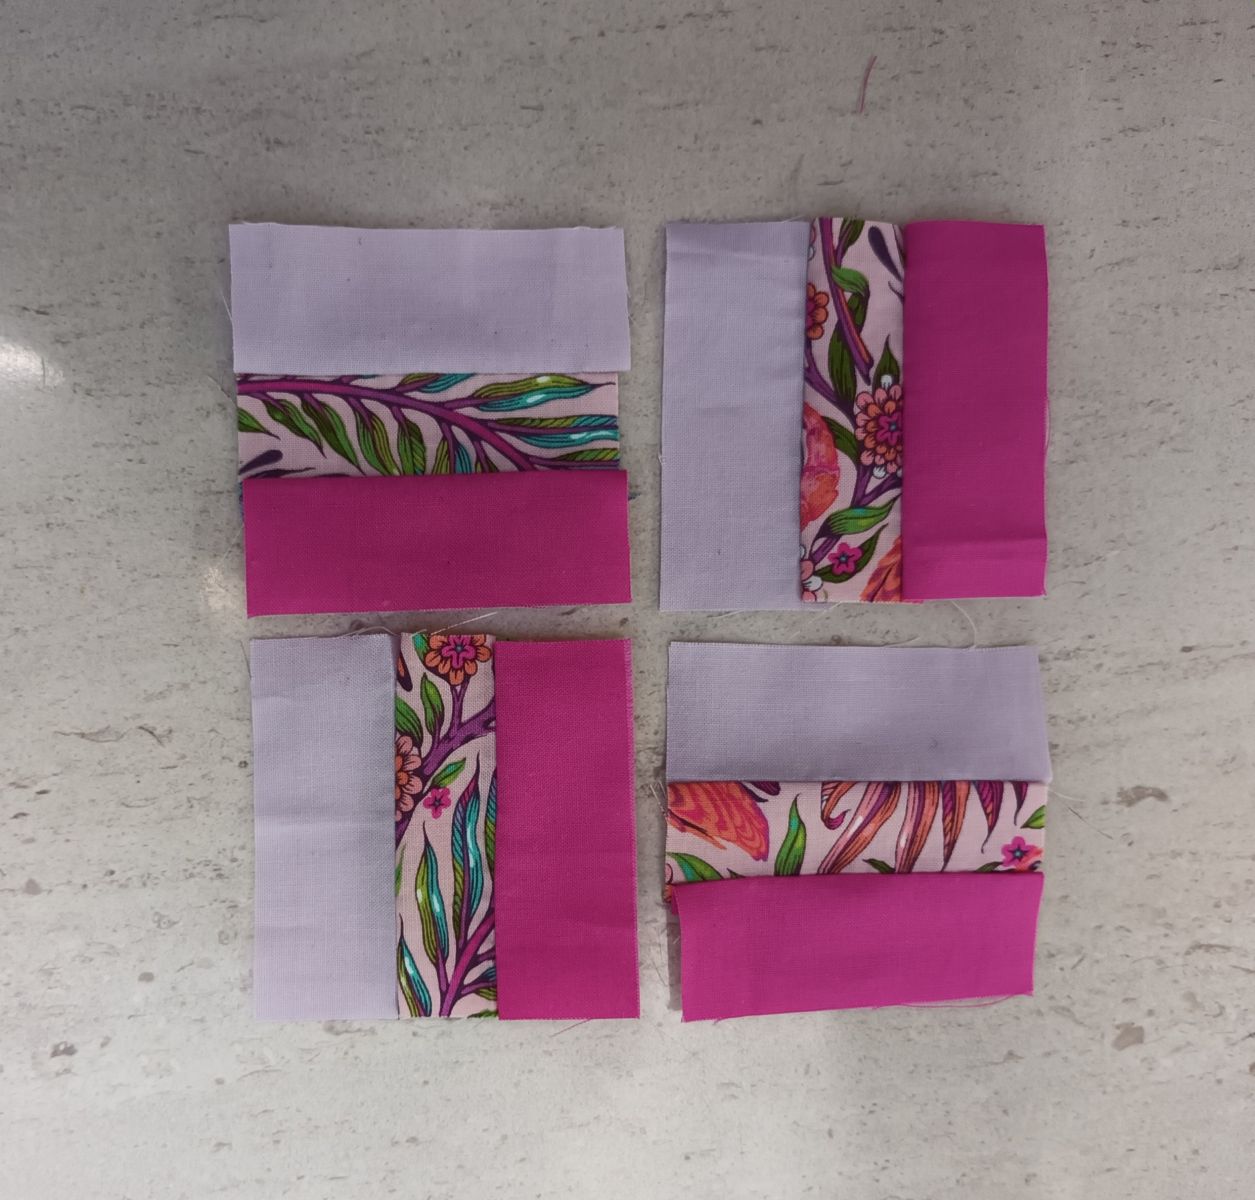
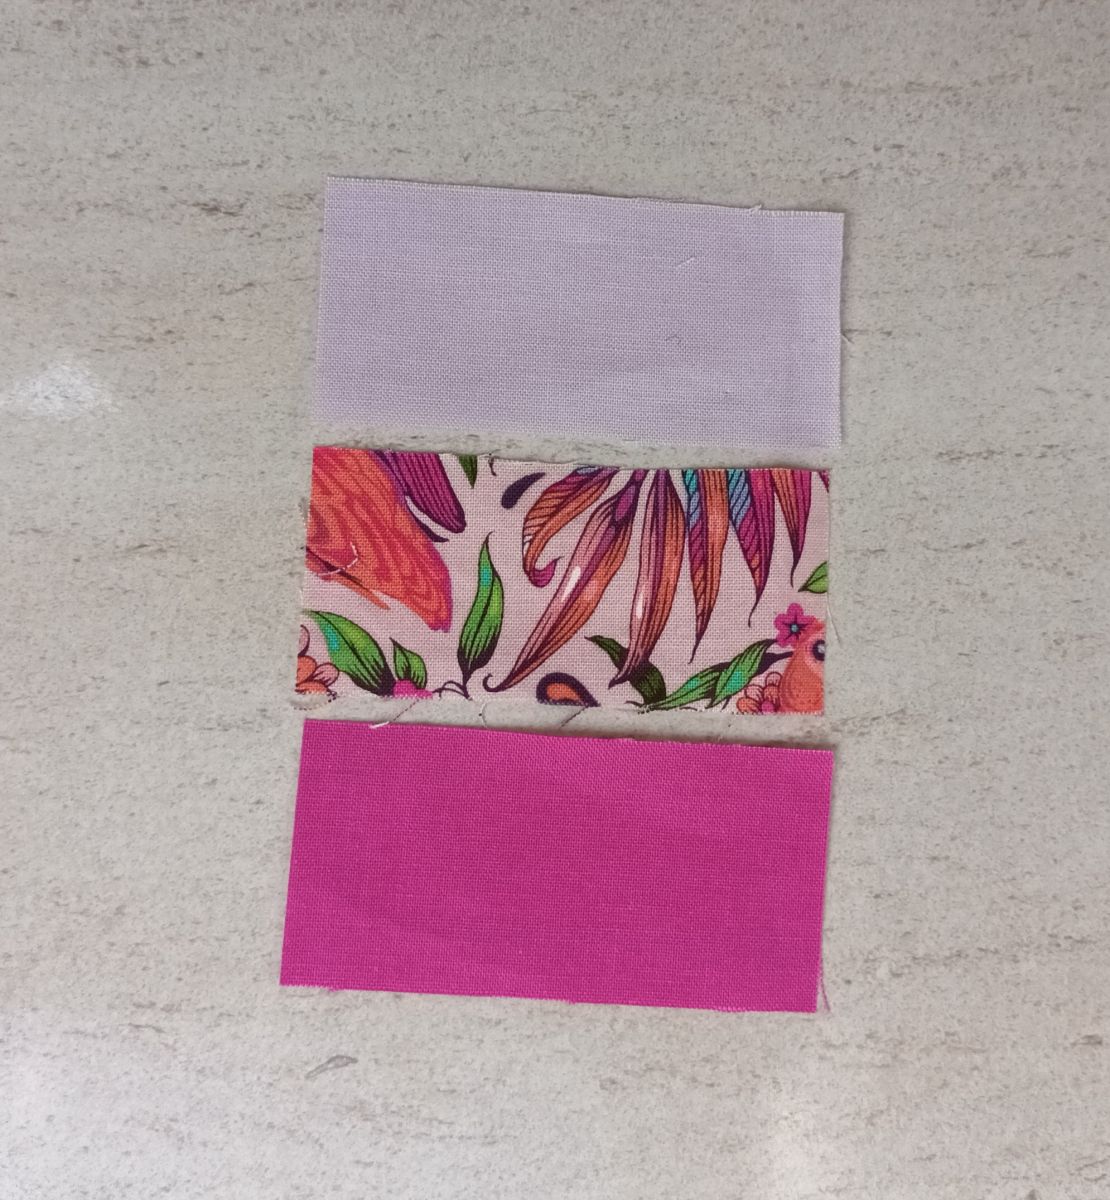
Please lay out the three strips for the first mini square. I always take a photo so that I can check that I don't mix up the order when sewing. 😉
If you like, you can also lay out and photograph the entire pattern.
If you are interested in sewing by hand (I find it very relaxing when I'm out and about), you can see here how I fix the first two strips with pins and sew them as precisely as possible on the seam line.

By the way, if you're wondering why the sewing needle is on the left... I'm left-handed ;-)
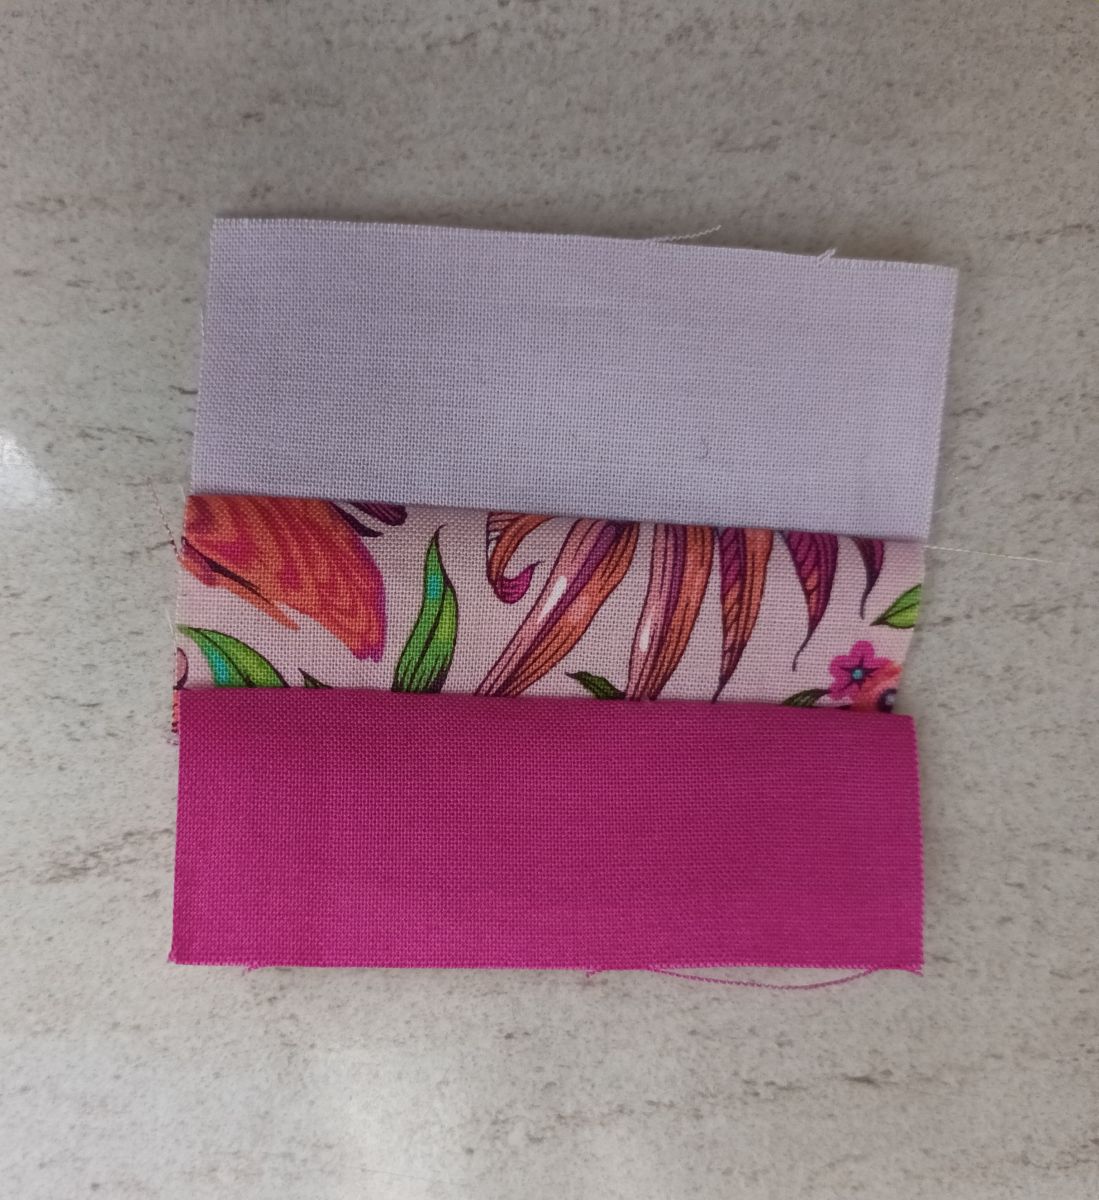
Fold the two sewn strips apart and smooth them out with your fingers. In my first article on the Scrappy Quilt Challenge, I described the advantages of this “finger ironing”.
Now sew on the third strip. The first of four mini squares for your Rail Fence Block is finished.
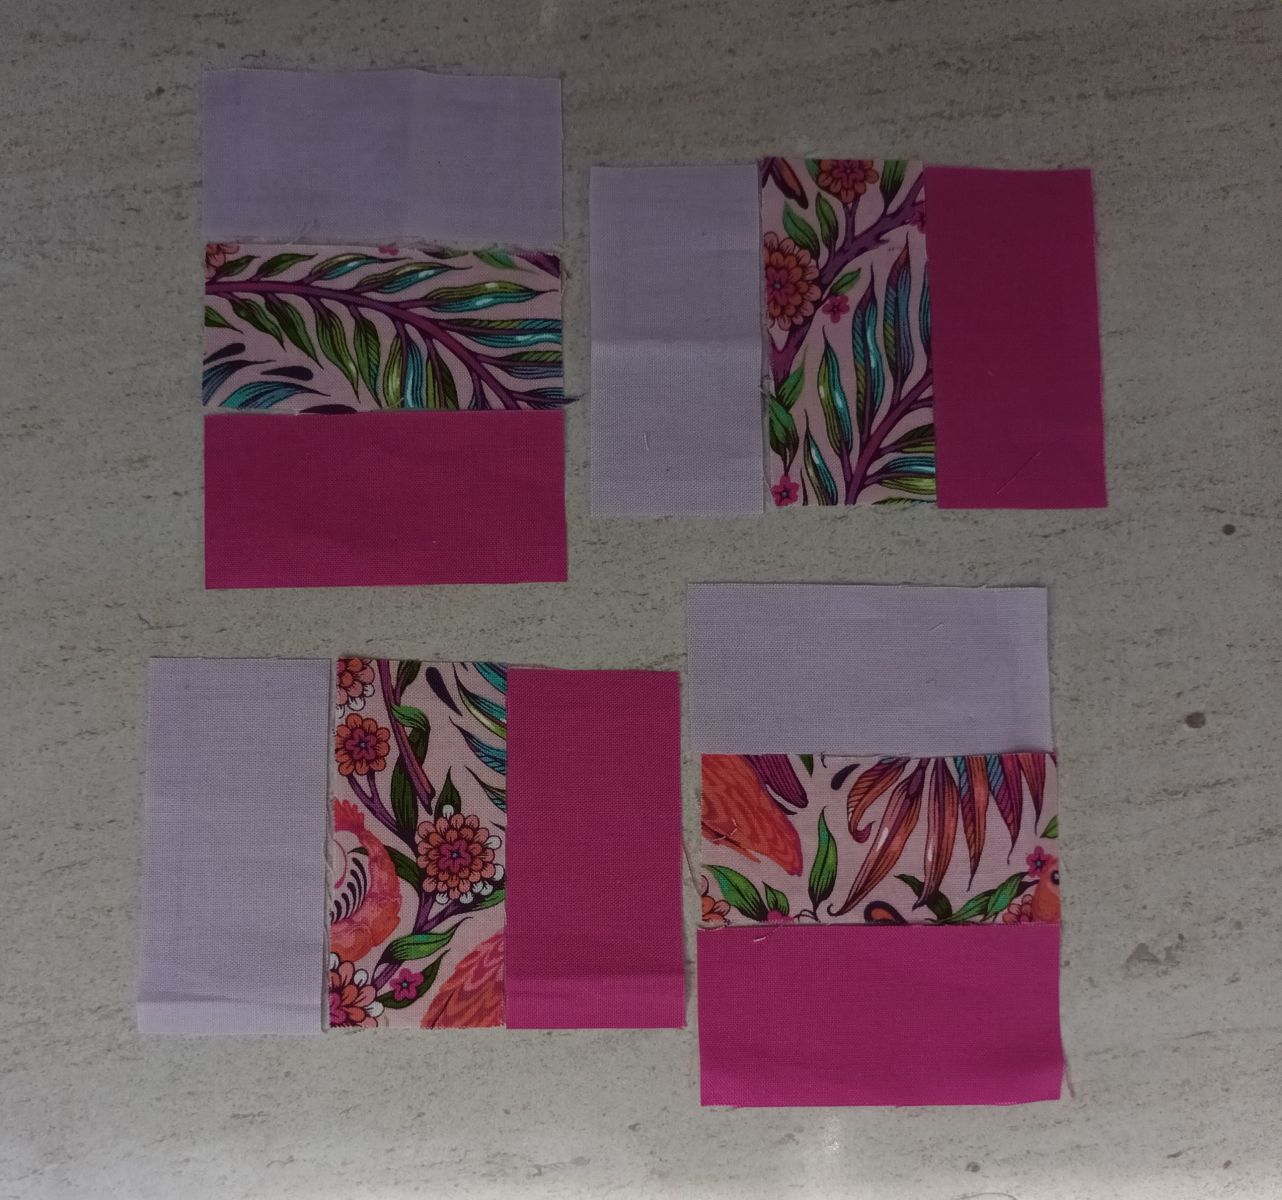
Sew the other mini squares together in the same way.
.jpg)
Now sew the two horizontally adjacent mini squares together.
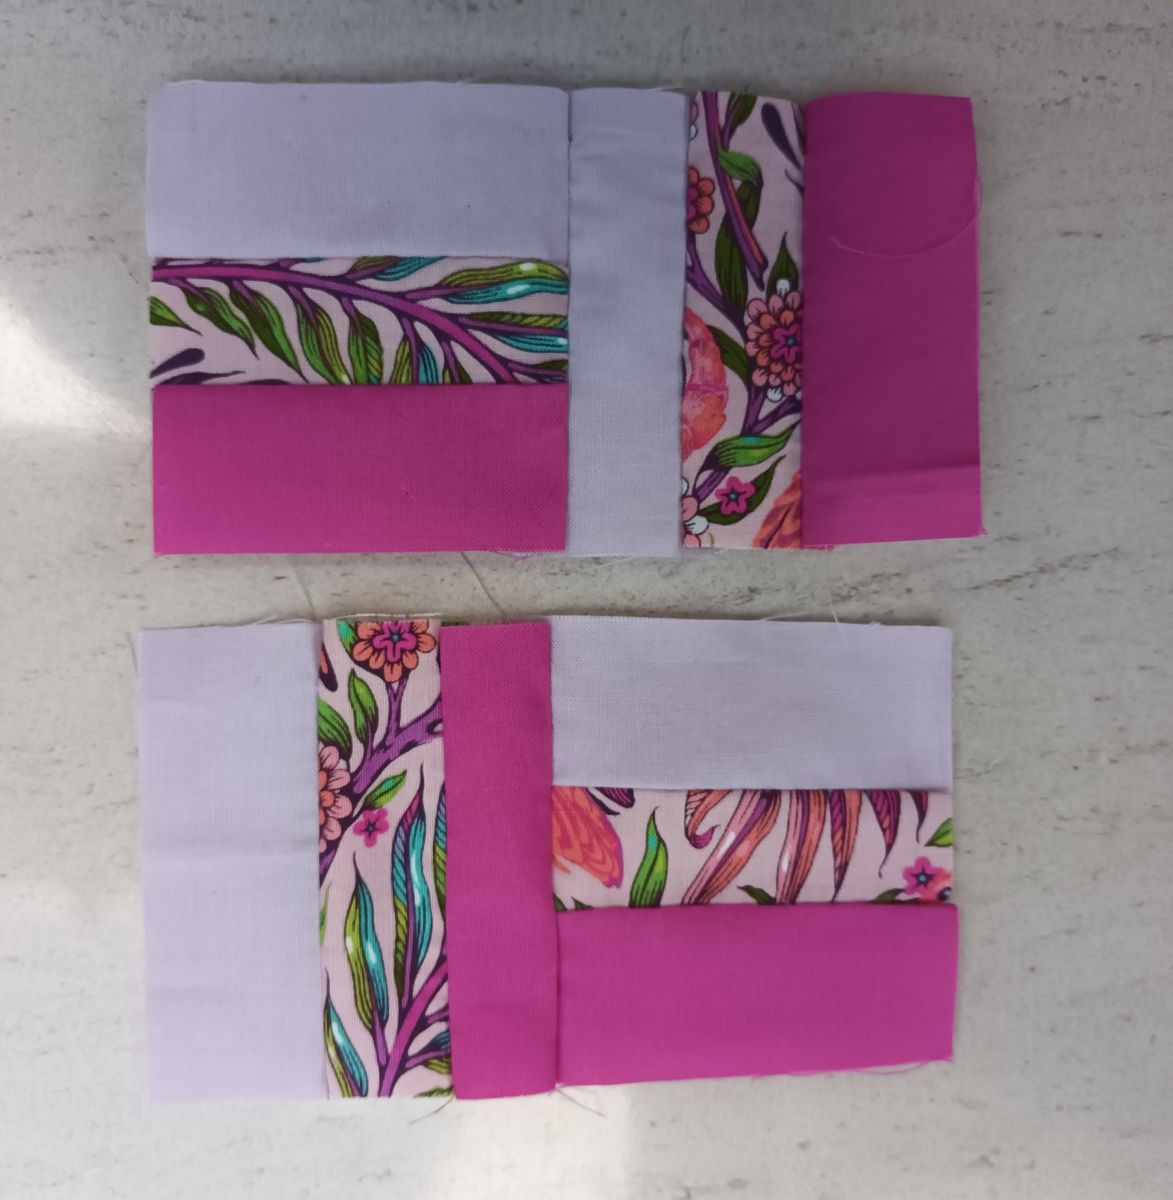
Finally, sew the two rows together. The Rail Fence Block is finished!
I wish you lots of fun with this patchwork pattern! If you like, please post a photo of your block here at crazypatterns.
Happy Quilting!
Chris


