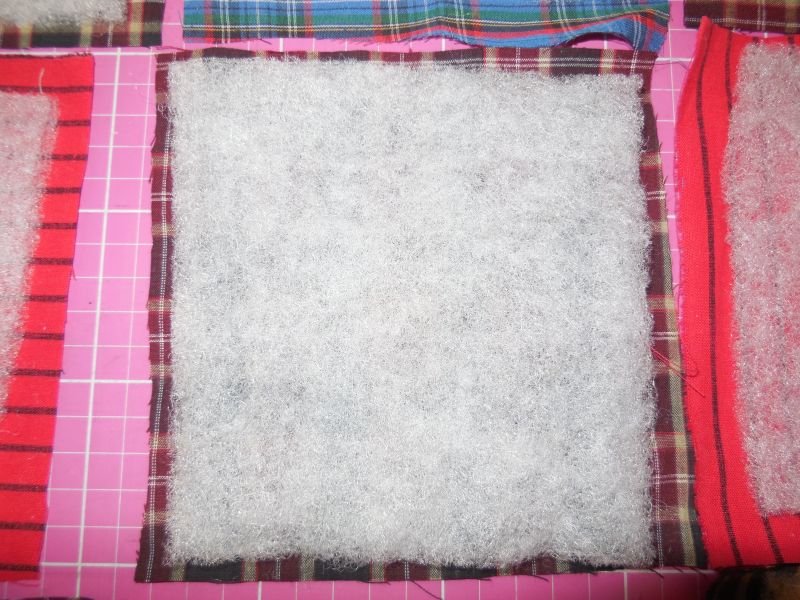
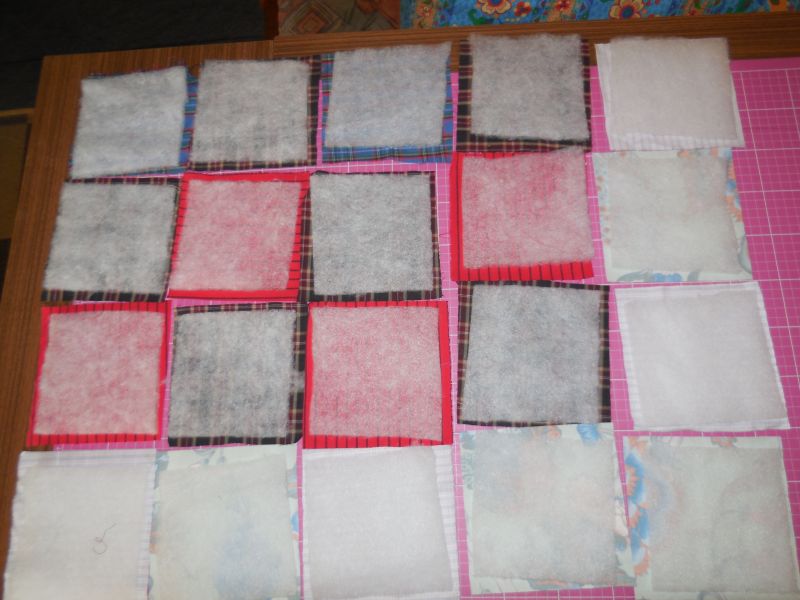
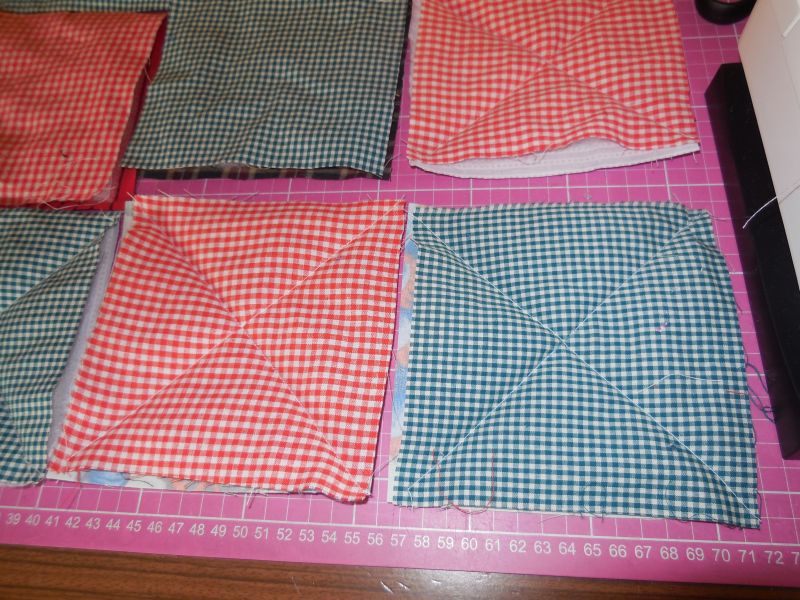
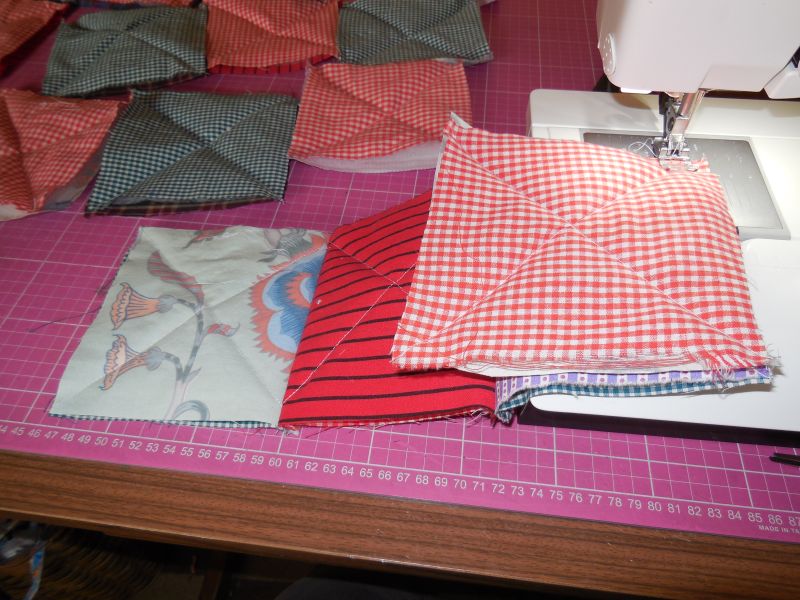
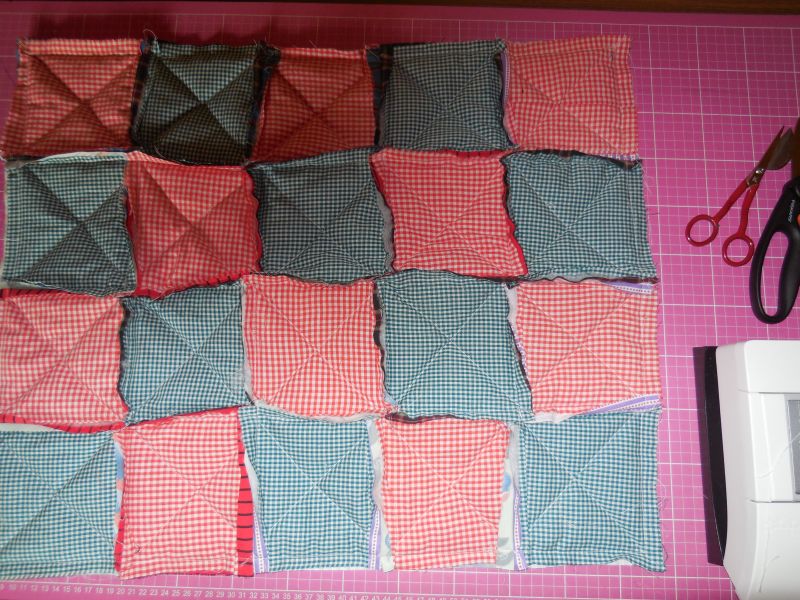
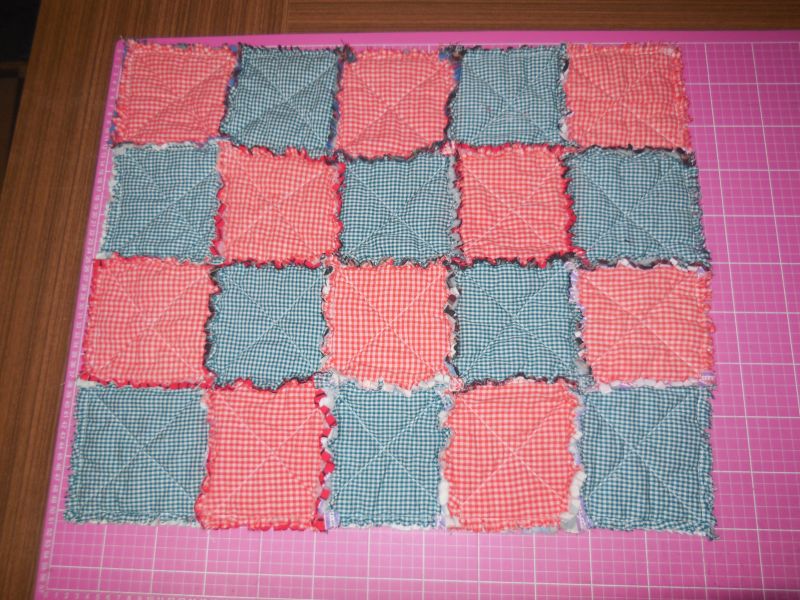
Here’s a sewing tutorial for you on how to make a ragtime quilt. Personally, I prefer to use 15 cm x 15 cm squares, but the batting between the top fabric and the backing fabric should always be about 1.5 cm to 2 cm smaller. Once all the squares are cut out—this works best with a rotary cutter and a patchwork ruler—it’s also important to use a cutting mat; otherwise, you won’t be able to cut with the rotary cutter. For the back, I like to use a different fabric than the one on top, often flannel, because it’s nice and soft and cozy, but regular cotton fabric works too.Then lay the backing fabric with the right side facing up; place the batting in the center on top of it, and then lay the top fabric on top, making sure the edges are nice and flush with each other. Pin these three layers together. Once all the squares are assembled this way, you can start sewing. I like to sew a cross diagonally so that all three layers are securely joined. Sew all the squares together this way. Then you can start sewing the individual pieces together. Before sewing them together, lay them out the way you’d like your Ragtime quilt to look. I visualize the layout and then look at the order of the blocks to see how I want to sew them together, since I don’t have enough space to leave them laid out like that.To make sewing easier, stack the pieces on top of each other in the order you want to sew them, then take them one by one from the stack and sew them together in strips. For example, if your Ragtime is supposed to be 8 blocks wide, always make a stack of eight—that’s how I always do it; it saves you from having to sort them and getting confused while sewing them together. Once you’ve sewn all the strips together, sew these strips together. Now your Ragtime quilt is ready for you to start trimming it. Once all the seams are trimmed, pop it in the washing machine and then into the dryer—after that, you’ll have a lovely, cozy Ragtime quilt. Good luck, and be sure to check out the pictures.
Love, Inge