
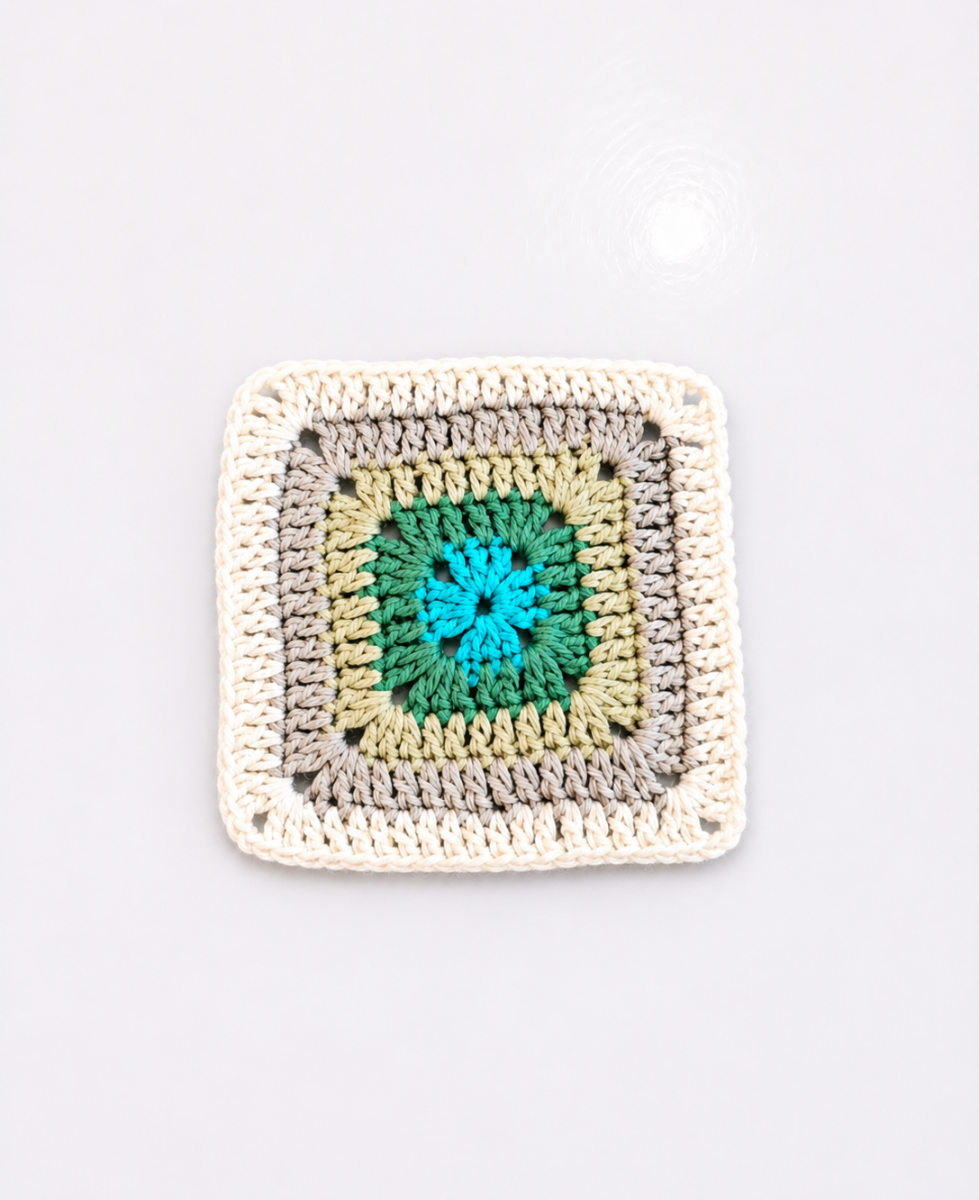
This tutorial shows you step by step how to crochet a solid Granny Square. If you’d like to try a simple Granny Square instead, you can find a tutorial for that on my blog here:
https://www.crazypatterns.net/de/blog/5498/granny-square-tutorial-1-how-to-crochet-a-simple-granny-square
Size:
Using cotton DK yarn, the granny square measures approximately 9 × 9 cm. You can easily add more rounds to make the square as large as you like.
Materials:
For this tutorial, I’m using cotton DK yarn, with 50 g giving you around 125 metres. (You’ll need approximately 7 g of yarn for a granny square this size)
You can, of course, use any yarn you prefer. Just adjust your crochet hook size to match the yarn you’re using.
I’ve made my granny square using a different colour for each round, but you can use any colour combination you like. You could also make the entire granny square in one colour.
You’ll also need a 3 mm crochet hook for this Granny Square.
Abbreviations: (I use US Terms)
ST: Stitch
SC: Single Crochet
CH: Chain stitch
DC: Double Crochet
SS: Slip Stitch
The Simple Granny Square:
Round 1:
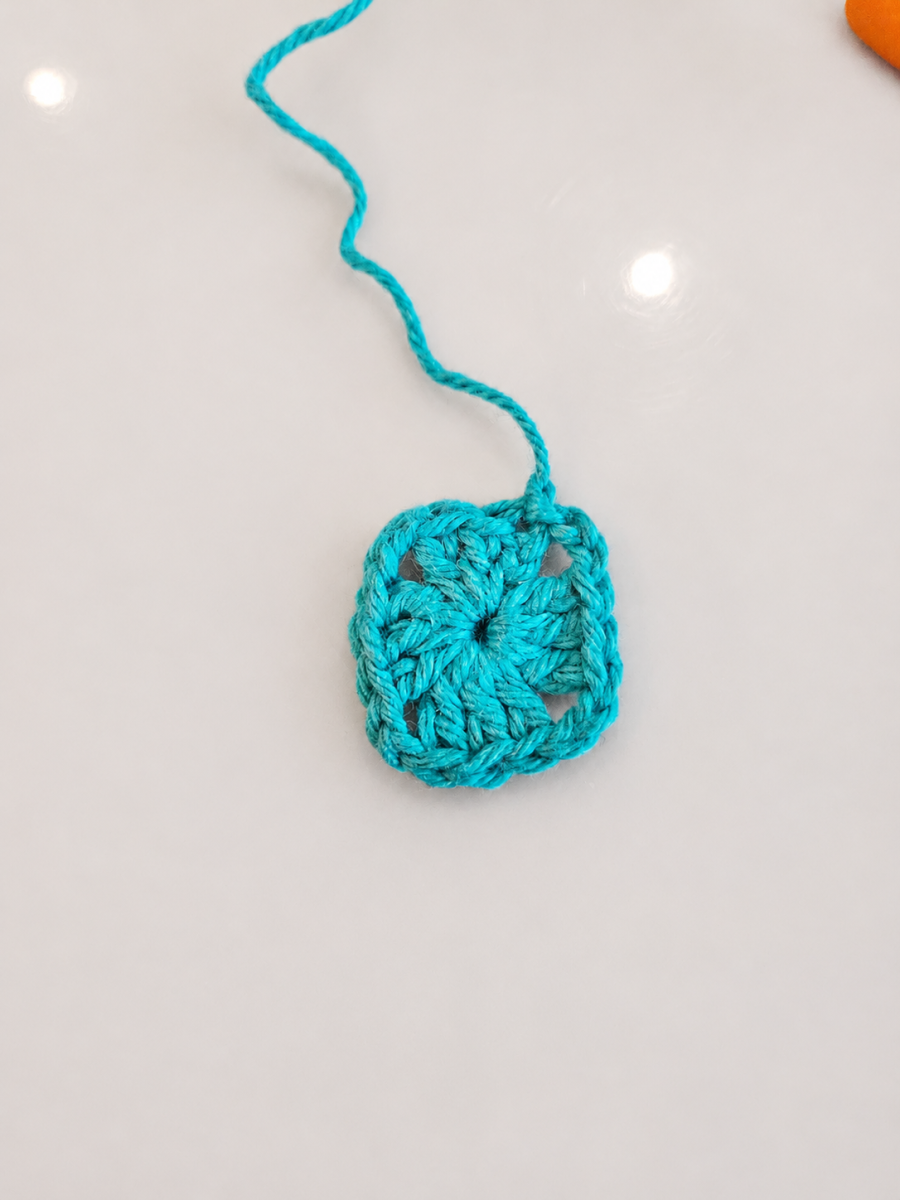
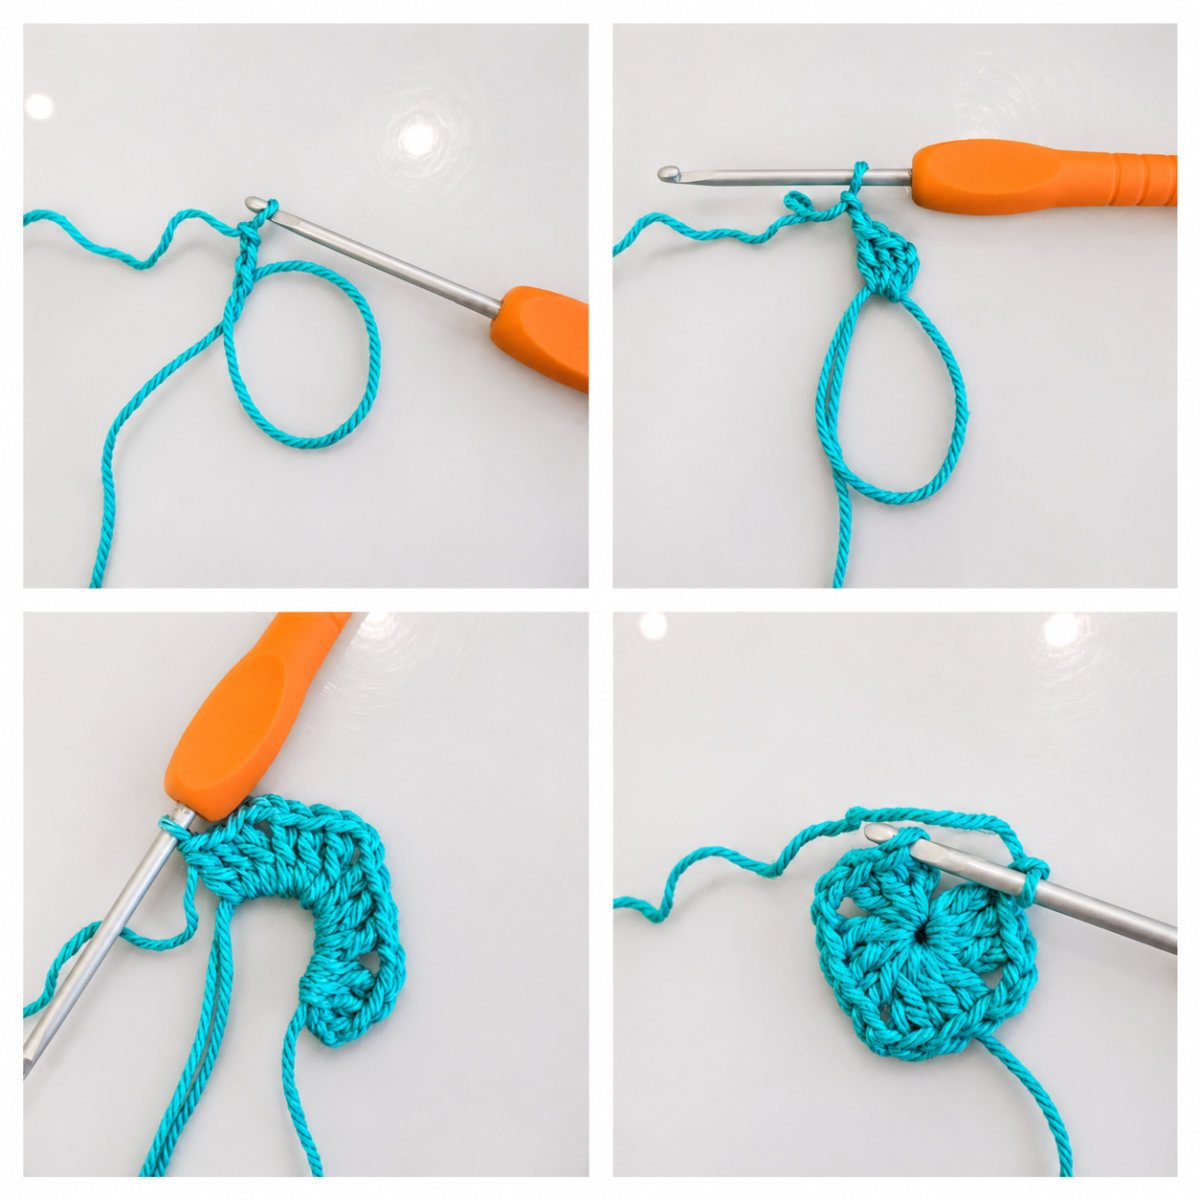
Start with a Magic Ring and chain 3. These chains count as your first double crochet.
Work 2 more double crochets, followed by 2 chain stitches.
Now work 3 double crochets and 2 chain stitches. Repeat this 3 more times.
Close the round with a slip stitch into the top of the beginning chain 3.
Pull the Magic Ring tight to close the center.
If you’re working with multiple colours, cut the yarn at this point. If you’re continuing with the same colour, simply keep working with the same yarn.
Round 2:
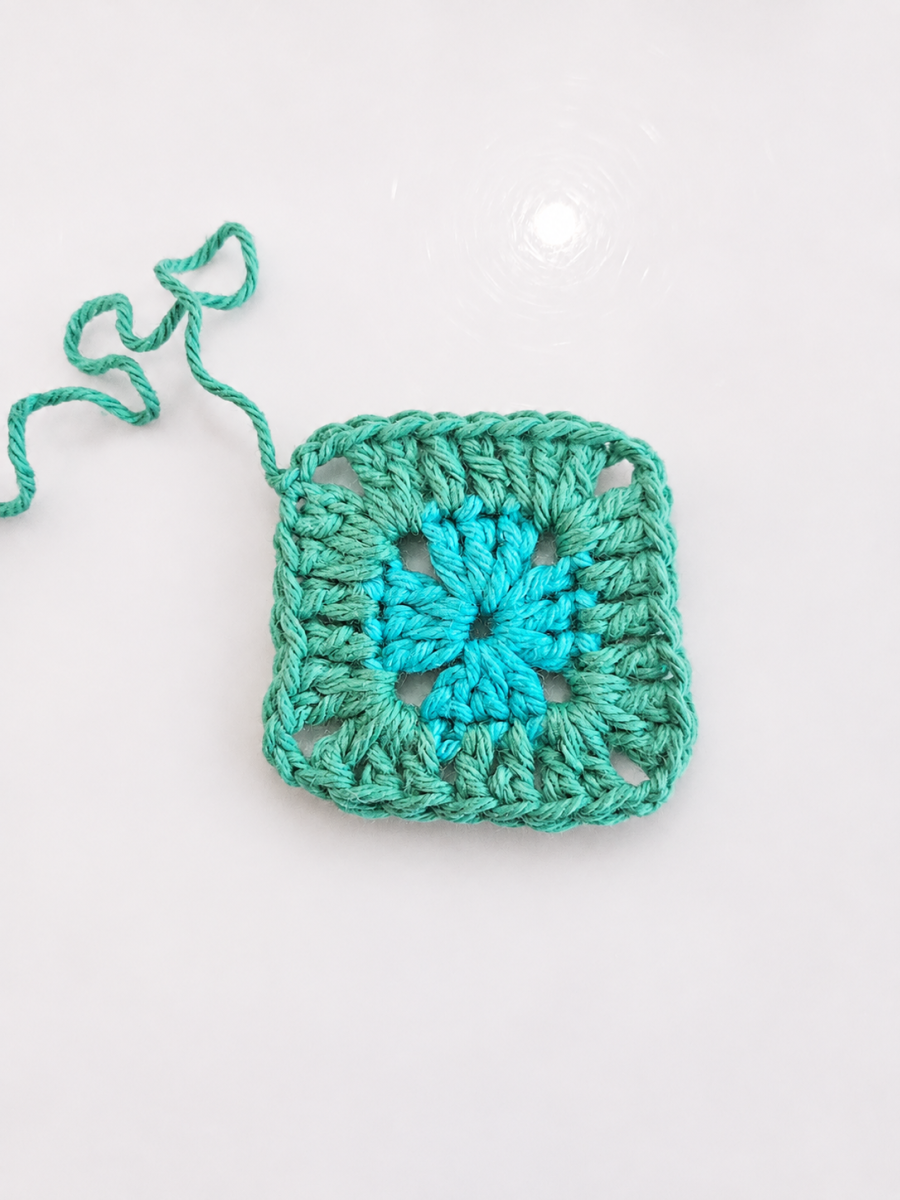
Start again in a corner and join the new colour.
Work into the first corner: chain 3, 1 double crochet, chain 2, 2 double crochets.
Along the side, work 1 double crochet into each stitch. (3 double crochets)
Work into the next corner: 2 double crochets, chain 2, 2 double crochets.
Repeat this around until all sides and corners have been worked. Close the round with a slip stitch into the top of the beginning chain 3.
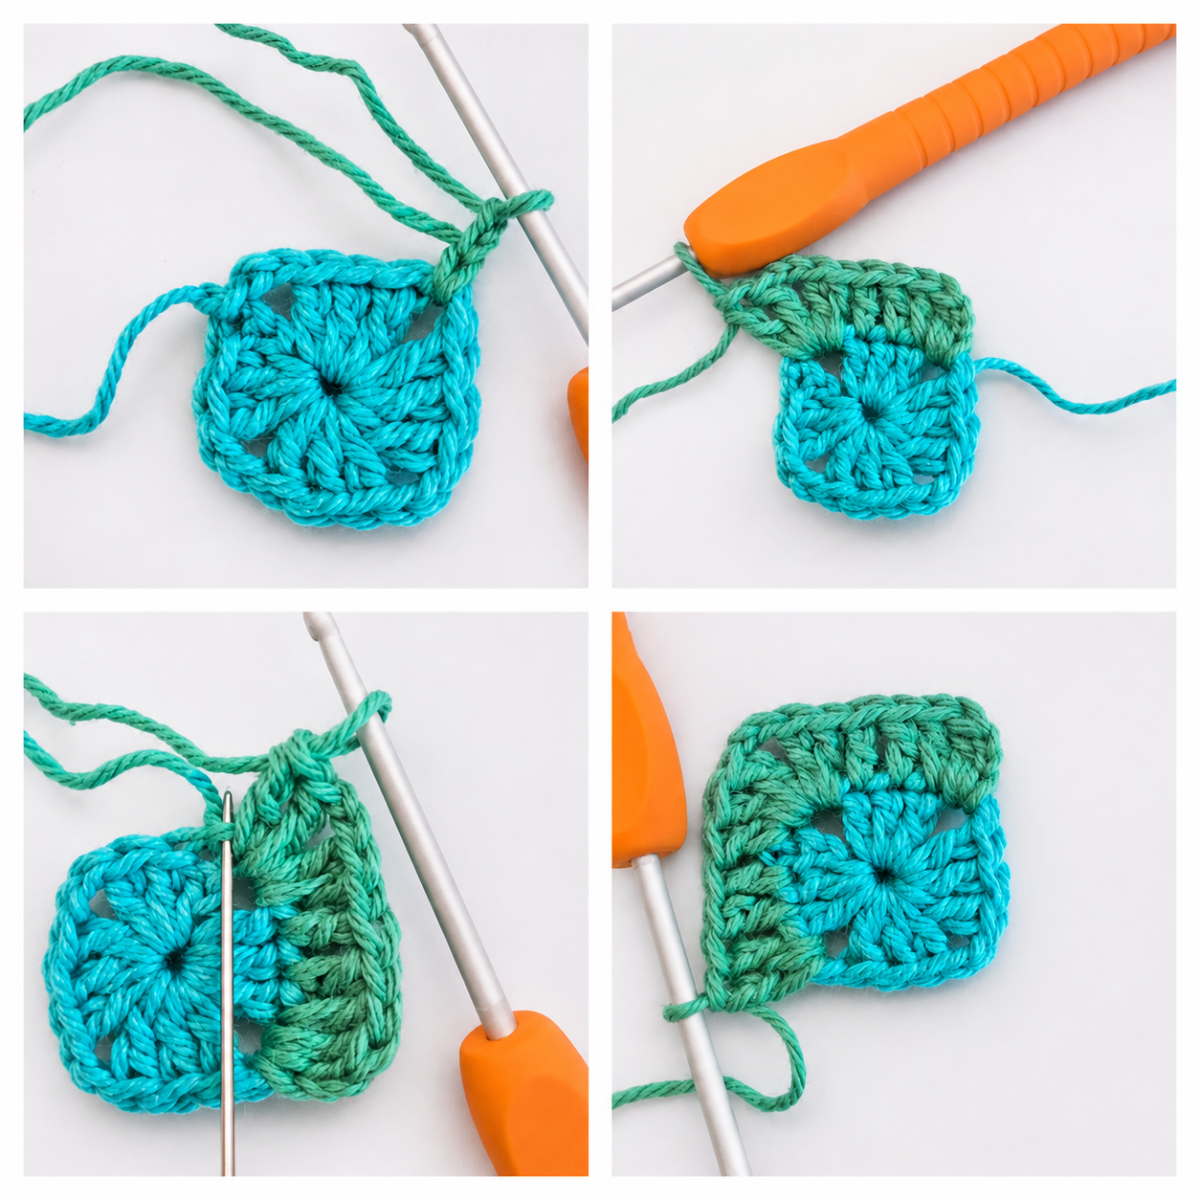
Important: Make sure that the double crochet replaced by the chain 3 is correctly counted and worked in the next round. This will prevent you from accidentally skipping a double crochet and ending up with one stitch too few along the side. (See photo below.)
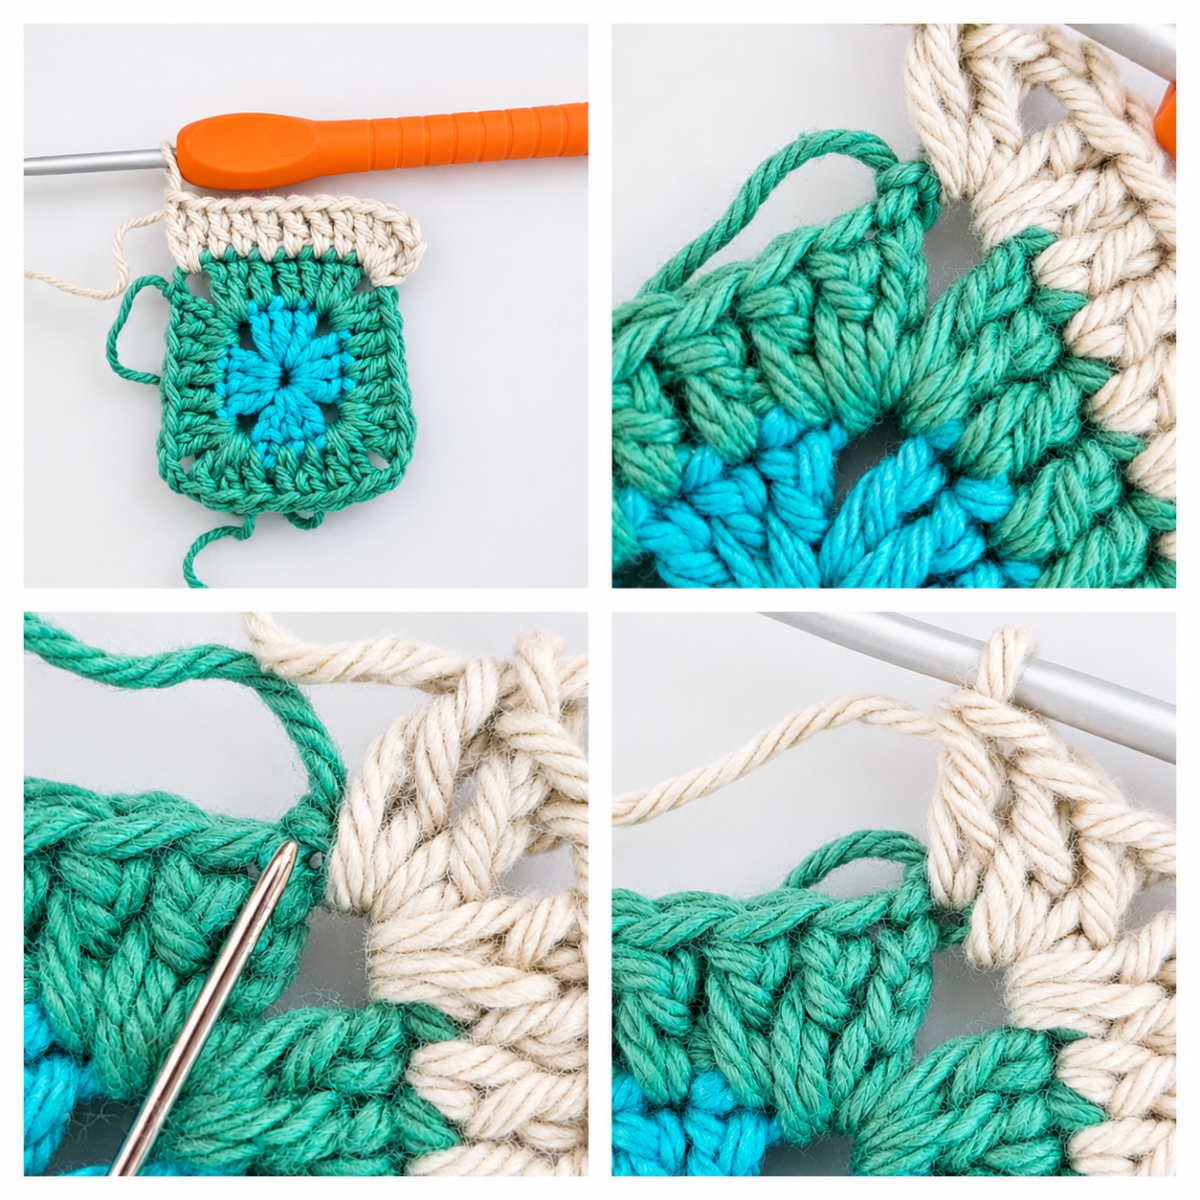
Round 3:
Start again in a corner and join the new colour.
Work into the first corner: chain 3, 1 double crochet, chain 2, 2 double crochets.
Along the side, work 1 double crochet into each stitch. (7 double crochets)
Work into the next corner: 2 double crochets, chain 2, 2 double crochets.
Repeat this around until all sides and corners have been worked. Close the round with a slip stitch into the top of the beginning chain 3.
Round 4:
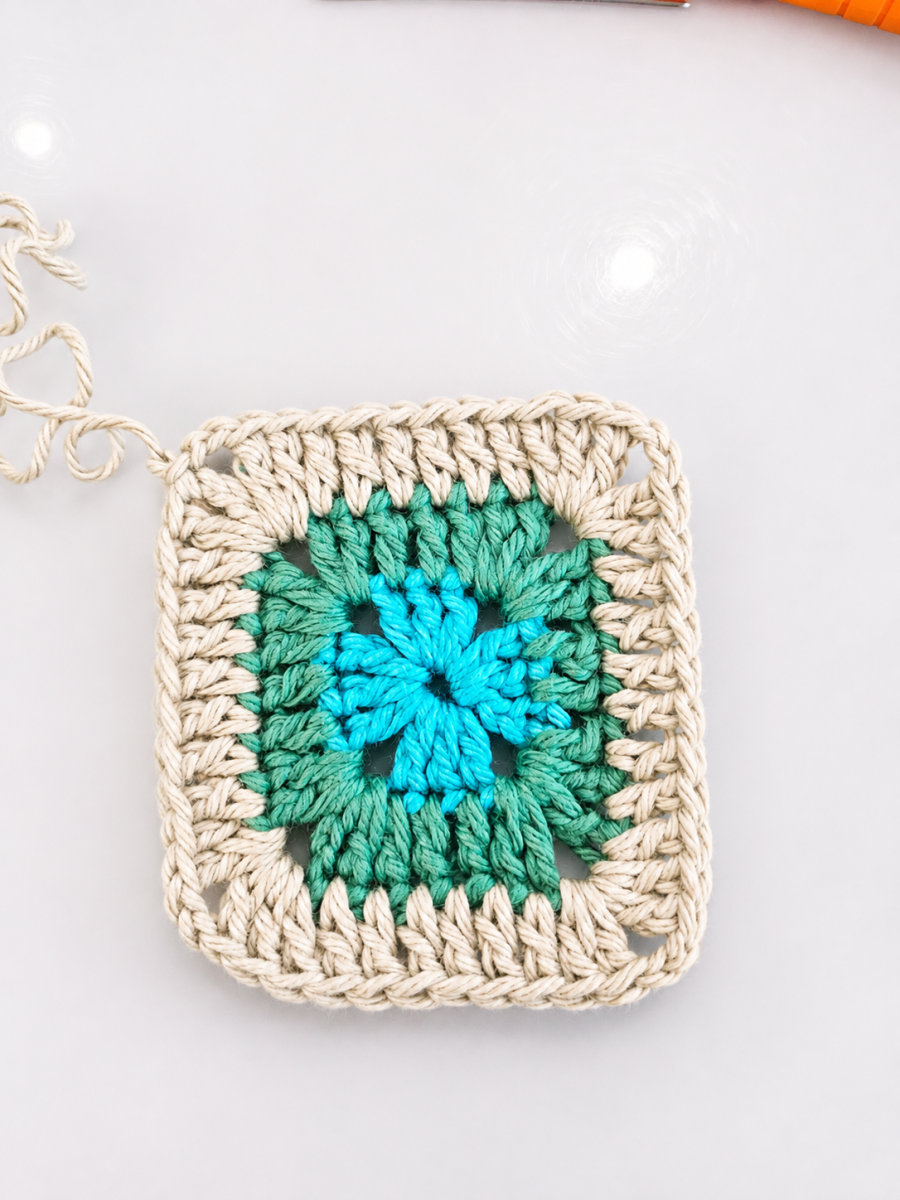
Start again in a corner and join the new colour.
Work into the first corner: chain 3, 1 double crochet1, chain 2, 2 double crochets.
Along the side, work 1 double crochet into each stitch. (11 double crochets)
Work into the next corner: 2 double crochets, chain 2, 2 double crochets.
Repeat this around until all sides and corners have been worked. Close the round with a slip stitch into the top of the beginning chain 3.
Round 5:
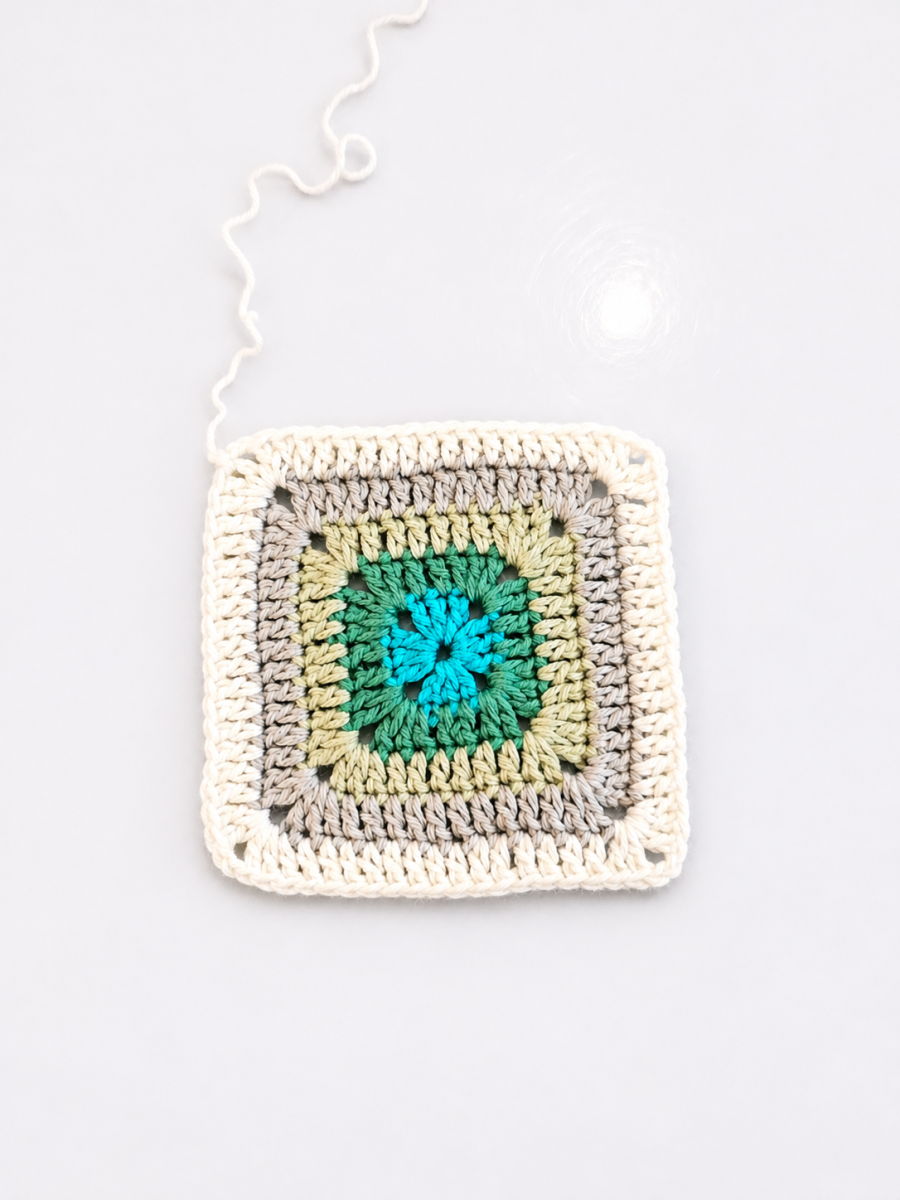
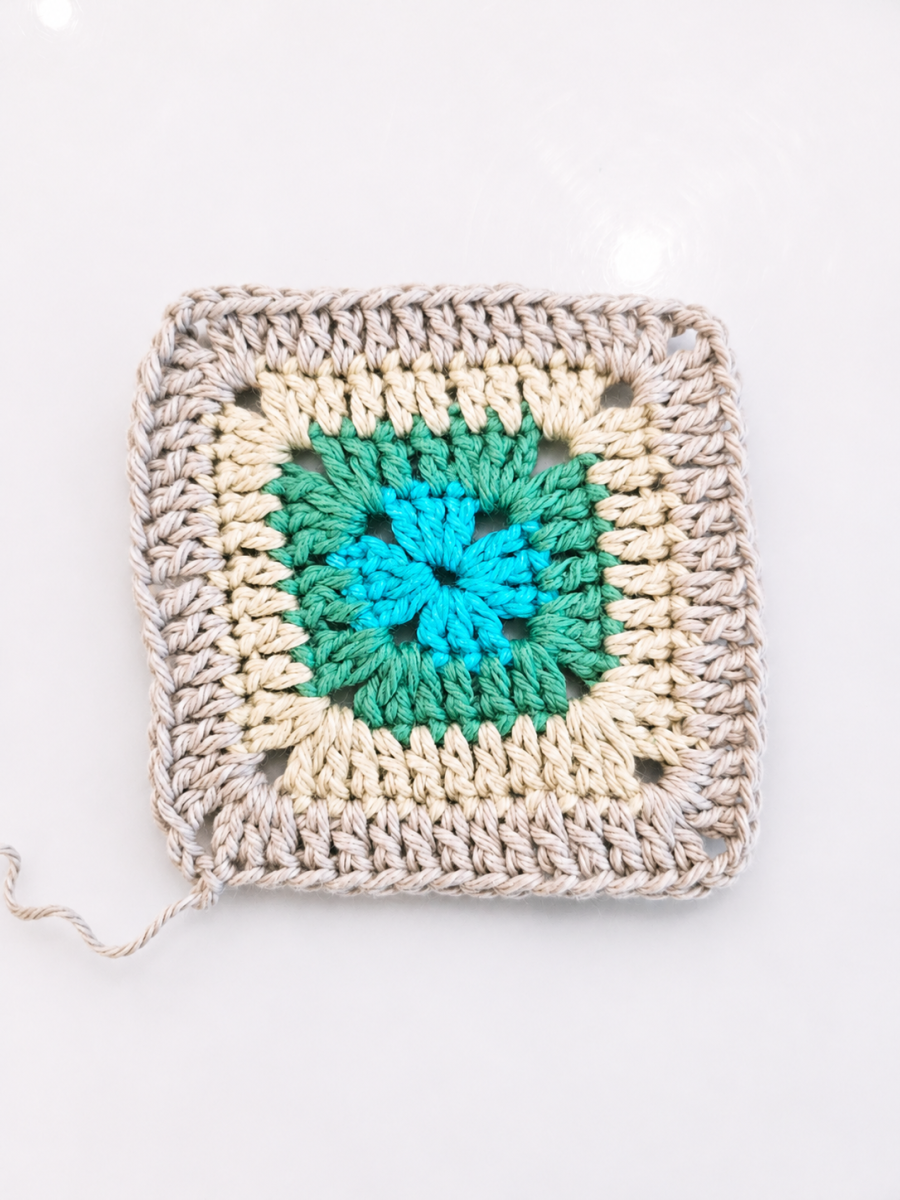
From Round 5 onwards, simply continue working the Granny Square in the same way. This also applies if you want to make a larger Granny Square or even a whole blanket.
With each new round, 2 additional double crochets are added to each side.
I hope you enjoyed making this Granny Square as much as I did! If you give it a try, I’d love to hear what you think, so feel free to leave a comment or share your feedback.
And if you’d like to try more Granny Square designs, you’ll find plenty of other tutorials on my blog. Just go to “Blogs” under my posts and search for “Granny Square Tutorial” to find them all in one place.
Categories
Quick to Target
Community & Help


