In the first part of my “Crochet for Kids” series, we covered the basics. You learned how to make a slip knot, hold the yarn, and crochet chain stitches. Now it’s time to put those new skills to use in your first creative project.
For children especially, it’s incredibly motivating to see what they can create with the stitches they’ve made themselves. While many traditional crochet projects require quite a bit of patience, this craft project delivers visible results in a short amount of time. That sense of accomplishment builds confidence and encourages young crocheters to keep learning and exploring new techniques.
This project is particularly suitable for children aged 6 and up. Younger children can certainly join in as well, but they may need a little extra help with crocheting or gluing the chain stitches onto the card.
Before You Begin
You won’t need to learn any new crochet techniques for this project. As long as you already know how to crochet chain stitches, you’re ready to get started.
Since the crochet chains will be glued onto the card later, the stitches don’t have to be perfectly even. In fact, that’s what makes this project so beginner-friendly. Small imperfections are hardly noticeable and give each card its own unique charm.
Take your time when attaching the crochet chains to the card. It helps to apply glue to just one balloon shape at a time and then carefully place the crochet chain.
What You'll Need
You won’t need many materials to make these invitation cards:
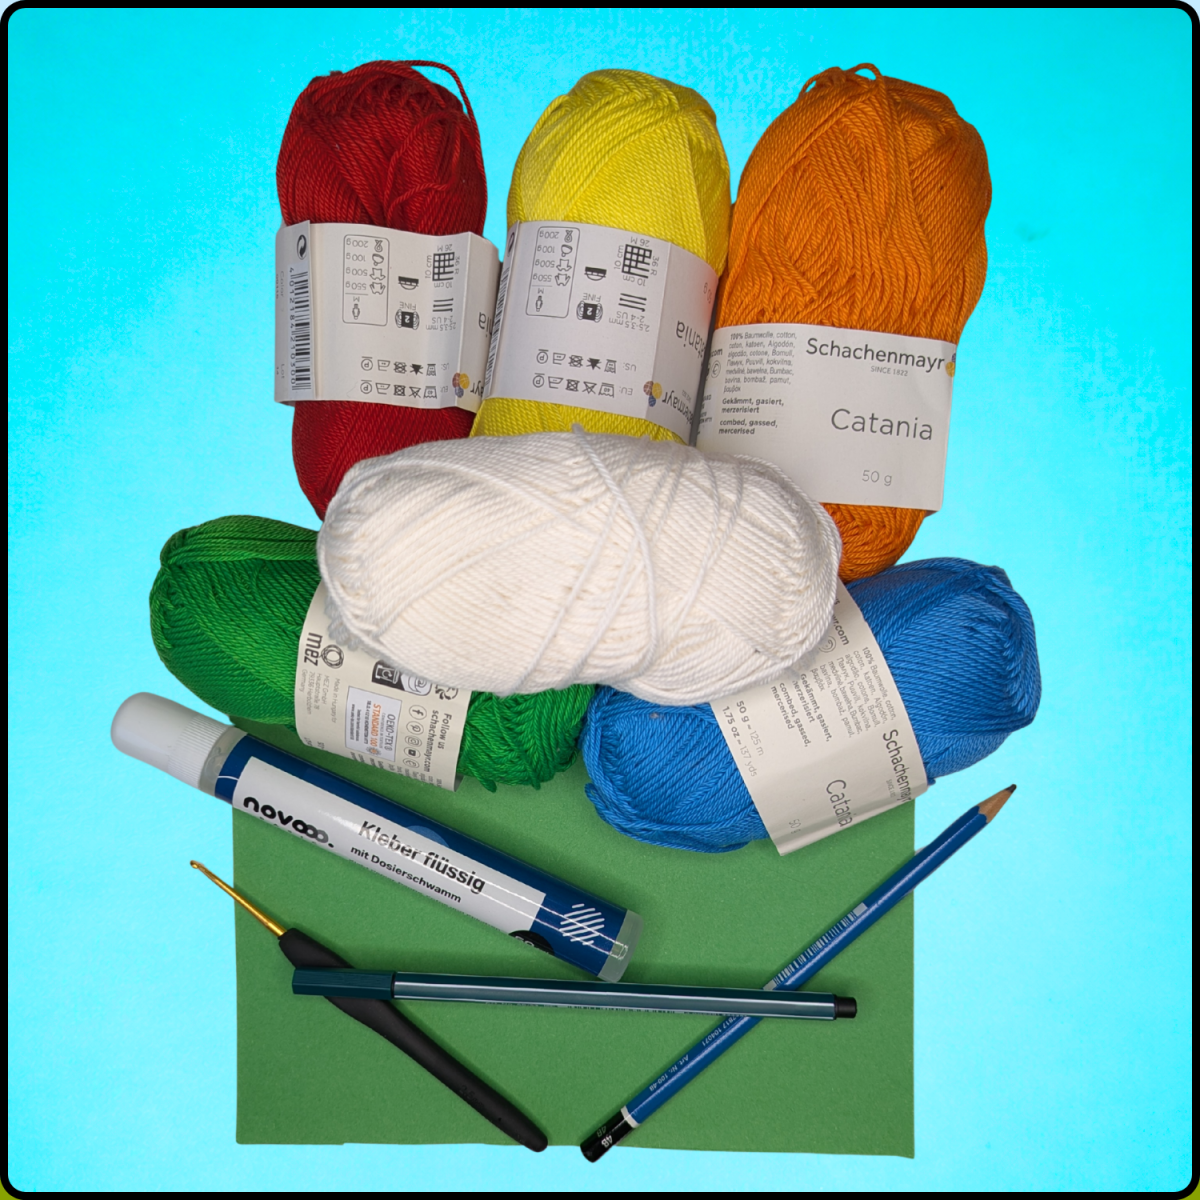
- Construction paper
- Leftovers of cotton yarn in different colors
- Crochet hook suitable for your yarn
- Liquid glue
- Scissors
- Pencil
- Eraser (if needed)
- Felt pen(s)
- optional: Stickers, glitter pens for decorating
Skills You'll Need
For this project, you'll only need the techniques covered in Part 1 of this series on my blog:
- Making a slip knot
- Crocheting chain stitches
- Finishing a crochet chain
If you'd like to practice these techniques again, you can find detailed instructions in the first part of "Crochet for Kids."
Instructions
1. Preparing the Card
First, think about the occasion for your card and who you would like to invite. You can then choose the color of the card and the balloon colors to match the theme.
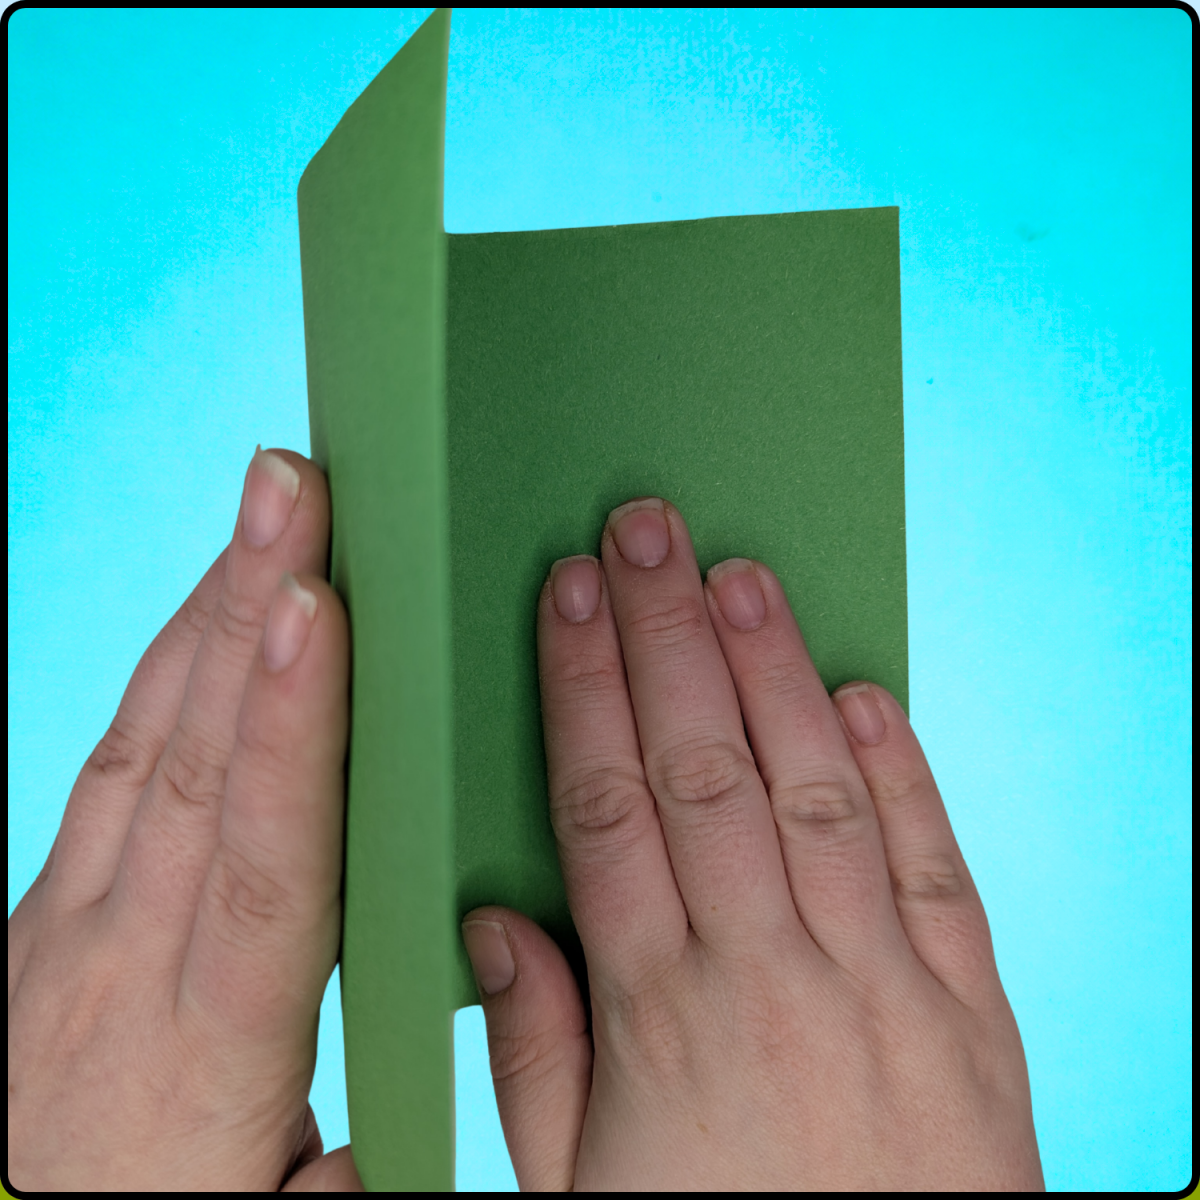
Now take a sheet of construction paper and cut it in half.
Next, fold one of the halves in half again. This will create a classic folded greeting card with plenty of space inside for your invitation message.
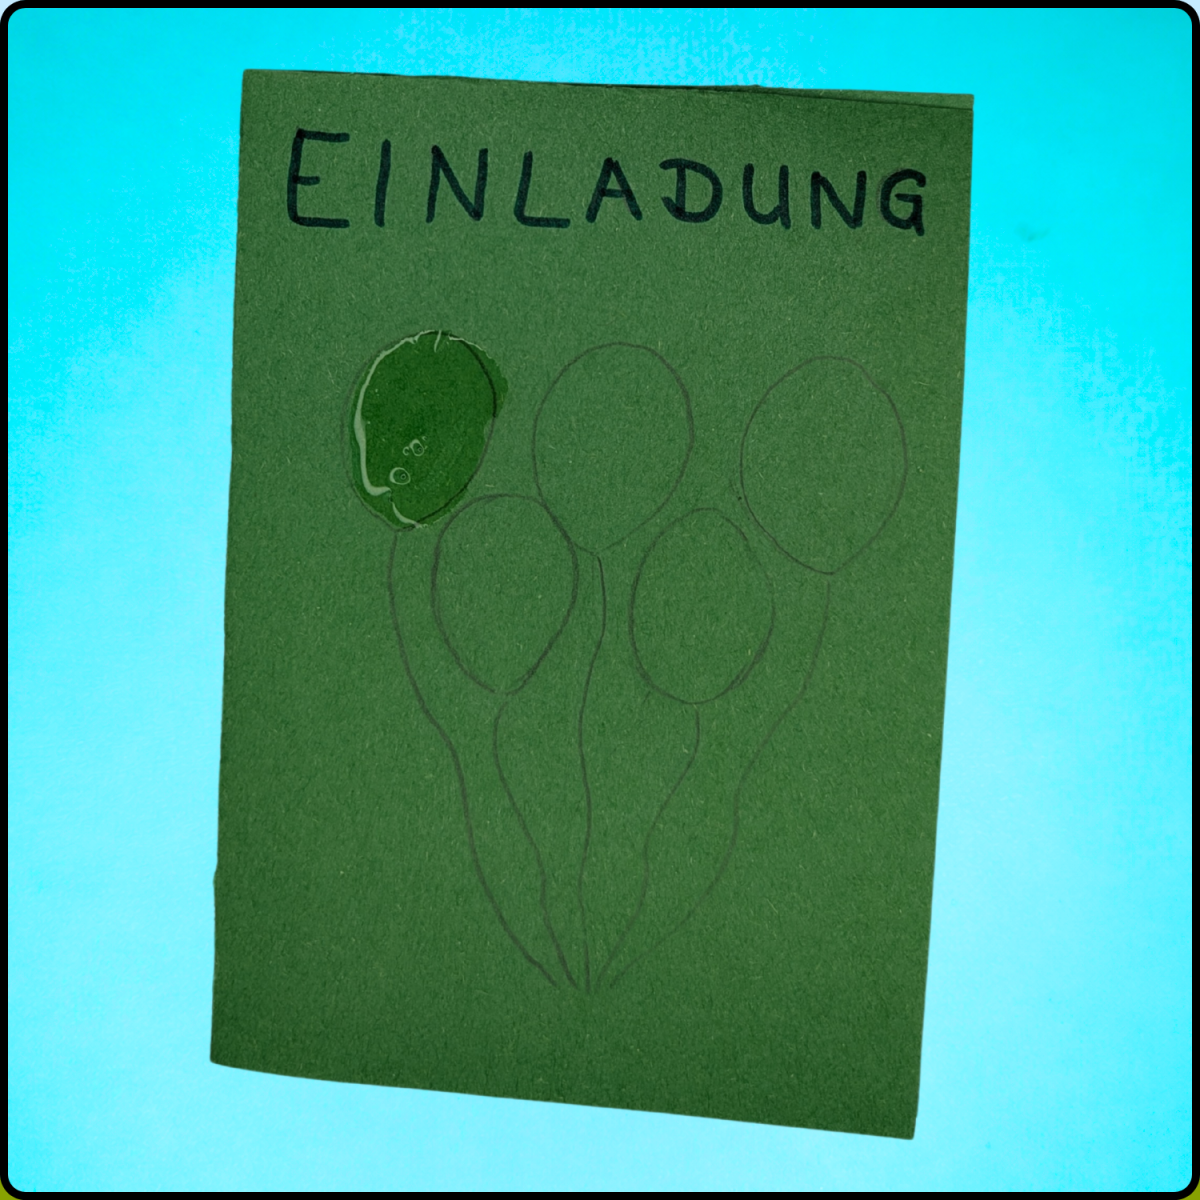
2. Drawing the Balloons and Lettering
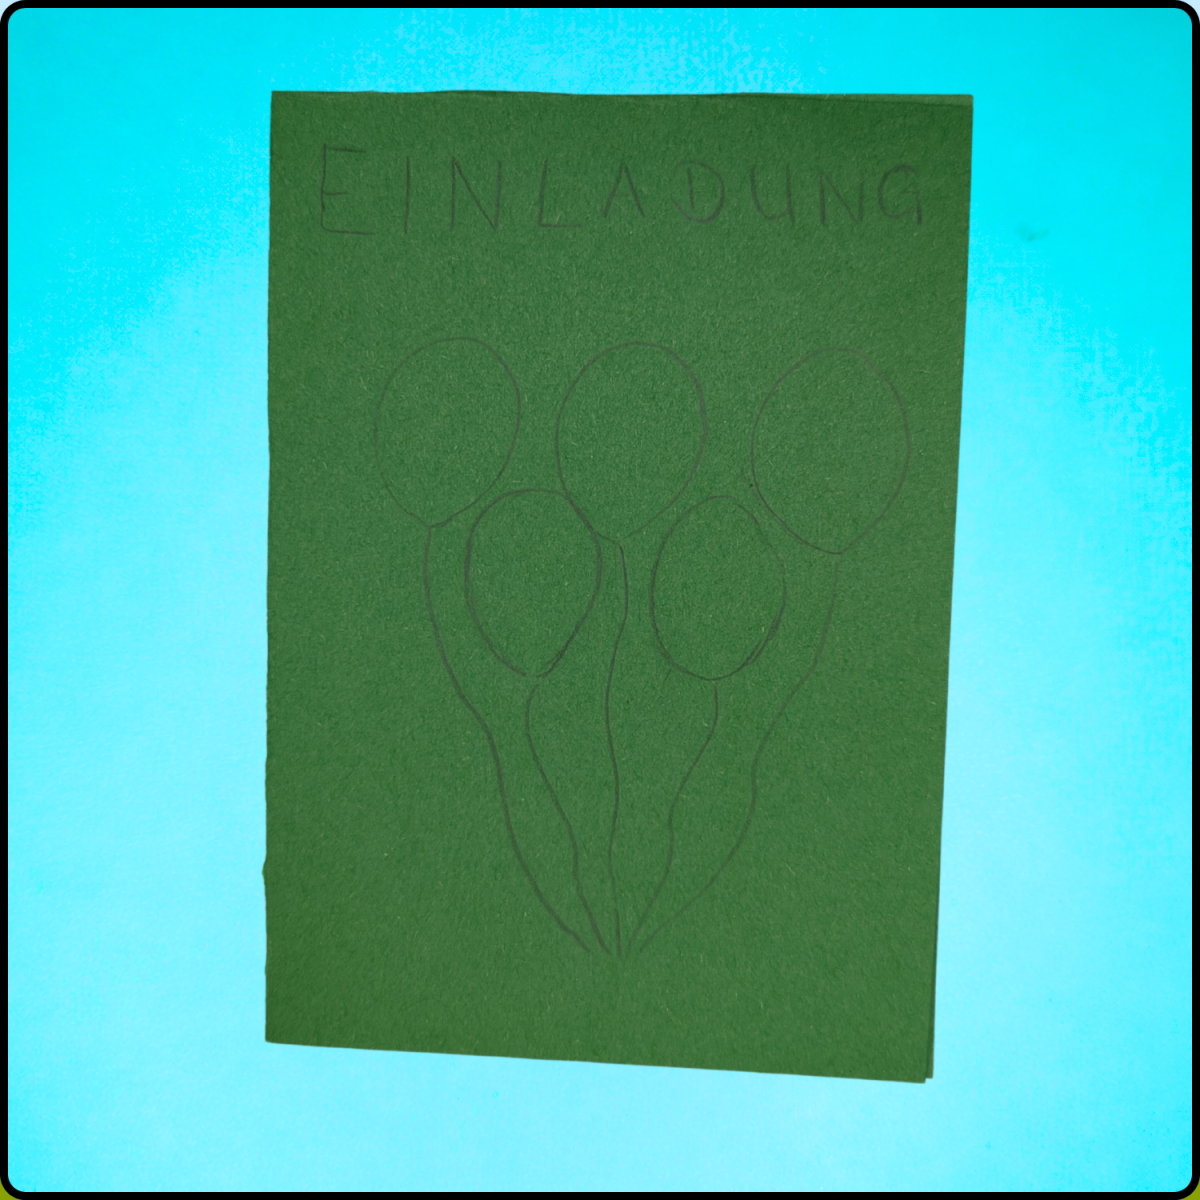
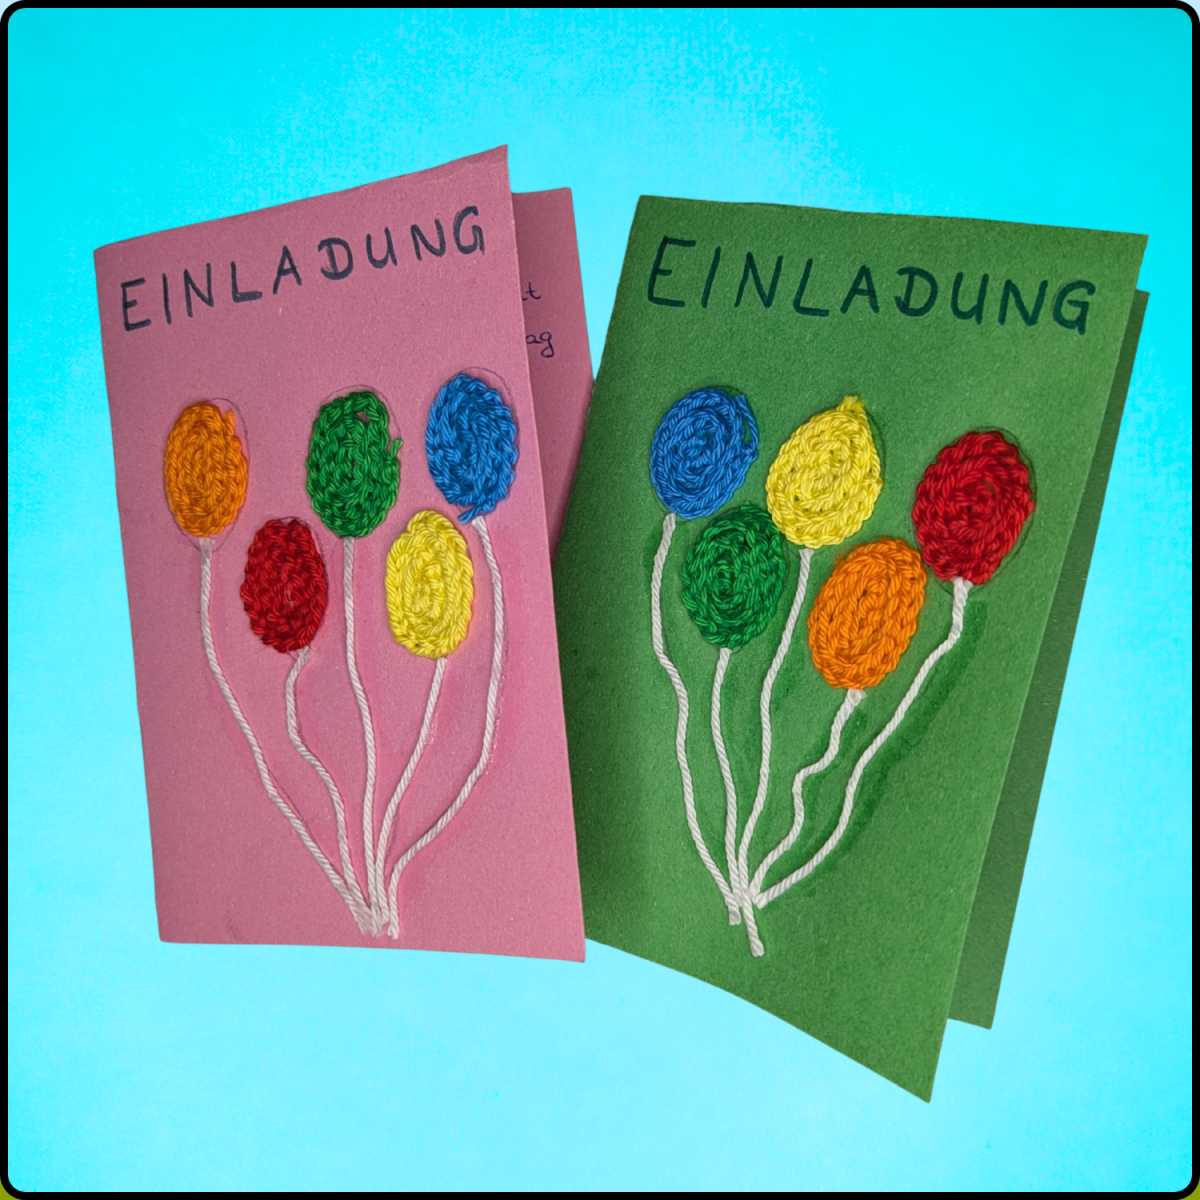
Now draw the word "INVITATION" (it's written in German on my card) on the front of the card, along with several balloons. You can decide how many balloons you would like to include. In my example, I drew five balloons. If you'd like, an adult can help you draw the lettering.
The balloon shapes don’t have to be perfect at all. Real balloons never look exactly the same, and using different sizes will make your card look even more cheerful and interesting.
Just make sure to leave enough space between the balloons so that the crochet chains can be glued onto them later.
To make the balloons look even more realistic, draw a string attached to each balloon. You can either let each string hang down separately or bring several strings together at one point.
3. Tracing the Lettering
Now you can trace over the word "INVITATION" using felt pens or glitter pens, however you like.
You can even use a different color for each letter to make your card extra colorful and fun. In my example, I used just one felt pen for all the letters.
4. Crocheting the Chains
Now it's time for the crochet part of the project!
Choose several yarn colors and crochet a separate chain for each balloon.
Each chain should be long enough to completely fill the balloon when arranged in a spiral shape (similar to a snail shell). You can check the length from time to time by placing the chain directly onto your card.
As a guideline, my chains consisted of approximately 35 chain stitches each.
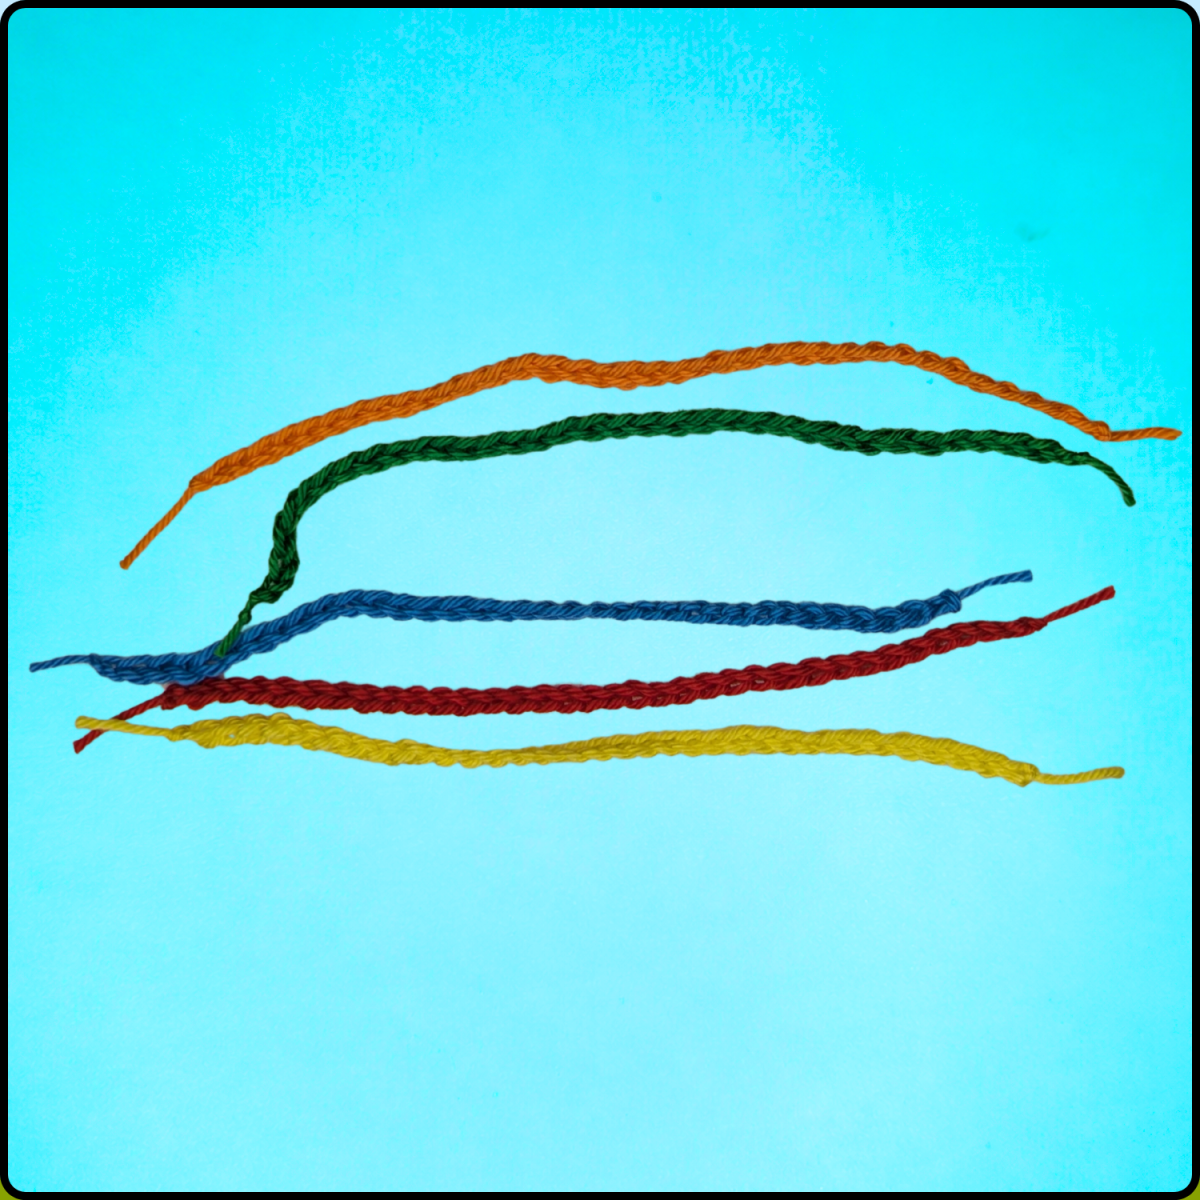

The more colorful your yarn choices, the brighter and more cheerful your finished invitation card will look.
Once you have finished all of your crochet chains, secure the ends as described in Part 1 of this series.
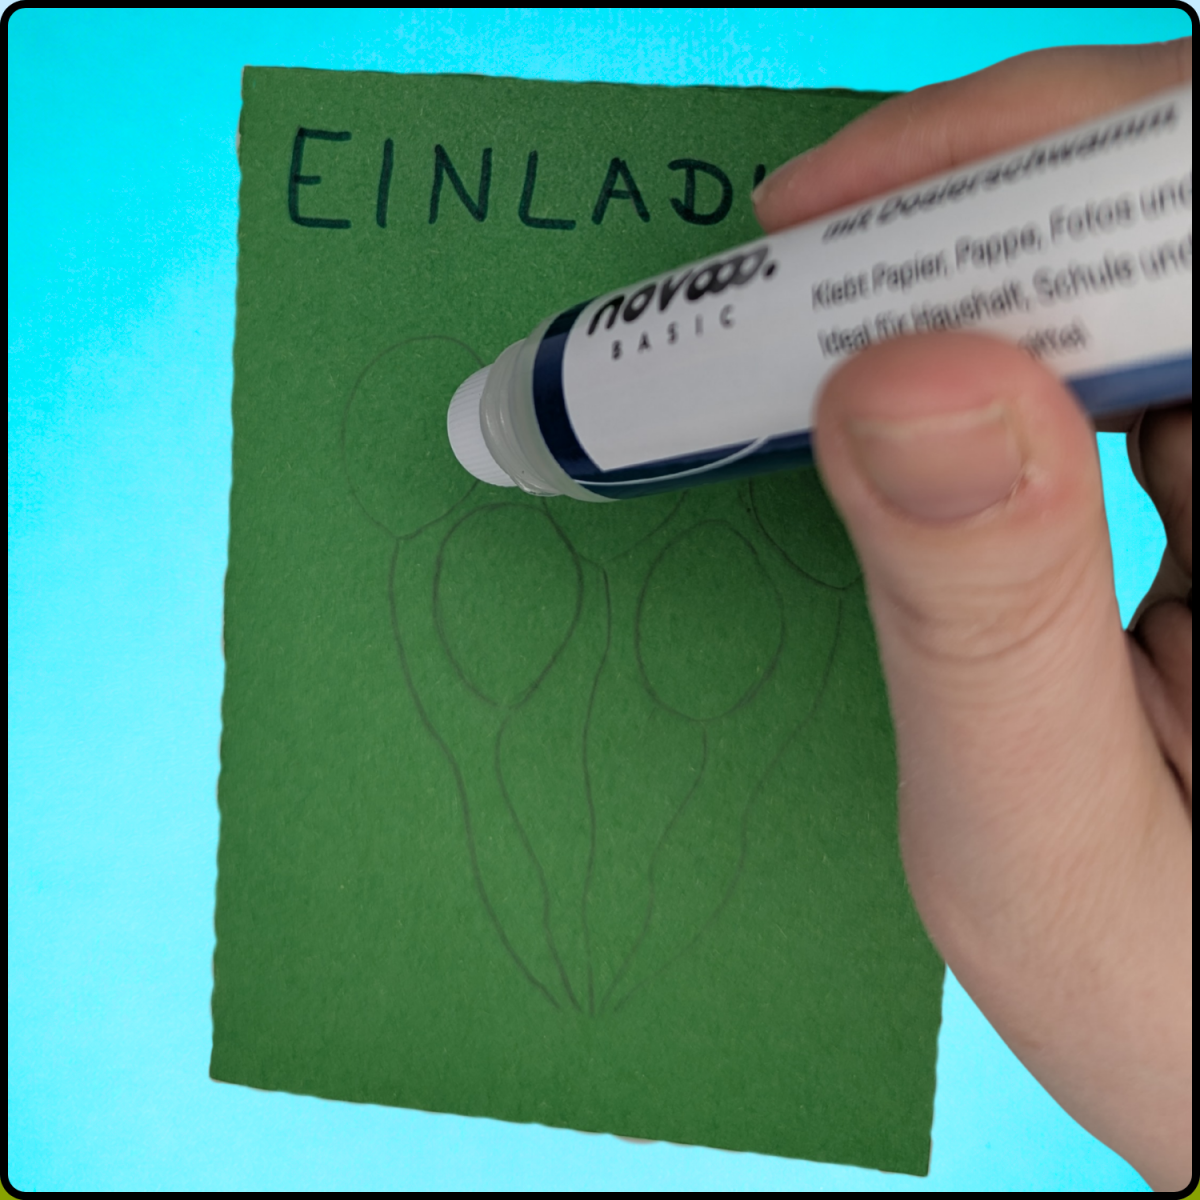
5. Gluing the Balloons
Now your crochet chains will gradually turn into a real invitation card.
Apply a small amount of the liquid glue to the area inside the balloon outlines you drew earlier.
Next, carefully place the matching crochet chain into the glue. It's best to start in the center of the balloon and slowly work your way outward in a spiral shape.
6. Adding the Balloon Strings
Cut several short pieces of cotton yarn for the balloon strings and glue them underneath the balloons.
Simply apply a small amount of liquid craft glue along the strings you drew earlier, then place the pieces of yarn on top and gently press them into place.
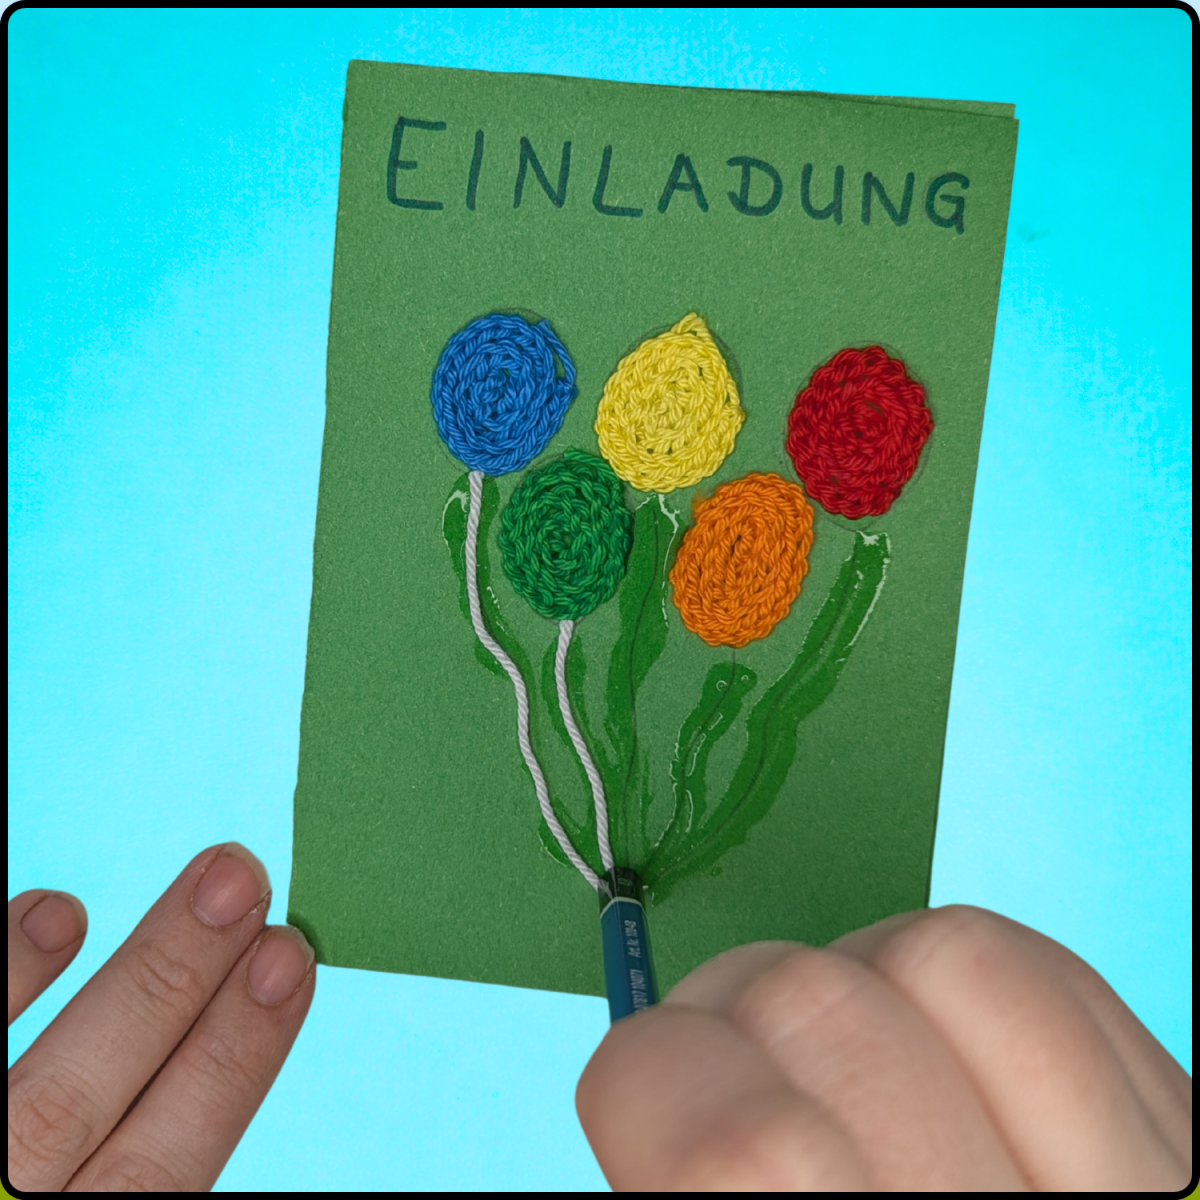
Both options look great and give the card a unique, personal touch.
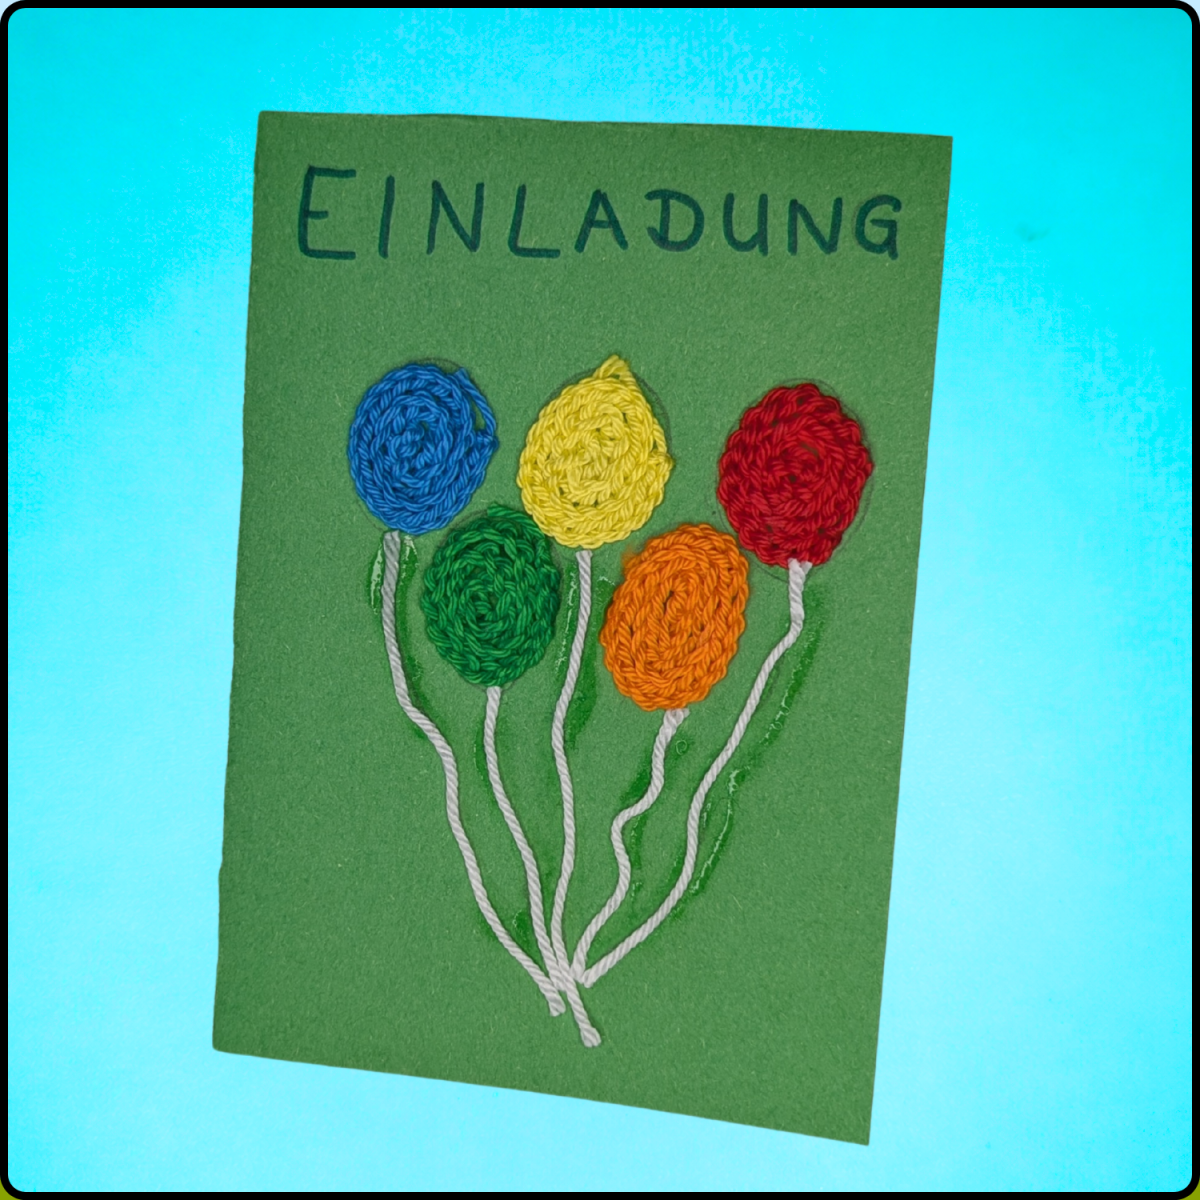
7. Finishing Your Invitation Card
Now let the glue dry completely.
Once everything is dry, you can open the card and write your invitation message inside.
If you'd like, you can also decorate the front of the card with felt pens, stickers or small drawings to make it even more colorful and personal.
More Creative Ideas
Of course, your design doesn’t have to be limited to balloons.
Using the same technique, you can create many other fun designs, such as:
- Hearts
- Flowers
- Butterflies
- Rainbows
- Stars
- Animals
This way, you can come up with all kinds of creative craft projects while continuing to practice your crochet skills at the same time.
Sometimes, you don’t need a large crochet project to get creative. These colorful invitation cards show that even simple crochet chains can be used to make something truly special.
Along the way, children can build confidence in their crochet skills, experiment with colors, and let their creativity run free. At the same time, they’ll create a personalized invitation card that feels much more special and unique than a store-bought one.
If you enjoyed this project, feel free to subscribe to my blog so you don’t miss the next part of the series.


