Crochet is a wonderful way to be creative, relax, and make something beautiful with your own hands. For children especially, it’s a great feeling to see something grow from a simple piece of yarn.
This beginner-friendly introduction is best suited for children ages 6 and up, depending on their fine motor skills and attention span. The most important thing is to keep it fun and pressure-free.
In this first part of our series, we’ll learn the basics:
- the slip knot
- how to hold the yarn
- chain stitches
Don’t worry – everything is explained step by step!
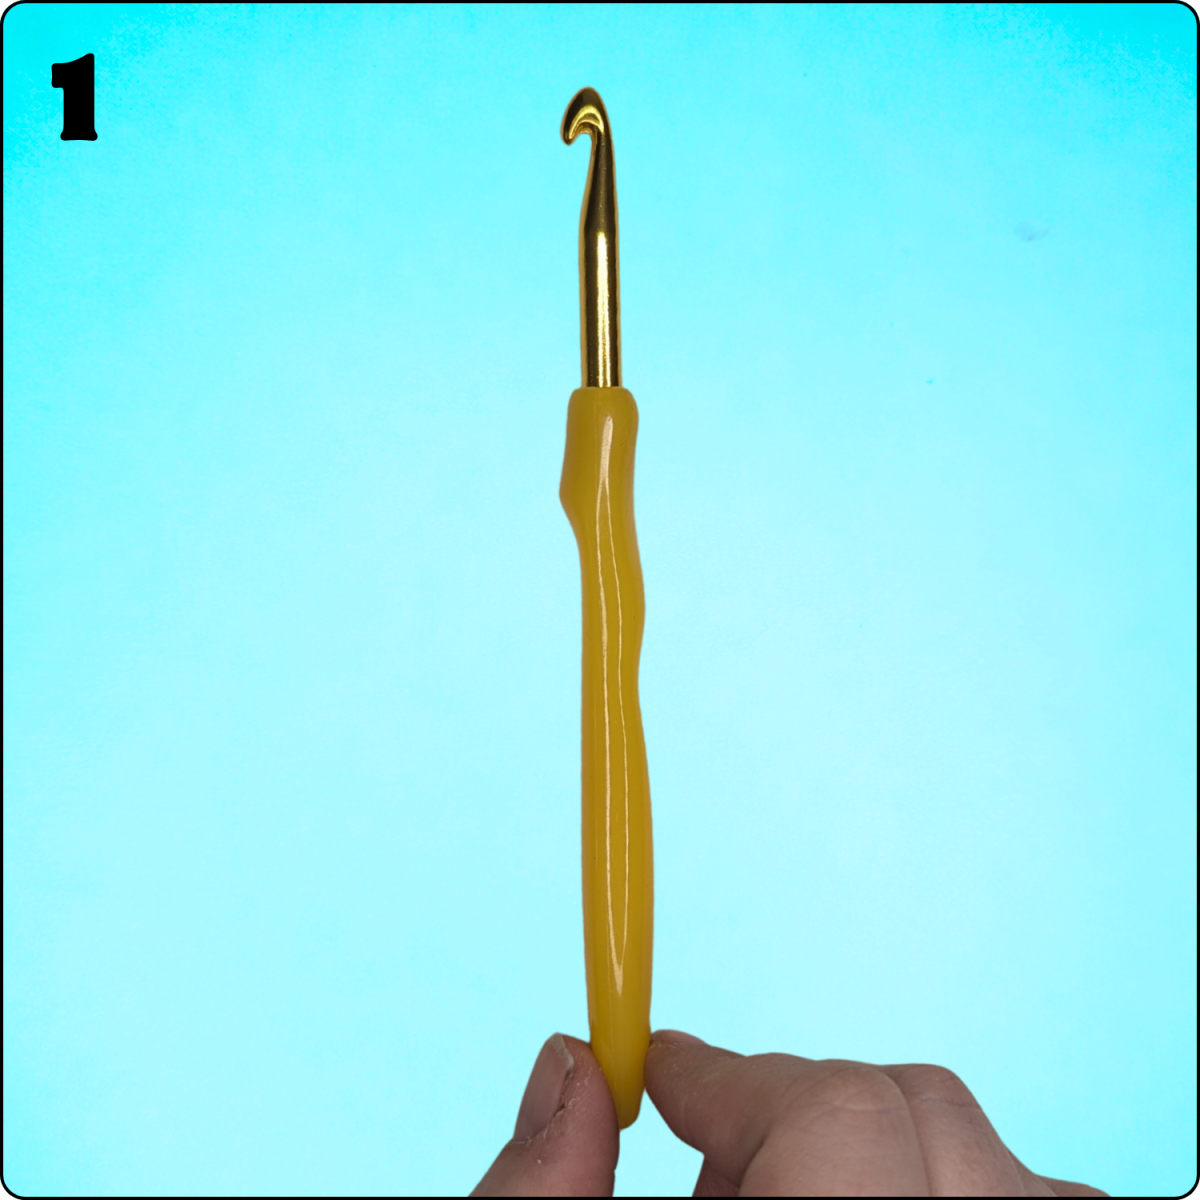
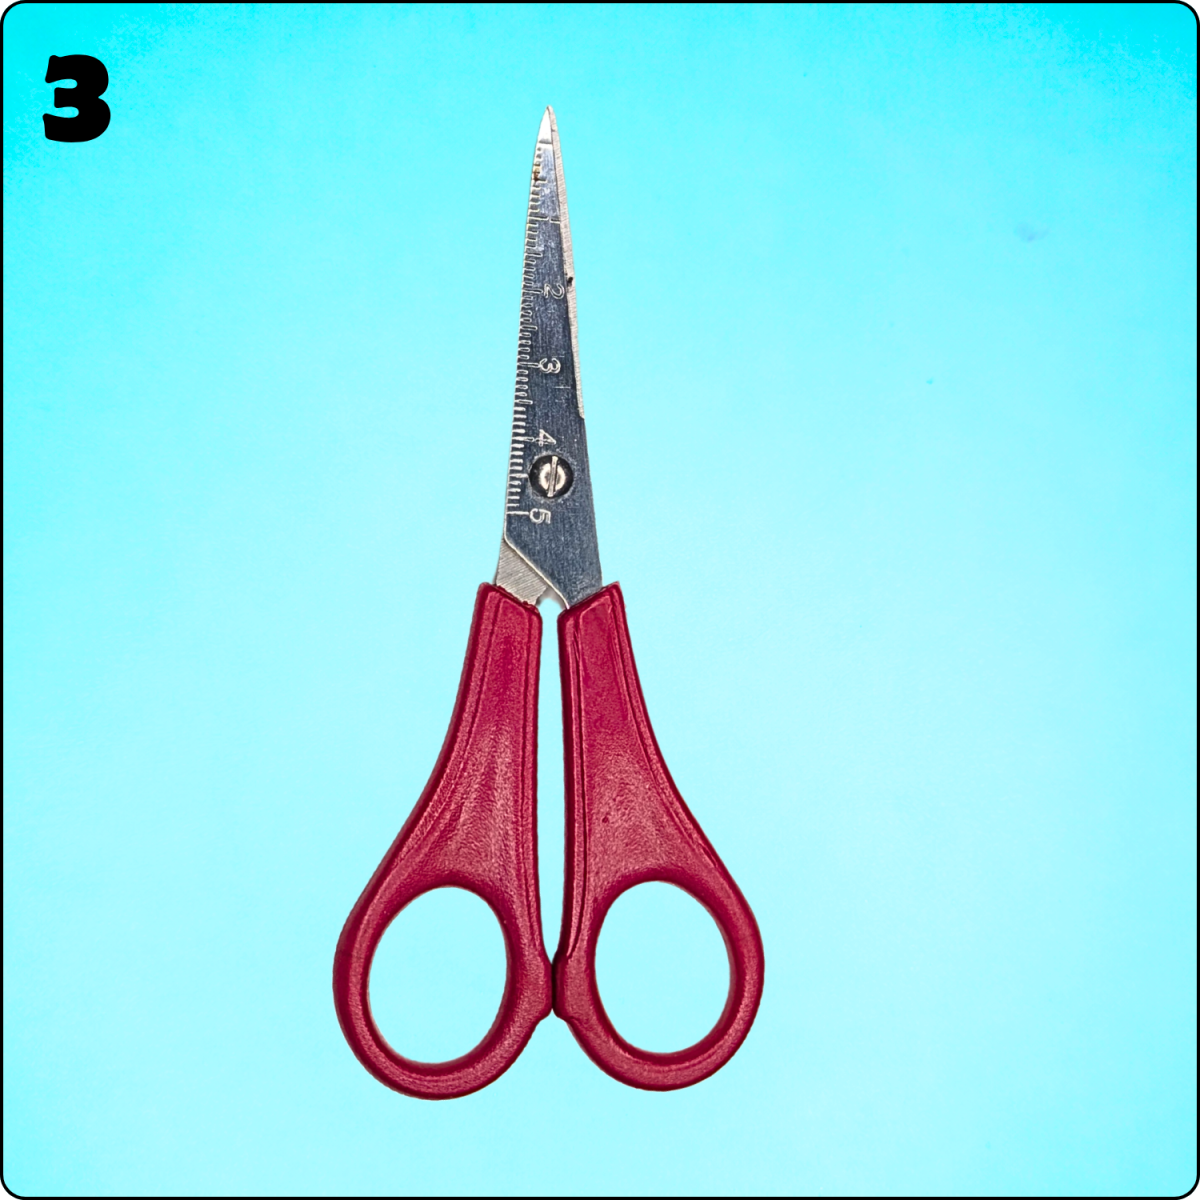
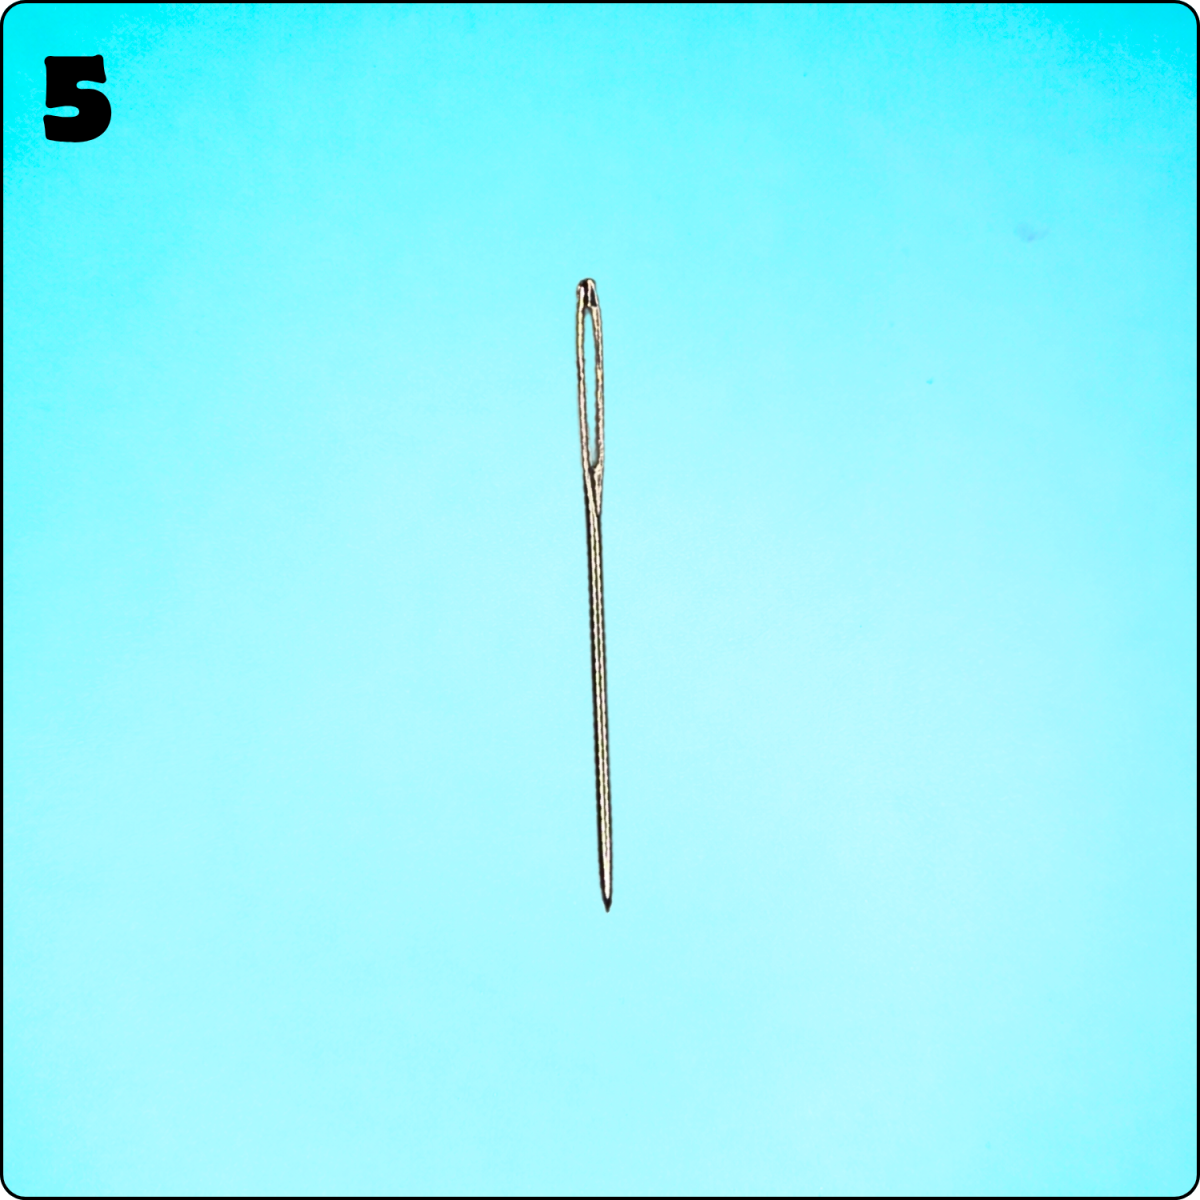
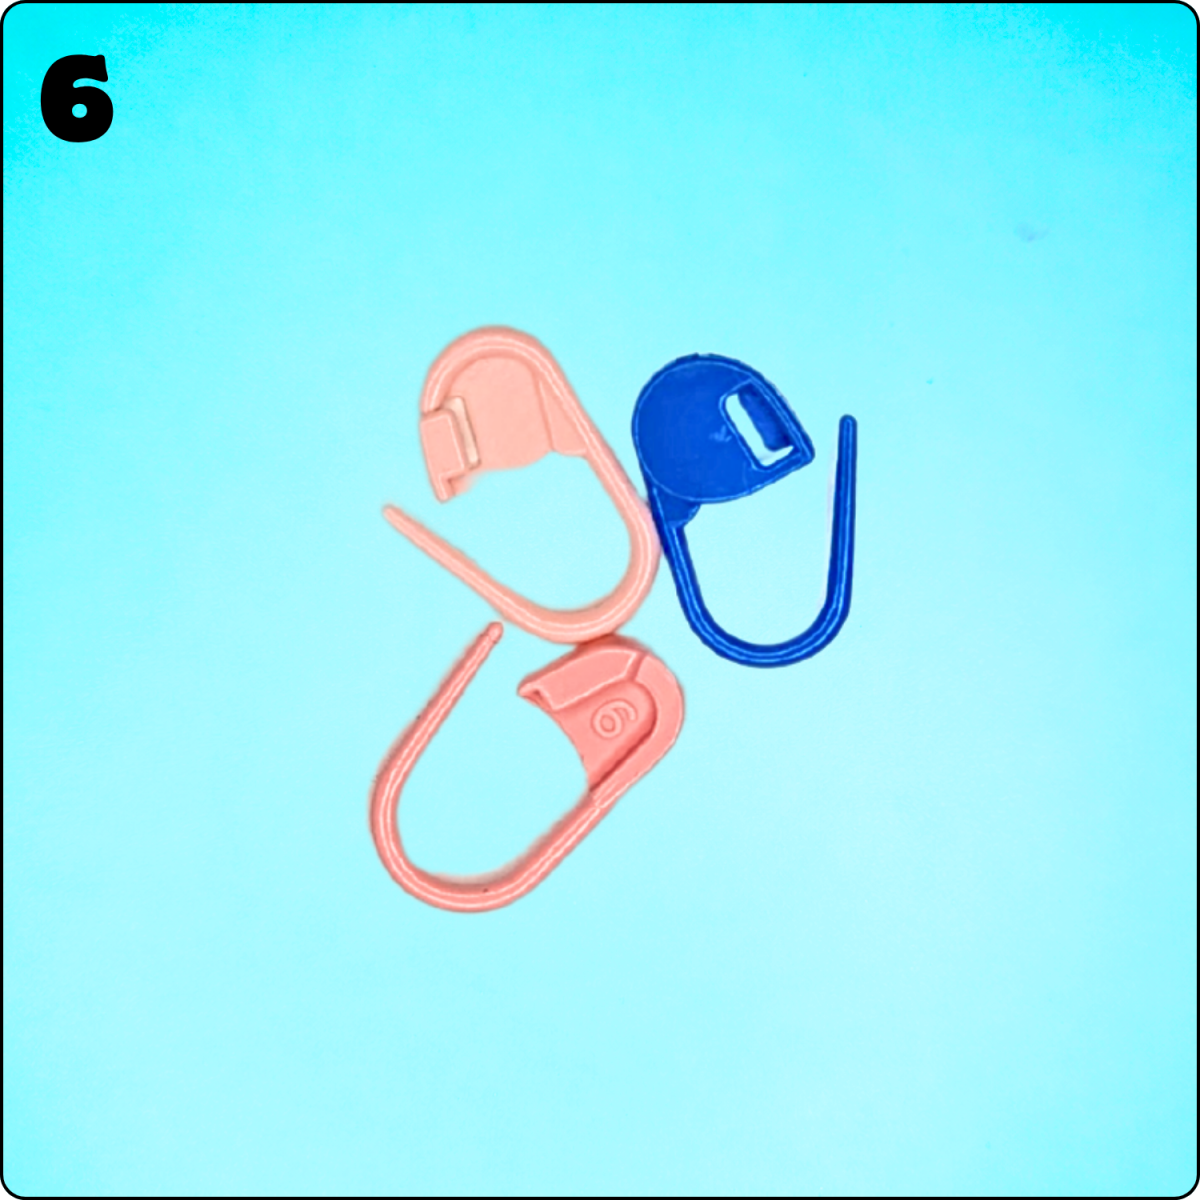
What You Need to Get Started
Before we begin, let’s take a quick look at what you need. The good news: it’s just a few simple things!
Optional:
Tip: Bright, smooth yarn works best for kids / beginners, because it makes it easier to see each stitch.
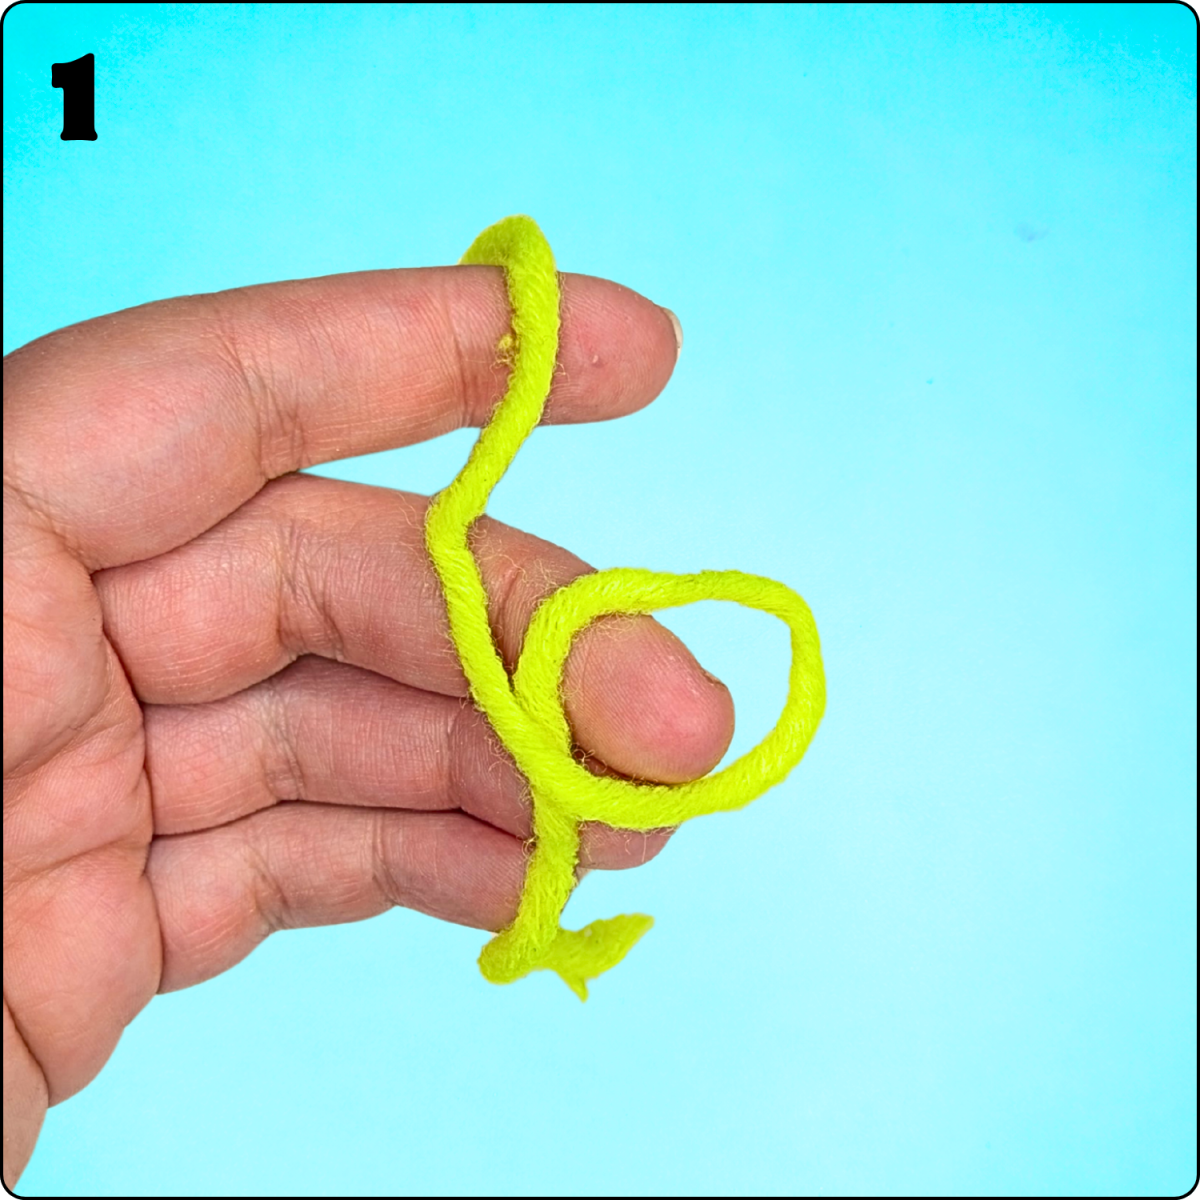
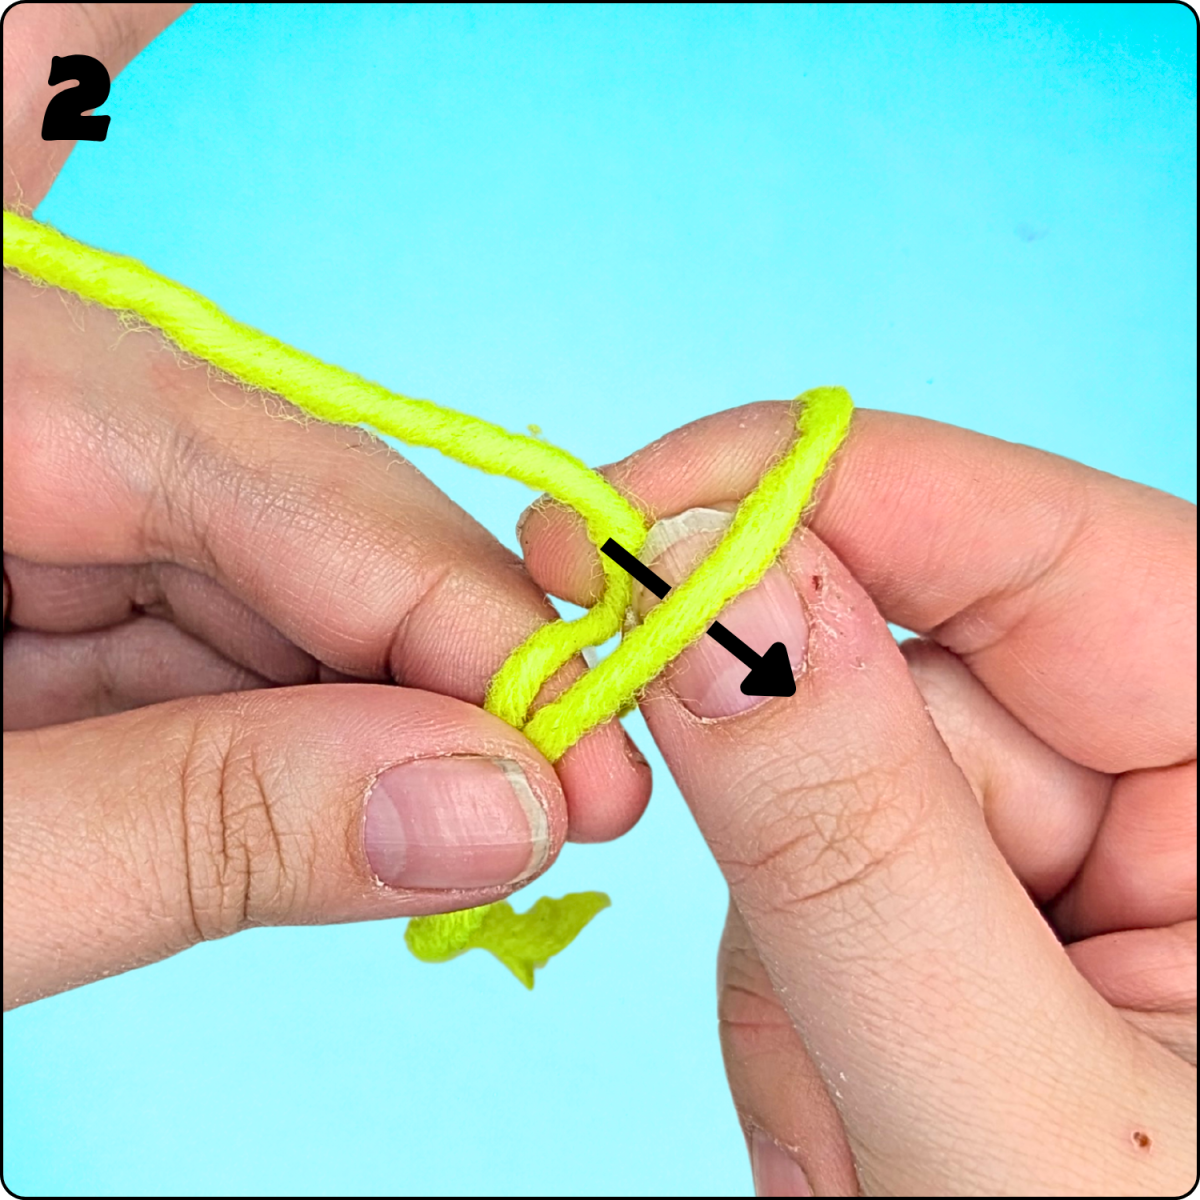
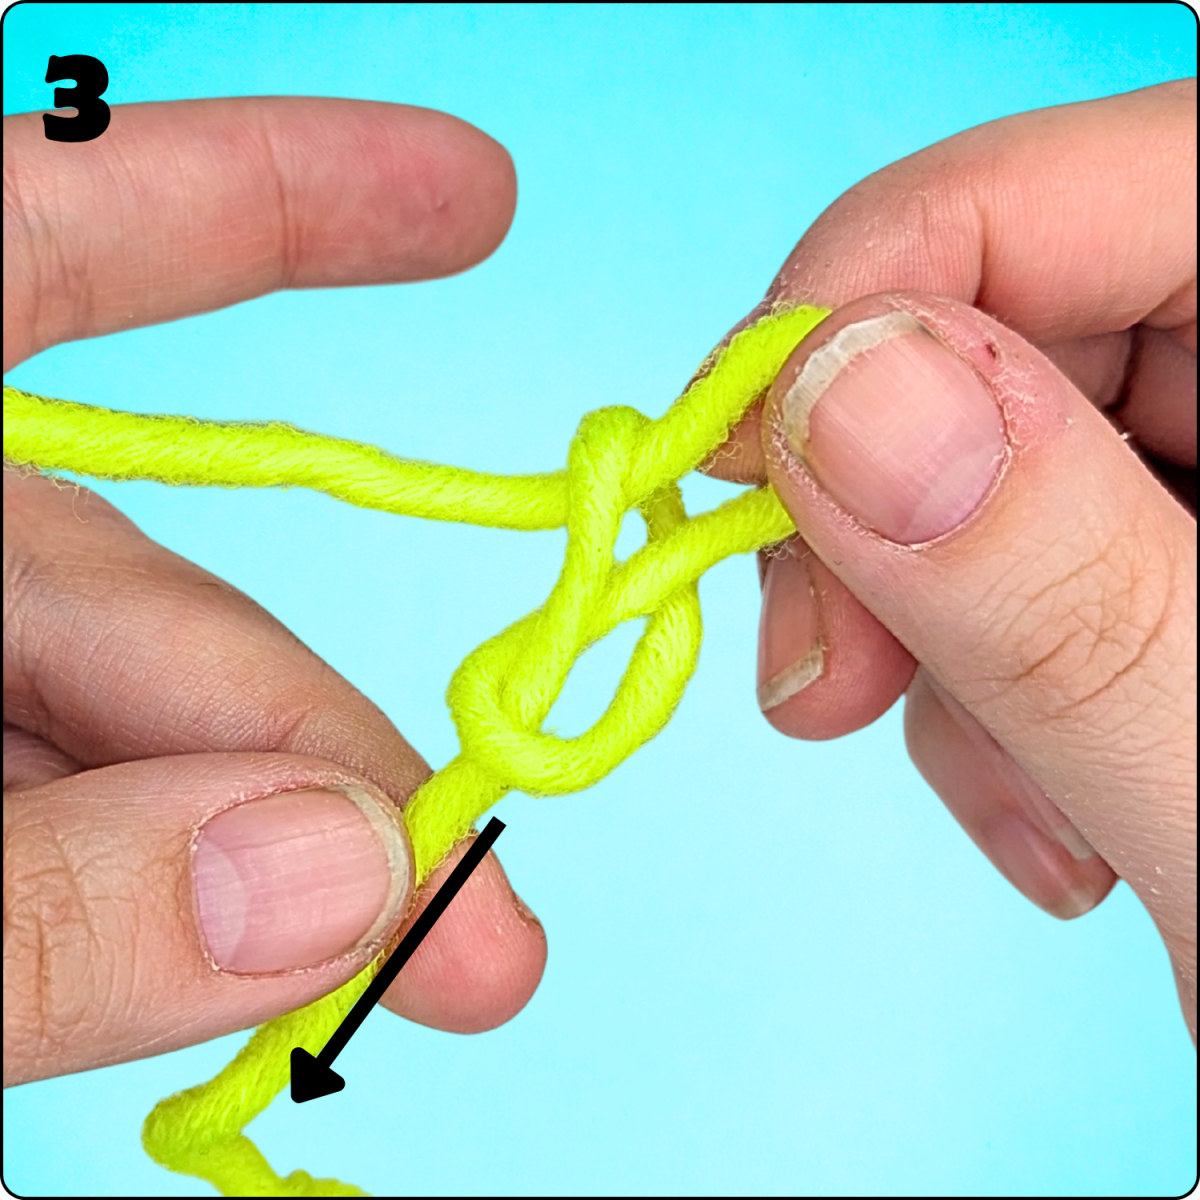
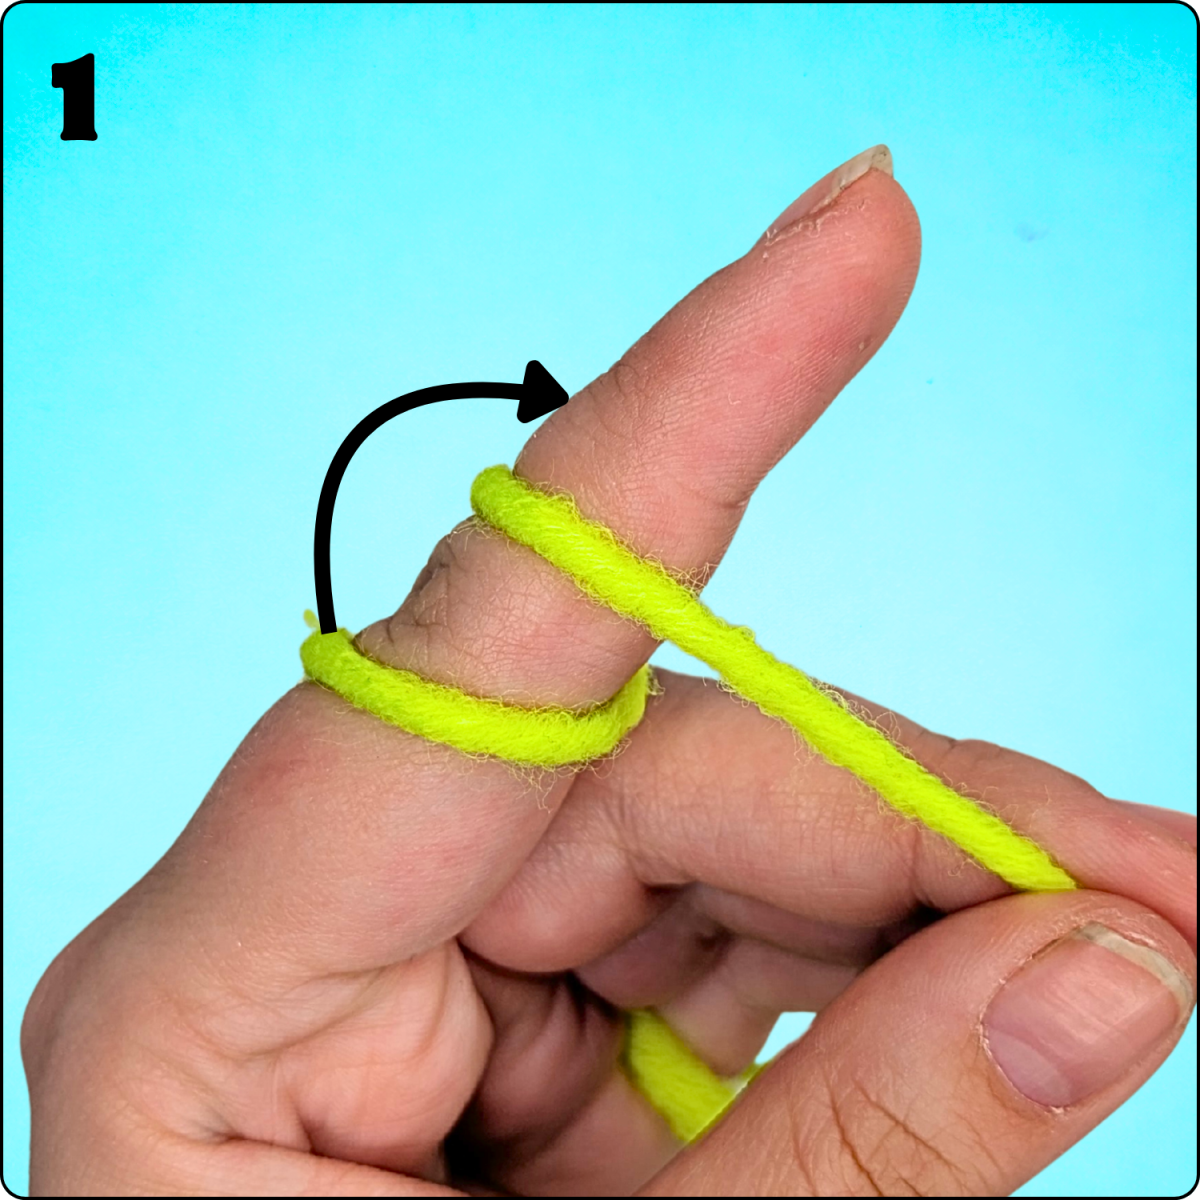
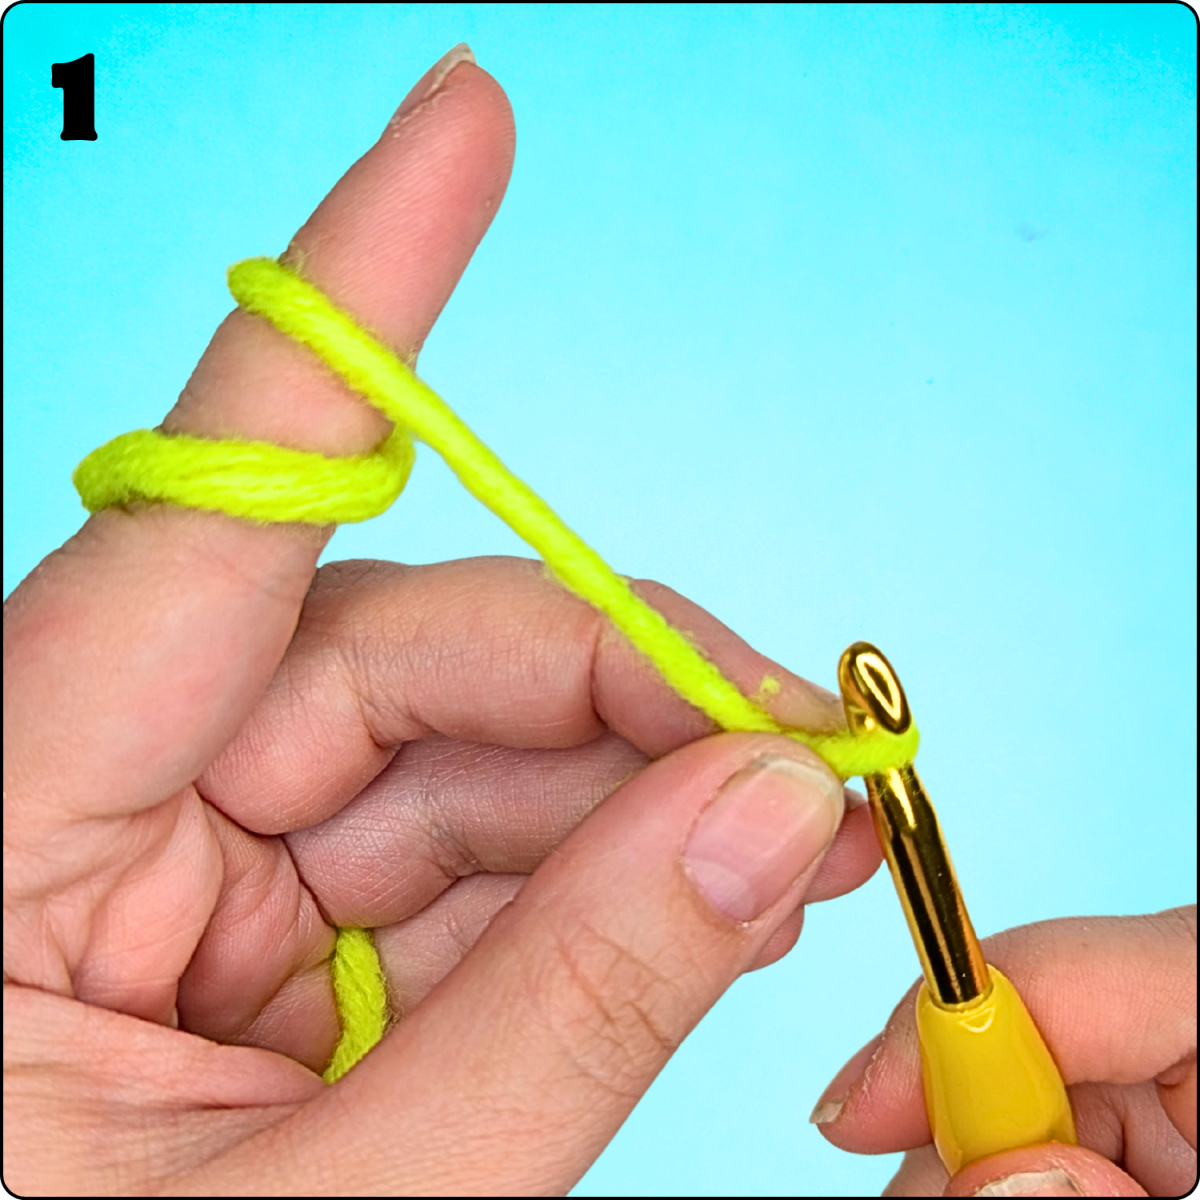
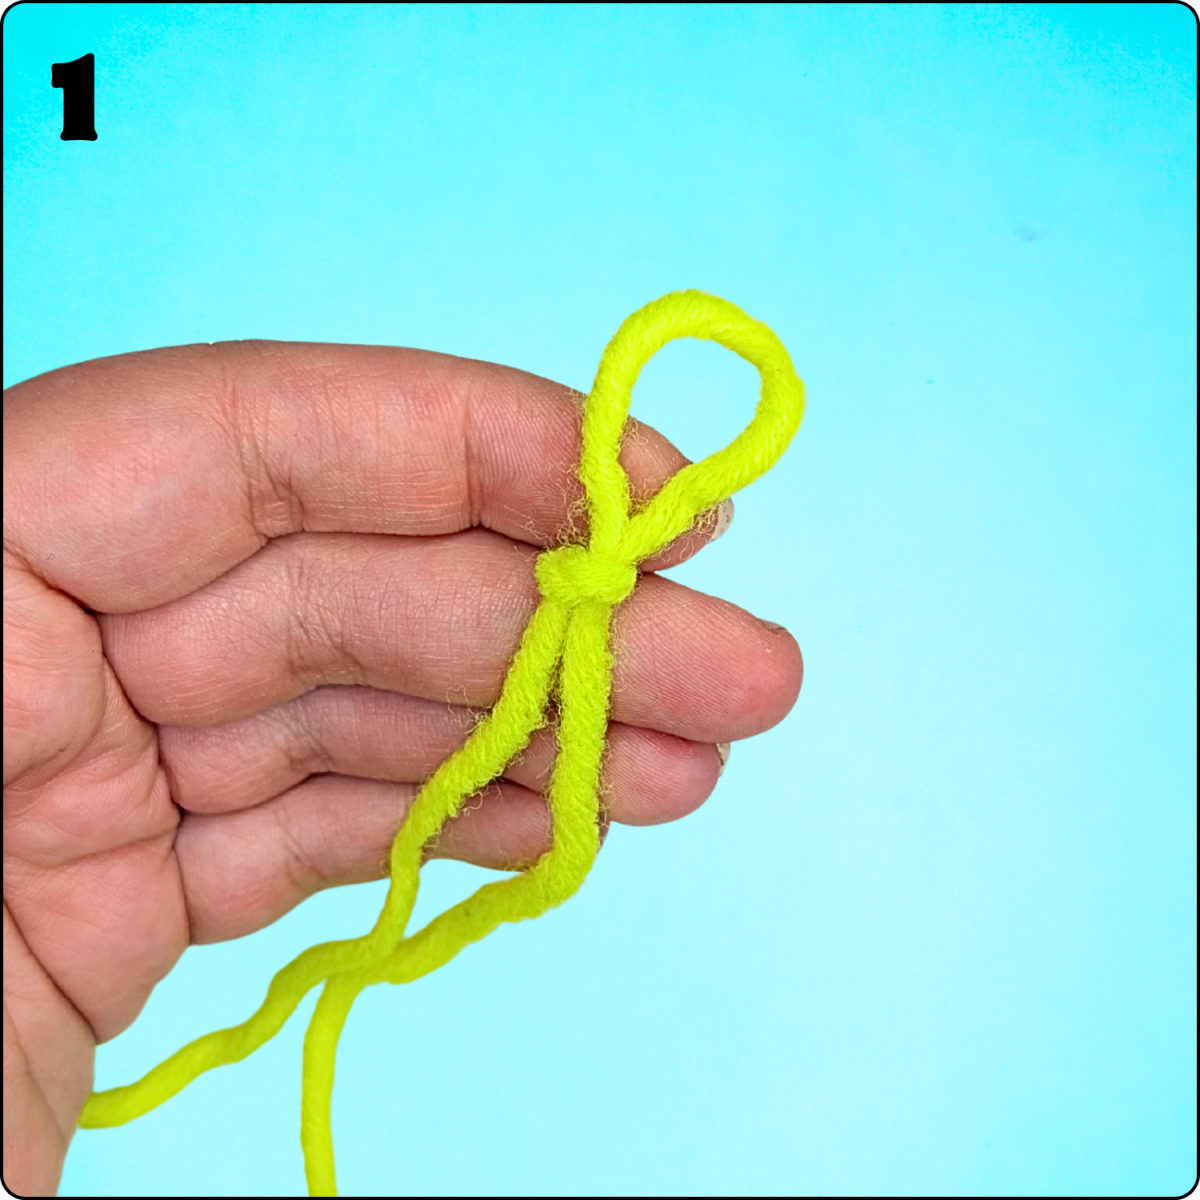
The Slip Knot
Before we can start crocheting, we need a slip knot on our hook.
There are different ways to make one. Here are two simple methods you can try:
Method 1
Method 2

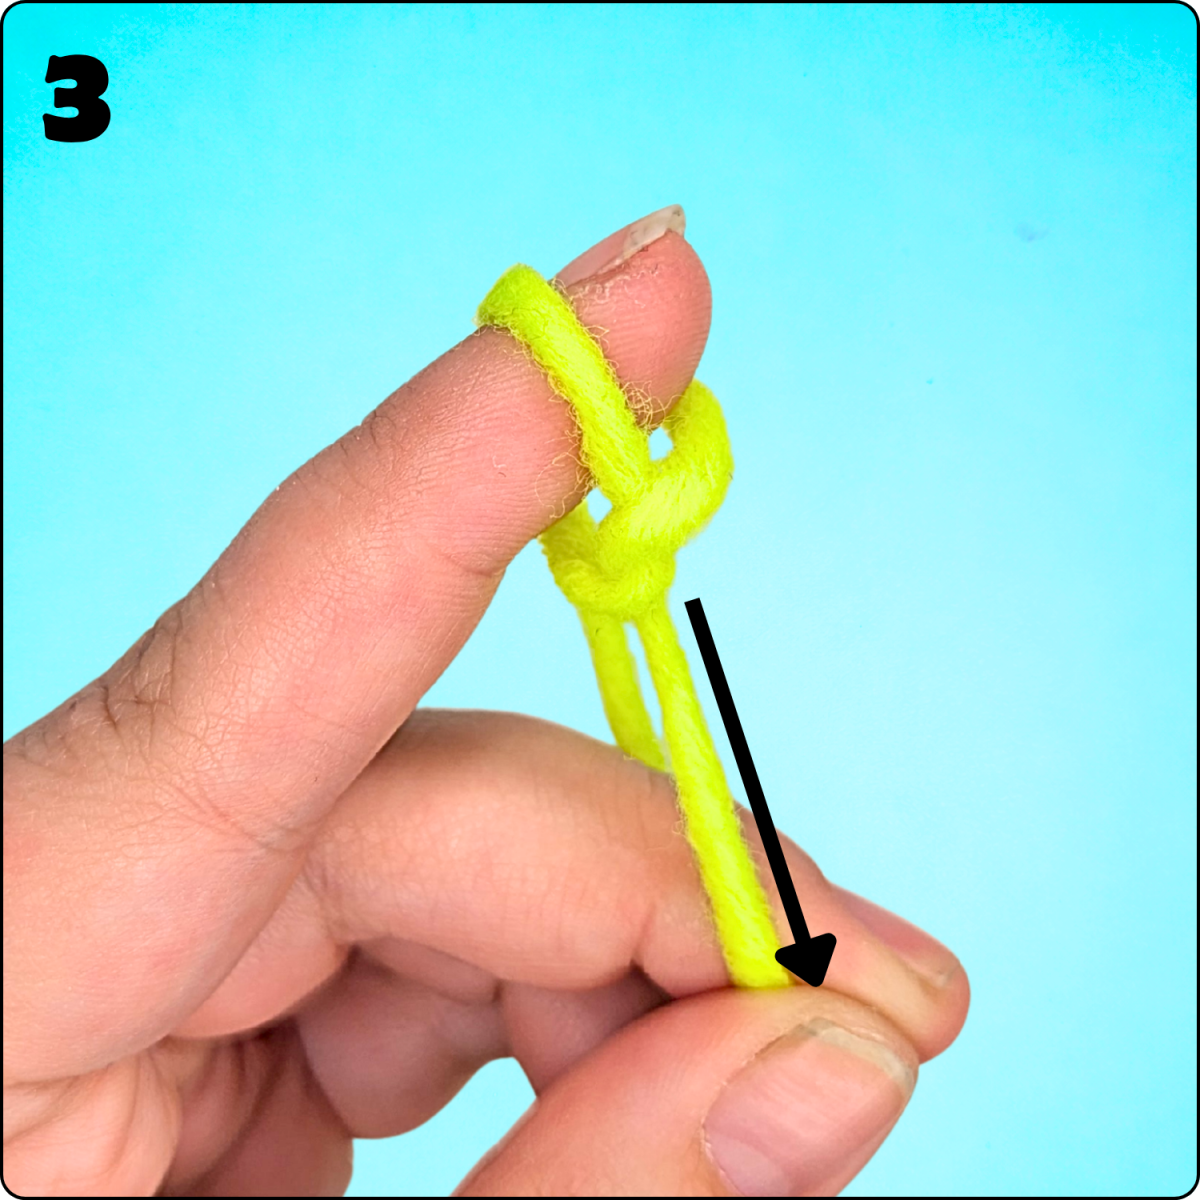
Tip for kids:
The loop should be tight enough so it doesn’t slip off the hook, but loose enough so the hook can still move easily.
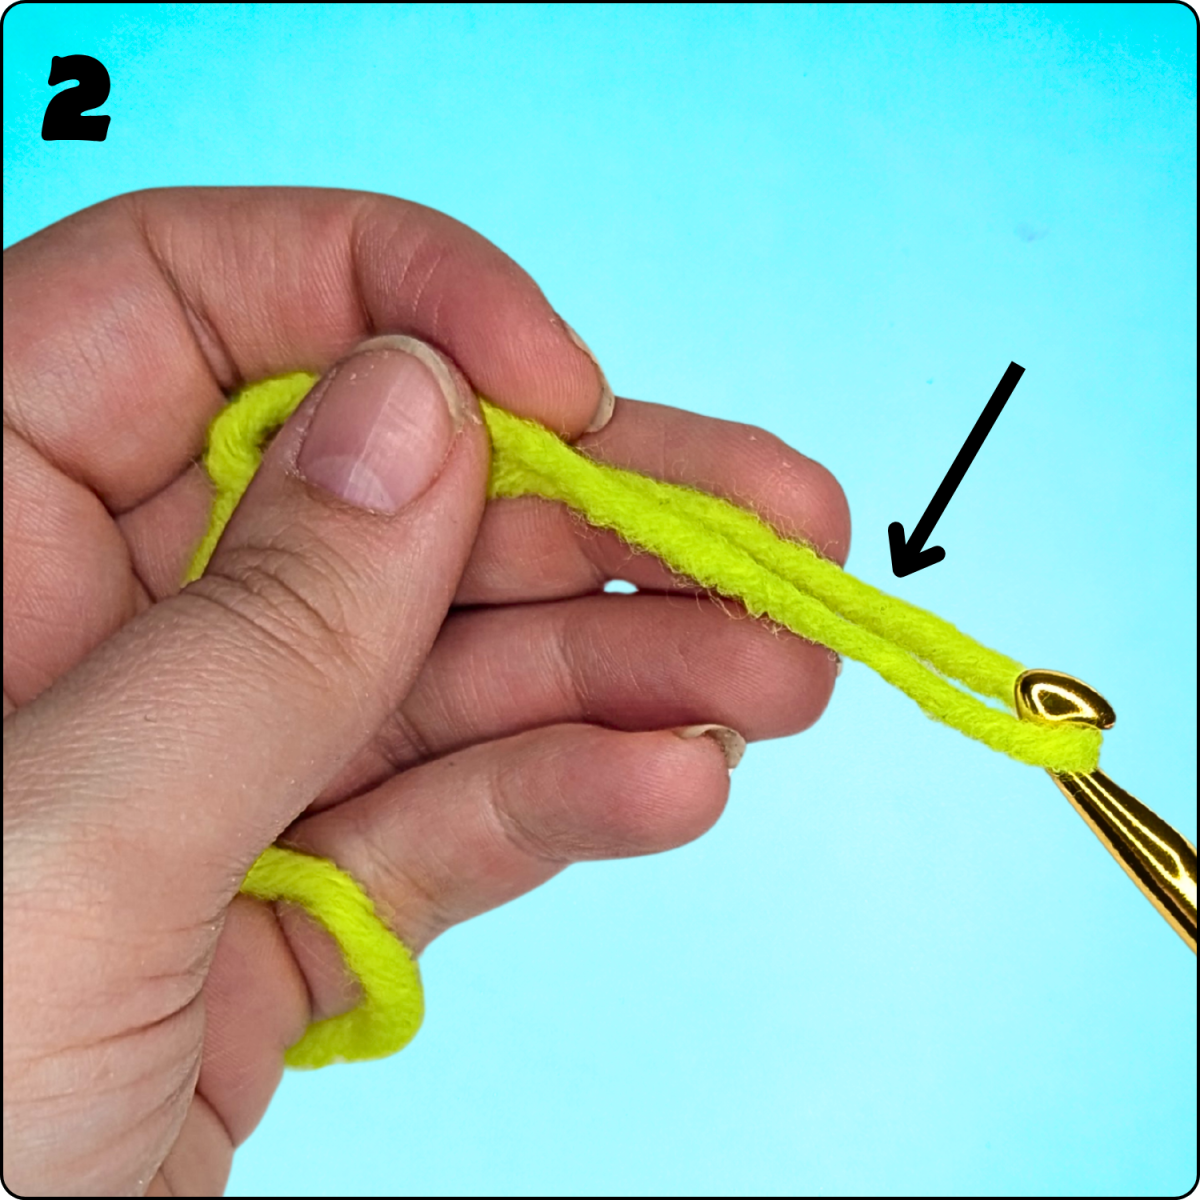
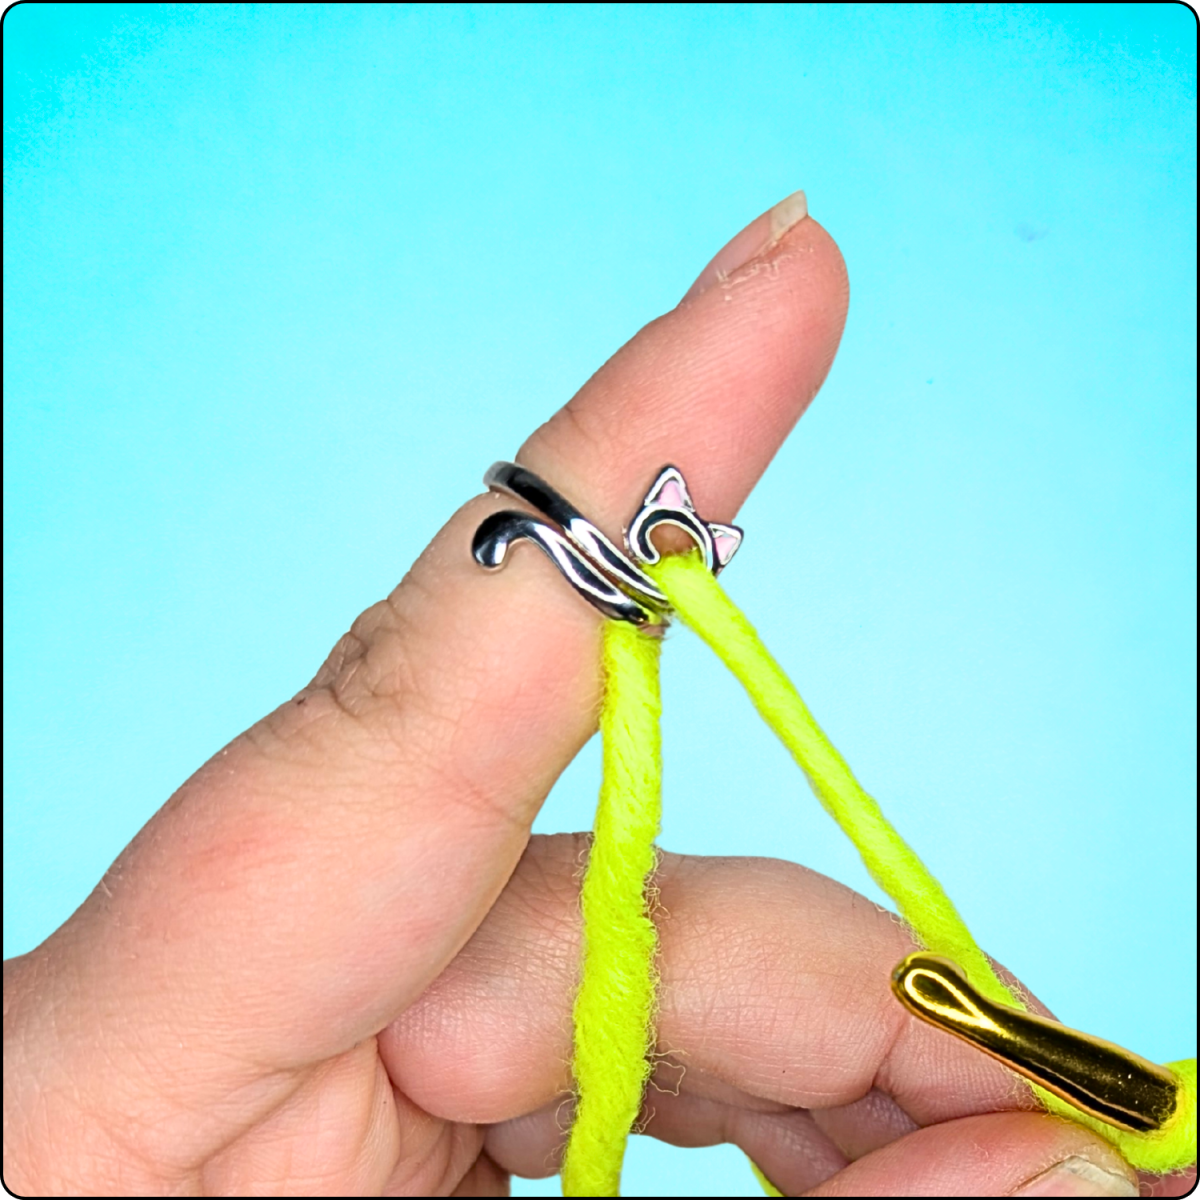
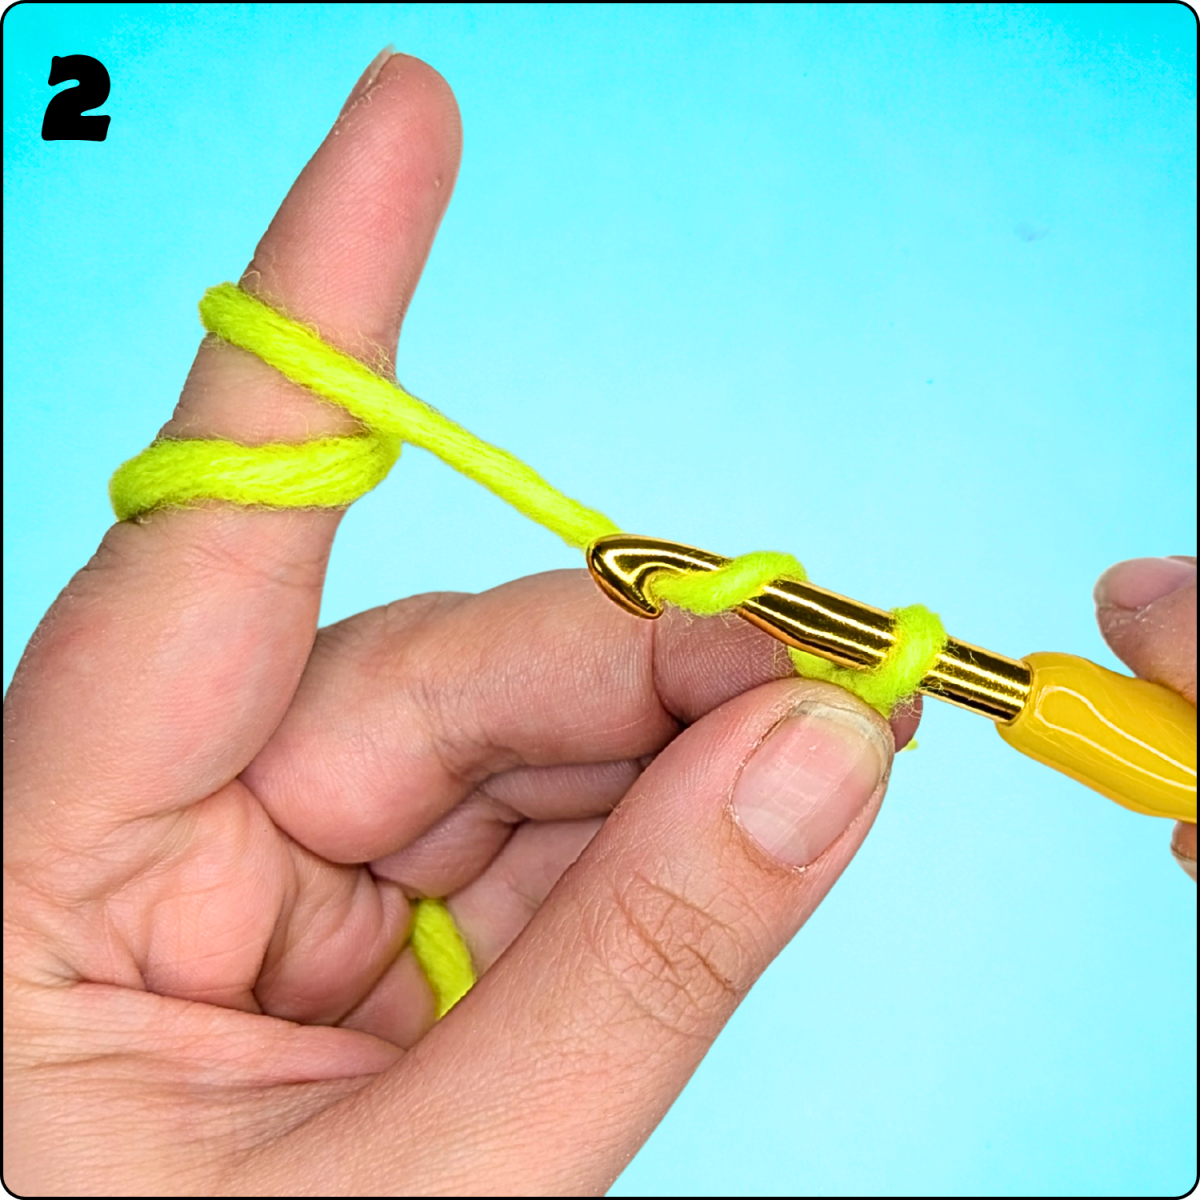
How to Hold the Yarn
This is often the trickiest part at the beginning – and that’s completely normal!
There is no single “right” way. What matters is:
- The yarn has a steady tension.
- Your hand feels relaxed.
A simple method:
- Hold the hook in your writing hand.
- Let the yarn run over the index finger of your other hand.
- Hold your work with your thumb and middle finger.
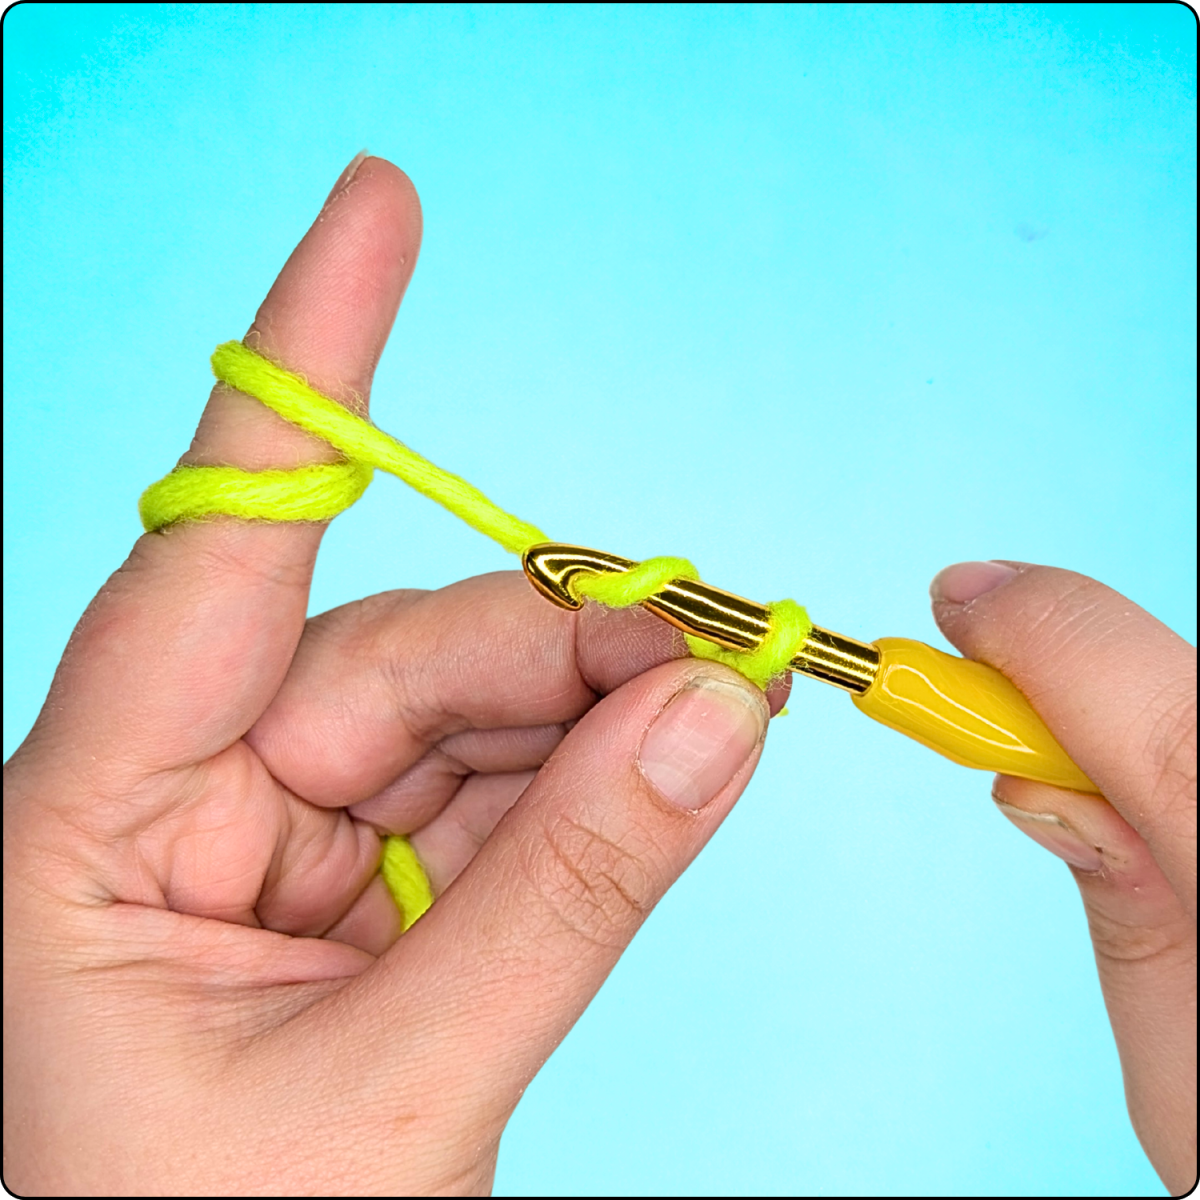
Tip: If the yarn is too loose, your stitches will be very big. If it’s too tight, crocheting becomes difficult. Just try what feels best for you!
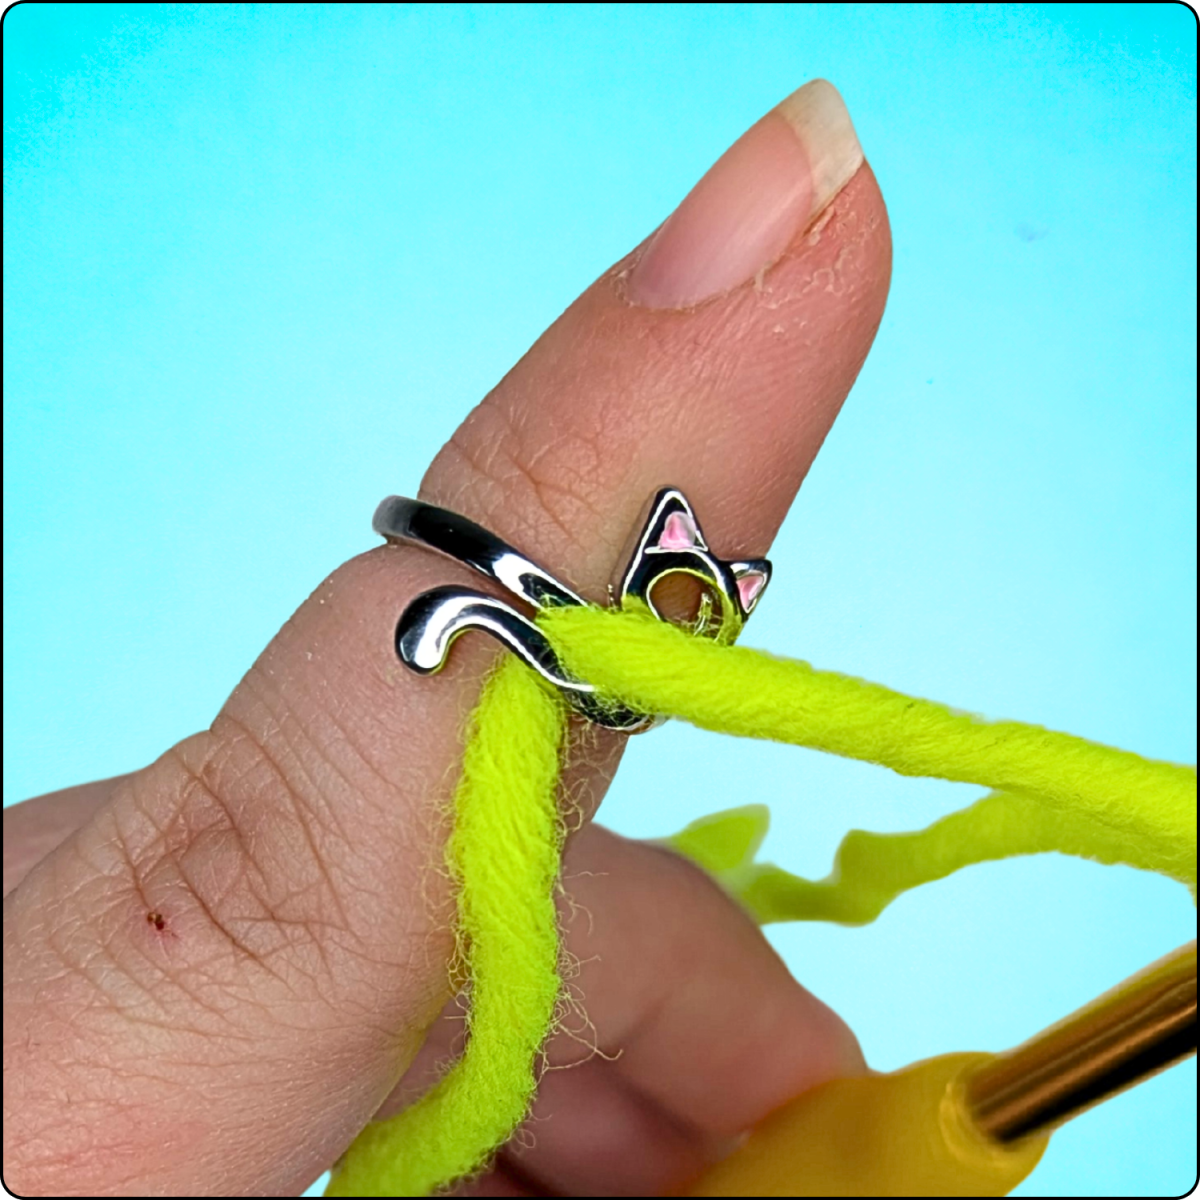
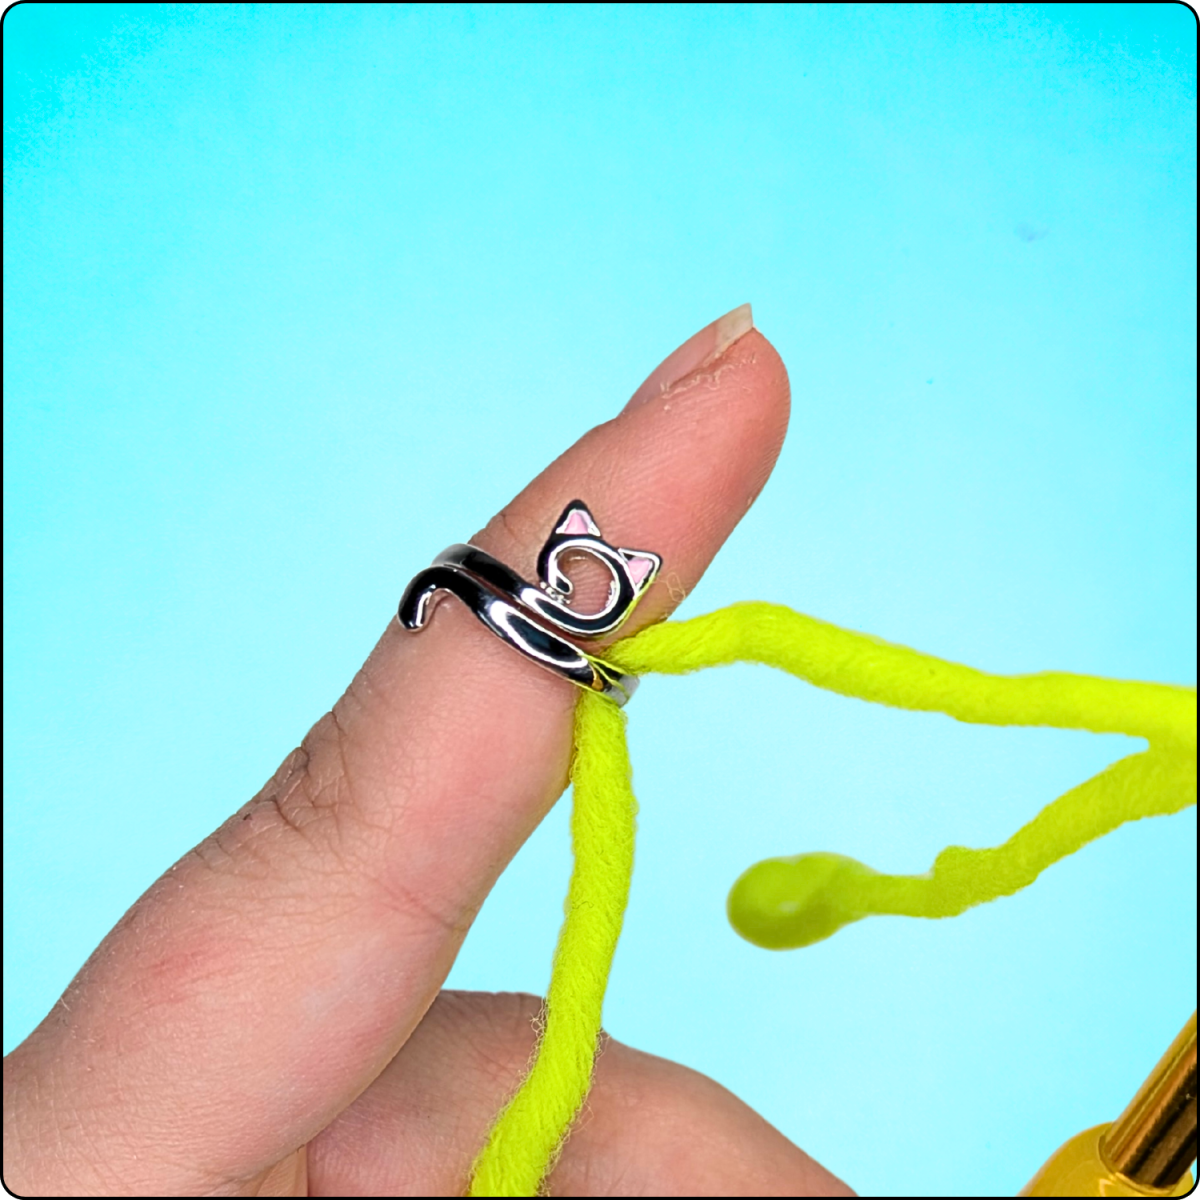
If you’re really struggling, you might want to try using a yarn tension ring.
This is a small ring you wear on your index finger that helps hold and guide the yarn for you:

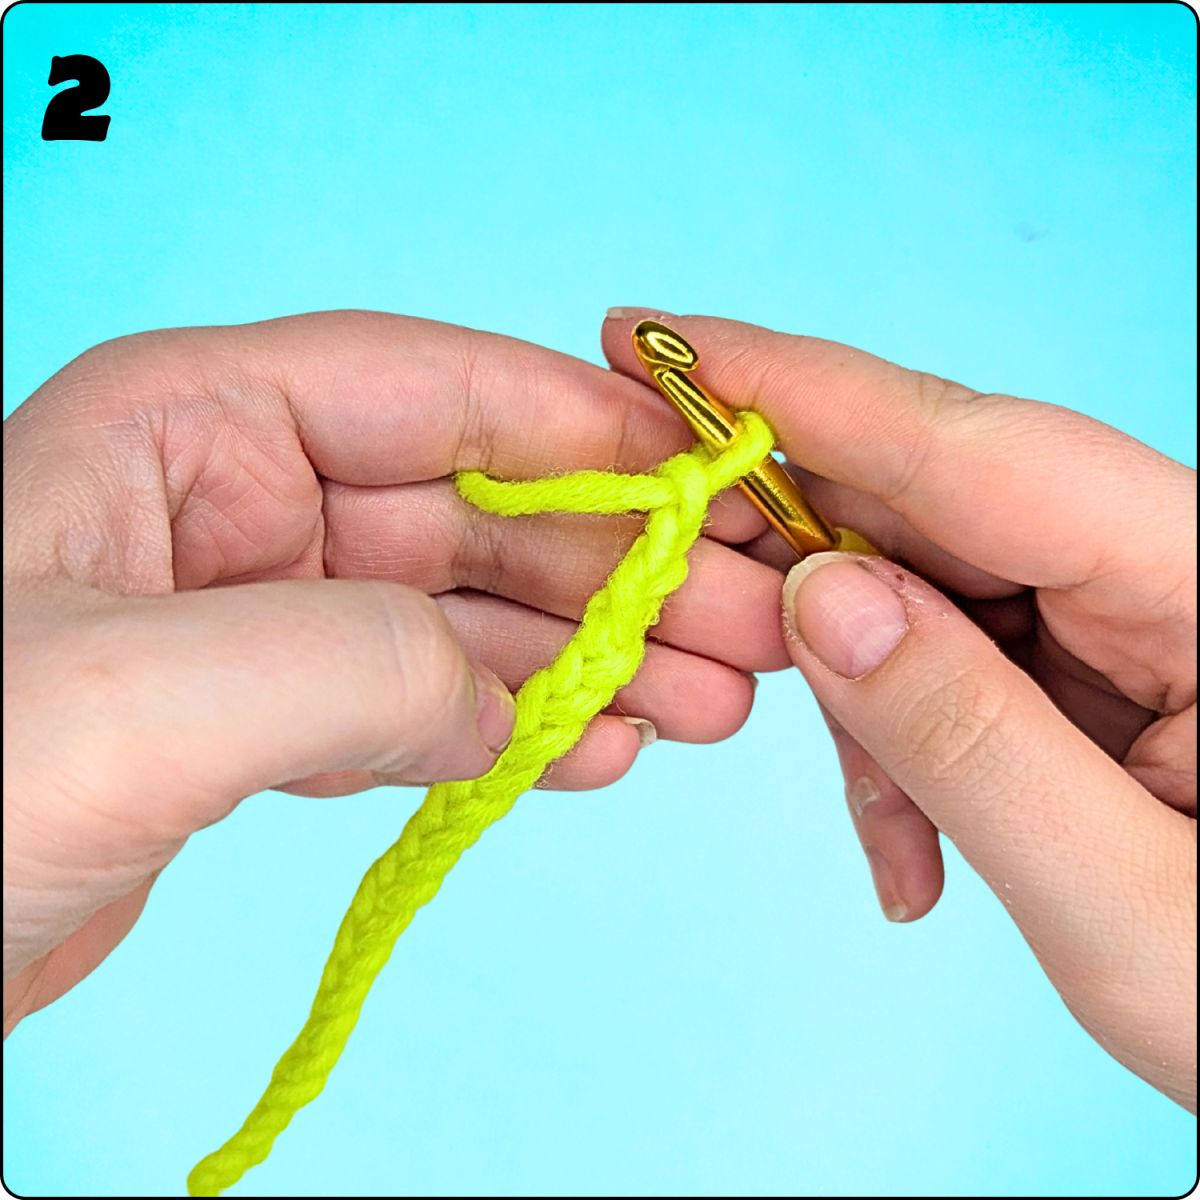
Chain Stitches
The chain stitch is the very first stitch you learn – and the base of almost every crochet project.
How it works:
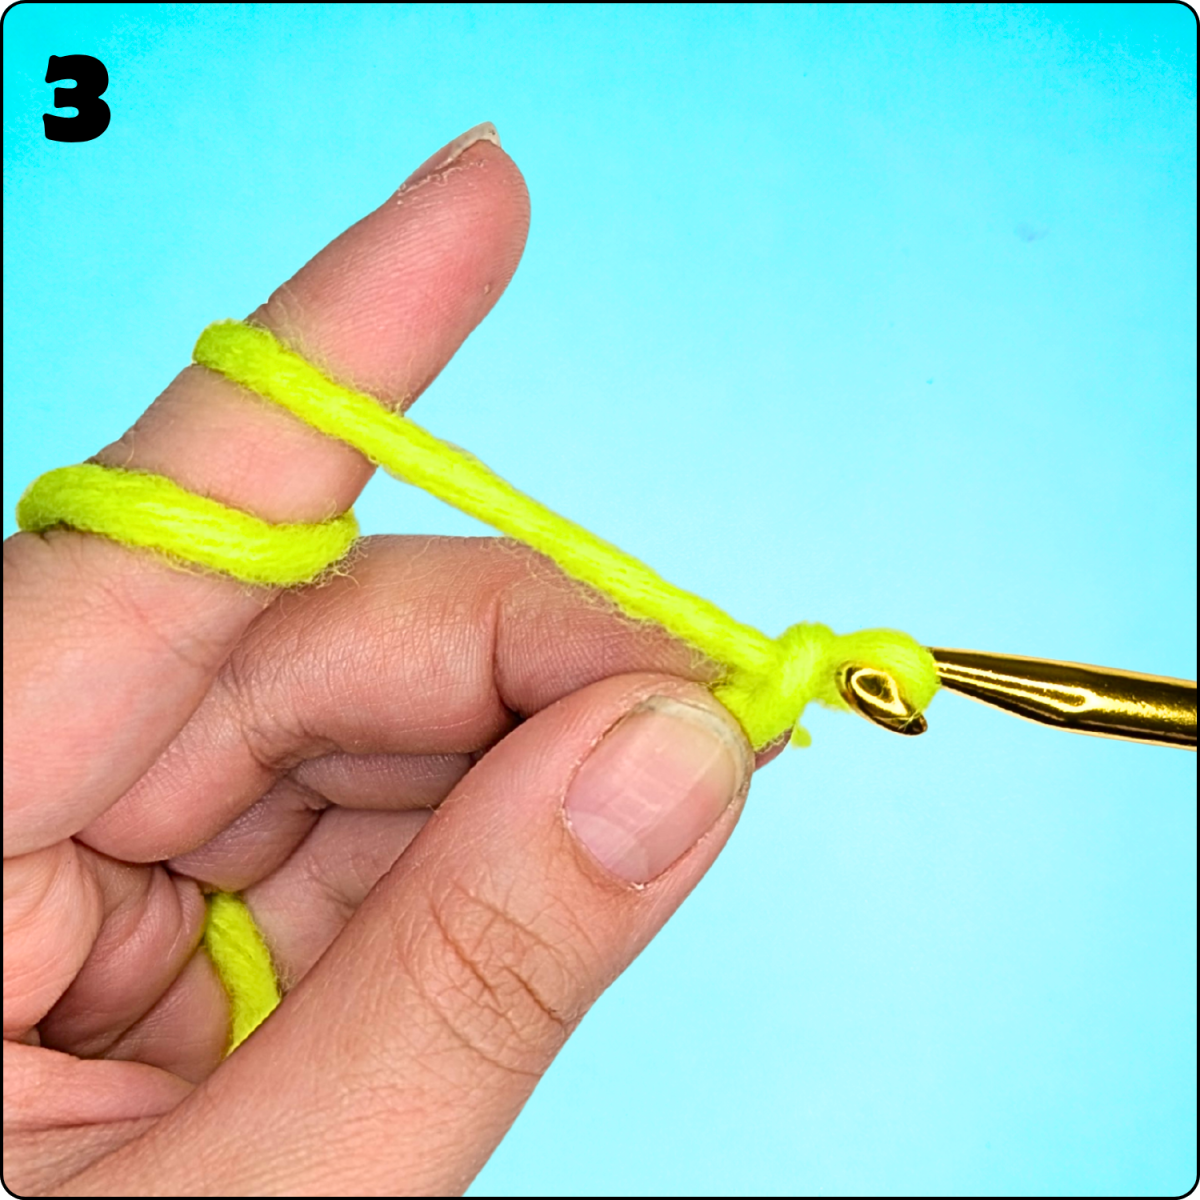
That’s a chain stitch!
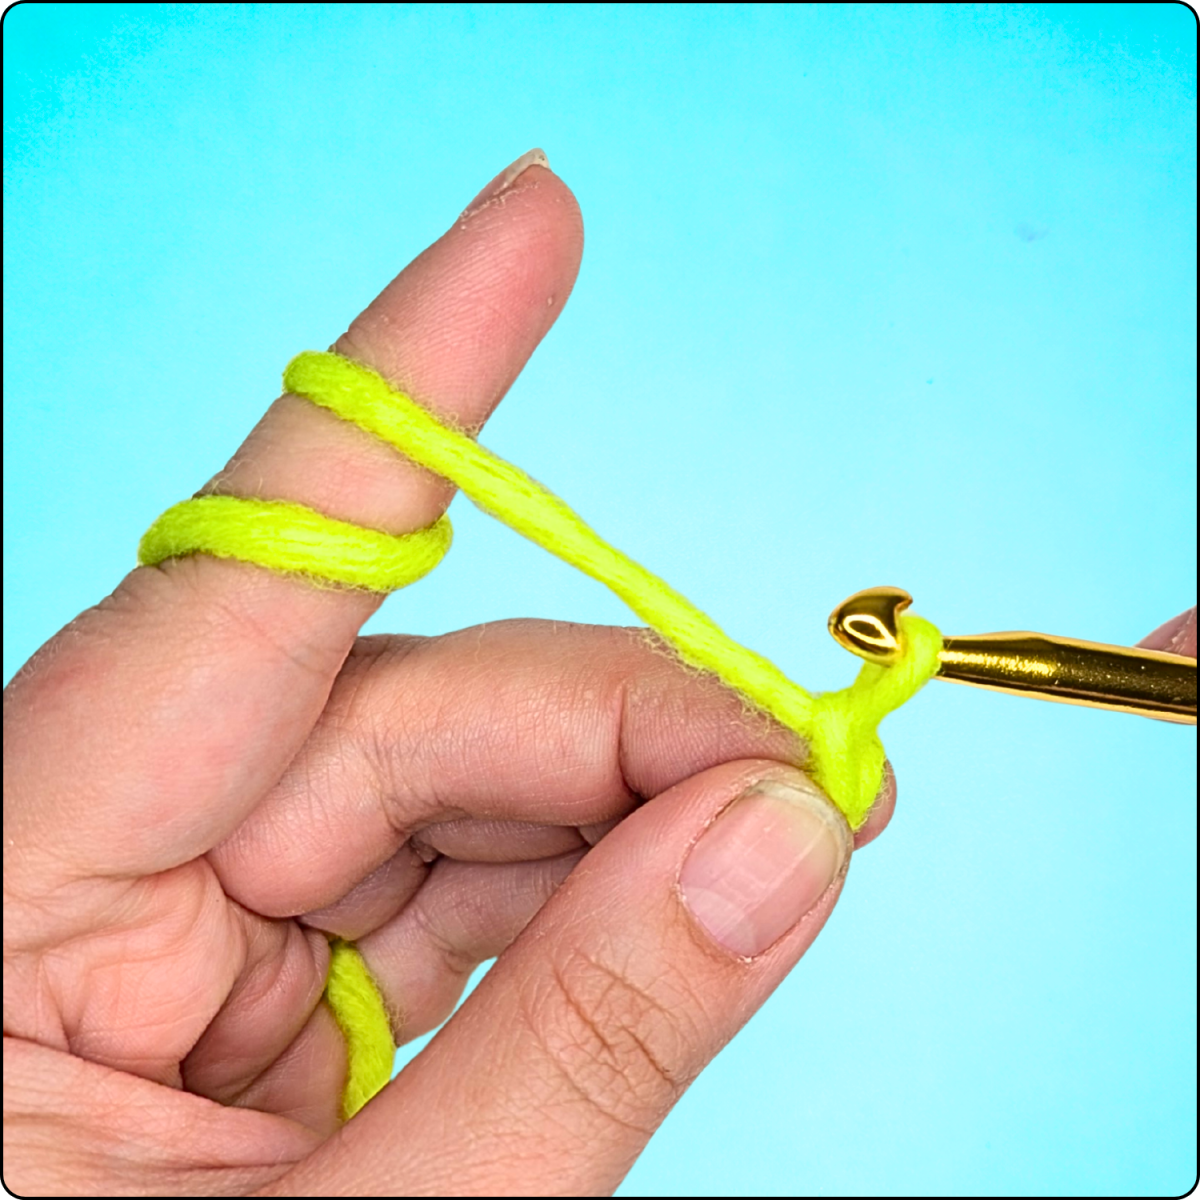
Repeat this multiple times to create a chain.
Tip for kids:
Try counting your stitches out loud – it’s fun and helps you stay on track!
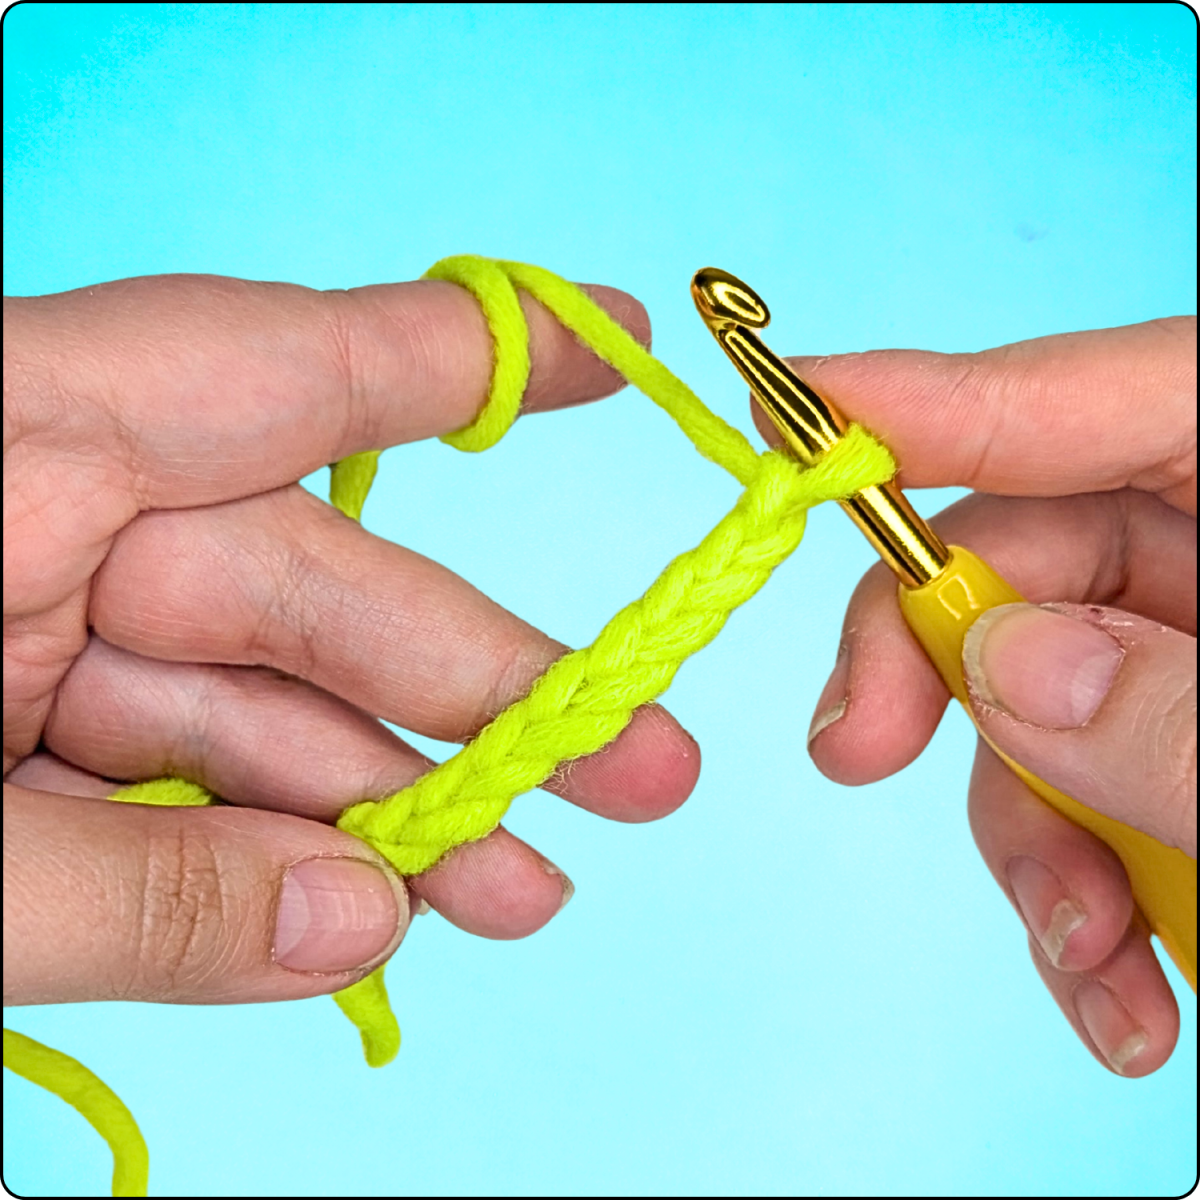
Finishing a Chain
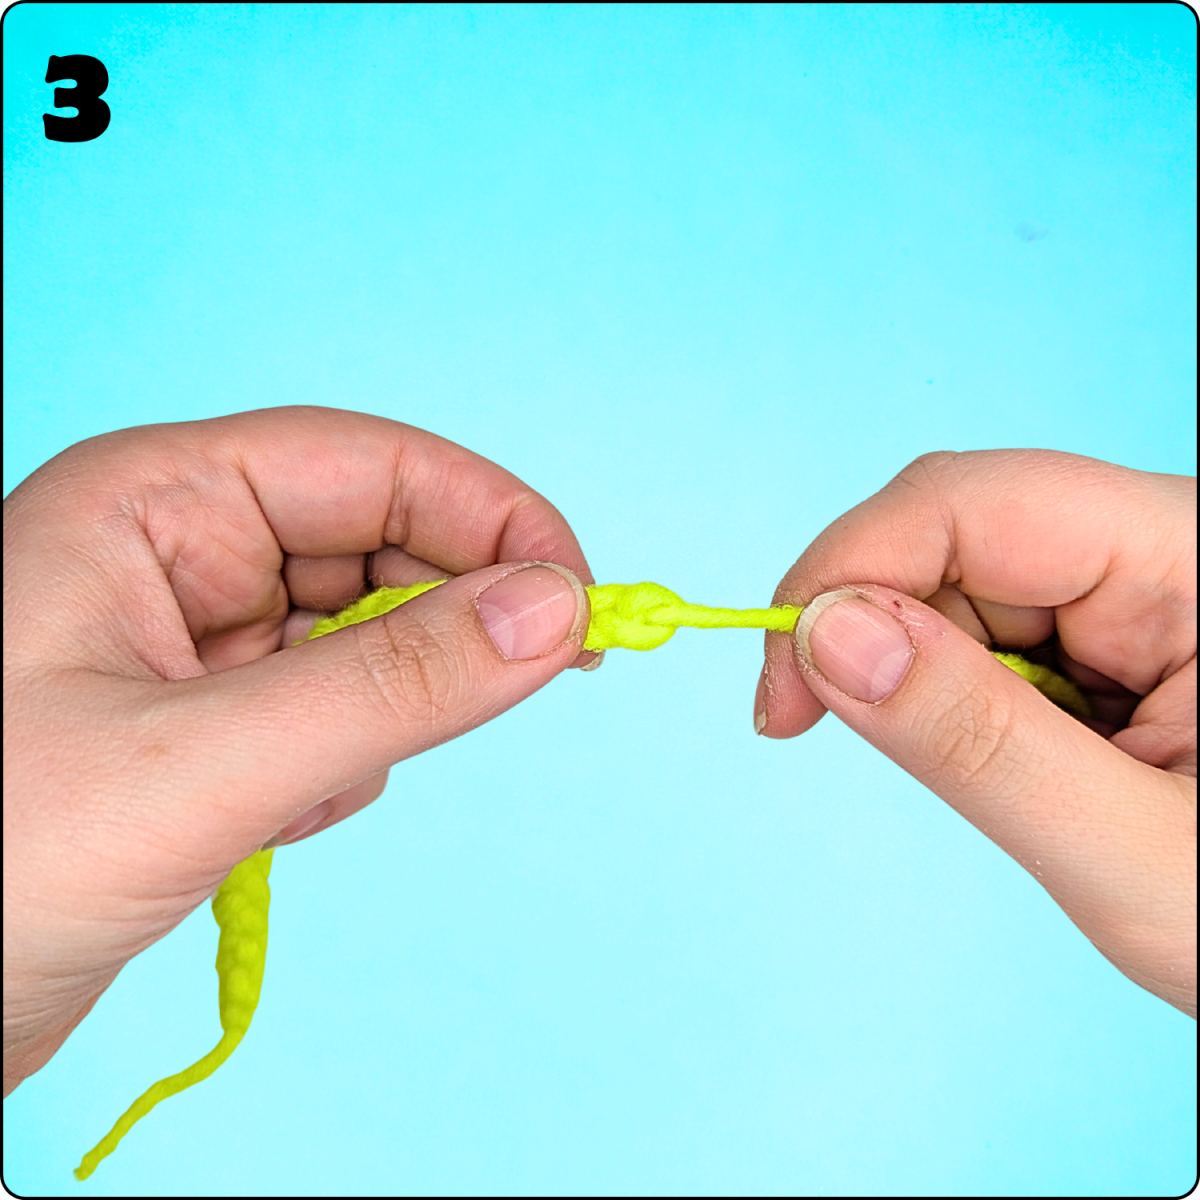
Once your chain has reached the desired length, you just need to secure it:

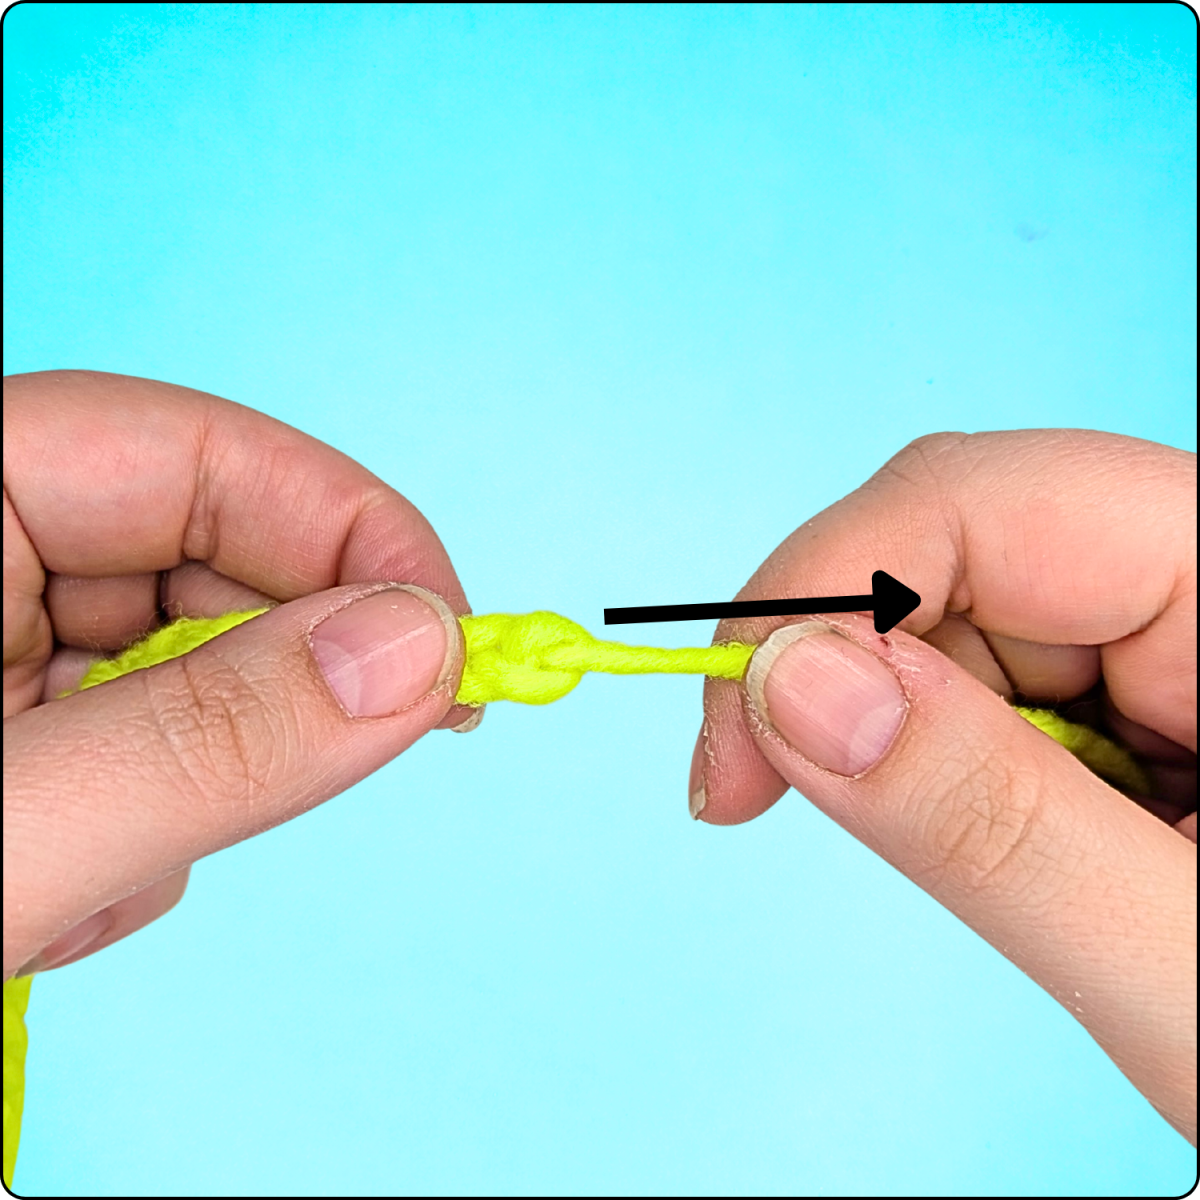
- Cut the yarn, leaving a short tail of a few inches.
- Pull the yarn tail completely through the last loop on your hook.
- Gently tighten the loop.
This will secure your chain so it won’t come undone.
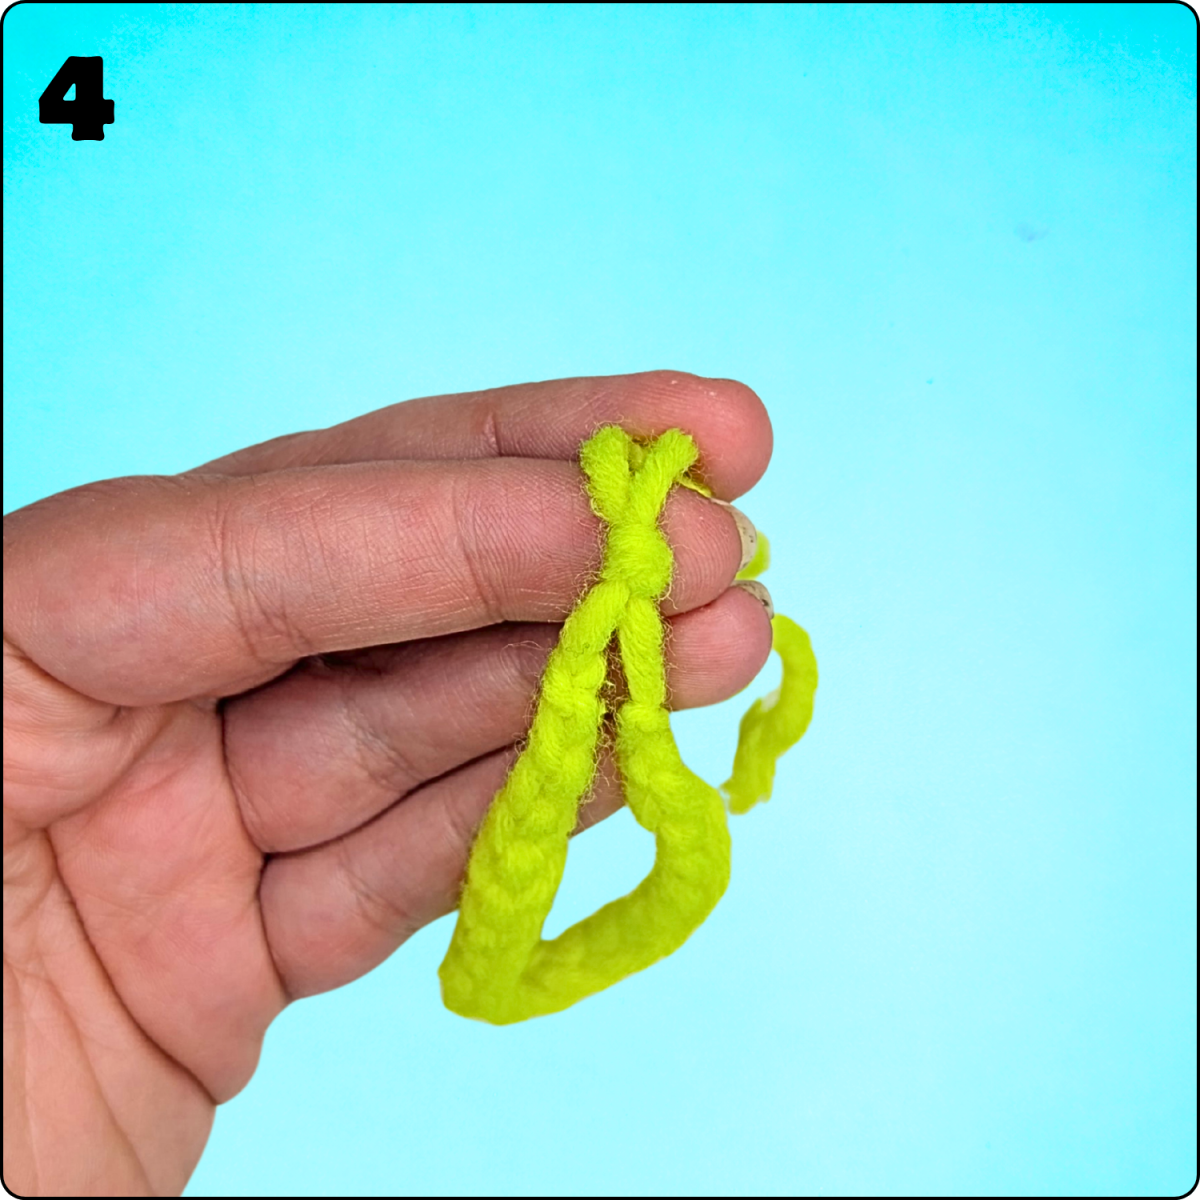
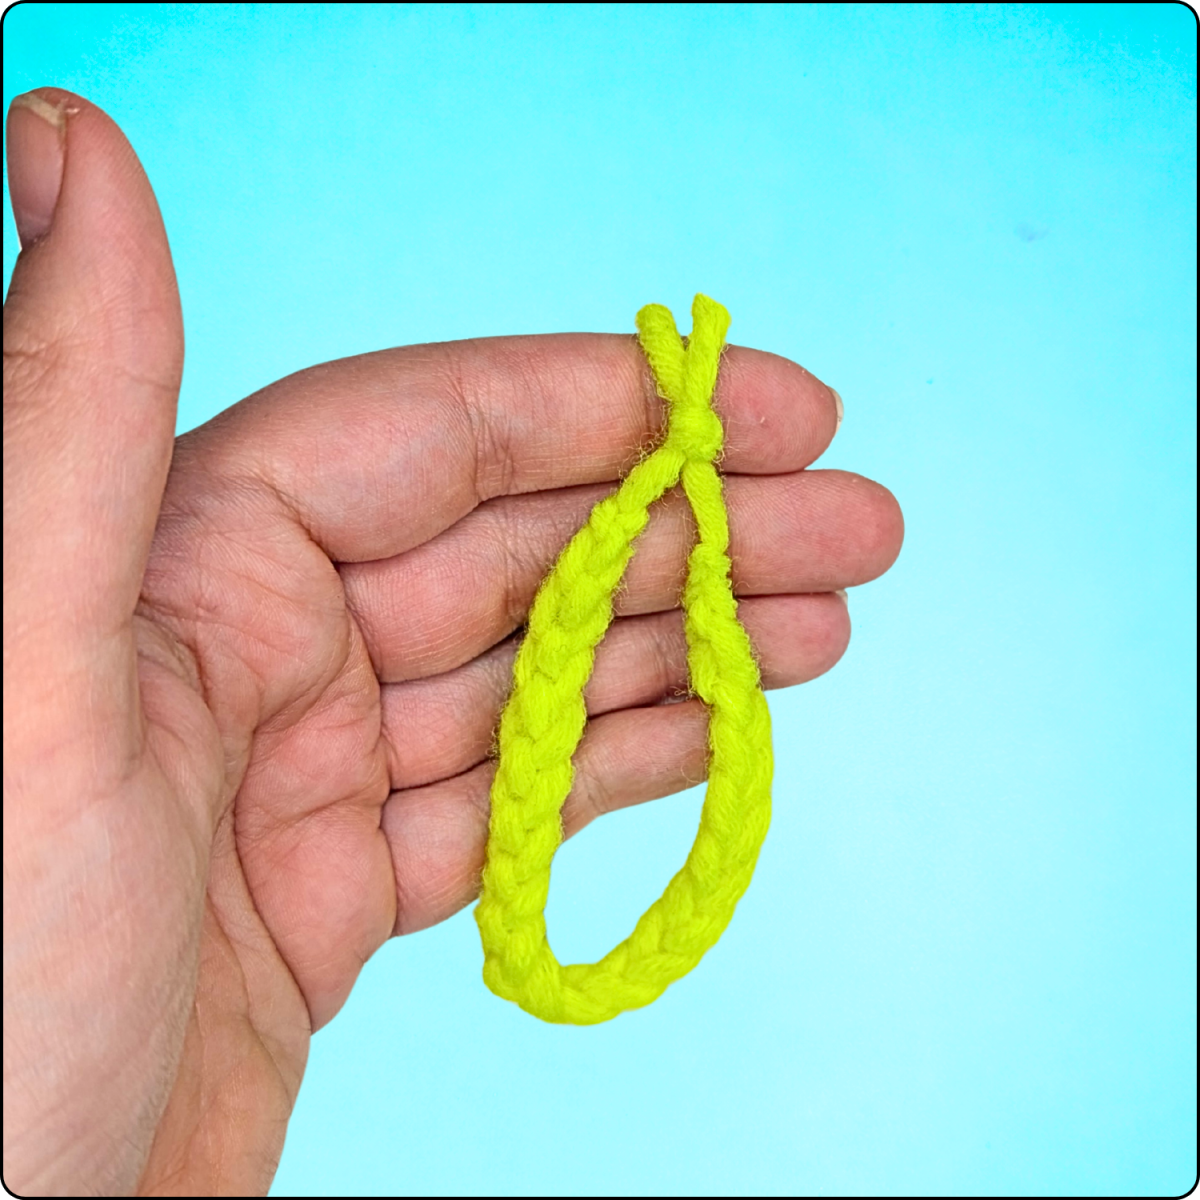
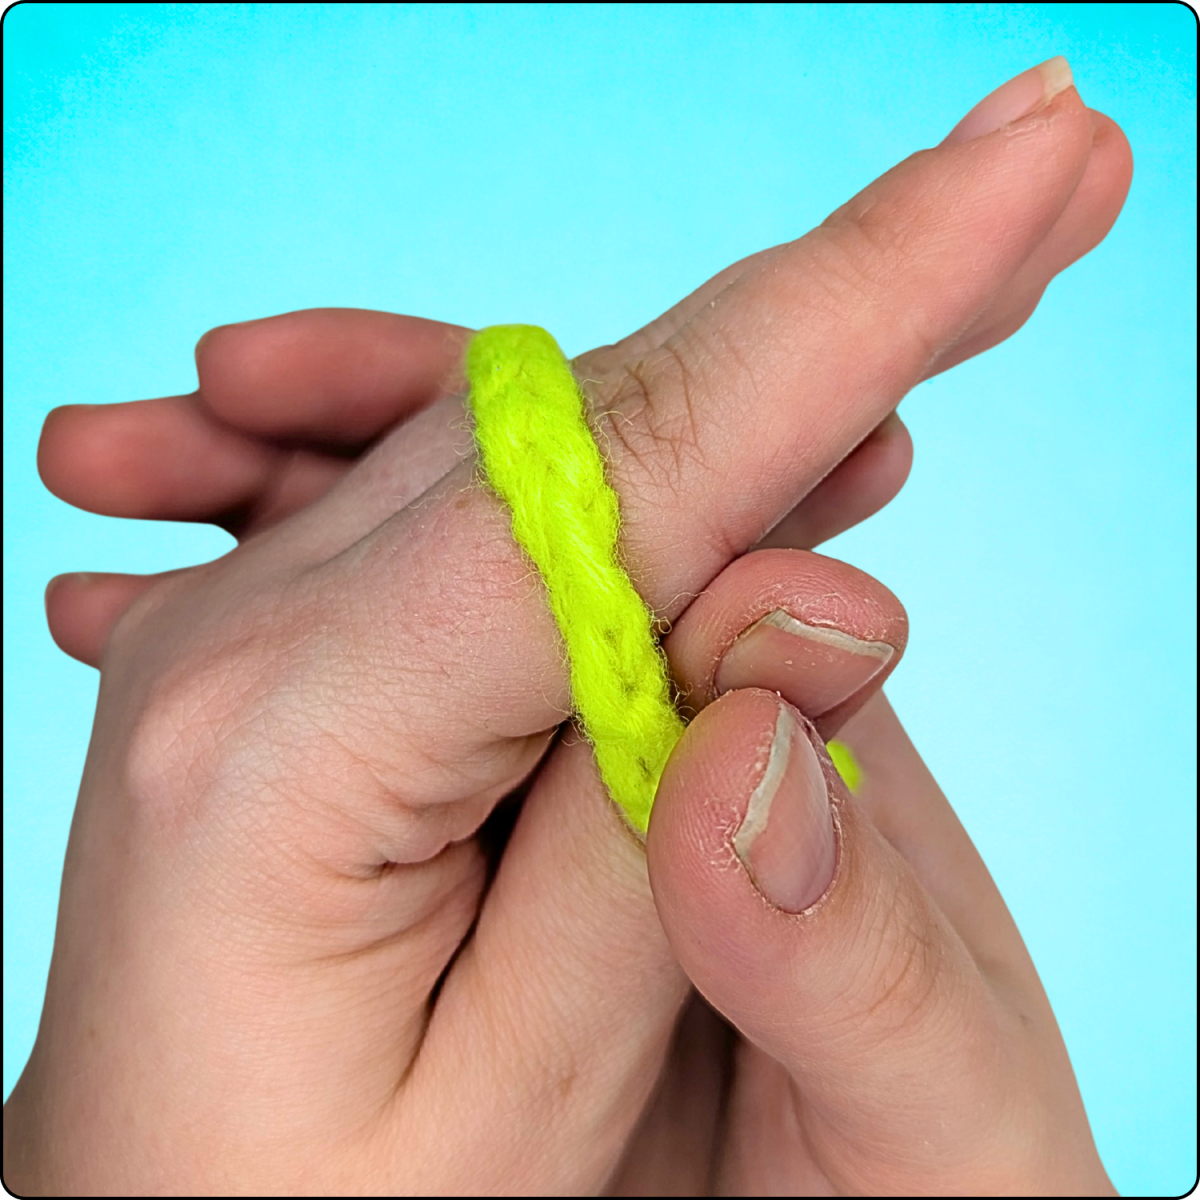
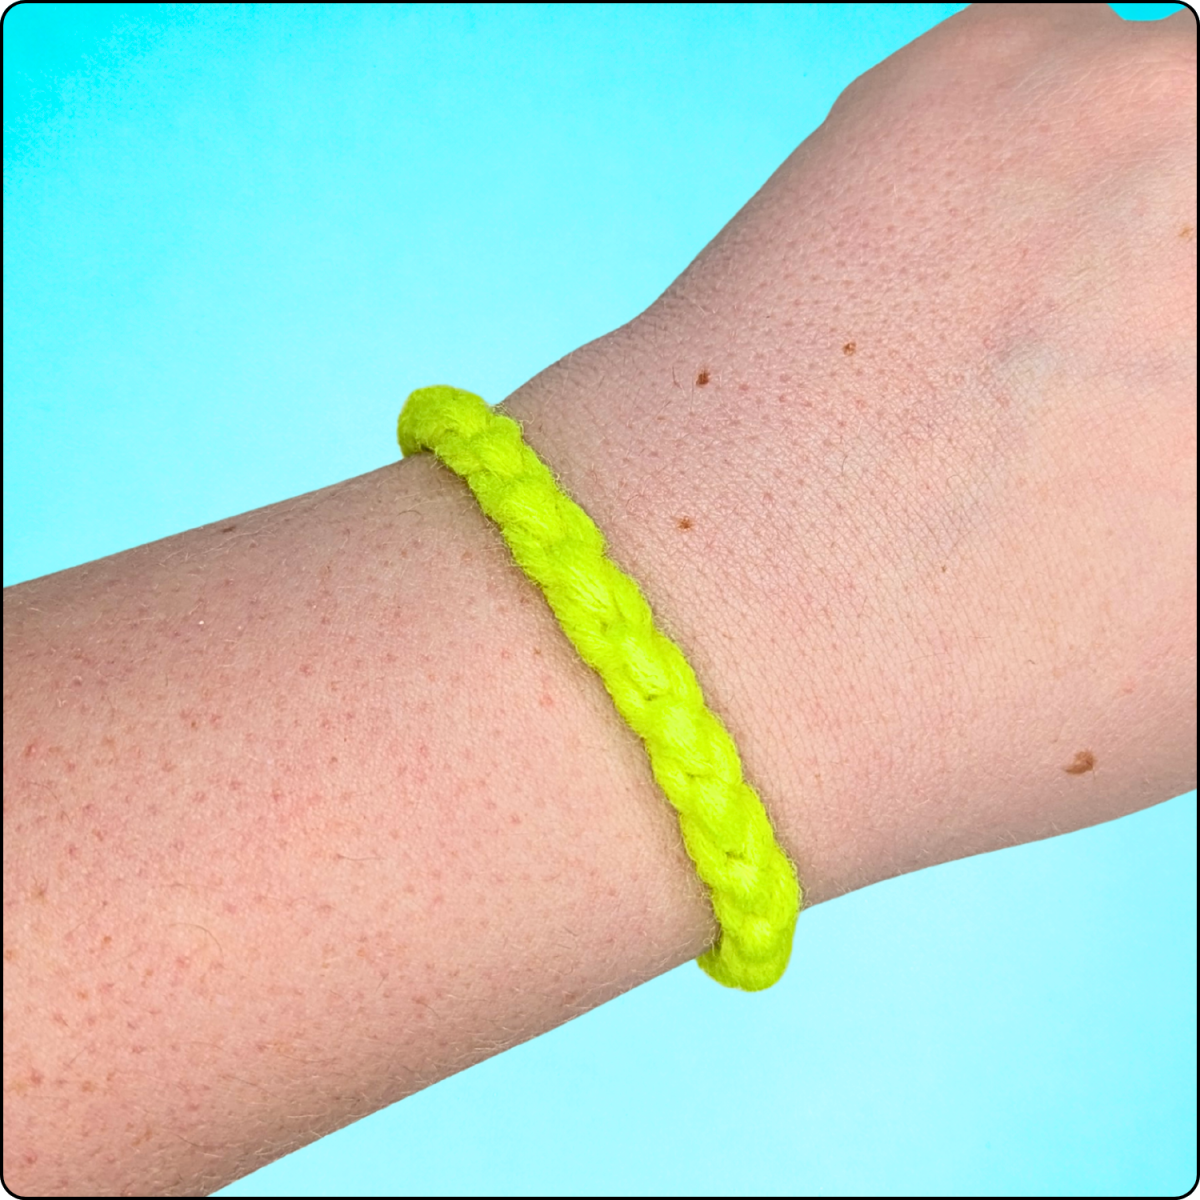
Your First Mini Project
With chain stitches and slip stitches, you can already make your first project:
A simple bracelet!
How it works:
Your first crochet piece is finished! 🎉
Final Thoughts
Remember:
Every beginning can feel a bit tricky – and that’s okay!
With practice, your stitches will become more even, and you’ll improve quickly.
If you enjoyed this post, feel free to subscribe to my blog so you don’t miss any part of the series – there’s already a fun creative project waiting for you in the next post!


