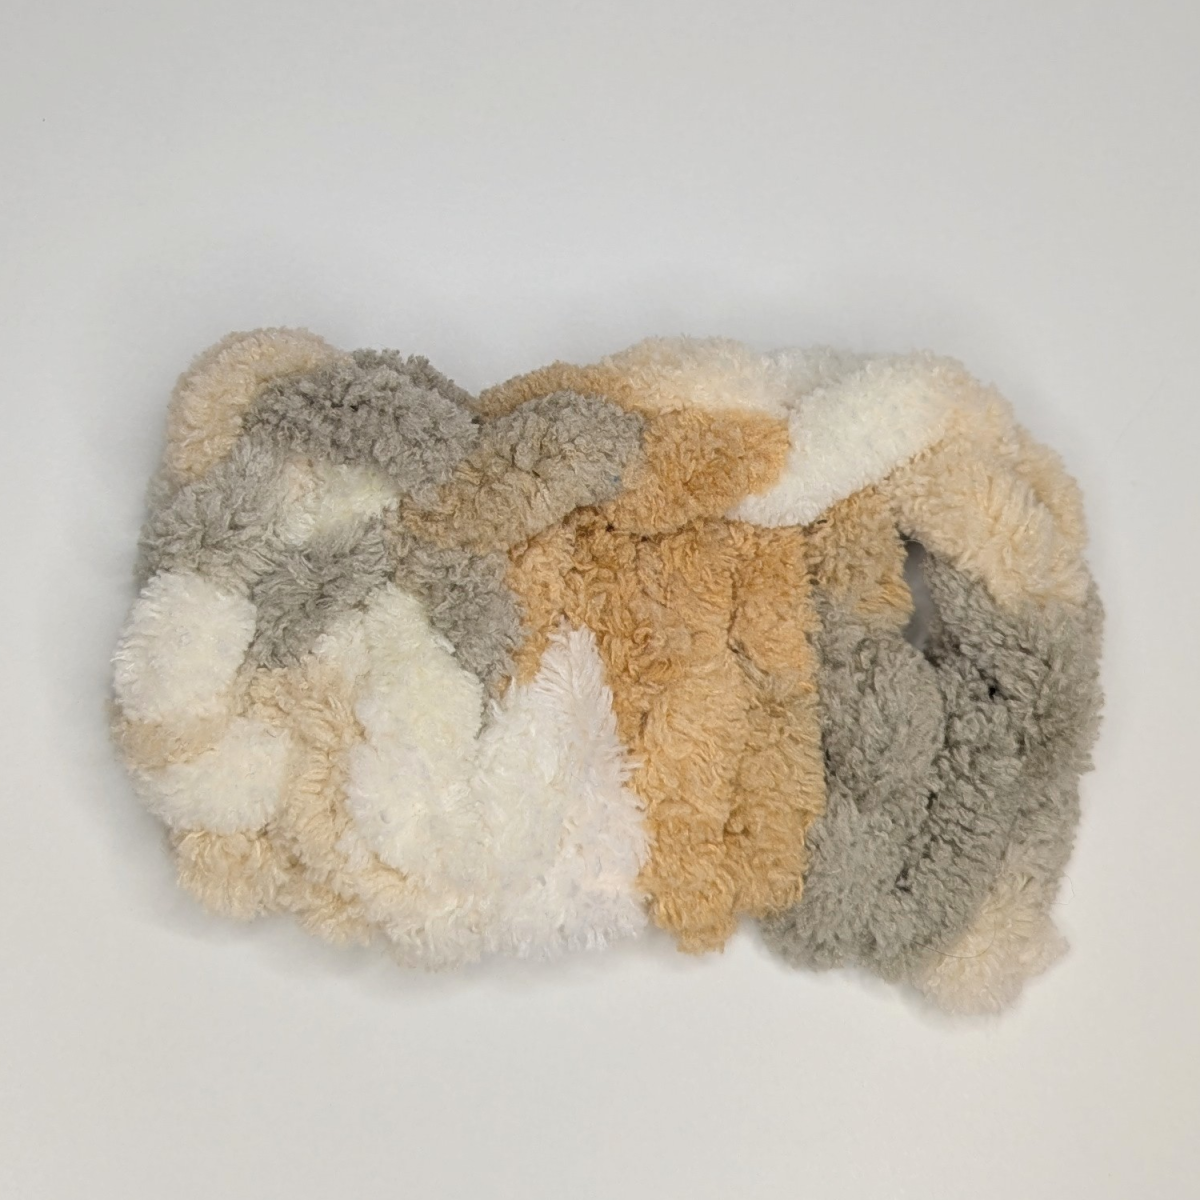
For the photos in this tutorial, I used Alize Puffy Color loop yarn.
Knitting with Loop Yarn
Loop yarn, sometimes also called finger knitting yarn, is a special type of yarn that comes with pre-made loops. These loops replace the traditional stitches you would normally place on knitting needles. Instead of needles, you simply use your fingers to pull the loops through one another. This makes knitting with loop yarn incredibly intuitive, relaxing, and accessible.
Because of its simplicity, loop yarn knitting is especially suitable for beginners, children, or people with limited hand mobility. At the same time, it allows you to achieve impressive results in a very short amount of time – from scarves and blankets to cushion covers and home décor accessories.
Below, you’ll find all the essential techniques you need for almost any loop yarn knitting project.
Casting On Stitches
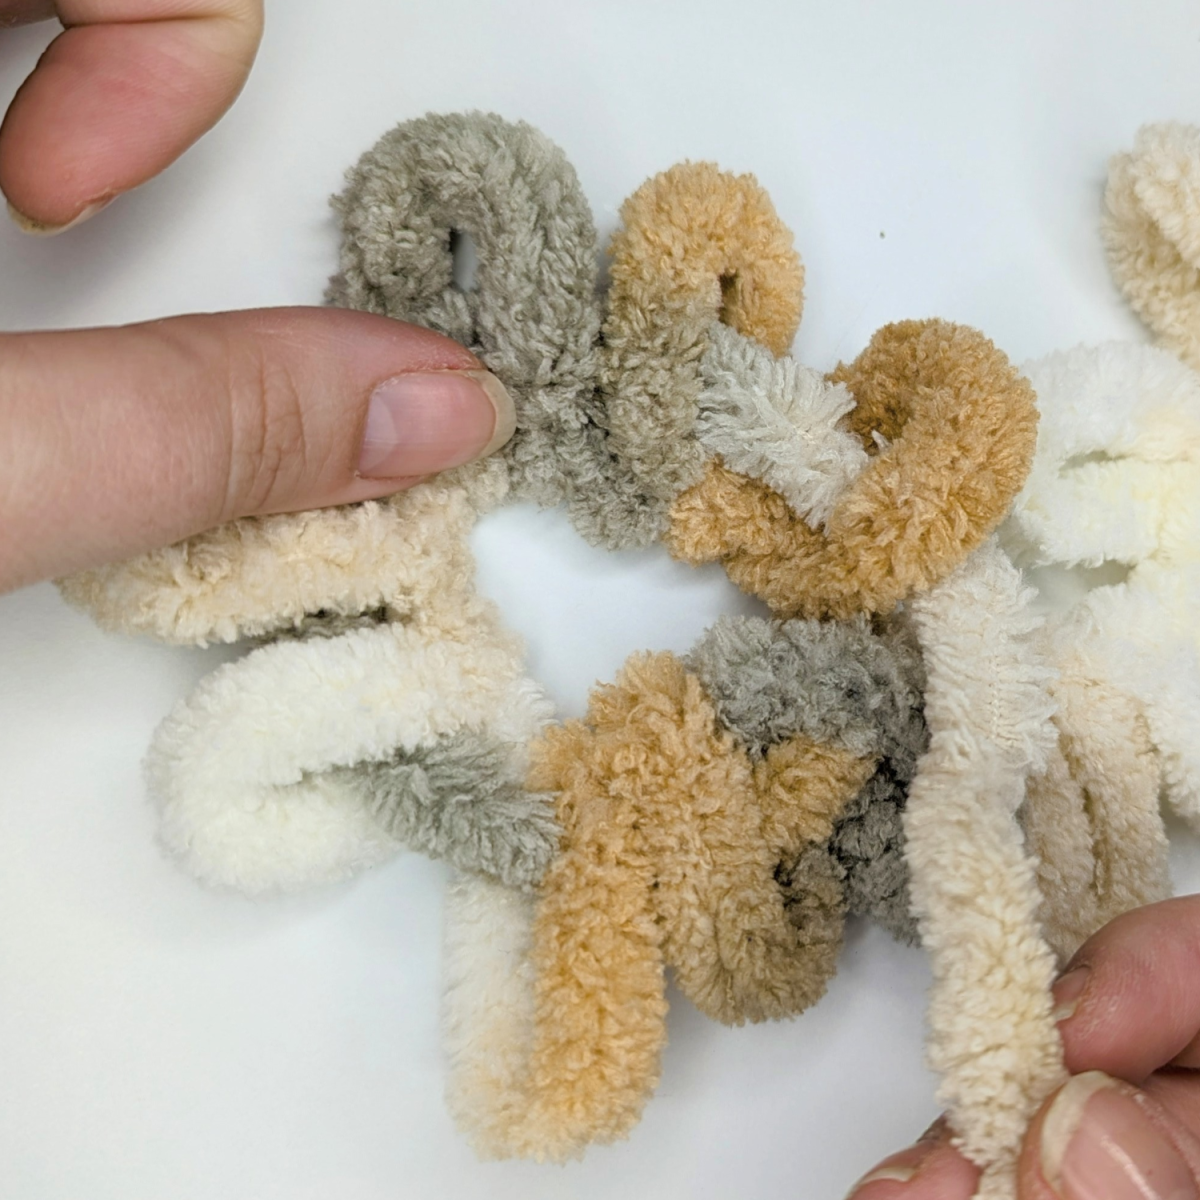
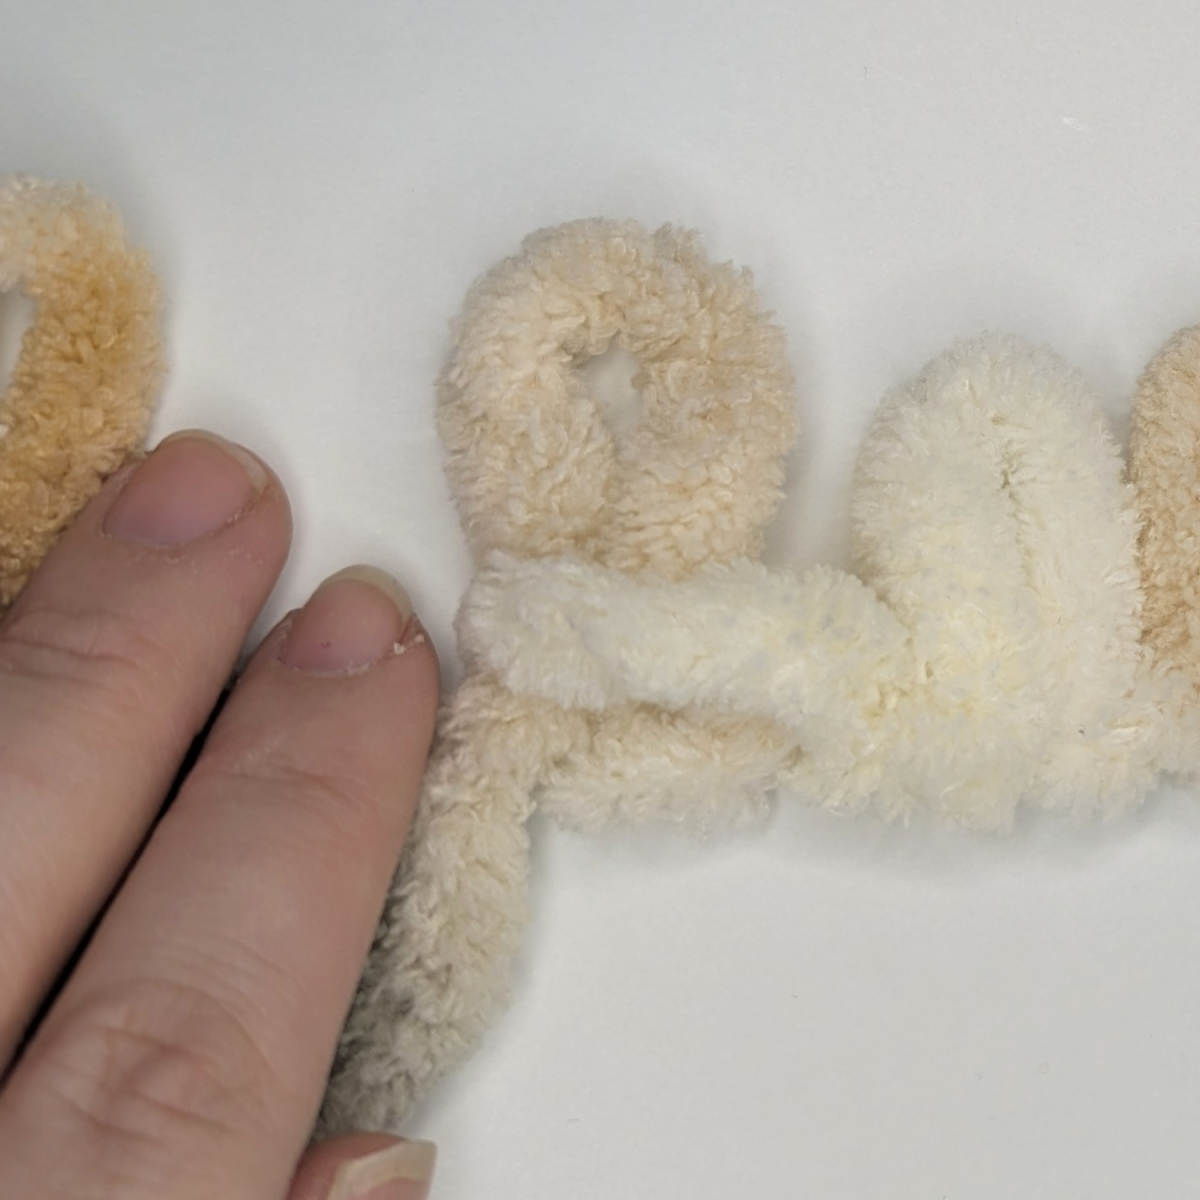
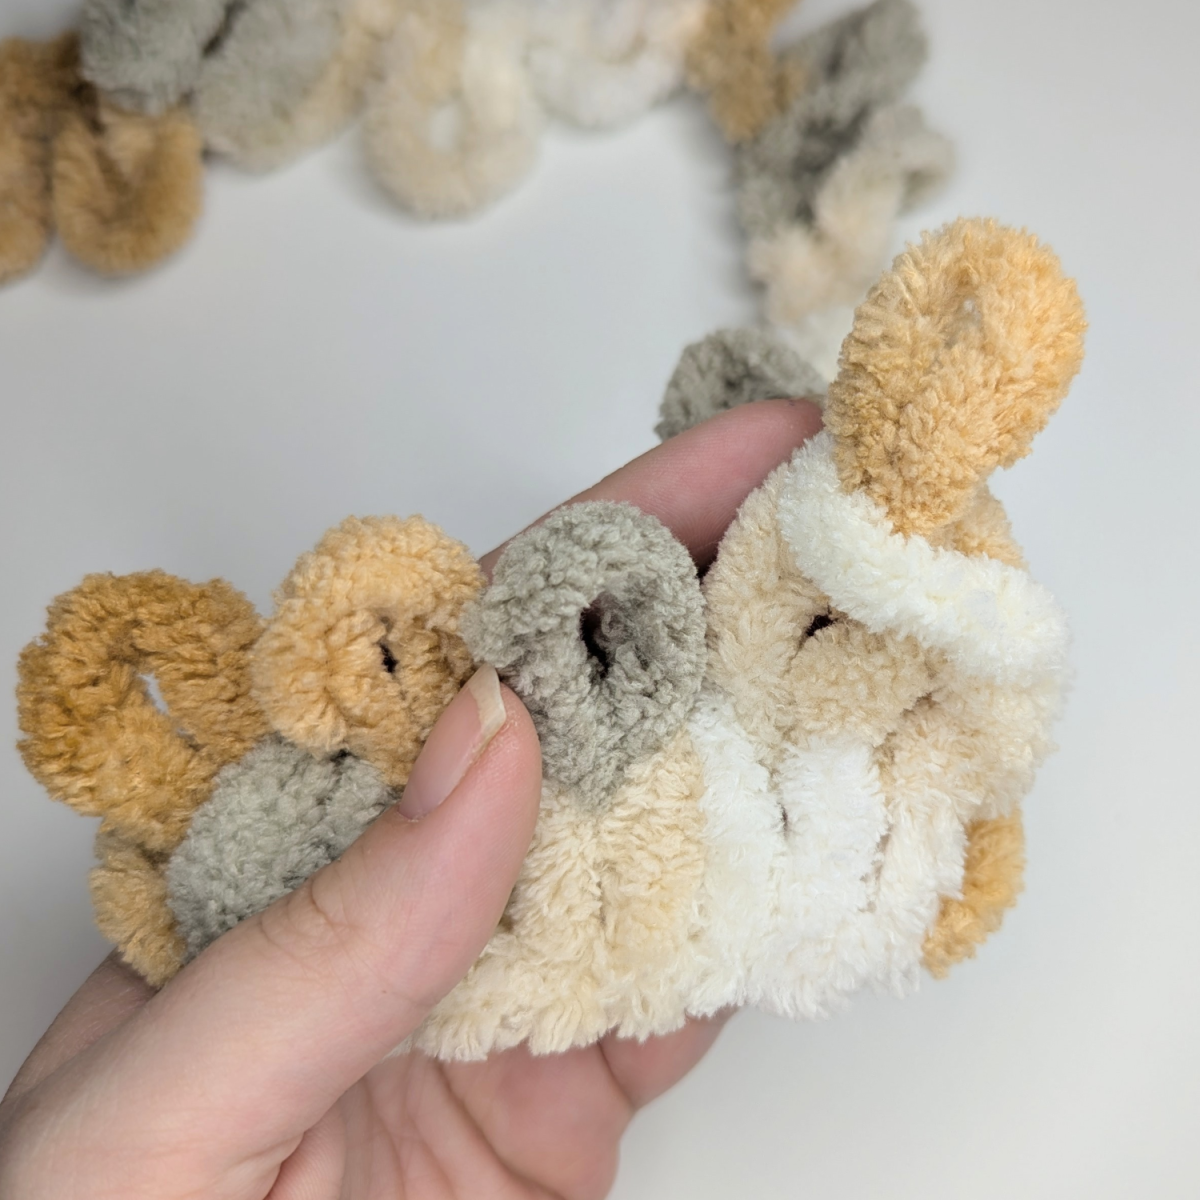
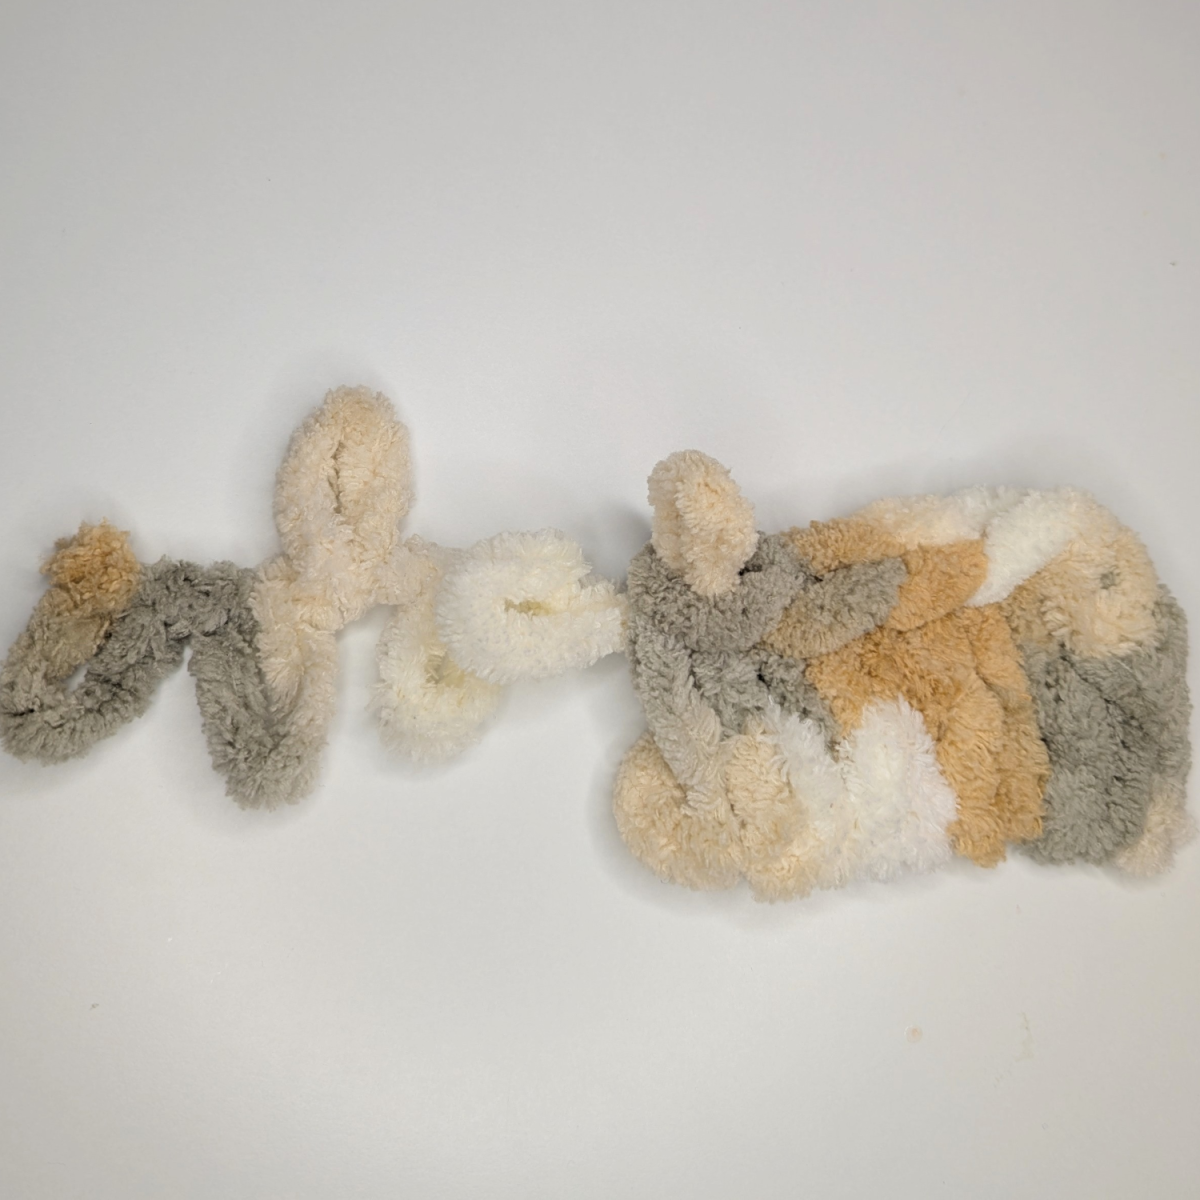
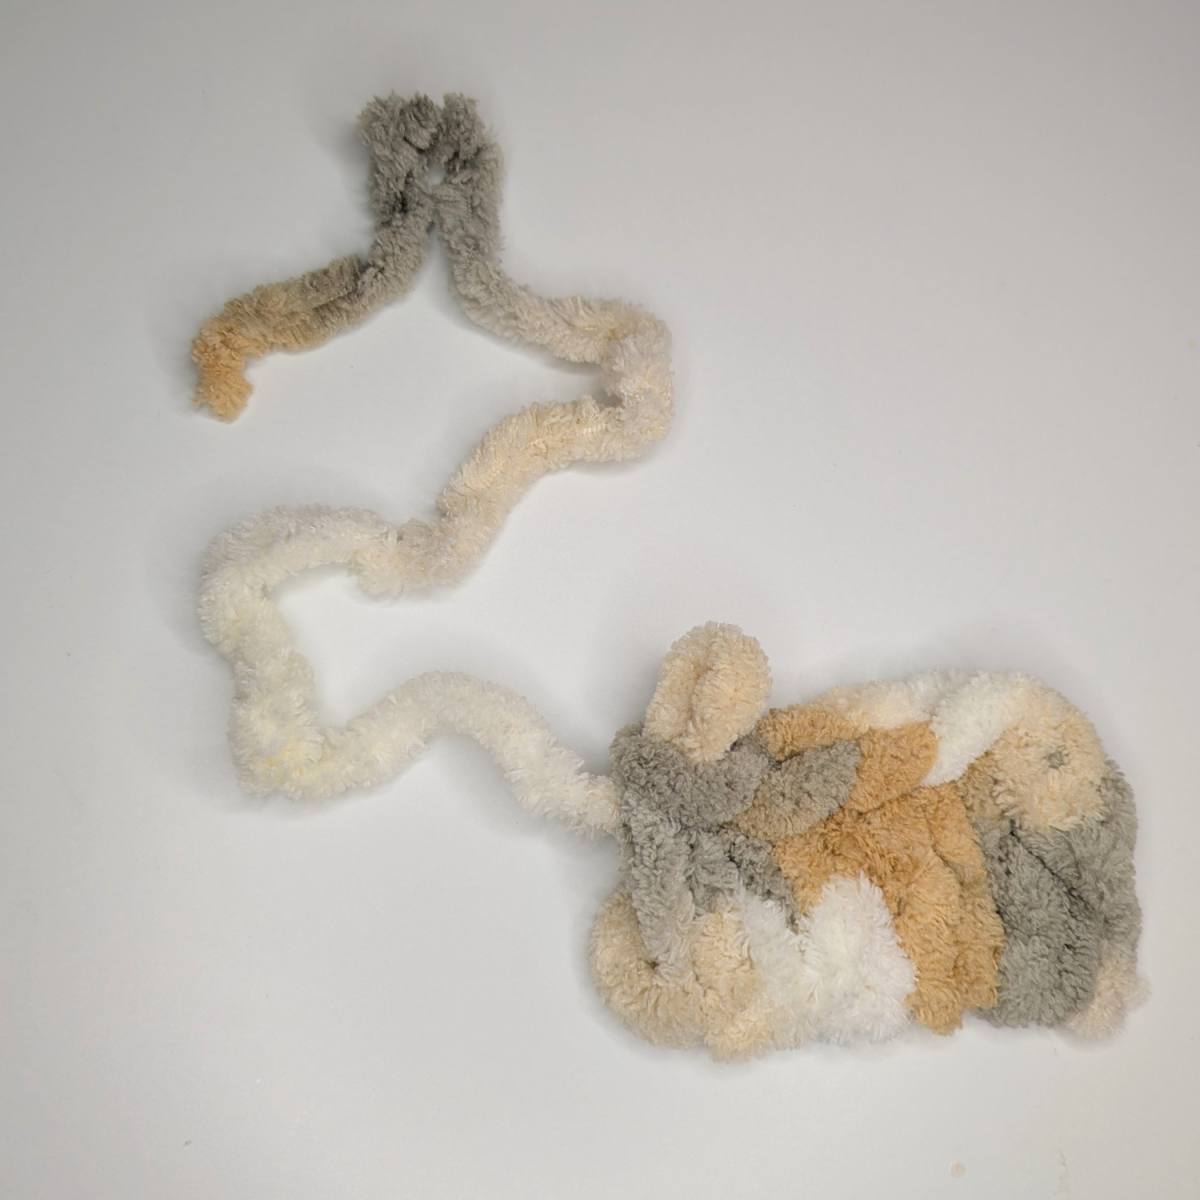
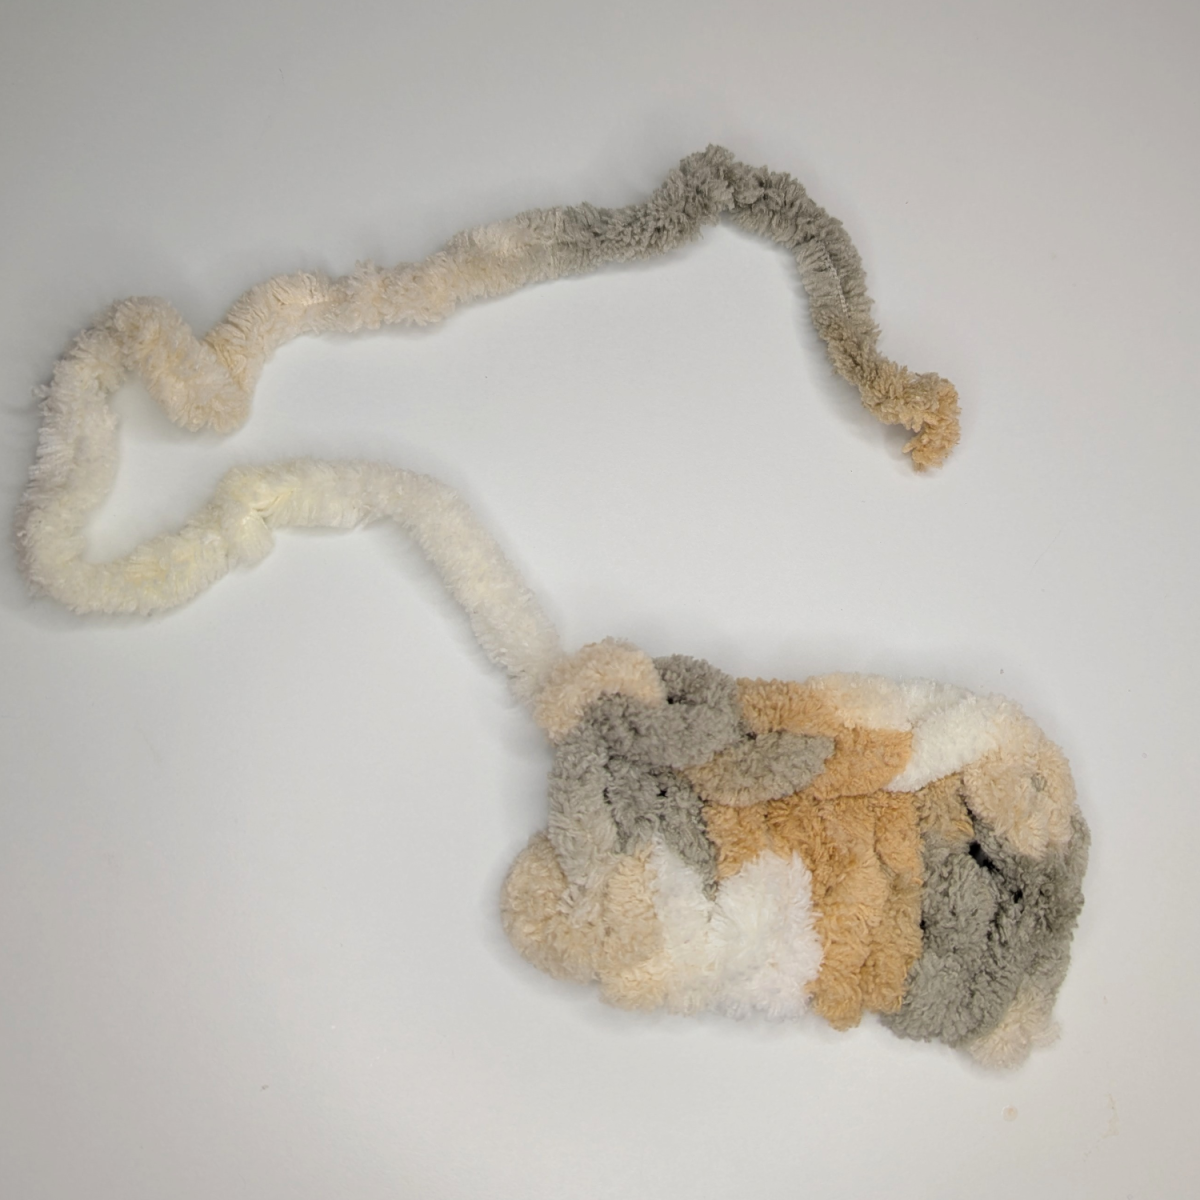
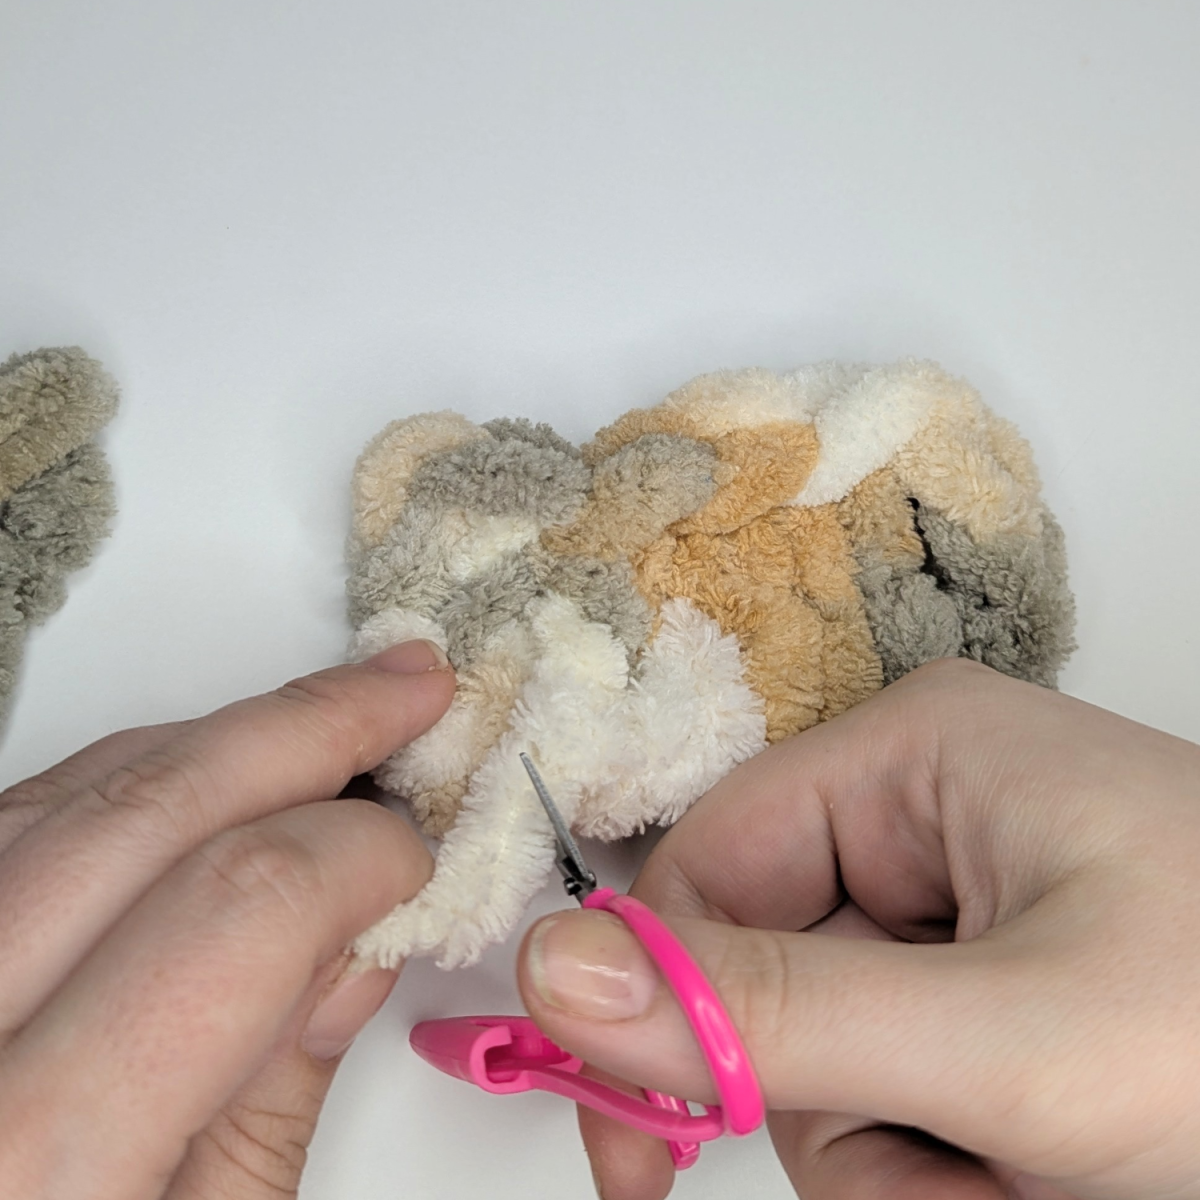
Casting on forms the foundation of your knitting project. It’s important to leave a sufficiently long yarn tail at the beginning so it can be neatly woven in later. To do this, carefully cut open the first few loops at the start of the yarn using scissors. This will give you a smooth yarn tail of the desired length.
.png)

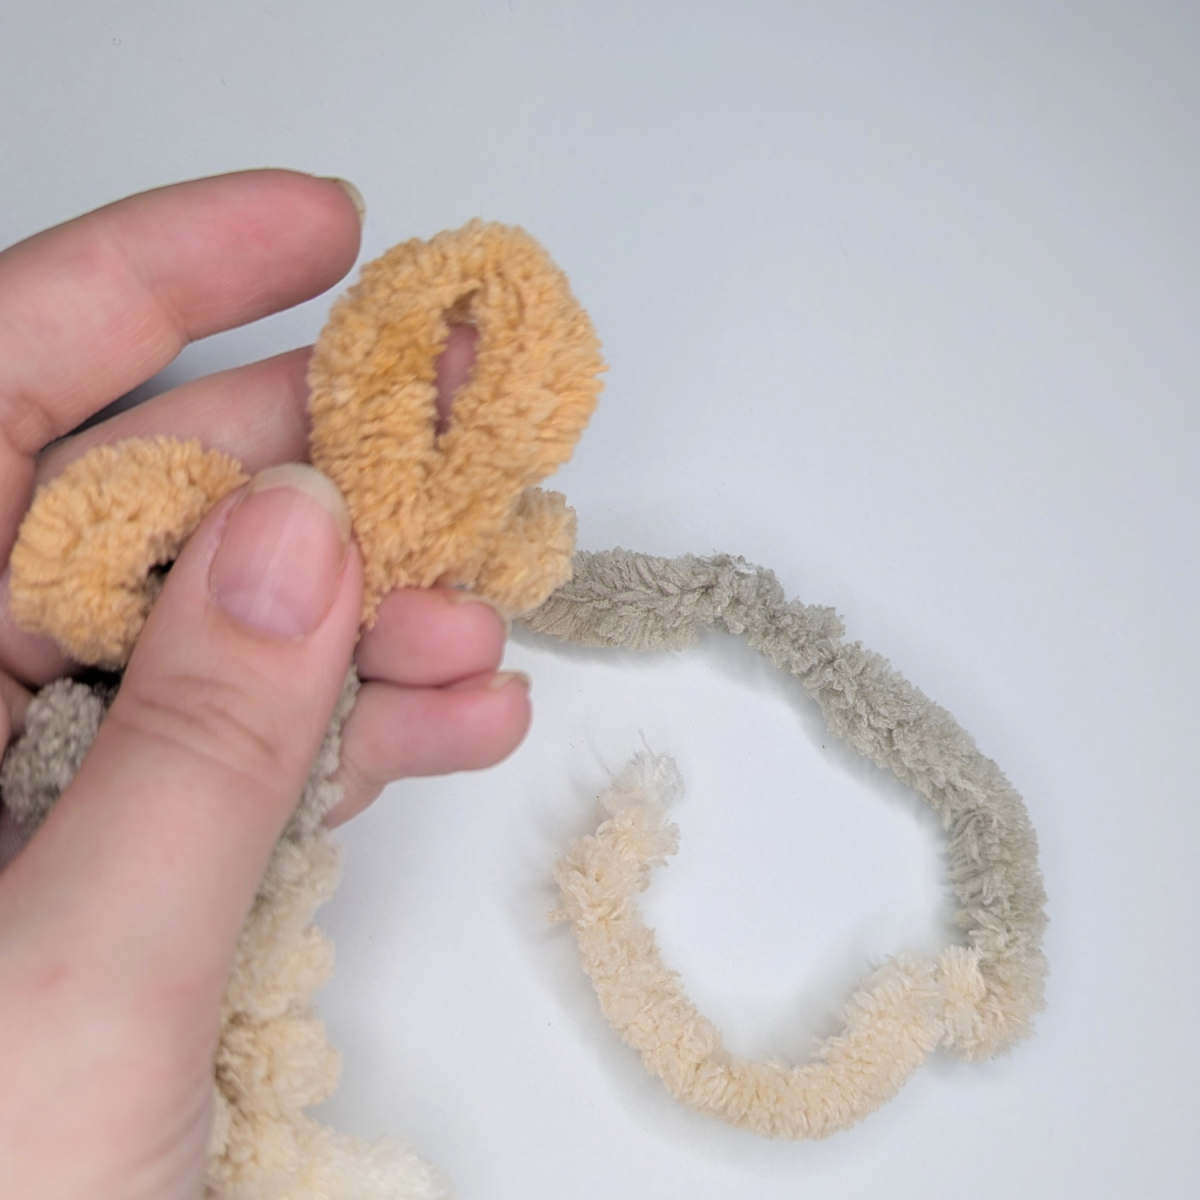
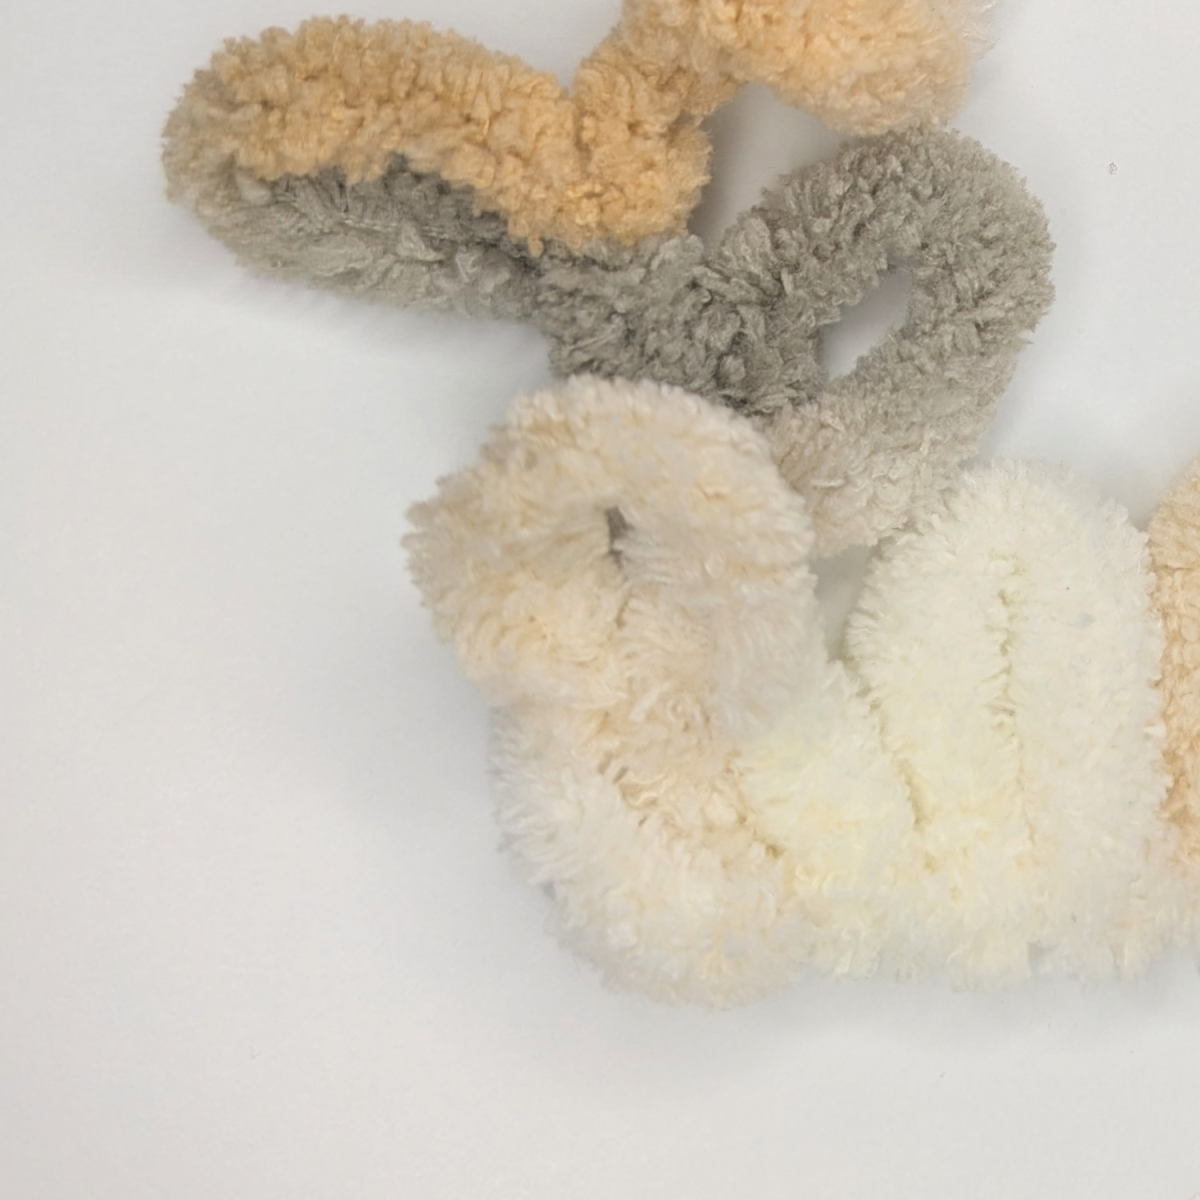
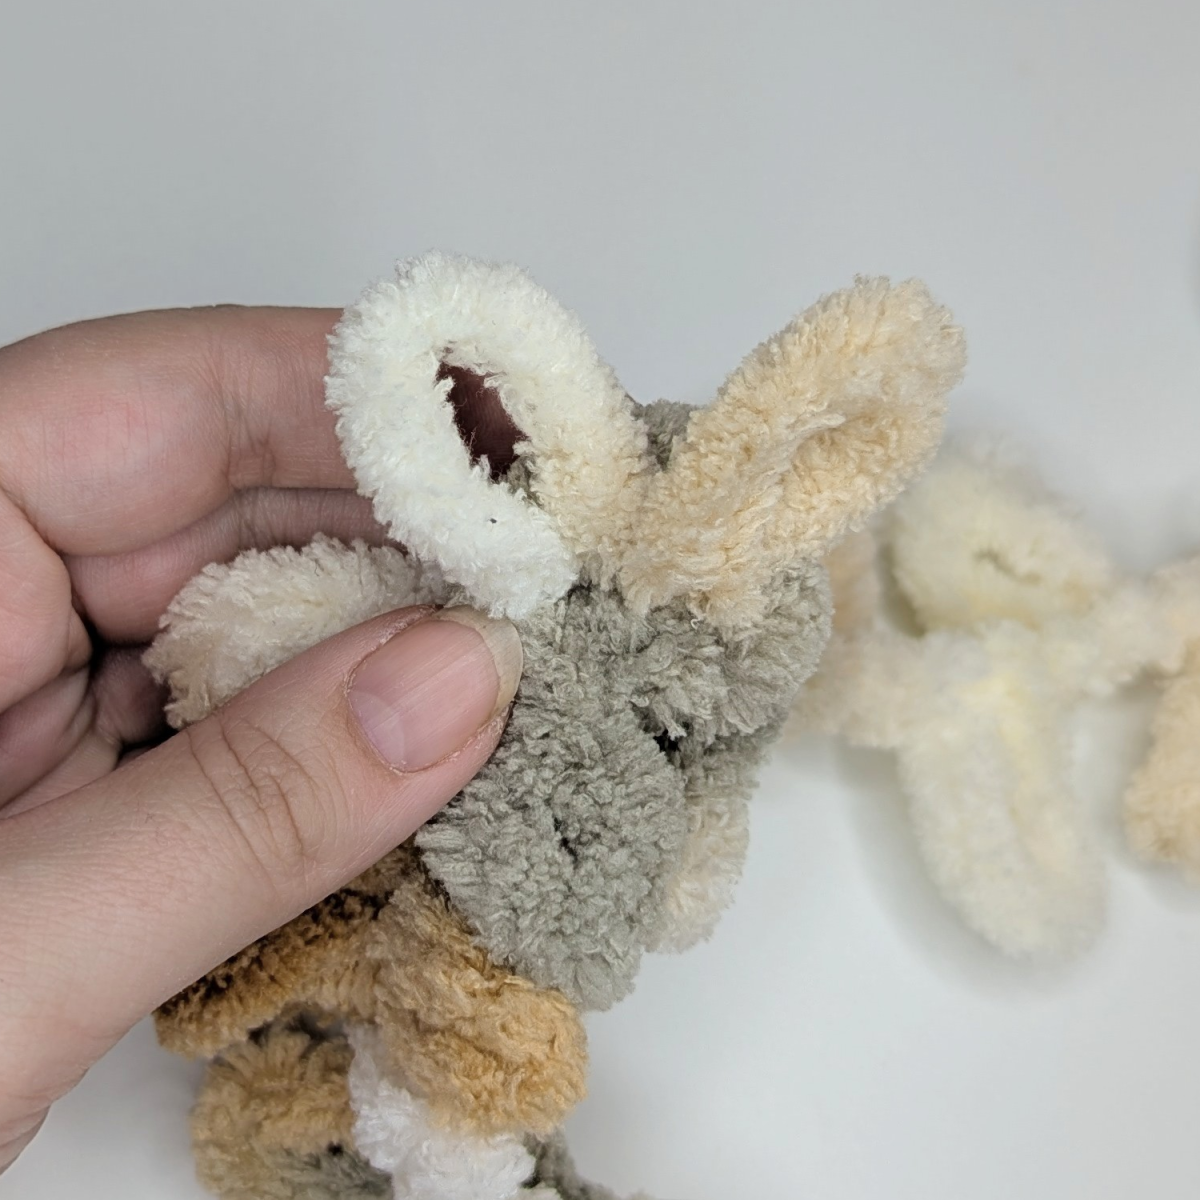
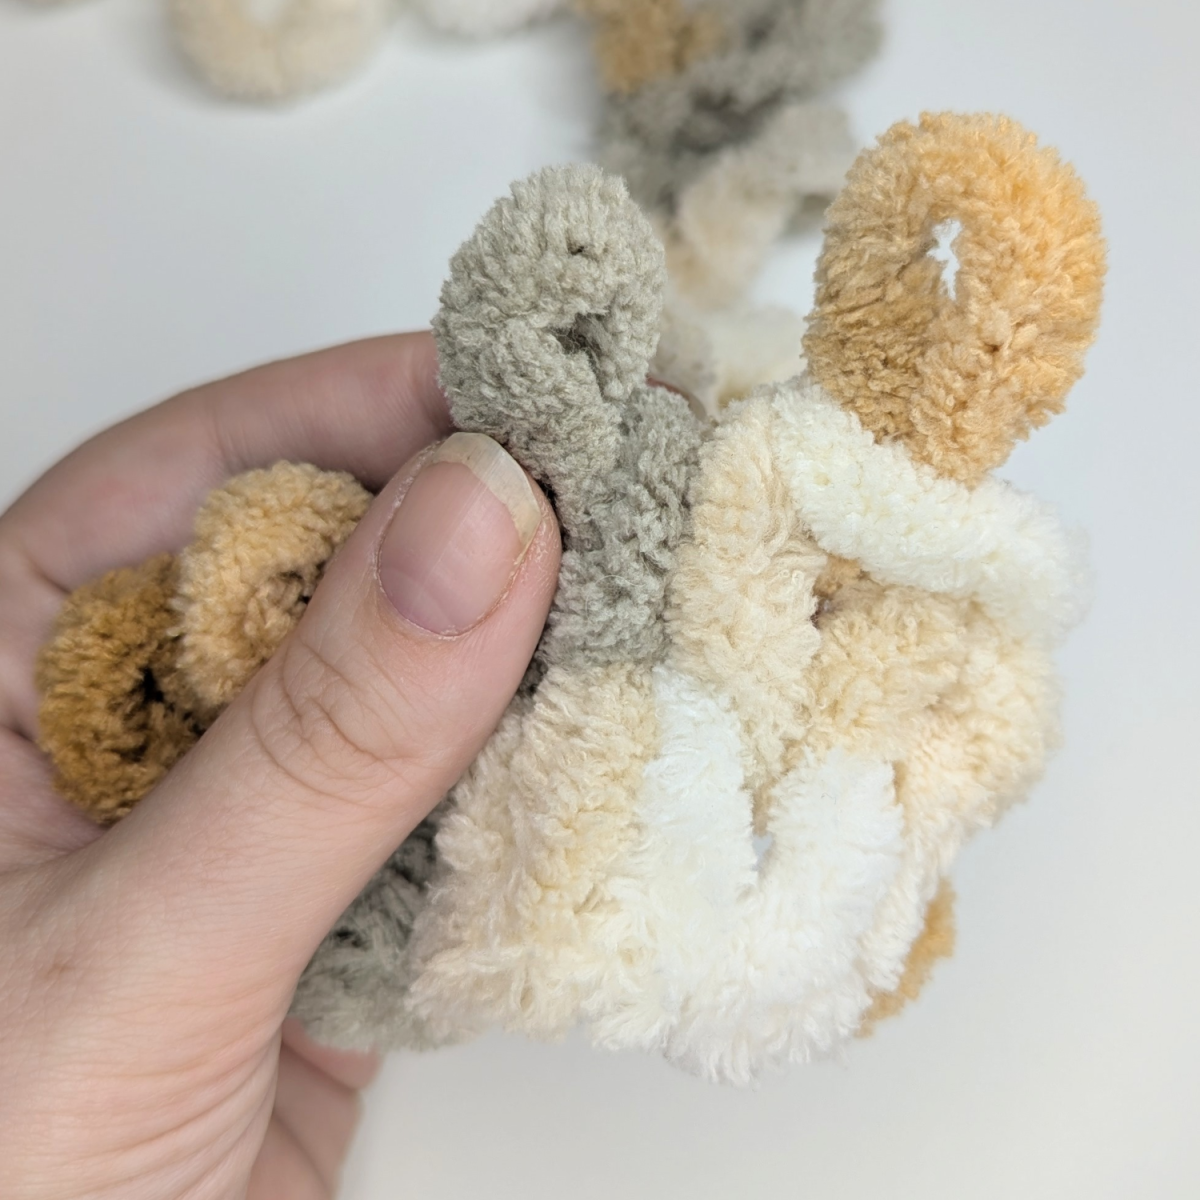
Next, place the yarn in front of you with the loops facing upwards. Count the required number of loops and lay them out next to each other. Make sure the loops are not twisted, as this will help ensure an even and tidy stitch pattern later on.
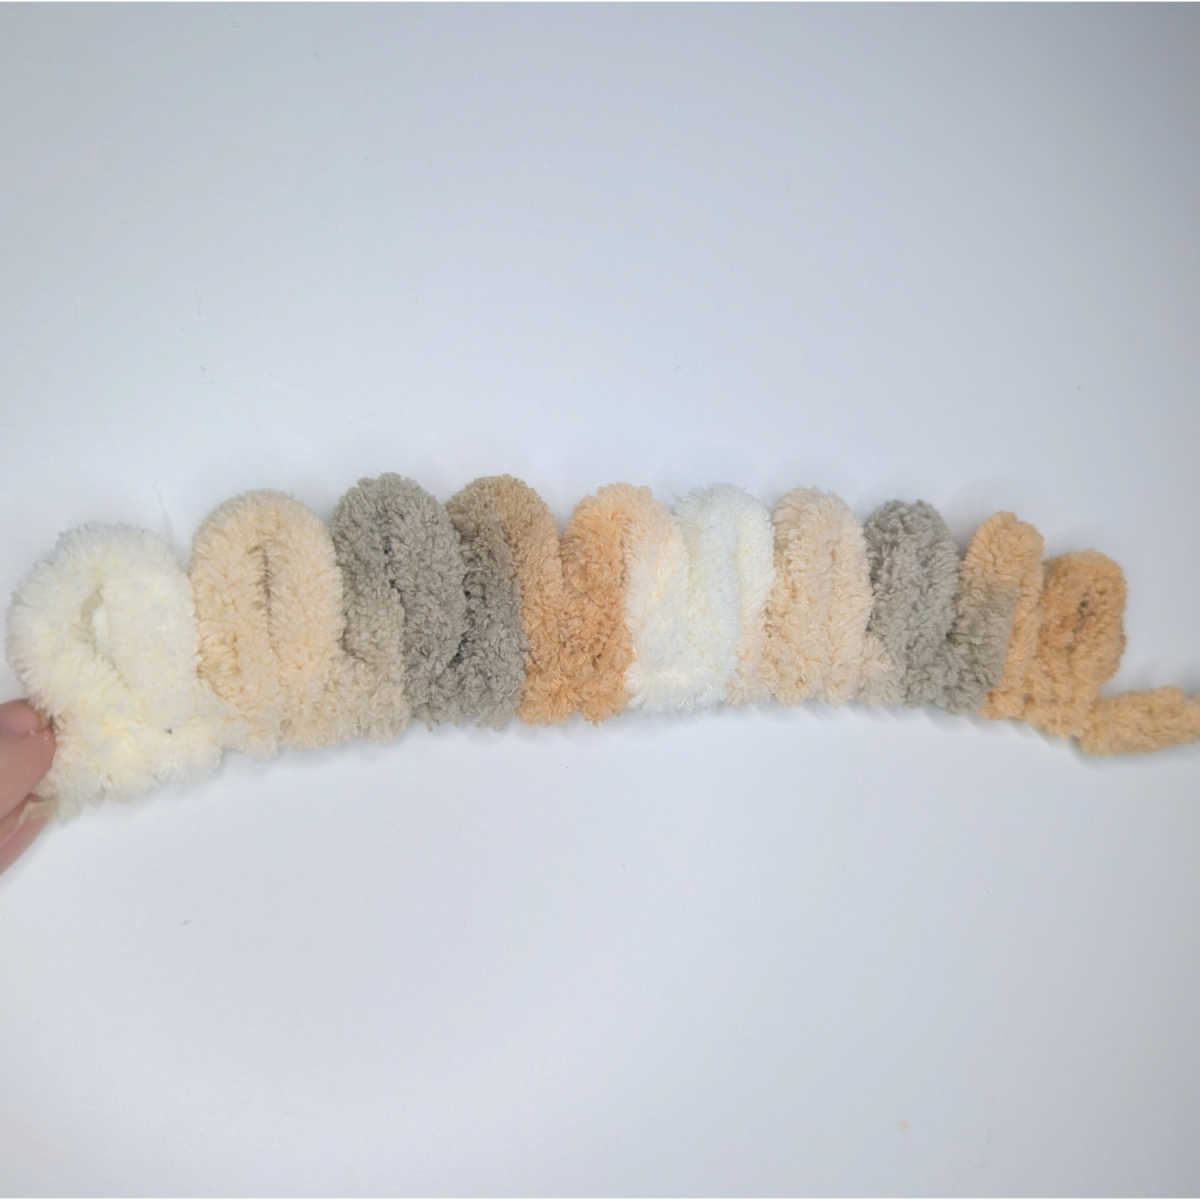
For flat pieces, simply start working the first row once you’ve counted out the correct number of loops.
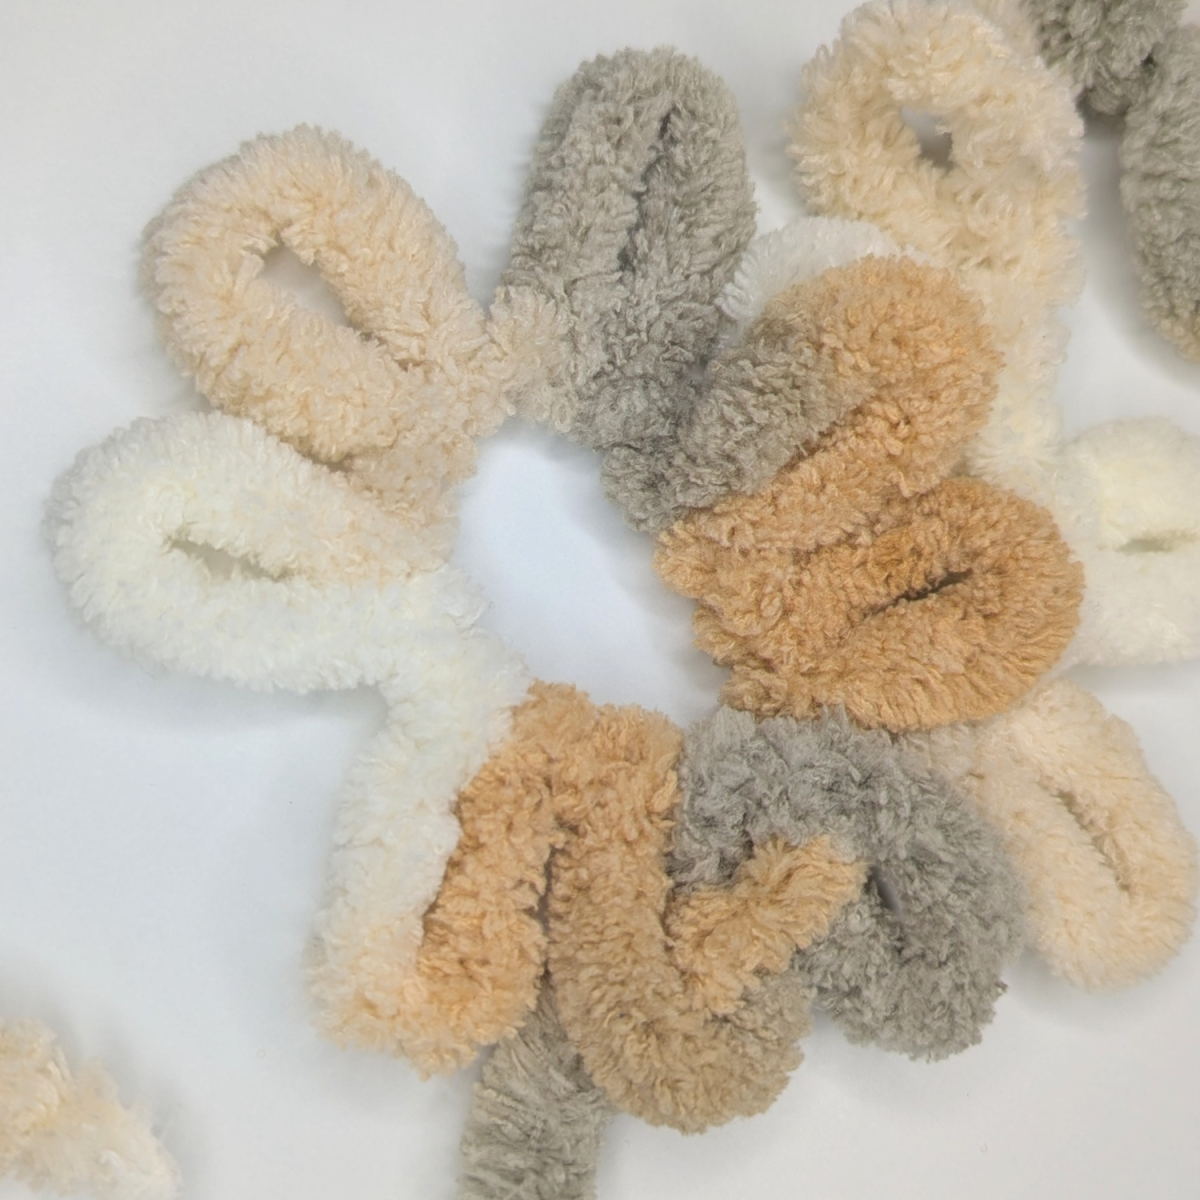
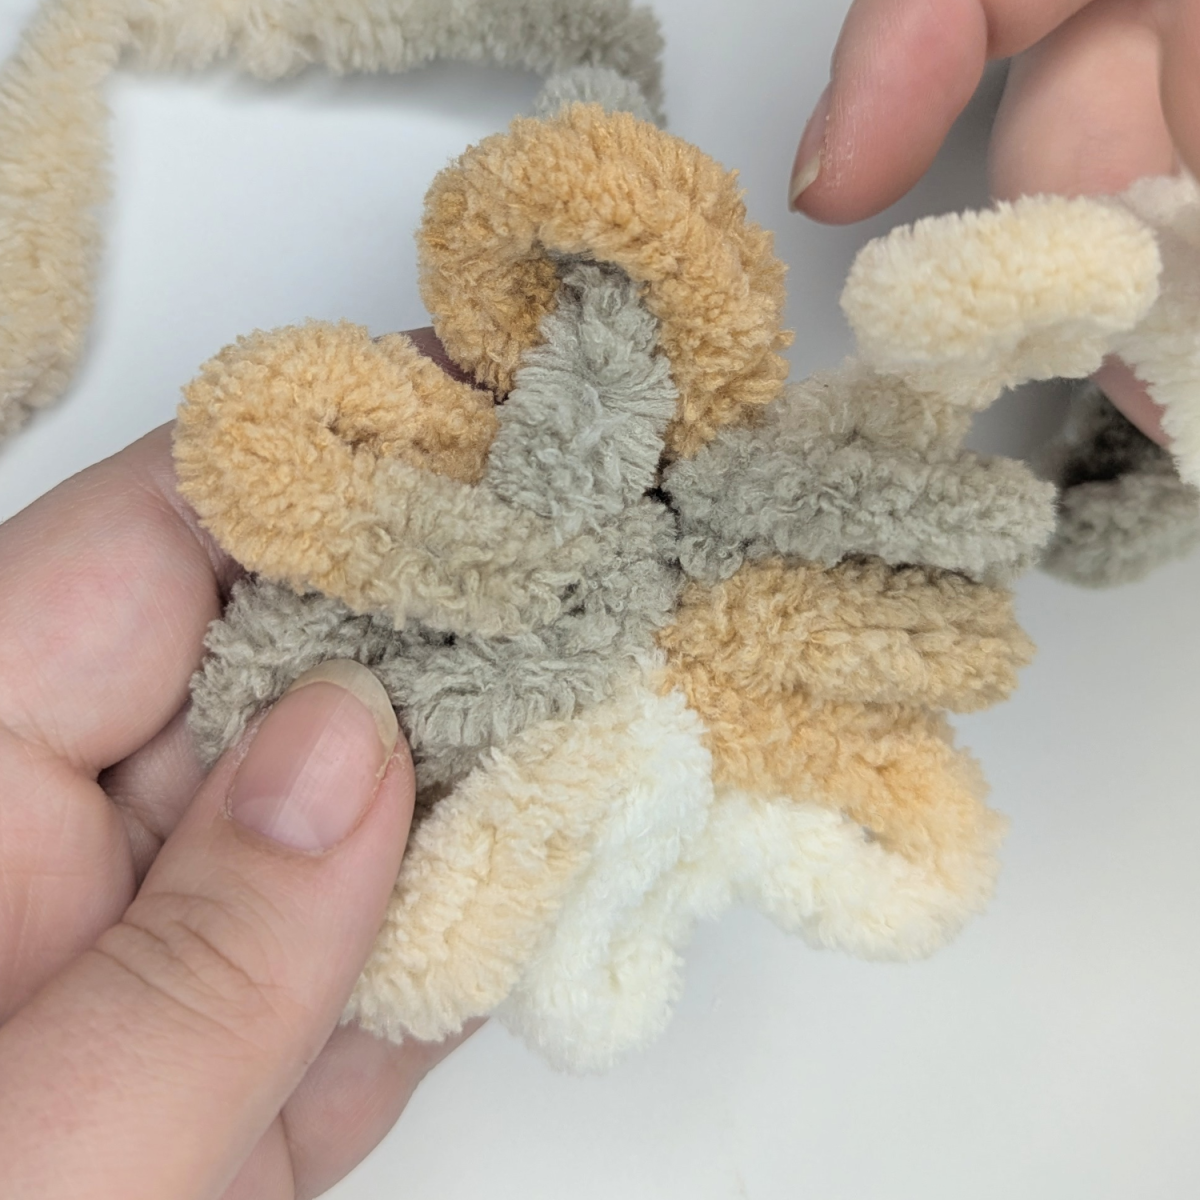
If you want to knit in the round, begin by working directly into the first loop after counting the required stitches. Place the first and last loops next to each other and start knitting the first row immediately. Be extra careful not to twist the loops, as mistakes in round knitting are difficult to fix later. Knitting in the round creates a seamless piece, making it ideal for projects like infinity scarves, cowls, or headbands.
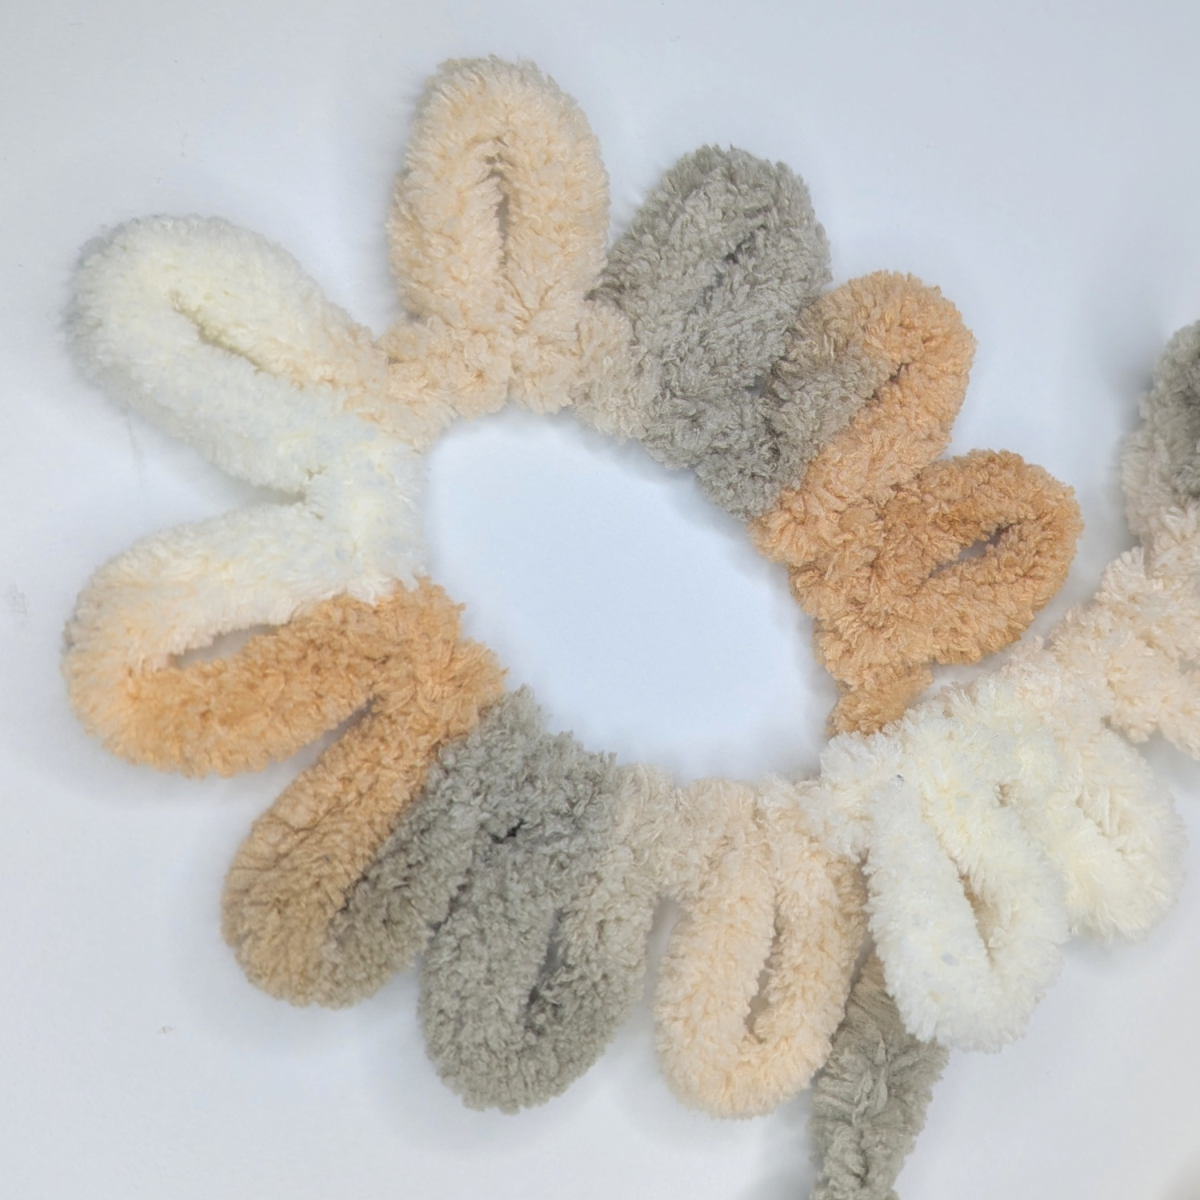


Another option for casting on in the round is closing the center using the yarn tail – similar to a magic ring in crochet. To do this, gently pull the yarn tail through several loops of the first round. When you tighten the yarn, the center hole closes almost completely. This technique is perfect for round projects such as cushions or top-down knitted hats where you don’t want a visible hole in the center.
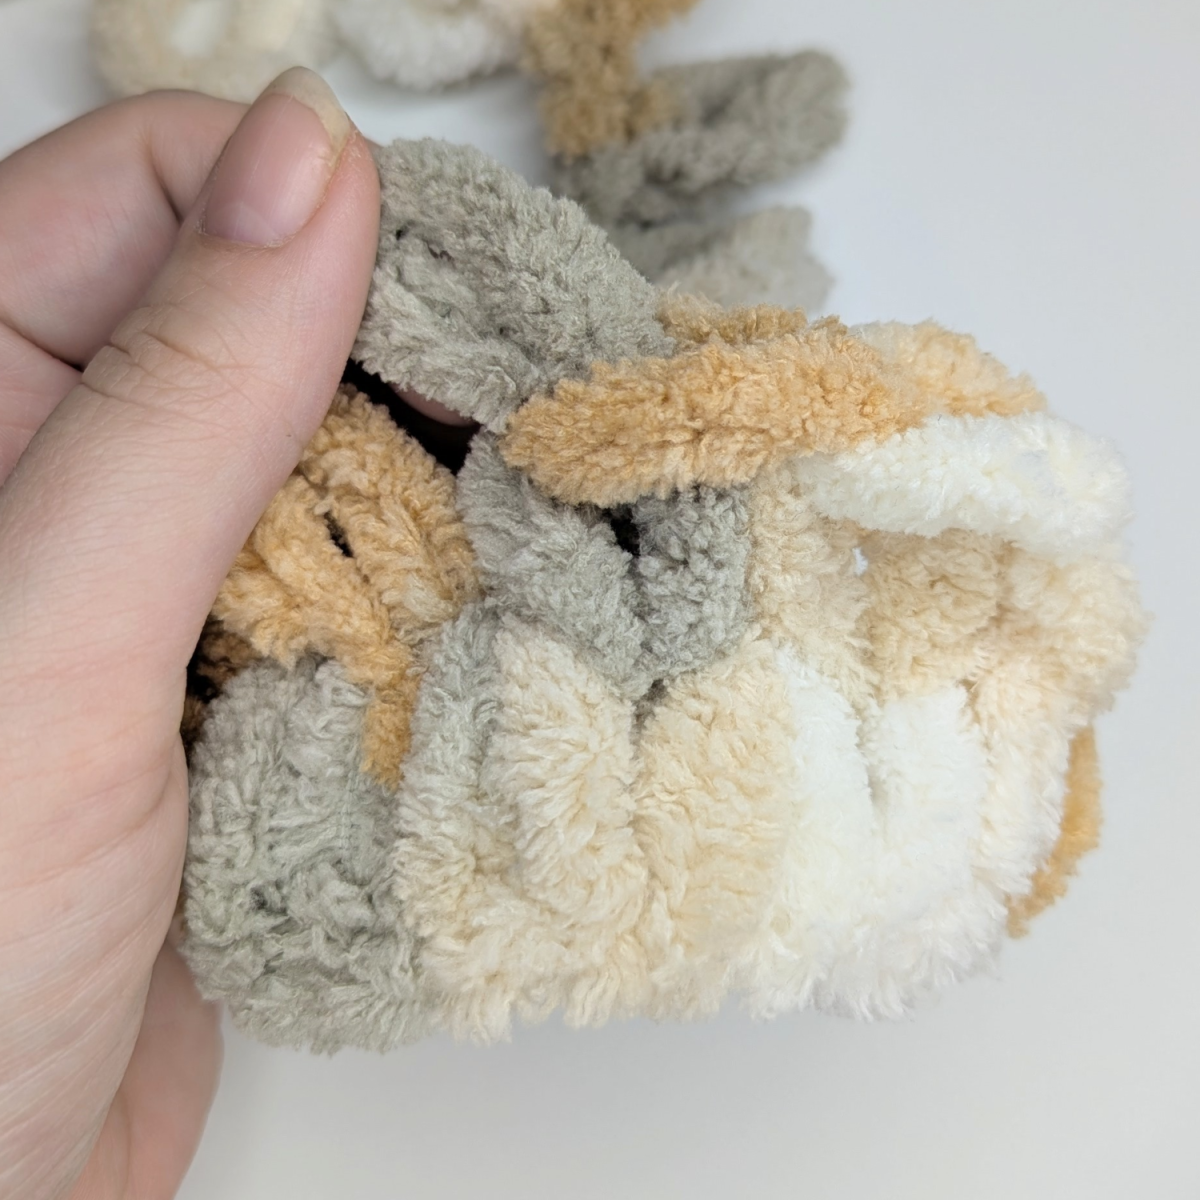
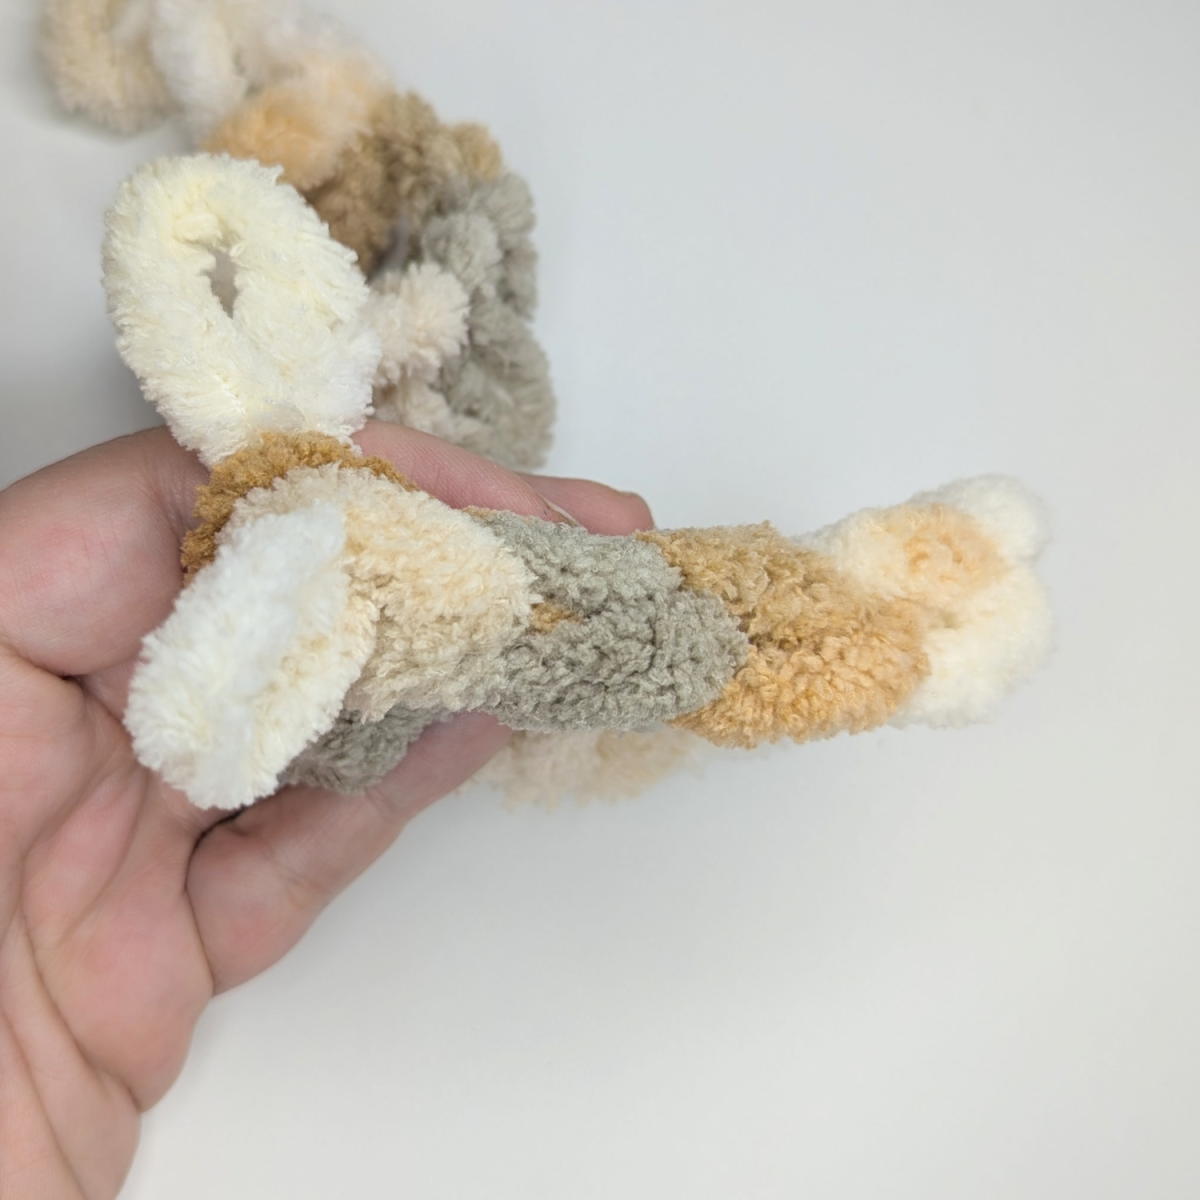
Knit Stitches
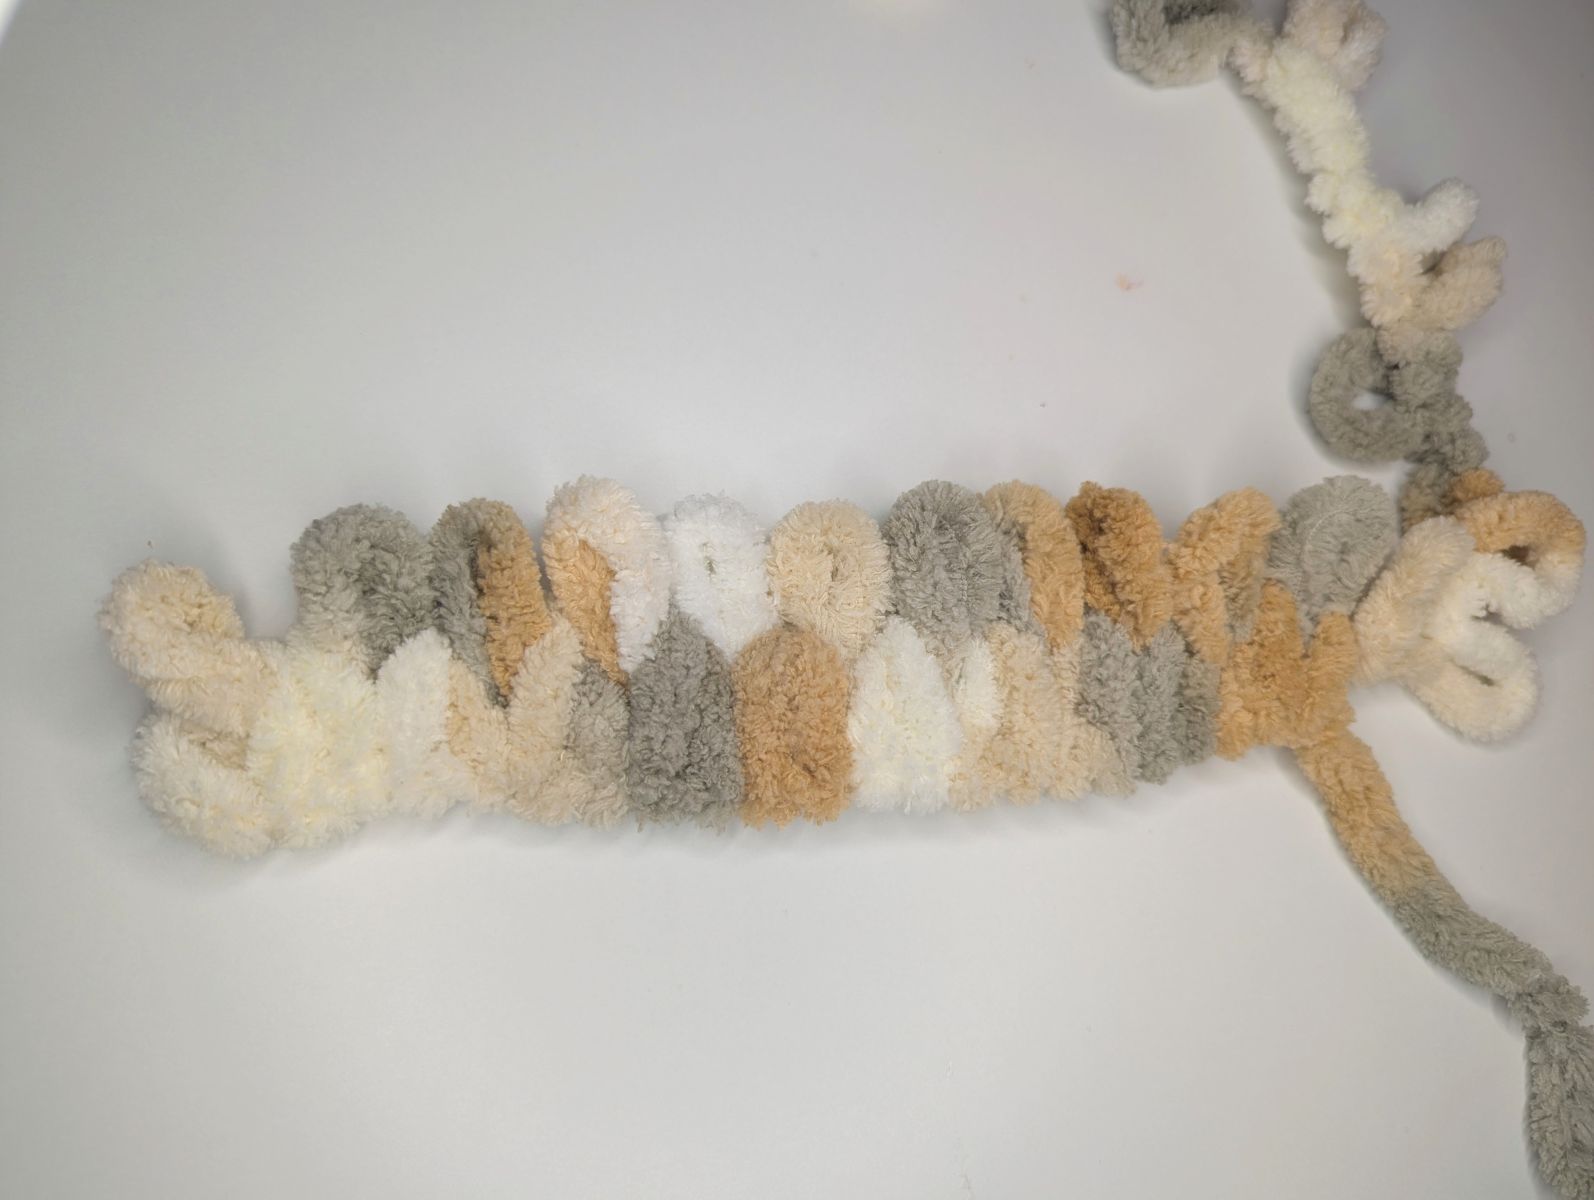
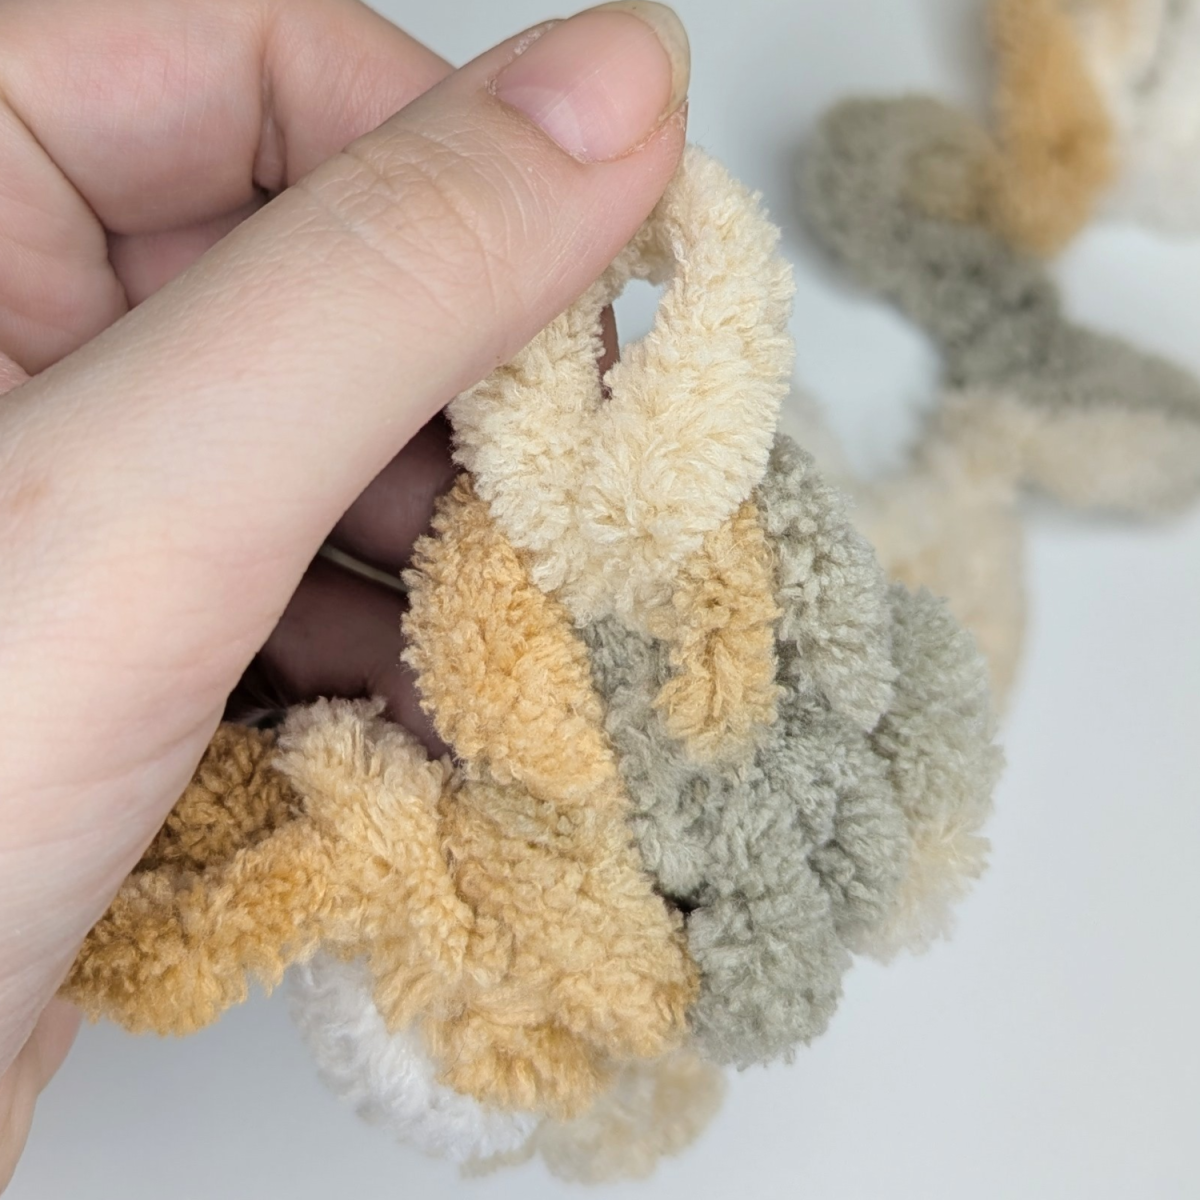
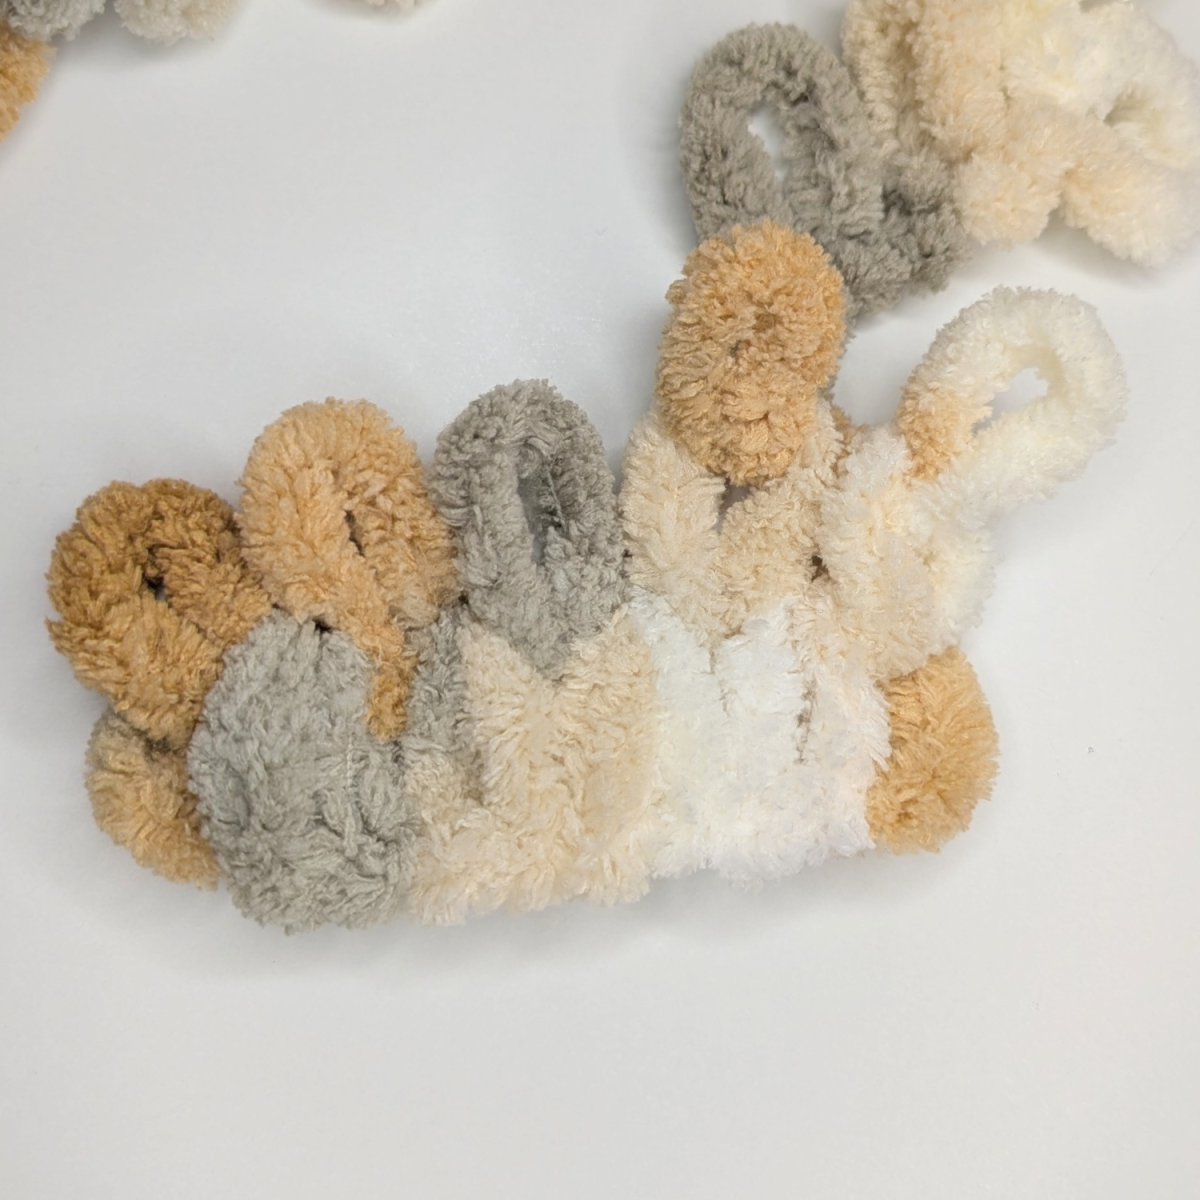
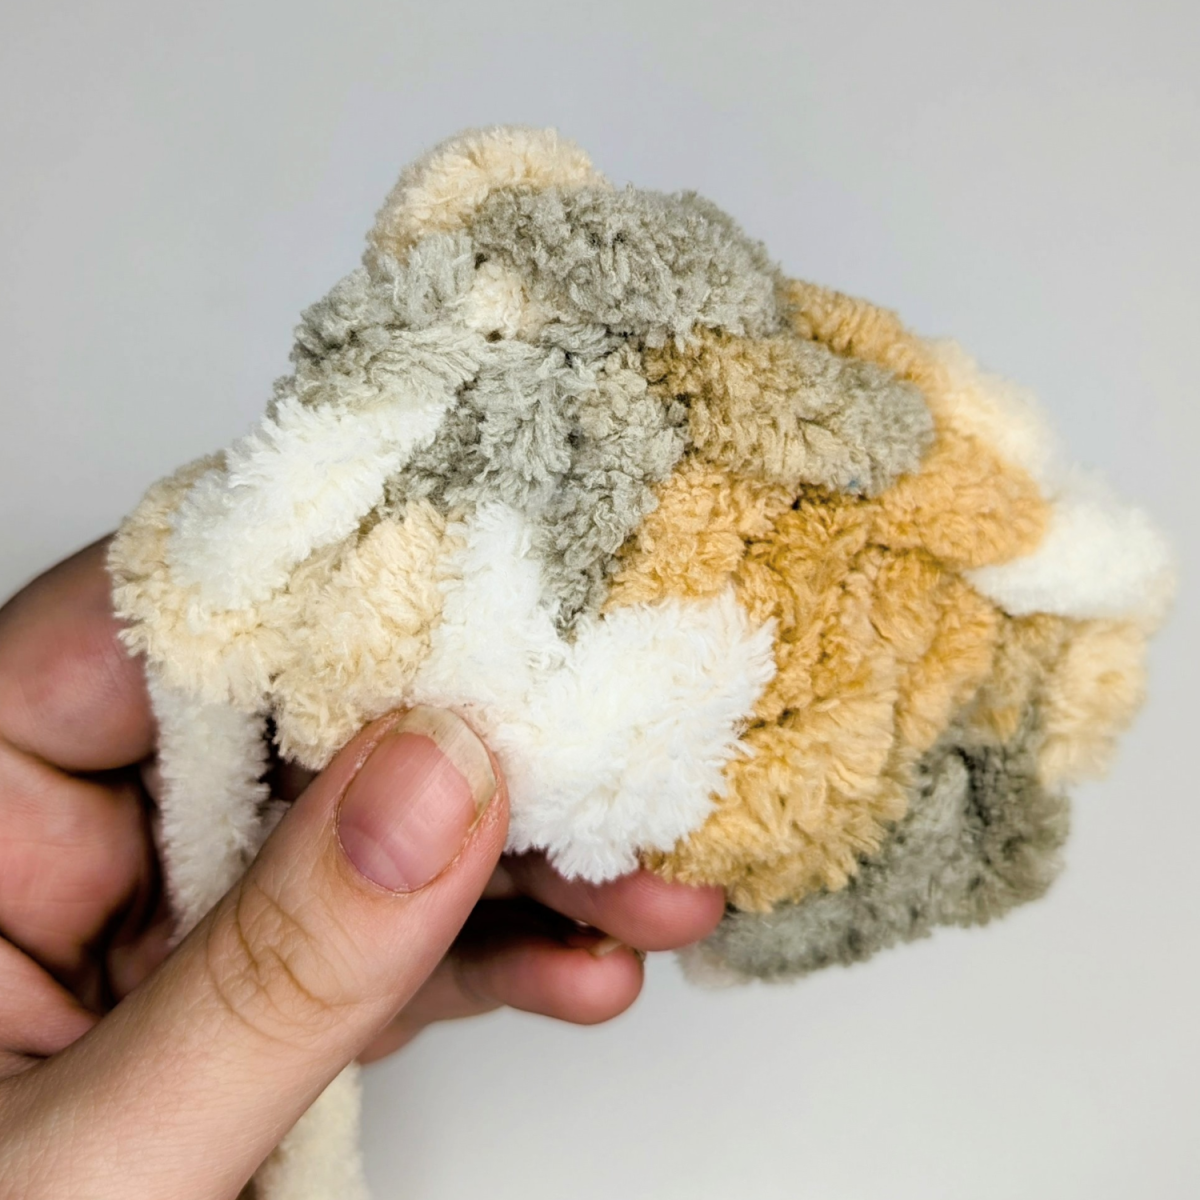
Knit stitches are the standard stitch when working with loop yarn and are very easy to master. Take the next loop from the working yarn and pull it from back to front through the loop of the previous row. Move on to the next loop of your project and continue working loop by loop, row by row. The result is an even, slightly braided-looking texture that gives loop yarn projects their characteristic soft and cozy appearance.
Purl Stitches
To create purl stitches, pull the loop from front to back instead of from back to front. This produces a different surface texture, similar to purl stitches in traditional needle knitting. Purl stitches are often used to add variety, create patterns, or highlight specific design elements in your project.

Increases
Increases are used when your knitting needs to become wider, such as in triangle shawls. With loop yarn, increases are made by pulling more than one loop from the working yarn through a single loop of your project. Be sure to space your increases evenly to prevent the knitted piece from becoming uneven or distorted.
Decreases
Decreases reduce the number of stitches and are commonly used for shaping or finishing edges. To decrease, pull one loop from the working yarn through two loops of your knitted piece at the same time. This combines two stitches into one and gradually narrows the project.

Binding Off
Binding off ensures that your knitted piece won’t unravel and gives it a clean, polished edge. When knitting with loop yarn, this technique is similar to traditional bind-off methods but is done entirely with your fingers.
At the beginning of the row, knit two stitches. Then carefully pull the second stitch through the first loop.
Next, knit one additional stitch and pull it through the previous loop.
Repeat this process across the entire row until all stitches are bound off. At the end, only one loop will remain.
Finishing and Weaving in Ends
To finish your project, cut the yarn about four to five loops after the last stitch. Carefully cut open these loops with scissors, just as you did at the beginning, to create a smooth yarn tail. Pull this yarn tail through the final loop and tighten it securely.
There’s no need for a needle when weaving in ends. Simply use your fingers to pull the yarn tail through several stitches on the back of the knitted piece, then trim it loosely. This creates a neat, almost invisible finish without any additional tools.
Conclusion
Knitting with loop yarn is simple, quick to learn, and perfect for creative projects that require minimal tools and materials. With the techniques shown in this guide, you’re well prepared to bring your own ideas to life or follow existing patterns with confidence. Whether you’re a beginner or an experienced crafter, loop yarn knitting offers a fun and relaxing way to create soft, stylish handmade pieces.


