Categories
Quick to Target
Community & Help
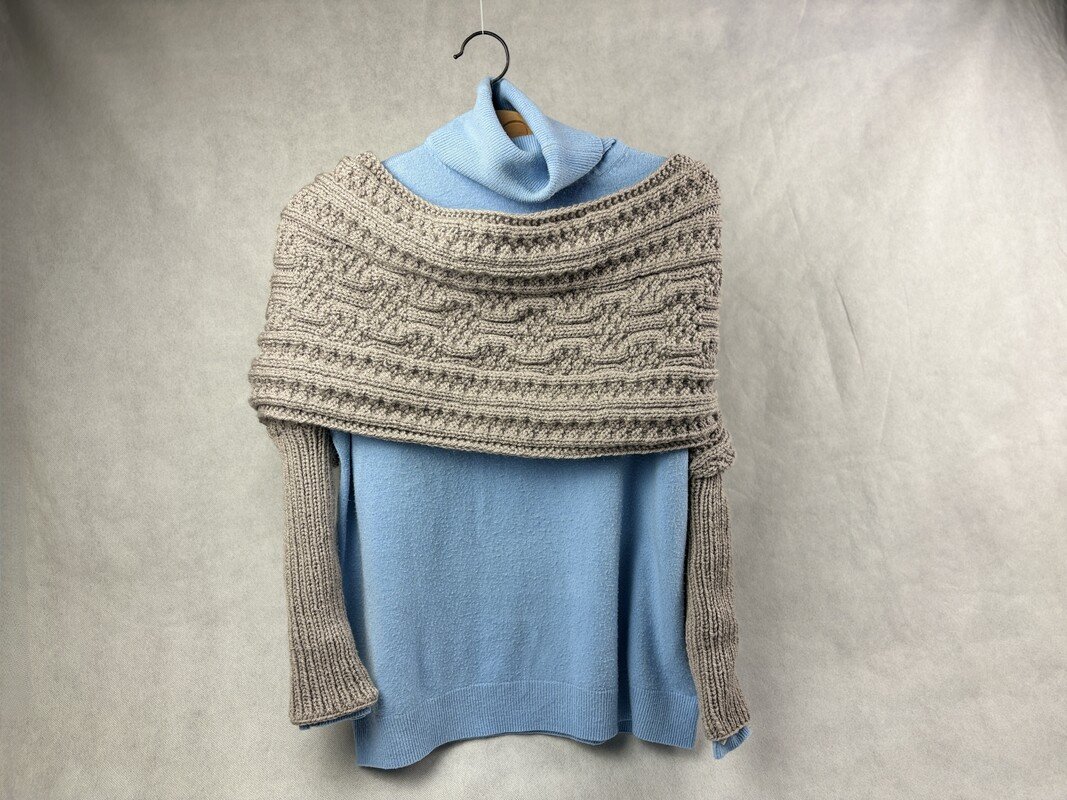
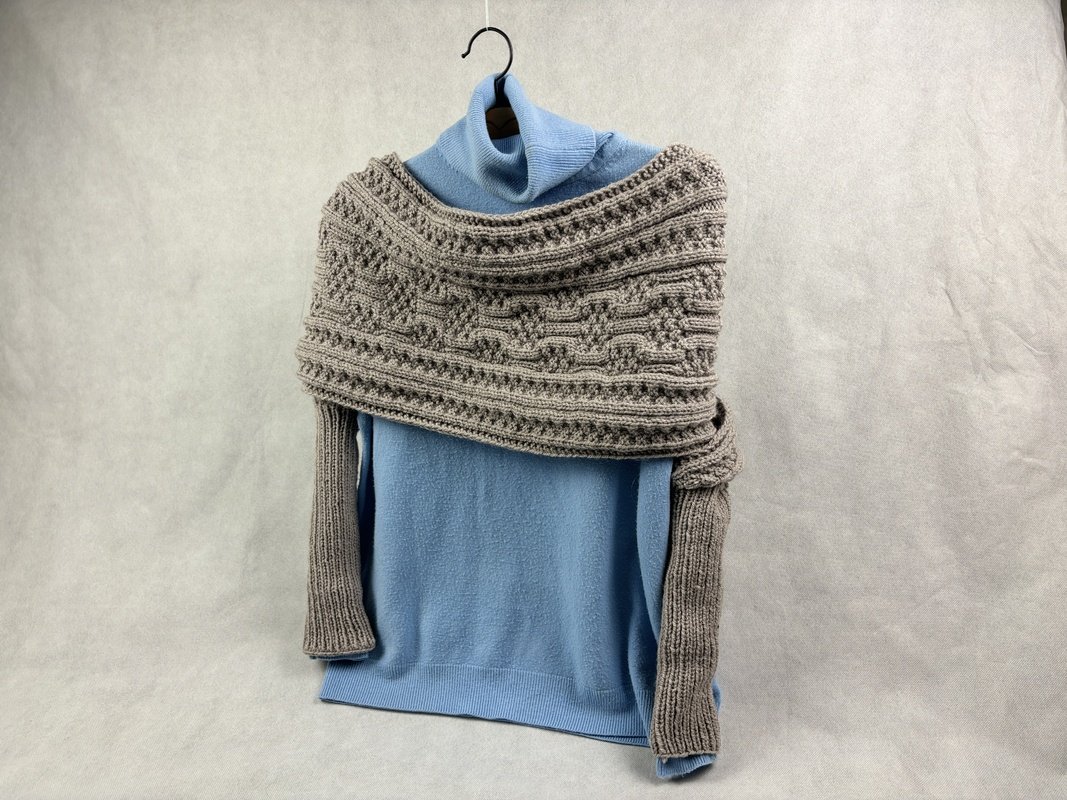
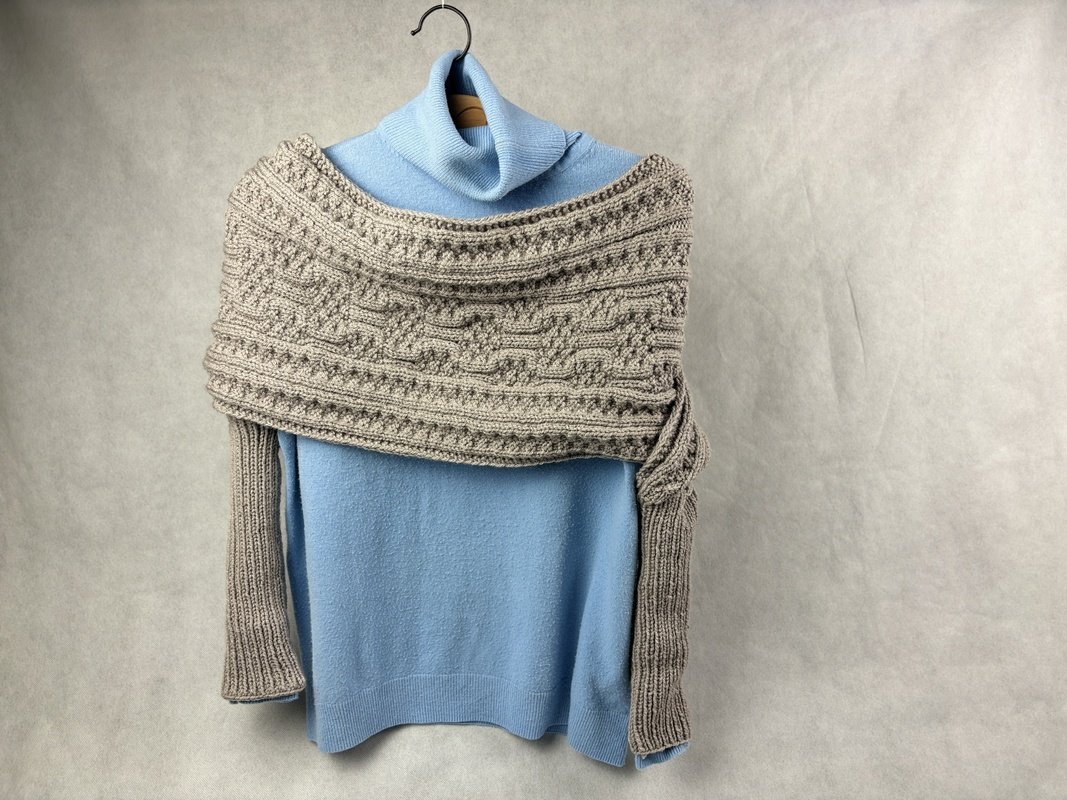

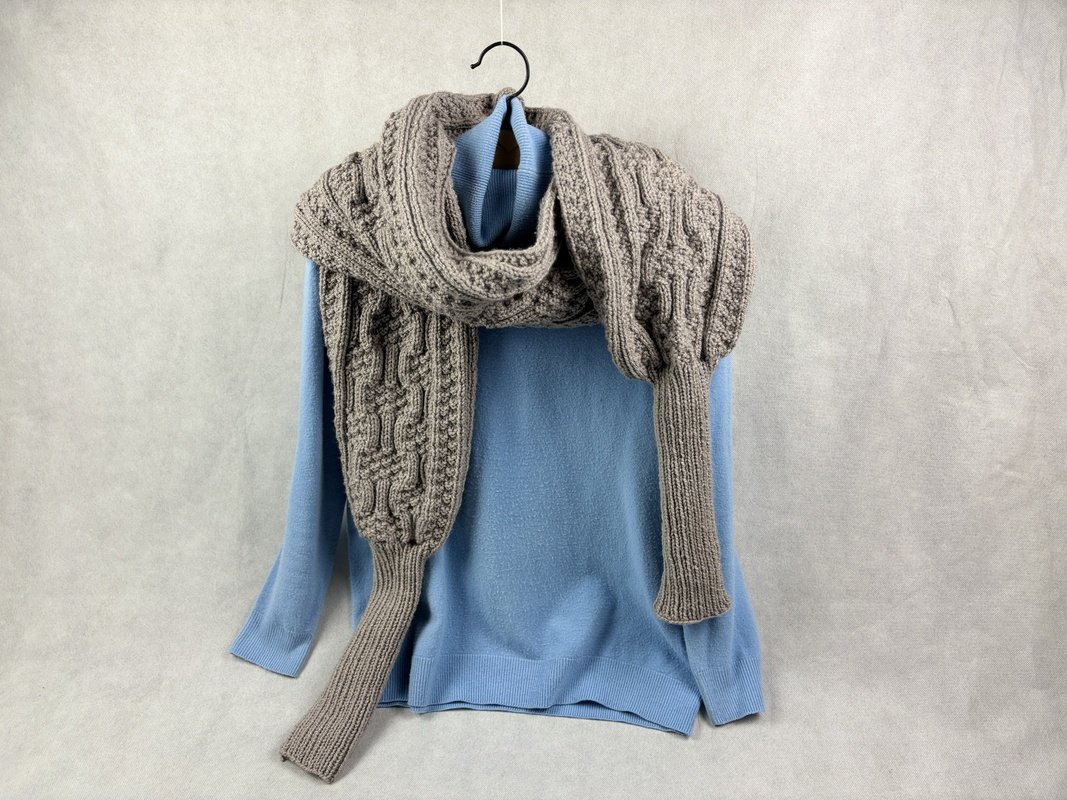
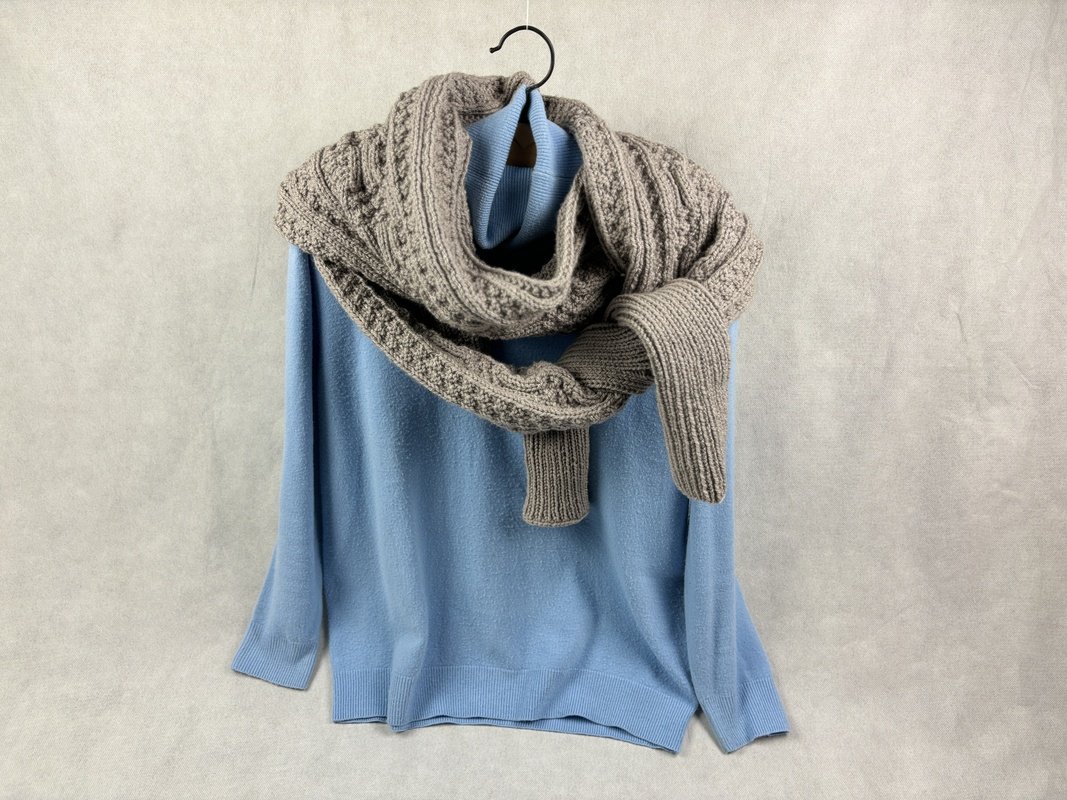
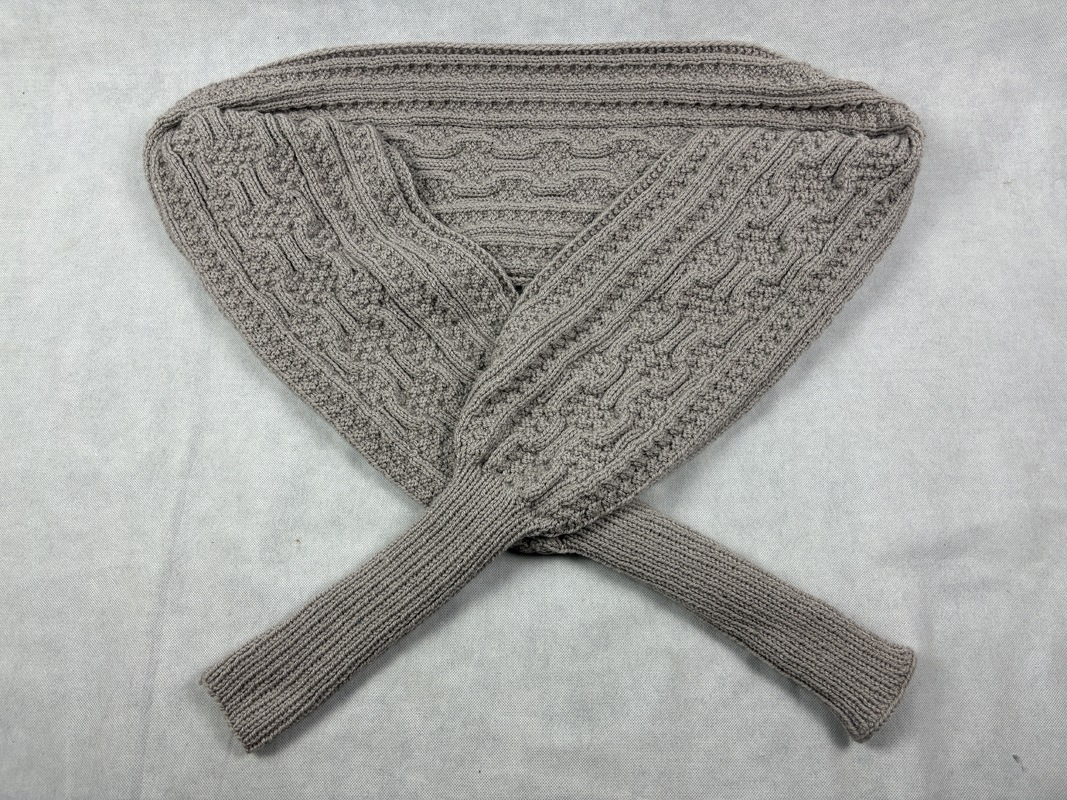


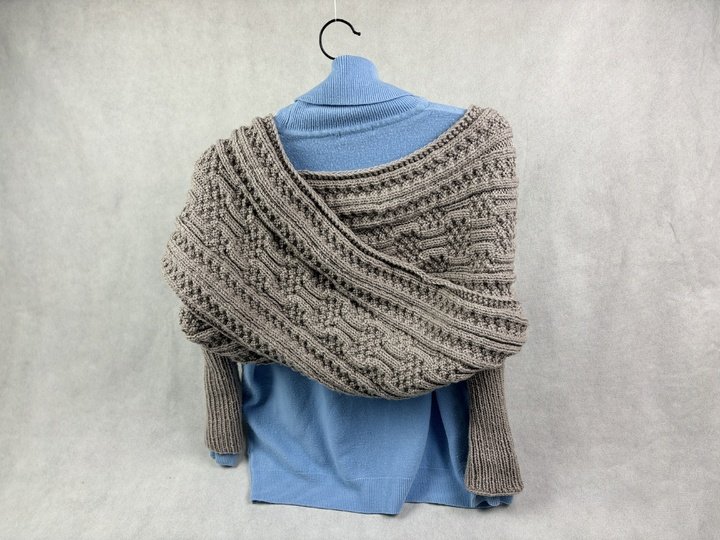
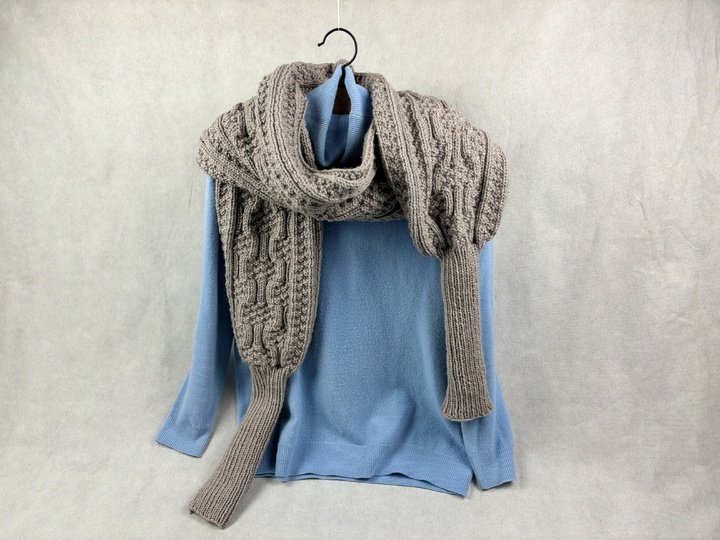
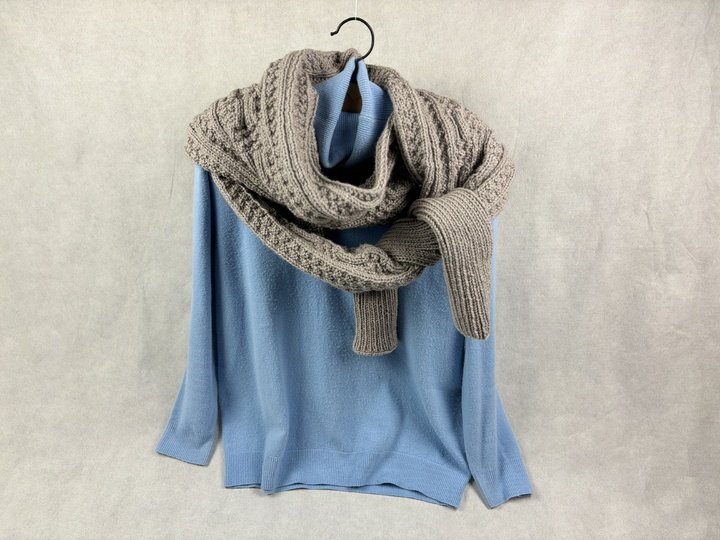
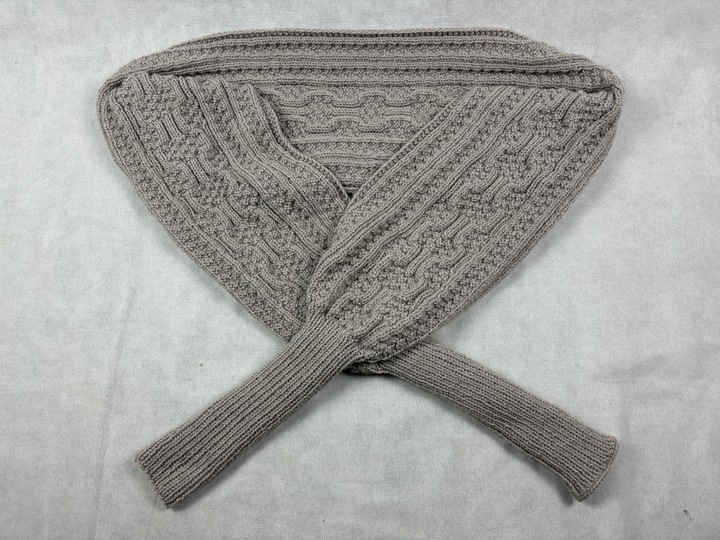
Practical, versatile and elegant. That's how I would describe the “Muri” scarf. Muri is very easy to put on and take off and is a real eye-catcher. And when it's not being used as a sweater replacement or body warmer, it can simply be worn as a long scarf around the neck. While knitting, I also noticed that Muri even works really well as a knee blanket .
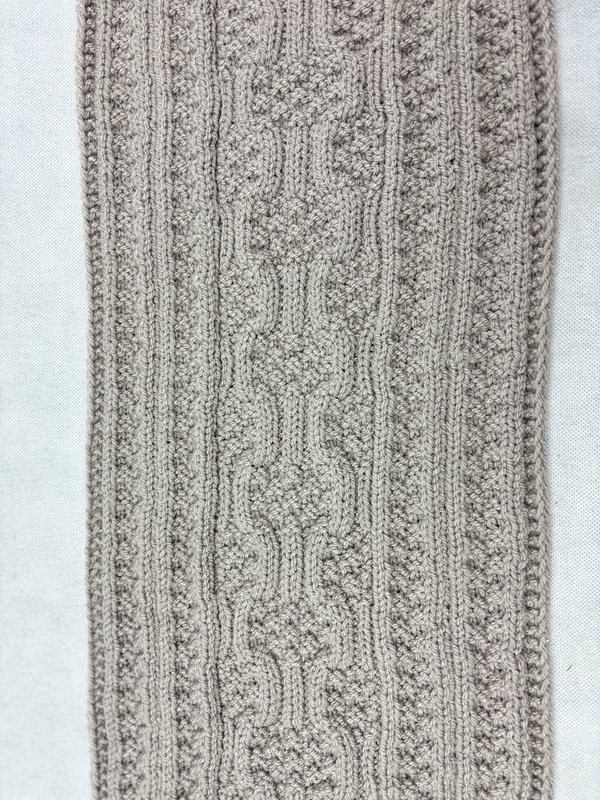
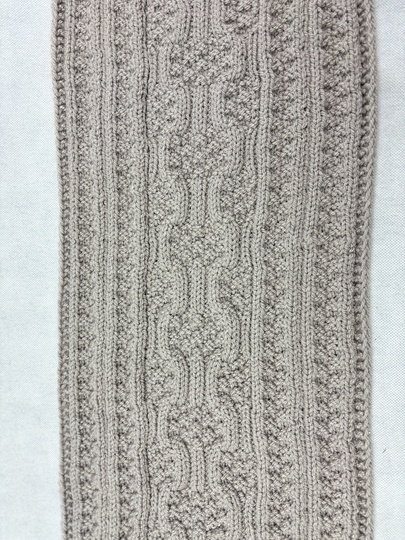
The “Muri” sleeve scarf is knitted with purl and knit stitches only. You start on double pointed needles and later switch to circular needles and possibly classic knitting needles. The work is finished on the double pointed needles again. The beautiful pattern is very intuitive and can soon be knitted (almost) by heart. Due to the large needle size, the work is also finished relatively quickly. Have fun reworking it!
Knowledge required:
• Cast on stitches
• Cast off
• Knitting knit and purl stitches
• Working with double pointed needles
• Edge stitches
What you get:
You get a 7-page instruction with a counting pattern and a row-by-row description of the knitting.
Difficulty level:
Easy-Medium.
Stitch Gauge:
Stockinette stitch: 17 stitches = 10 cm wide. 24 rows = 10 cm high.
With this gauge, the “Muri” sleeve scarf will be approx. 30 cm wide and approx. 265 cm long.
• You need 5-6 balls of Paintbox Yarns, Simply Aran. 100% acrylic. LL: 184m per 100g. My consumption was 498g. The consumption may vary a little depending on your personal knitting style. You can also use another wool with a similar yardage.
• Needle set no. 4
• Circular knitting needles no. 4
• Depending on your preference: knitting needles no. 4
• Sewing needle
• Scissors
Please respect the copyright. These instructions are for private use only! It may not be copied or exchanged for other instructions. The sale of these instructions, the texts and images contained therein, as well as the use of the instructions and their components for commercial purposes are also prohibited.
With the note: “made according to the instructions of ‘CreaEline’, projects made with the help of my instructions can be sold commercially in any quantity. If you have any further questions, please feel free to contact me at any time.
You can download the pattern immediately after receipt of payment.
Practical, versatile and elegant. That's how I would describe the “Muri” scarf. Muri is very easy to put on and take off and is a real eye-catcher. And when it's not being used as a sweater replacement or body warmer, it can simply be worn as a long scarf around the neck. While knitting, I also noticed that Muri even works really well as a knee blanket .
The “Muri” sleeve scarf is knitted with purl and knit stitches only. You start on double pointed needles and later switch to circular needles and possibly classic knitting needles. The work is finished on the double pointed needles again. The beautiful pattern is very intuitive and can soon be knitted (almost) by heart. Due to the large needle size, the work is also finished relatively quickly. Have fun reworking it!
Knowledge required:
• Cast on stitches
• Cast off
• Knitting knit and purl stitches
• Working with double pointed needles
• Edge stitches
What you get:
You get a 7-page instruction with a counting pattern and a row-by-row description of the knitting.
Difficulty level:
Easy-Medium.
Stitch Gauge:
Stockinette stitch: 17 stitches = 10 cm wide. 24 rows = 10 cm high.
With this gauge, the “Muri” sleeve scarf will be approx. 30 cm wide and approx. 265 cm long.
• You need 5-6 balls of Paintbox Yarns, Simply Aran. 100% acrylic. LL: 184m per 100g. My consumption was 498g. The consumption may vary a little depending on your personal knitting style. You can also use another wool with a similar yardage.
• Needle set no. 4
• Circular knitting needles no. 4
• Depending on your preference: knitting needles no. 4
• Sewing needle
• Scissors
Please respect the copyright. These instructions are for private use only! It may not be copied or exchanged for other instructions. The sale of these instructions, the texts and images contained therein, as well as the use of the instructions and their components for commercial purposes are also prohibited.
With the note: “made according to the instructions of ‘CreaEline’, projects made with the help of my instructions can be sold commercially in any quantity. If you have any further questions, please feel free to contact me at any time.
Once Buyers review this product, the product rating, breakdown, and customer experiences will appear here.


Share your ideas, creations, and experiences.
You'll need an account to use these features. You can create an account or log in.
42 prizes / total value €300: 30×€5, 10×€10, 2×€25 – simply activate the newsletter. No purchase necessary. Unsubscribe at any time. Prizes are awarded as Crazypatterns shopping credit. Learn more
Ask Question
Questions & Answers (11)
1 re, 1li auf der Nadel bleiben❓
LG
Elke
Nachdem Du den Ärmel in Rippenmuster in Runden gestrickt hast, hast Du 40 Maschen auf der Nadel. Ab einer Ärmellänge von 30 cm strickst Du weiter in Reihen (hin und her) anstelle von in Runden. Der Schal wird so direkt am Ärmel gestrickt. Die erste Reihe nach dem Ärmel (in der Anleitung bezeichnet als Reihe 1) wird rechts gestrickt.
Ich hoffe, dies beantwortet Deine Frage. Wenn nicht, dann zögere bitte nicht mich noch einmal zu kontaktieren.
Du kannst mir auch eine persönliche Nachricht schicken.
Liebe Grüsse,
Eline
Ich weiß es nicht anders zu beschreiben. Das was du mir erklärt hast das hatte ich verstanden.
Es wäre viel einfacher wenn ich eine E-Mail von dir hätte damit ich dir ein Bild schicken könnte.
Aber danke für deine Bemühungen, aber da du mei Problem nicht verstanden hast, konntest du mir leider nicht helfen.
LG
Elke
Ich habe Dir eine persönliche Nachricht geschickt.
Liebe Grüsse,
Eline
Liebe Grüsse,
Eline von CreaEline
Das Zählmuster auf Seite 3 geht bis zur 19 Reihe und jenes auf Seite 5 bis zur Reihe 21 und dann weiter bin verwirrt nach welchem Zählmuster soll man sich richten oder ist das Geschmacksache
Das Zahlmuster auf Seite 3 zeigt nur das sich wiederholende "Reliefmuster" auf. Und zwar zeigt es nur die ungeraden Reihen auf. In den geraden Reihen werden alle Maschen so gestrickt, wie sie erscheinen. Das sich wiederholende "Reliefmuster" besteht somit aus insgesamt 20 Reihen.
Jetzt komme ich zu Seite 5. Die Beschreibung beginnt bei Reihe 1 nach dem Ärmel. In dieser Reihe und in Reihe 2 wird noch nicht nach dem Zählmuster von Seite 3 gestrickt. Erst ab Reihe 3 wird nach dem Zählmuster gestrickt. In den Reihen 3-22 werden alle 20 Reihen des Zählmusters von Seite 3 ausgeschrieben.
Ich hoffe, dies hilft Dir weiter. Solltest Du weiter Fragen haben, zögere bitte nicht mich zu kontaktieren. Ich helfe gerne.