Finnley the Fish crochet pattern
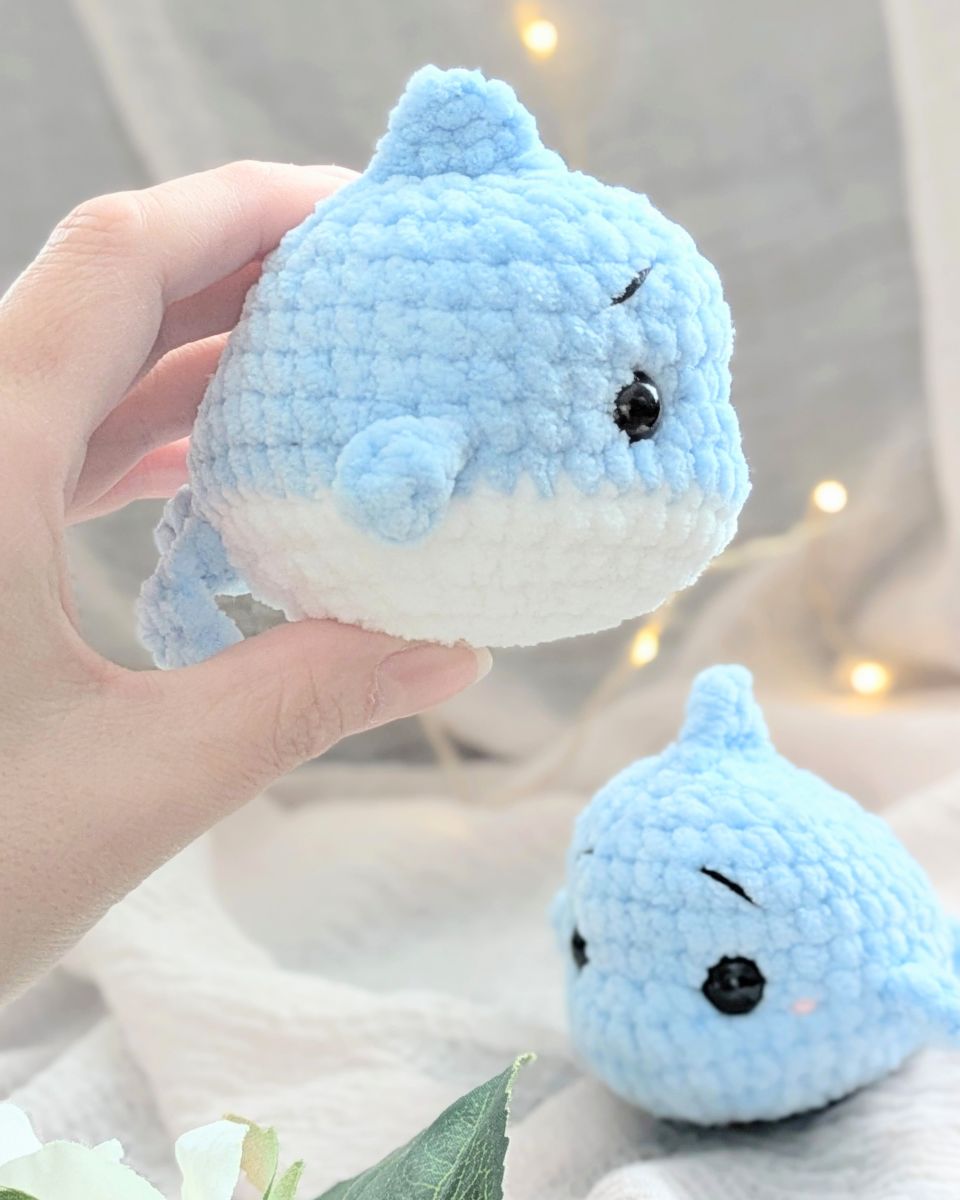
Are you looking for a cute, small amigurumi that isn't tied to a specific season and is quick to crochet? Then Finnley is the perfect next project for you!
Thanks to his compact size, Finnley the fish is quick to make and works perfectly as a gift, a bag charm, or a decorative piece. You can crochet him in any color combination imaginable—whether in a single solid color (simply skip the color changes) or in a riot of colors, just like the underwater world.
The crochet pattern for Finnley the fish is ideal for crafters of all skill levels, from beginners to advanced crocheters. This round, chubby fish makes a wonderful little gift or a thoughtful "just because" present all year round.
The following step-by-step instructions guide you through the entire process of creating your new "scaly" friend. With detailed explanations and clear photos, crocheting this adorable fish is a real pleasure.
You can crochet the charming Finnley using a wide variety of yarns and in all sorts of colors and sizes (depending on your yarn choice), allowing you to let your creativity run wild.
---
The pattern for "Finnley the Fish" is for private use only. It may not be sold, forwarded, reproduced, published, translated into other languages, exchanged for other patterns, or altered and passed on or sold as your own pattern. Selling the finished fish made using this pattern is permitted in small quantities, provided the designer (Gutherz – Doreen Goedhart) is credited and current toy safety regulations are followed.
Thank you, and happy crocheting!#
---
This pattern is suitable for: Beginners/Advanced
Abbreviations: (You should master this basic knowledge.)
Rnd = continuous round
sc = single crochet
ch = chain (stitch)
slst = slip stitch
inc = increase (2 sc in 1 stitch)
dec = decrease
FLO = front loop only
BLO = back loop only
dc = double crochet
hdc = half double crochet
(…) x? = everything within the brackets is repeated as many times as specified after the x
{…} = everything inside the bracket is crocheted into one stitch
At the beginning you will find the number of the respective round.
The number of stitches in the completed round is in the brackets at the end.
Required material:
Crochet hook:
NS 4 mm (If you decide to use any other kind hook size, the size of the animal can change, but also the position of the fins.)
Yarn:
- Chenille yarn in light blue (100 g/100-120 m, e.g. MyBoshi Samt, color "Fish"), if you want to crochet a white belly for your fish, you will also need white chenille yarn
- Cotton yarn remnants in black (for deepening the eyes and the eyebrows) and pink (for the cheeks, 50 g/125 m, e.g. Schachenmayr Catania)
Eyes:
Safety eyes in 12 mm
Additional:
Scissors, needle for embroidery and sewing, stuffing, stitch marker
PATTERN:
The size of the finished fish with the materials specified is approx. 10 cm. It is crocheted in rounds unless otherwise stated.
In the photos below, you can see the fish crocheted in a single color. If you would like to crochet a white belly for it, you will still find the corresponding color change in the text.
Body in light blue (if you want to crochet a white belly for your Finnley, start here with white chenille yarn):
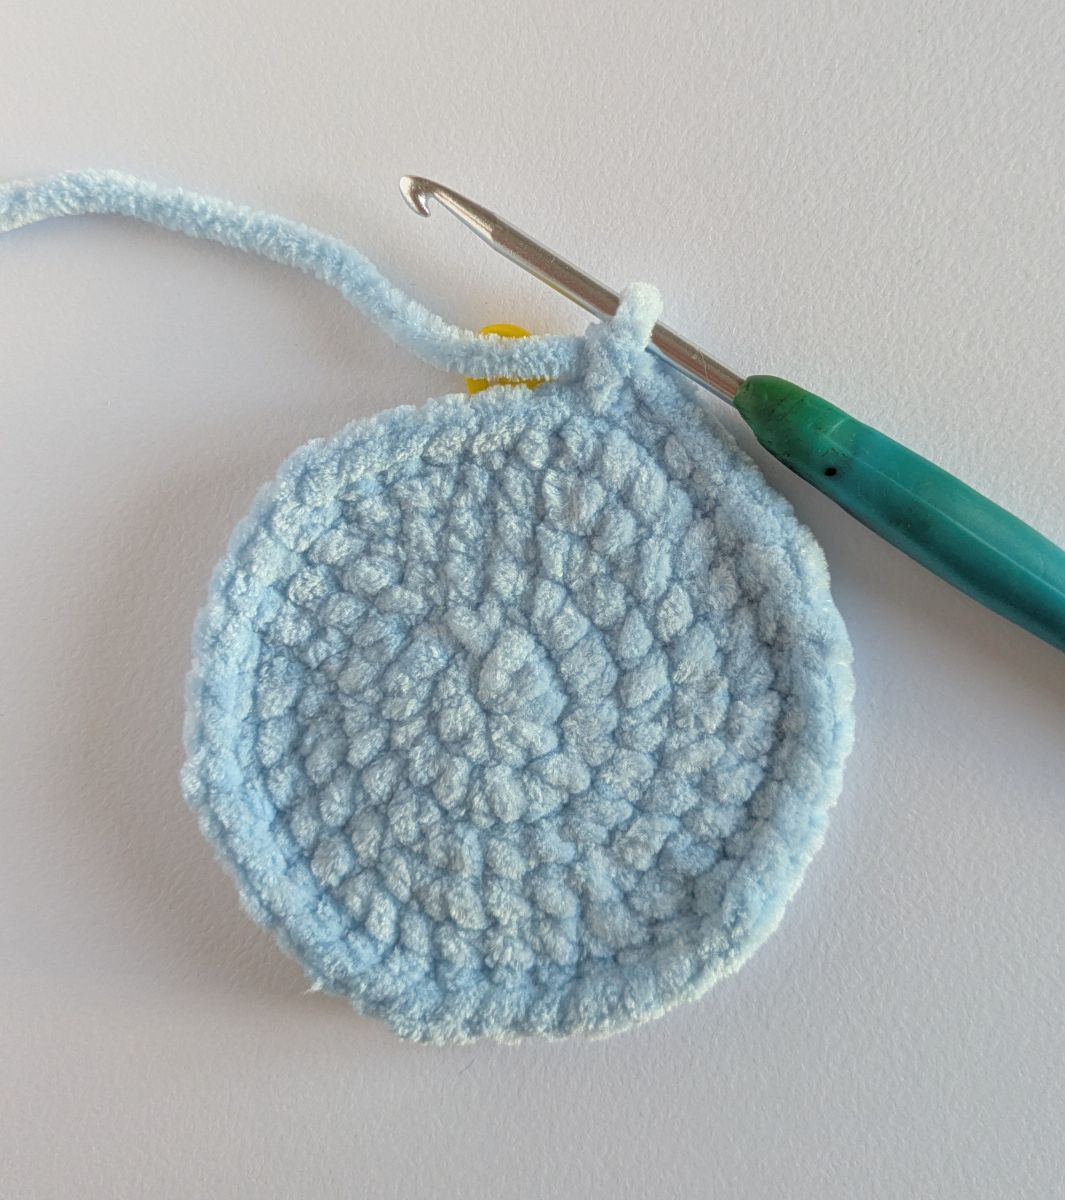
1. Rnd: 2 ch, into the first ch: 9 sc (9)
2. Rnd: inc x9 (18)
3. Rnd: (2 sc, inc) x6 (24)
4. Rnd: (3 sc, inc) x6 (30)
5. Rnd: 2 sc, inc, (4 sc, inc) x5, 2 sc (36)
6. Rnd: (5 sc, inc) x6 (42)
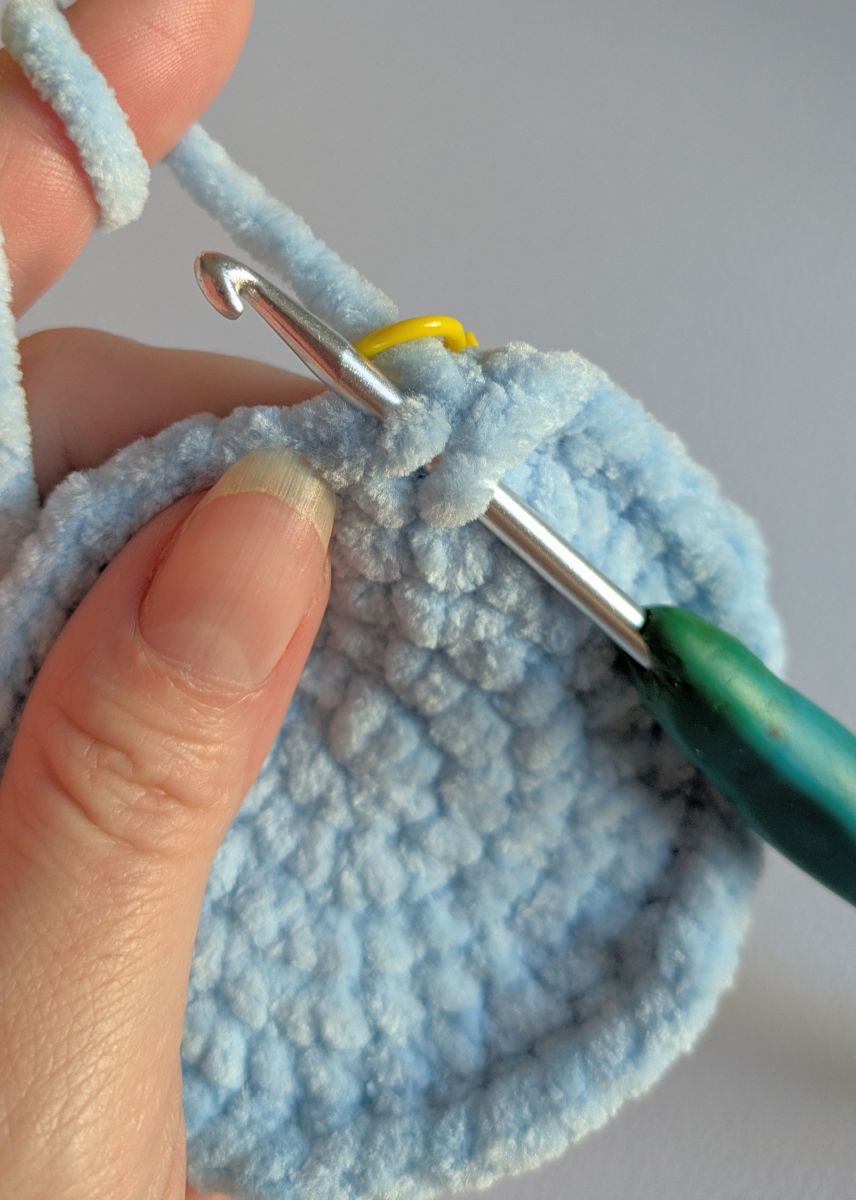
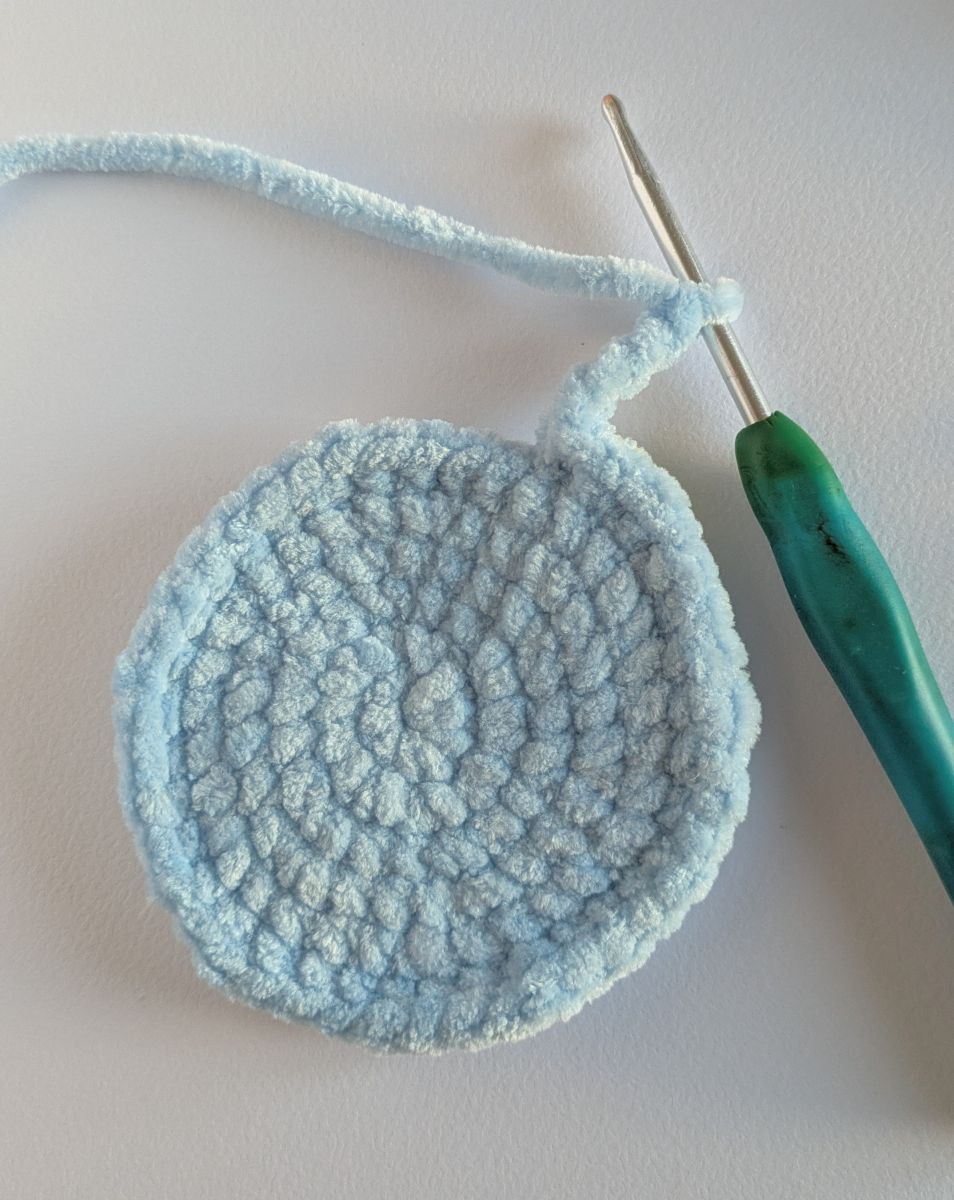
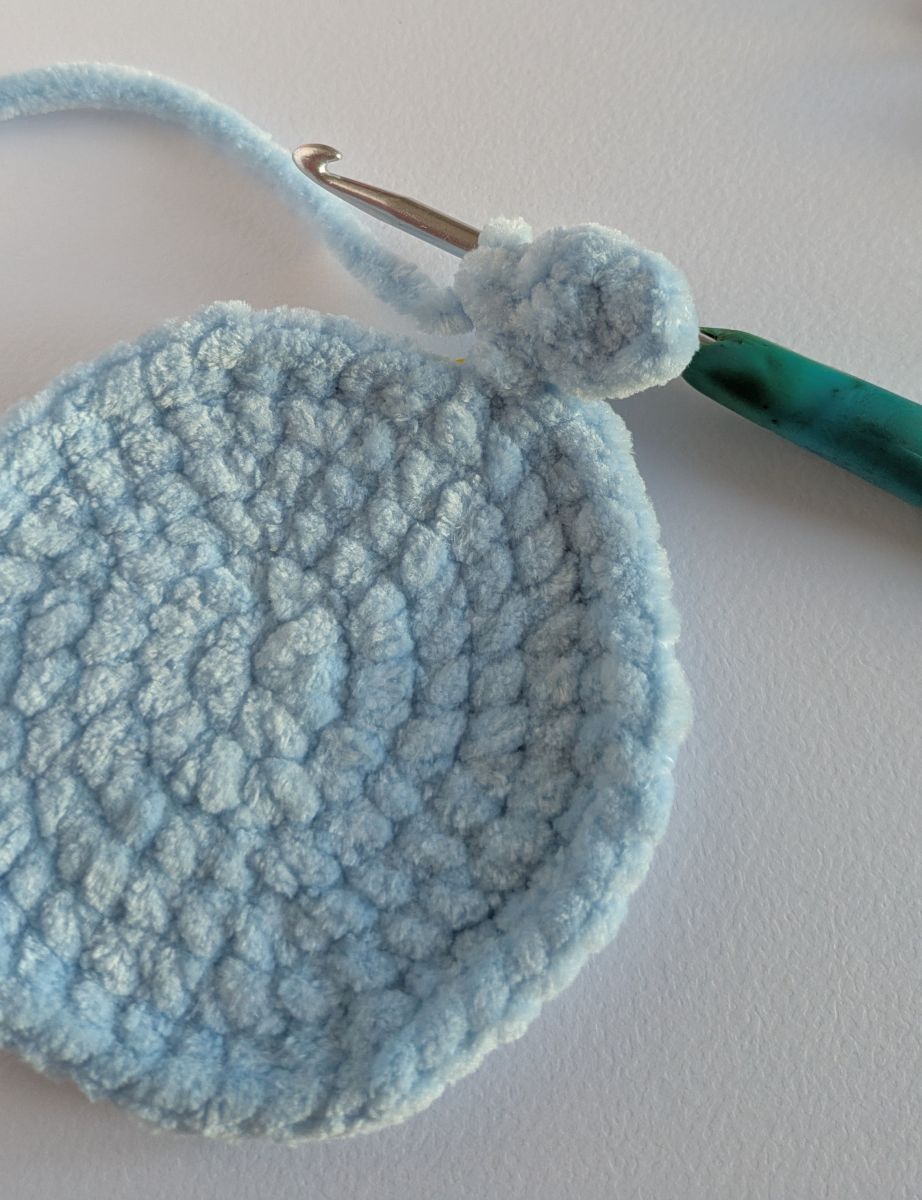
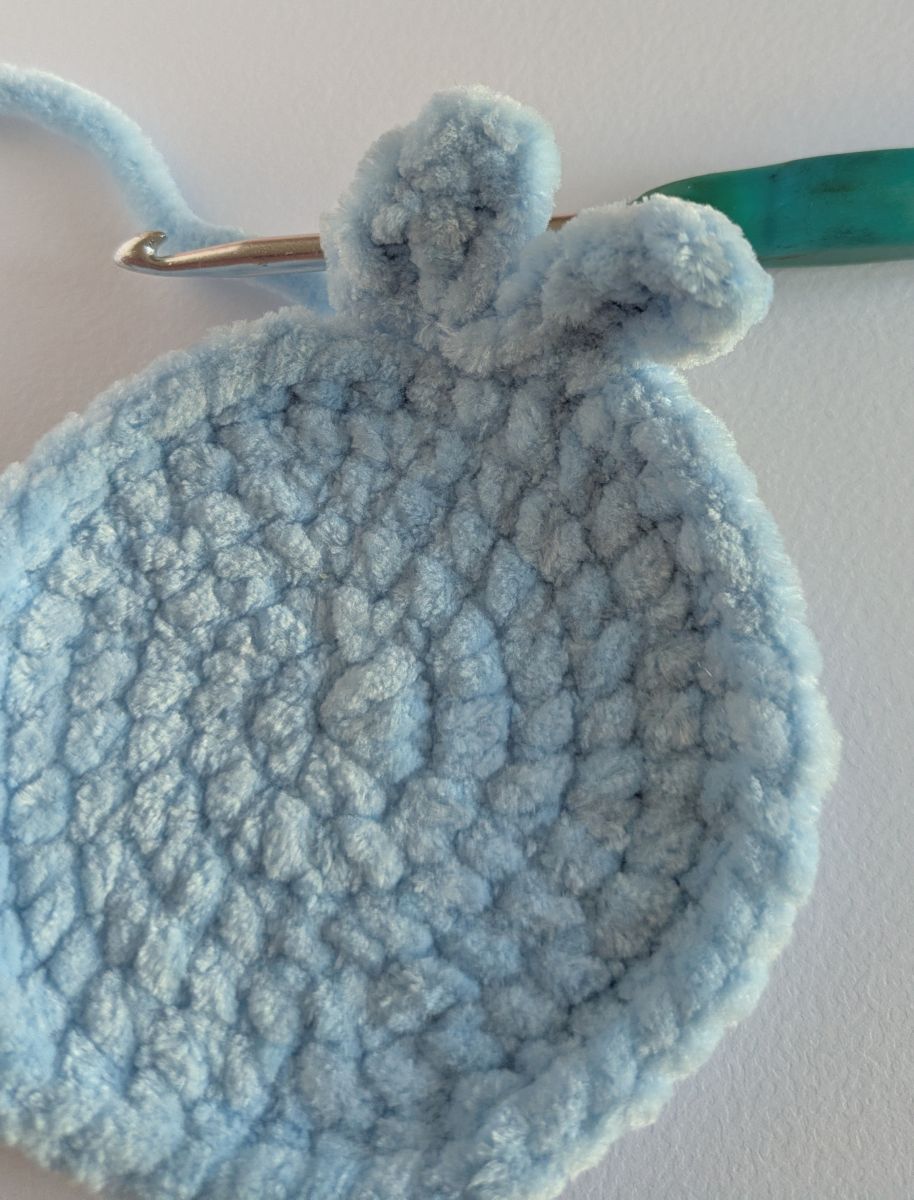
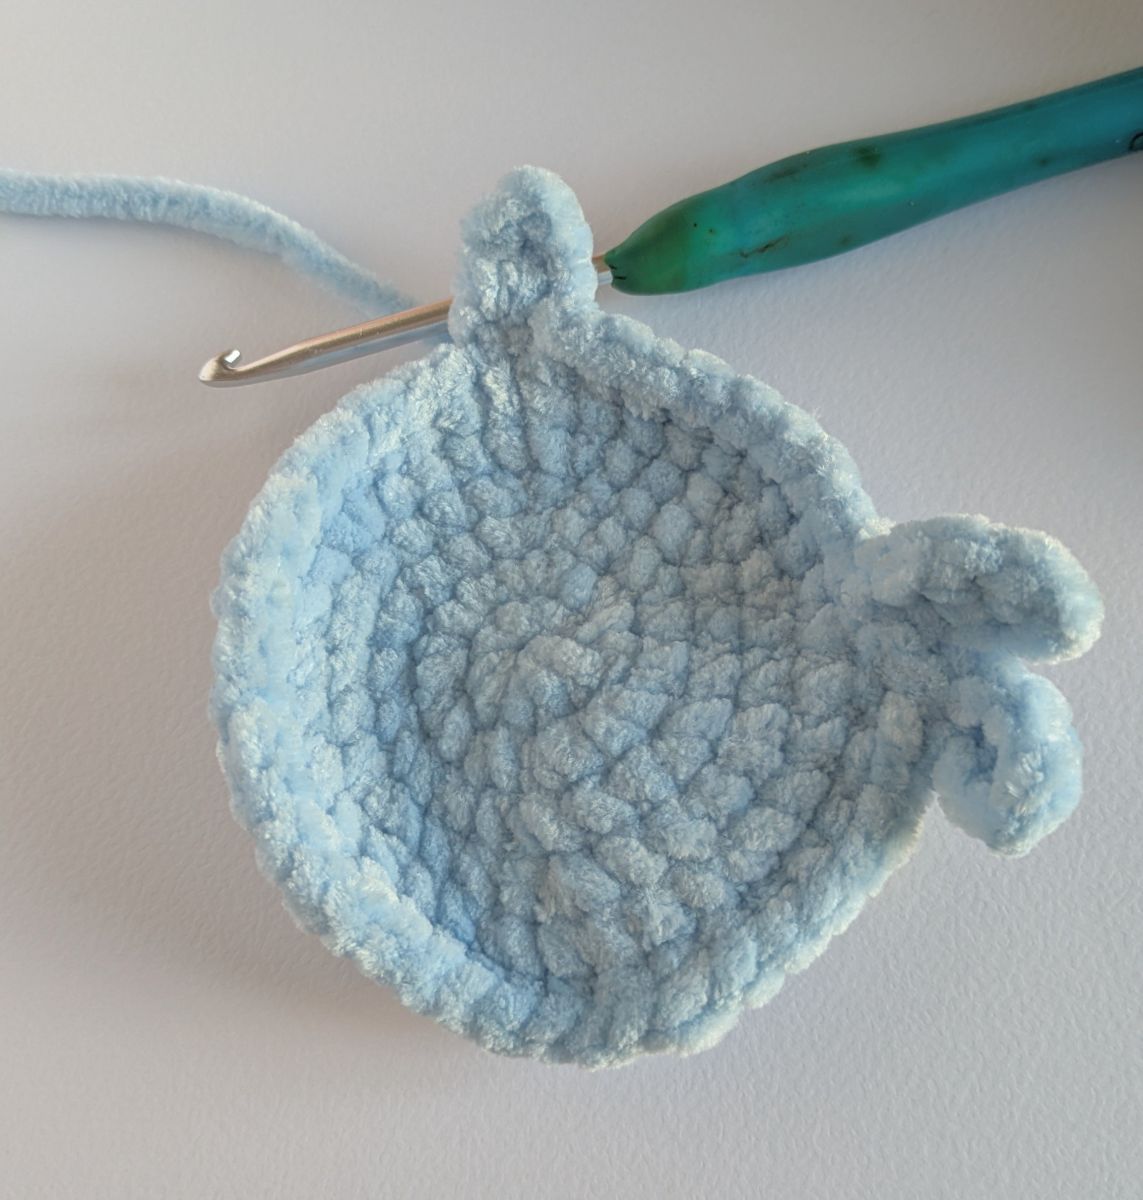
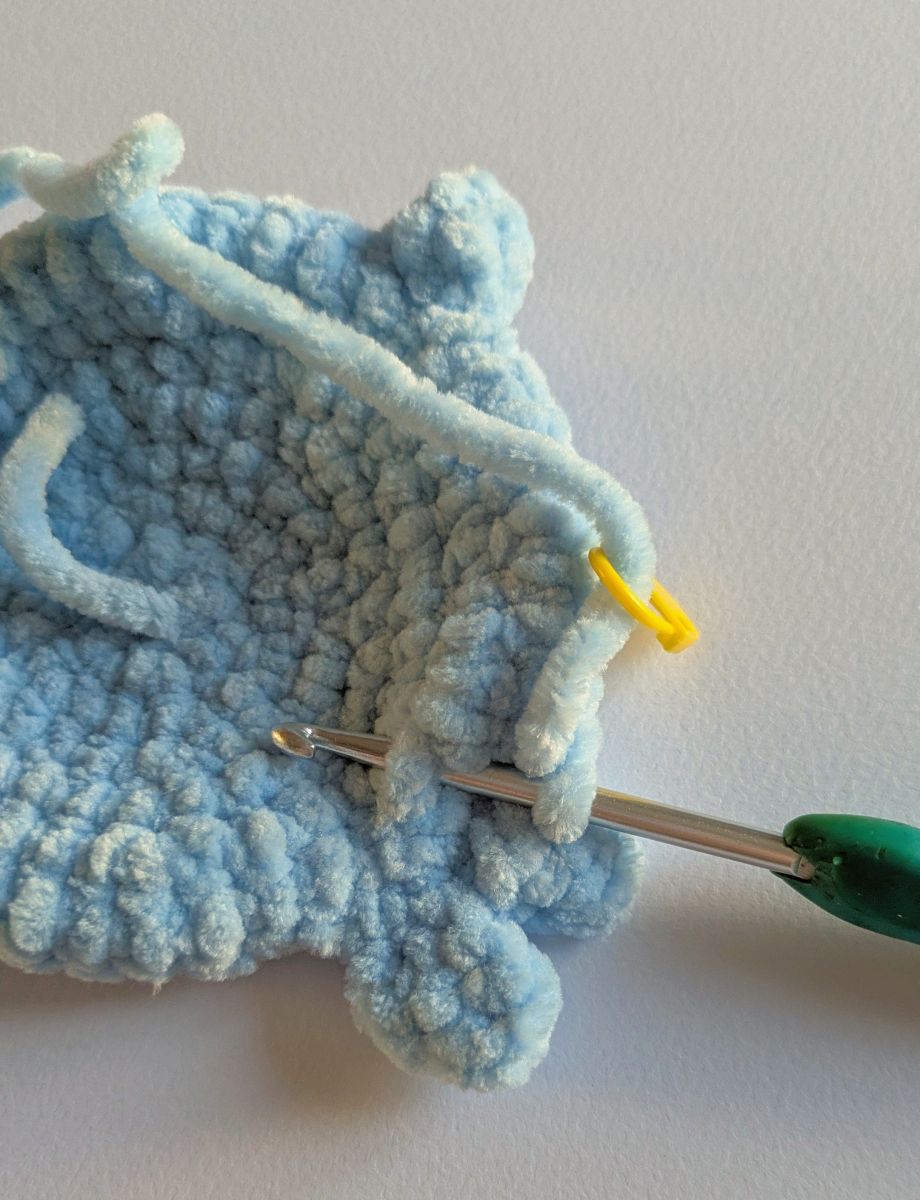
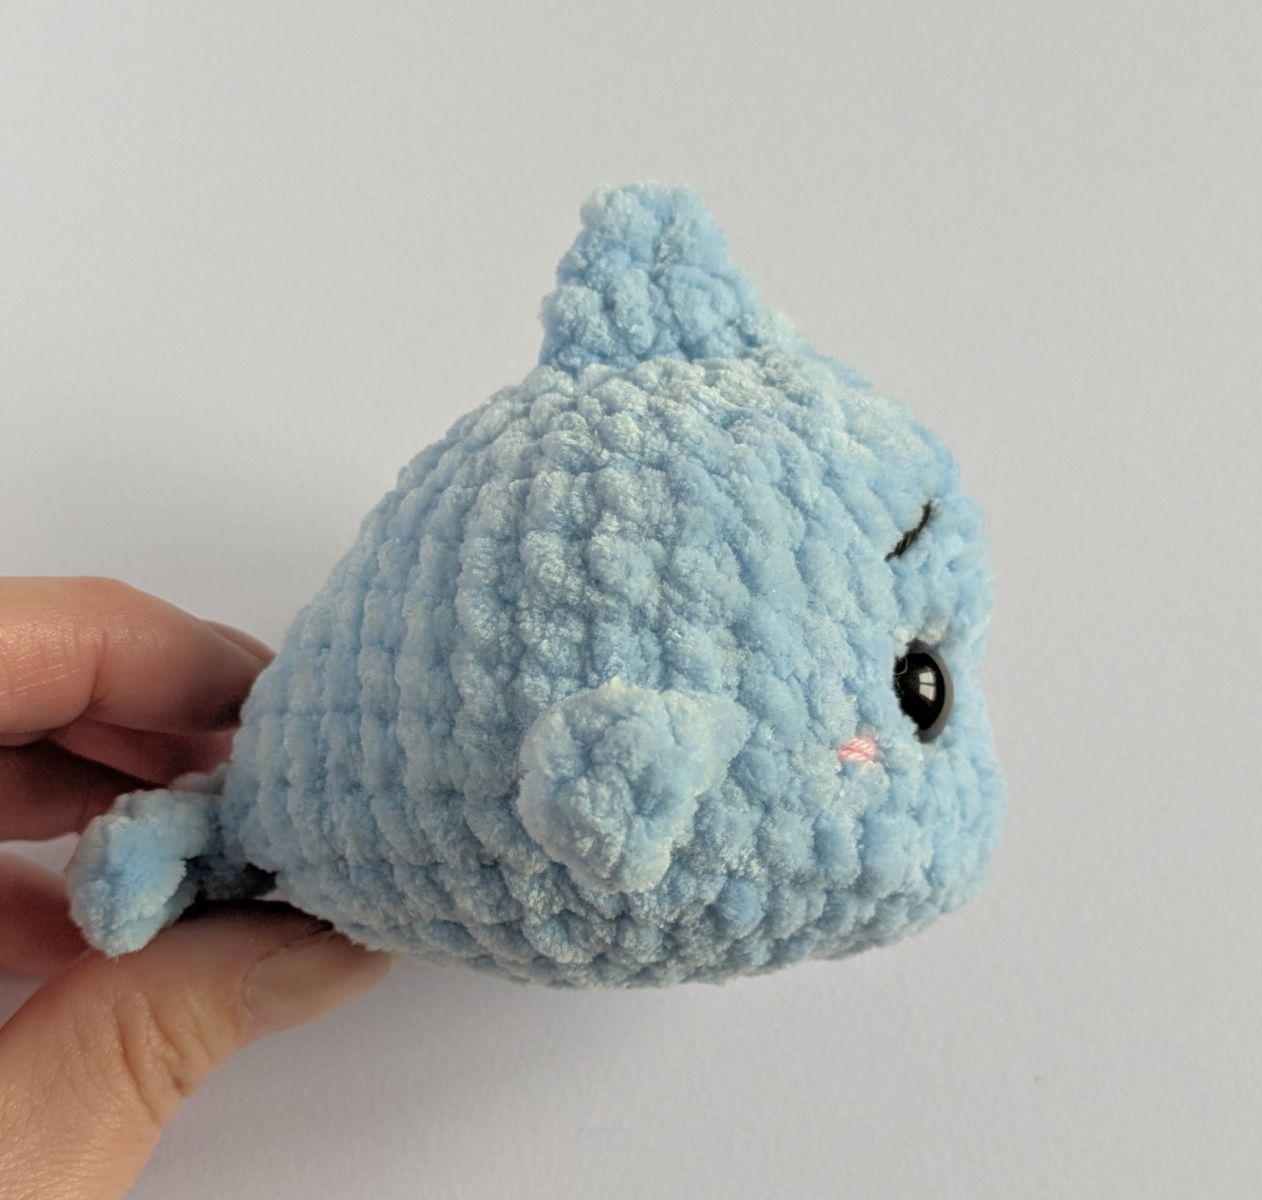
7. Rnd: If you crocheted a white belly for your fish, you need to change the color to light blue here. Now the tail fin is crocheted into the FLO of the next two stitches. Everything inside the curved bracket is crocheted into one stitch: {1 slst, 4 ch, crochet back from the 2nd chain stitch from the hook: 1 hdc, 1 dc, 1 hdc, 1 sc in the same stitch as the slst at the beginning of the fin} x2, continue normally: 9 sc, the side fin into the FLO: {1 sc, 3 ch, crochet back from the 2nd chain stitch from the hook: 1 sc, 1 hdc, 1 slst into the same stitch as the slst at the beginning of the fin}, continue normally: 7 sc, dec x2, 9 sc, the side fin into the FLO: {1 sc, 3 ch, crochet back from the 2nd chain stitch from the hook: 1 sc, 1 hdc, 1 slst into the same stitch as the slst at the beginning of the fin}, continue normally: 9 sc (40)
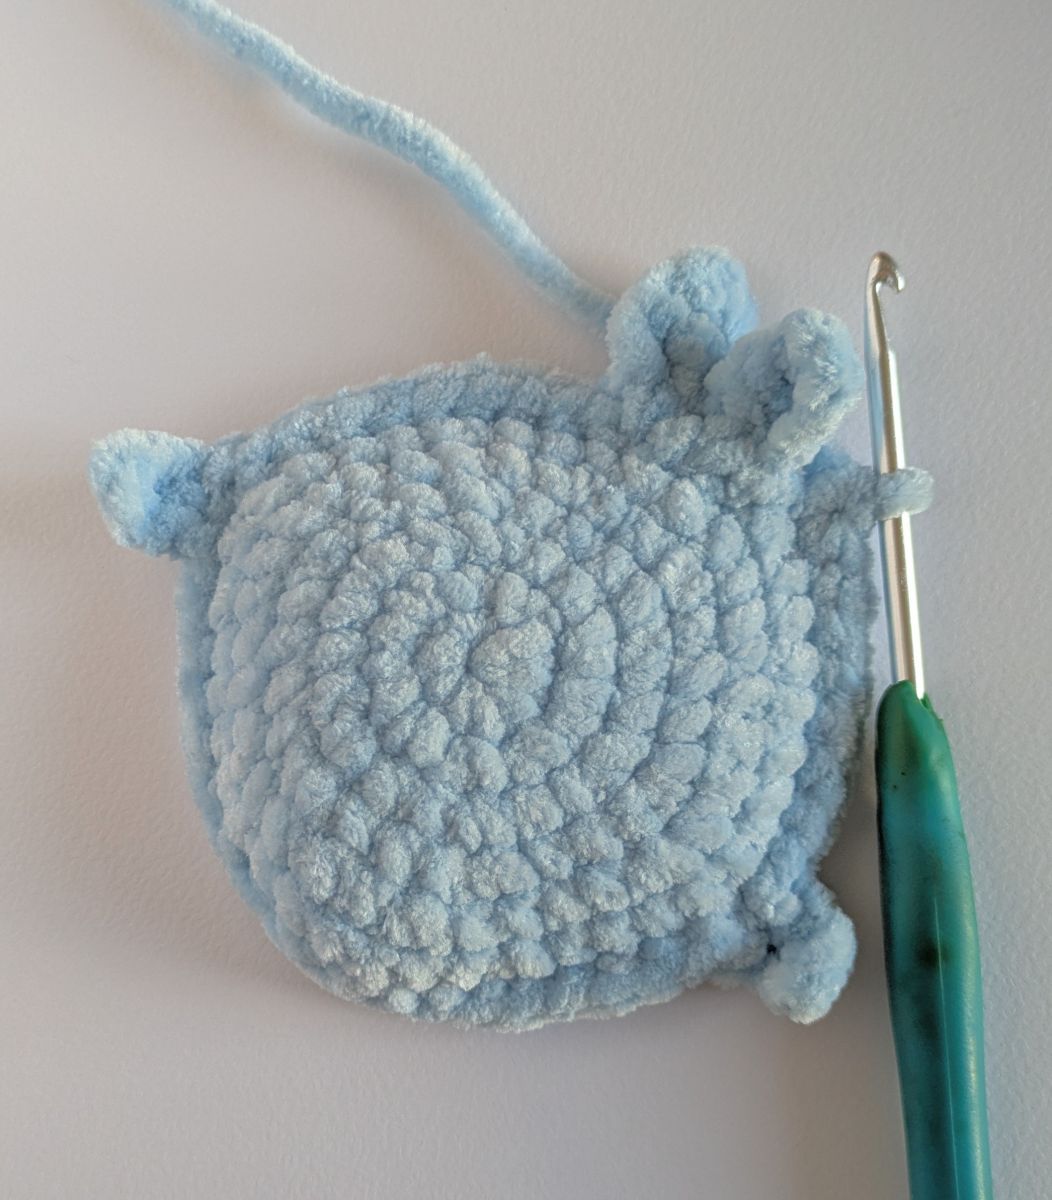
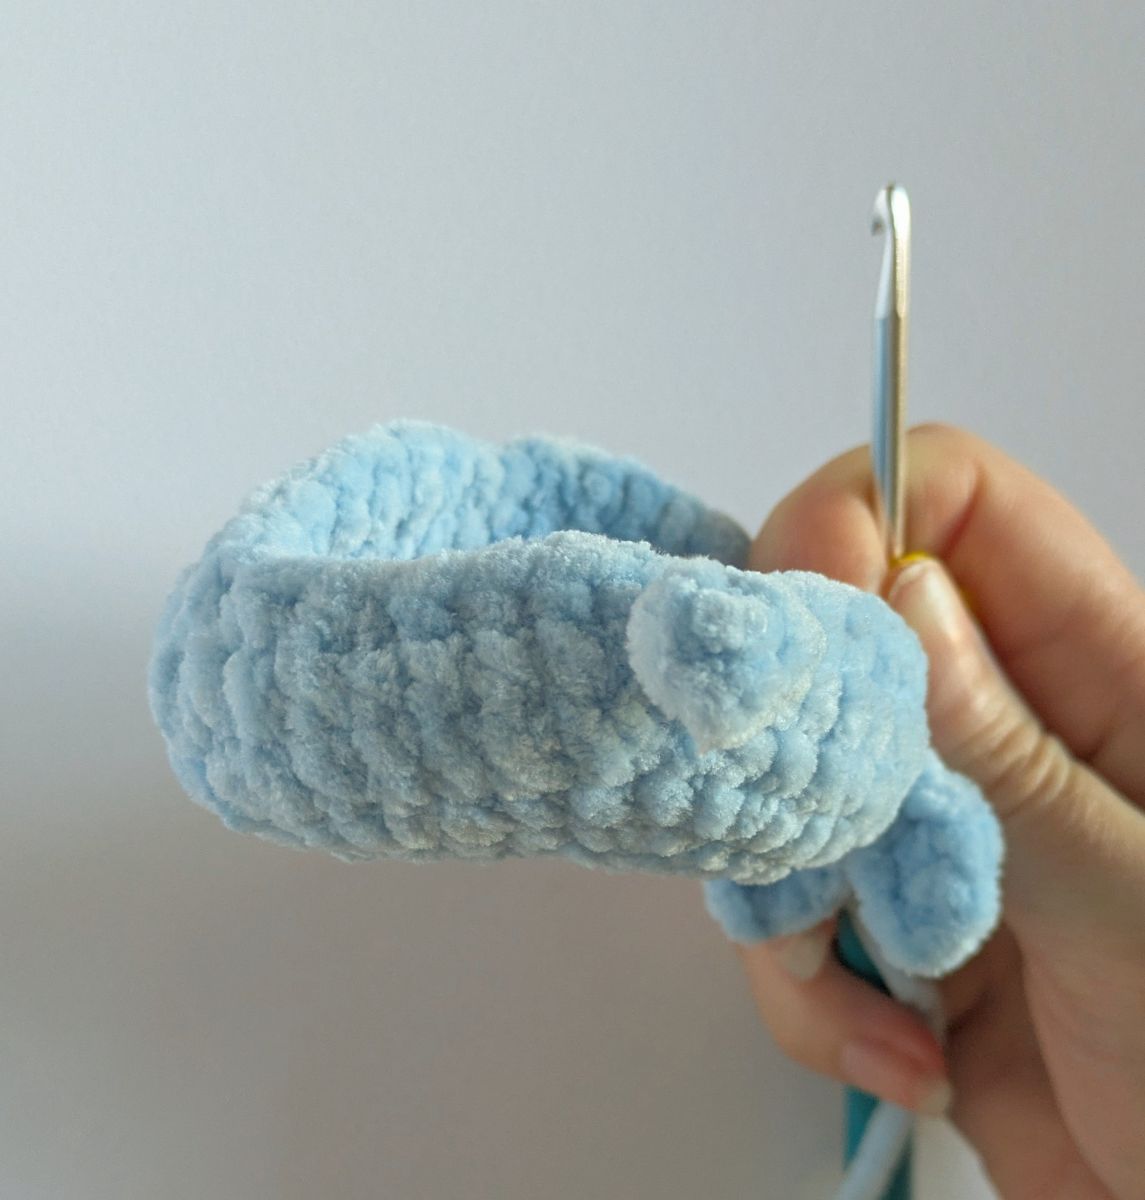
8. Rnd: In the two BLO of the preliminary round (behind the fin): dec, continue normally: 9 sc, into the BLO of the preliminary round: 1 sc, continue normally: 4 sc, dec x4, 6 sc, into the BLO of the preliminary round: 1 sc, continue normally: 7 sc, dec (34)
9. Rnd: dec, 13 sc, inc x4, 13 sc, dec (36)
10. Rnd: dec x2, 30 sc, dec (33)
11. Rnd: dec, 12 sc, dec, 2 sc, dec, 13 sc (30)
12. Rnd: (dec, 3 sc) x6 (24)
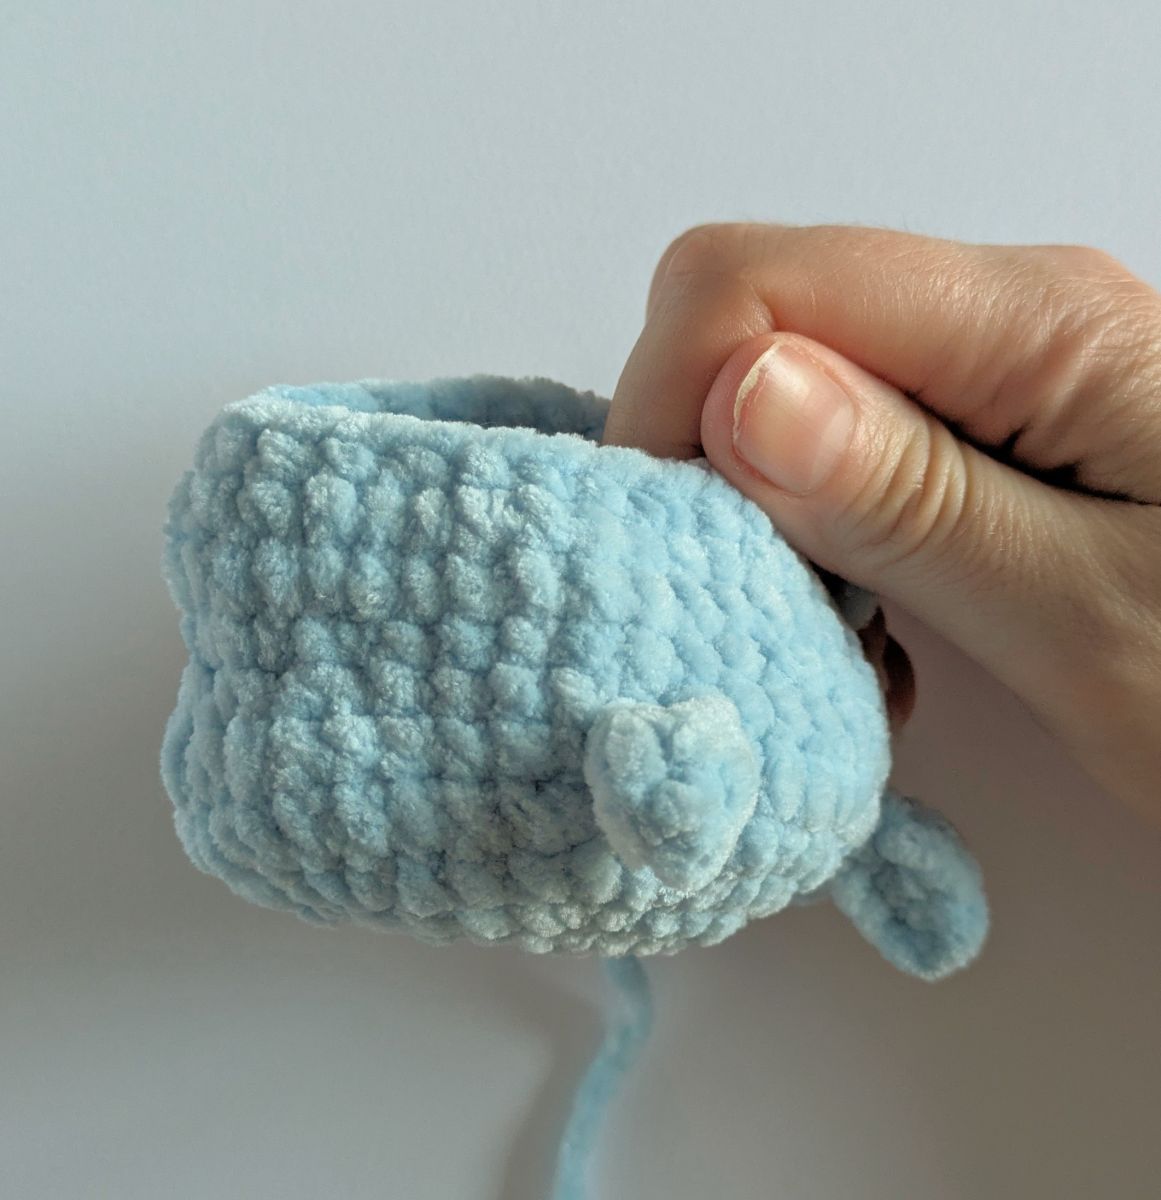
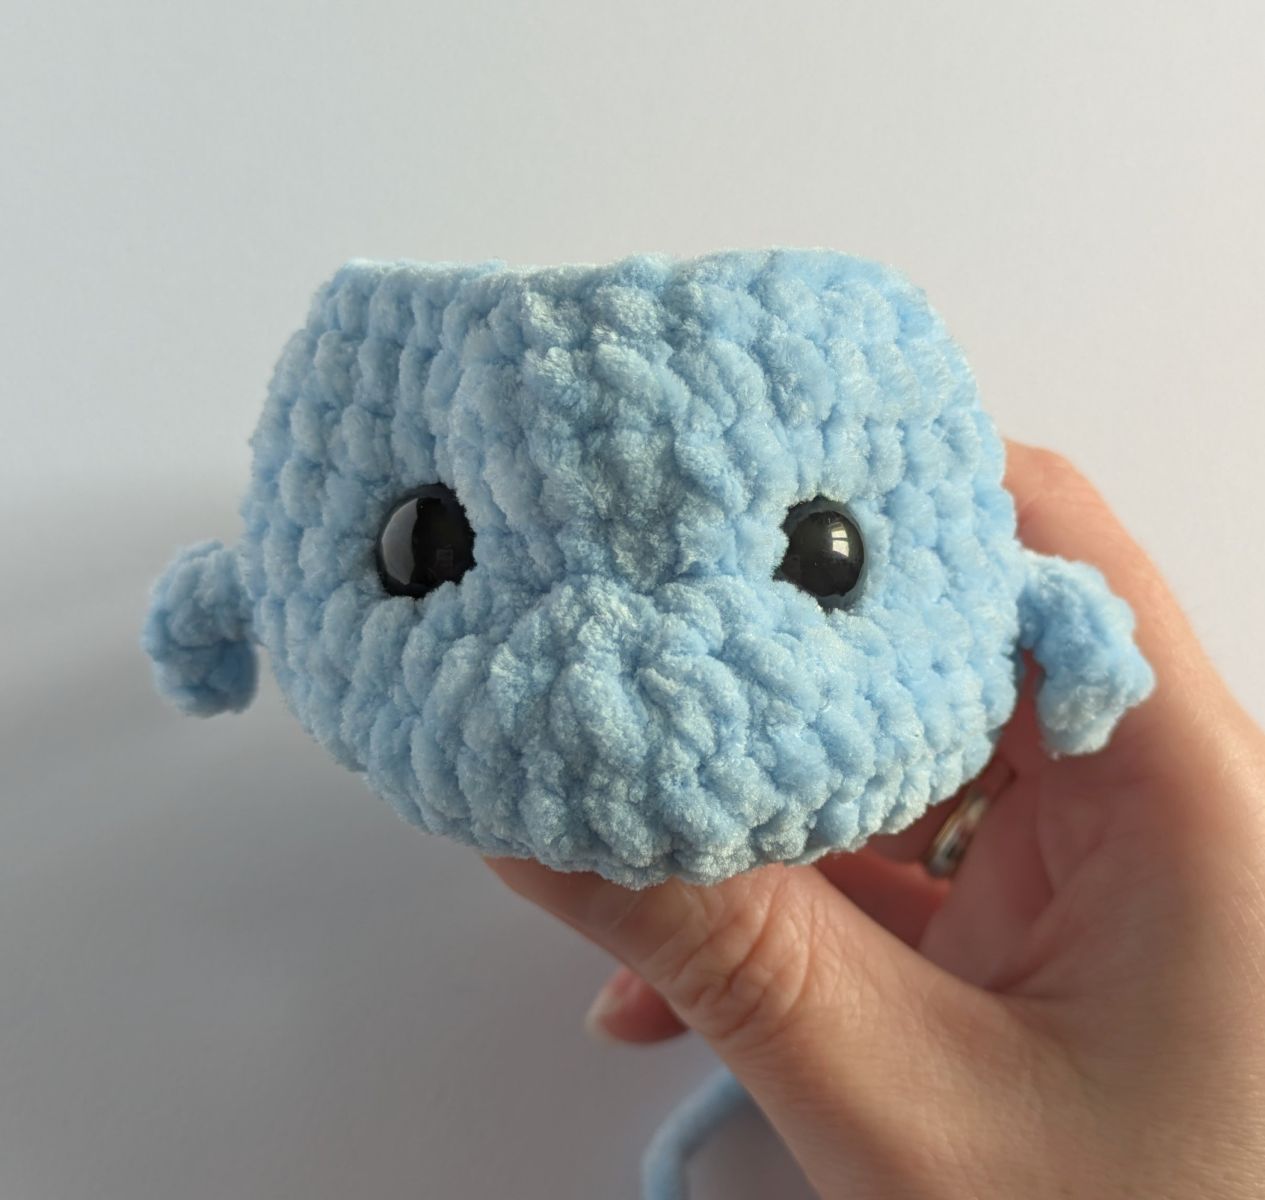
Insert the safety eyes between rounds 8 and 9, approximately 6 visible stitches apart. They will be placed in the notch created by the decreases. Continue to stuff firmly with fiberfill.
13. Rnd: (2 sc, dec) x6 (18)
14. Rnd: (1 sc, dec) x6 (12)
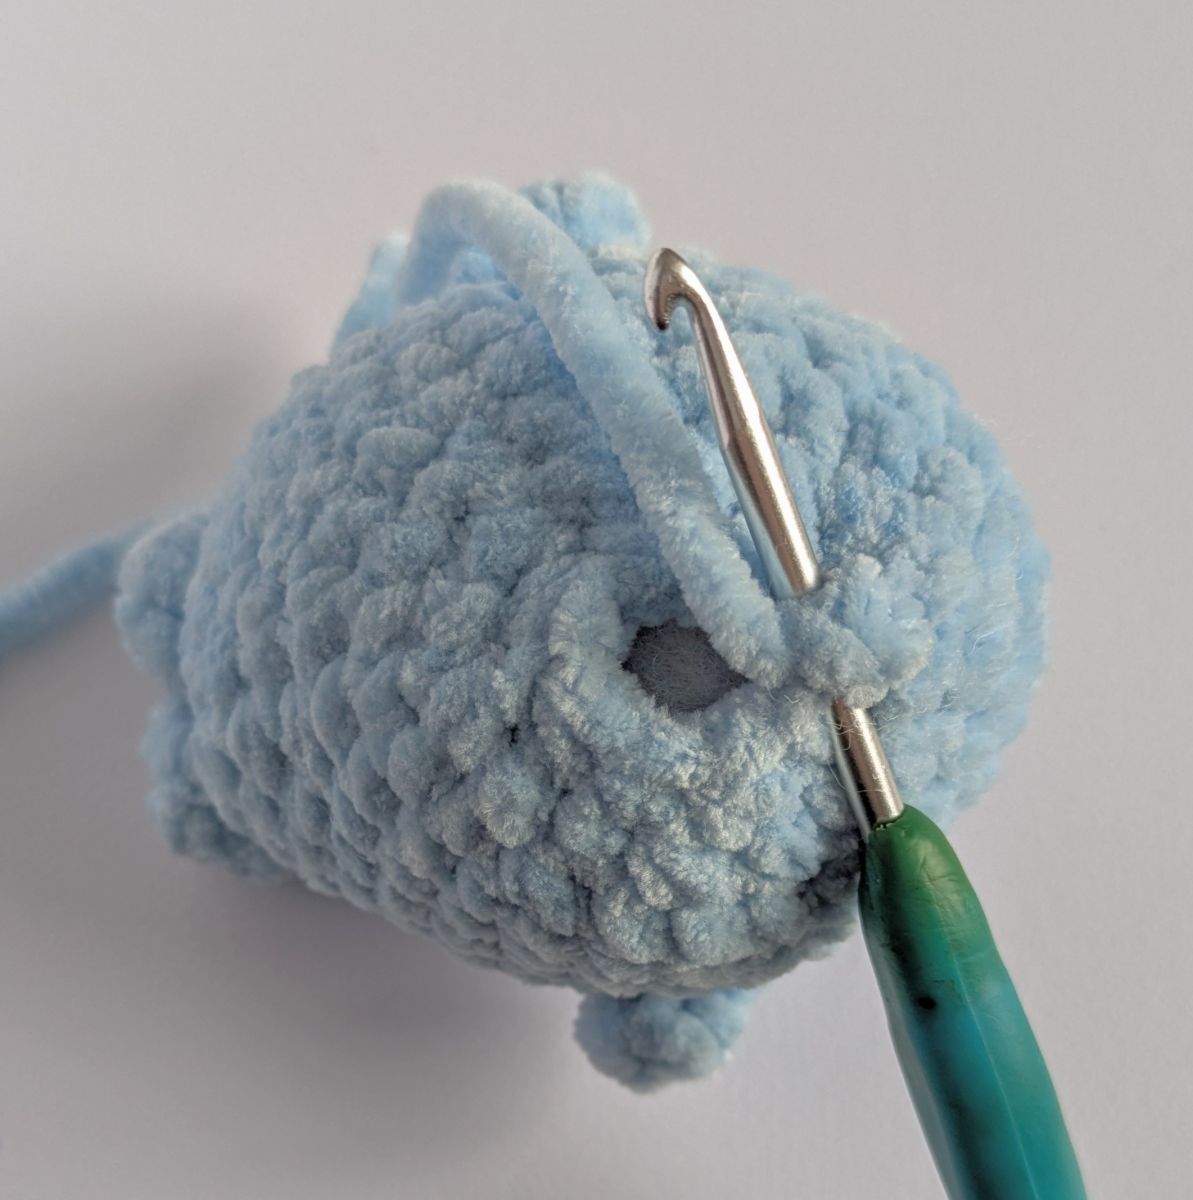
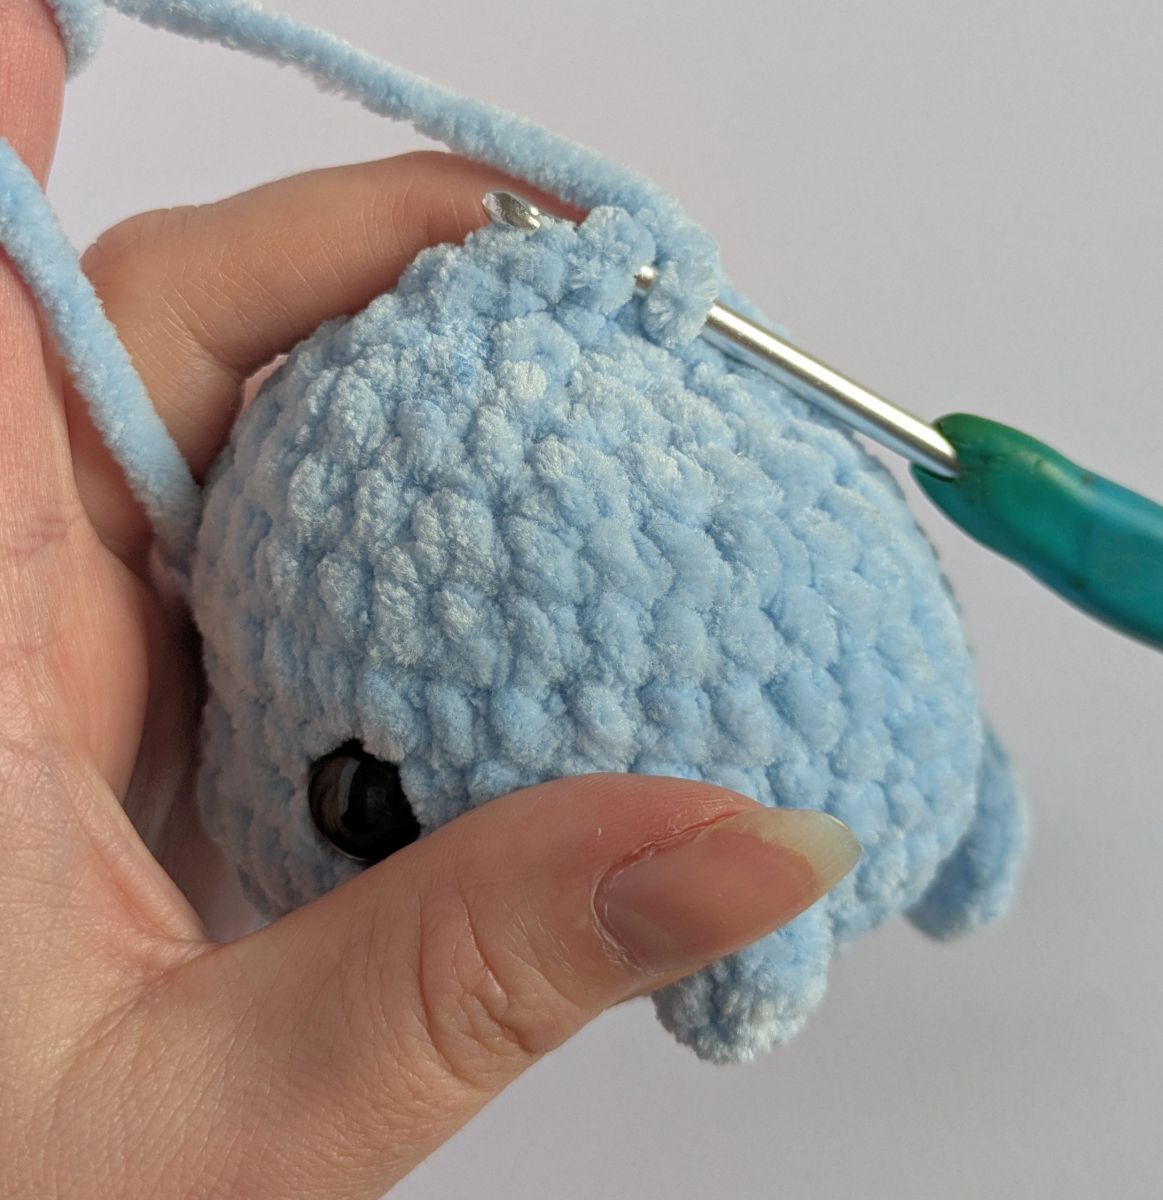
15. Rnd: dec x4, you should now be exactly in the middle above the eyes. If not, crochet 1 stitch more or less. Close the opening with 4 sc. Now the upper fin is crocheted in rows. Turn the fish and crochet back from the 2nd stitch: 3 sc. Turn and skip the first stitch again: 2 sc, turn, skip 1st stitch and crochet 1 more sc, cut the yarn, pull the yarn through and sew it in.

Eyes deepen:
To make the fish's face look cuter, the eyes need to be deepened.
I've uploaded a video on my YouTube channel (using my calf, Kira – only in german):
https://youtu.be/ZCRIjta0oR8?si=9FdOHsXFzOkoY5gm
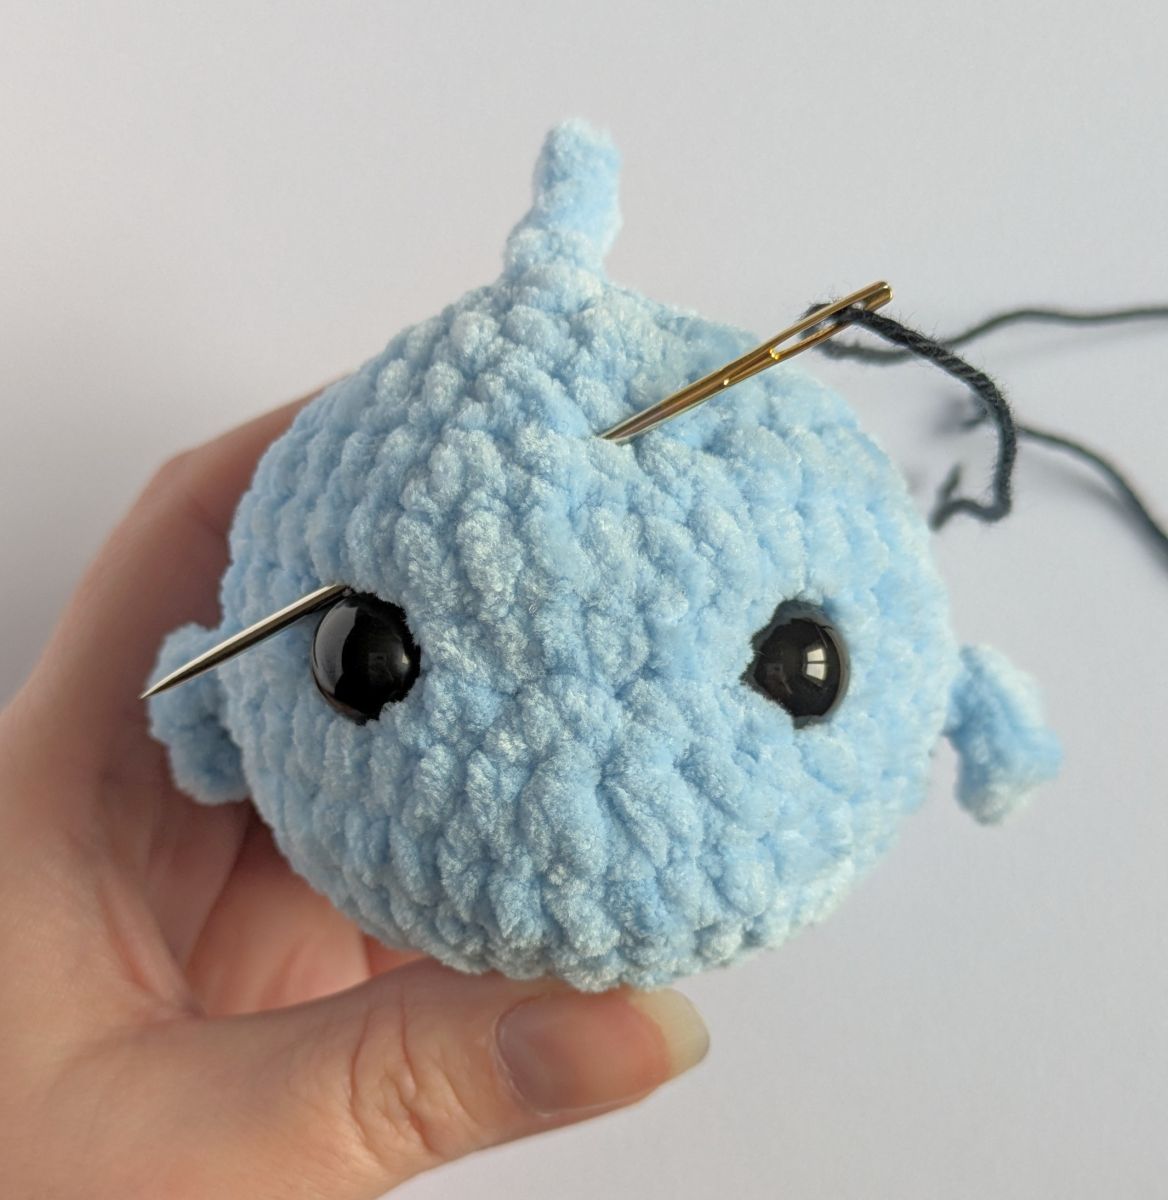
1. To do this, insert the needle in the middle between the eyes and pull it out again just above one of the eyes.
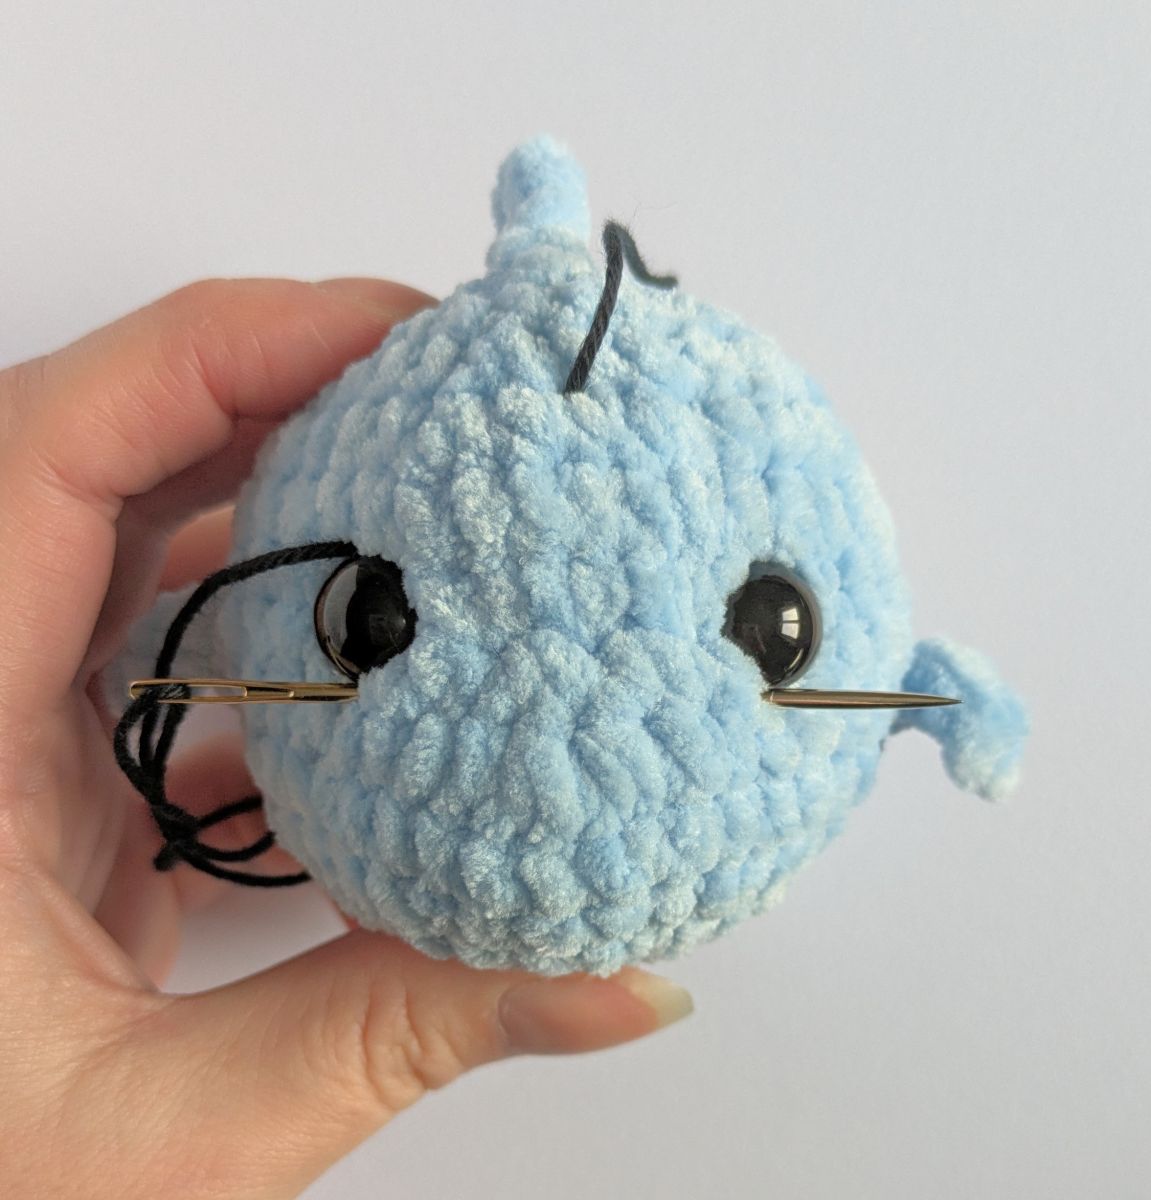
2. Then you insert the needle again below the eye and have to come out again parallel below the second eye.
3. There you insert the stitch again above this eye and come out again in the starting stitch.
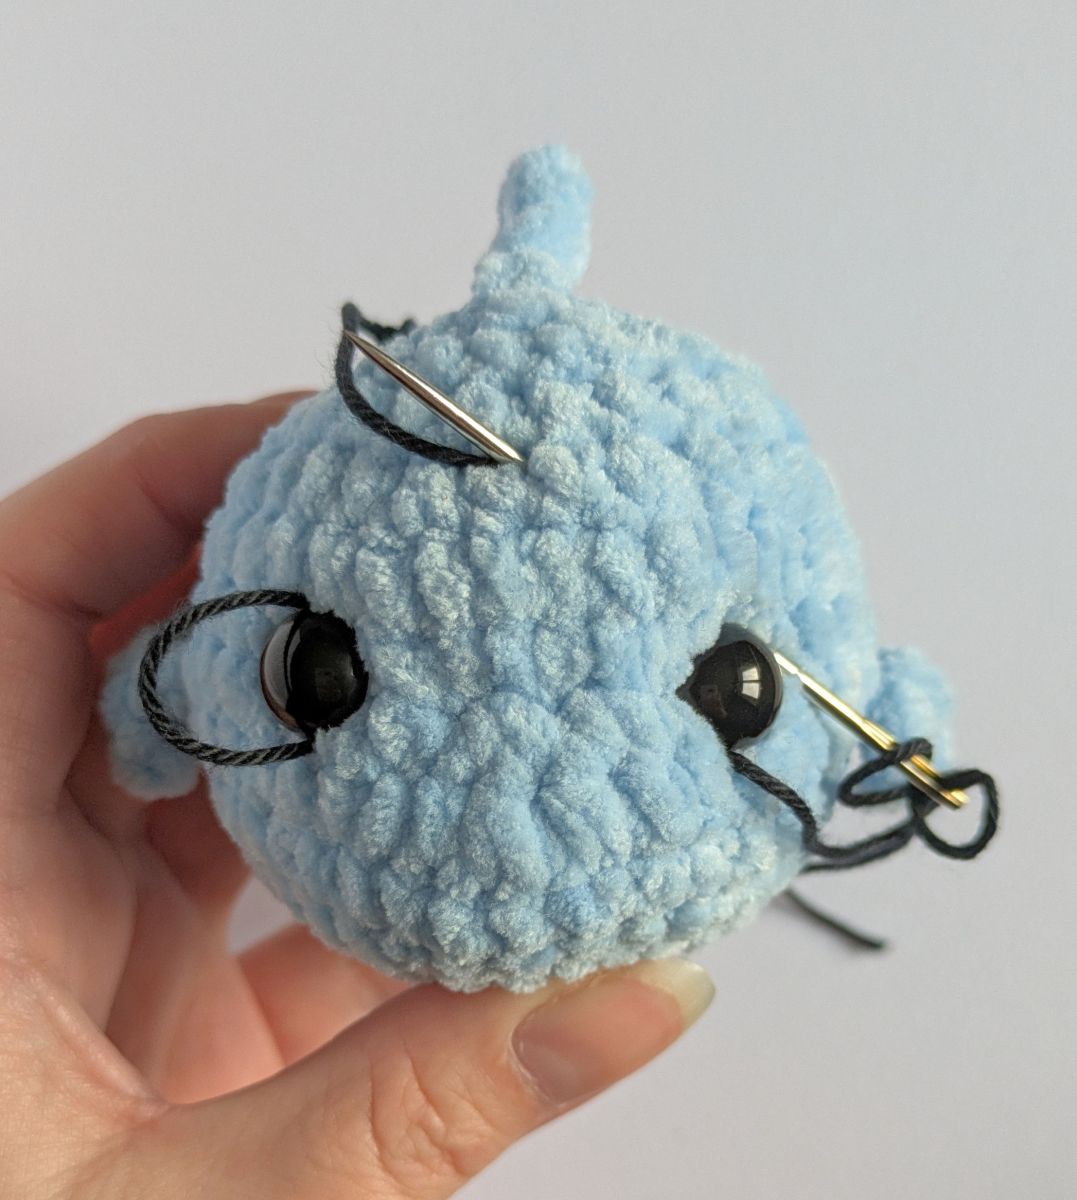
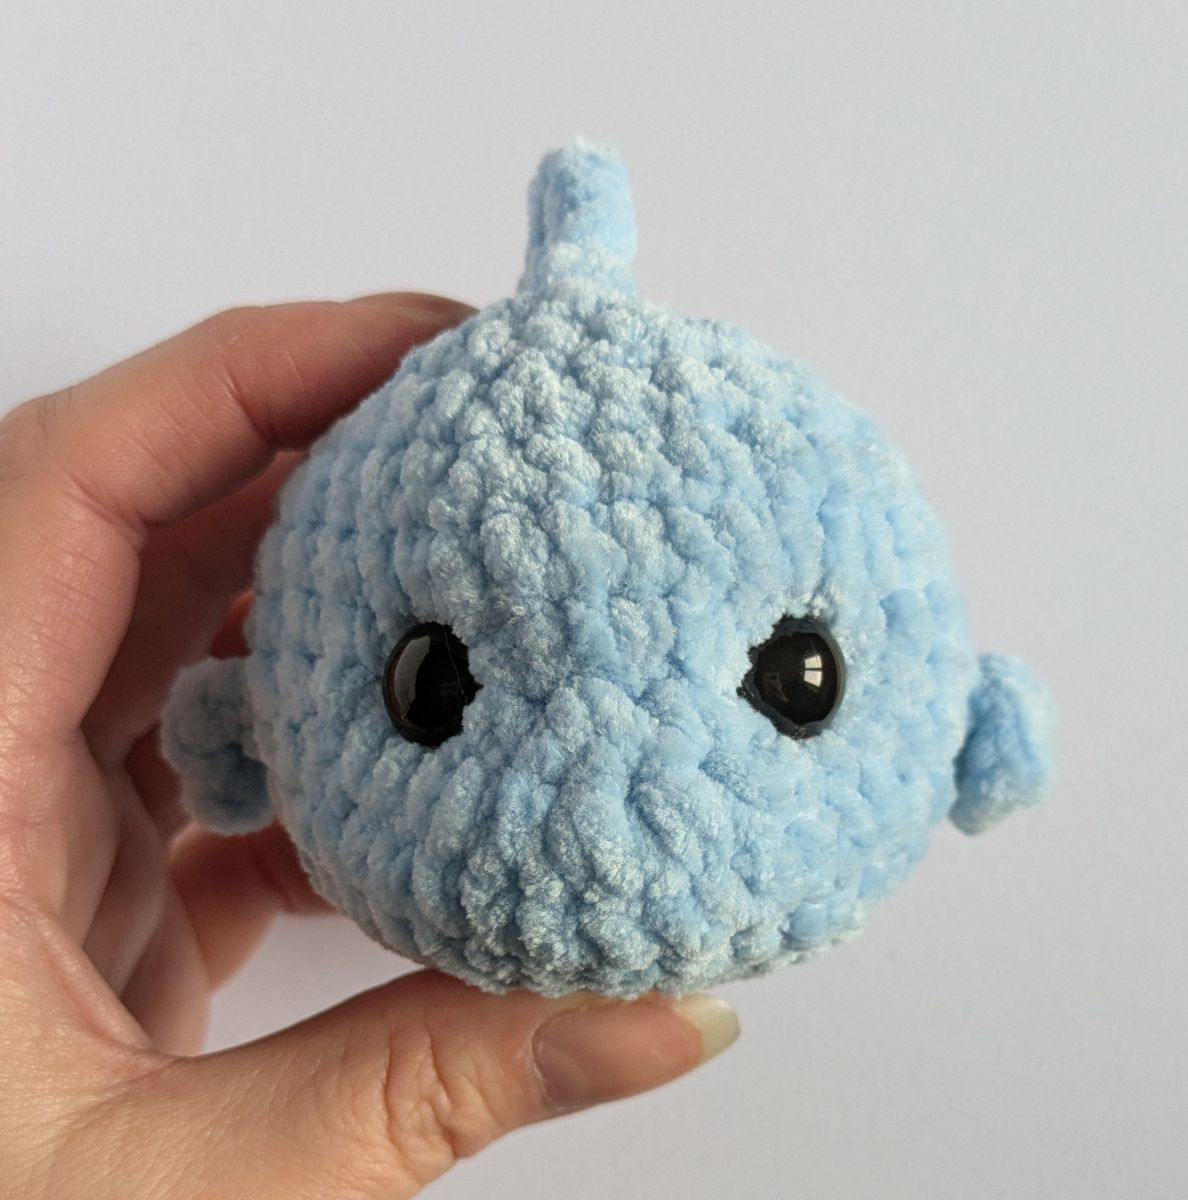
4. Pull both ends as tight as possible. You can also press the eyes together with your fingers to enhance the effect. Tie the ends together, trim them, and use a crochet hook to pull the knot inside the head.
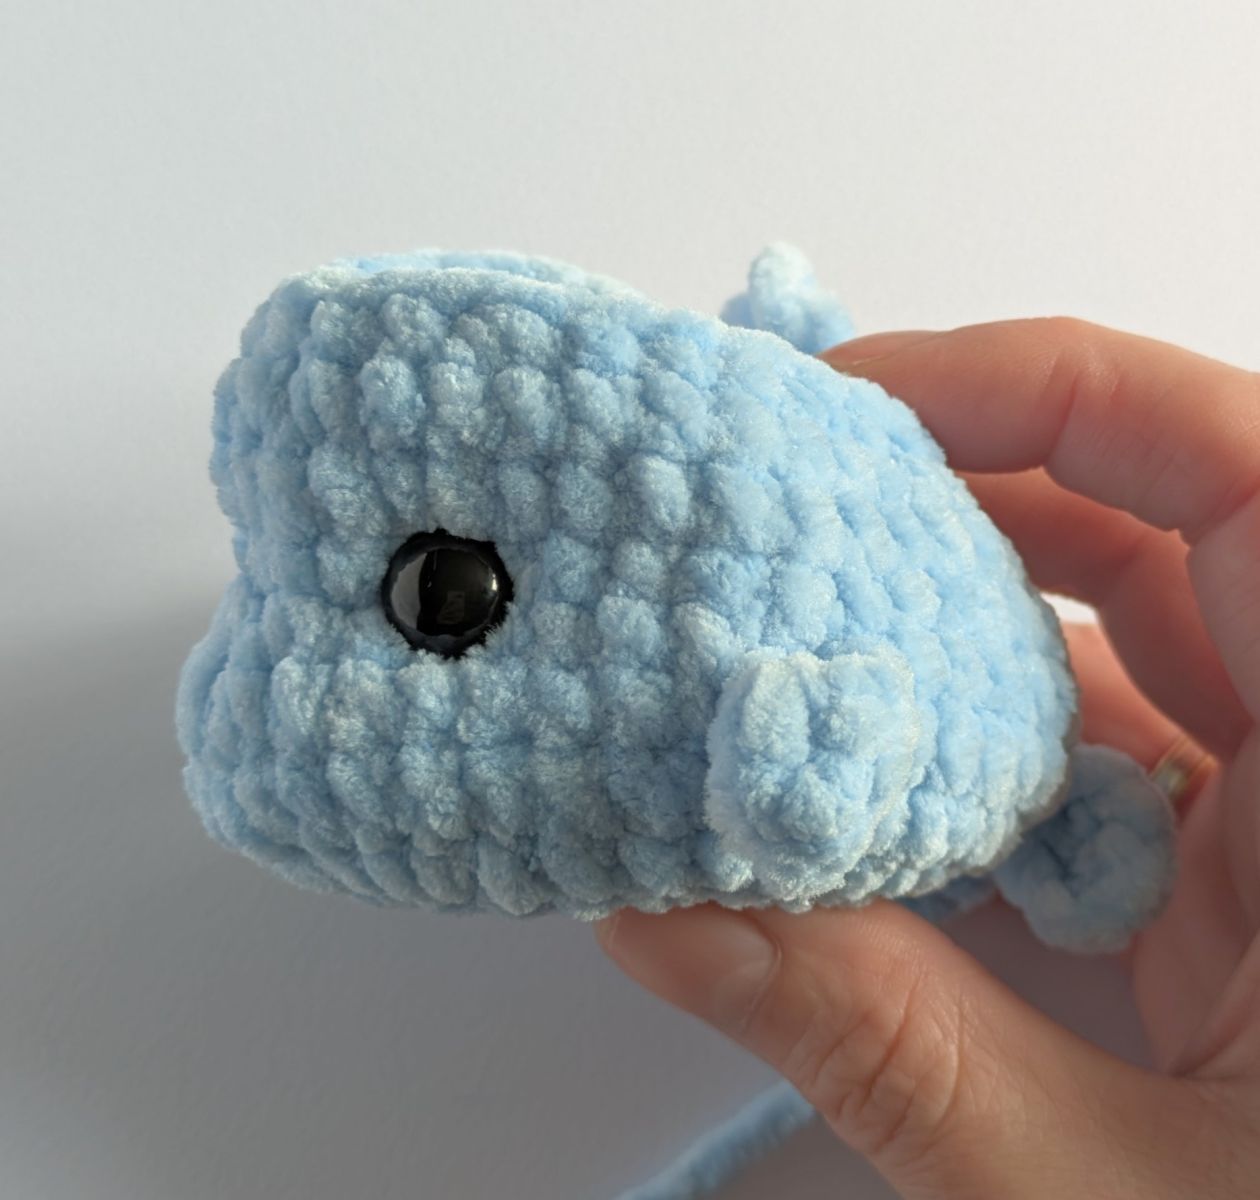
Finish:
Using black yarn, embroider eyebrows on your fish (1-2 rounds above the eyes, over a length of 2 stitches). Using pink yarn, you can add small cheeks to your Finnley (with 2-3 repeats).
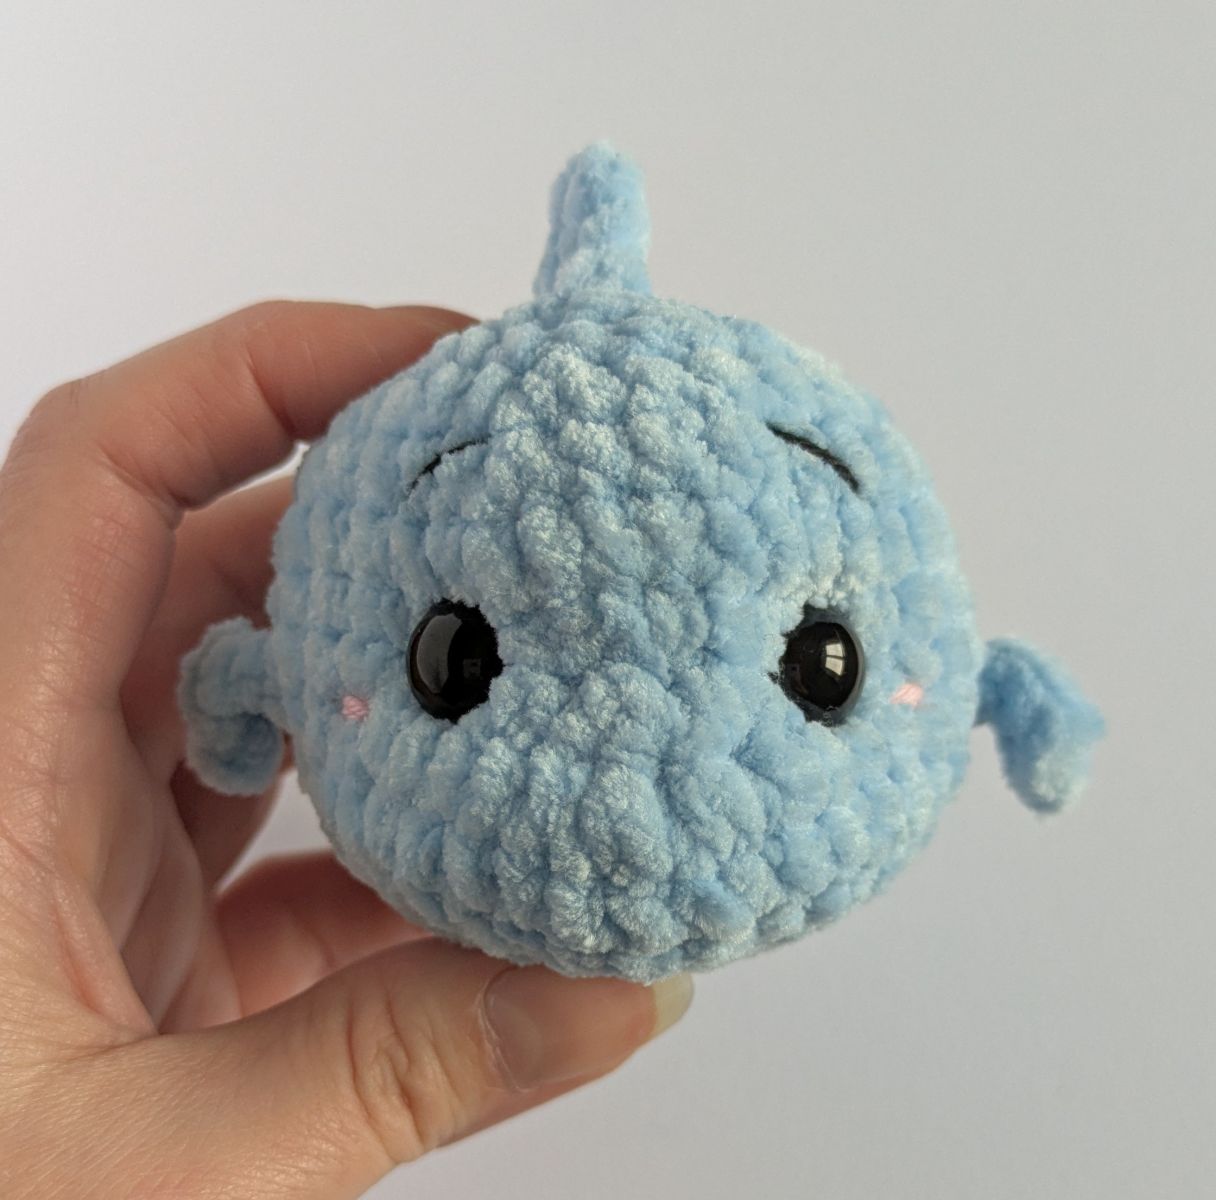
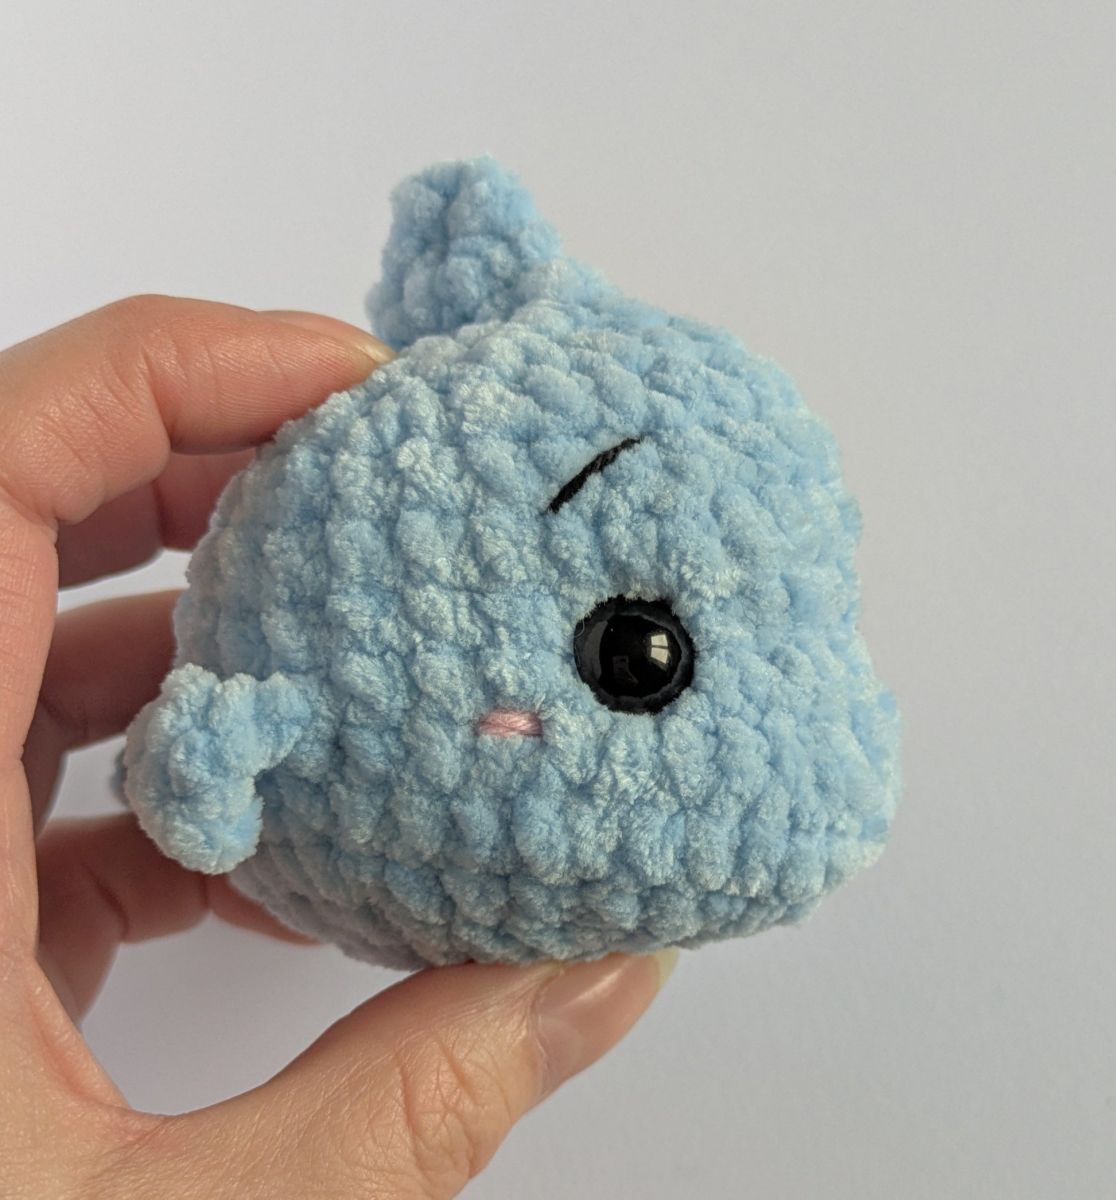
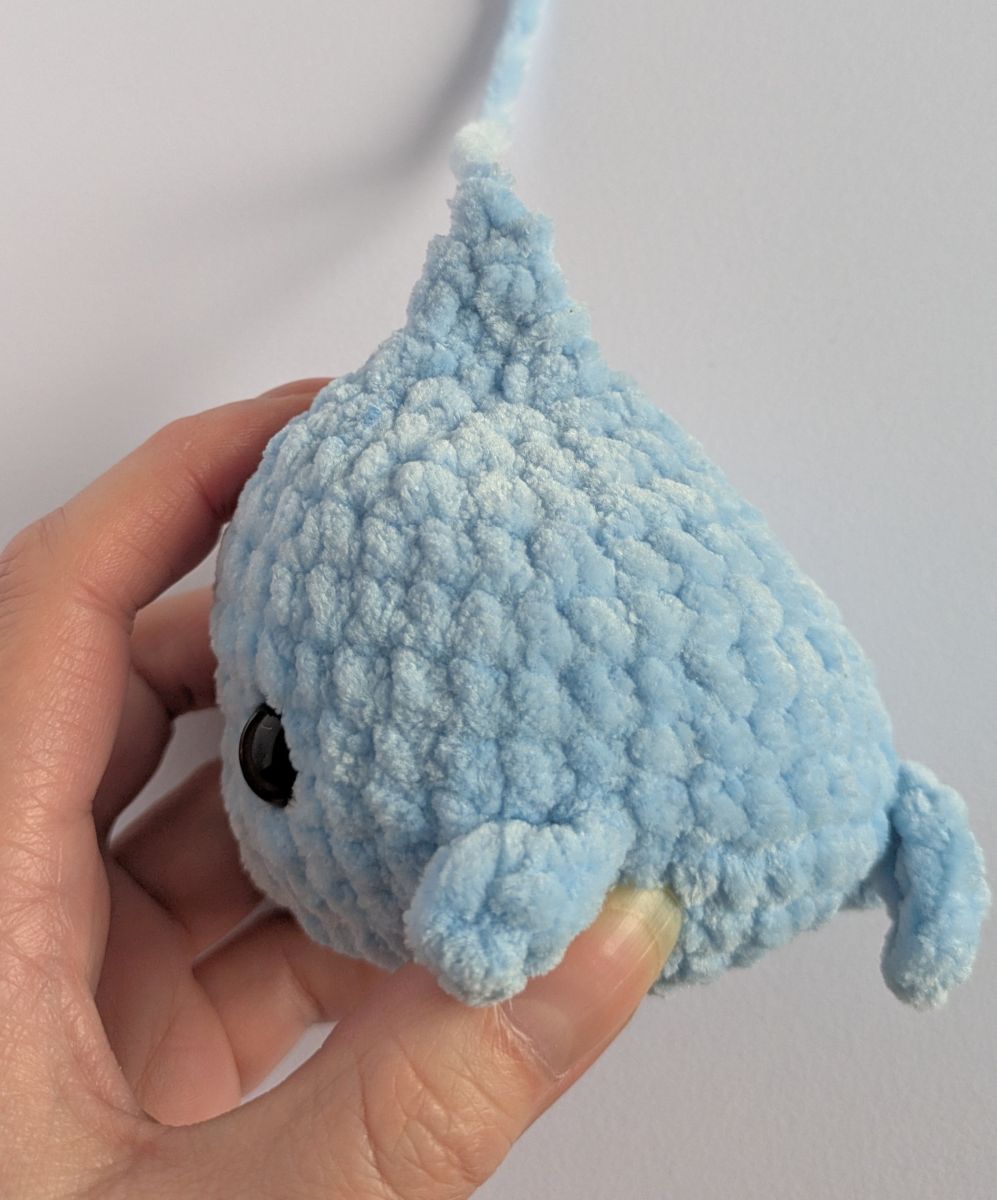
Your Finnley the Fish is finished!
I hope you had a lot of fun crocheting.
You can find more crochet patterns on my blog here, and of course in the shop as well. I look forward to your visit!
Doreen Goedhart - Gutherzdesign