
The Cute Unicorn
.JPG)
The unicorn is knitted from soft chenille yarn, making it wonderfully fluffy and gentle to the touch. It measures approximately 25 cm in height. The size can easily be adjusted by changing the yarn weight: using thicker chenille yarn creates a larger, extra‑fluffy unicorn. For this specific model, a thinner chenille yarn was used, resulting in a compact, easy‑to‑carry companion perfect as a gift for young children or for anyone who loves soft, cuddly toys. In principle, any type of yarn can be used.
Knitting Instructions:
All parts are crafted entirely with two knitting needles.
Follow these steps:
First Row - Purl Stitches Begin by knitting the first row entirely in purl stitches. These will form the back side of your project, creating a neat texture.
Second Row - Knit Stitches In the second row, knit every stitch. This will produce a smooth, even front for your piece.
Repeating the Pattern Continue alternating between purl stitches in the odd-numbered rows and knit stitches in the even-numbered rows:
- Odd-numbered rows (e.g., 1st, 3rd, 5th): Work in purl stitches.
- Even-numbered rows (e.g., 2nd, 4th, 6th): Work in knit stitches.
This straightforward pattern of alternating knit and purl rows is ideal for beginners, offering an easy yet satisfying introduction to the craft.
You will need the following:
✓ Katia velvet fine yarn: pink 65 gr. white 40 gr.
✓ Knitting needles – 1.50 mm
✓ Stuffing/fiberfill
✓ 1 extra-long sewing needle
Choose the yarn, knitting needles, and eye size according to your own taste and experience.
Abbreviations:
- CH – Chain(s)
- inc – increase
- dec – decrease
- X dec – X- times decrease
- X inc – X- times increase
- ST – Stitch
- P – purl
- K– knit (garter stitch)
Hind legs/hooves. Start with white. (2 pieces)
Cast on 6 stitches (ch) onto the knitting needle. Make sure the stitches are evenly stretched while knitting to ensure your knitted piece is nice and even.
1. 6 P (6)
2. 6 K inc. (12)
3. 12 P
4. (1 K,1 inc)х 6 (18)
5. 18 P
6. (2 K,1 inc)х 6 (24)
7. 24 P
8. (3 K, 1 inc)х 6 (30)
9. 30 P
10. (4 K, 1 inc)х 6 (36)
11. 36 P
12. (5 K, 1 inc)х 6 (42)
13. 42 P
14. 42 K
15. 42 P
16. 42 K
17. 42 P
18. 42 K
19. 42 P
Change color, pink.
20. (5 K, 1 dec)х 6 (36)
21. 36 P
22. 36 K
23. 36 P
24. (4 K, 1 dec)х 6 (30)
25. 30 P
26. 30 K
27. 30 P
28. 30 K
29. 30 P
30. 30 K
31. 30 P
32. 30 K
33. 30 P
34. 30 K
35. 30 P
36. 30 K
37. 30 P
38. 30 K
39. 30 P
40. 30 K
41. 30 P
42. 30 K
43. 30 P
44. 30 K
45. 30 P
46. (3 K, 1 dec)х 6 (24)
47. 24 P
48. 24 K
49. 24 P
50. 24 K
51. 24 P
52. 24 K
53. 24 P
Bind off the remaining stitches.
Then fold the legs together and sew them along the edge using the same yarn. Add a small amount of stuffing as you sew, just enough to give the legs a gentle shape.
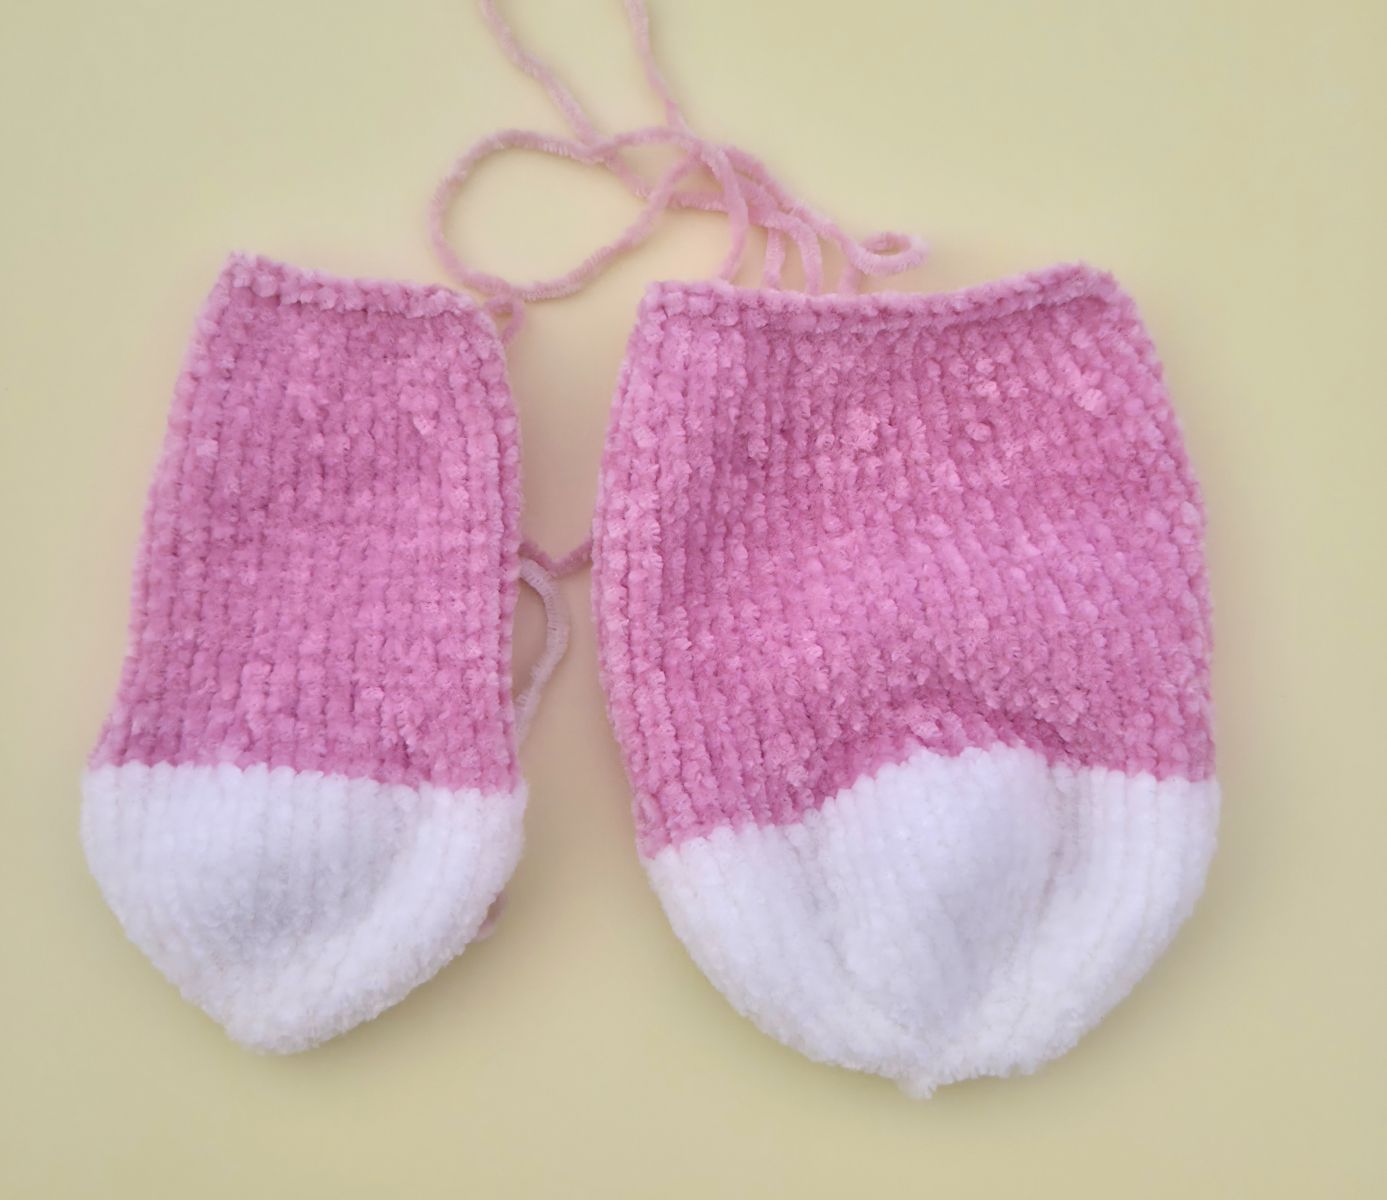
Forelegs. Start crocheting in white (2 pieces)
Cast on 6 stitches (ch) onto the knitting needle. Make sure the stitches are evenly stretched while knitting to ensure your knitted piece is nice and even.
1. 6 P (6)
2. 6 K inc. (12)
3. 12 P
4. (1 K,1 inc)х 6 (18)
5. 18 P
6. (2 K,1 inc)х 6 (24)
7. 24 P
8. (3 K, 1 inc)х 6 (30)
9. 30 P
10. (4 K, 1 inc)х 6 (36)
11. 36 P
12. 36 K
13. 36 P
14. 36 K
15. 36 P
16. 36 K
17. 36 P
Change color, pink.
18. (4 K, 1 dec)х 6 (30)
19. 30 P
20. 30 K
21. 30 P
22. 30 K
23. 30 P
24. 30 K
25. 30 P
26. 30 K
27. 30 P
28. 30 K
29. 30 P
30. 30 K
31. 30 P
32. 30 K
33. 30 P
34. 30 K
35. 30 P
36. 13 K, 1 dec, 13 K, 1 dec (28)
37. 28 P
38. 12 K, 1 dec, 12 K, 1 dec (26)
39. 26 P
40. 11 K, 1 dec, 11 K, 1 dec (24)
41. 24 P
42. 24 K
43. 24 P
44. 24 K
45. 24 P
46. 24 K
47. 24 P
48. 24 K
49. 24 P
Bind off the remaining stitches.
Then fold the legs together and sew them along the edge using the same yarn. Add a small amount of stuffing as you sew, just enough to give the legs a gentle shape.
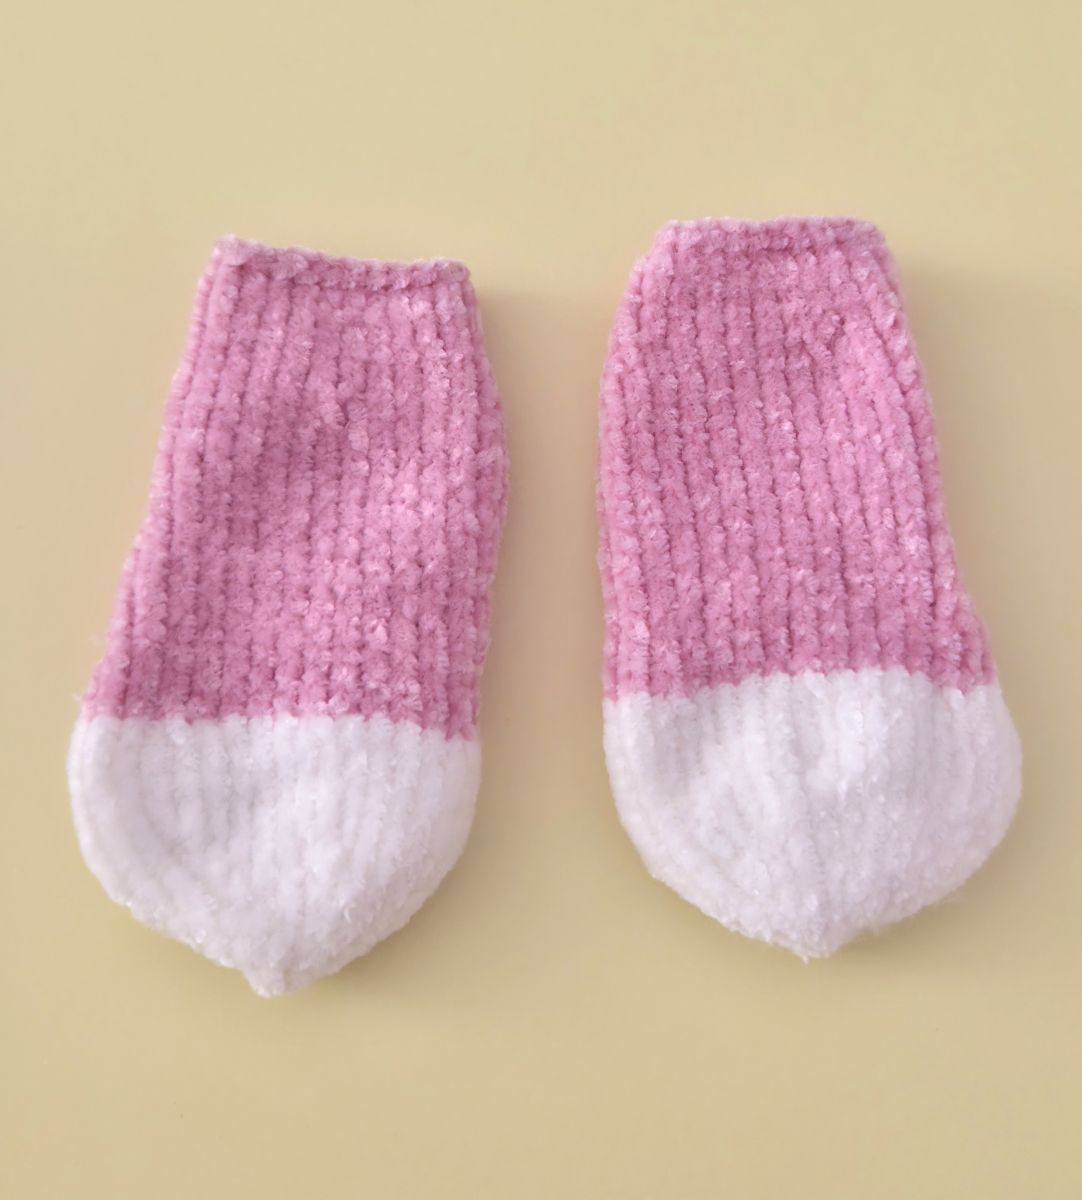
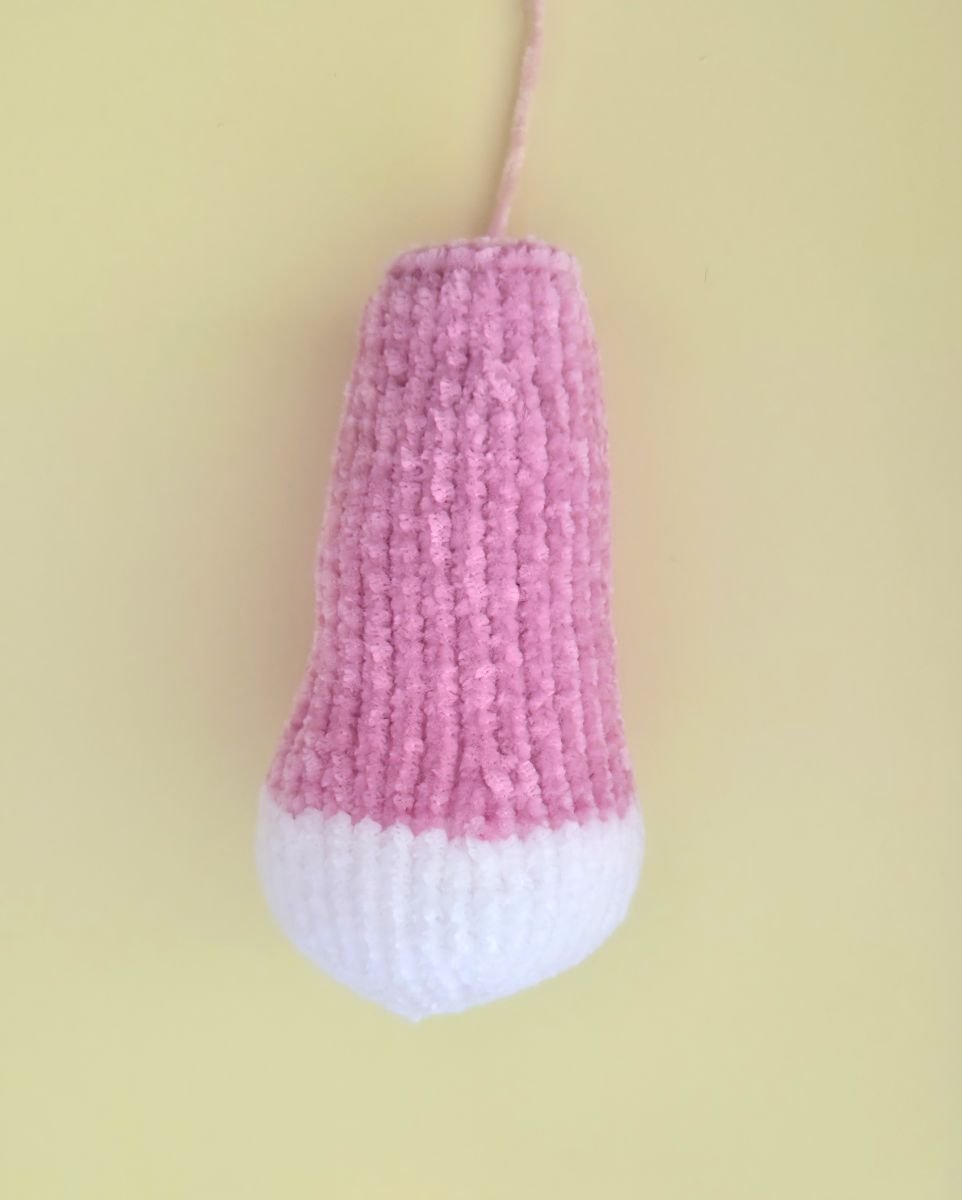
Body (pink)
Cast on 6 stitches (ch) onto the knitting needle. Make sure the stitches are evenly stretched while knitting to ensure your knitted piece is nice and even.
1. 6 P (6)
2. 6 K inc. (12)
3. 12 P
4. (1 K, 1 K inc)x 6 (18)
5. 18 P
6. (2 K, 1 K inc)x 6 (24)
7. 24 P
8. (3 K, 1 K inc)x 6 (30)
9. 30 P
10. (4 K, 1 K inc)x 6 (36)
11. 36 P
12. (5 K, 1 K inc)x 6 (42)
13. 42 P
14. (6 K, 1 K inc)x 6 (48)
15. 48 P
16. (7 K, 1 K inc)x 6 (54)
17. 54 P
18. ( 8 K, 1 K inc)x 6 (60)
19. 60 P
20. ( 9 K, 1 K inc)x 6 (66)
21. 66 P
22. ( 10 K, 1 K inc)x 6 (72)
23. 72 P
24. ( 11 K, 1 K inc)x 6 (78)
25. 78 P
26. ( 12 K, 1 K inc)x 6 (84)
27. 84 P
28. 8 K, bind off the next 12 stitches, 44 K, bind off the next 12 stitches, 8 K
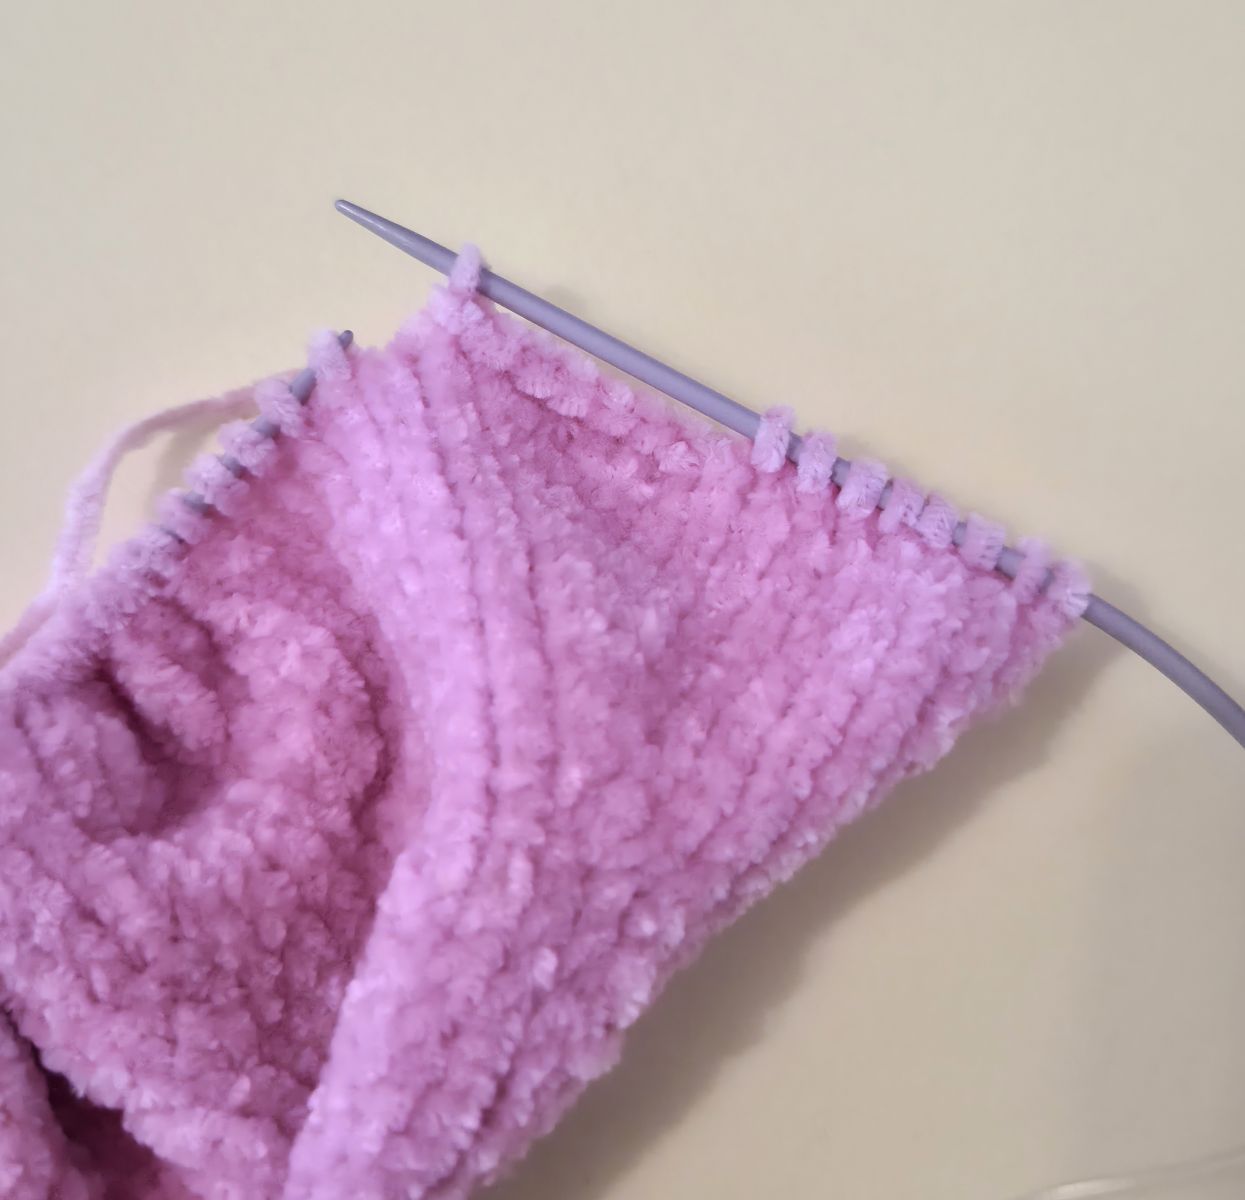
29. 8 P, cast on 12 stitches, 44 P, cast on 12 stitches, 8 P
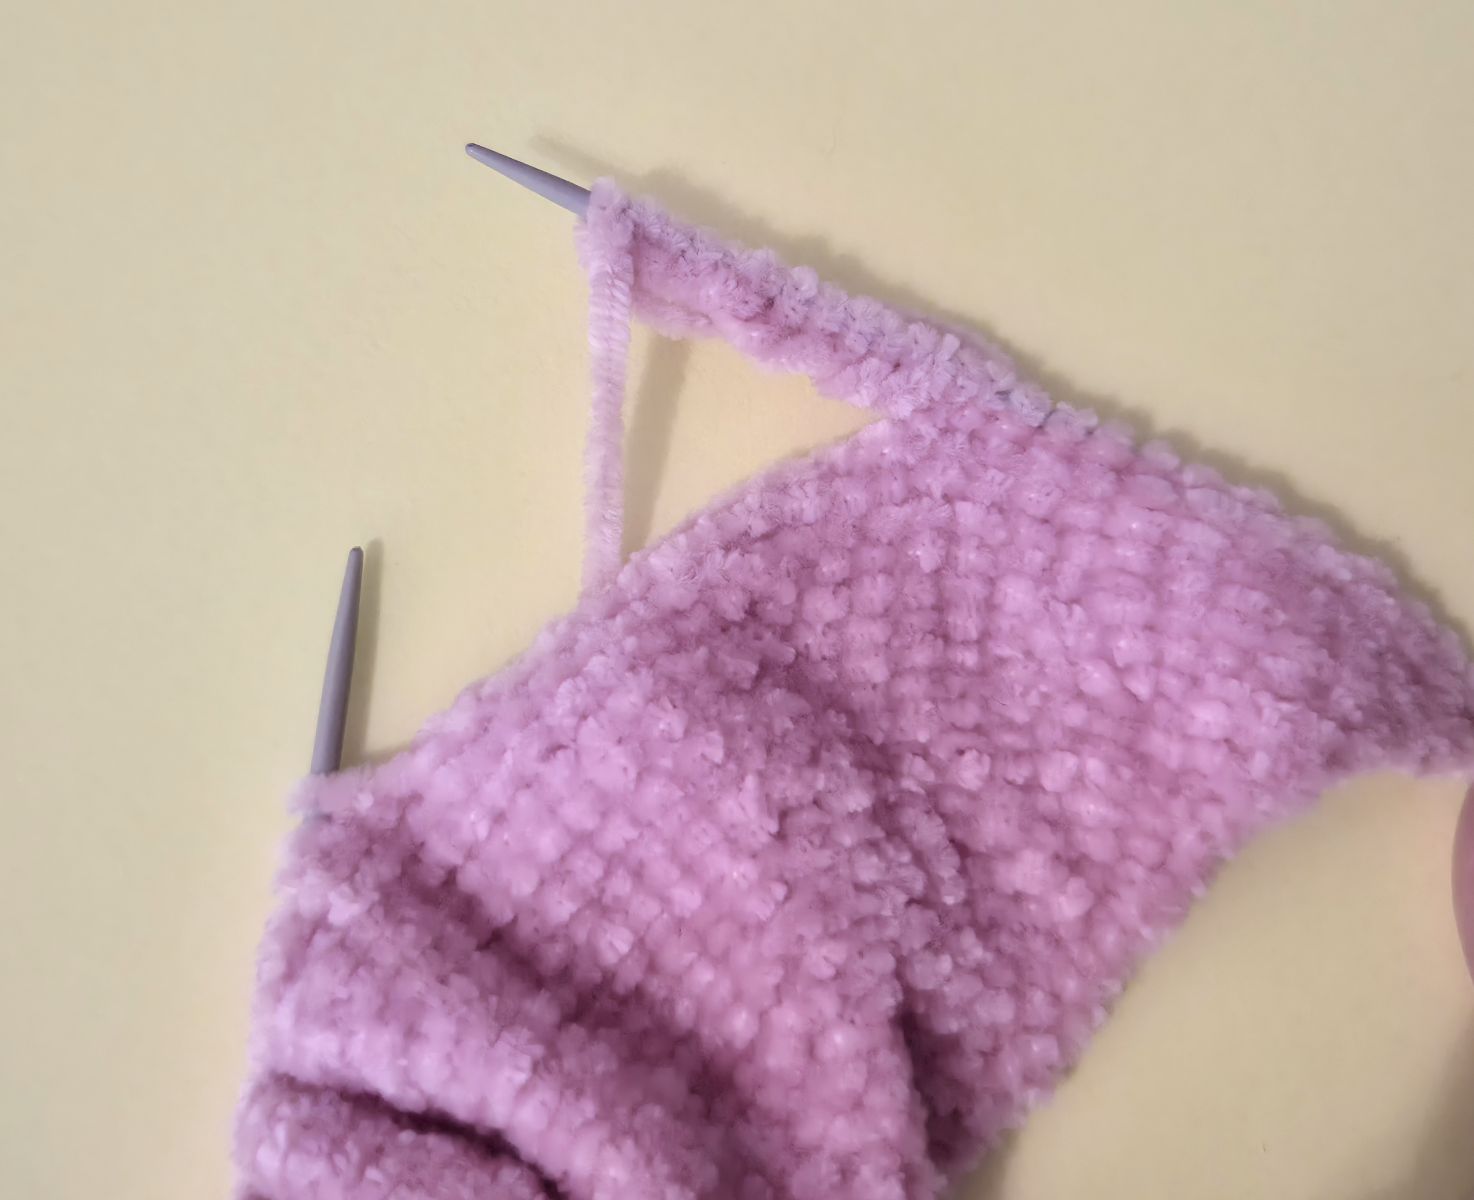
In rows 28 and 29, two openings are intentionally created, into which the hind legs will later be inserted and sewn.
Knit a total of 30 rows in stockinette stitch:
On the front side of the work, knit all stitches across the row.
On the back side of the work, purl all stitches across the row.
31, 33, 35, 37, 39, 41, 43, 45, 47, 49, 51, 53, 55, 57, 59 - 84 P
30, 32, 34, 36, 38, 40, 42, 44, 46, 48, 50, 52, 54, 56, 58 - 84 K
60. 20 K, (3 K, 1 dec)x 9, 19 K (75)
61. 75 P
Knit a total of 6 rows in stockinette stitch:
On the front side of the work, knit all stitches across the row.
On the back side of the work, purl all stitches across the row.
62, 64, 66 – 75 K
63, 65, 67- 75 P
68. (23 K, 1 dec)x 3 (72)
69. 72 P
70. (10 K, 1 dec)x 6 (66)
71. 66 P
72. 66 K
73. 66 K
74. (9 K, 1 dec)x 6 (60)
75. 60 P
Knit a total of 8 rows in stockinette stitch:
On the front side of the work, knit all stitches across the row.
On the back side of the work, purl all stitches across the row.
77, 79, 81, 83 - 60 P
76, 78, 80, 82 - 60 K
84. 8 K, bind off the next 12 stitches, 20 K, bind off the next 12 stitches, 8 K
85. 8 P, bind off the next 12 stitches, 20 P, bind off the next 12 stitches, 8 P
In rows 84 and 85, two openings are intentionally created, into which the legs will later be inserted and sewn.
86. 60 K
87. 60 P
88. 60 K
89. 60 P
90. 60 K
91. 60 P
92. 60 P
93. (8 K, 1 dec)x 6 (54)
94. 54 P
95. (7 K, 1 dec)x 6 (48)
96. 48 P
97. (6 K, 1 dec)x 6 (42)
98. 42 P
Finally, bind off the remaining 42 stitches. Then sew the body together using the same yarn. Keep the stitches neat and even so the seam appears tidy.
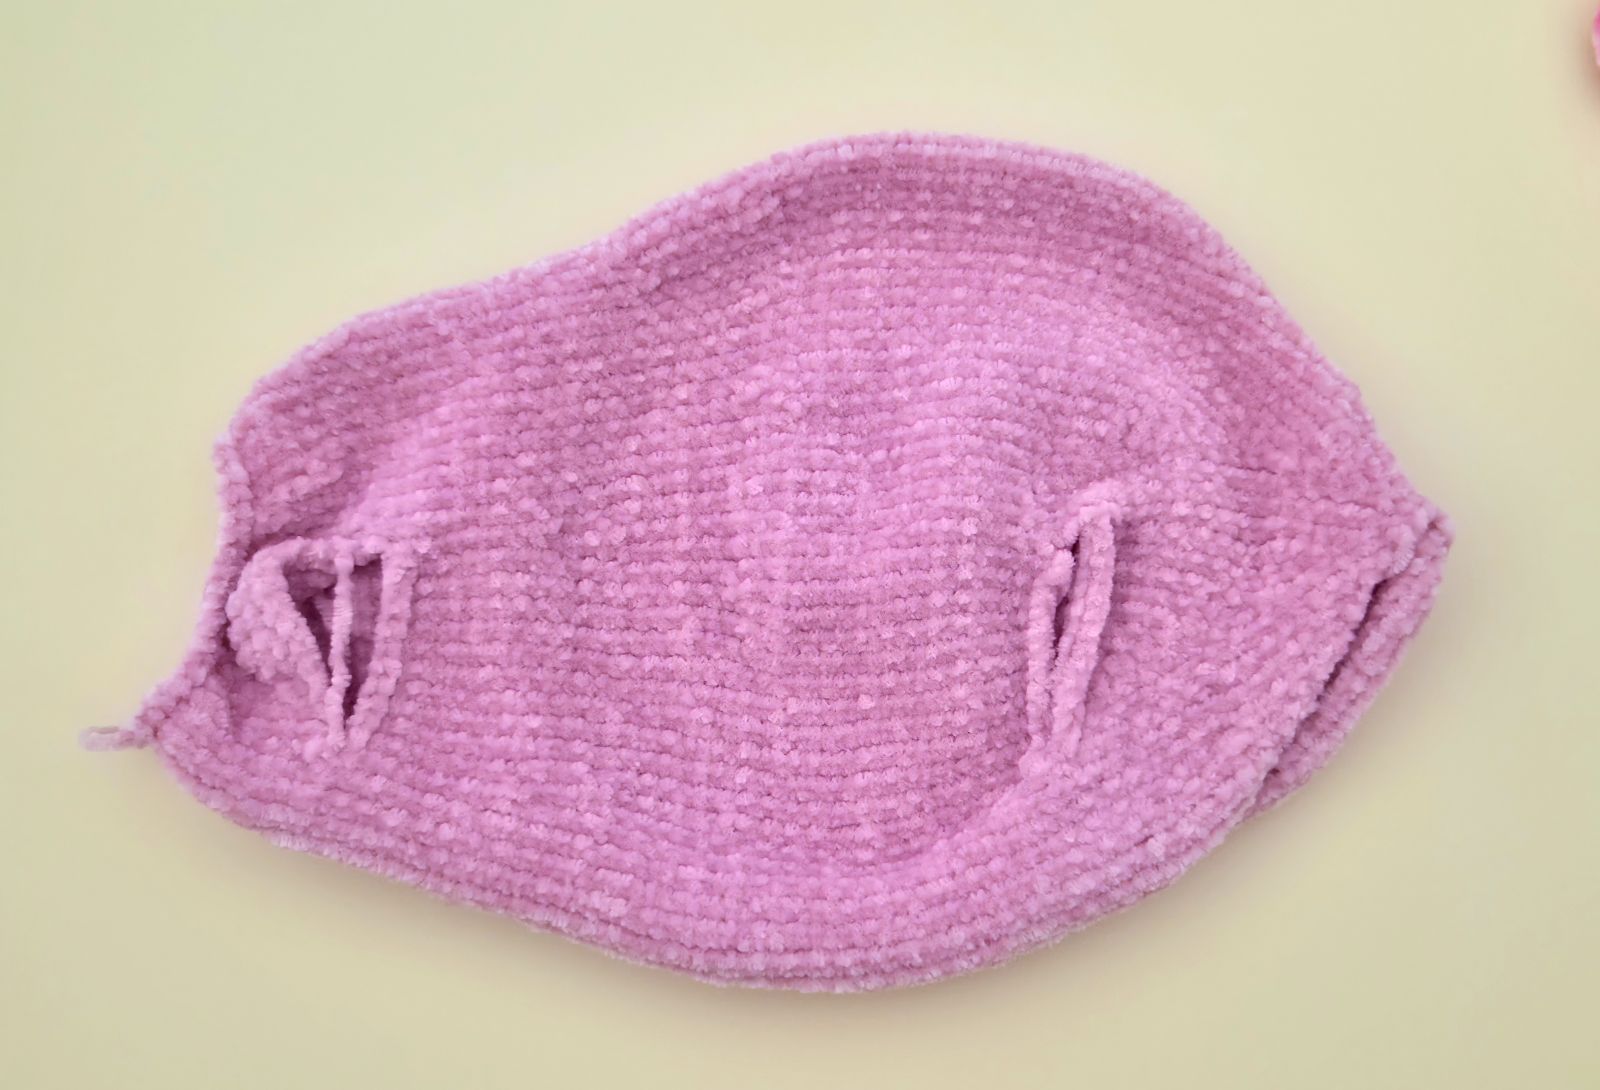
When assembling the pieces, insert and securely sew both the hind legs and the front legs into the body. The openings in the body are designed for the legs to pass through; align the edges of each opening precisely with the edges of the corresponding leg and sew them together. The assembly is particularly straightforward because each leg consists of 24 stitches, and the openings in the body are also 24 stitches wide, allowing for a clean, stitch‑by‑stitch connection.
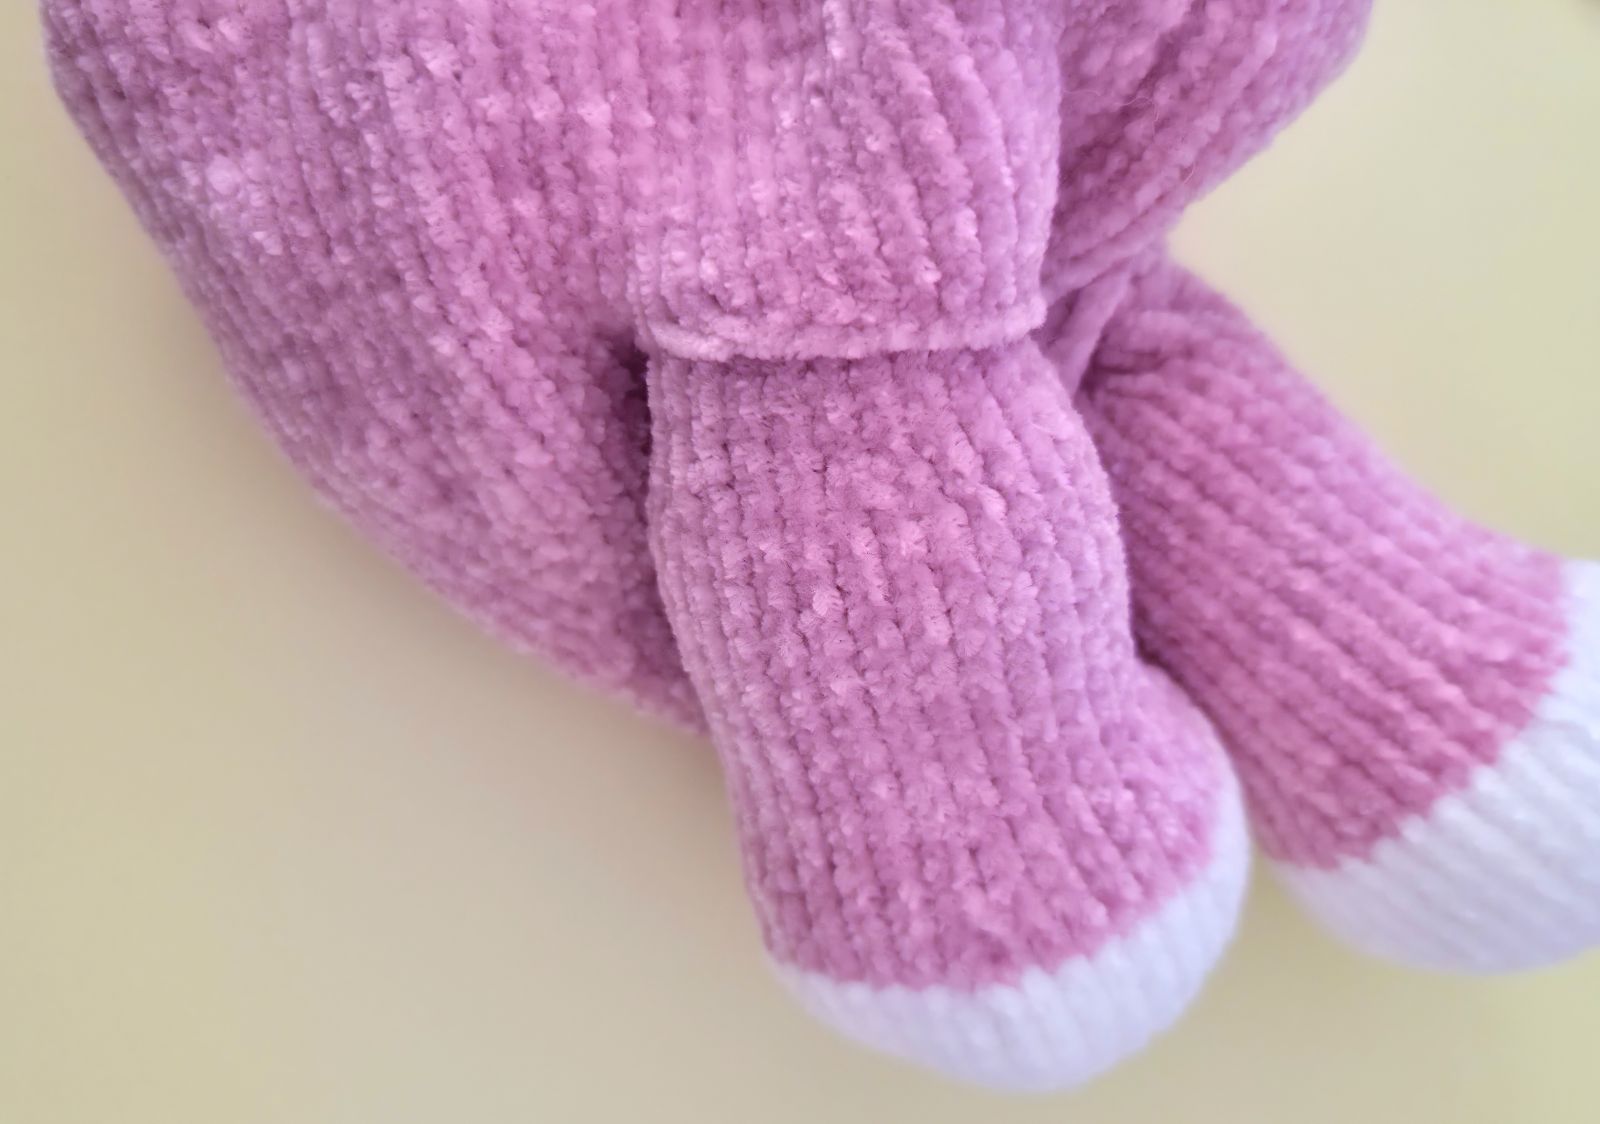
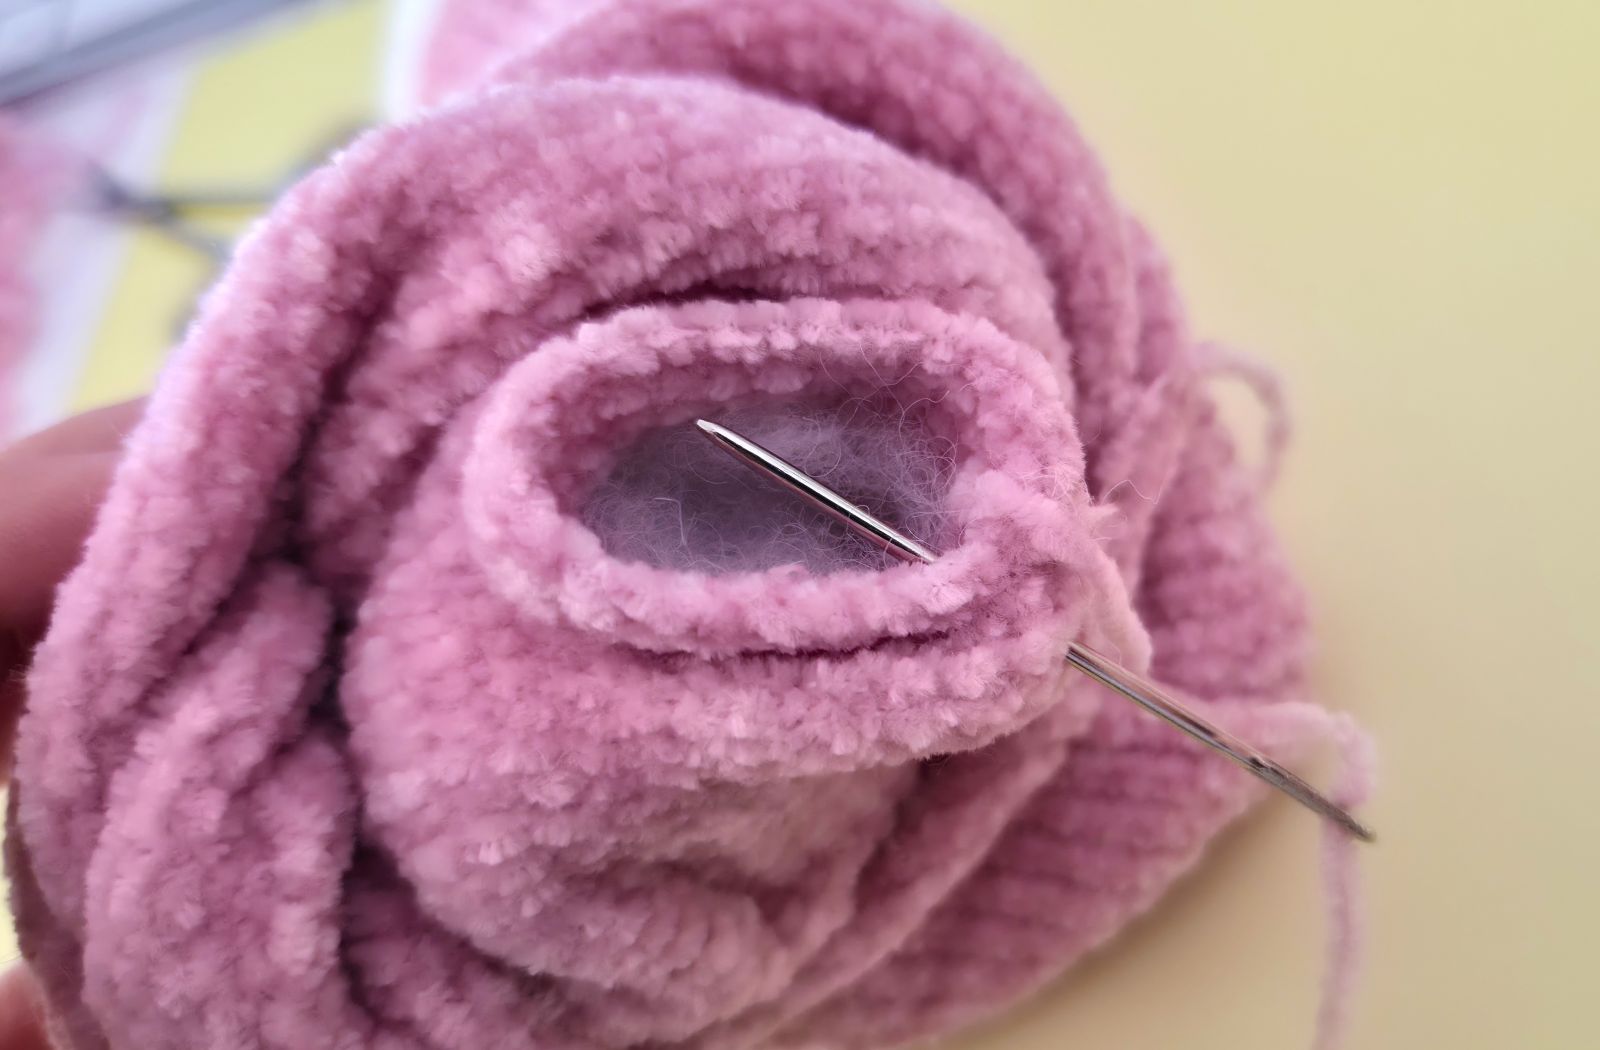
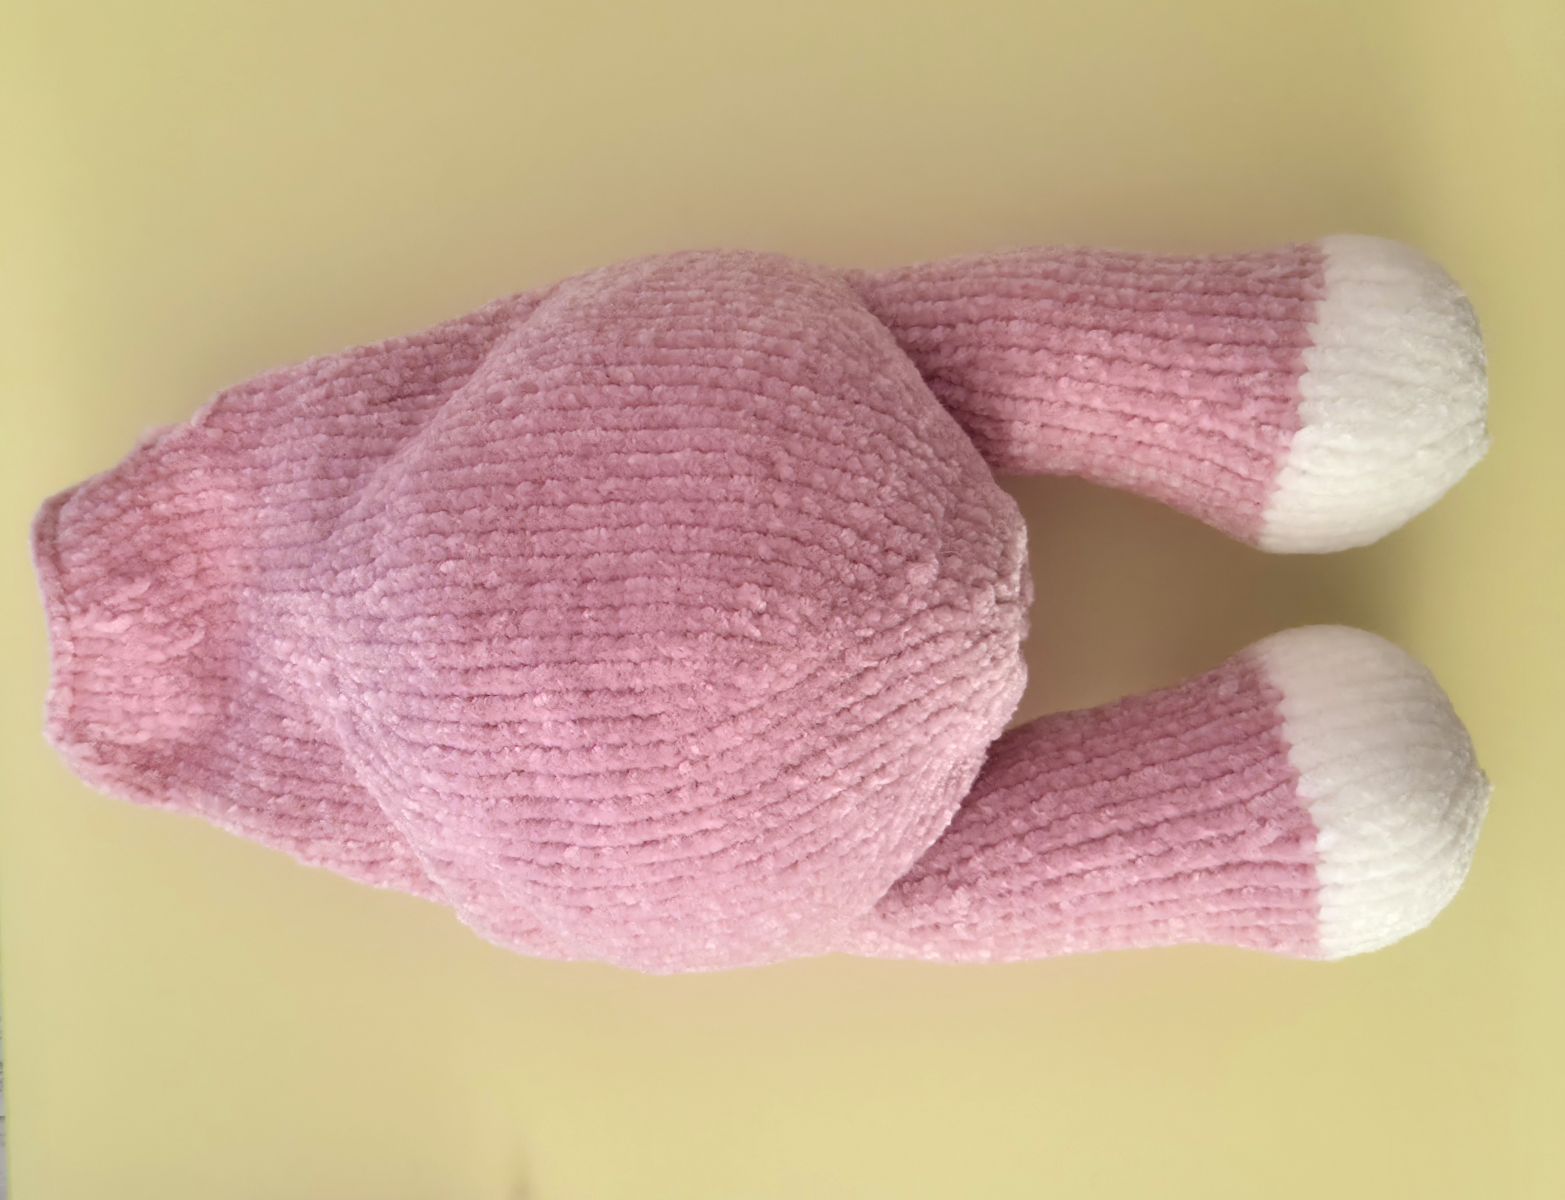
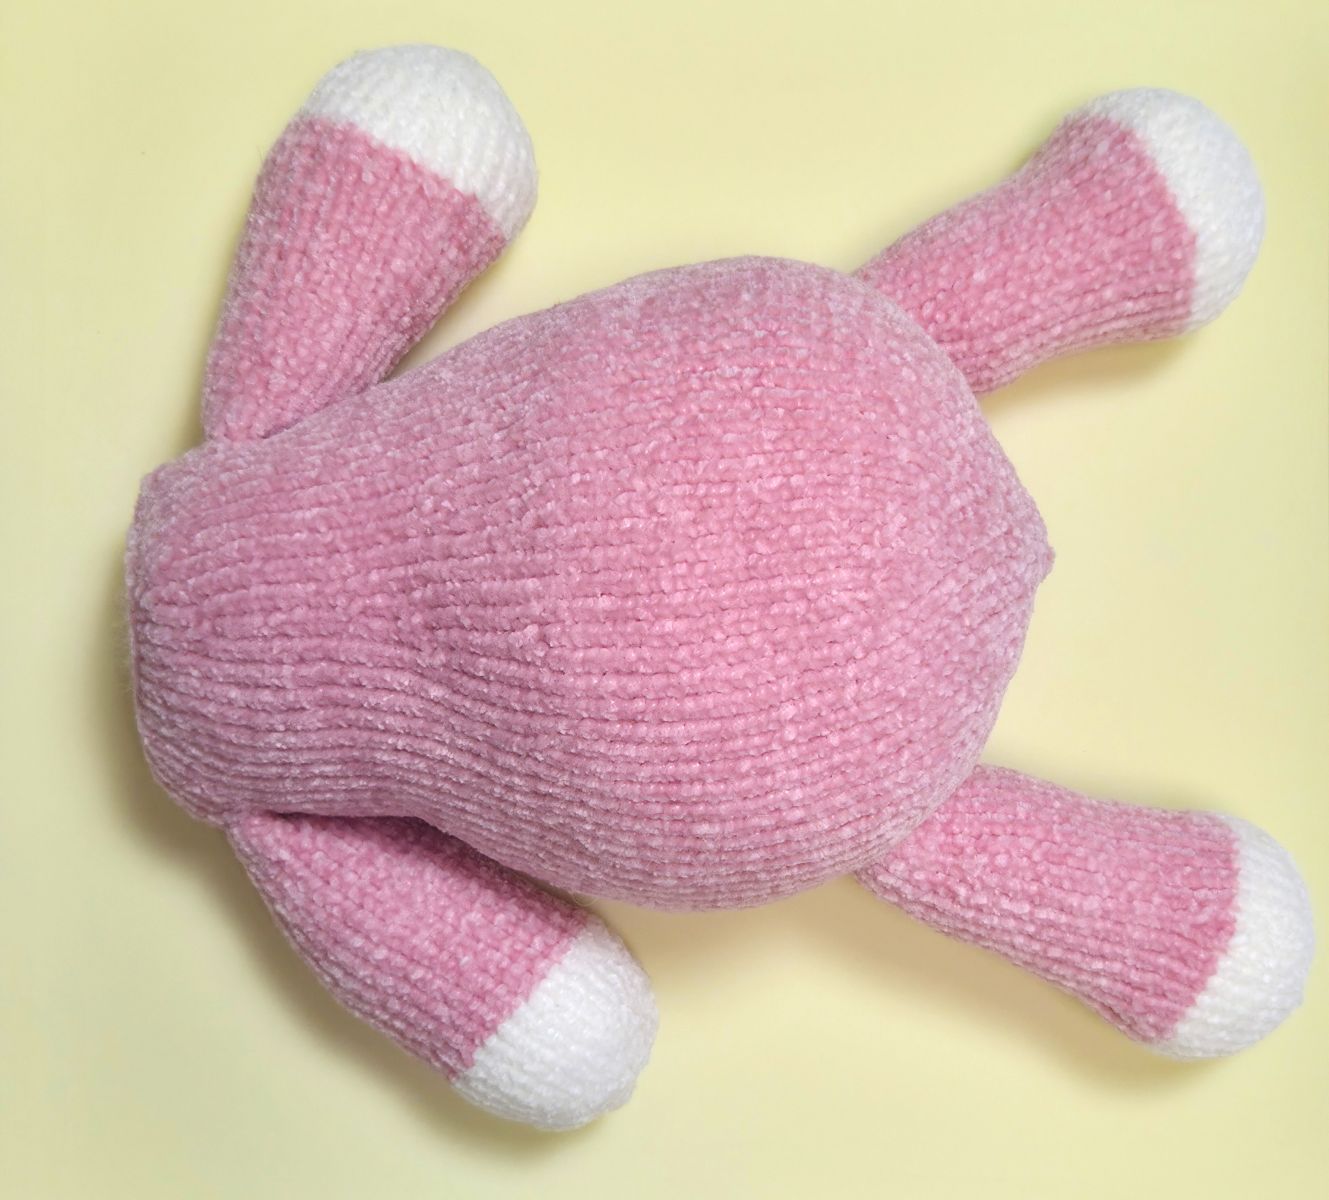
Gradually stuff the body with fiberfill as you sew to ensure an even, smooth shape.
The body is now complete.
Head (pink)
Cast on 6 stitches (ch) onto the knitting needle. Make sure the stitches are evenly stretched while knitting to ensure your knitted piece is nice and even.
1. 6 P (6)
2. 6 K inc. (12)
3. 12 P
4. (1 K, 1 K inc)x 6 (18)
5. 18 P
6. (2 K, 1 K inc)x6 (24)
7. 24 P
8. (3 K, 1 K inc)x 6 (30)
9. 30 P
10. (4 K, 1 K inc)x 6 (36)
11. 36 P
12. (5 K, 1 K inc)x 6 (42)
13. 42 P
14. (6 K, 1 K inc)x 6 (48)
15. 48 P
16. 48 K
17. 48 P
18. 48 K
19. 48 P
20. 48 K
21. 48 P
22. 48 K
23. 48 P
24. 48 K
25. 48 P
26. 12 K, (1 inc, 1 K)x 12, 12 K (60)
27. 60 P
28. 60 K
29. 60 P
30. 60 K
31. 60 P
32. 60 K
33. 60 P
34. 12 K, (1 inc, 2 K )x 12, 12 K (72)
Knit a total of 20 rows in stockinette stitch:
On the front side of the work, knit all stitches across the row.
On the back side of the work, purl all stitches across the row.
35, 37, 39, 41, 43, 45, 47, 49, 51, 53, 55 – 72 P
36, 38, 40, 42, 44, 46, 48, 50, 52, 54 – 72 K
56. (10 K, 1 dec)x 6 (66)
57. 66 P
58. 66 K
59. 66 P
60. 66 K
61. 66 P
62. 66 K
63. 66 P
64. (9 K, 1 dec)x 6 (60)
65. 60 P
66. (8 K, 1 dec)x 6 (54)
67. 54 P
68. 54 K
69. 54 P
70. 54 K
71. 54 P
72. 54 K
73. 54 P
74. (7 K, 1 dec)x 6 (48)
75. 48 P
76. 48 K
77. 48 P
78. 48 K
79. 48 P
80. 48 K
81. 48 P
82. (6 K, 1 dec)x 6 (42)
83. 42 P
84. (5 K, 1 dec)x6 (36)
85. 36 P (36)
86. (4 K, 1 dec)x 6 (30)
87. 30 P (30)
88. (3 K, 1 dec)x 6 (24)
89. 24 P (24)
90. (2 K, 1 dec)x 6 (18)
91. 18 P
92. (1 K, 1 dec)x 6 (12)
93. 12 P
94. 6 dec
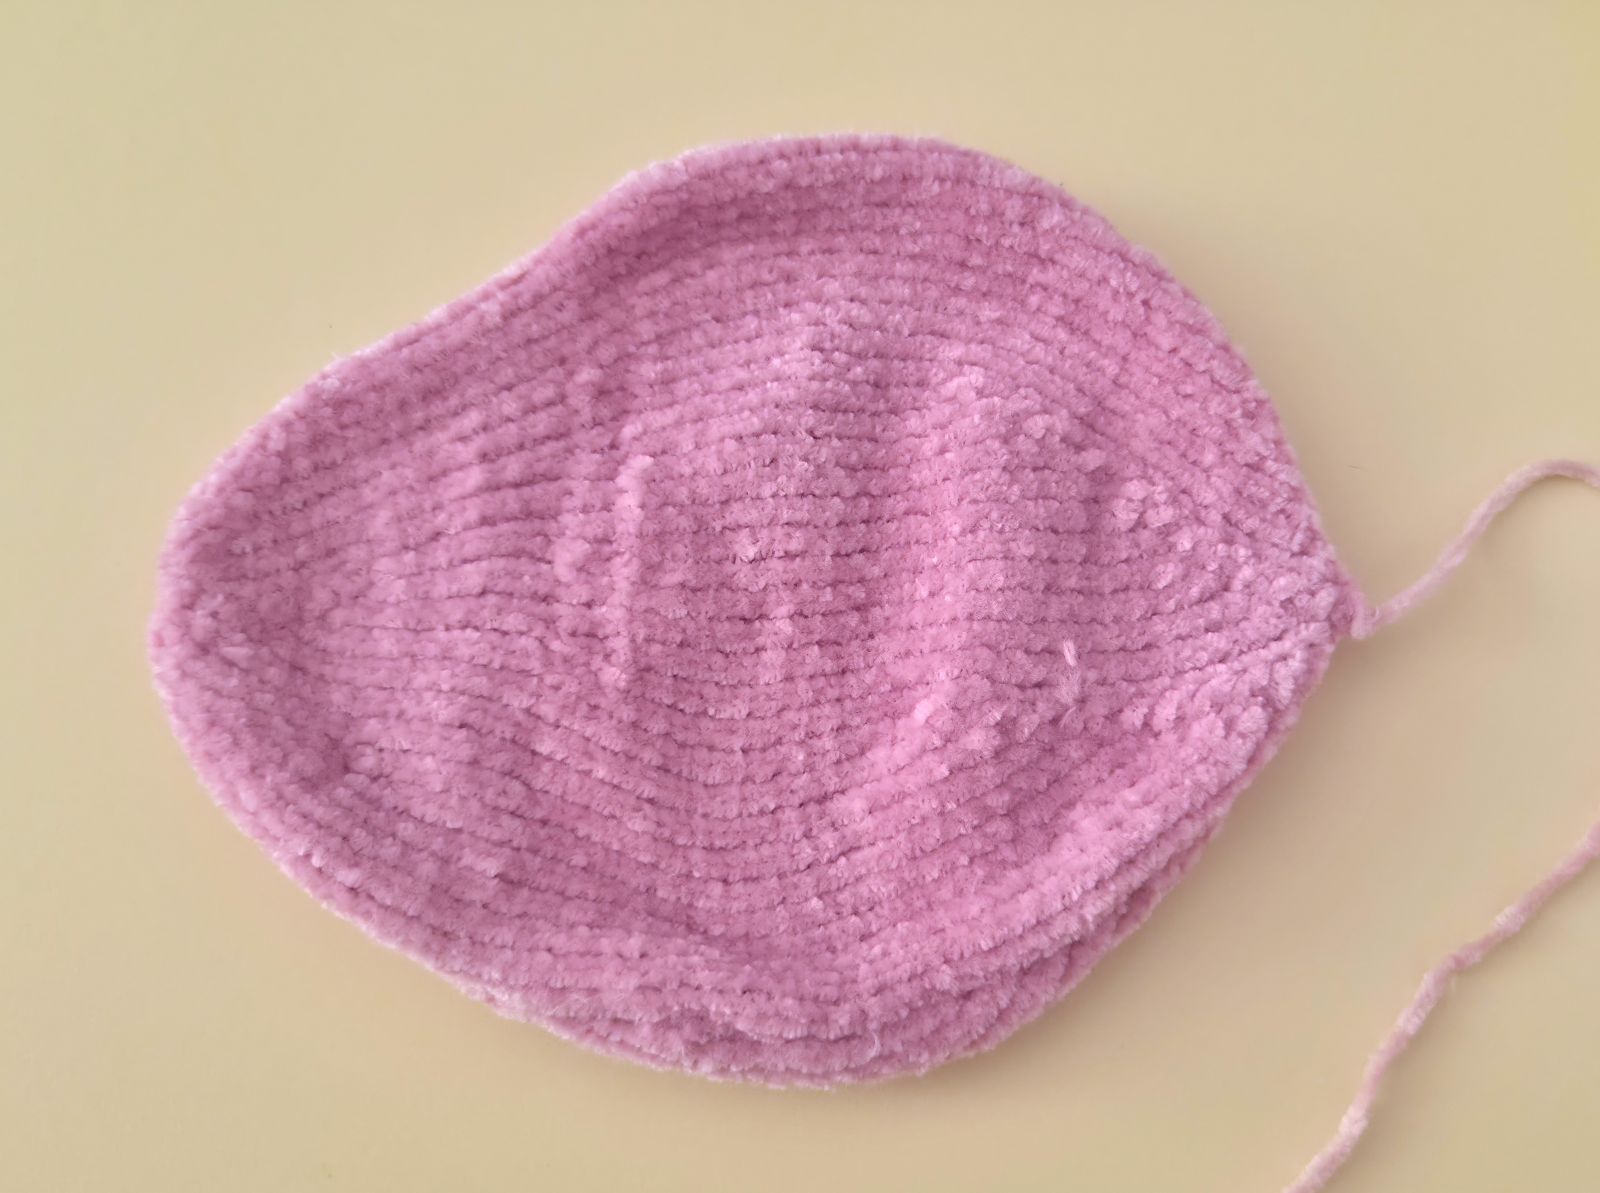
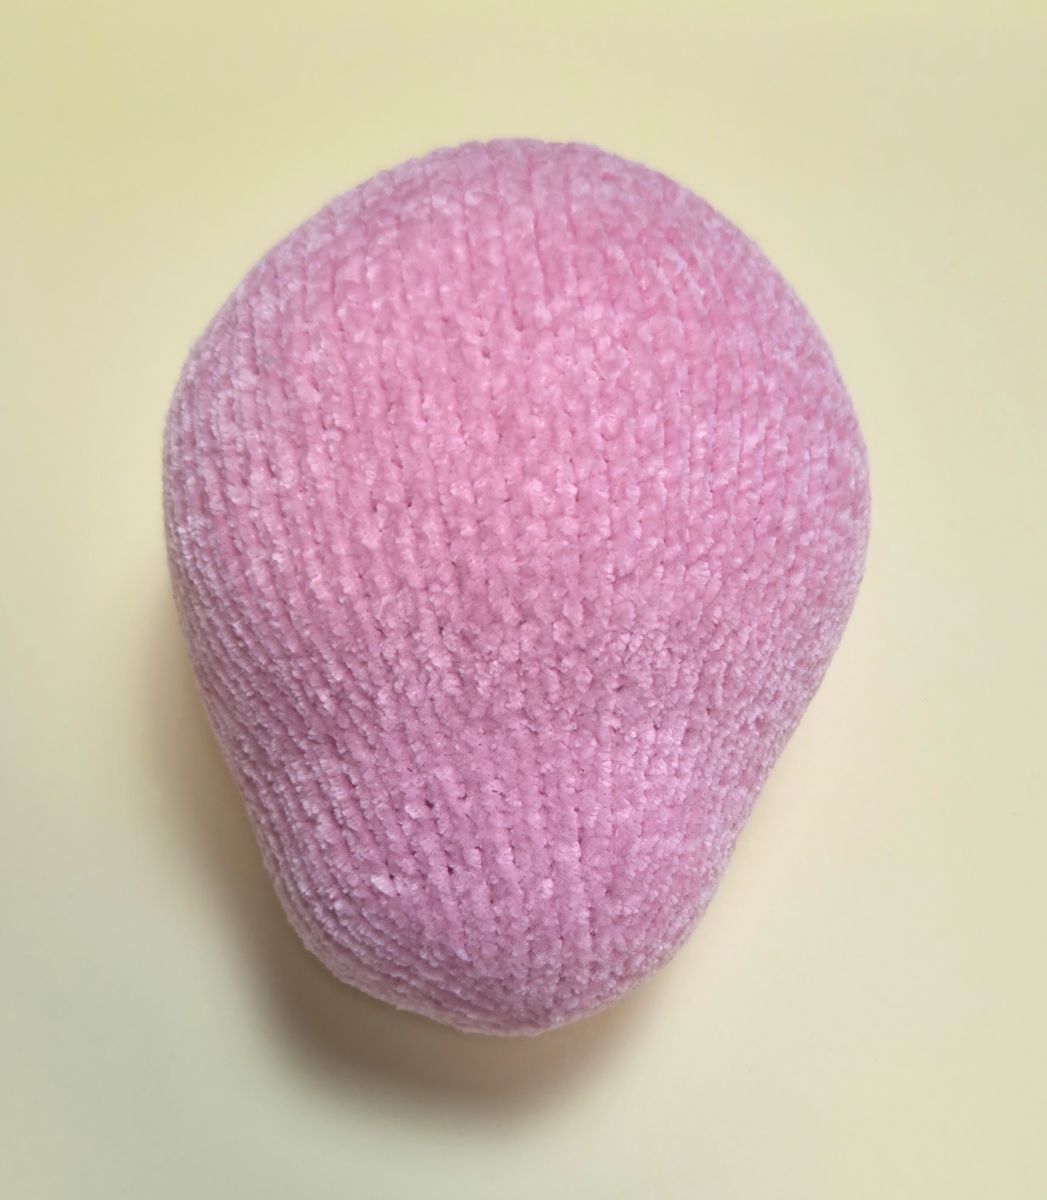
Finally, bind off the remaining stitches. Sew the head closed, adding stuffing gradually to maintain an even shape.
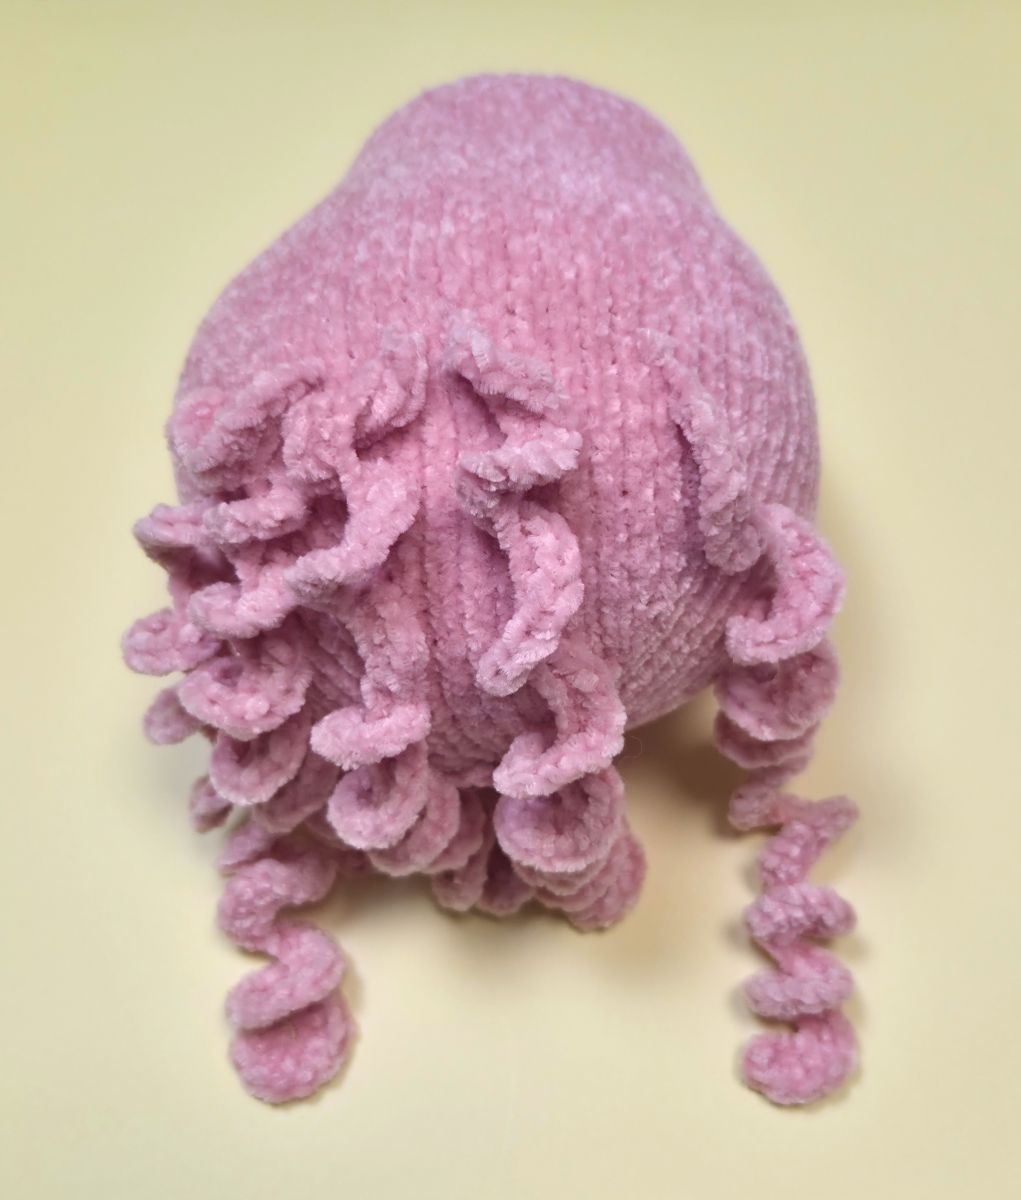
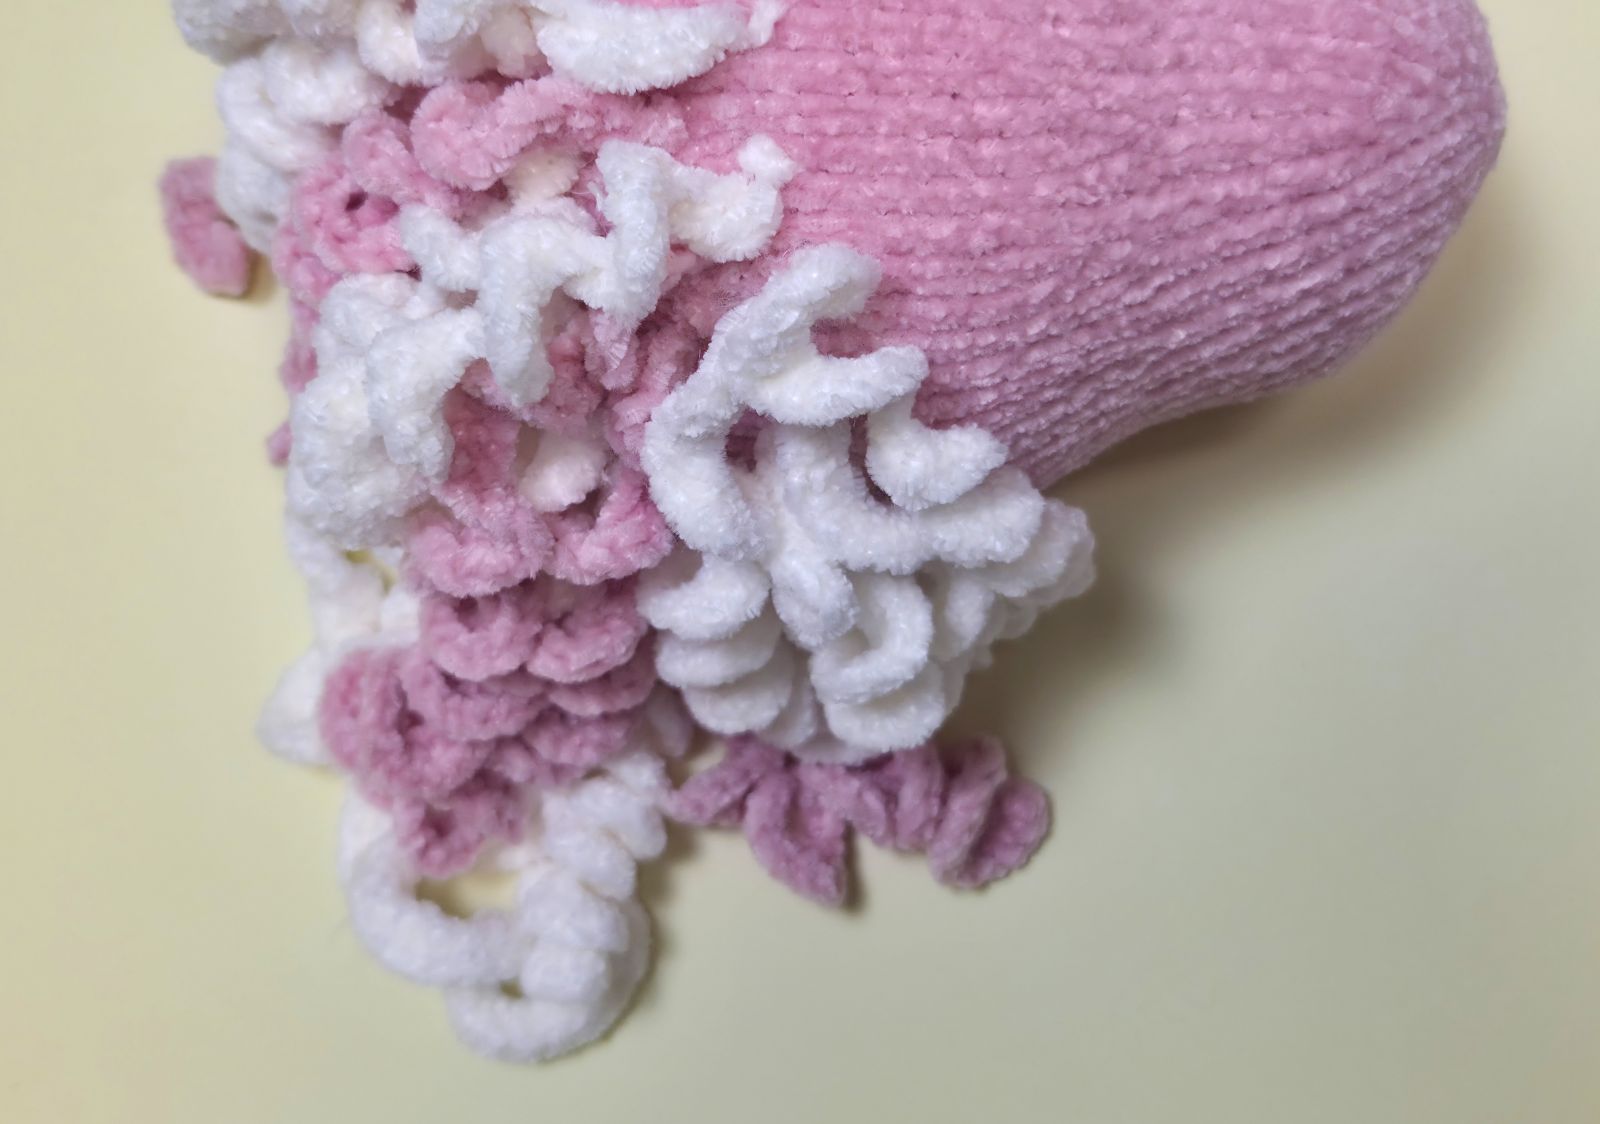
Next, continue with the mane and tail. If desired, simple strands of yarn can be used for both. To do this, cut yarn strands to the desired length and pull them through the stitches, similar to adding fringe to a scarf.
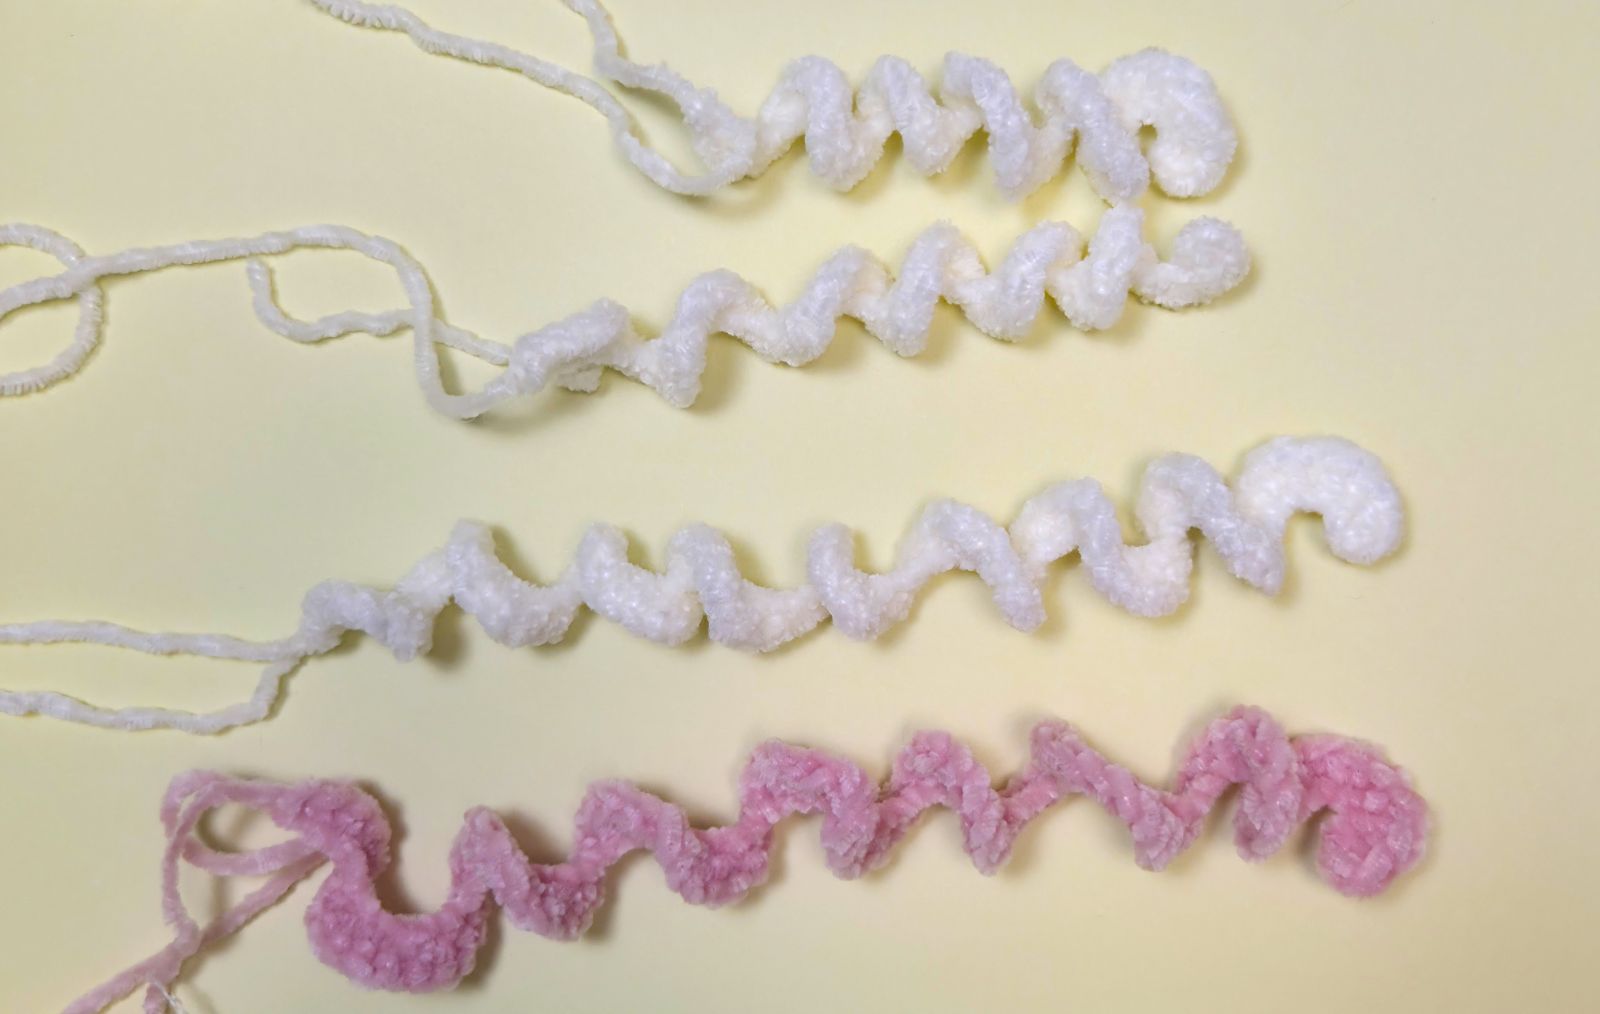
There are two options for creating the mane and tail: knitted or crocheted strips. For this model, crocheted hair strips were used. Crocheted strips are typically faster to make, although some prefer knitting. The number of stitches for each strip varies, whether knitted or crocheted, depending on the desired length and thickness.
Crocheted Version
Chain 33. Starting from the second chain from the hook, work 2 single crochet stitches into each chain stitch. This creates a total of 64 stitches. Leave a yarn tail for sewing.
Chain 46. Starting from the second chain from the hook, work 2 single crochet stitches into each chain stitch. This creates a total of 92 stitches. Leave a yarn tail for sewing.
Chain 57. Starting from the second chain from the hook, work 2 single crochet stitches into each chain stitch. This creates a total of 114 stitches. Leave a yarn tail for sewing.
Knitting Version
Cast on 32 stitches.
1. Purl 32 stitches.
2. Increase across the row by knitting into the front and back of each stitch, doubling the stitch count to a total of 64.
Bind off all 64 stitches, leaving a yarn tail for sewing.
Cast on 46 stitches.
1. Purl 46 stitches.
2. Increase across the row by knitting into the front and back of each stitch, doubling the stitch count to a total of 92.
Bind off all 92 stitches, leaving a yarn tail for sewing.
Cast on 57 stitches.
1. Purl 57 stitches.
2. Increase across the row by knitting into the front and back of each stitch, doubling the stitch count to a total of 114.
Bind off all 114 stitches, leaving a yarn tail for sewing.
Ears
Cast on 6 stitches (ch) onto the knitting needle. Make sure the stitches are evenly stretched while knitting to ensure your knitted piece is nice and even.
1. 6 P (6)
2. 6 K inc. (12)
3. 12 P
4. (1 K,1 inc)х 6 (18)
5. 18 P
6. (2 K,1 inc)х 6 (24)
7. 24 P
8. (3 K, 1 inc)х 6 (30)
9. 30 P
10. 30 K
11. 30 P
12. 30 K
13. 30 P
14. 30 K
15. 30 P
16. 30 K
17. 30 P
18. 30 K
19. 30 P
20. 30 K
21. 30 P
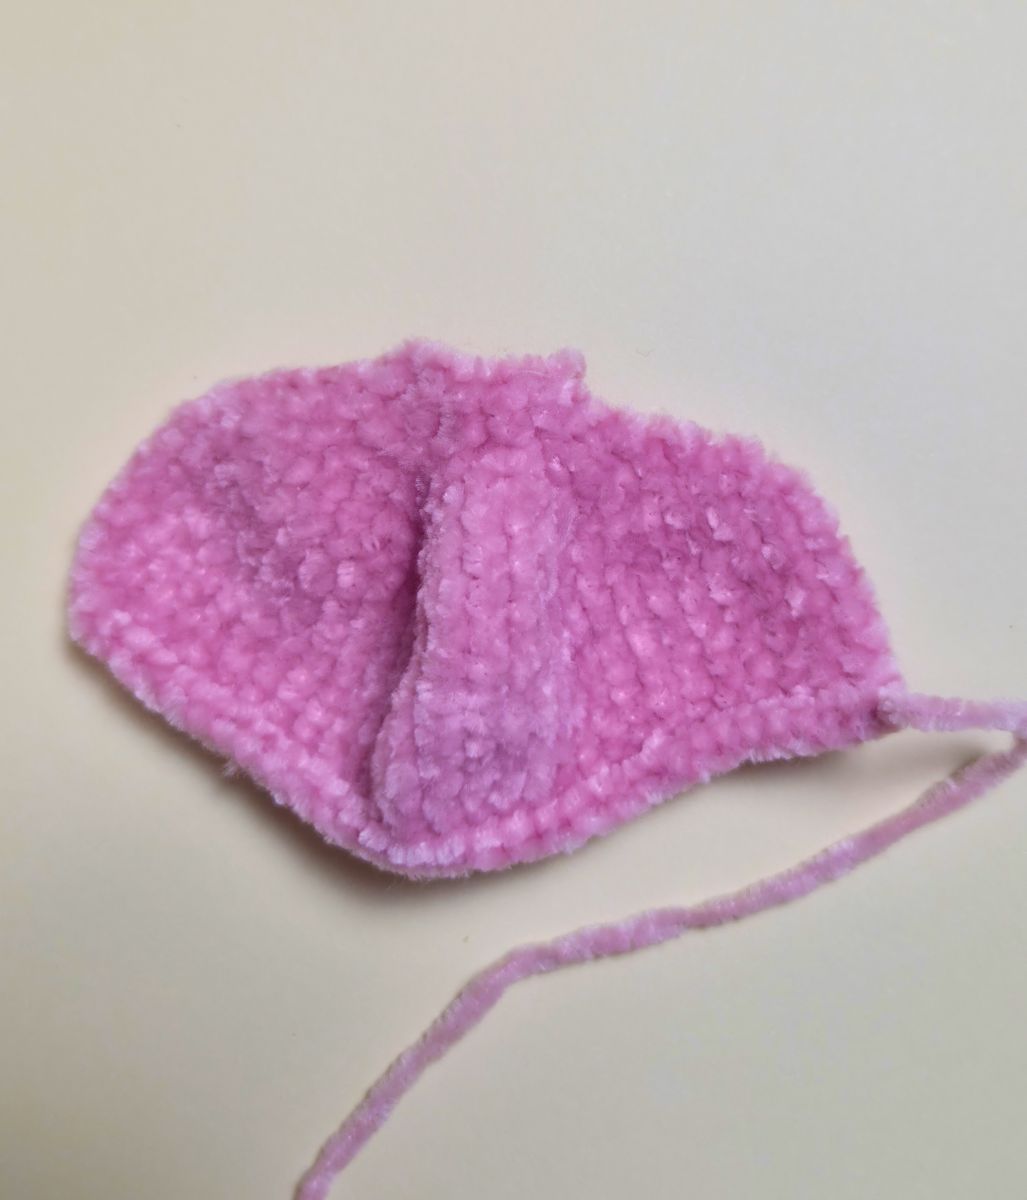
Finally, bind off the remaining stitches. Fold the sides together and sew them up. Sew the ears onto the head, one on each side.
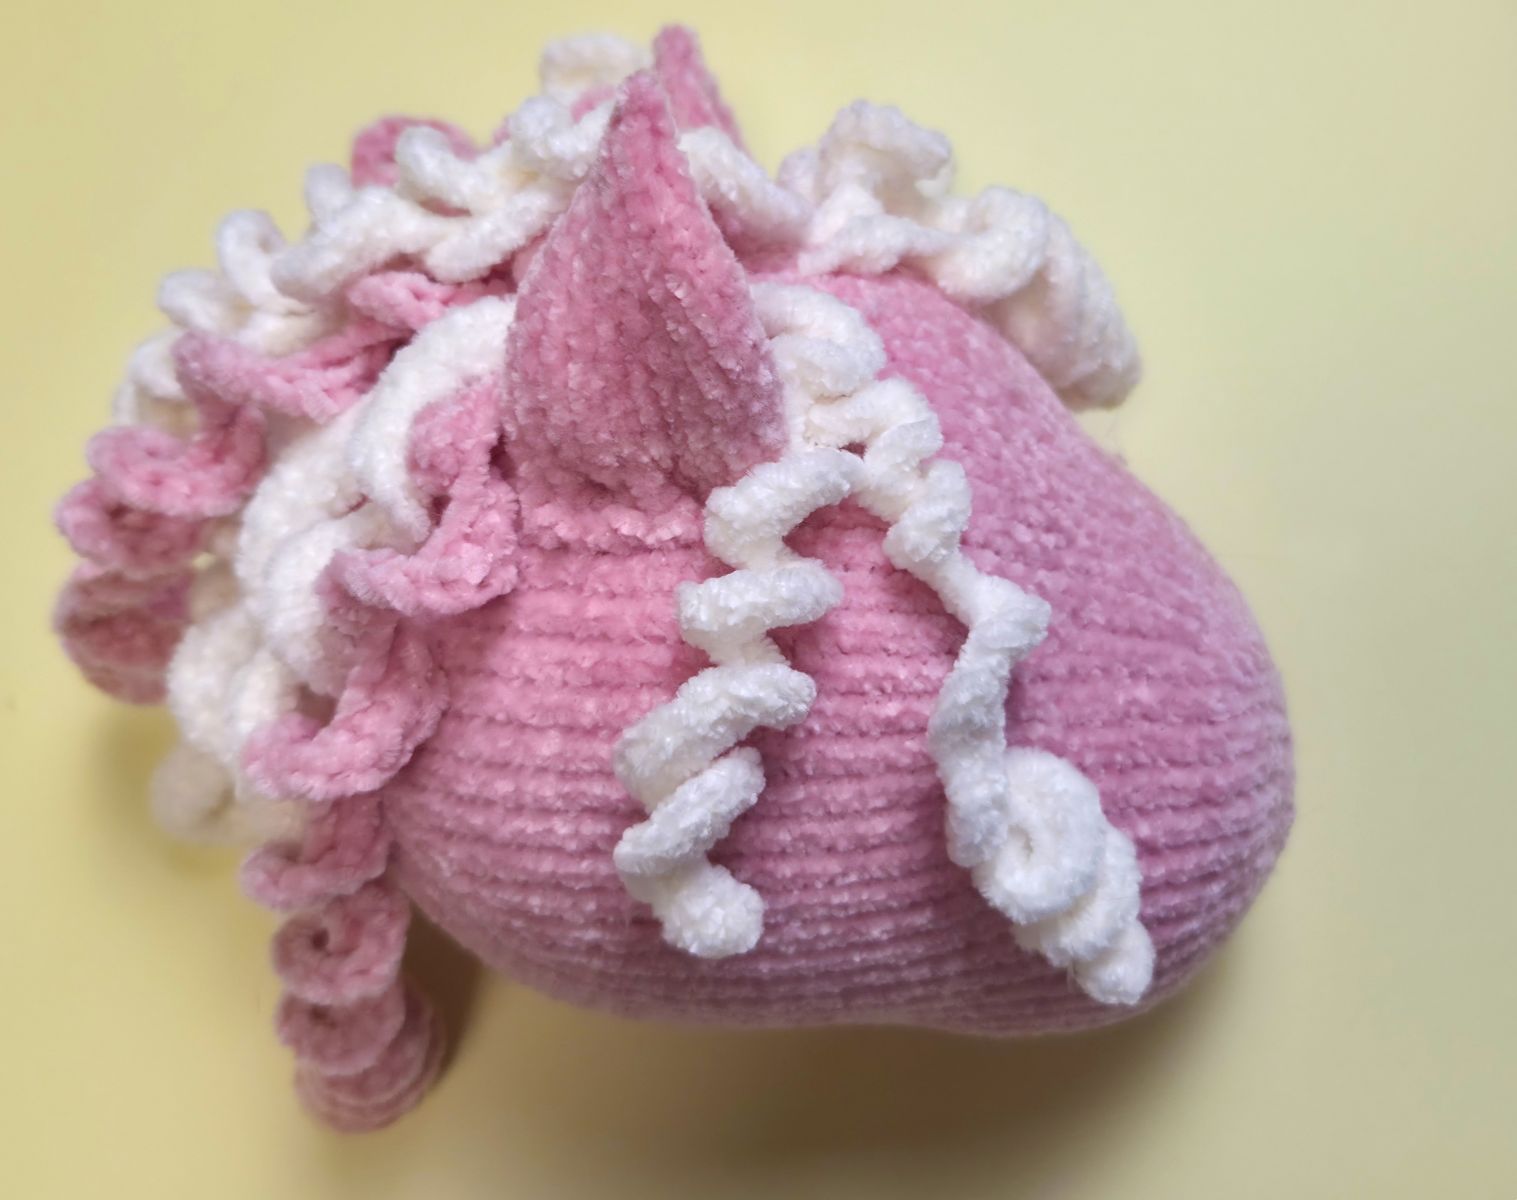
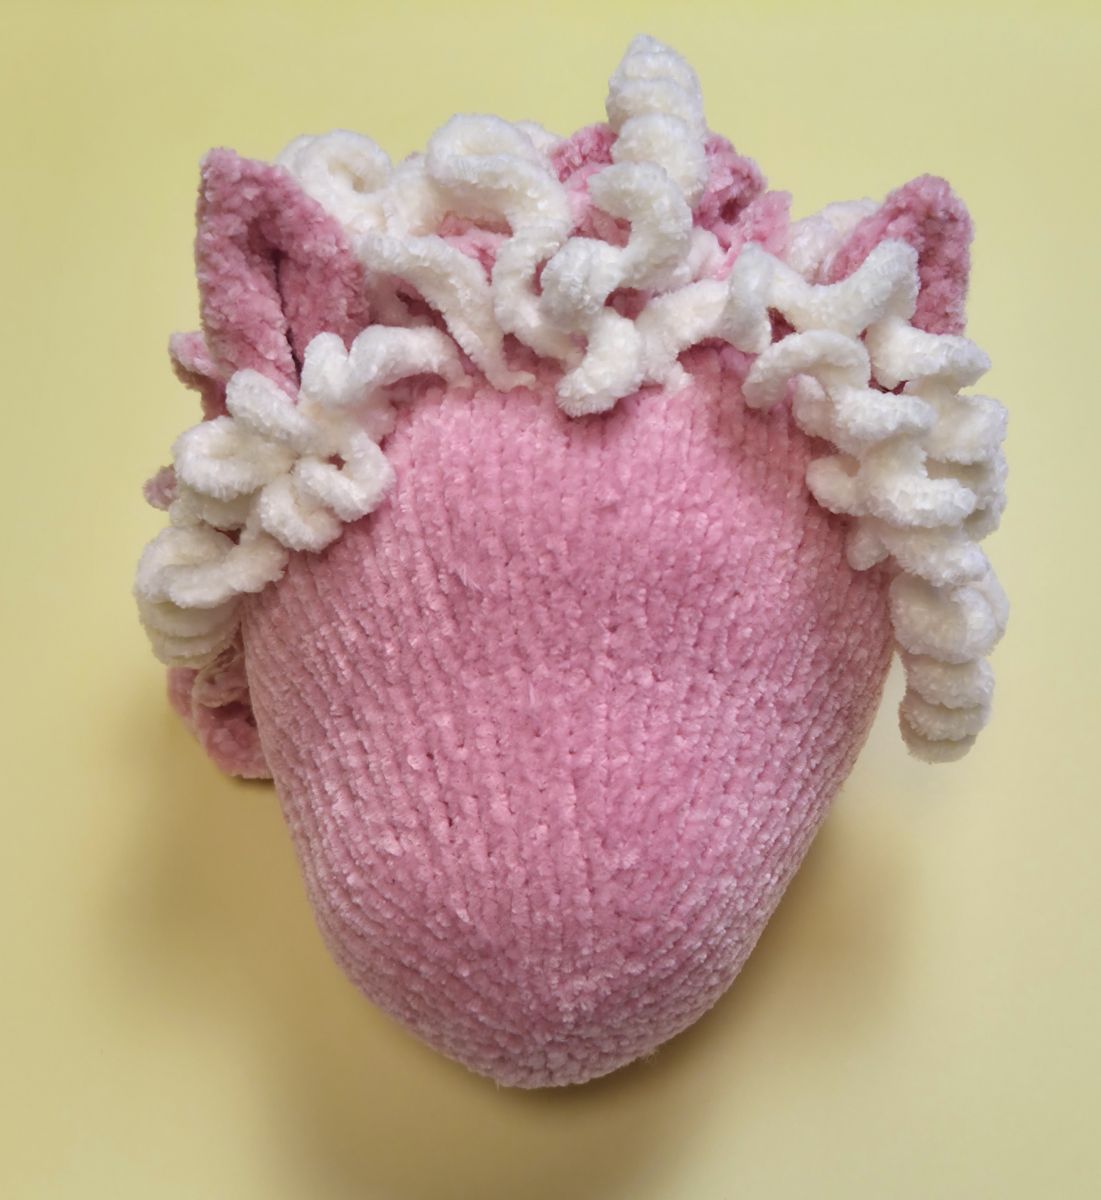
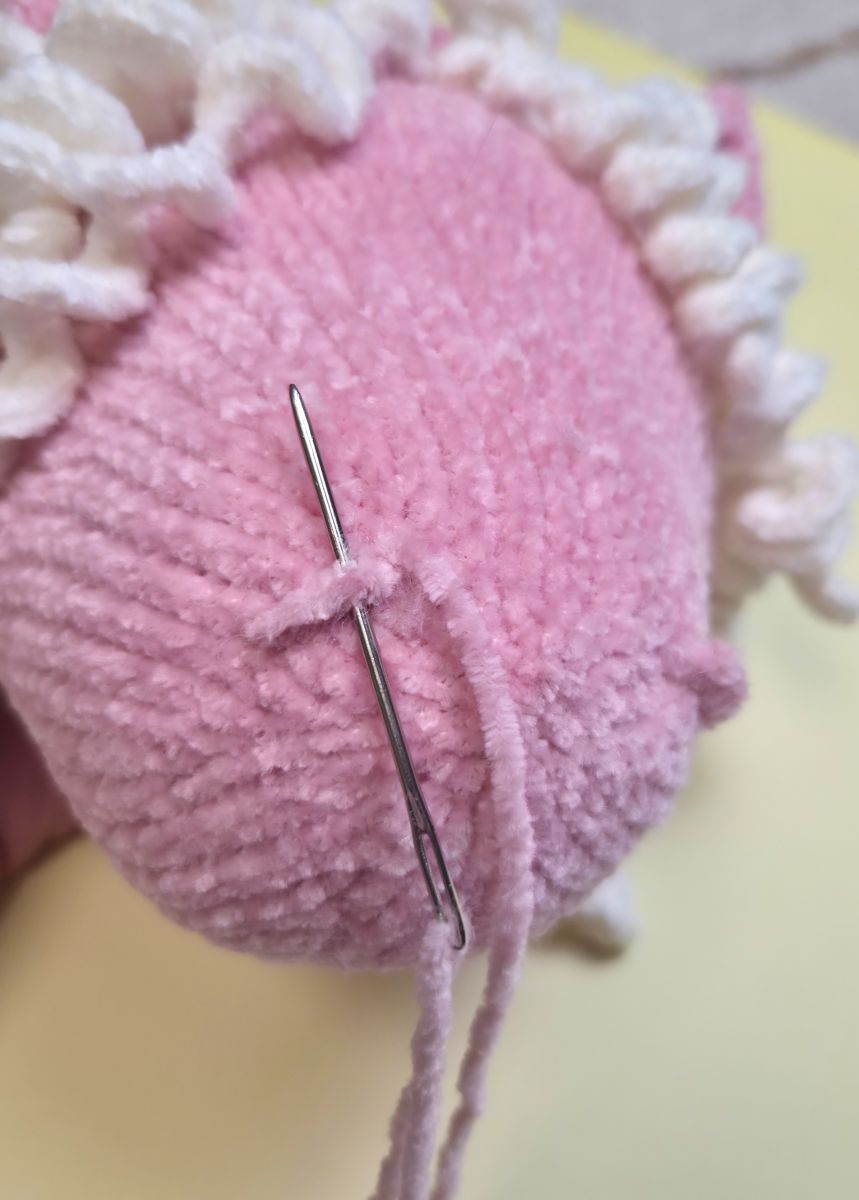
For the nostrils, simple embroidery stitches or small embroidered shapes can be used. Begin by working a few straight stitches to form the base of the nostrils. Then curve the ends of these stitches slightly to close the shape, creating a small round or slightly oval form that resembles a delicate nostril. Finally, secure the thread carefully to ensure the embroidery remains stable.
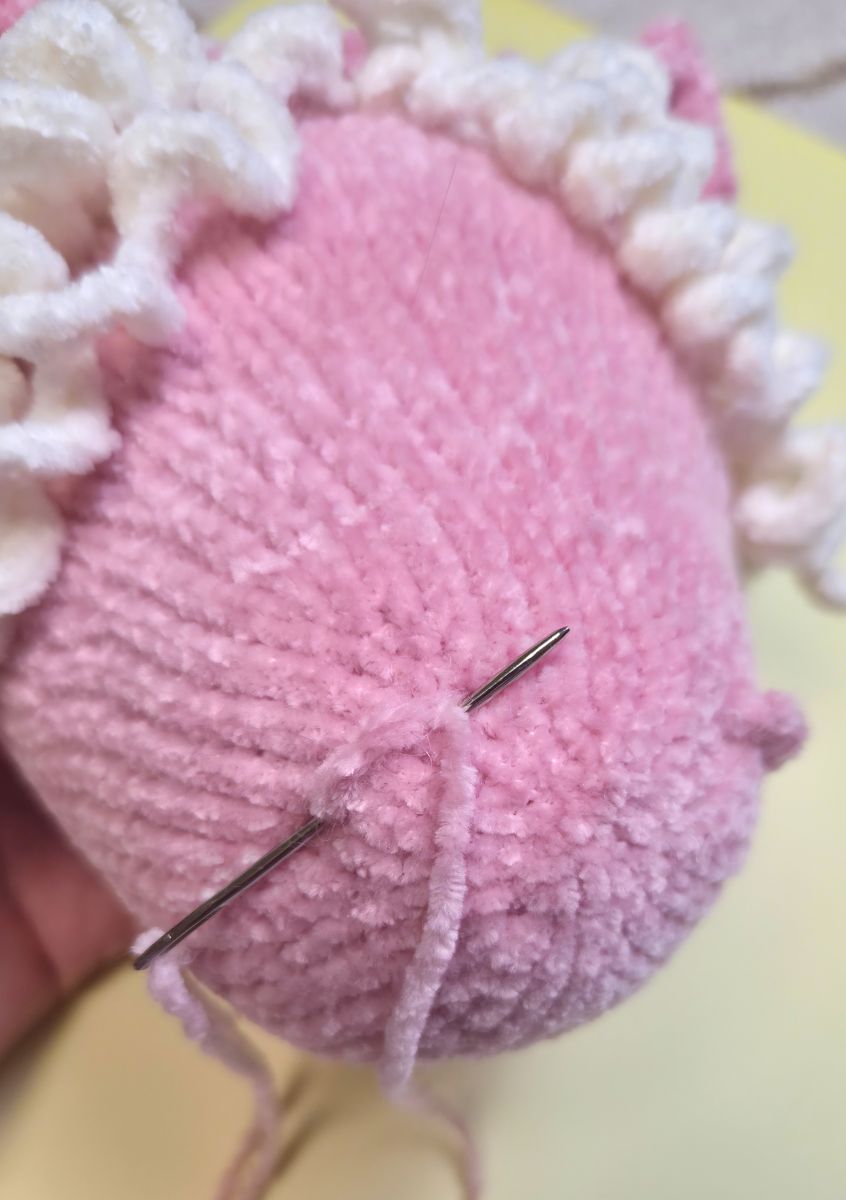
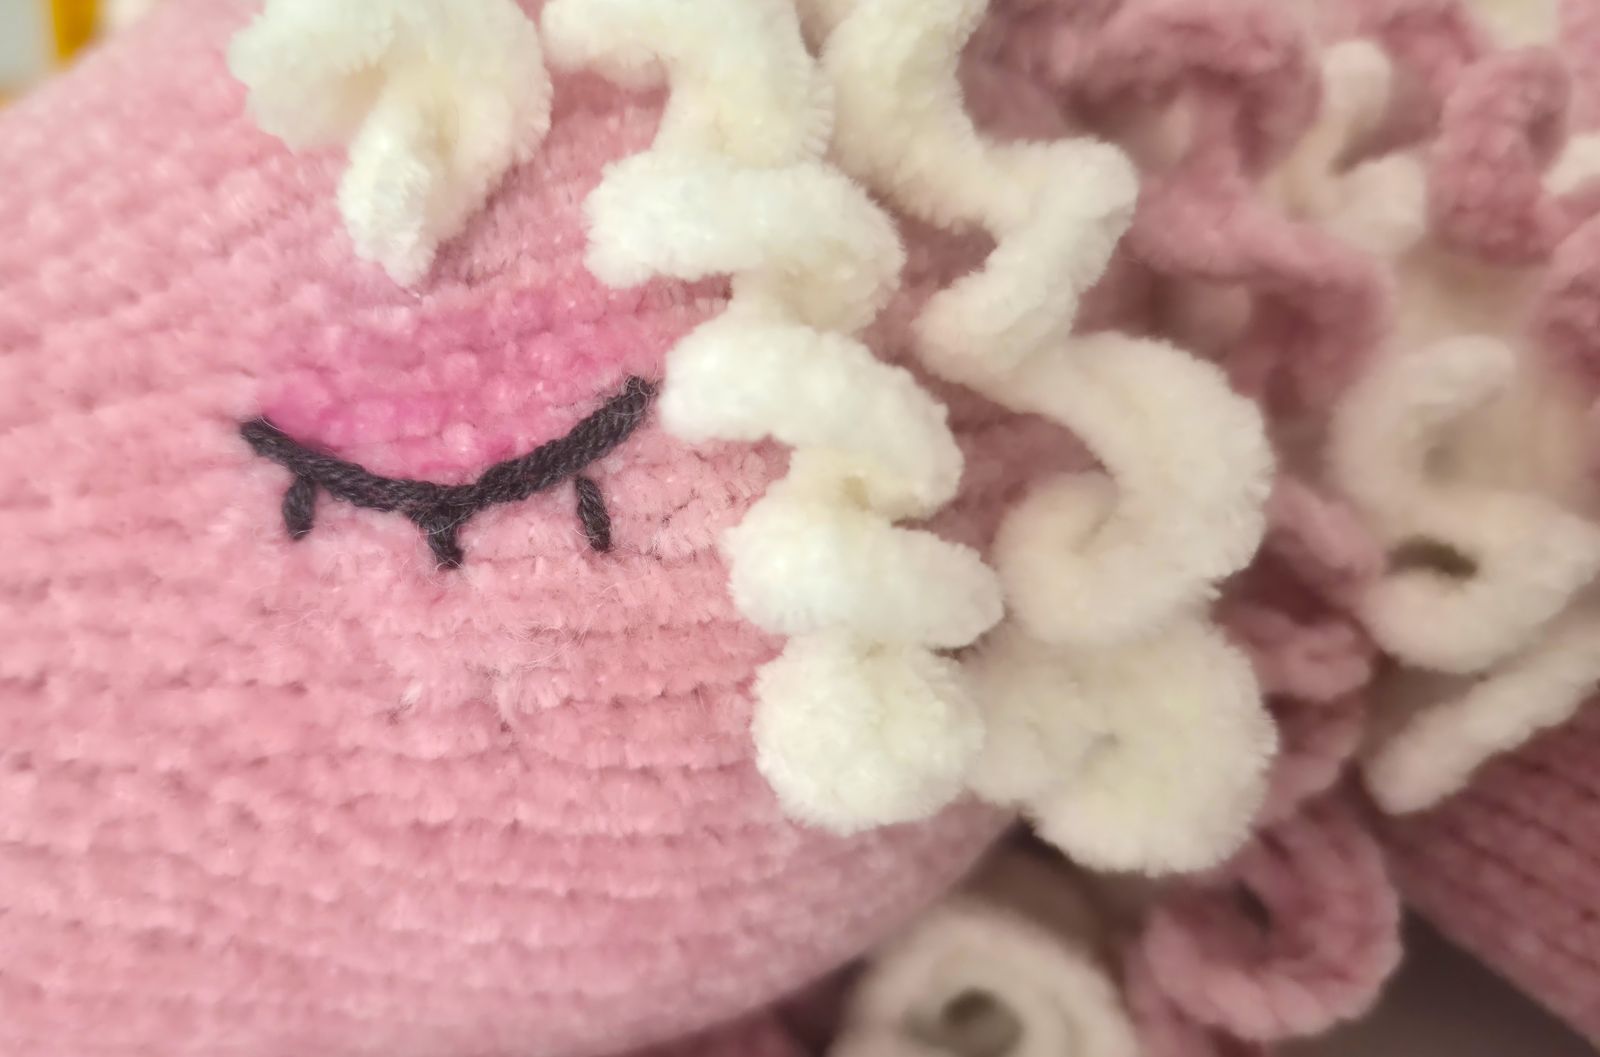
Once the ears and the strip of hair have been attached to the head, embroider the closed eyes. Cotton yarn works very well for this; split the yarn into two thinner strands for a finer result. Using small, even stitches, work a gentle semicircle to represent the closed eyelids. A few short stitches can then be added to create subtle eyelashes.
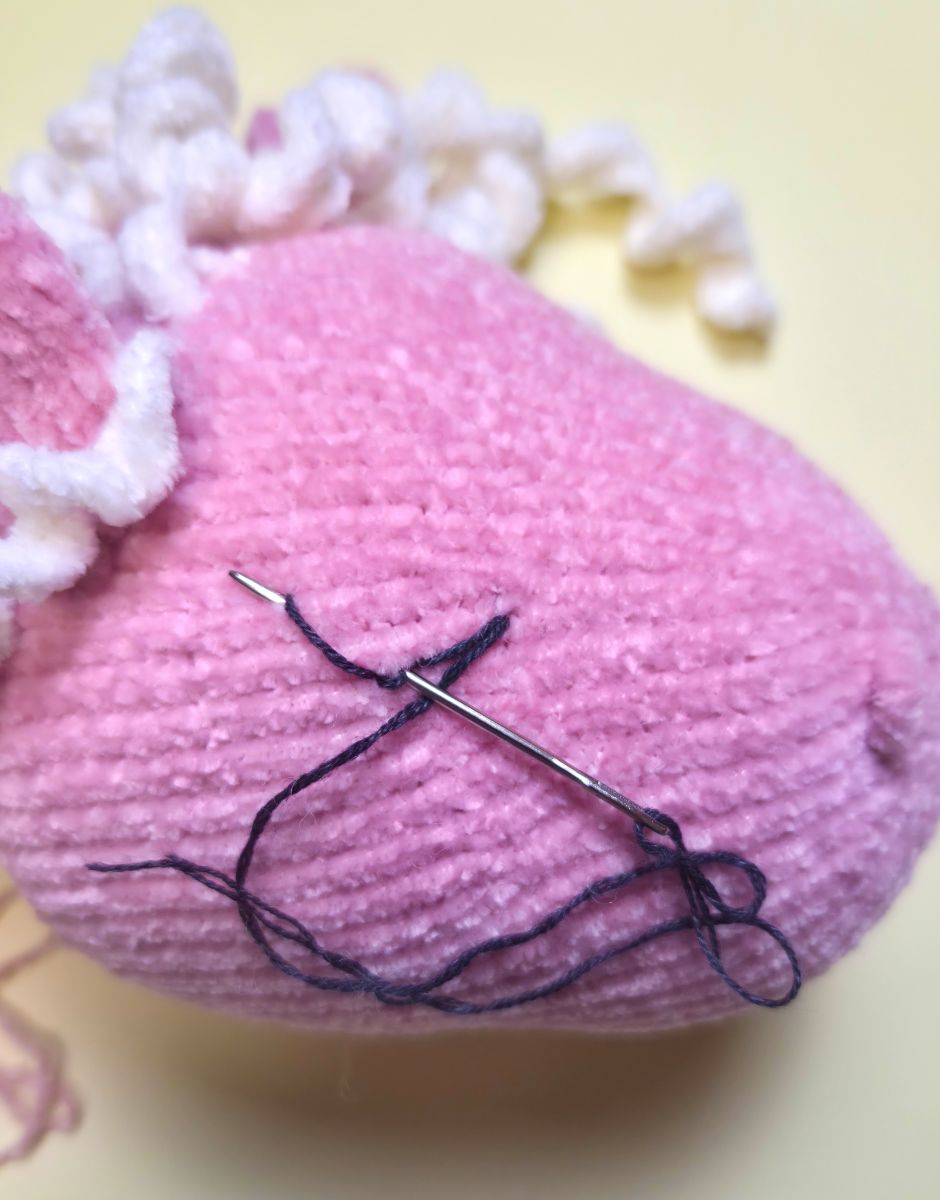
If desired, the closed eyes and nostrils can be lightly tinted. Pastel chalks are excellent for this purpose, though high‑quality, highly pigmented colored pencils are a suitable alternative. Apply the color gently and build up the intensity gradually to achieve a natural, harmonious look. The transition between the hoof and the leg was also lightly tinted to create a soft color gradient.
HORN
Cast on 6 stitches (ch) onto the knitting needle. Make sure the stitches are evenly stretched while knitting to ensure your knitted piece is nice and even.
1. 6 P (6)
2. 6 K inc. (12)
3. 12 P
4. 12 K
5. 12 P
6. (1 K,1 inc)х 6 (18)
7. 18 P
8. 1 K, 1 inc, 14 K, 1 inc, 1 K (20)
9. 20 P
10. 20 K
11. 20 P
12. 20 K
13. 20 P
14. 20 K
15. 20 P
Finally, bind off the remaining stitches. Join the sides and sew them together. Sew the horn onto the head.
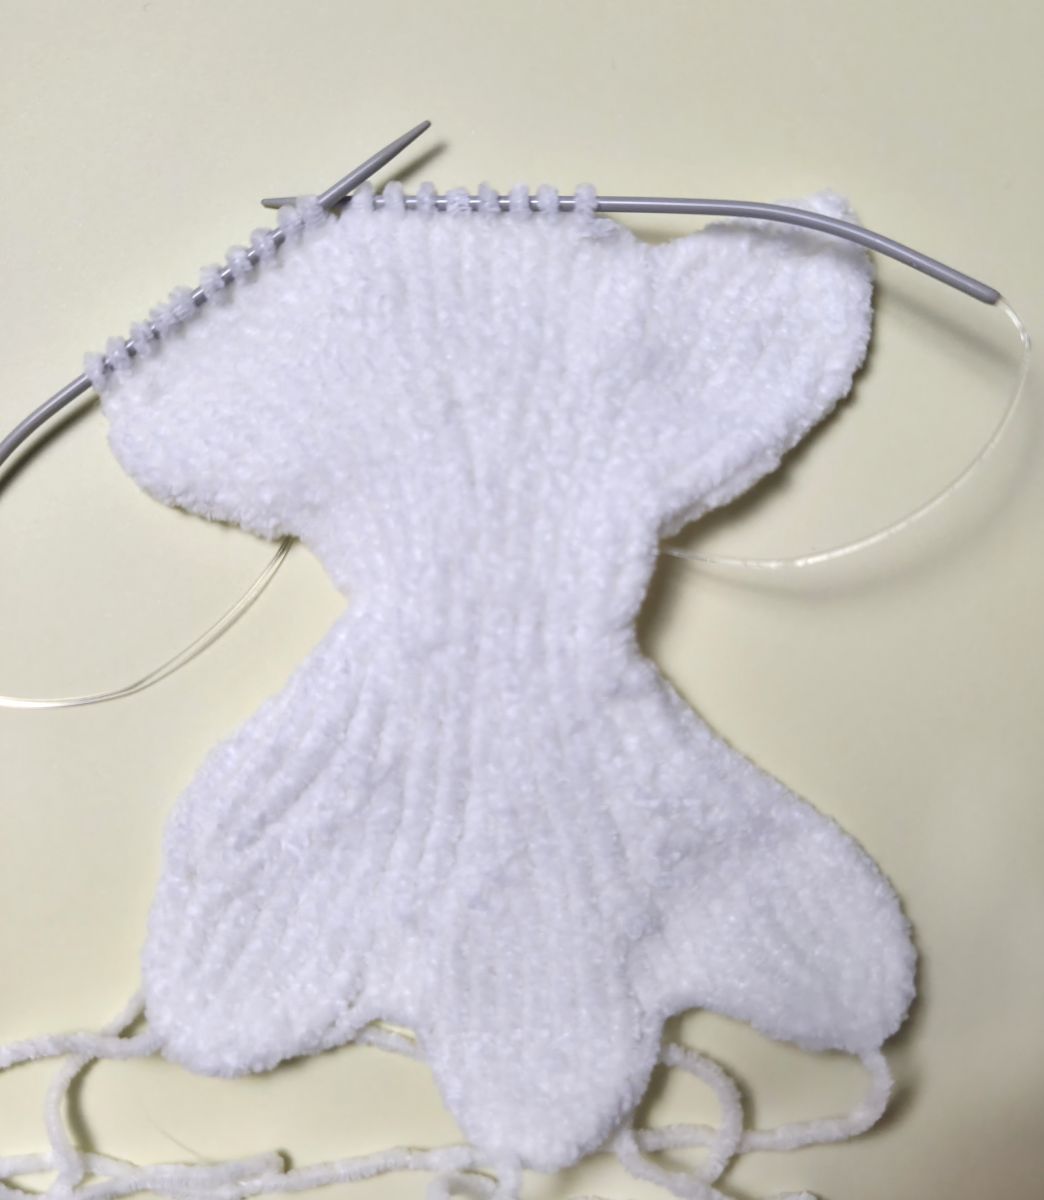
Wings
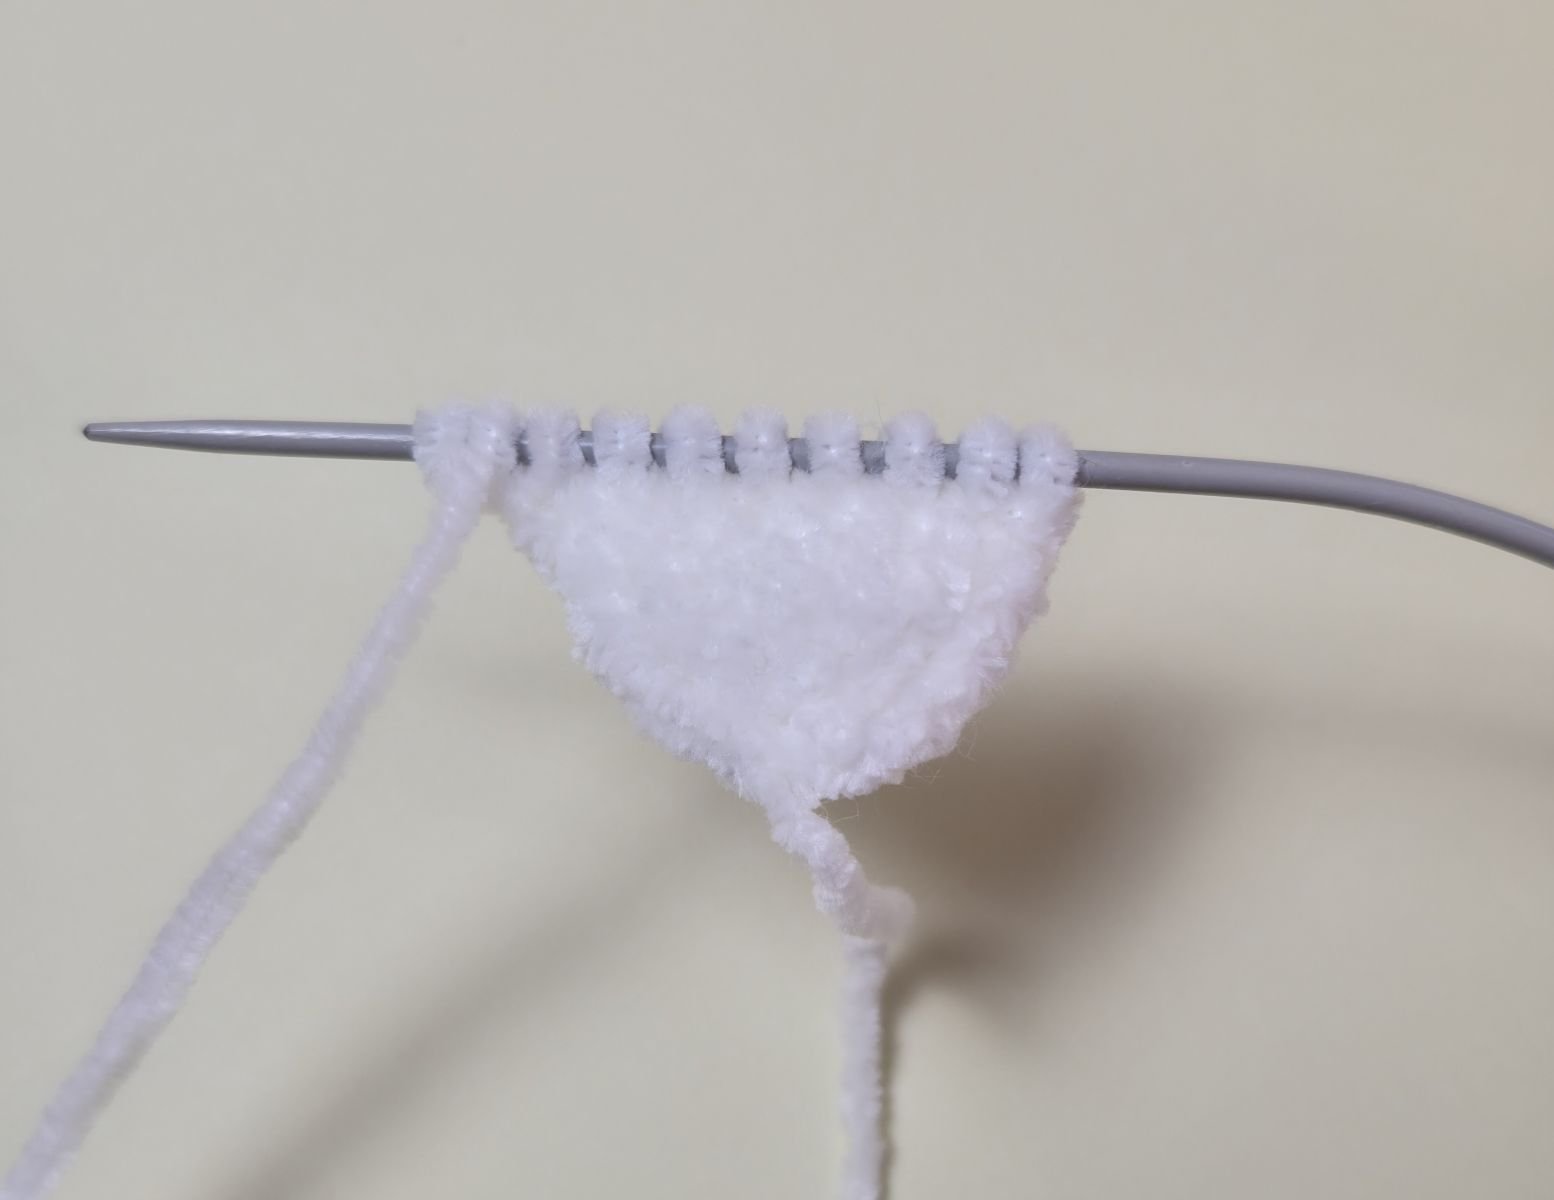
For the wings, first knit 3 small pieces.
Cast on 6 stitches (ch) onto the knitting needle.
1. 4 P
2. 1 K, 2 inc, 1 K (6)
3. 6 P
4. 1 K, 1 inc, 2 K, 1 inc, 1 K (8)
5. 8 P
6. 8 K
7. 8 P
For all three pieces, the stitches are not bound off. After the 7th row, the stitches of each piece are placed onto a spare needle. For the first two pieces, the yarn is cut and secured. For the third piece, the yarn remains attached, and work continues on that piece.
Joining the three pieces
1. Work 8 stitches on piece 1, make 2 chain stitches, add piece 2, and work 8 stitches on piece 2.
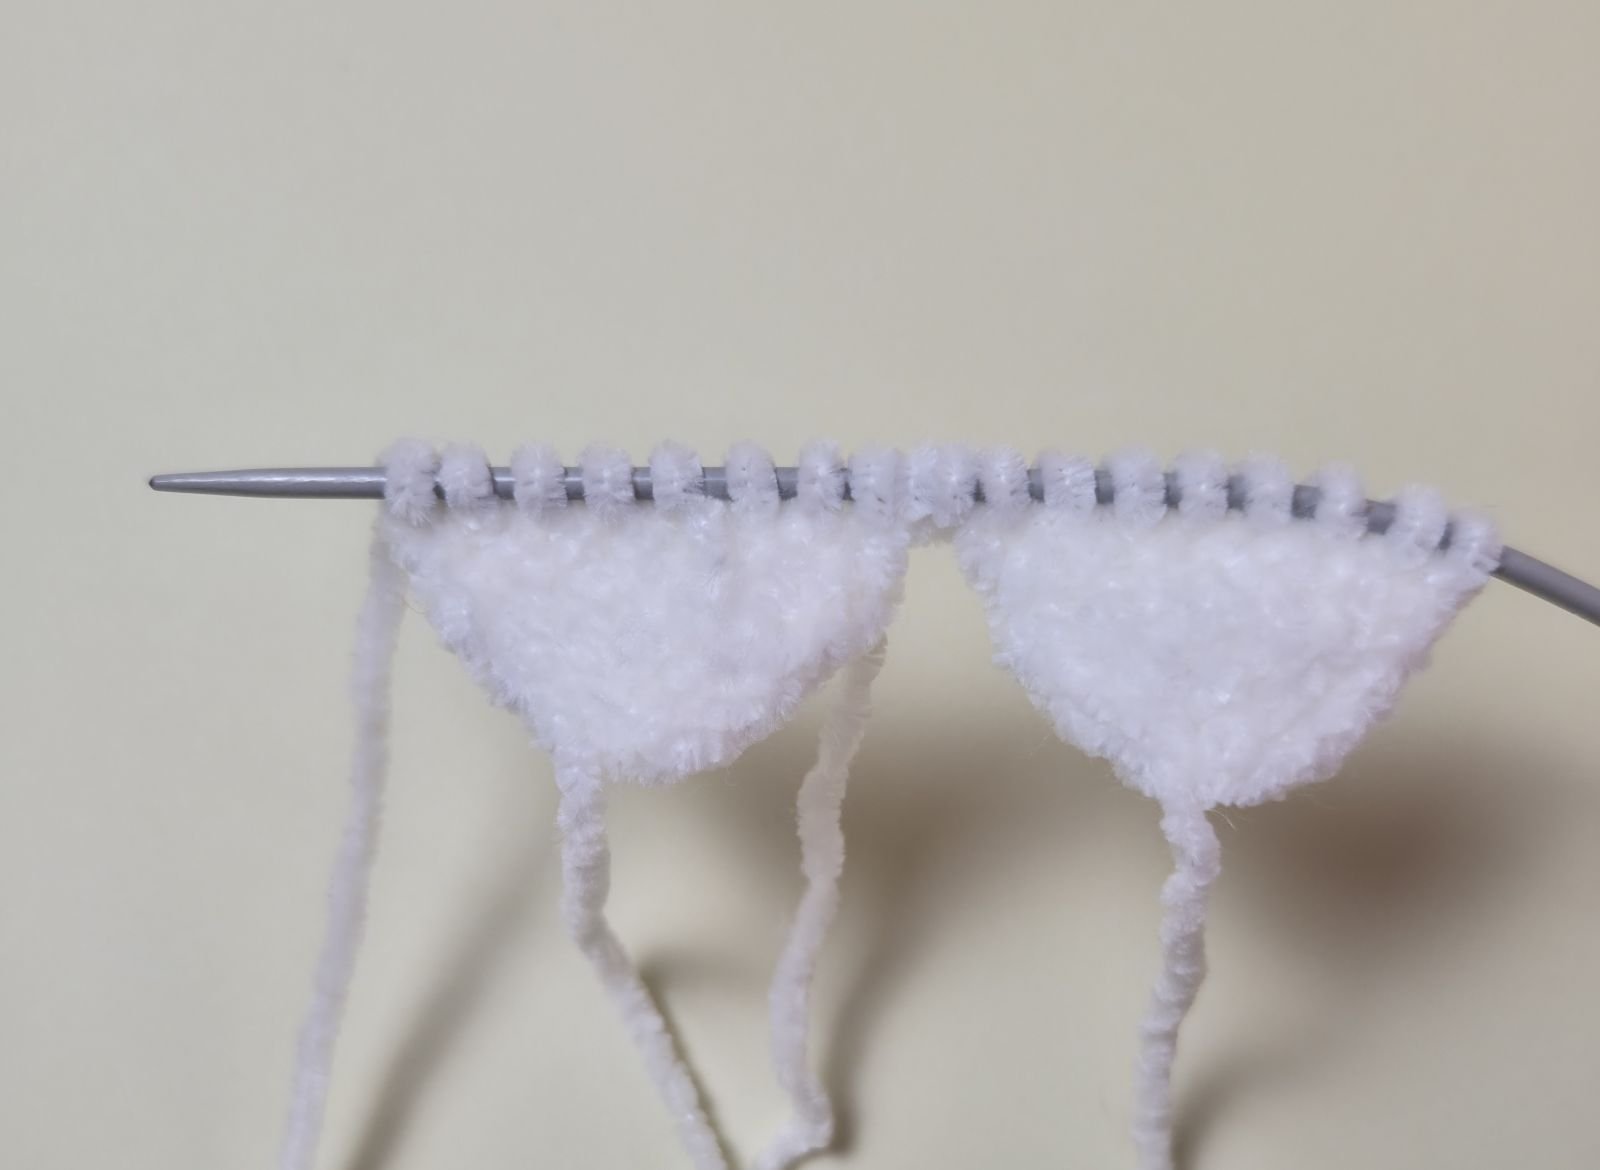
Then make another 2 chain stitches, take piece 3, and work 8 stitches.
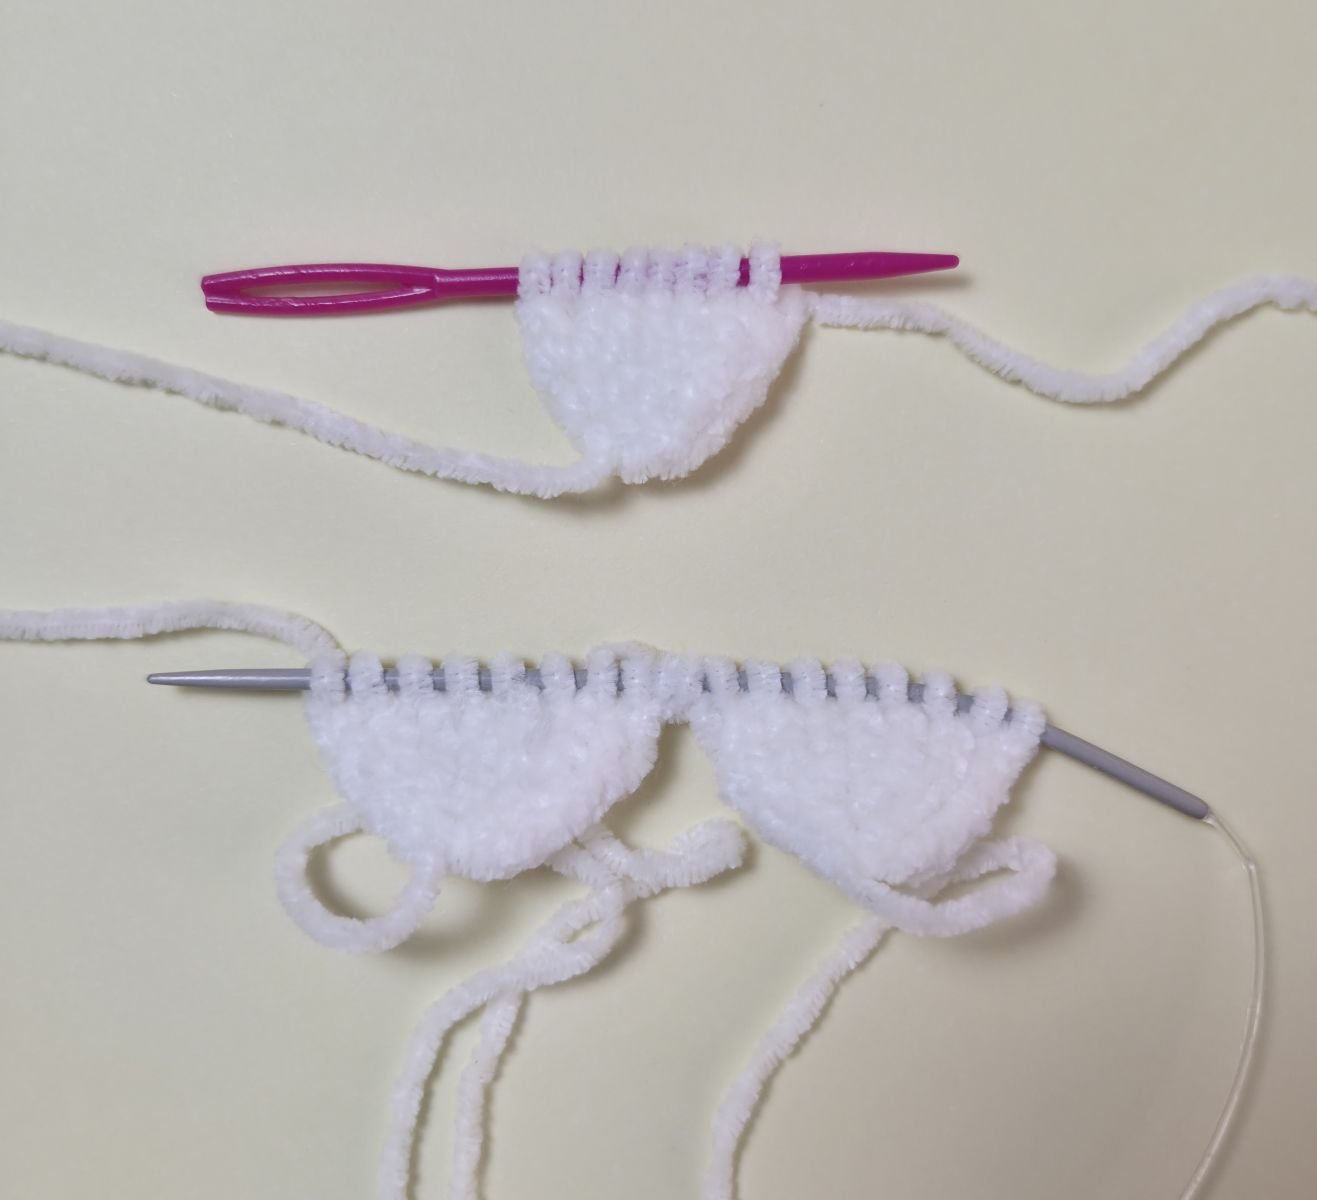
This results in a total of 28 stitches.
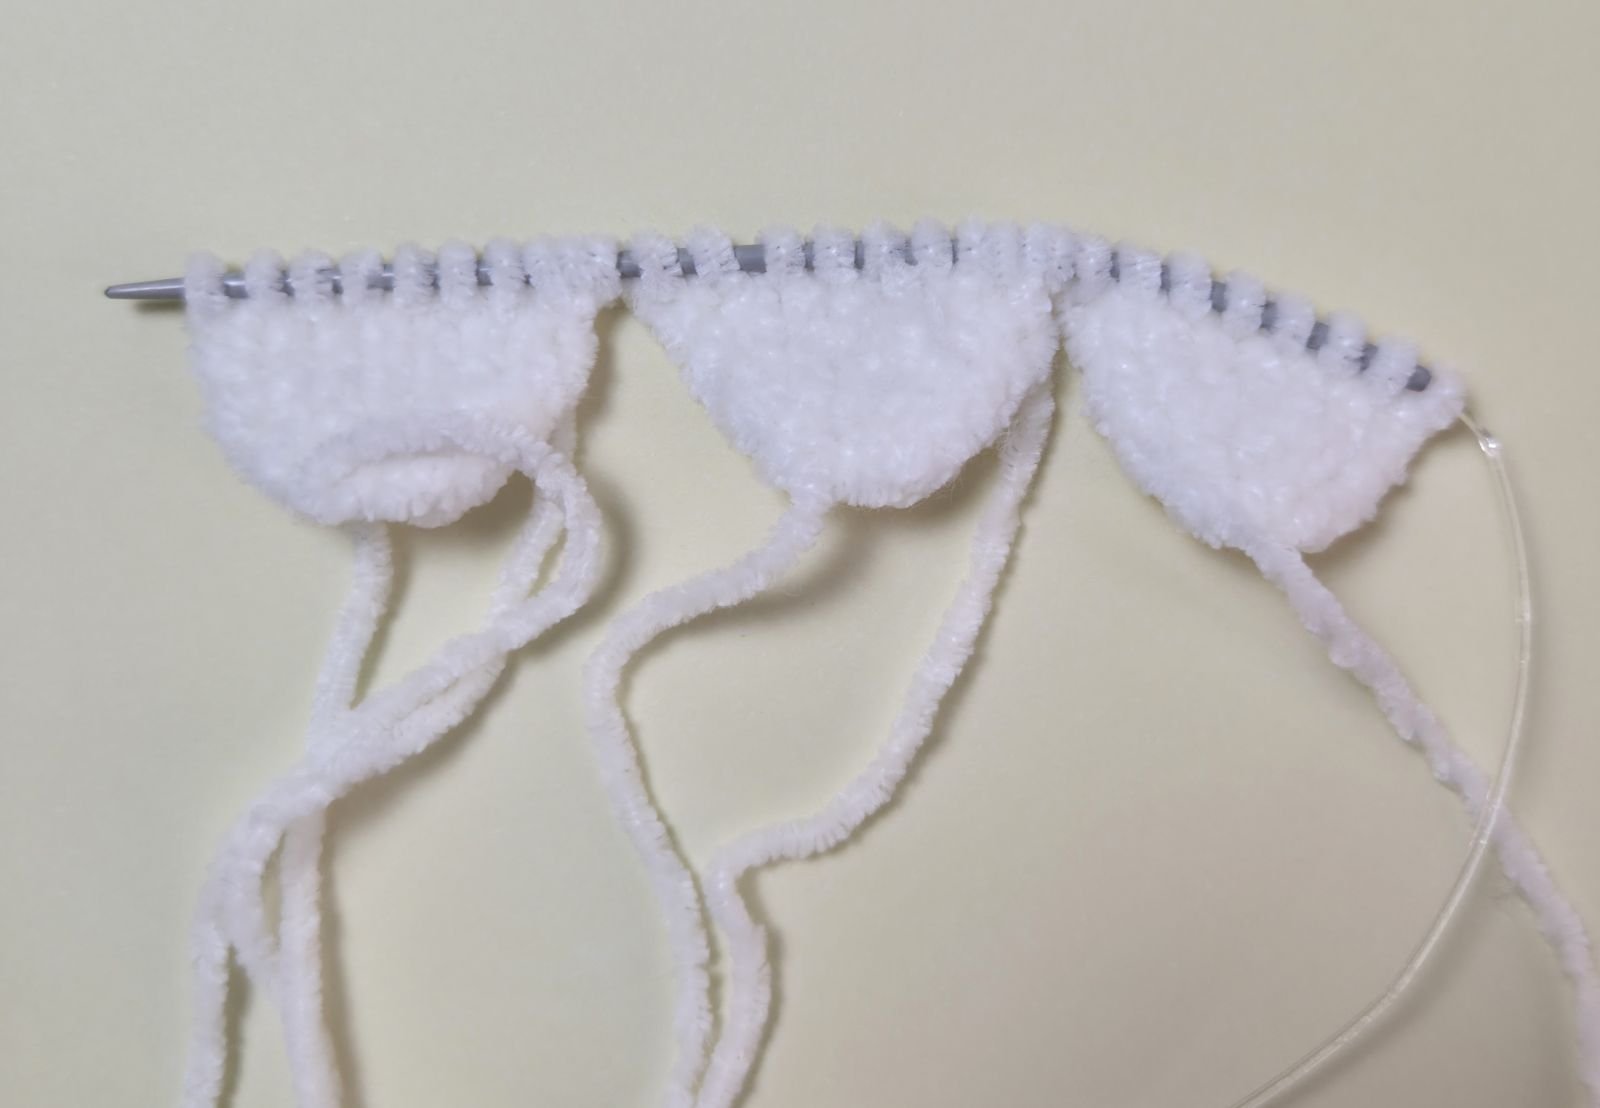
2. 28 P
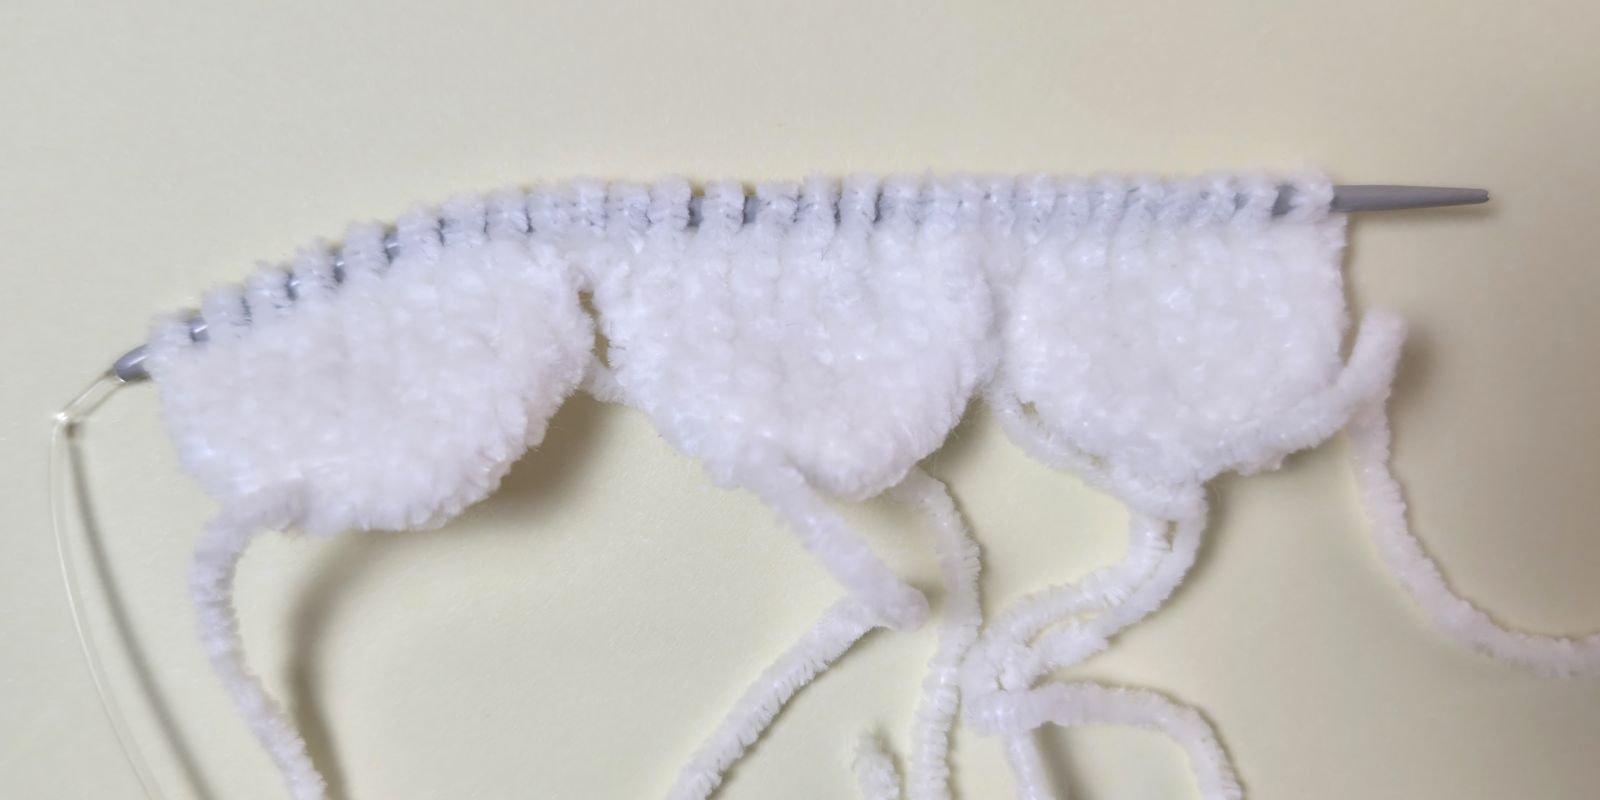
3. 26 K, 1 inc, 1 K (29)
4. 29 P
5. 27 K, 1 inc, 1 K (30)
6. 30 P
7. 30 K
8. 30 P
9. 8 K, 3 K tog, 8 K, 3 K tog, 8 K (26)
10. 26 P
11. (5 K, 1 dec)x 3, 5 K (23)
12. 23 P
13. (4 K, 1 dec)x 3, 5 K (20)
14. 20 P
15. 20 K
16. 20 P
17. (3 K, 1 dec)x 4 (16)
18. 16 P
19. 16 K
20. 16 P
21. 16 K
22. 16 P
23. 16 K
24. 16 P
25. (2 K, 1 dec)x 4 (12)
26. 12 P
27. 12 K
28. 12 P
29. (2 K, 1 inc)x 4 (16)
30. 16 P
31. 16 K
32. 16 P
33. 16 K
34. 16 P
35. 16 K
36. 16 P
37. (3 K, 1 inc)x 4 (20)
38. 20 P
39. 20 K
40. 20 P
41. (4 K, 1 inc)x 3, 5 K (23)
42. 23 P
43. (5 K, 1 inc)x 3, 5 K (26)
44. 26 P
45. 8 K, 3 K in 1, 8 K, 3 K in 1, 8 K (30)
46. 30 P
47. 30 K
48. 30 P
49. 27 K, 1 dec, 1 K (29)
50. 29 P
51. 26 K, 1 dec, 1 K (28)
52. 28 P
Subsequently, the wing is once again separated into three individual sections.
1. 8 K, turn
2. 8 P
3. 8 K
4. 1 K, 1 dec, 2 K, 1 dec, 1 K (6)
5. 6 P
6. 1 K,2 dec, 1 K (4)
7. 4 P
Finally, bind off the remaining stitches. Then return to row 52, attach the yarn, bind off two stitches, and continue working across 8 stitches.
1. 8 K, Arbeit wenden,
2. 8 P
3. 8 K
4. 1 K, 1 dec, 2 K, 1 dec, 1 K (6)
5. 6 P
6. 1 K,2 dec, 1 K (4)
7. 4 P
Finally, bind off the remaining stitches. Then return to row 52, attach the yarn, bind off two stitches, and continue working across 8 stitches.
1. 8 K, turn,
2. 8 P
3. 8 K
4. 1 K, 1 dec, 2 K, 1 dec, 1 K (6)
5. 6 P
6. 1 K, 2 dec, 1 K (4)
7. 4 P
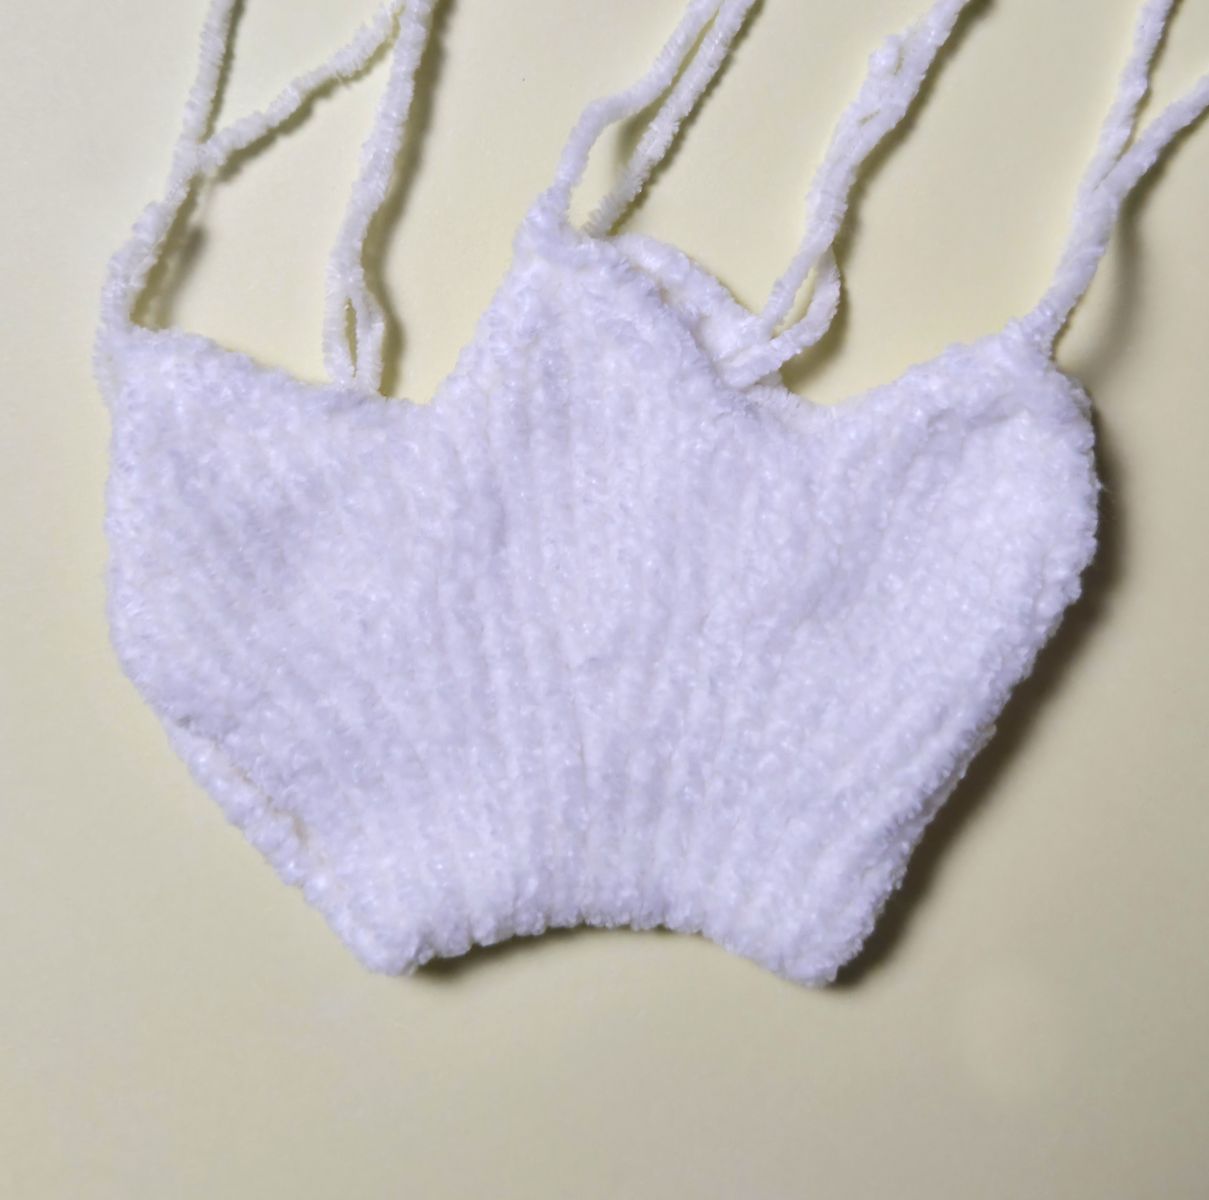
Bind off the remaining stitches. Join the sides and sew them together. Do not stuff. Sew the wings onto the back.
Ready!
.JPG)


