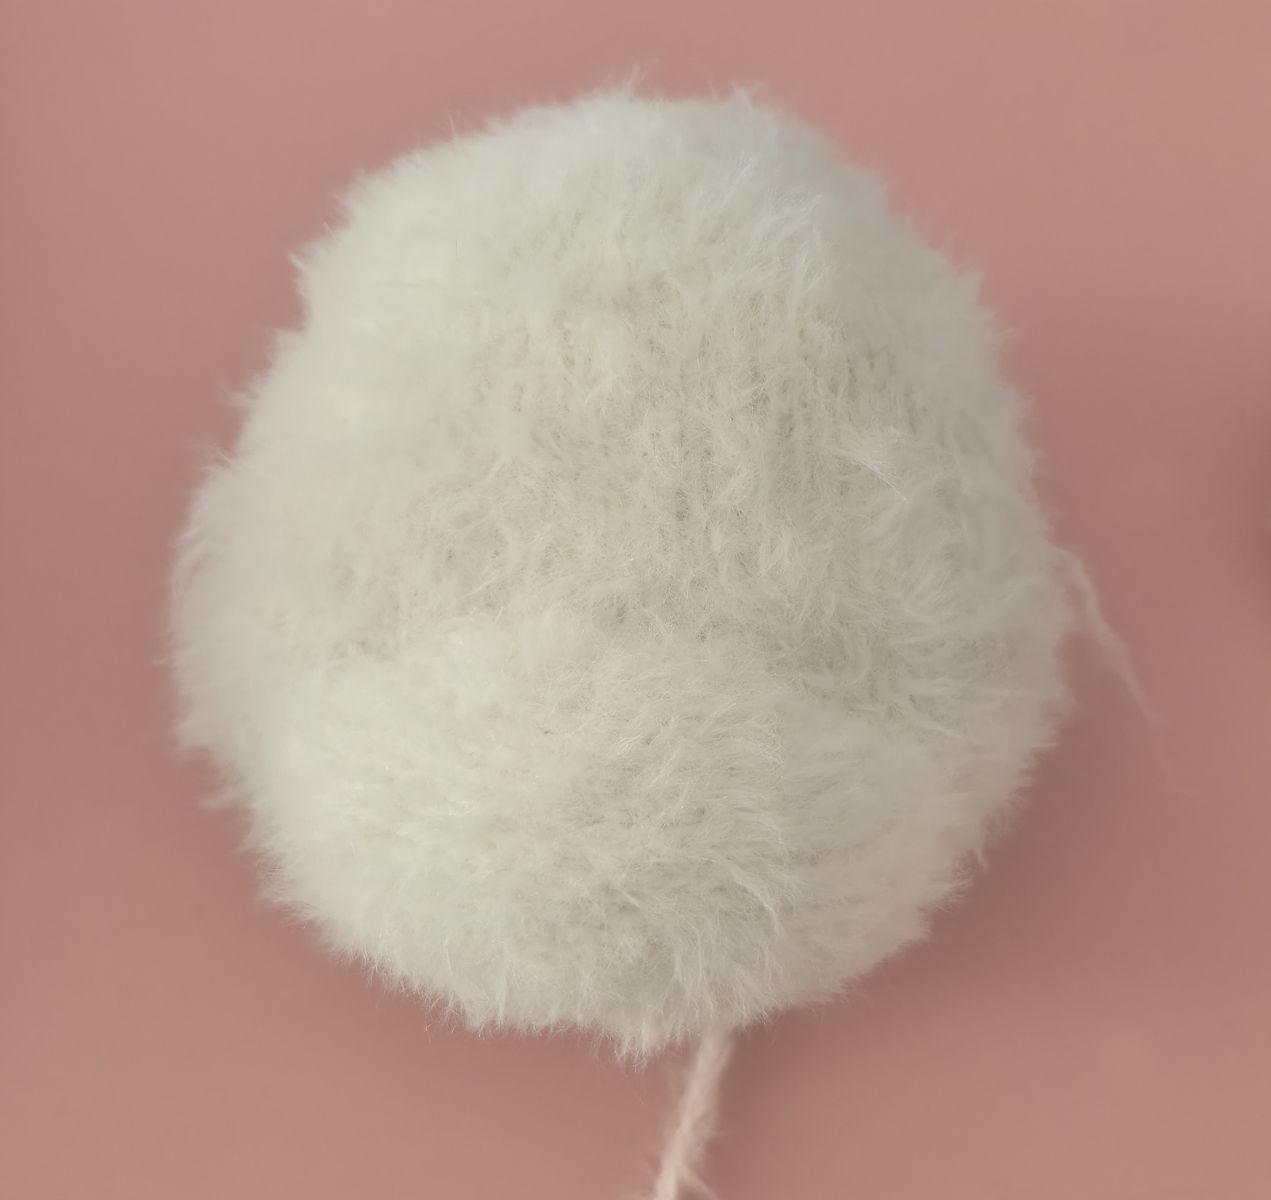
Knitting Pattern: Fluffy Dog
.JPG)
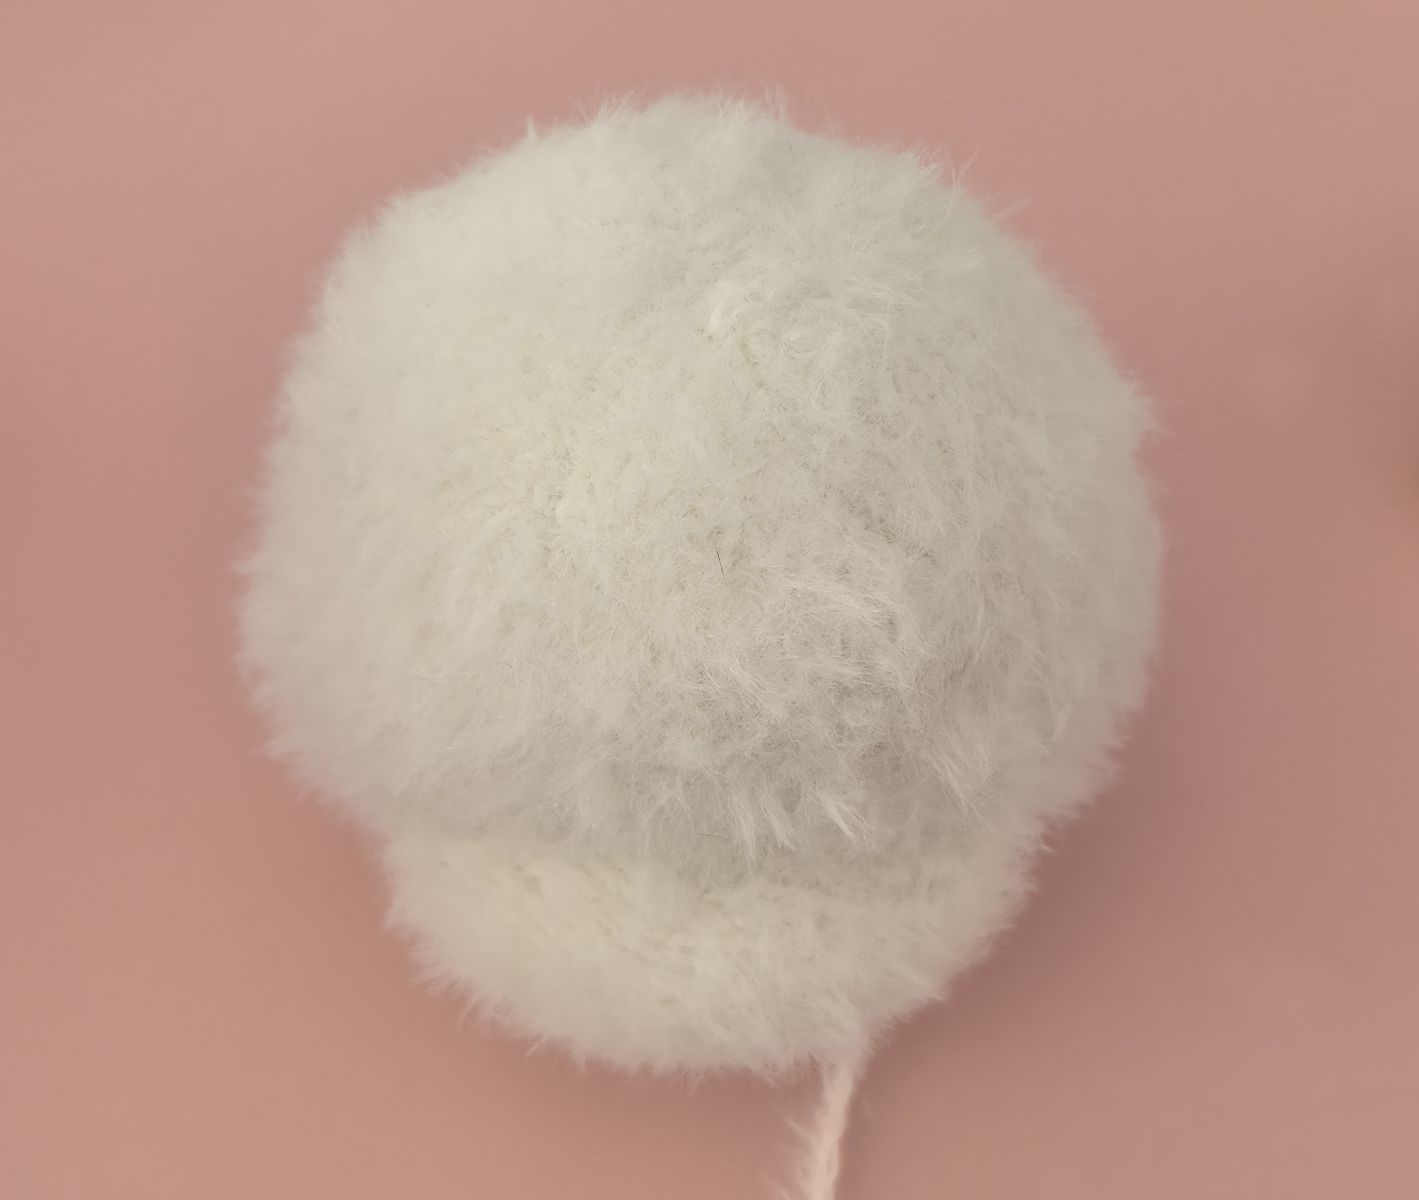
This fluffy dog is knitted with soft, cuddly yarn and measures approximately 25 cm in height. The size is perfect for small children's hands and makes the dog wonderfully snuggly.
For a larger version, simply use thicker yarn. Keep in mind: the thicker the yarn, the more yarn you will need, as the finished piece becomes more voluminous and therefore requires more grams of material.
Materials:
✓ Knitting yarn white 100 gr Leami Brush for Plush (160 m/ 100g).
✓ Gray yarn Bohème Velvet Fine 10 gr.
✓ Knitting needles No.2,5
Please note that wool consumption can vary depending on the knitting style – those who knit loosely usually need a little more yarn than those who knit more tightly.
✓ Fiberfill, Eyes 12 mm, 1 extra long sewing needle, pastel chalk gray.
Abbreviations:
CH – Chain(s)
inc – increase
dec – decrease
X dec – X- times decrease
X inc – X- times increase
ST – Stitch
P – purl
K– knit (garter stitch)
Knitting Instructions for all Pieces
All parts are crafted entirely with two knitting needles.
Follow these steps:
First Row - Purl Stitches Begin by knitting the first row entirely in purl stitches. These will form the back side of your project, creating a neat texture.
Second Row - Knit Stitches In the second row, knit every stitch. This will produce a smooth, even front for your piece.
Repeating the Pattern Continue alternating between purl stitches in the odd-numbered rows and knit stitches in the even-numbered rows:
- Odd-numbered rows (e.g., 1st, 3rd, 5th): Work in purl stitches.
- Even-numbered rows (e.g., 2nd, 4th, 6th): Work in knit stitches.
This straightforward pattern of alternating knit and purl rows is ideal for beginners, offering an easy yet satisfying introduction to the craft.
If you're knitting with three or four needles to avoid joining and creating a seam, this is certainly possible. In this case, all purl stitches are worked as knit stitches
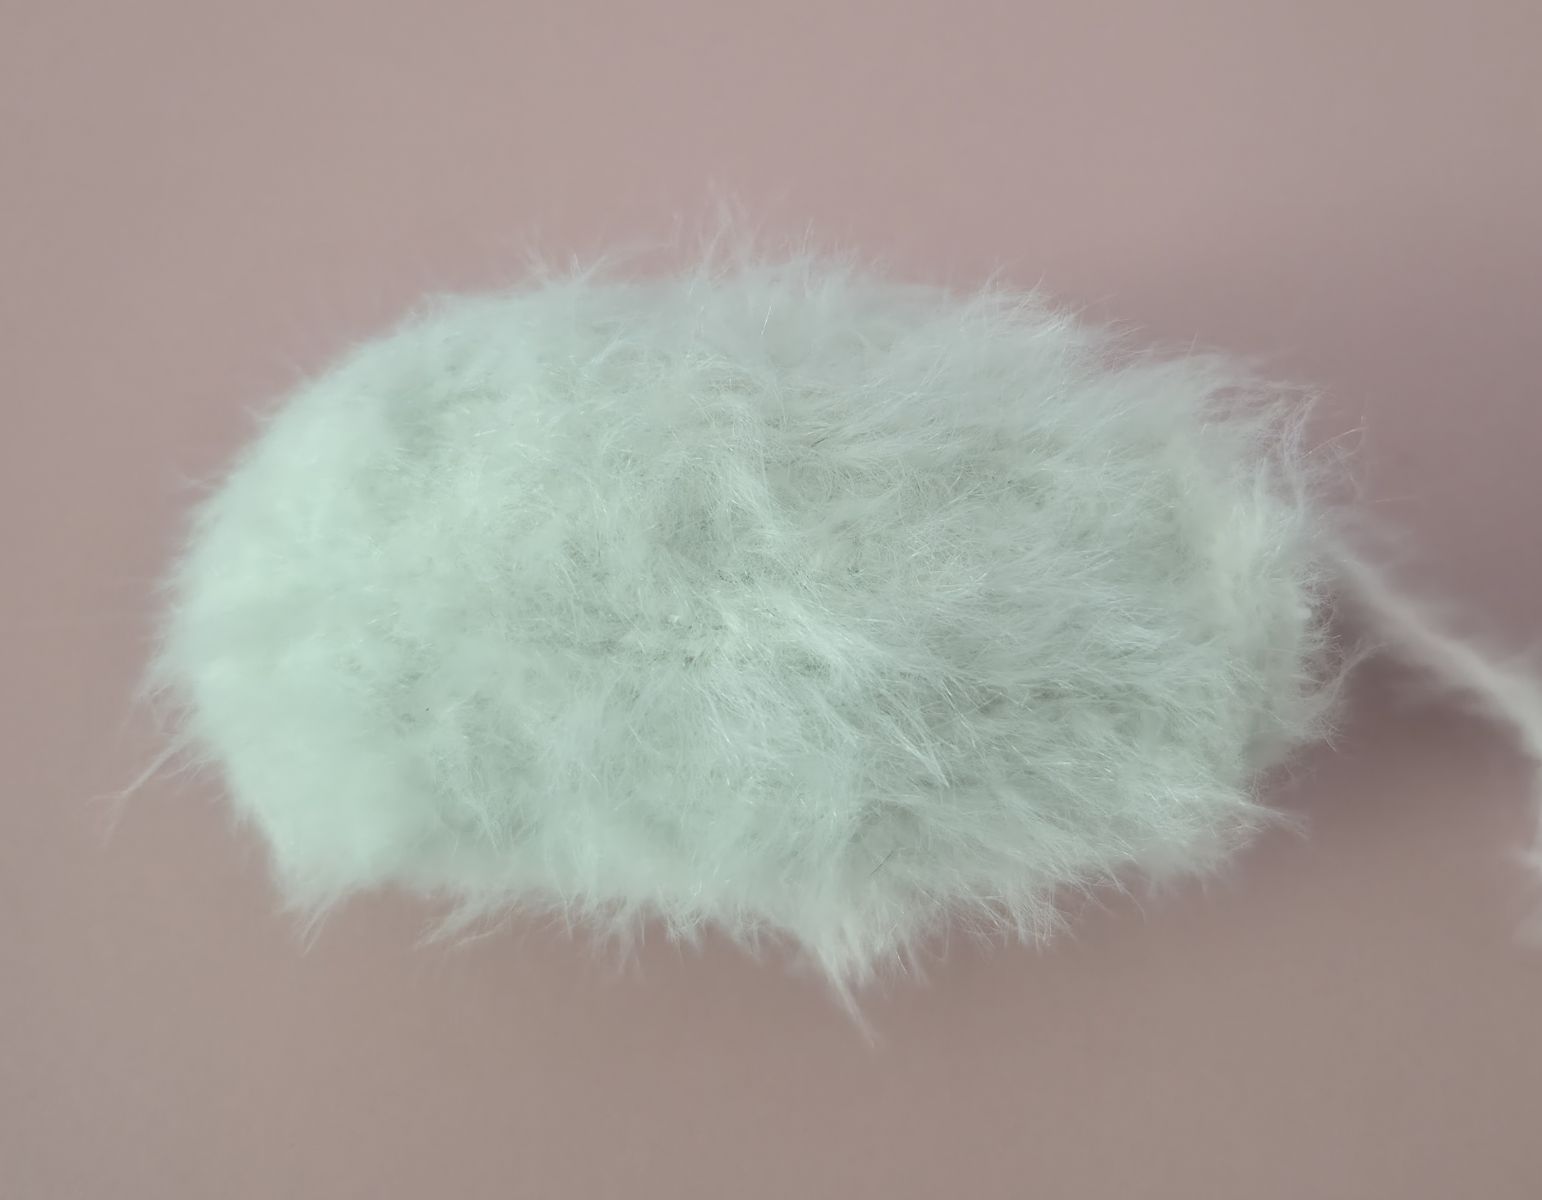
Body
Cast on 6 stitches (ch) onto the knitting needle. Make sure the stitches are evenly stretched while knitting to ensure your knitted piece is nice and even.
1. 6 P
2. 6 K inc. (12)
3. 12 P (12)
4. (1 K, 1 K inc)x 6 (18)
5. 18 P
6. (2 K, 1 K inc)x 6 (24)
7. 24 P
8. (3 K, 1 K inc)x 6 (30)
9. 30 P
10. (4 K, 1 K inc)x 6 (36)
11. 36 P
12. 13 K, 10 K inc, 13 K (46)
13. 46 P
14. 13 K, (1 K, 1 inc)x 10, 13 K (56) (The 10 inc. in this case refers to the dog’s rear end.) When sewing the body together, the rear end must face upwards, while the belly remains flat and facing downwards – because the dog is designed to lie on its stomach. Only with this alignment does the body achieve the correct shape, and the final position appears natural.
15. 56 P
16. 56 K
17. 56 P
18. 56 K
19. 56 P
20. 56 K
21. 56 P
22. 18 K, (1 dec, 2 K)х 5, 18 K (51)
23. 51 P
24. 18 K, (1 dec, 1 K)х 5, 18 K (46)
25. 46 P
26. 17 K, (1 dec, 1 K)х 4, 17 K (42)
27. 42 P
28. (1 dec, 5 K)х 6 (36)
29. 36 P
30. (1 dec, 4 K)х 6 (30)
31. 30 P
32. 30 K
33. 30 P
34. 30 K
35. 30 P
36. 30 K
37. 30 P
38. 30 K
39. 30 P
40. 30 K
41. 30 P
42. 30 K
43. 30 P
Finally, cast off the remaining stitches.
Then sew the body together using a yarn needle and matching yarn. Work with even, neat stitches so the seam blends smoothly into the overall shape.
A soft, cuddly yarn is especially recommended, as it creates a pleasant surface and helps the seams become almost invisible.
Stuff the body with fiberfill
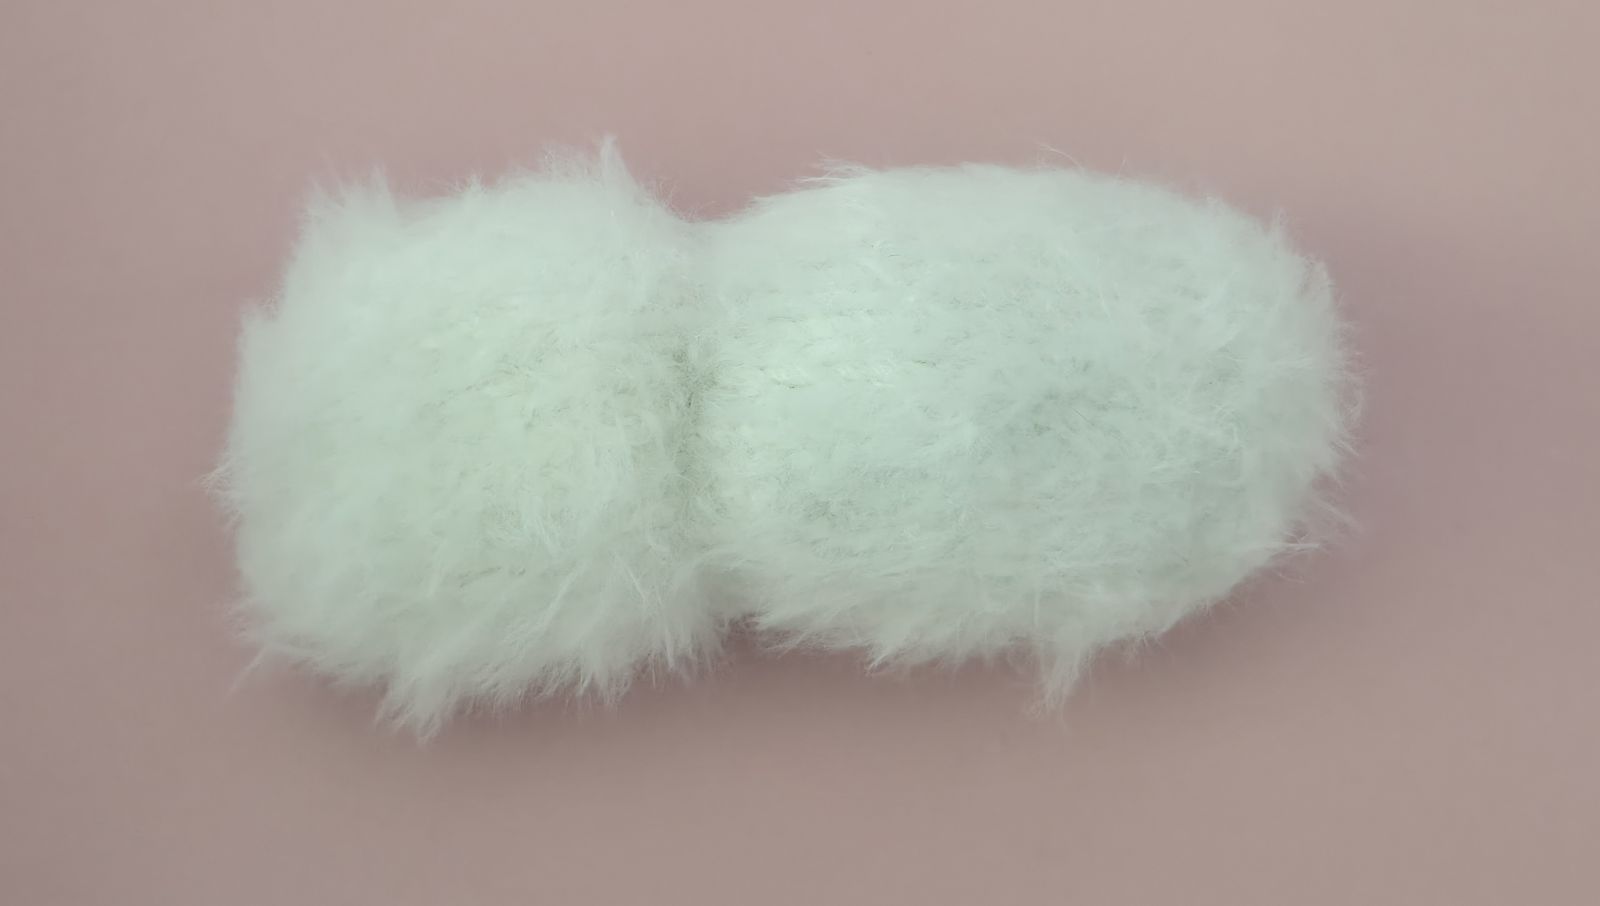
Head
Cast on 6 stitches (ch) onto the knitting needle. Make sure the stitches are evenly stretched while knitting to ensure your knitted piece is nice and even.
1. 6 P
2. 6 K inc. (12)
3. 12 P
4. (1 K, 1 K inc)x 6 (18)
5. 18 P
6. (2 K, 1 K inc)x 6 (24)
7. 24 P
8. (3 K, 1 K inc)x 6 (30)
9. 30 P
10. (4 K, 1 K inc)x 6 (36)
11. 36 P
12. (5 K, 1 K inc)x 6 (42)
13. 42 P
14. (6 K, 1 K inc)x 6 (48)
15. 48 P
16. (7 K, 1 K inc)x 6 (54)
17. 54 P
18. 54 K
19. 54 P
20. 54 K
21. 54 P
22. 54 K
23. 54 P
24. 54 K
25. 54 P
26. 54 K
27. 54 P
28. 54 K
29. 54 P
30. 54 K
31. 54 P
32. 15 K, 5 inc, 14 K, 5 inc, 15 K (64)
33. 64 P
34. 64 K
35. 64 P
36. 64 K
37. 64 P
38. 64 K
39. 64 P
40. 15 K, 5 dec, 14 K, 5 dec, 15 K (54)
41. 54 P
42. 54 K
43. 54 P
44. (3 K, 1 dec)х5, 4 K, (1 dec, 3 K)х5 (44)
45. 44 P
46. (2 K, 1 dec)х4, 12 K, (1 dec, 2 K)х4 (36)
47. 36 P
48. (4 K, 1 dec)х6 (30)
49. 30 P
50. (3 K, 1 dec)х6 (24)
51. 24 P
52. (2 K, 1 dec)х6 (18)
53. 18 P
54. (1 K, 1 dec)х6 (12)
55. 12 P
56. 6 dec
Cast off the remaining stitches.
Carefully sew the head together using a yarn needle and matching yarn. Work with even, tidy stitches so the seam stays neat and blends smoothly into the shape.
While sewing the body, add fiberfill gradually to create an even, well‑formed structure.
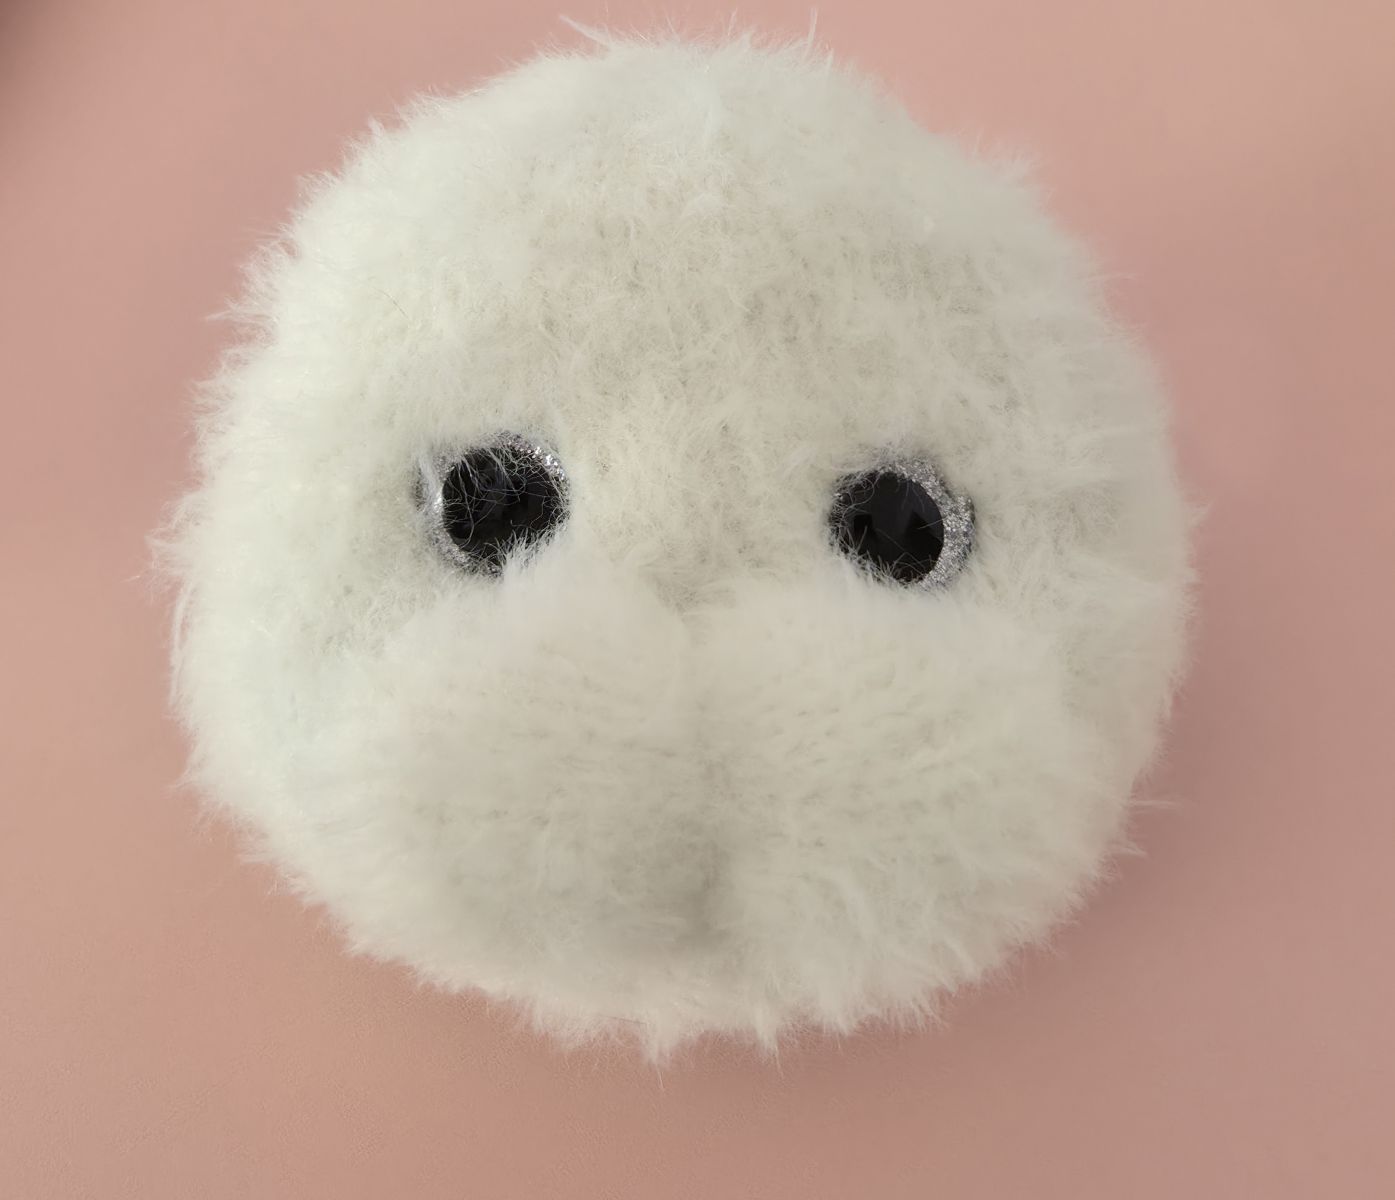
Since safety eyes were used, a small opening was left when sewing the head. This opening allows the eyes to be attached from the inside later. It should be large enough to easily slide the safety washers into place.
Muzzle
Cast on 6 stitches (ch) onto the knitting needle. Make sure the stitches are evenly stretched while knitting to ensure your knitted piece is nice and even.
1. 6 P
2. 1 K ved, 4 K, 1 K inc (8)
3. 8 P
4. 1 K ved, 6 K, 1 K inc (10)
5. 10 P
6. 1 K ved, 8 K, 1 K inc (12)
7. 12 P
8. 1 K ved, 10 K, 1 K inc (14)
9. 14 P
10. 14 K
11. 14 P
12. 14 K
13. 14 P
14. 14 K
15. 14 P
16. 14 K
17. 14 P
18. 1 K dec, 10 K, 1 K dec (12)
19. 12 P
20. 1 K dec, 8 K, 1 K dec (10)
21. 10 P
22. 1 K dec, 6 K, 1 K dec (8)
23. 8 P
24. 1 K dec, 4 K, 1 K dec (6)
25. 6 P
Cast off the remaining stitches.
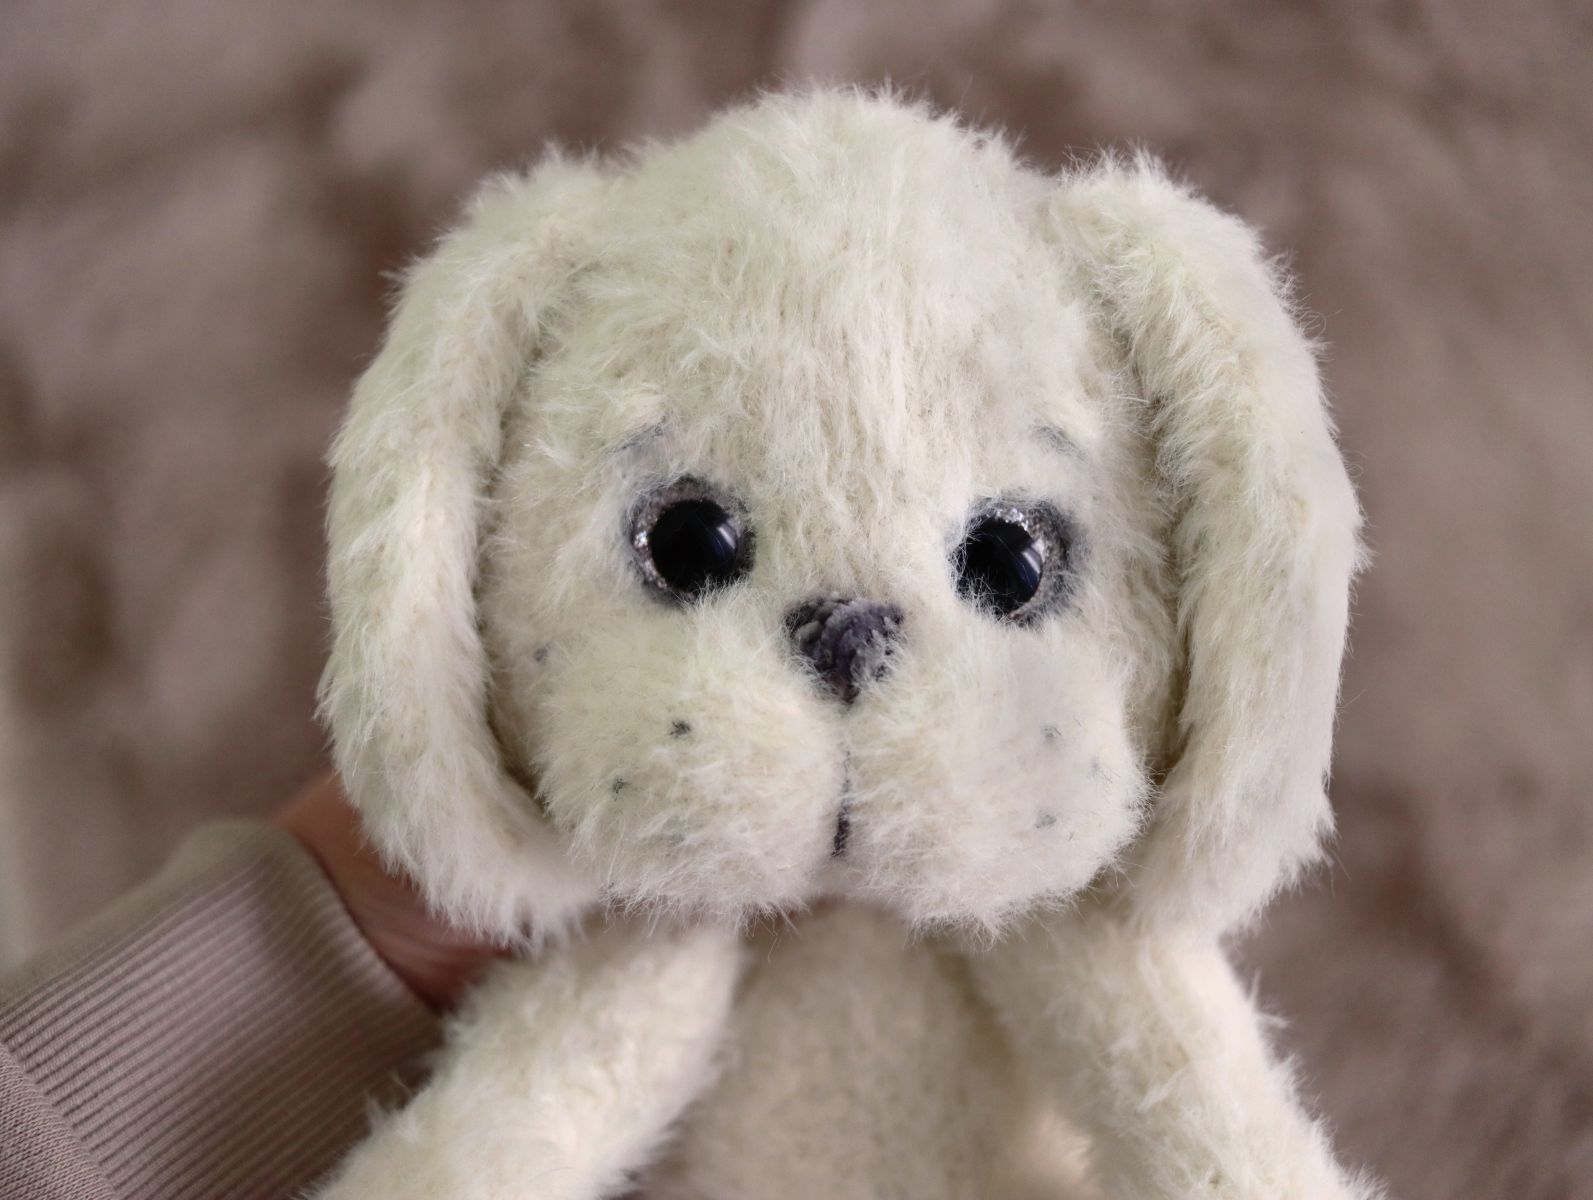
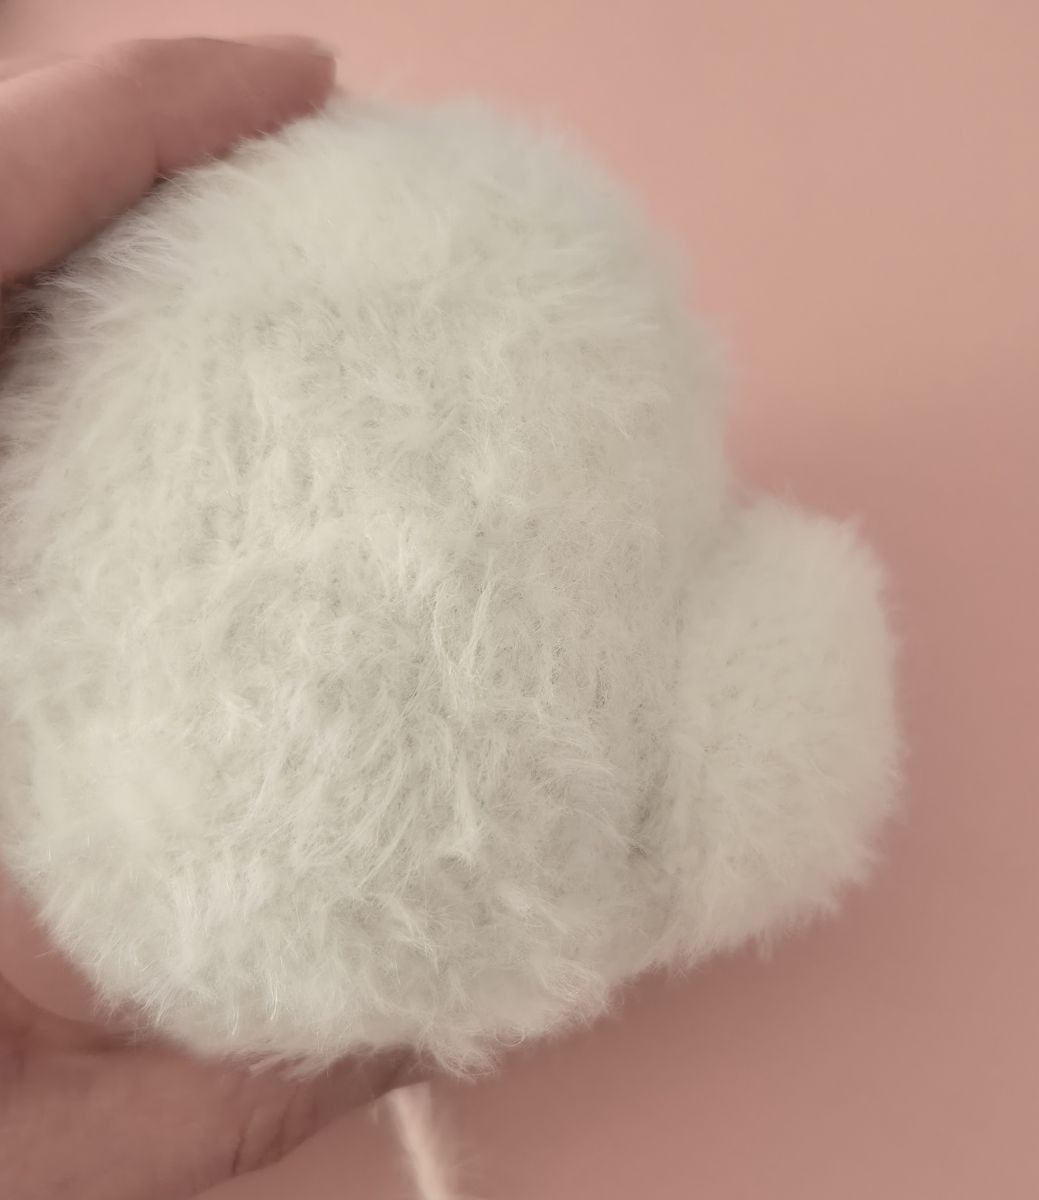
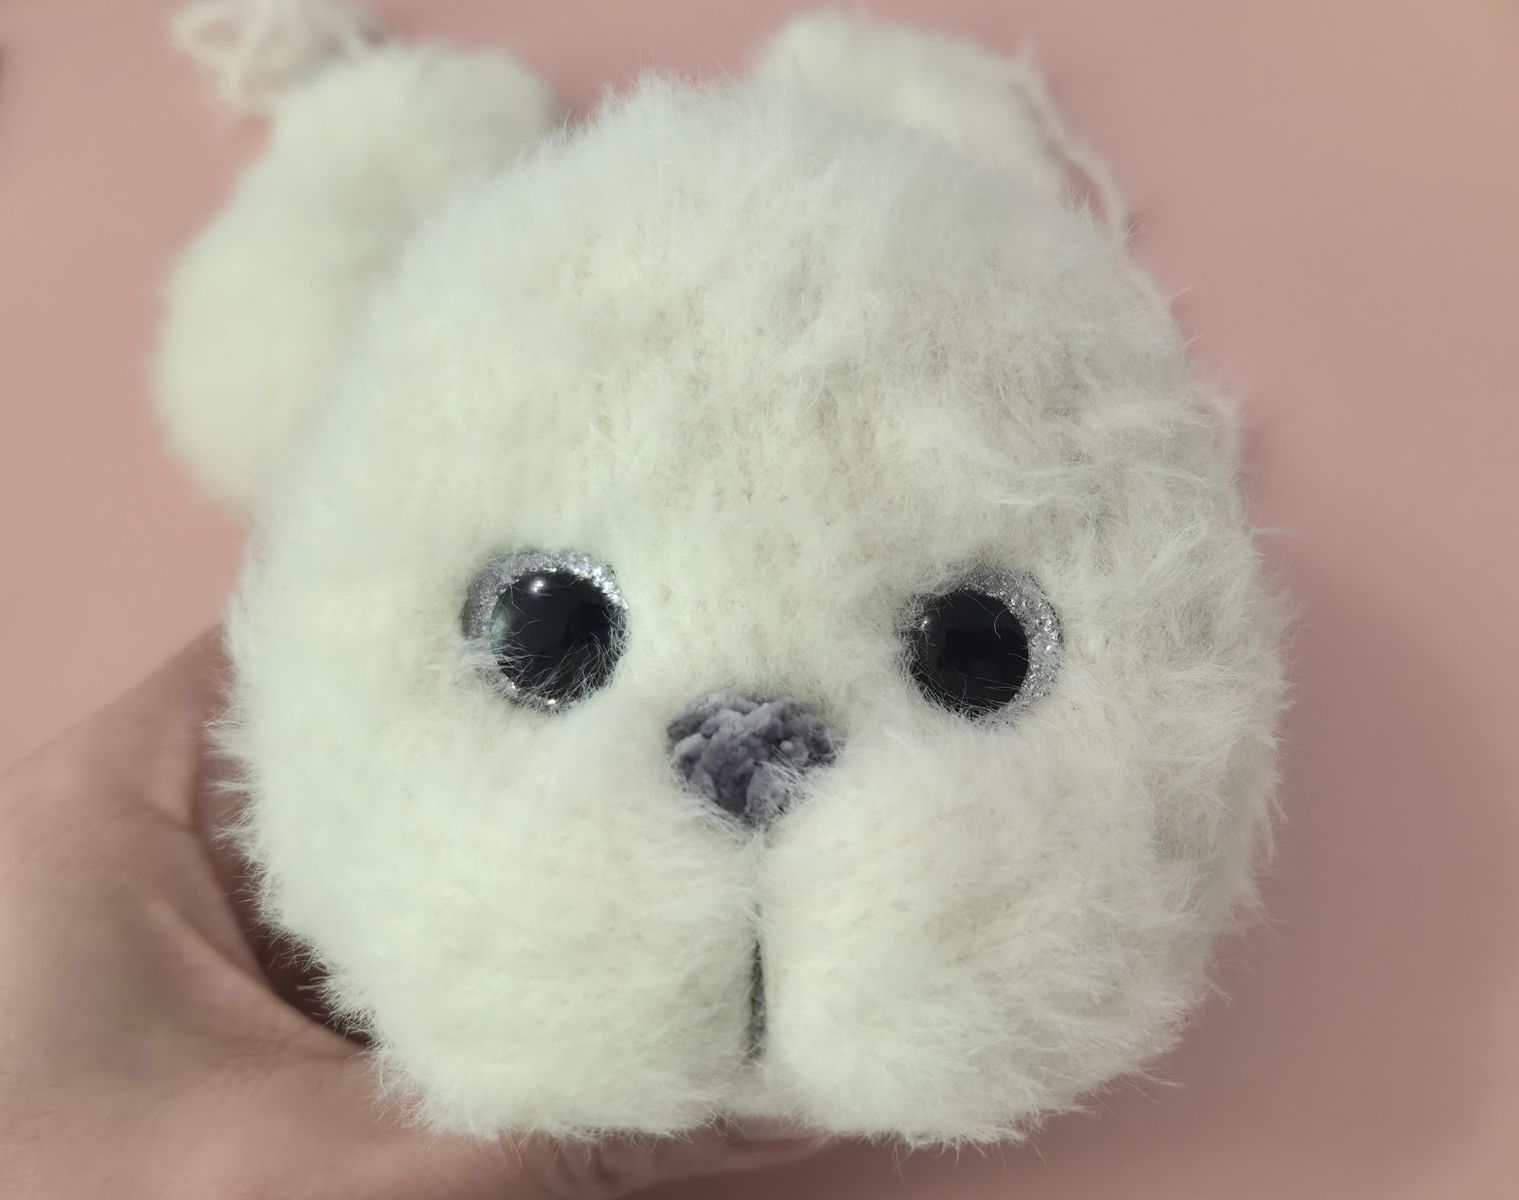
Sew the muzzle to the underside of the head. The photos show the correct positioning. While sewing, stuff the muzzle evenly so it keeps a smooth, round shape.

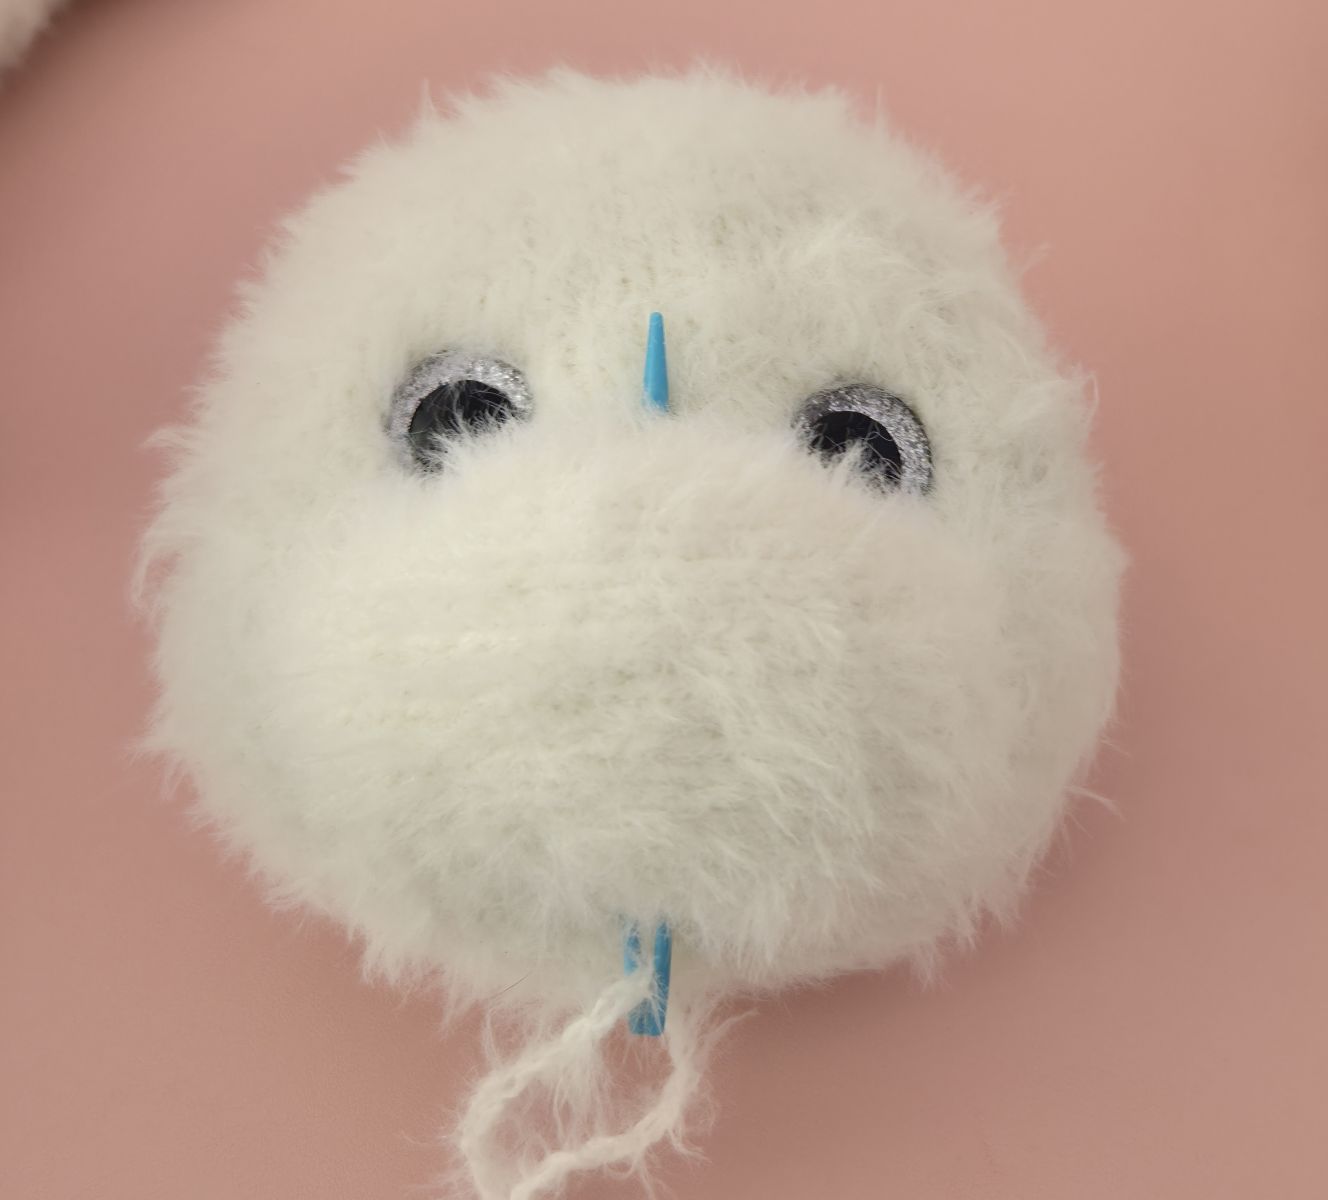
Once the muzzle is completely attached, insert the safety eyes from the inside of the head and secure them with the appropriate washers
!!! Attaching the Eyes – Take Special Care !!!
Attaching the eyes requires special attention, especially if the plush toy is intended for children under five years old. The person making the toy is fully responsible for ensuring that the eyes are securely attached – loose eyes can detach and may be swallowed. Please check carefully that the eyes used are firmly in place and cannot be pulled off during play.
I used classic safety eyes for my dog. First, the eyes were positioned in the desired location – on my dog, directly above the muzzle, which creates a harmonious look. The eyes were then secured from the inside of the head through the opening left earlier, using the appropriate safety washer.
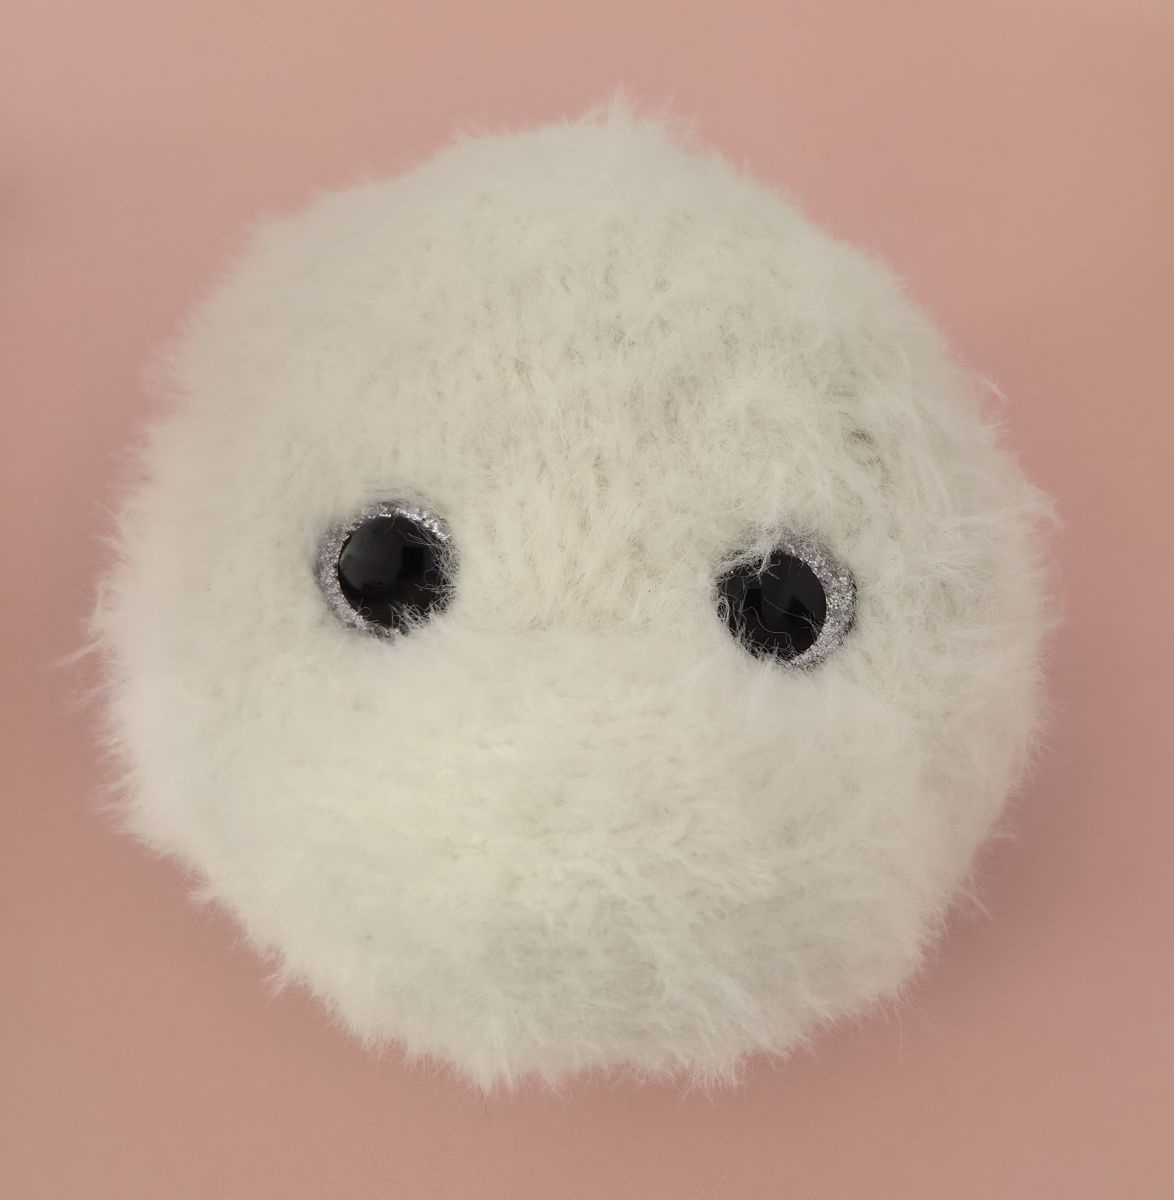
It is worth trying different positions, as the placement of the eyes greatly influences the facial expression and gives the toy its individual character.
Alternative: Sew‑in Eyes
Alternatively, sew‑in eyes can be used. These are sewn directly onto the head with thread. Again, the eyes must be absolutely secure and must not come loose – especially for toys intended for young children, safety is paramount.
If unsure, perform a gentle pull test. Only when the eyes remain firmly attached is the toy ready for small children's hands.
Finally, the opening can be neatly closed.
Muzzle form
First, knit a small nose using the same yarn that was used for the paws and toes.
Nose
Cast on 1 stitch onto the knitting needle.
1. Knit 3 stitches from 1 stitch
To create three stitches from a single stitch, pick up the stitch from one side, then pick it up again from the other side. This increases the stitch on both sides and results in a total of three stitches.
2. 3 P
3. 3 K
4. 3 P
5. 3 Mr together
The remaining stitch is cast off, then the sides are folded together and sewn. This creates a small triangle for the nose.
Now, let’s shape the mouth: Using a needle and white thread, insert the needle at the bottom center of the muzzle and bring it out at the top center. Wrap the thread several times around the muzzle to create the characteristic division, then knot it securely at the bottom. The muzzle is now divided into two sections.
.jpg)
Next, sew the nose in place in the center. While sewing, divide the muzzle once more this time using gray yarn to further emphasize the shape and expression.
Now attach the head to the body. Make sure the head is centered and carefully aligned, so the dog’s proportions appear harmonious and balanced.
Position the body with its rear end facing upwards – the explanation of where the rear end is located can be found in round 14 of the body section. This orientation is important to ensure the dog will later appear correctly in a prone position, and the head will sit naturally on the body.
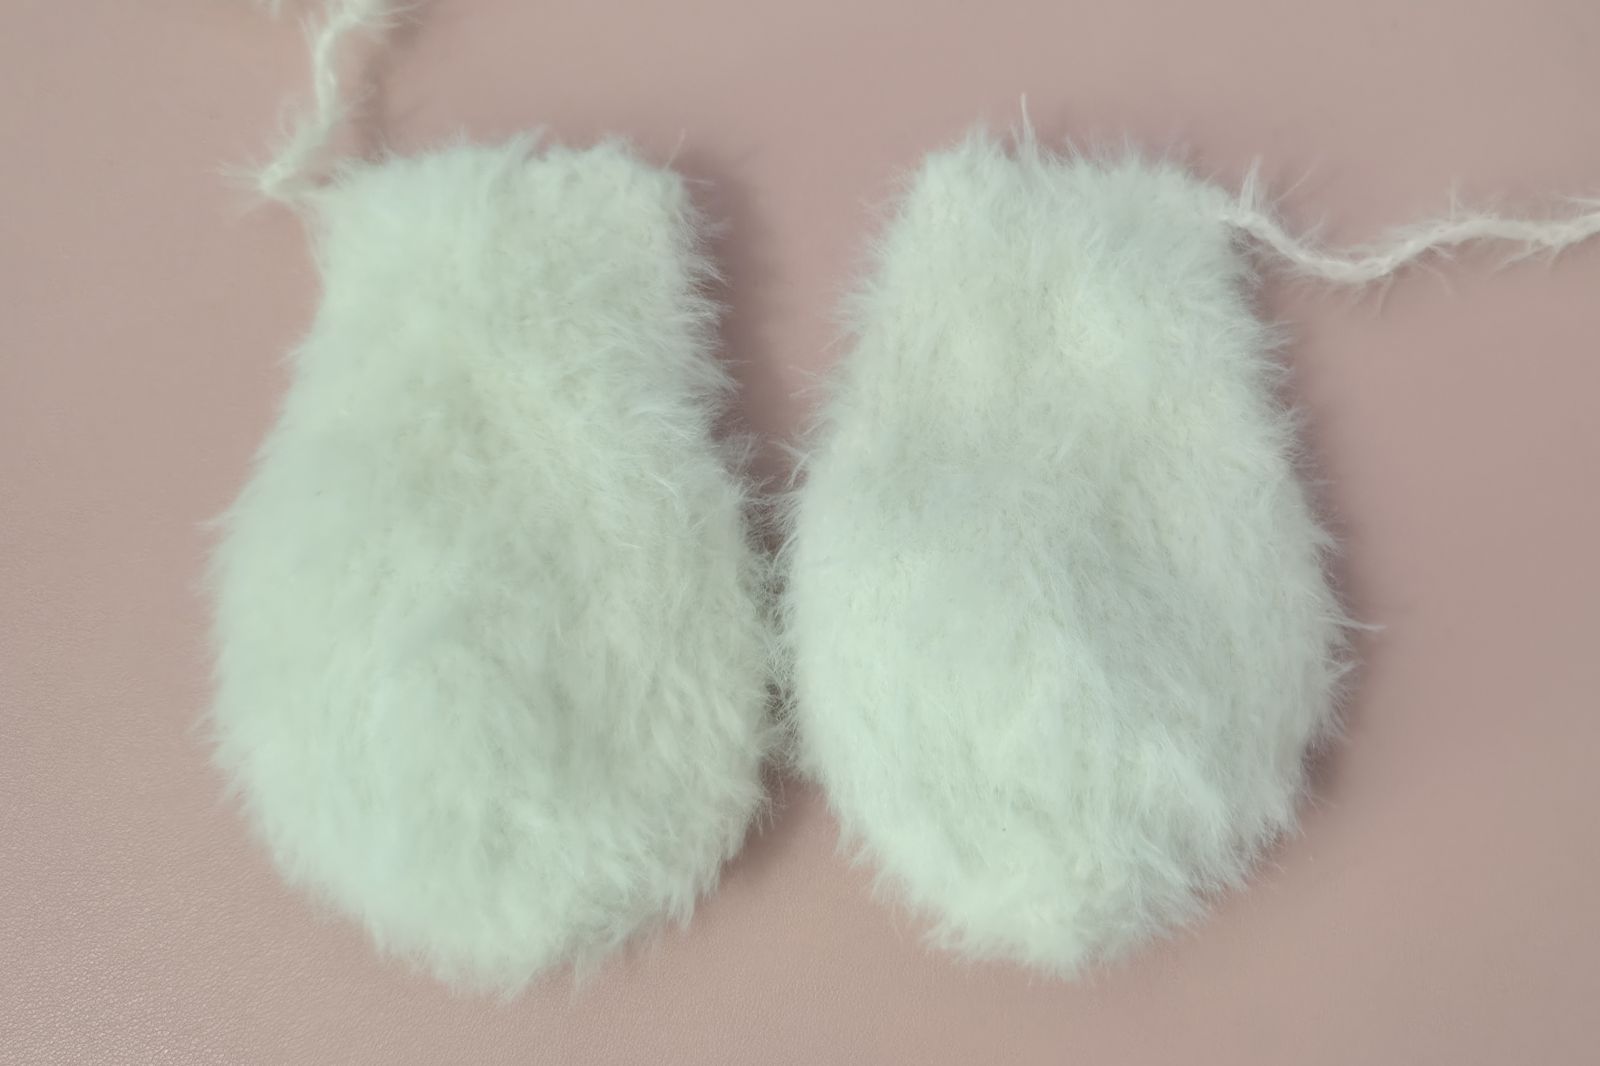
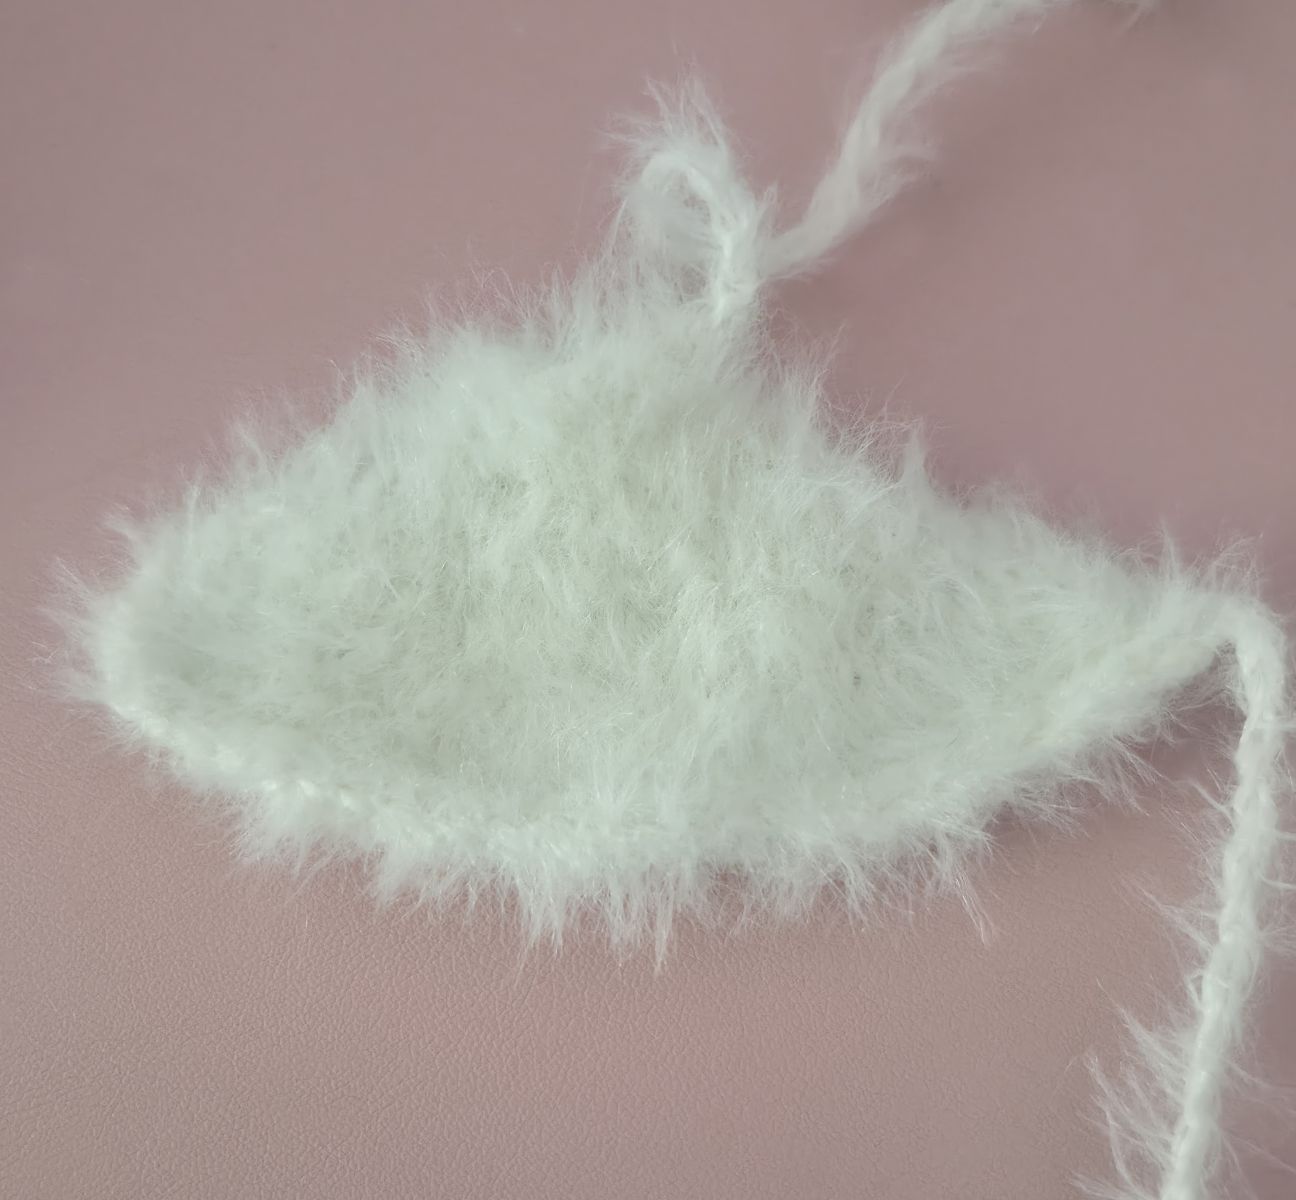
Ears
Cast on 6 stitches (ch) onto the knitting needle. Make sure the stitches are evenly stretched while knitting to ensure your knitted piece is nice and even.
1. 6 P
2. 6 K inc. (12)
3. 12 P
4. (1 K, 1 K inc)x 6 (18)
5. 18 P
6. (2 K, 1 K inc)x 6 (24)
7. 24 P
8. (3 K, 1 K inc)x 6 (30)
9. 30 P
10. (4 K, 1 K inc)x 6 (36)
11. 36 P
12. (5 K, 1 K inc)x 6 (42)
13. 42 P
14. 42 K
15. 42 P
16. 42 K
17. 42 P
18. 42 K
19. 42 P
20. 19 K, 1 dec, 19 K, 1 dec (40)
21. 40 P
22. 18 K, 1 dec, 18 K, 1 dec (38)
23. 38 P
24. 17 K, 1 dec, 17 K, 1 dec (36)
25. 36 P
26. (4 K, 1 dec)x 6 (30)
27. 30 P
28. 30 K
29. 30 P
30. 30 K
31. 30 P
32. (3 K, 1 dec)x 6 (24)
33. 24 P
34. 24 K
35. 24 P
36. 24 K
37. 24 P
38. 24 K
Once the ears are knitted, cast off the remaining stitches. Do not add any filling, as the ears should remain flat.
Position the ears on the left and right sides of the head and sew them on, making sure they are placed symmetrically for a balanced and harmonious look.
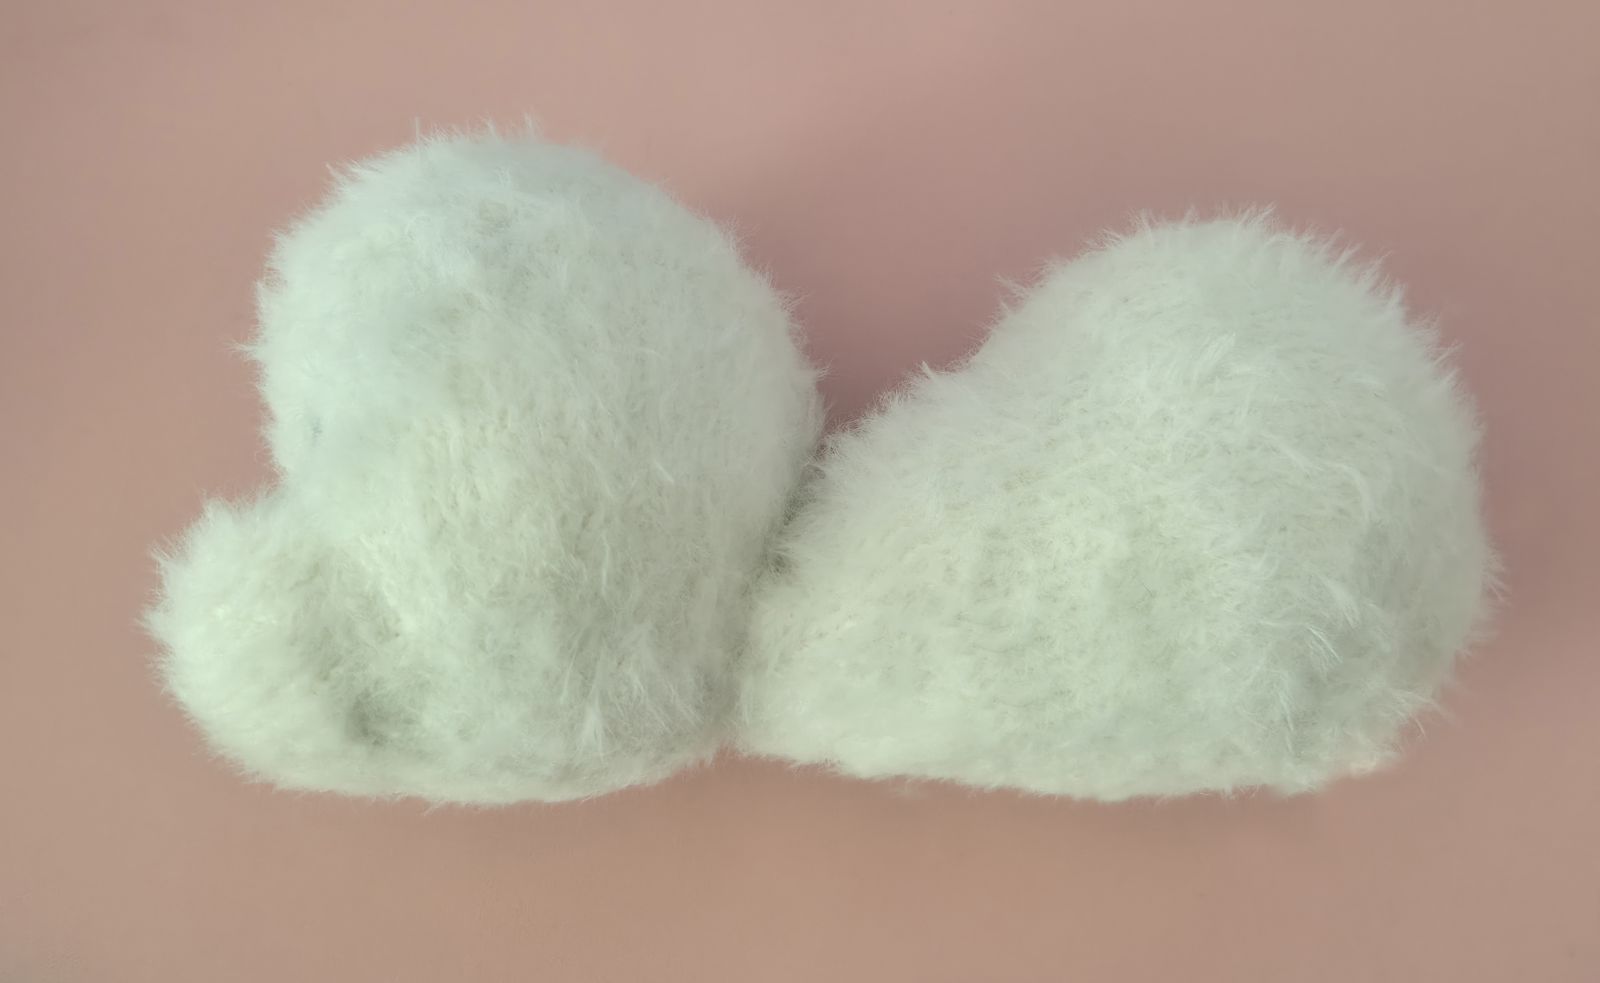
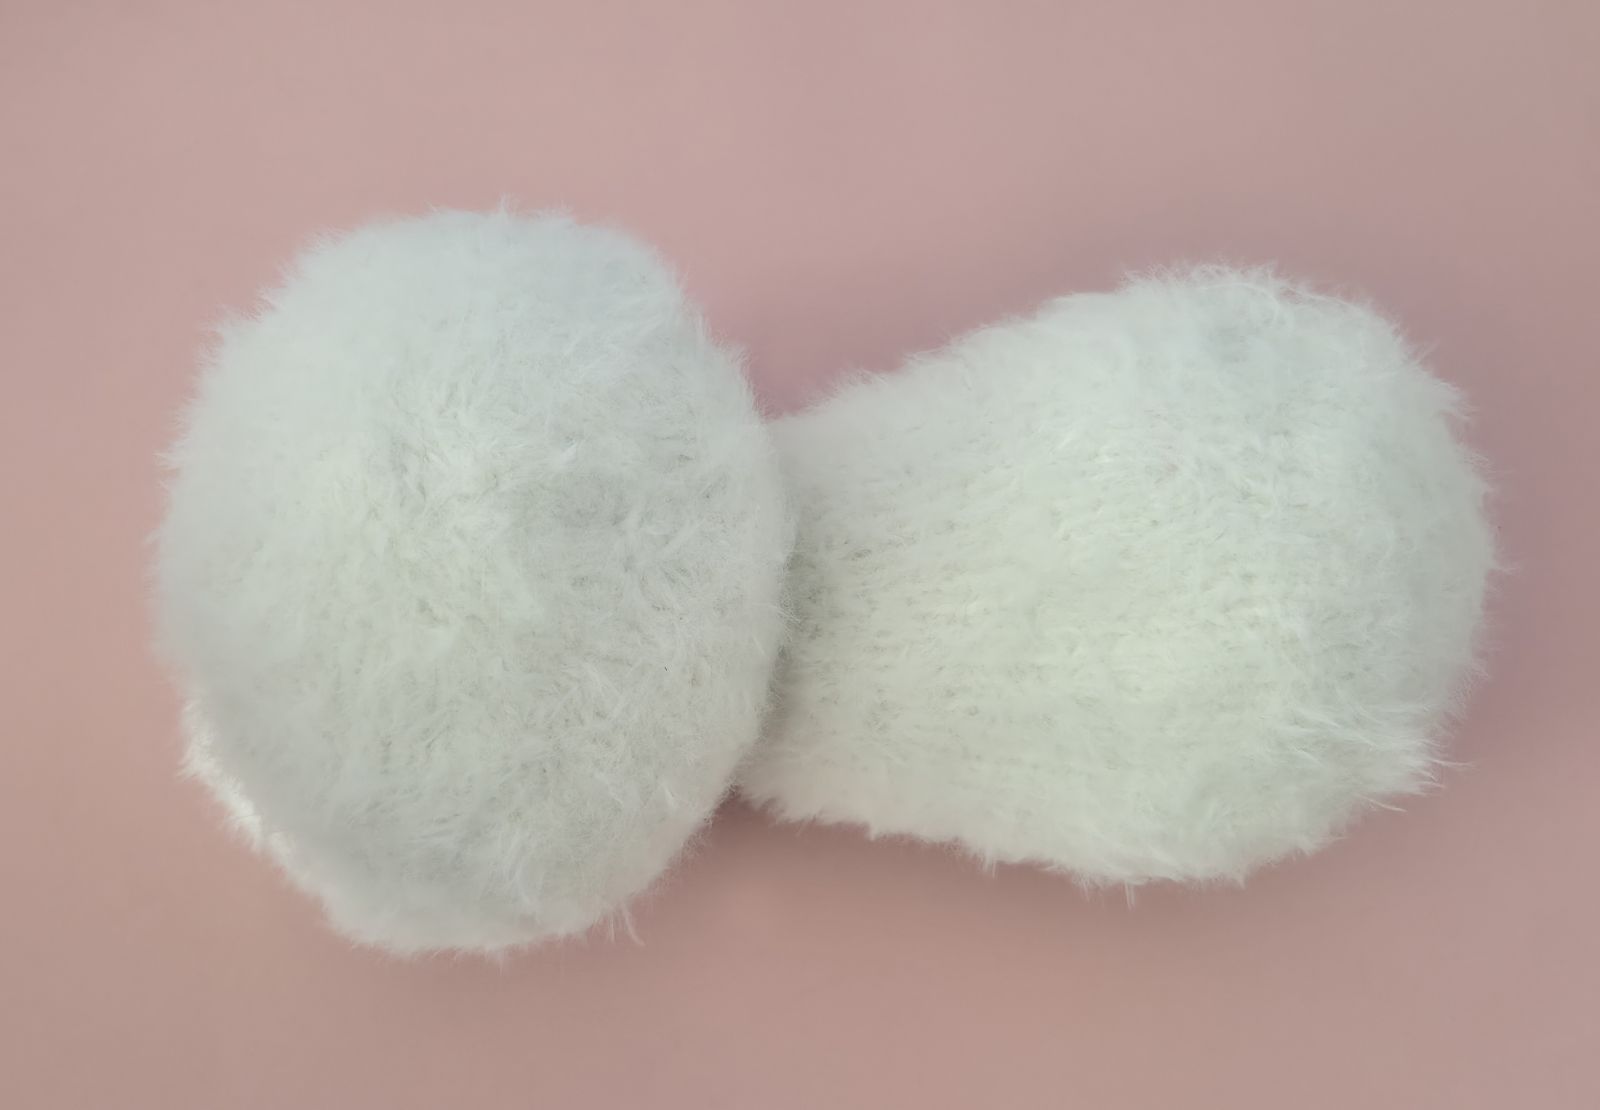
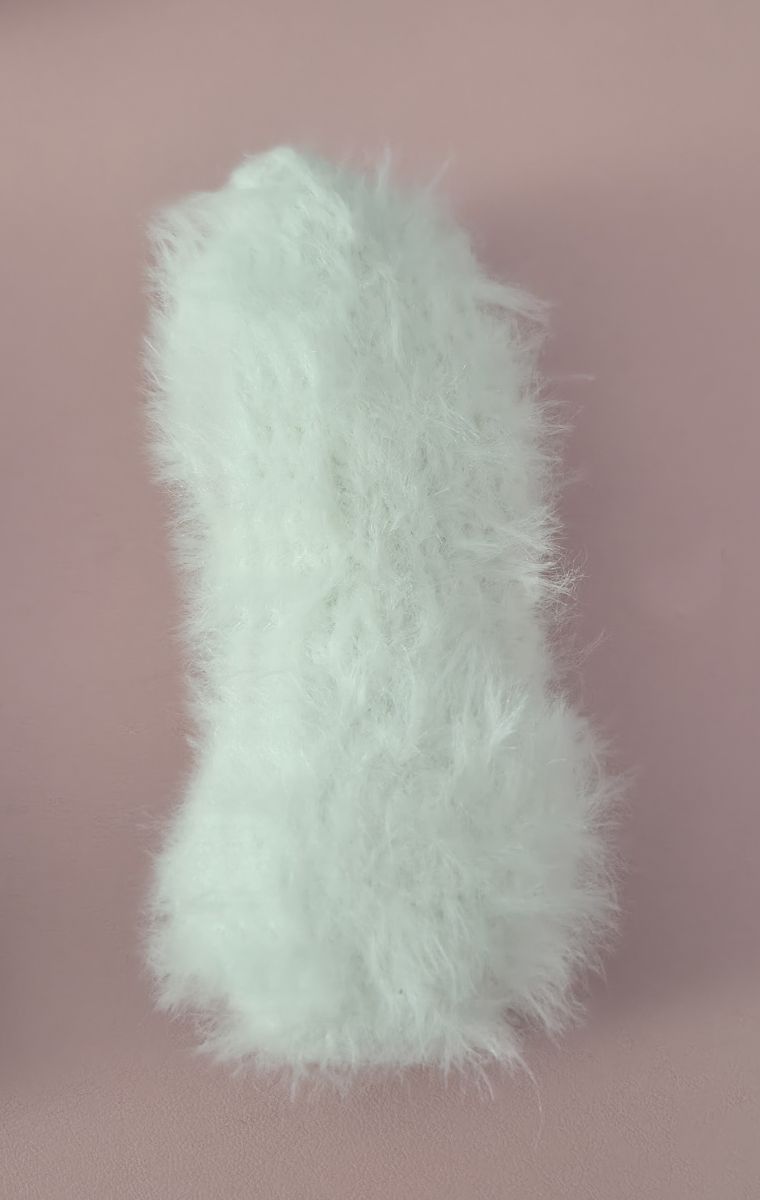
Hind legs
The leg consists of 2 parts.
Part 1 (foot)
Cast on 6 stitches (ch) onto the knitting needle. Make sure the stitches are evenly stretched while knitting to ensure your knitted piece is nice and even.
1. 6 P
2. 6 K inc. (12)
3. 12 P (12)
4. (1 K, 1 K inc)x 6 (18)
5. 18 P
6. (2 K, 1 K inc)x 6 (24)
7. 24 P
8. 24 K
9. 24 P
10. 24 K
11. 24 P
12. 11 K, 1 inc, 11 K, 1 inc (26)
13. 26 P
14. 26 K
15. 26 P
16. 26 K
17. 26 P
Cast off the remaining stitches. Fold the sides together and stuff lightly as you sew.
Part 2 (Leg)
Cast on 6 stitches (ch) onto the knitting needle. Make sure the stitches are evenly stretched while knitting to ensure your knitted piece is nice and even.
1. 6 P
2. 6 K inc. (12)
3. 12 P (12)
4. (1 K, 1 K inc)x 6 (18)
5. 18 P
6. (2 K, 1 K inc)x 6 (24)
7. 24 P
Knit a total of 16 rows in stockinette stitch:
On the front side of the work, knit all stitches across the row.
On the back side of the work, purl all stitches across the row.
8. 10. 12. 14. 16. 18. 20. 22. – 24 K
9. 11. 13. 15. 17. 19. 21. 23. - 24 P
Cast off the remaining stitches.
Sew together using a tapestry needle and the same yarn. Work with even, tidy stitches to create a neat and attractive seam.
Stuff the leg firmly and evenly.
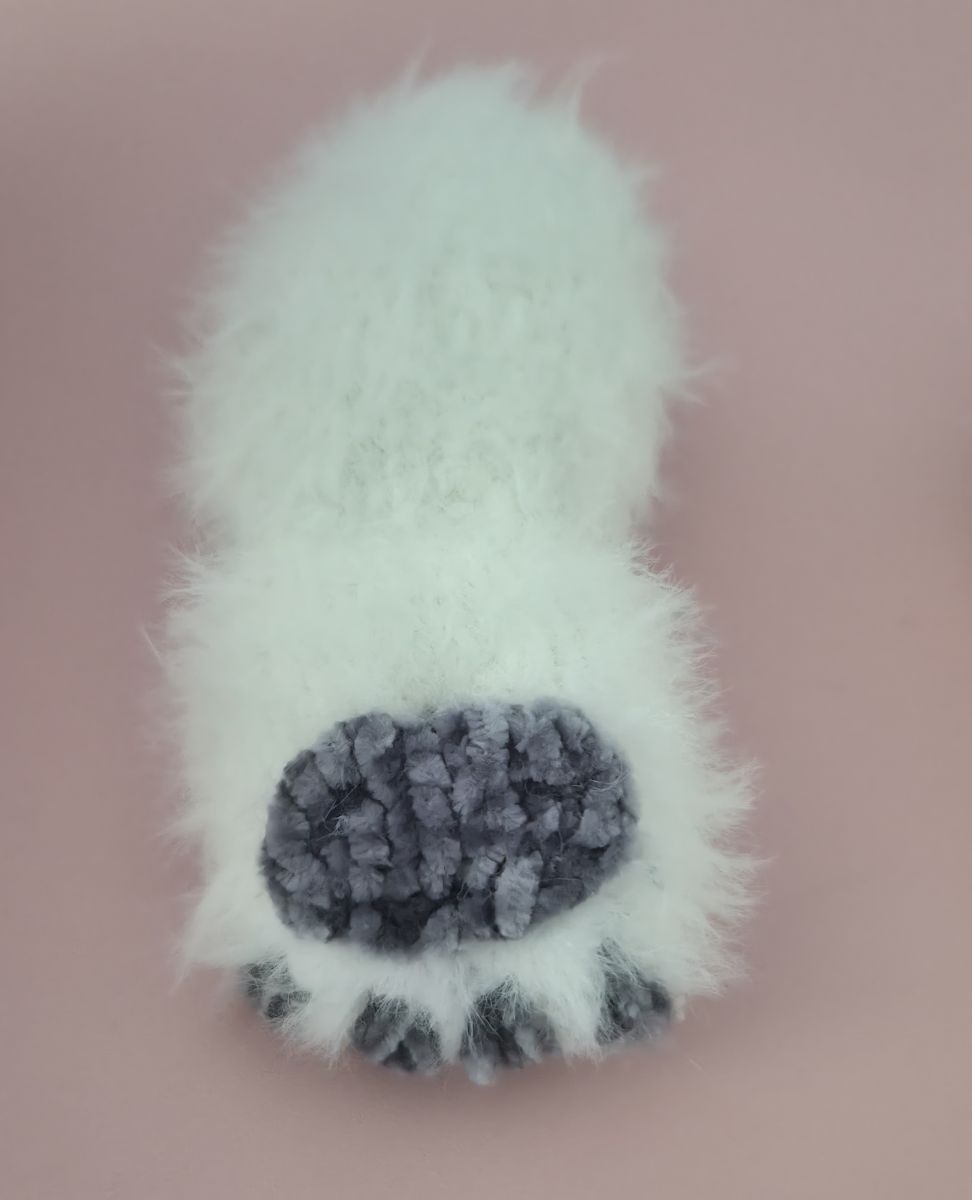
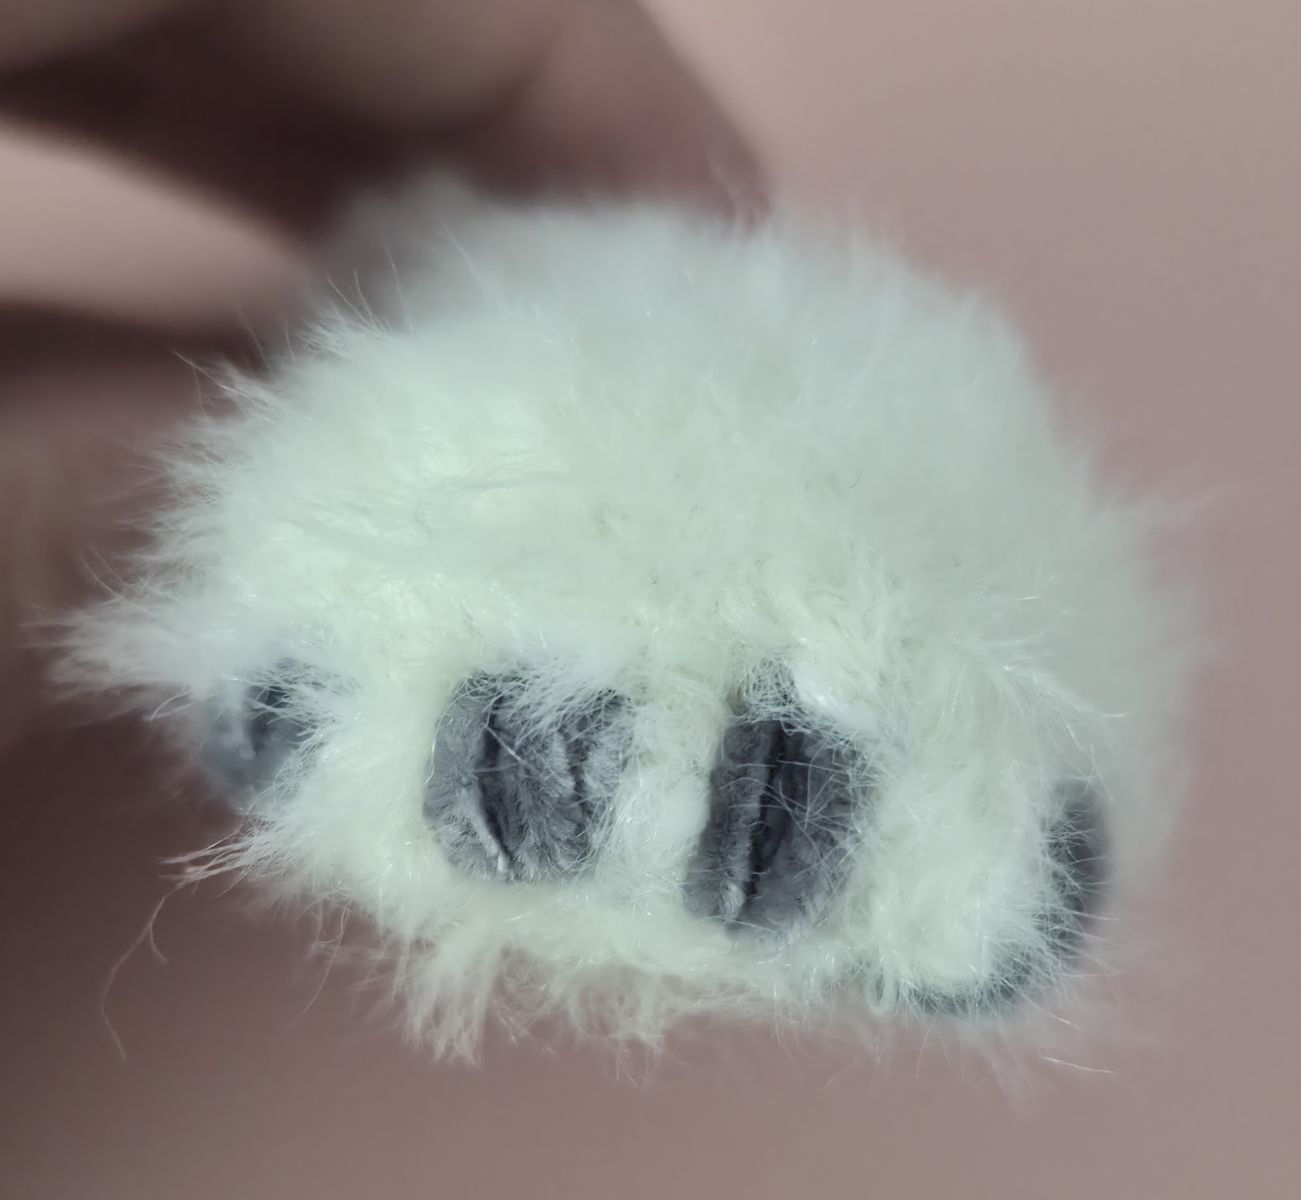
After sewing the leg and foot together, a decision was made to knit separate paw pads and then attach the toes. Gray yarn was chosen for this detail.
Paw Pads (2 pieces)
Cast on 4 stitches (ch) onto the knitting needle. Make sure the stitches are evenly stretched while knitting to ensure your knitted piece is nice and even.
1. 4 P
2. 1 K, 2 K inc, 1 K (6)
3. 6 P
4. 6 K
5. 6 P
6. 1 K, 2 dec, 1 K (4)
7. 4 P
Cast off the remaining stitches.
Position the paw pads in the center of the feet and sew them on securely. Once the pads are attached, embroider the toes. For each toe, work two short stitches using a doubled thread, then secure the yarn firmly.
Front legs
Cast on 6 stitches (ch) onto the knitting needle. Make sure the stitches are evenly stretched while knitting to ensure your knitted piece is nice and even.
1. 6 P
2. 6 K inc. (12)
3. 12 P (12)
4. (1 K, 1 K inc)x 6 (18)
5. 18 P
6. 18 K
7. 18 P
8. 18 K
9. 18 P
10. 18 K
11. 18 P
12. 18 K
13. 18 P
14. 18 K
15. 18 P
16. 1 K, 1 dec, 12 K, 1 dec, 1 K (16)
17. 16 P
18. 16 K
19. 16 P
20. 1 K, 1 dec, 10 K, 1 dec, 1 K (14)
21. 14 P
22. 14 K
23. 14 P
24. 1 K, 1 dec, 8 K, 1 dec, 1 K (12)
25. 12 P
26. 12 K
27. 12 P
28. (1 K, 1 inc)x 6 (16)
29. 16 P
30. (2 K, 1 inc)x 6 (24)
31. 24 P
32. 24 K
33. 24 P
34. (2 K, 1 dec)x 6 (18)
35. 18 P
36. (1 K, 1 dec)x 6 (12)
37. 12 P
38. 6 dec
Cast off the remaining stitches.
Sew the front legs together using a needle and the same yarn. Work with even, tidy stitches to create a neat and attractive seam.
Don’t forget to stuff the knitted piece with fiberfill so the shape becomes firm and even.
After the front legs are sewn together, embroider the toes in the same way as for the hind legs. For each toe, work two short stitches with a doubled strand of yarn, then secure the end neatly.
Embroidering Eyebrows
In the end, I decided to add eyebrows because they give the dog’s face more fullness and expression. For the eyebrows, simply work a few straight stitches and then secure the thread firmly on the inside.
Shading the Face
To give the face additional expression, lightly shade the eyes and eyebrows using a light gray fabric marker. A few small dots around the muzzle make the dog look even more lifelike and add gentle definition.
In the next step, attach the front and hind legs. They should be placed as symmetrically as possible. You can temporarily secure the limbs with pins to check the alignment before sewing them on permanently.
.JPG)
Tail
Cast on 3 stitches (ch) onto the knitting needle. Make sure the stitches are evenly stretched while knitting to ensure your knitted piece is nice and even.
1. 3 P
2. 1 inc, 1 K, 1 inc (5)
3. 5 P
4. 1 inc, 3 K, 1 inc (7)
5. 7 P
6. 1 inc, 5 K, 1 inc (9)
7. 9 P
8. 1 inc, 7 K, 1 inc (11)
9. 11 P
10. 1 inc, 9 K, 1 inc (13)
11. 13 P
12. 1 inc, 11 K, 1 inc (15)
13. 15 P
14. 1 inc, 13 K, 1 inc (17)
15. 17 P
16. 17 K
17. 17 P
Cast off the stitches and sew the sides together. Do not stuff the tail and sew it to the rear.
The dog is finished!
.JPG)


