
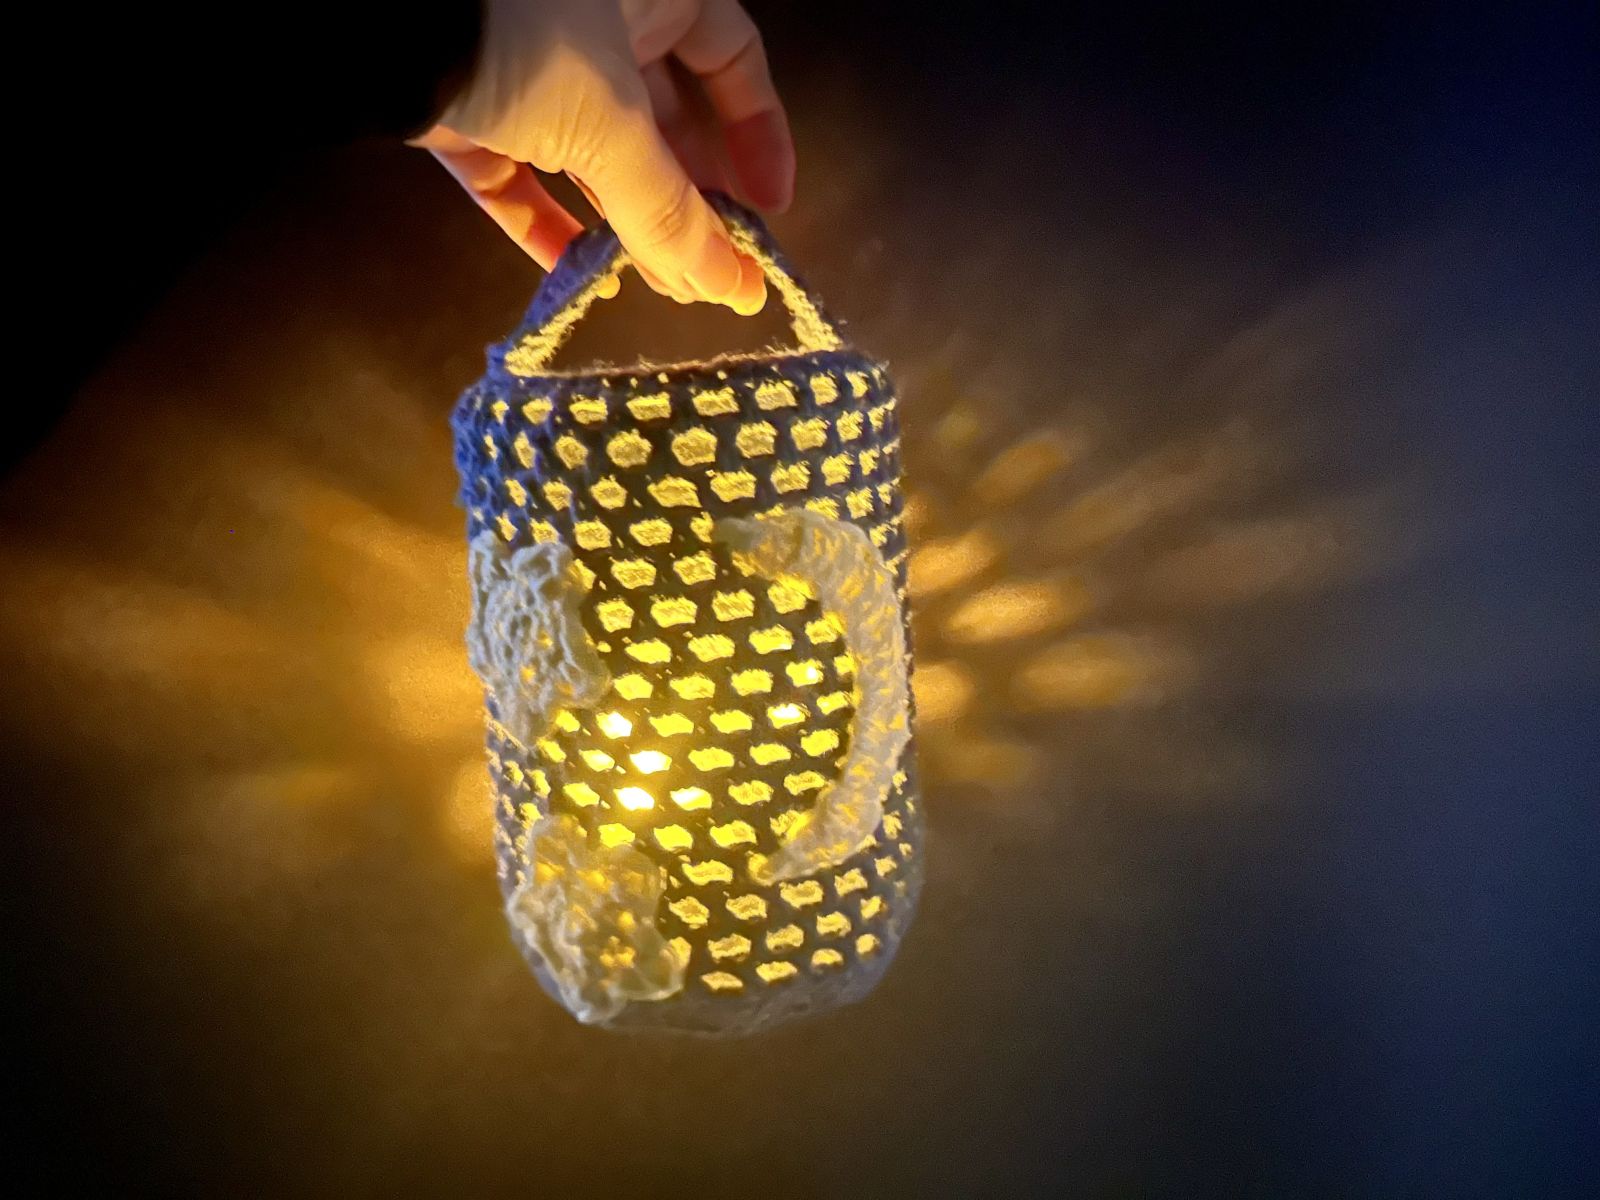
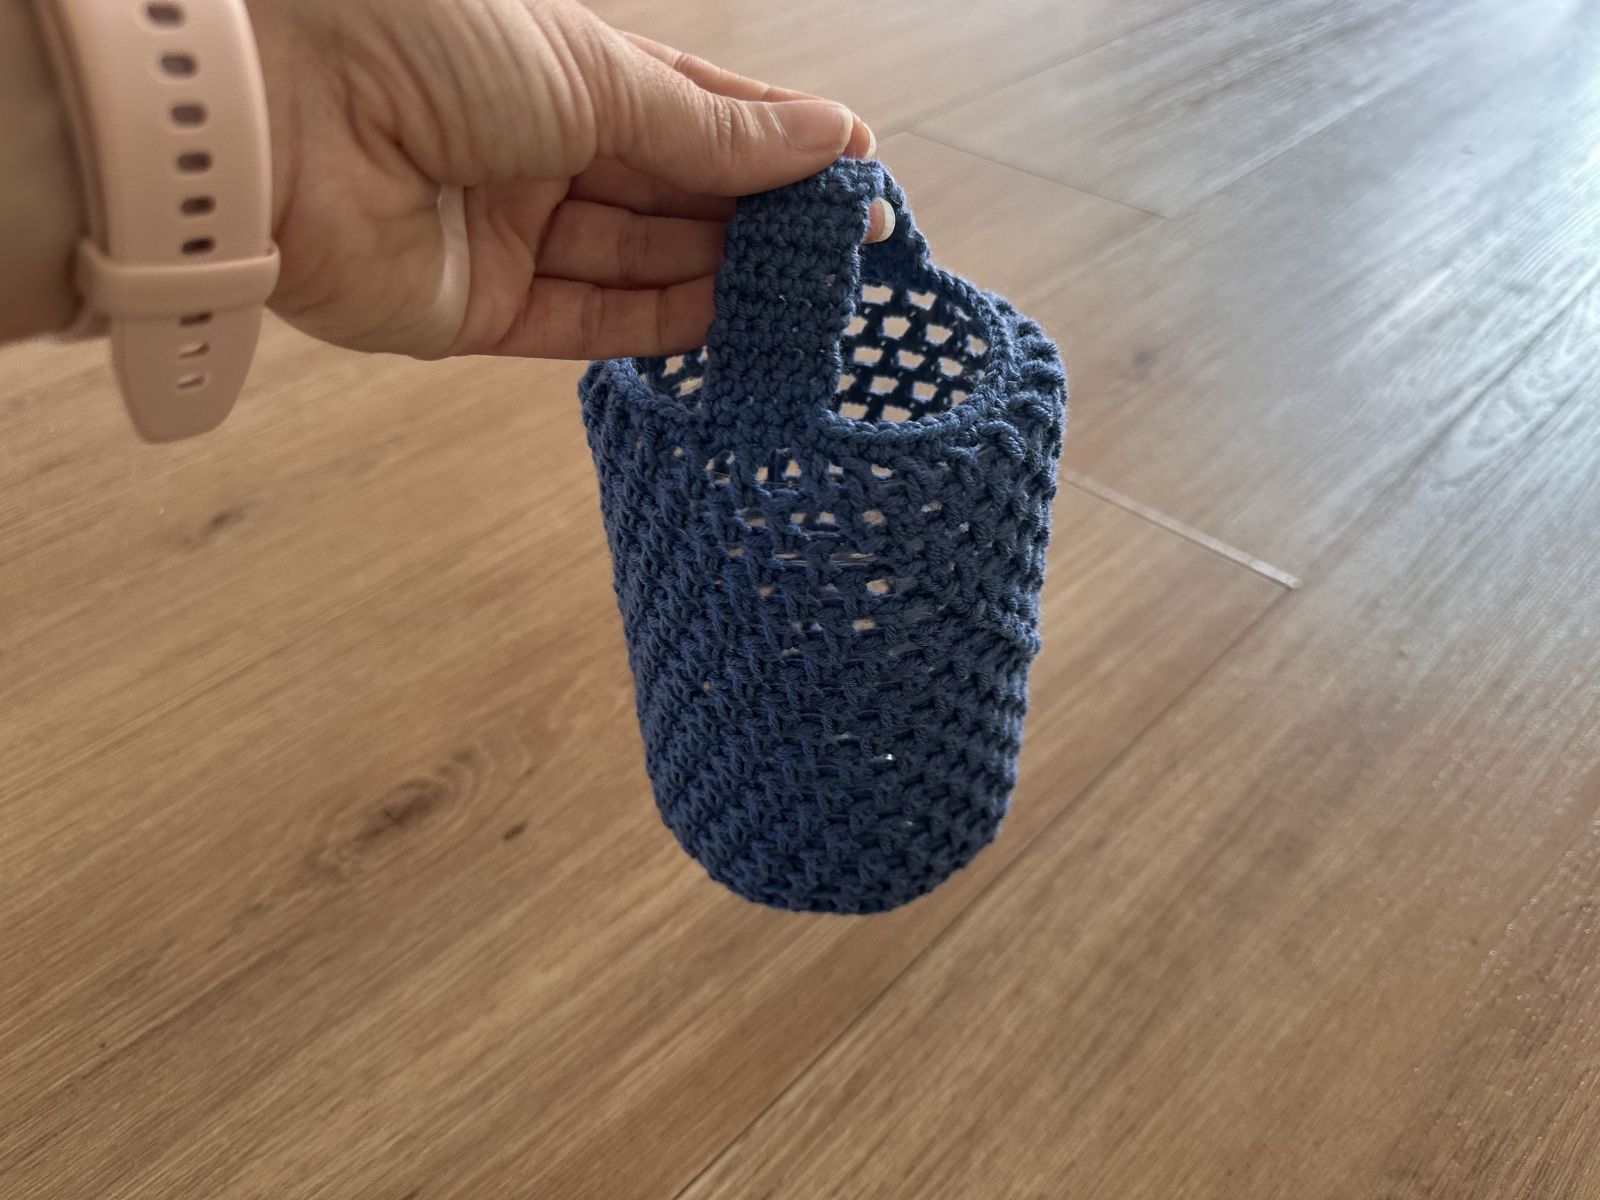
An empty plastic bottle and some yarn can become a glowing lantern! In this tutorial, I’ll show you how to crochet a cover with a solid base, an airy openwork pattern, and an attached handle. You’ll also find small crochet decorations and ideas for involving your children.
Enjoying Lantern Season Together
As the afternoons grow darker, many families in Germany start looking forward to St. Martin’s Day on November 11. Children make lanterns at kindergarten, families sing traditional songs, and everyone looks forward to the evening lantern procession, often called a Laternenumzug.
One of my favorite things about projects like this is that children can help make them their own. Every stitch doesn’t have to be perfect. Choosing a favorite color, arranging stars, or switching on the light together can be just as exciting as seeing the finished lantern.
For this project, we’ll use the bottom part of a plastic bottle as the lantern’s shape and crochet a cover to fit around it. The openwork stitches allow the light to shine through. A few small appliqués turn each lantern into something special.
You won’t need an elaborate collection of craft supplies. You might already have a suitable bottle at home. Another advantage is that you can crochet the cover over a few quiet evenings and let the children choose the decorations later. That makes this project manageable even during a busy family week.
Materials and Preparation
You will need:
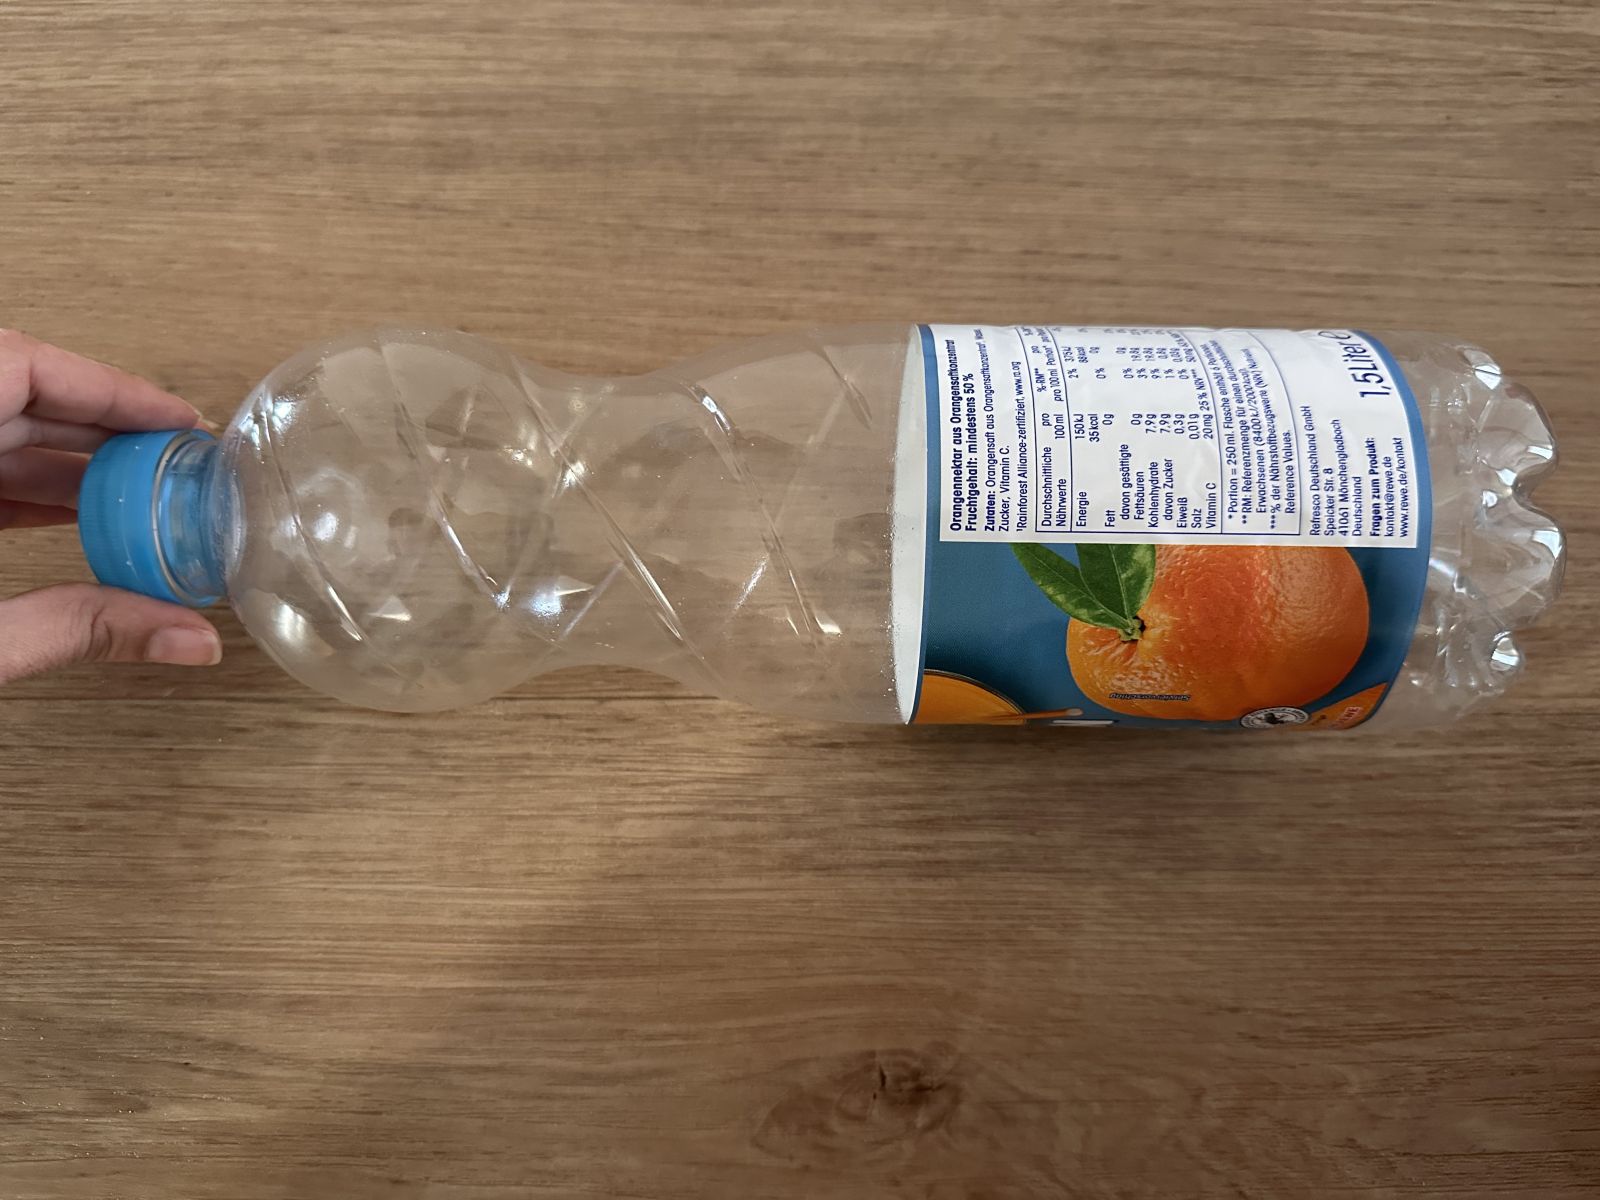
● A clean, fairly smooth, sturdy plastic bottle
● Cotton yarn and a crochet hook suitable for your yarn
● Small amounts of leftover yarn for the stars and moon
● Scissors, a yarn needle, and a stitch marker
● A lightweight, suitable LED lantern light with a child-resistant battery compartment
● A secure, load-bearing attachment to the plastic bottle itself
● Suitable tools for cutting the bottle and making its edge completely safe
I like working with cotton yarn. Light colors let the glow show beautifully, while darker shades create a softer effect. Leftover yarn is often enough for the little decorations.
Choose yarn that feels comfortable to crochet and produces even stitches. Very fluffy yarn can hide the openwork texture. If you use a different yarn from mine, you may also need a different stitch count. Keep your bottle nearby while making the base and check the size regularly. A measuring tape can help, but it isn’t essential.
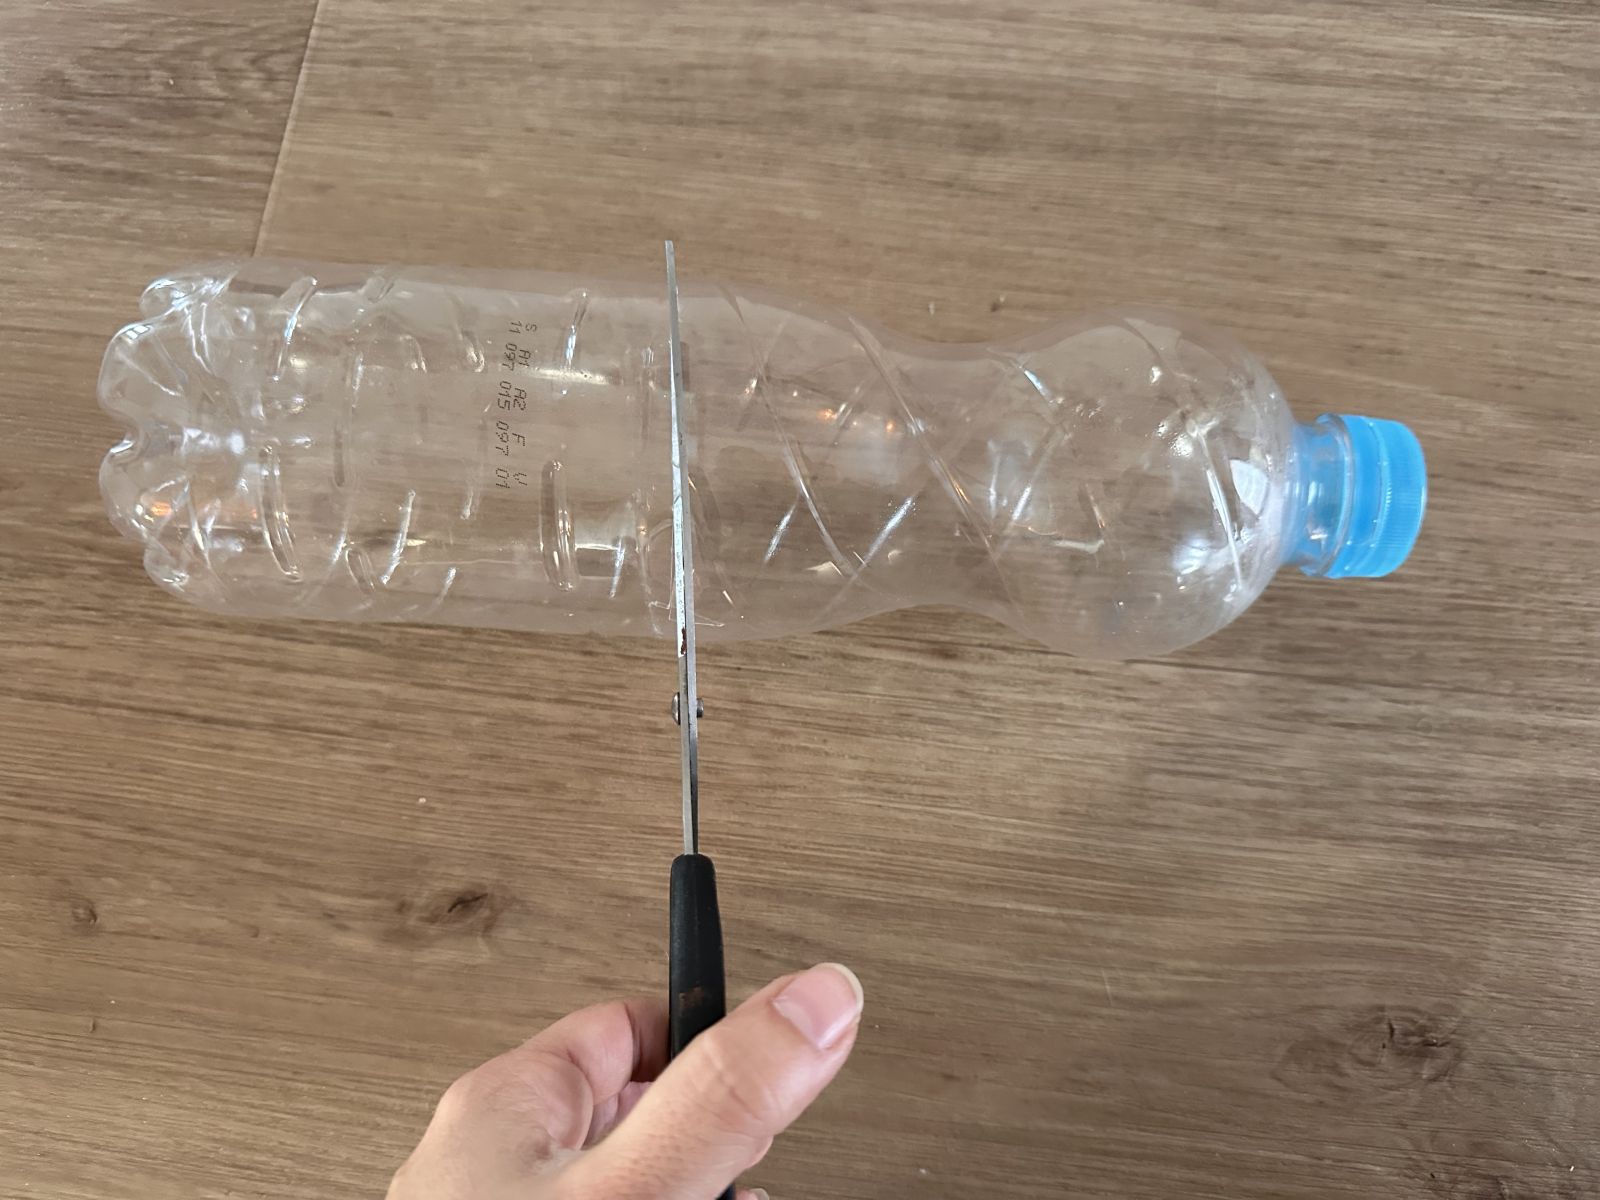
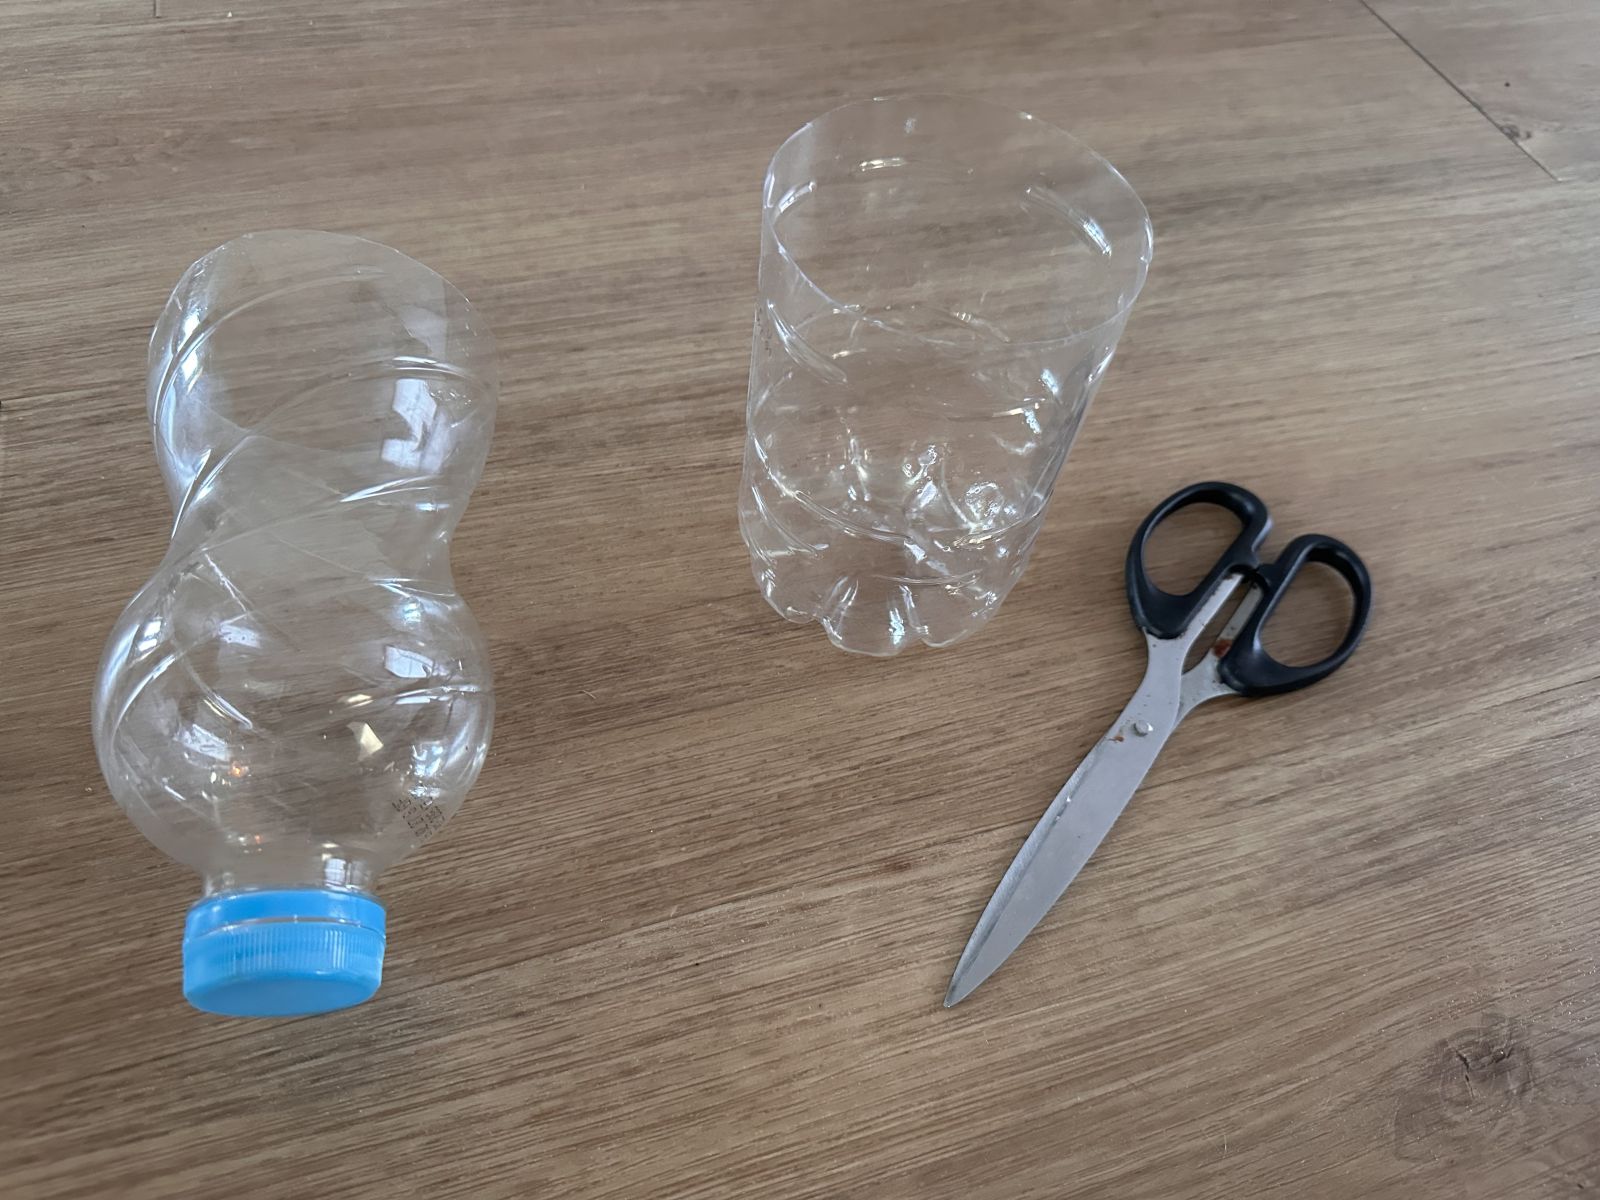
Remove the label, wash the bottle, and let it dry. An adult should cut off the upper part. A height of about 12 to 15 centimeters (roughly 5 to 6 inches) can be a starting point; adjust it to your bottle.
Safety first: The cut edge must be completely smooth and securely protected. A crochet cover does not make a sharp plastic edge safe. Use LED lighting only, never a candle or other open flame. The hanging attachment must be securely connected to the bottle itself; a snug crochet cover alone is not enough to support the lantern when carried.
Before a parade, check that the light does not shift when the lantern moves, the battery compartment is securely closed, and the handle and attachment remain stable when lifted. The lantern should not be left with children as an unsupervised toy. Try a short test at home: lift it, gently move it from side to side, and check that everything stays in place.
Free Crochet Pattern for the Lantern Cover
We’ll work from the bottom up: first a solid circular base, then the openwork sides, and finally the handle. All stitch names are written out, using US crochet terminology.
1. Crochet a Circular Base
Start with a magic ring. Work in continuous rounds and mark the beginning of each round.
● Round 1: Work six single crochet stitches into the magic ring.
● Round 2: Increase in every stitch: twelve single crochet stitches.
● Round 3: Alternate one single crochet stitch and one increase: 18 single crochet stitches.
● Round 4: Alternate two single crochet stitches and one increase: 24 single crochet stitches.
● Round 5: Alternate three single crochet stitches and one increase: 30 single crochet stitches.
● Round 6: Alternate four single crochet stitches and one increase: 36 single crochet stitches.
● Round 7: Alternate five single crochet stitches and one increase: 42 single crochet stitches.
● Round 8: Alternate six single crochet stitches and one increase: 48 single crochet stitches.
● Round 9: Alternate seven single crochet stitches and one increase: 54 single crochet stitches.
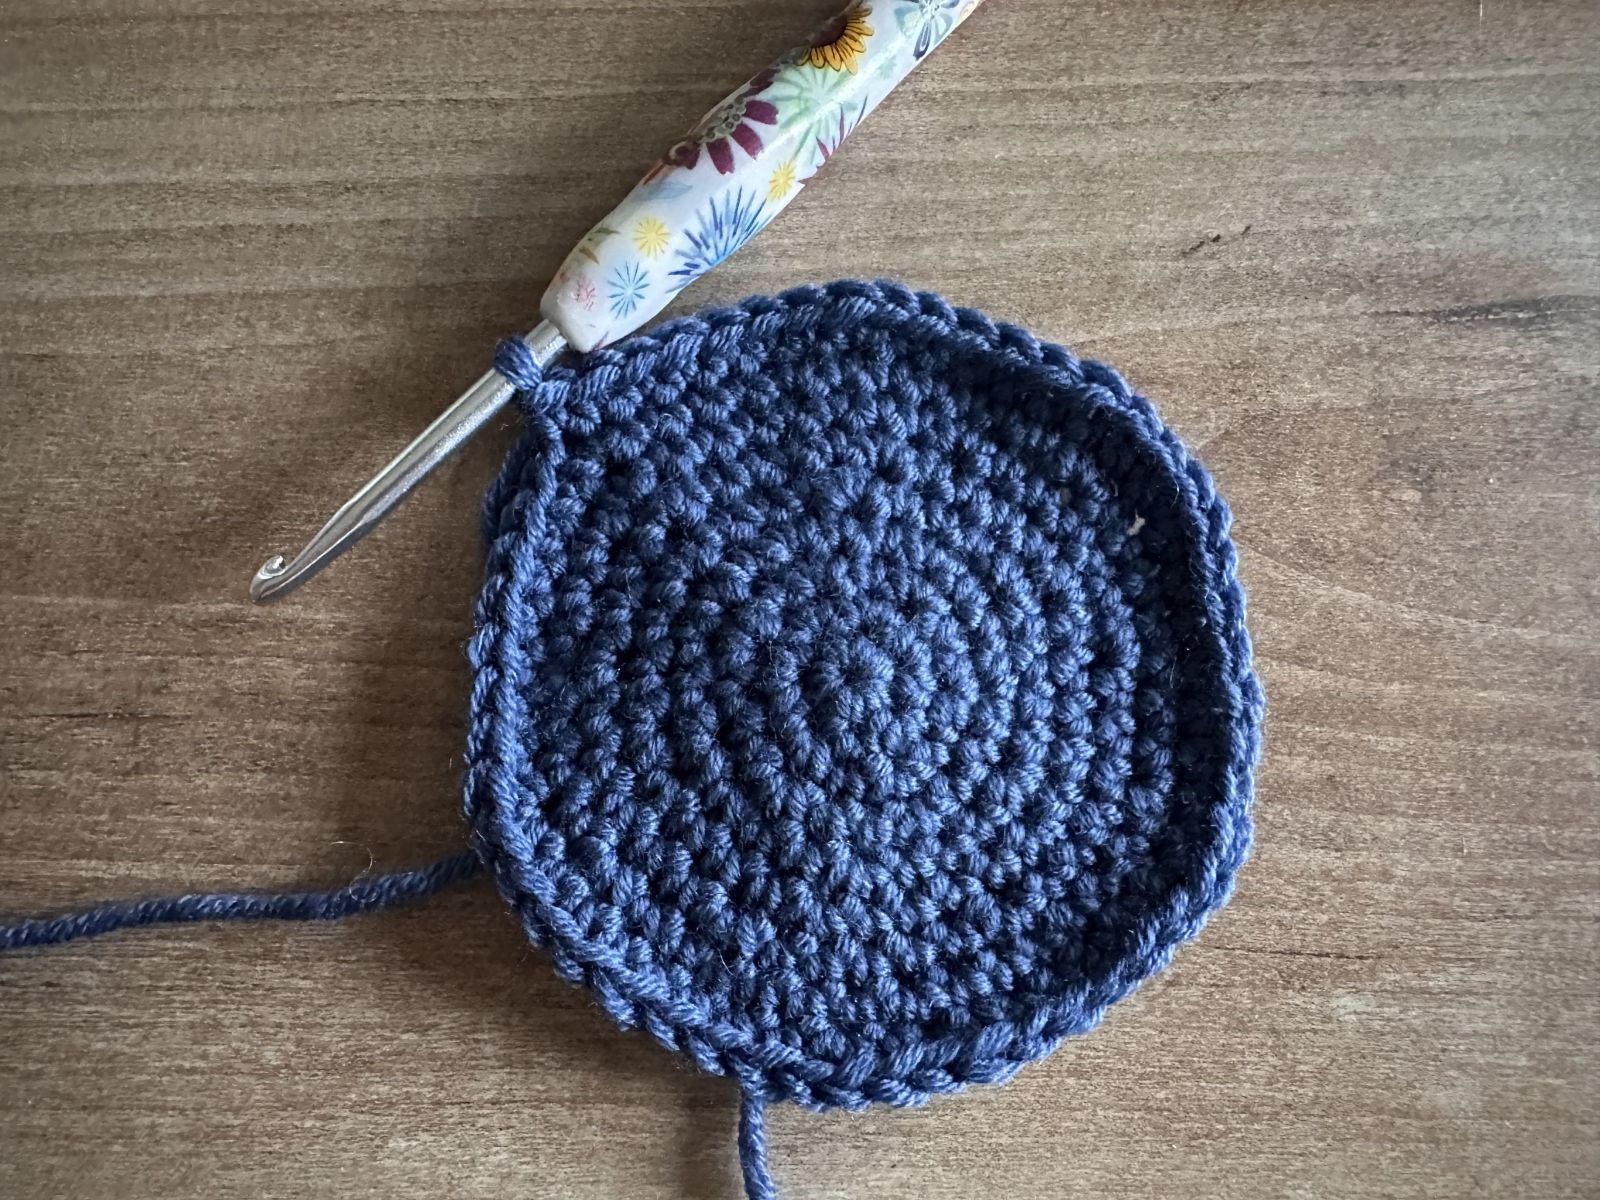
To make an increase, work two single crochet stitches into the same stitch. Compare your finished circle with the bottom of your bottle. The 54 stitches suit my project; a different bottle diameter or yarn may require an adjustment.
My tip: Lay the circle flat on the table before starting the sides. It should look fairly even without curling up too much. A stitch marker makes it easier to keep track of your rounds. It’s worth counting carefully during the final increase rounds: an even base will make it easier to pull the cover over the bottle later.
2. Shape the Sides
Round 10: Work one single crochet stitch into each stitch without increasing, but insert your hook into the back loop only. This creates a defined edge between the base and the sides.
Round 11: Work another 54 single crochet stitches without increasing, this time through both loops as usual.
3. Crochet the Airy Openwork Pattern
Now we’ll switch to double crochet stitches and chain stitches. The pattern is formed by skipping every other stitch.
Round 12: Chain three to count as the first double crochet stitch, then chain one more. Skip the next single crochet stitch and work a double crochet stitch into the following stitch. Repeat: chain one, skip one stitch, work one double crochet stitch. Join the round with a slip stitch into the third starting chain.
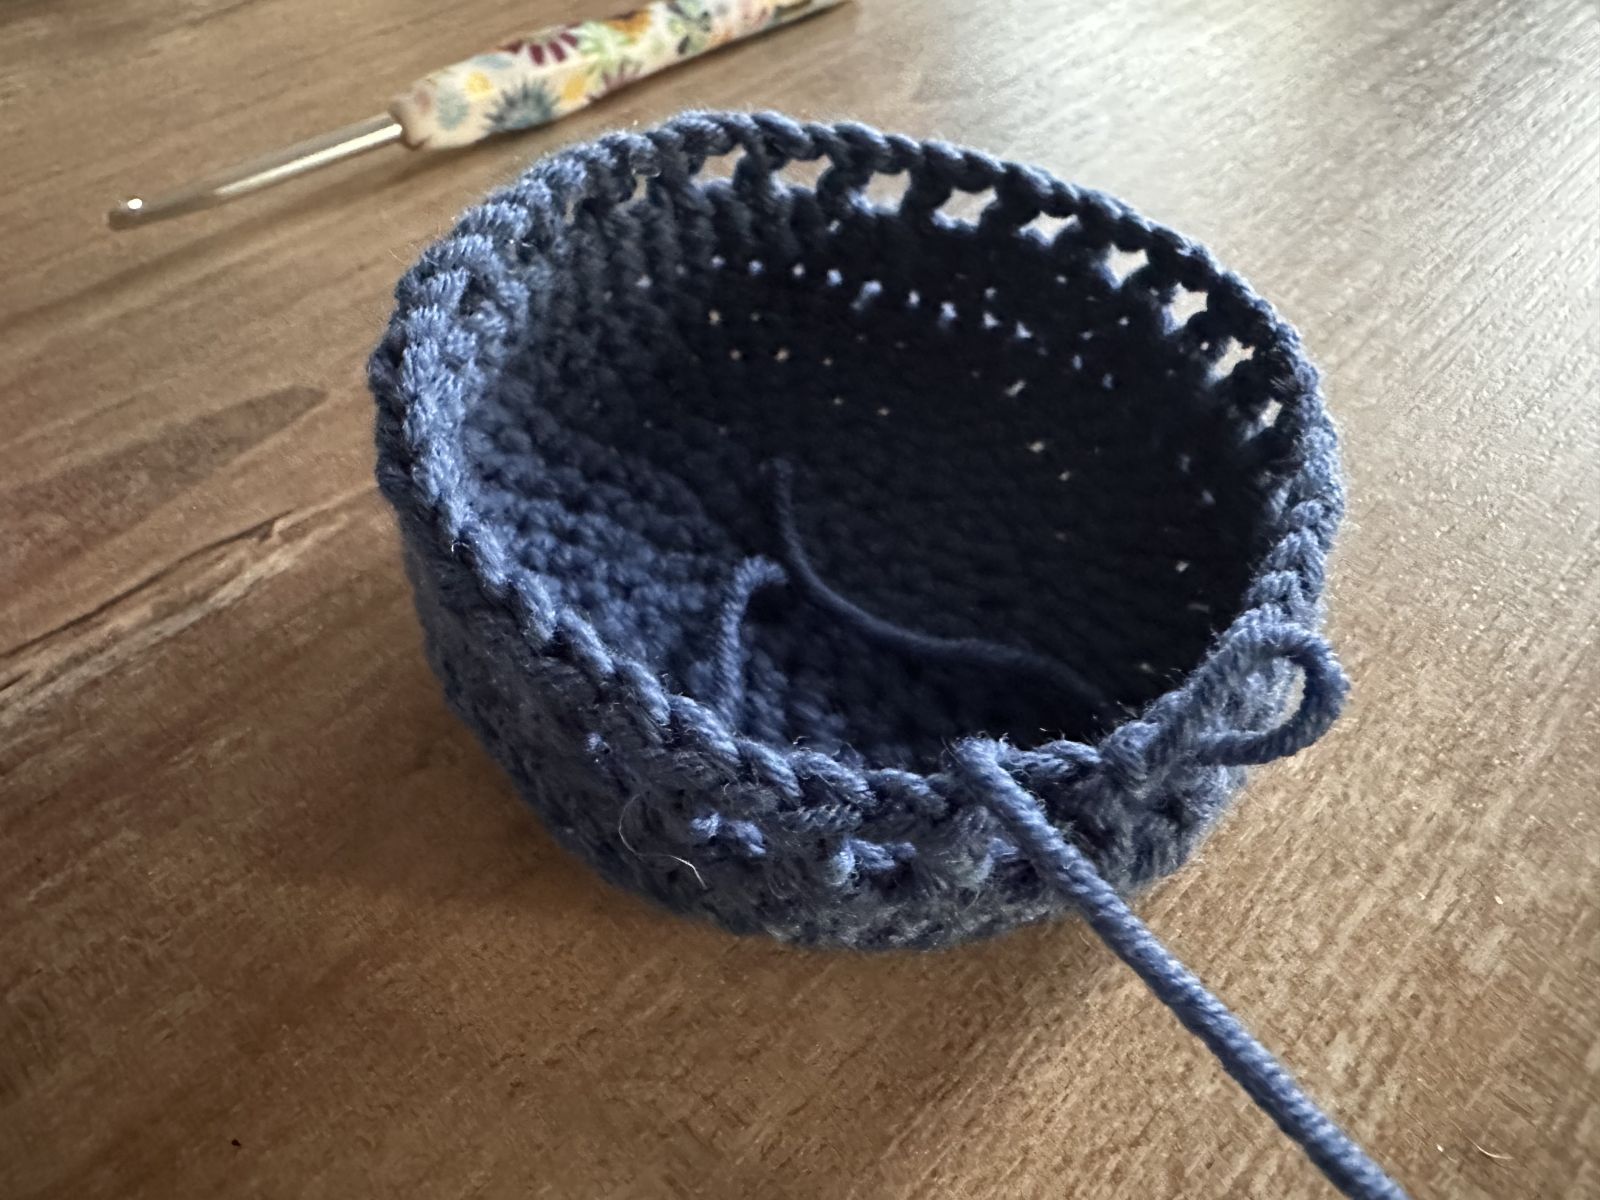
Round 13: First work an additional slip stitch into the first chain-one space to move the beginning of the round into that space. Chain three to count as the first double crochet stitch, then chain one more. Continue working one double crochet stitch into each following chain-one space, with one chain stitch between double crochet stitches. Join the round with a slip stitch.
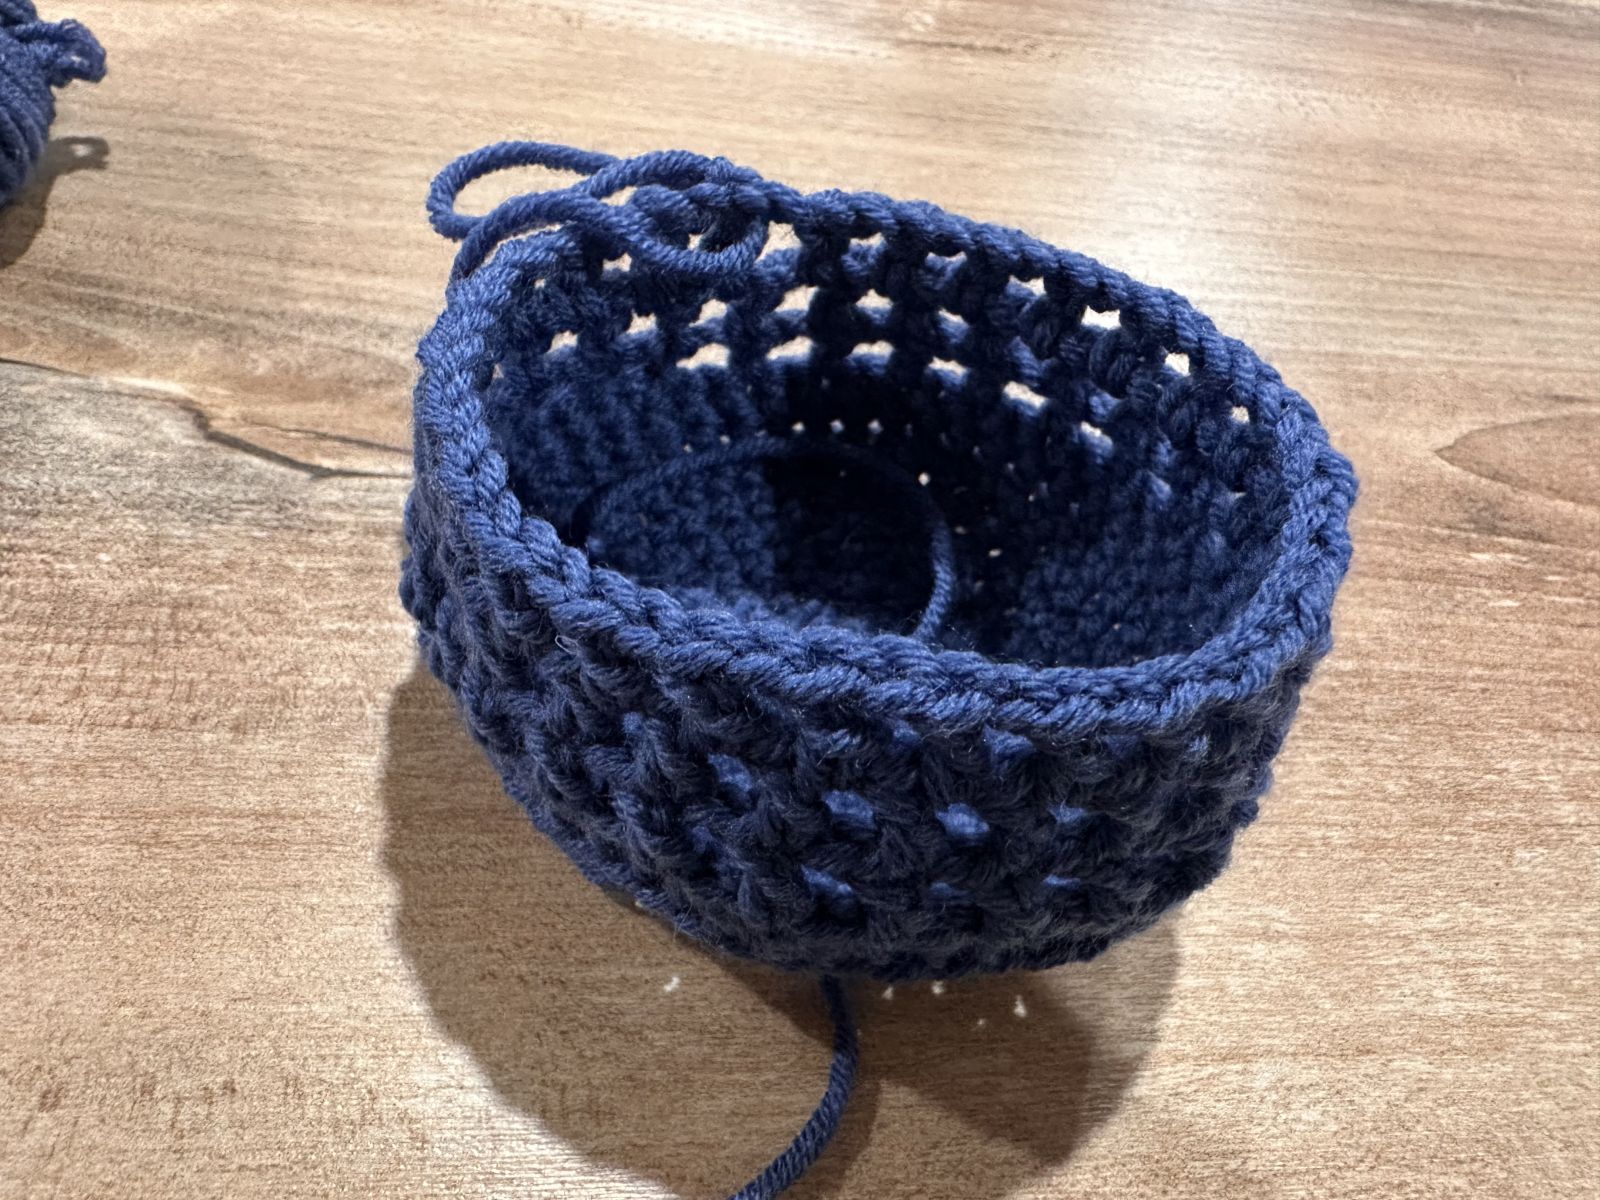
All following pattern rounds: Start with an additional slip stitch into the first chain-one space. Then chain three to count as the first double crochet stitch, chain one, and continue alternating one double crochet stitch in the next chain-one space and one chain stitch. Join each round with a slip stitch.
This places the double crochet stitches over the chain spaces of the previous round, creating a lovely, even pattern that allows the light to shine through.
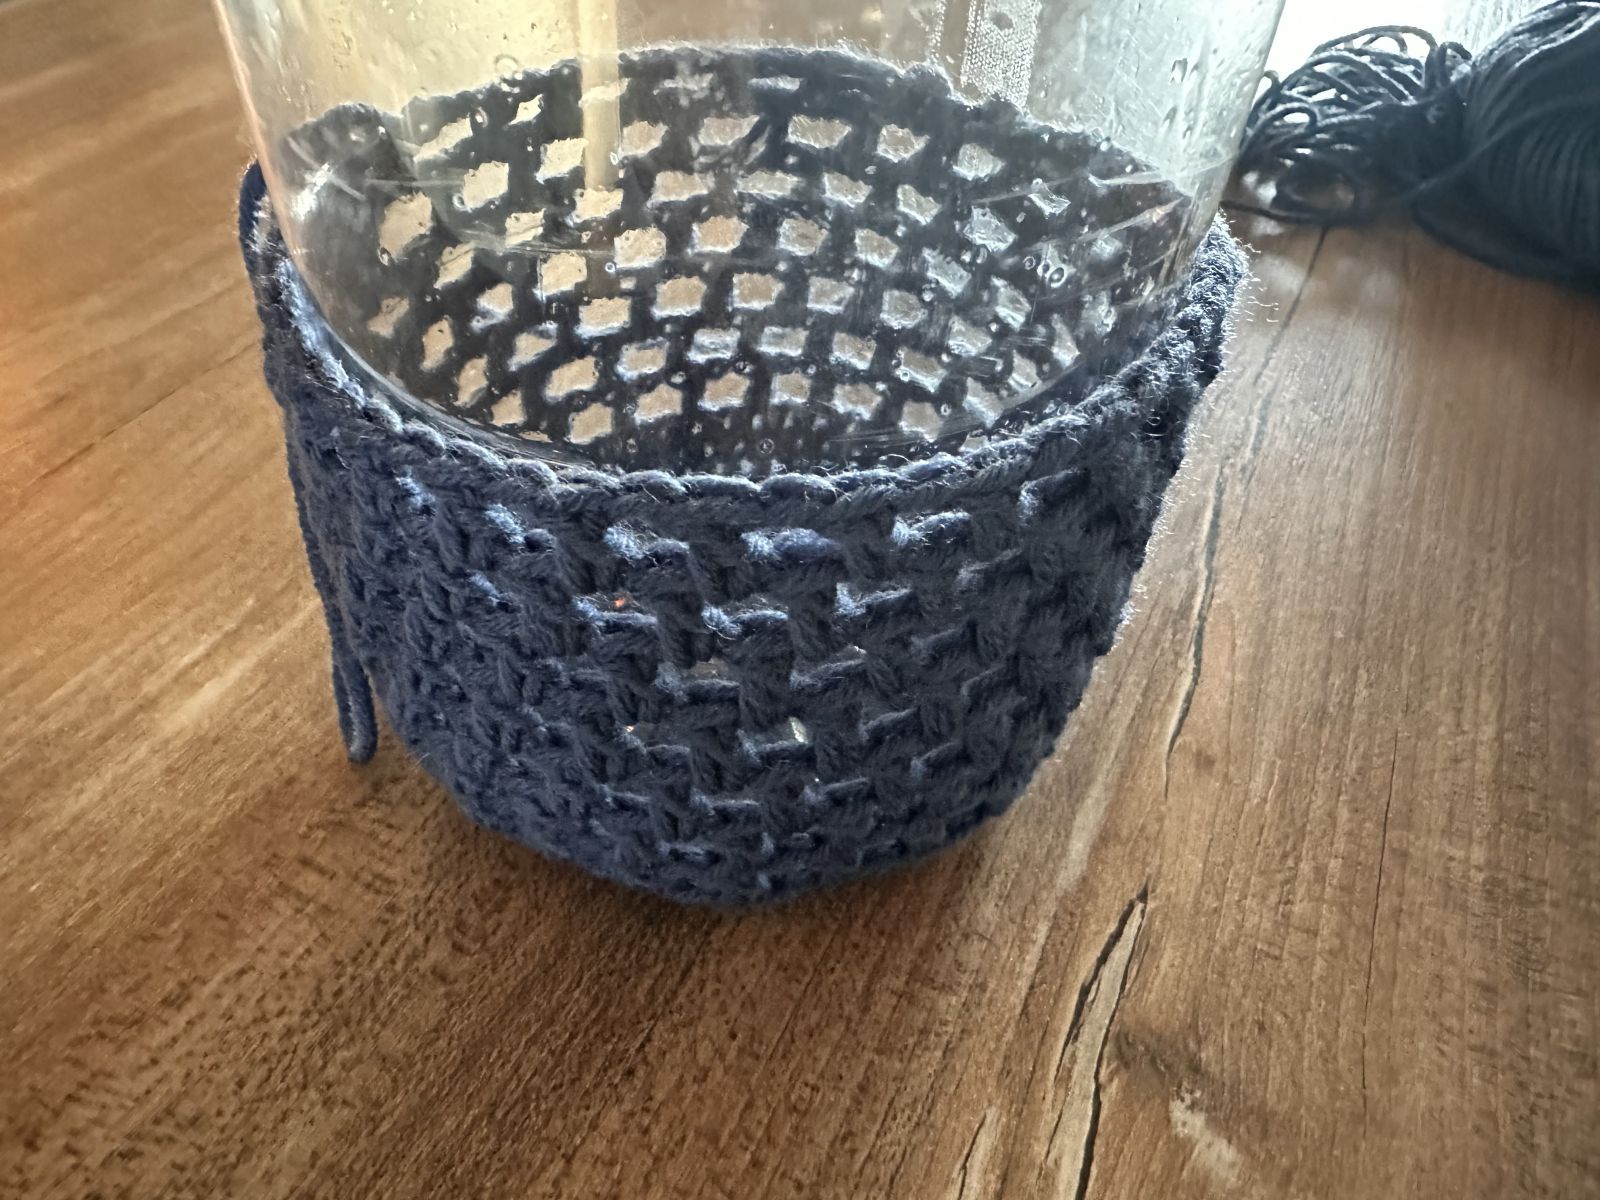
The fabric starts looking airy after just a few rounds. There’s no need to crochet unusually loosely; even tension matters more. Try pulling the cover over the bottle now and then. You’ll quickly see whether the fabric stretches enough or has become too tight. If you’d like to change colors, the start of a new round is a convenient place to do it.
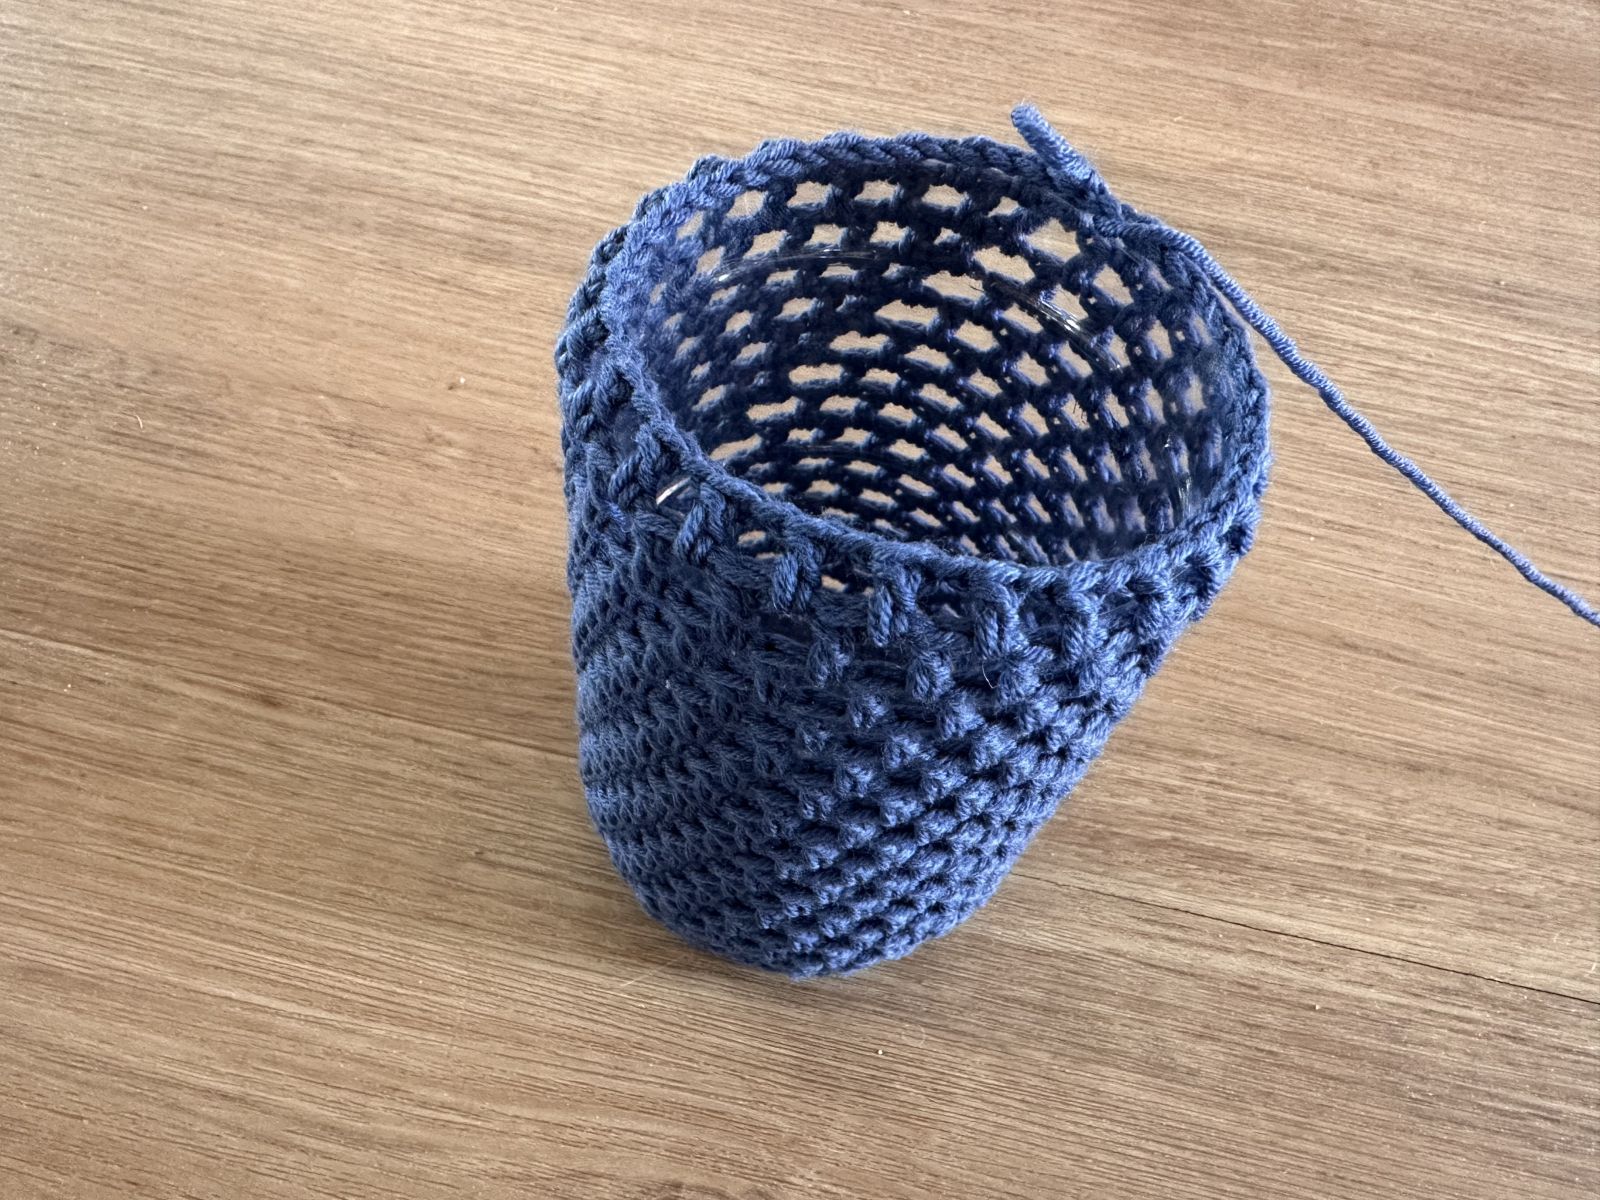
4. Find the Right Height
Try the cover on the bottle regularly. It should fit snugly, because the openwork stretches a little as you pull it on. However, the bottle should not become distorted.
Keep crocheting until the cover extends slightly beyond the upper edge of the bottle. This leaves room for the finishing round and handle.
Don’t judge the height only while the cover is lying flat. The openwork may stretch when fitted over the bottle, changing how it sits. If you’re unsure, try it on a round earlier. Adding another round is quick; undoing a cover that’s too long takes more effort.
5. Finish the Top Edge
Work one round of single crochet stitches: one single crochet stitch into each double crochet stitch and one into each chain-one space from the previous round. Join with a slip stitch.
6. Crochet the Handle Directly onto the Cover
We’ll work the handle back and forth in rows, attached directly to the top edge.
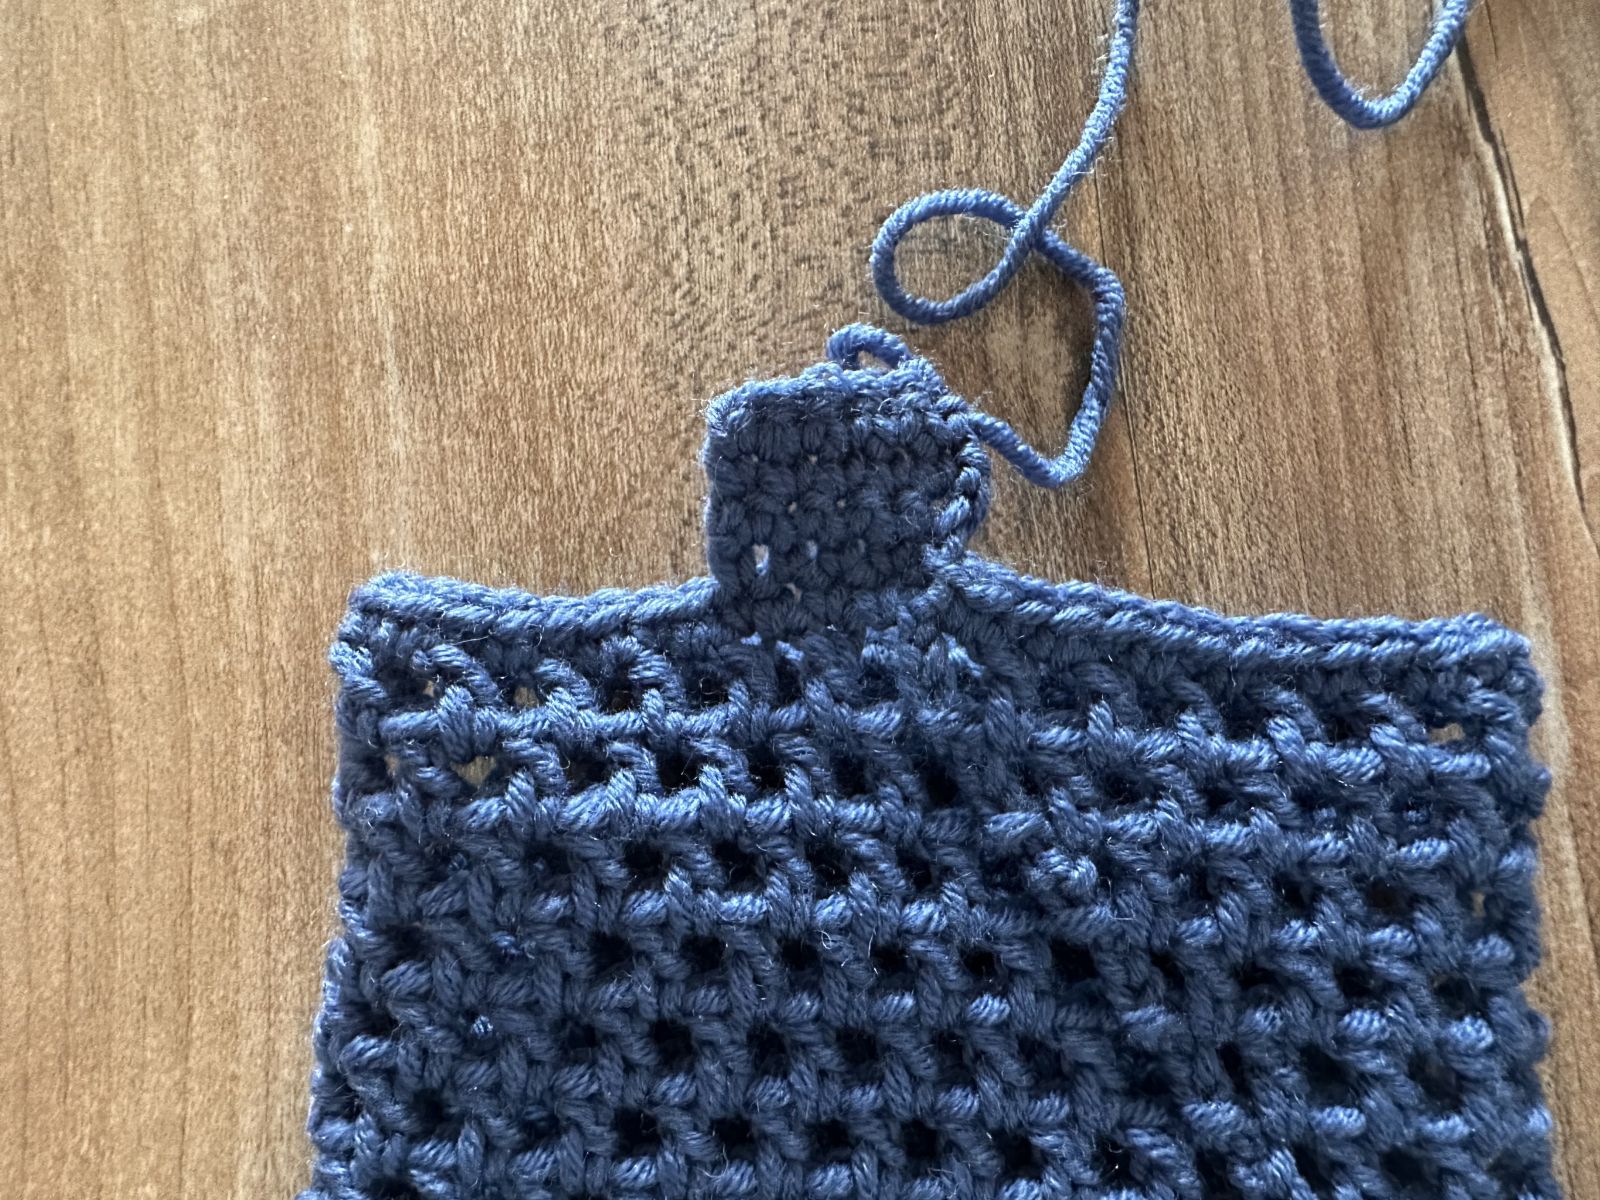
First row: Chain one to stand in for the first single crochet stitch. Then work four single crochet stitches into the next stitches along the top edge. This gives you a handle width of five stitches in total.
Second row: Chain one to turn and turn your work. Work five single crochet stitches back across. Make the fifth single crochet stitch into the chain that stood in for the first single crochet stitch of the previous row. From this point on, the turning chain does not count as a stitch.
Following rows: Chain one to turn, turn your work, and work five single crochet stitches. The handle remains five stitches wide.
Repeat until the handle reaches loosely across the top opening of the lantern. Check the length against the bottle as you go.
7. Attach the Other End of the Handle
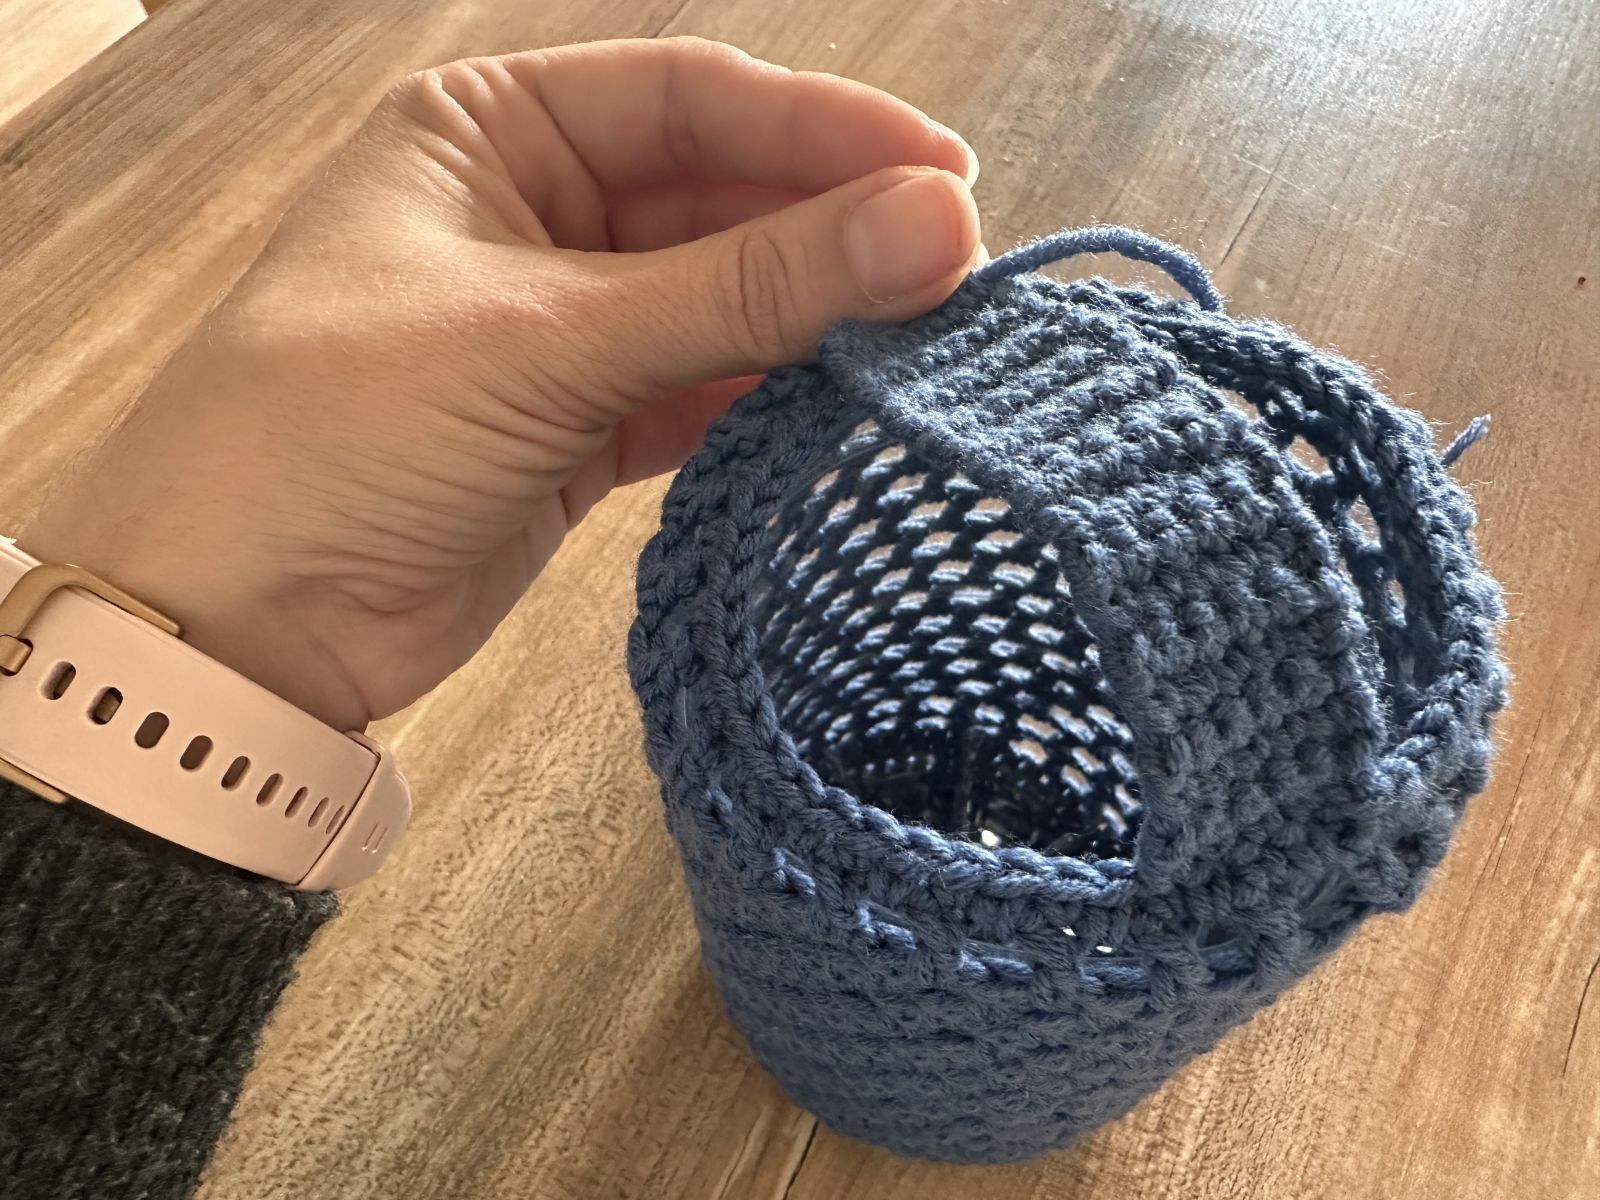
Secure the free end to the opposite side of the top edge. You can sew it firmly in place with a yarn needle.
Alternatively, hold the handle end against the chosen spot and crochet the two layers together with single crochet stitches: insert the hook through a stitch of the handle and a corresponding stitch of the top edge at the same time. Weave in the yarn ends securely.
Important: The crocheted handle is attached to the cover, not automatically to the bottle. For a lantern that a child will carry, you also need a secure, tested, load-bearing connection to the plastic bottle itself. Make sure the bottle cannot slip out of the cover when the lantern swings.
Small Crochet Decorations
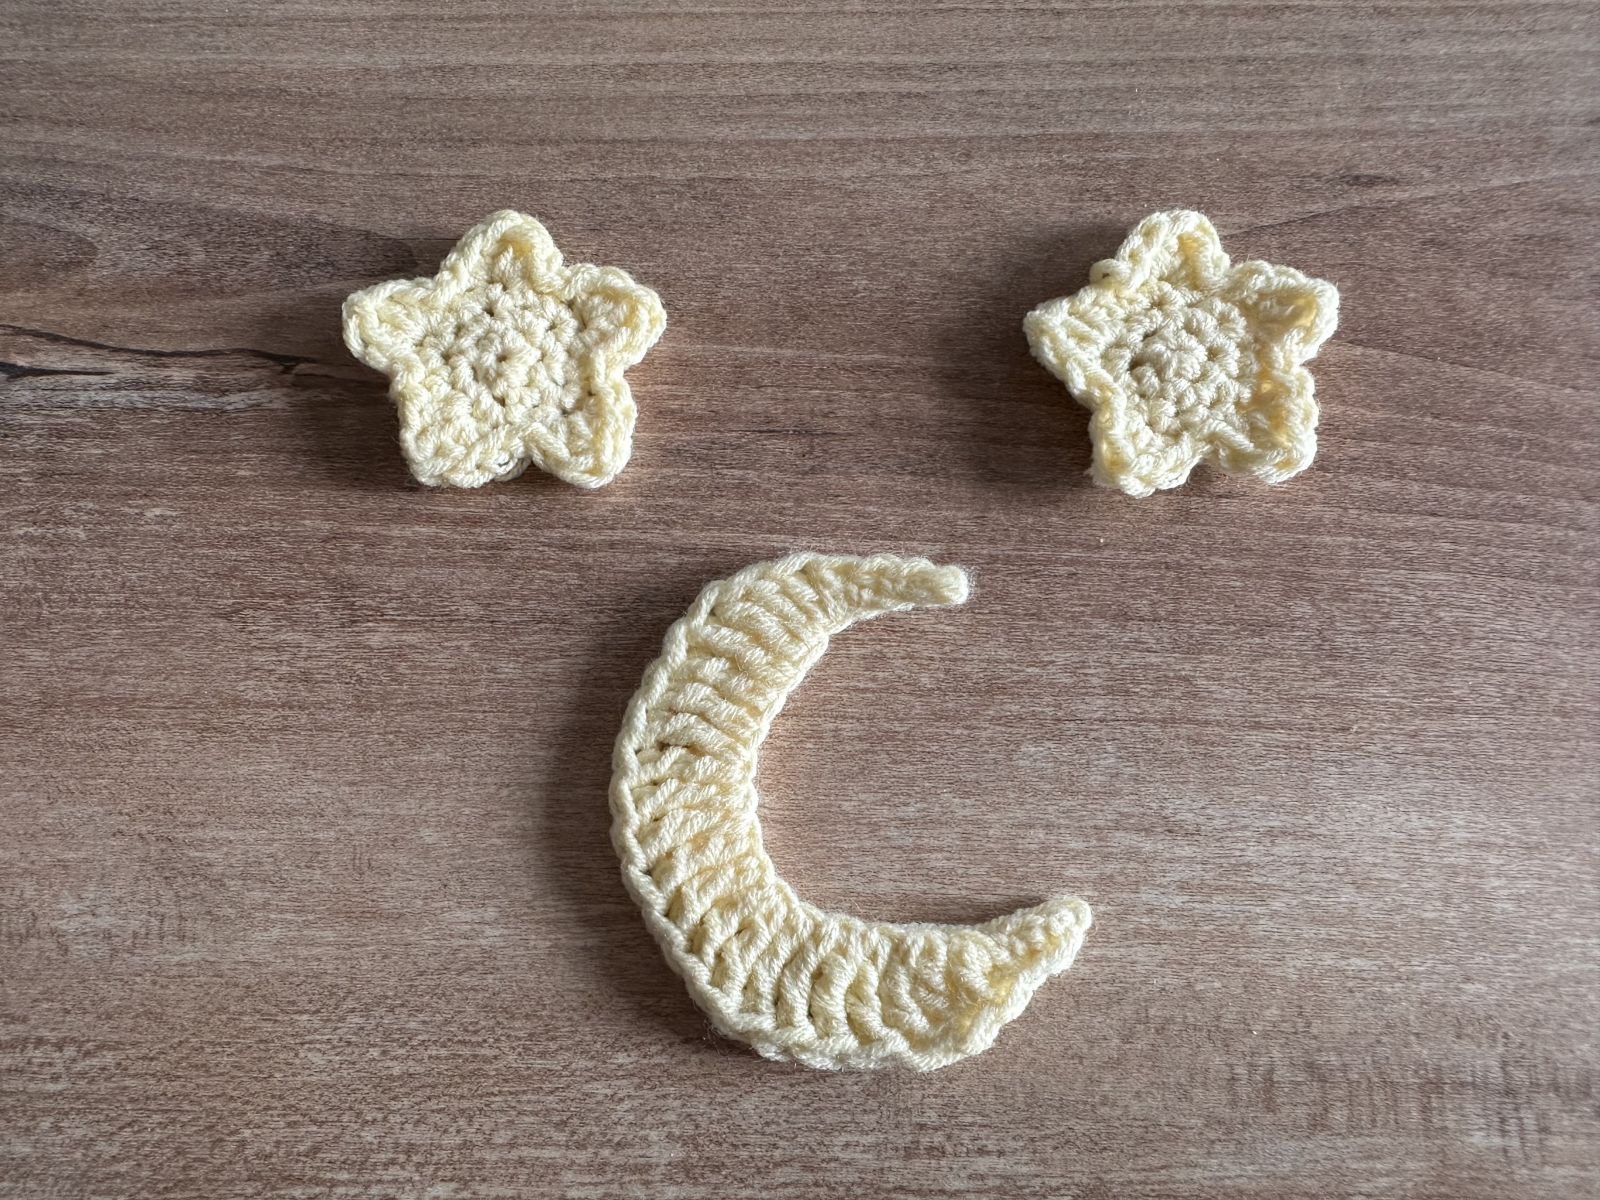
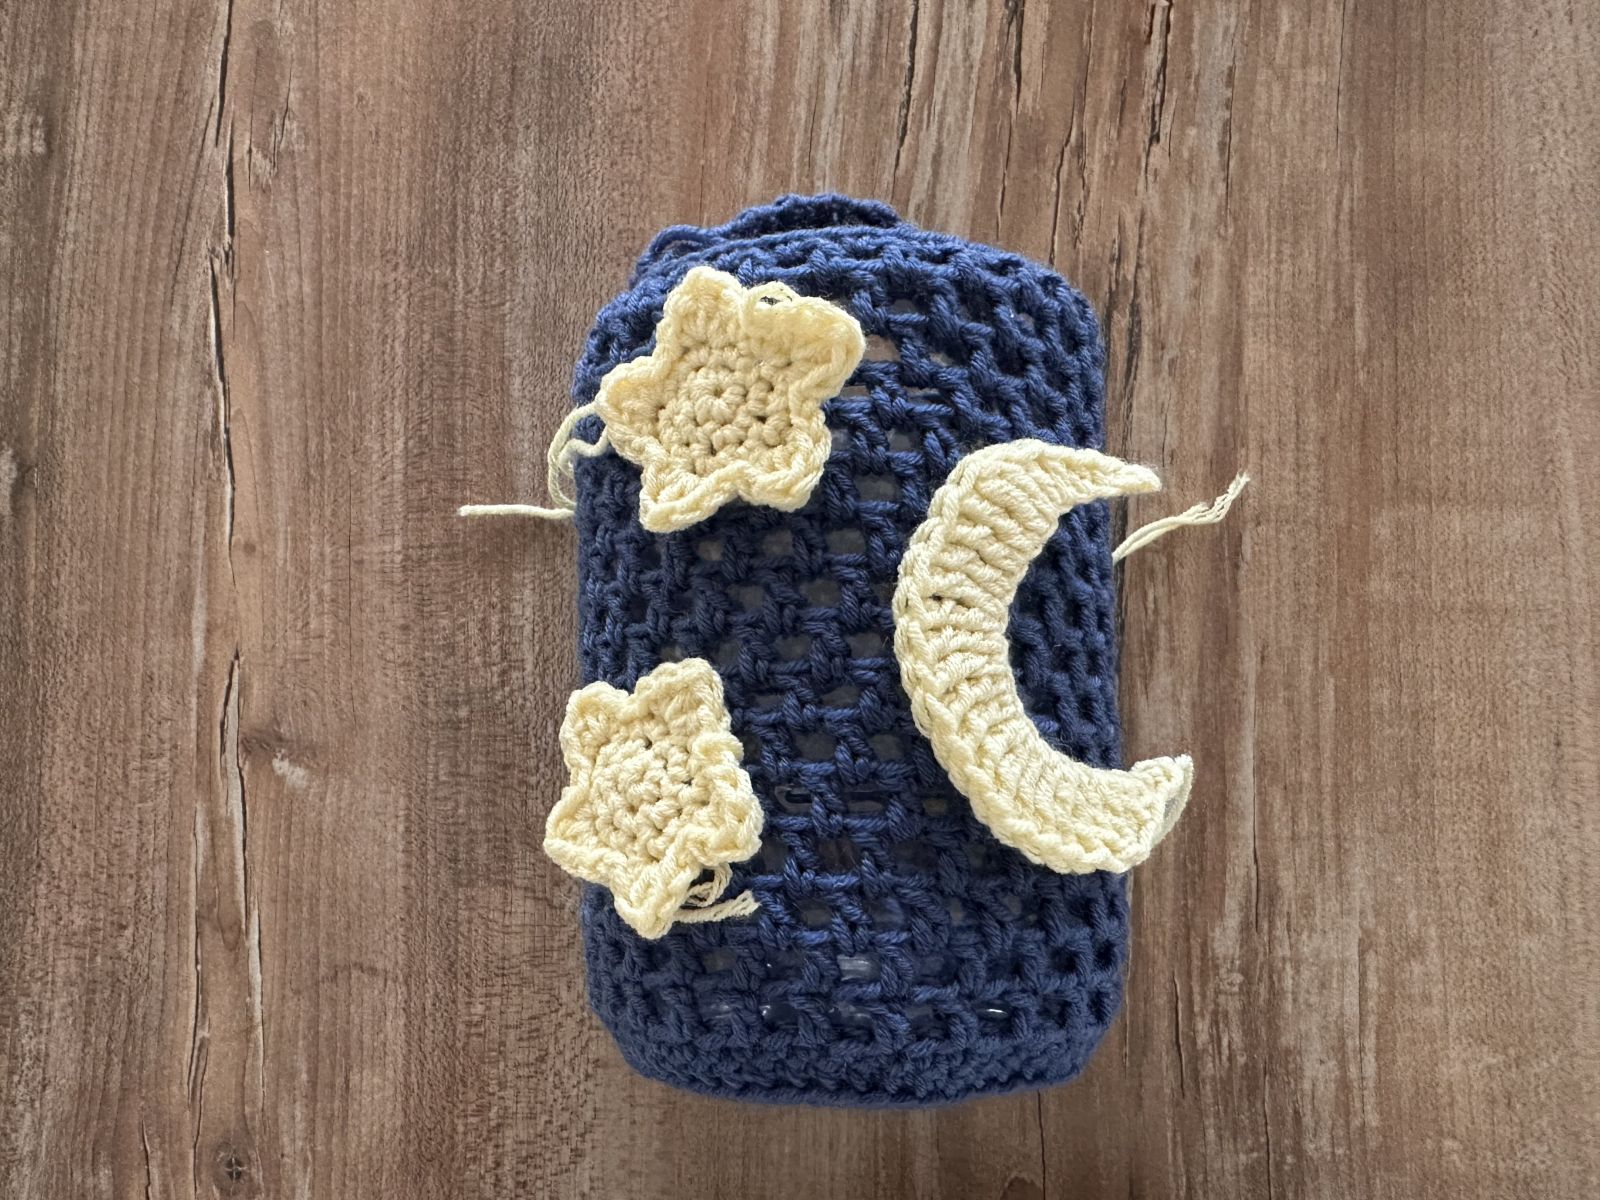
You can leave the lantern plain or decorate it with little motifs. Stars, a moon, and hearts look especially lovely. Sew the appliqués securely onto the cover with a yarn needle.
Crochet a Star
For this little star, you’ll first crochet a round center. The five points are then worked directly along the edge.
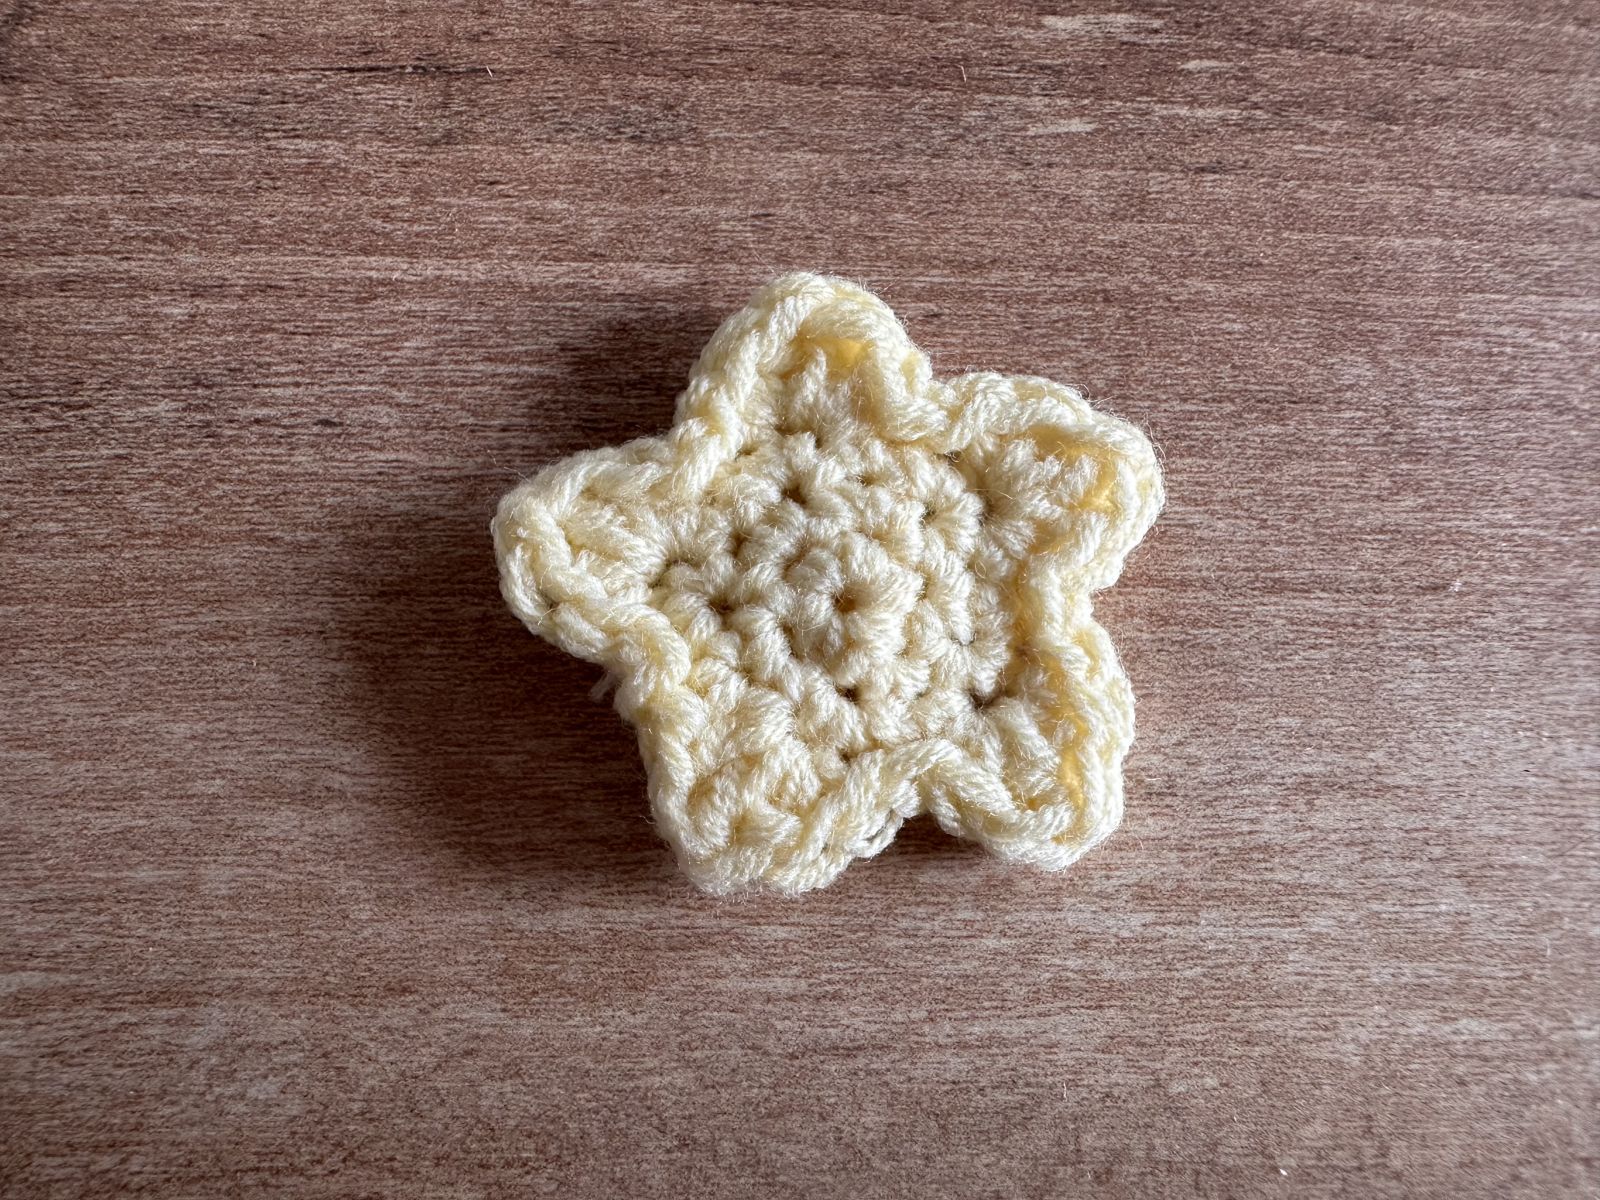
● Round 1: Work five single crochet stitches into a magic ring.
● Round 2: Increase in every stitch by working two single crochet stitches into each stitch. You now have ten single crochet stitches.
● Round 3: Increase evenly by five stitches: alternate one single crochet stitch and two single crochet stitches in the next stitch. You now have 15 single crochet stitches.
Next, crochet the five points. For each point, work one half double crochet stitch, one double crochet stitch, one half double crochet stitch, and one single crochet stitch into the same stitch. Then work one slip stitch into each of the next two stitches.
Repeat this sequence five times. You’ll use all 15 stitches of the third round and create five evenly spaced points. Cut the yarn, pull it through the final stitch, and weave in the ends.
Several small stars look especially pretty on a lantern. You can make them all the same color or use different shades of yellow and cream. Sew them on firmly so the points stay in place.
Crochet a Little Moon
This moon is not made from a folded circle. Instead, we start with a chain and use stitches of different heights to create its curved shape.
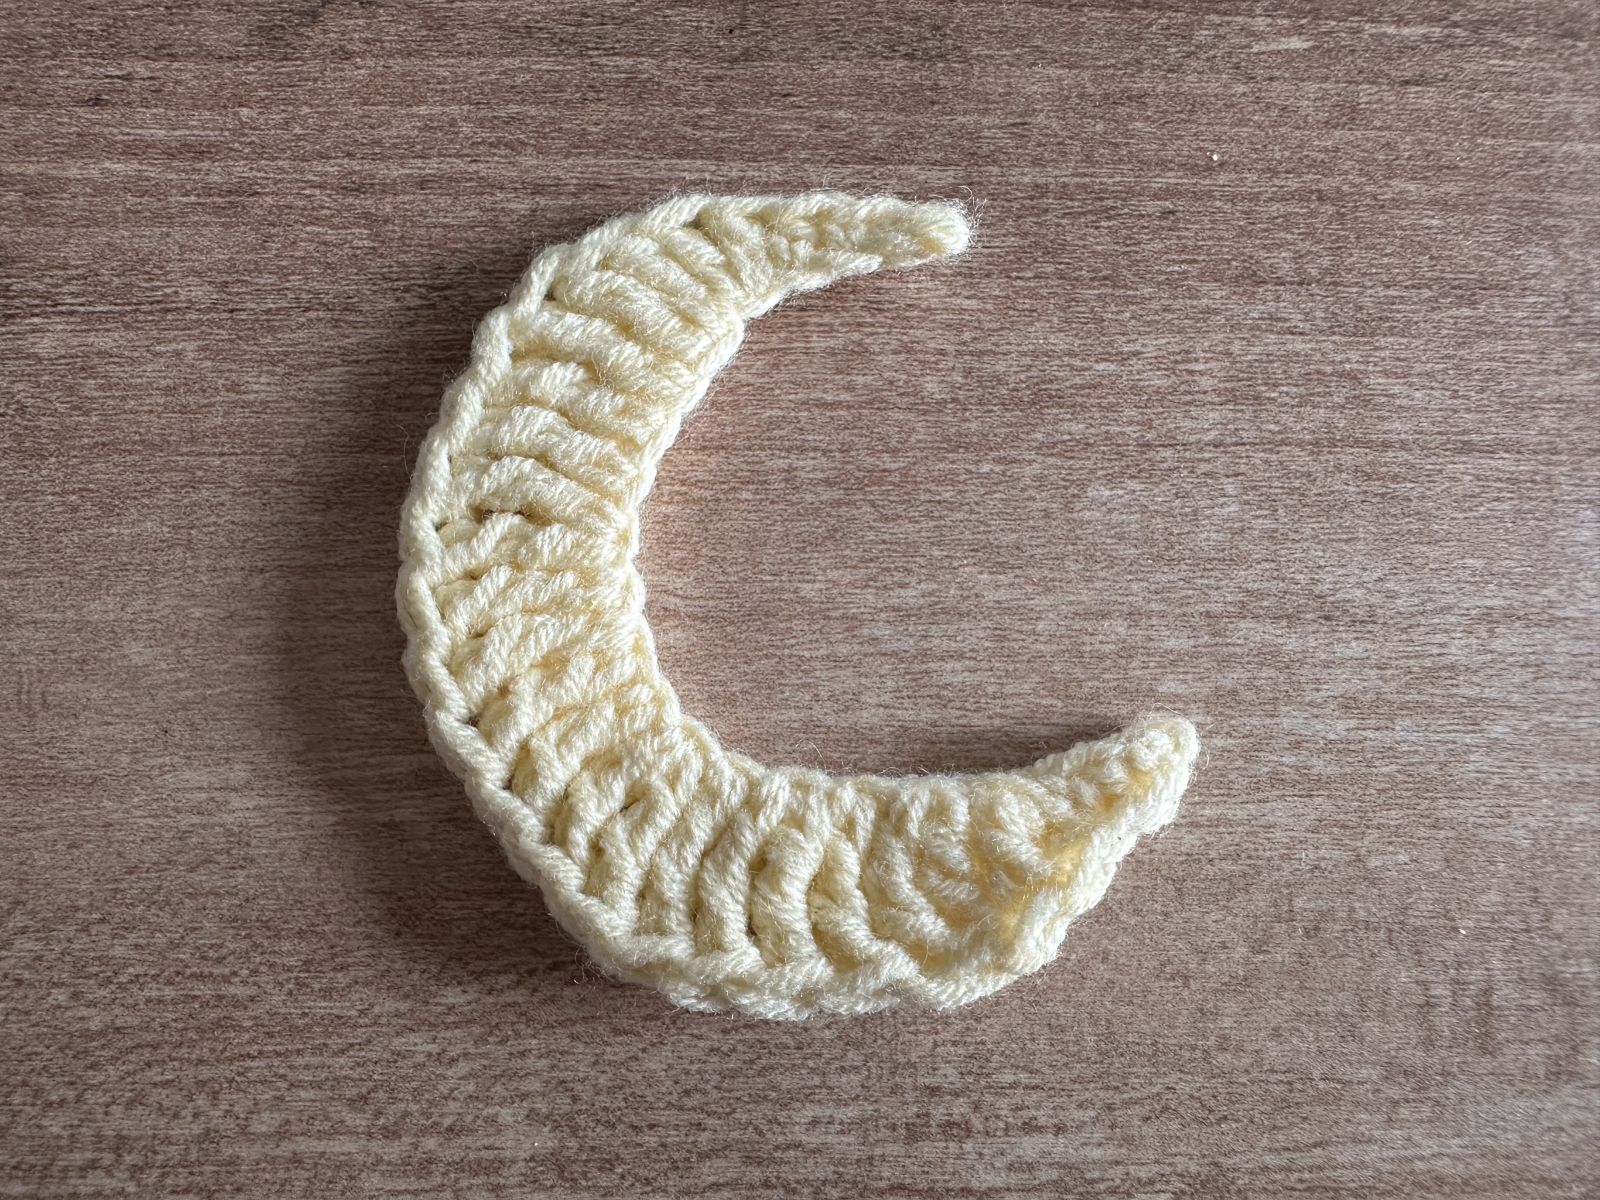
Chain 21. Begin in the second chain from the hook (the 20th chain of your original chain) and work the following stitches across the 20 remaining chains:
1. One single crochet stitch.
2. One single crochet stitch.
3. One half double crochet stitch.
4. Two double crochet stitches into the same chain.
5. Two treble crochet stitches worked together into the same chain.
6. Two treble crochet stitches into the same chain.
7. One treble crochet stitch.
8. Two treble crochet stitches into the same chain.
9. One treble crochet stitch.
10. Two treble crochet stitches into the same chain.
11. One treble crochet stitch.
12. Two treble crochet stitches into the same chain.
13. One treble crochet stitch.
14. Two treble crochet stitches into the same chain.
15. One treble crochet stitch.
16. Two treble crochet stitches worked together into the same chain.
17. Two double crochet stitches into the same chain.
18. One half double crochet stitch.
19. One single crochet stitch.
20. One single crochet stitch.
Cut the yarn and pull it through the last stitch. Gently shape the moon and weave in the ends. You can then sew it onto the lantern cover with a few secure stitches.
Tip: To work two treble crochet stitches together, start both stitches but complete their final step together. This gives the pair one shared top.
Crochet Hearts – Several Free Patterns to Choose From
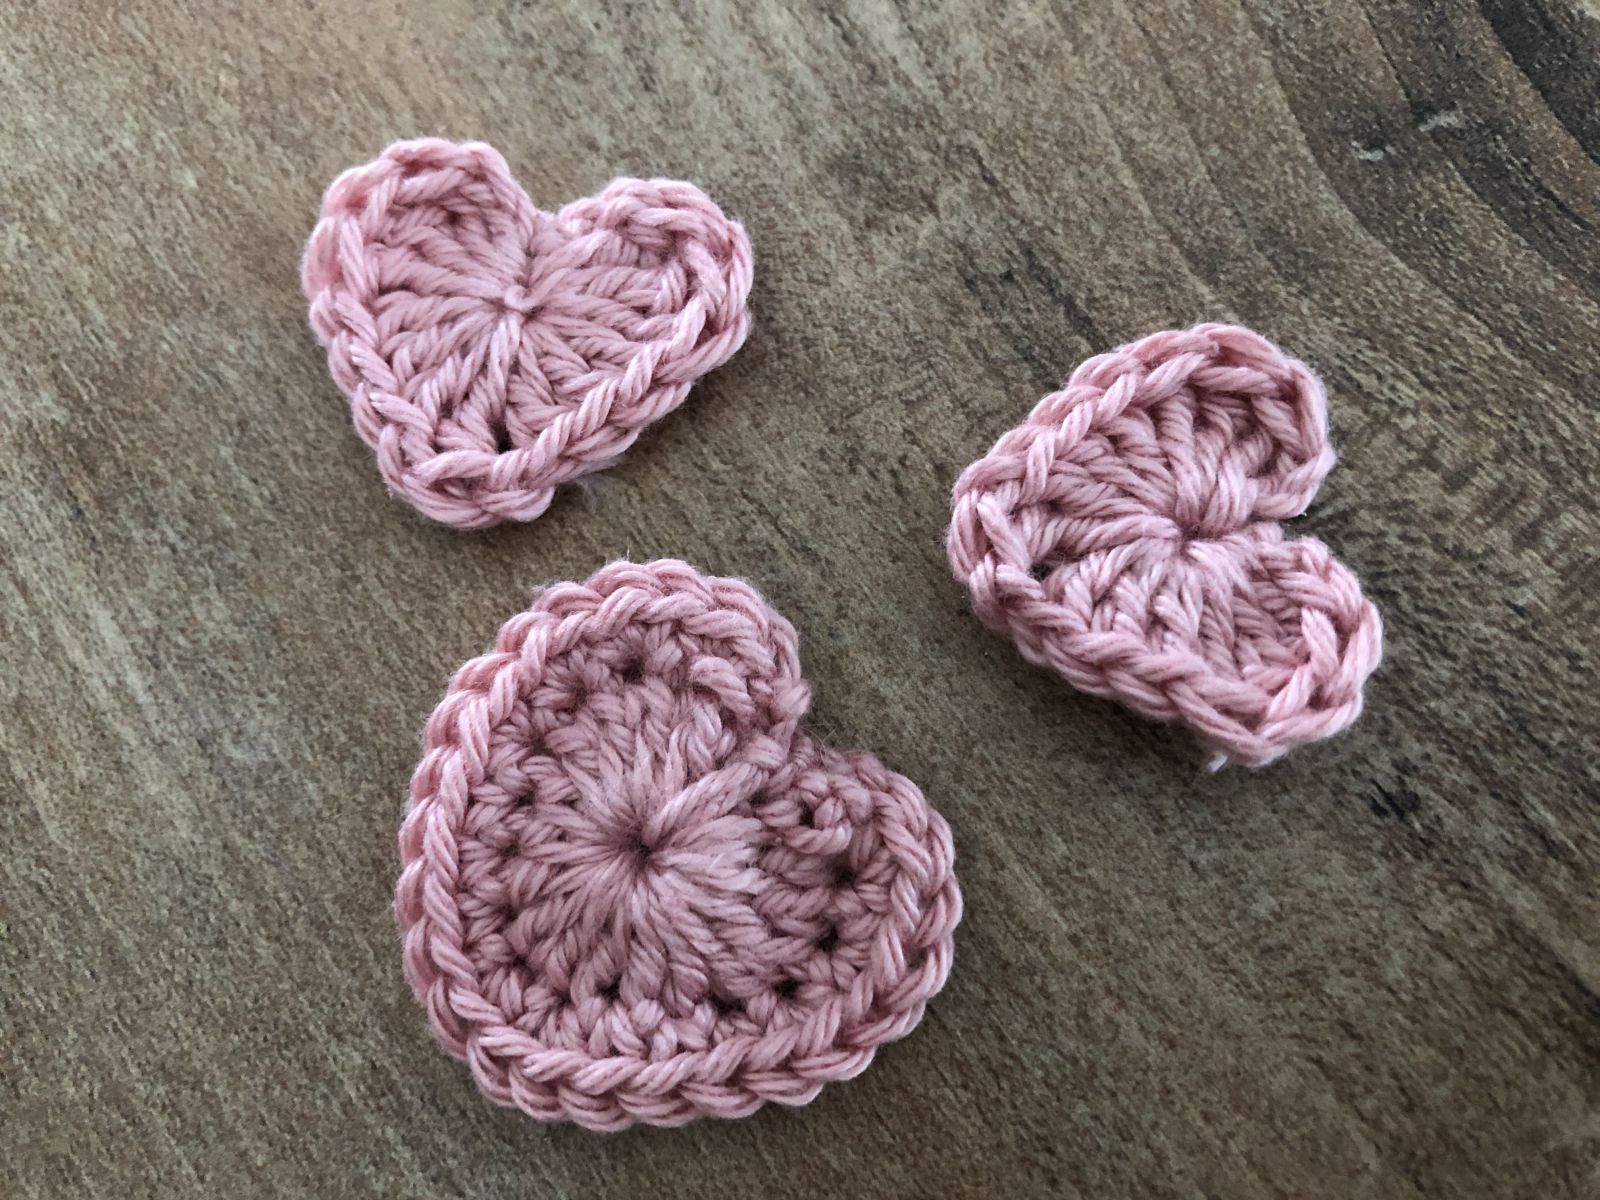
Little hearts also look wonderful on a lantern. Whether you add one large heart in the center or several small ones around the cover, the colors can make it feel truly personal.
I’ve already published a separate blog post all about crocheting hearts. It includes several free crochet patterns for different heart designs. Simply choose the one that suits your lantern best.
Find my free crochet patterns for different hearts here – insert link
Making the Lantern with Young Children
Even if your children are too young to crochet, there are plenty of ways they can take part:
● Choose the colors: Put out a few balls of yarn and let your child pick their favorite combination.
● Arrange the motifs: Move stars, moons, and hearts around on the cover before sewing them in place.
● Sort leftover yarn: Older children can sort colors or try their first chain stitches with supervision.
● Test the light: Once the lantern is fully assembled and safely secured, switch on the LED together and admire the glowing pattern.
Cutting the bottle, using sharp tools, and making the load-bearing attachment are jobs for adults. Loose yarn ends and small parts should never be left unattended with young children.
If several children are helping, each can choose a decoration of their own. That way, nobody has to make an entire lantern to feel proud of the result. And if their attention runs out after ten minutes, that’s fine too. You can sew the motifs on later.
More Ways to Make It Your Own
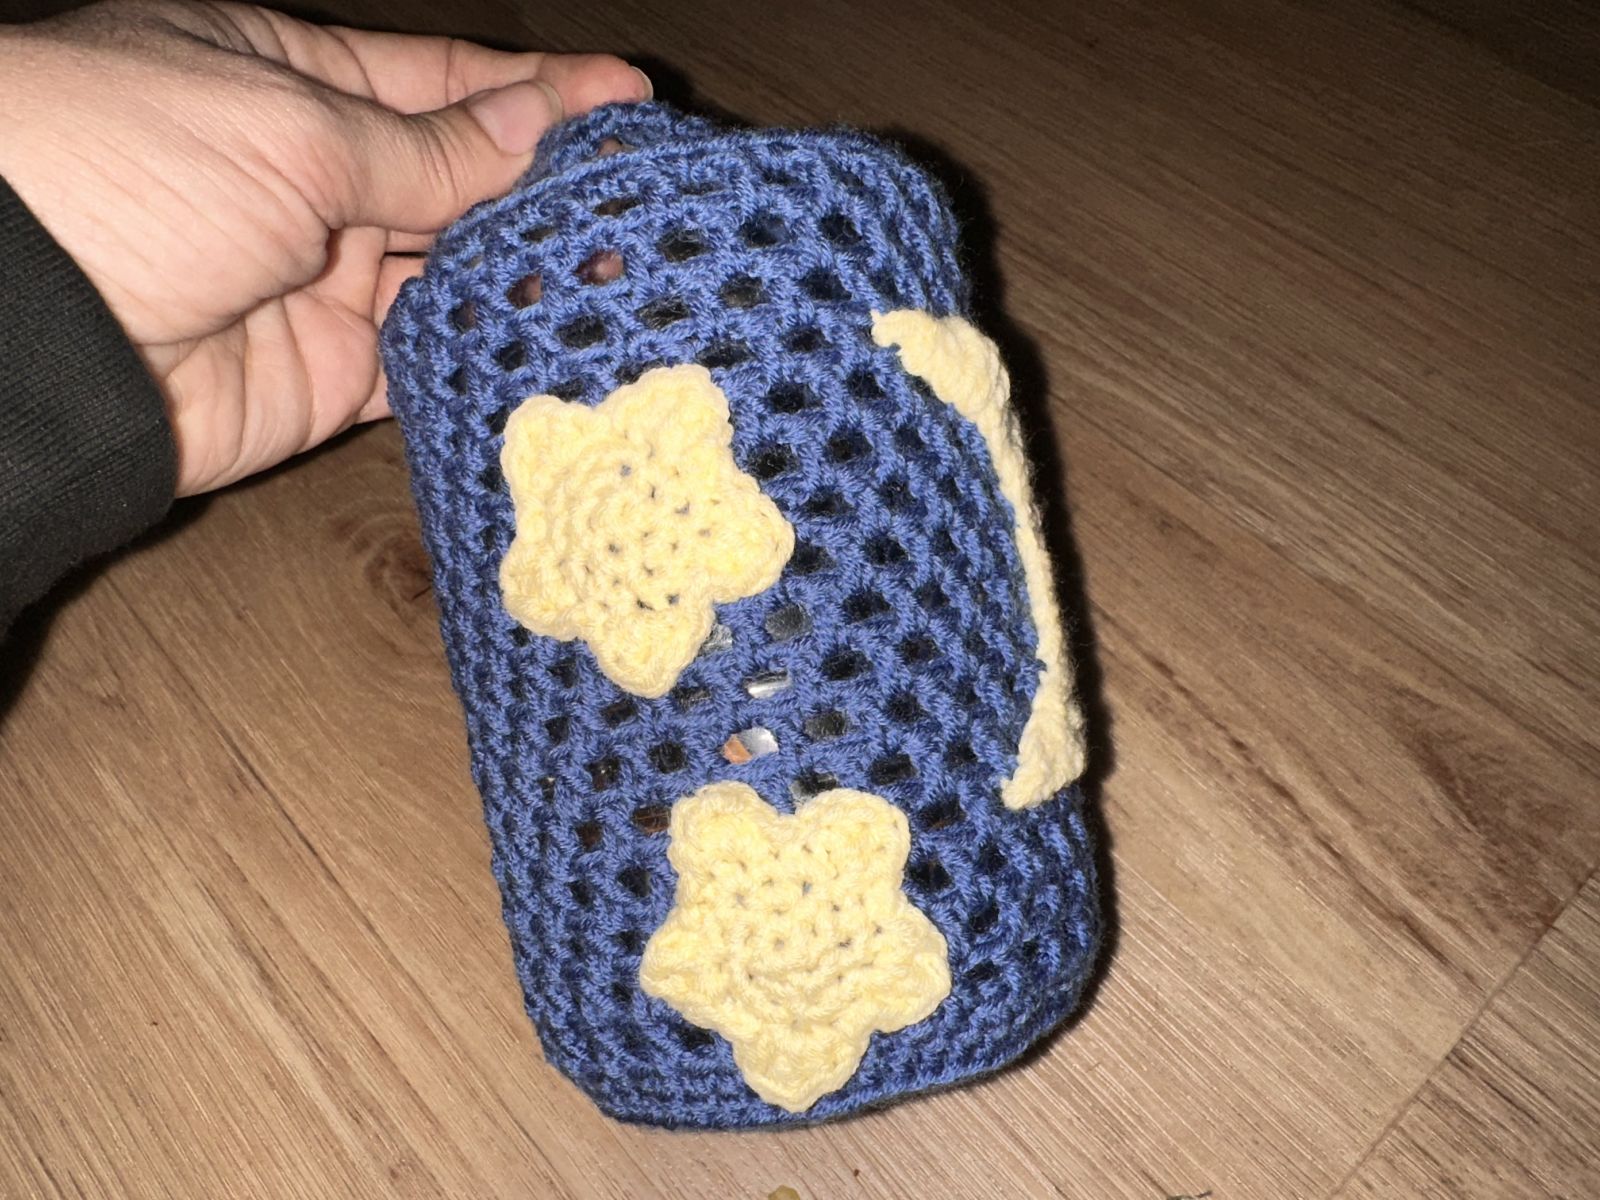
The same basic pattern can produce very different lanterns: dark blue with yellow stars for a starry-night lantern, orange with autumn motifs, or cream with colorful hearts. You can change yarn colors after a few rounds or leave the cover simple.
I especially like letting children make the final choices. The same pattern can become a completely different lantern every time.
Sometimes two colors are enough for a calm, classic look. For something brighter, you could change colors every second openwork round. Just make sure all yarn ends are woven in securely. The same goes for the decorations: a few well-attached details are better than so many that the cover becomes heavy or cluttered.
More Crochet Ideas from Mit Liebe verbunden
Did you enjoy making this lantern? Feel free to explore my other crochet patterns, too. For the colder months, you’ll find practical projects such as my Kleine Abenteurer headband and loop scarf, winter hats, and wrist warmers.
Perhaps your next crochet project is already waiting for you!
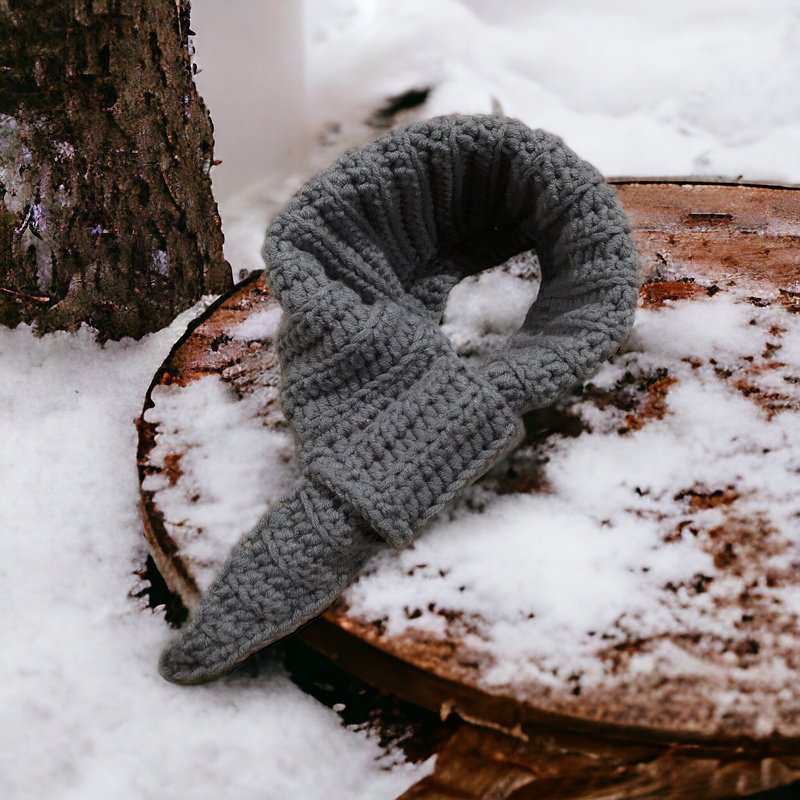
Comfortable Kids Crochet Cowl Pattern
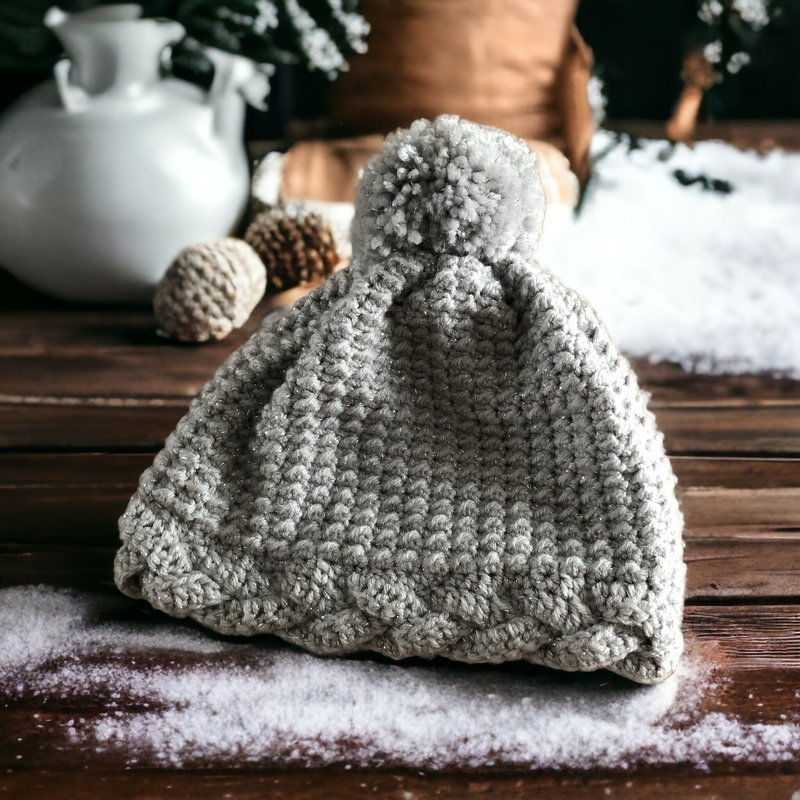
Cozy hat with stylish braided cuff
Show Me Your Lantern!
I’d love to hear which colors and motifs you chose for your lantern. Perhaps you’ve even come up with a completely new version of your own?
Would you like to see my next ideas, too? Follow me here on Crazypatterns! At Mit Liebe verbunden, I share crochet ideas, free patterns, and creative projects for everyday family life.
I hope you have lots of fun crocheting and crafting, and that you and your family enjoy a wonderful lantern season!
Mit Liebe verbunden


