There are these little everyday moments during Advent that instantly put a smile on our faces. In our home, this often happens when my children hand me an empty jar of applesauce with shining eyes and ask:
“Mom, can we turn this into something Christmassy?”
I adore moments like these. No pressure, no perfectionism – just the shared wonder of transforming something disposable into a small piece of Advent magic.
Today I’m sharing an idea that captures exactly that feeling:
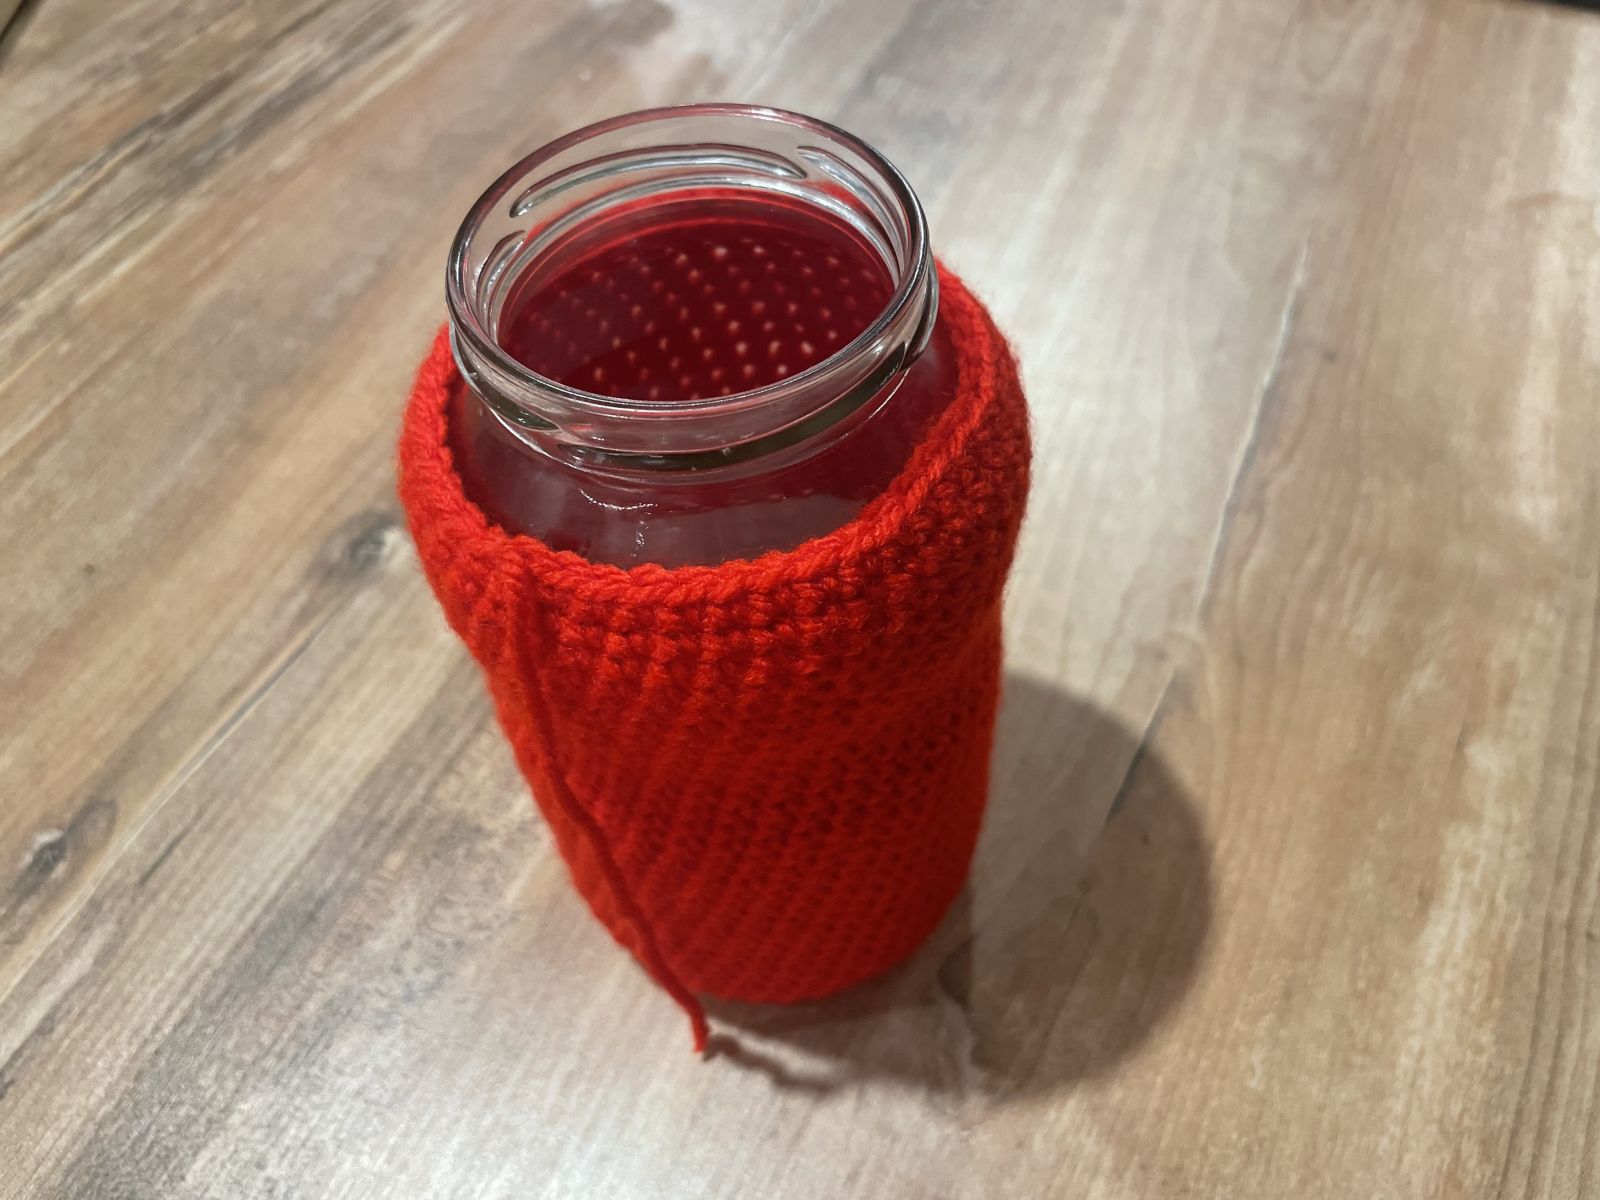
We turn an ordinary glass jar into a tiny pair of Santa trousers – perfect as table décor, a candle holder, a little gift, or a cheerful splash of color on a shelf.
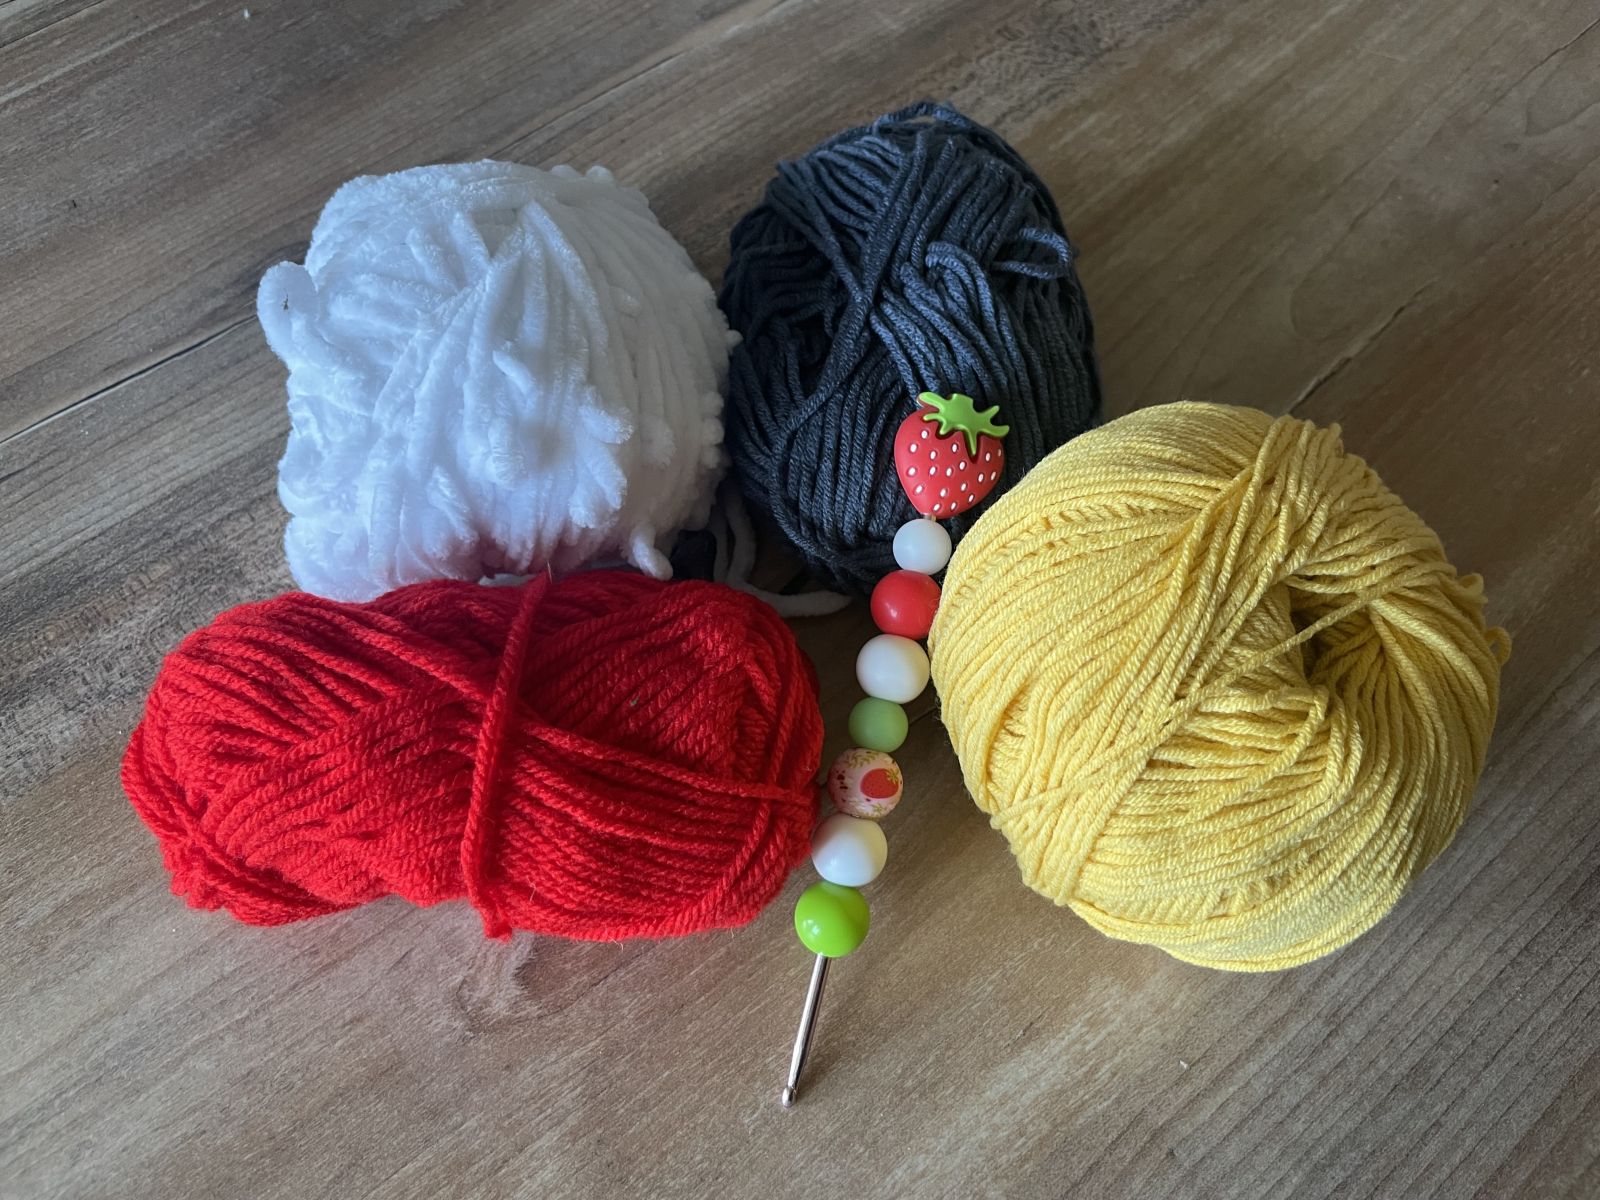
🧶 Materials
- 1 empty applesauce jar / glass jar
- Red, black, and yellow cotton yarn
- White chenille yarn
- Crochet hook 4 mm (for cotton)
- (If the smaller hook doesn’t work with your chenille yarn, use a 6 mm hook)
- Scissors, yarn needle
Tip: Children can help with arranging the little decorations or picking matching treats to put inside… or you simply surprise them with it – just like I do.
🧶 How it’s made
We use the following stitches:
Chain stitch: Yarn over, pull through the loop.
Single crochet: Insert the hook into the stitch, yarn over and pull up a loop (2 loops on the hook). Yarn over again and pull through both loops.
🧵 How to crochet the little Santa trousers for your jar

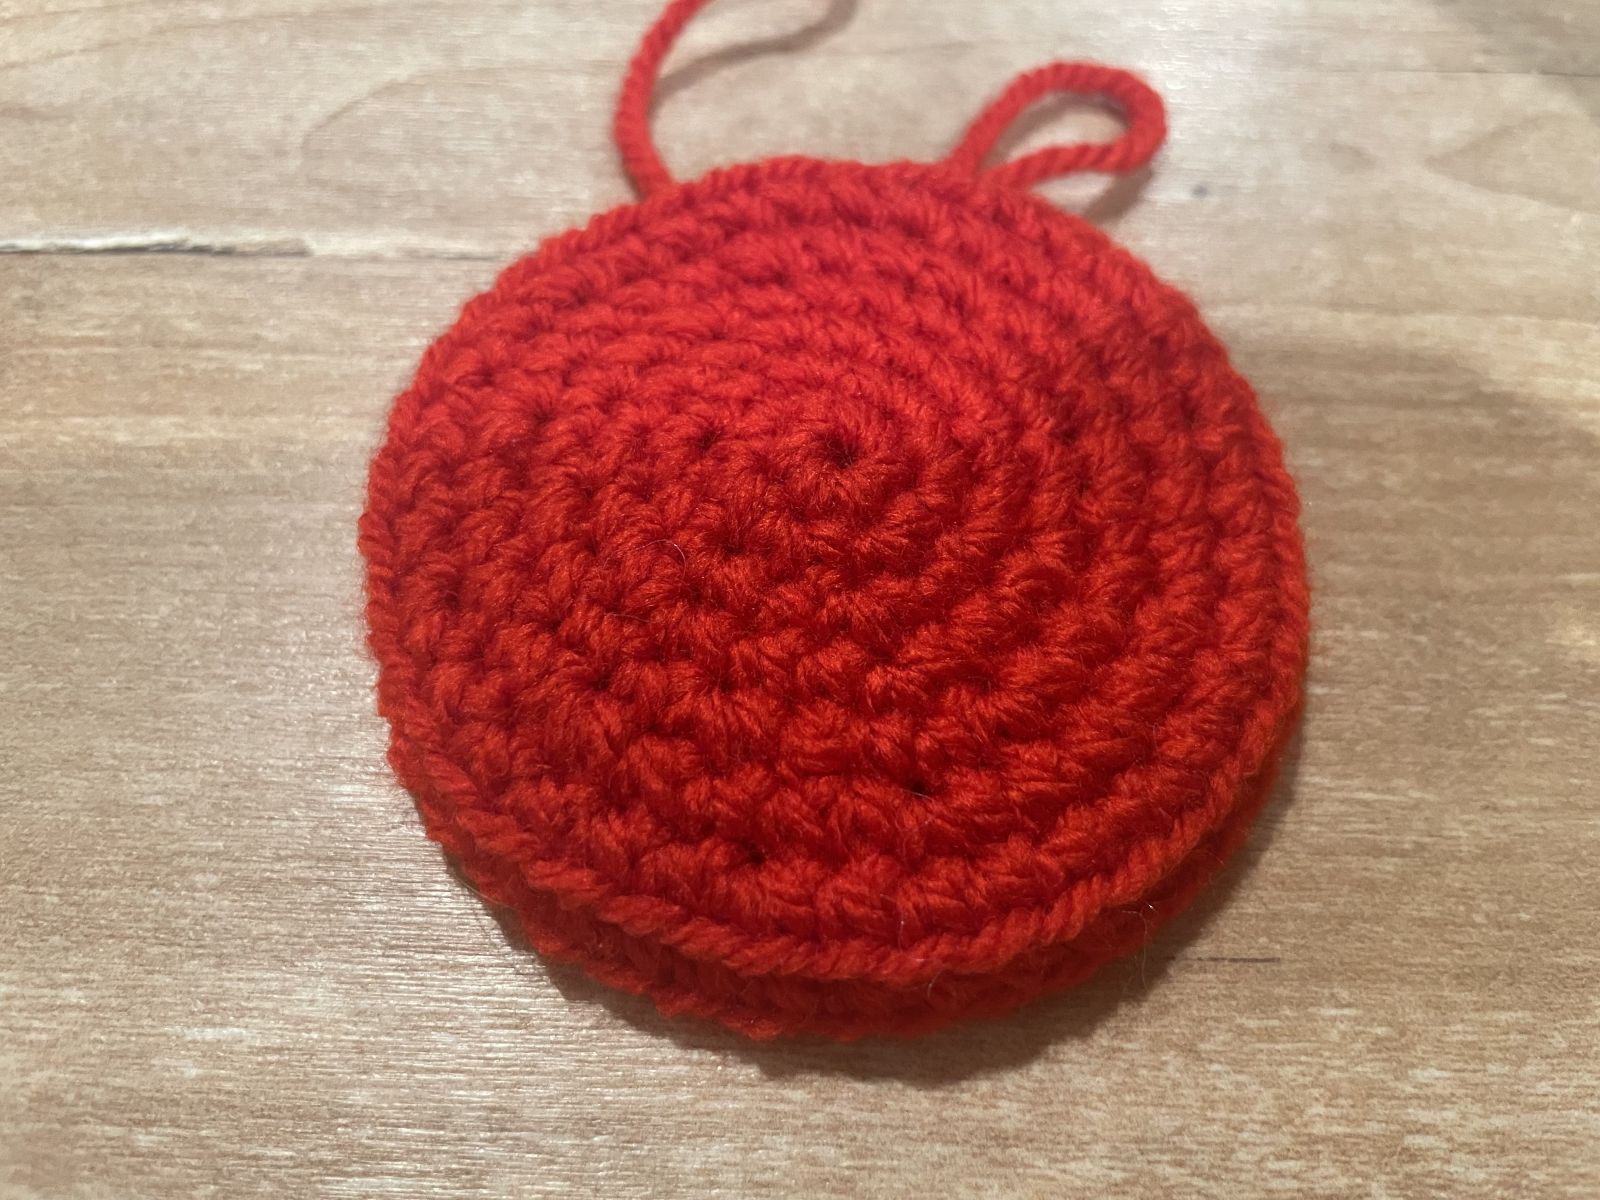
1️⃣ The red “trouser body”
We start as usual:
- Begin with a magic ring.
- Crochet in rounds using single crochets, working in spiral rounds, starting with 6 single crochets.
- Increase by 6 stitches in every round.
- This means:
- Round 2: increase in every stitch
- Round 3: increase in every 3rd stitch
- Round 4: increase in every 4th stitch
- Round 5: increase in every 5th stitch
- Round 6: increase in every 6th stitch
- Round 7: increase in every 7th stitch

This should give you a circle roughly the size of your jar’s base. If yours is too small or too large, simply add more increase rounds or stop earlier.
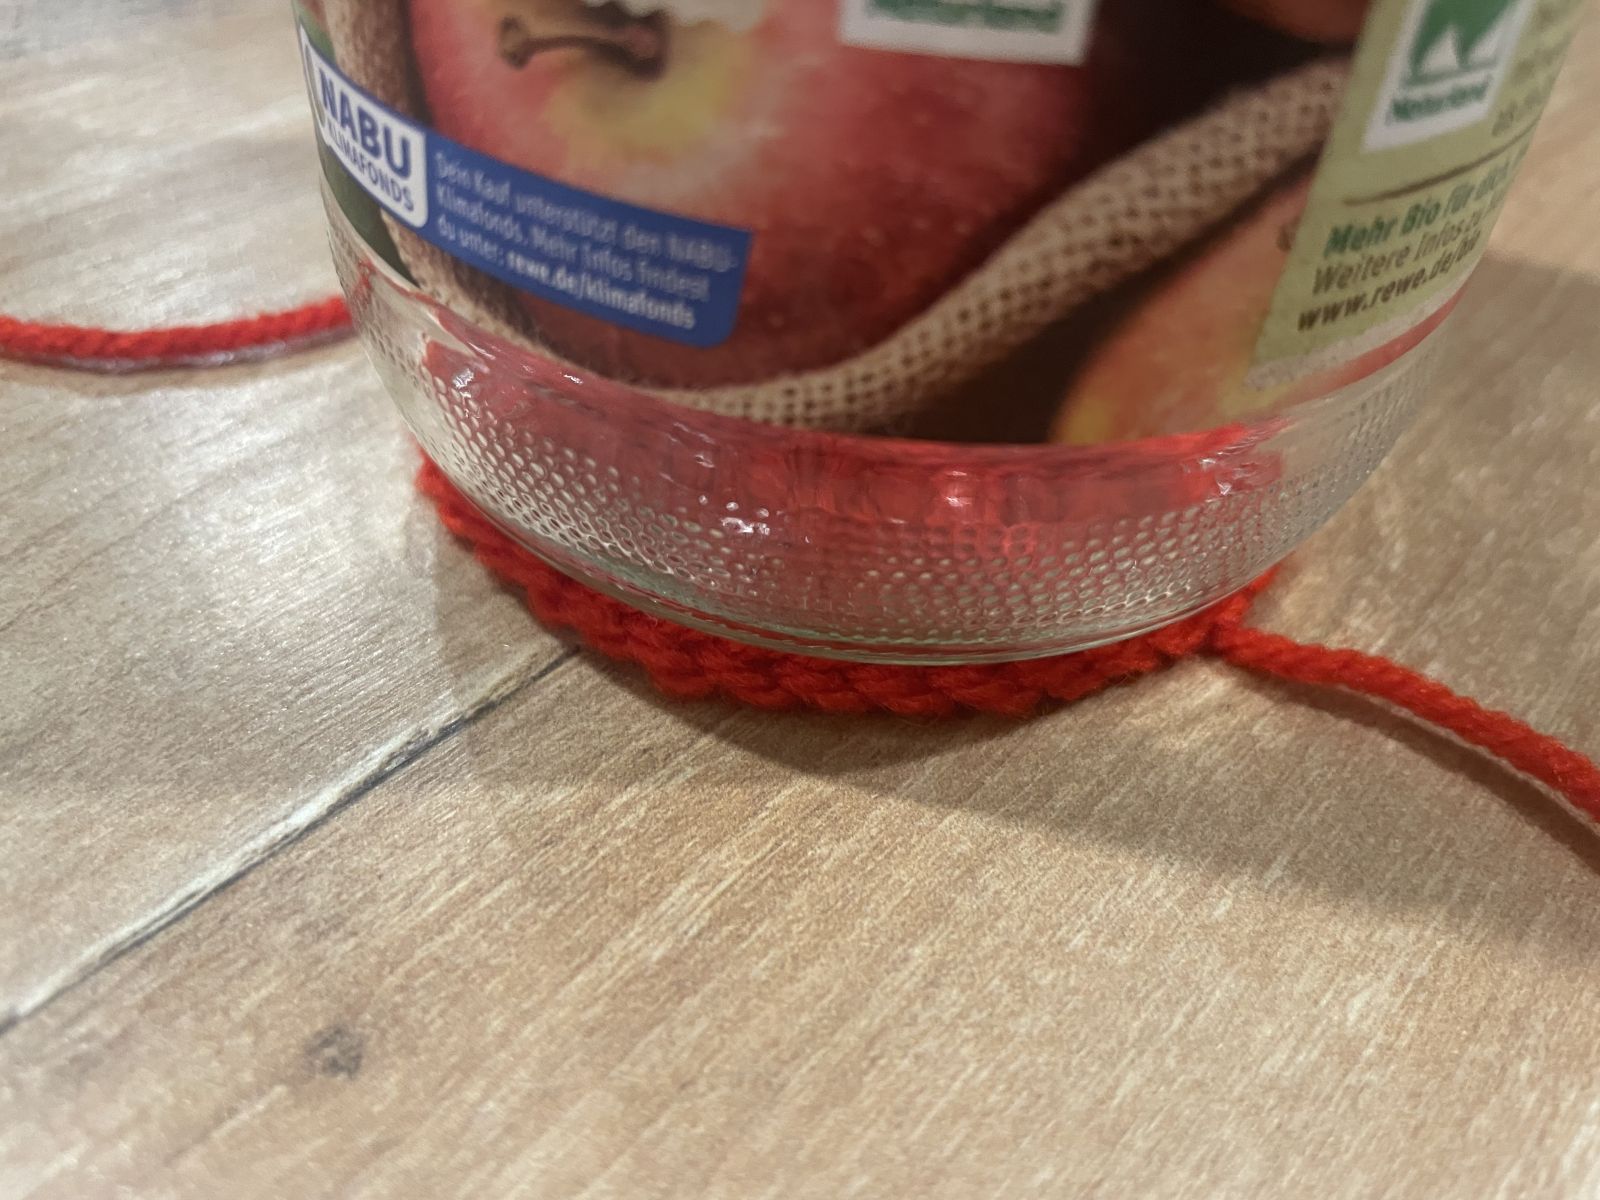
- Now crochet one round of 42 stitches (or however many stitches you have) in the back loop only.
Tip: Crocheting in the back loop only (optional!) creates a slight texture that already looks like “fabric” – perfect for the trousers. It also makes the transition to the tube section much cleaner.
- Adjust the height so the cover ends right below the rim of the jar.
- It can sit snugly – that way nothing slips out of place.
Tip: I simply crocheted a straight tube, even though the jar narrows slightly at one point. It doesn’t show, and if you place the belt exactly at that narrower area, it naturally fits even better.
2️⃣ The fluffy chenille edge
Now comes the part that instantly transforms the project from “cute” → “oh wow, how adorable!”:
- Attach the chenille yarn and crochet one round of single crochets around the top edge.

This automatically creates the soft, fluffy “Santa trim”.
You can crochet over the end of the red yarn as you go, which means less weaving in later.
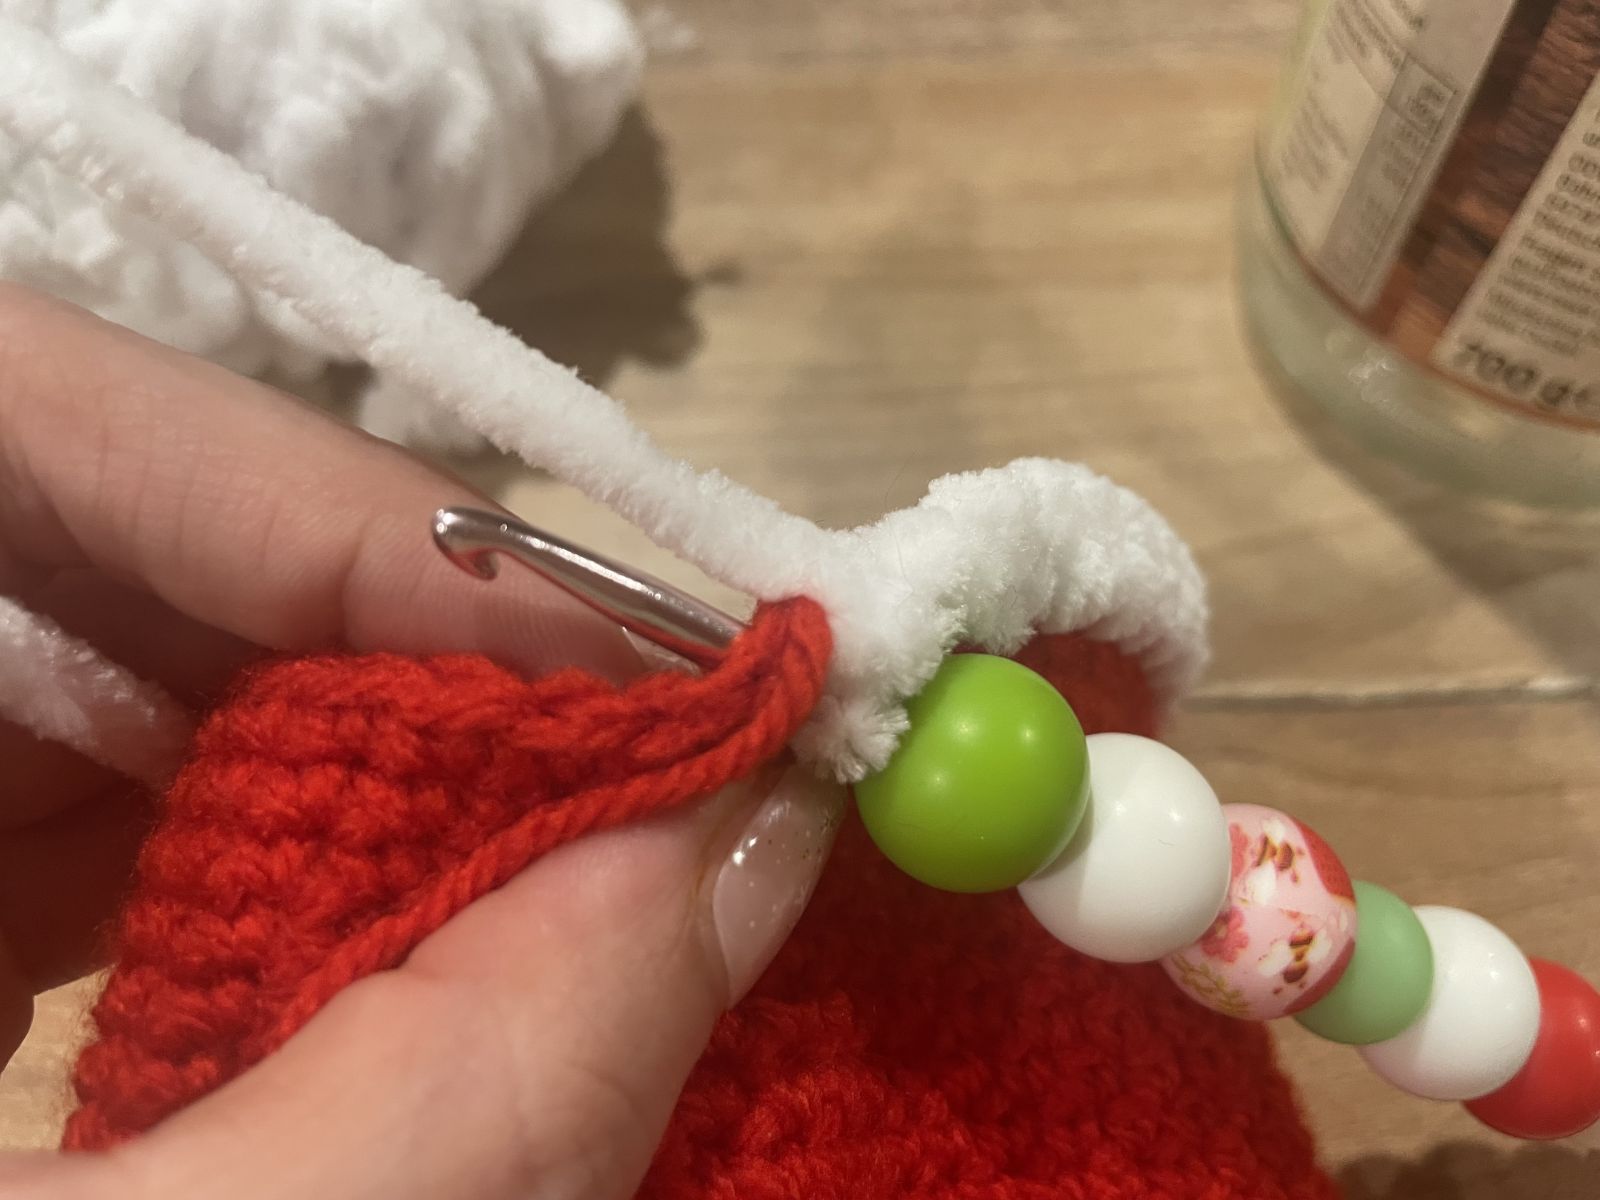
Make sure your stitches stay loose – chenille doesn’t forgive tension.
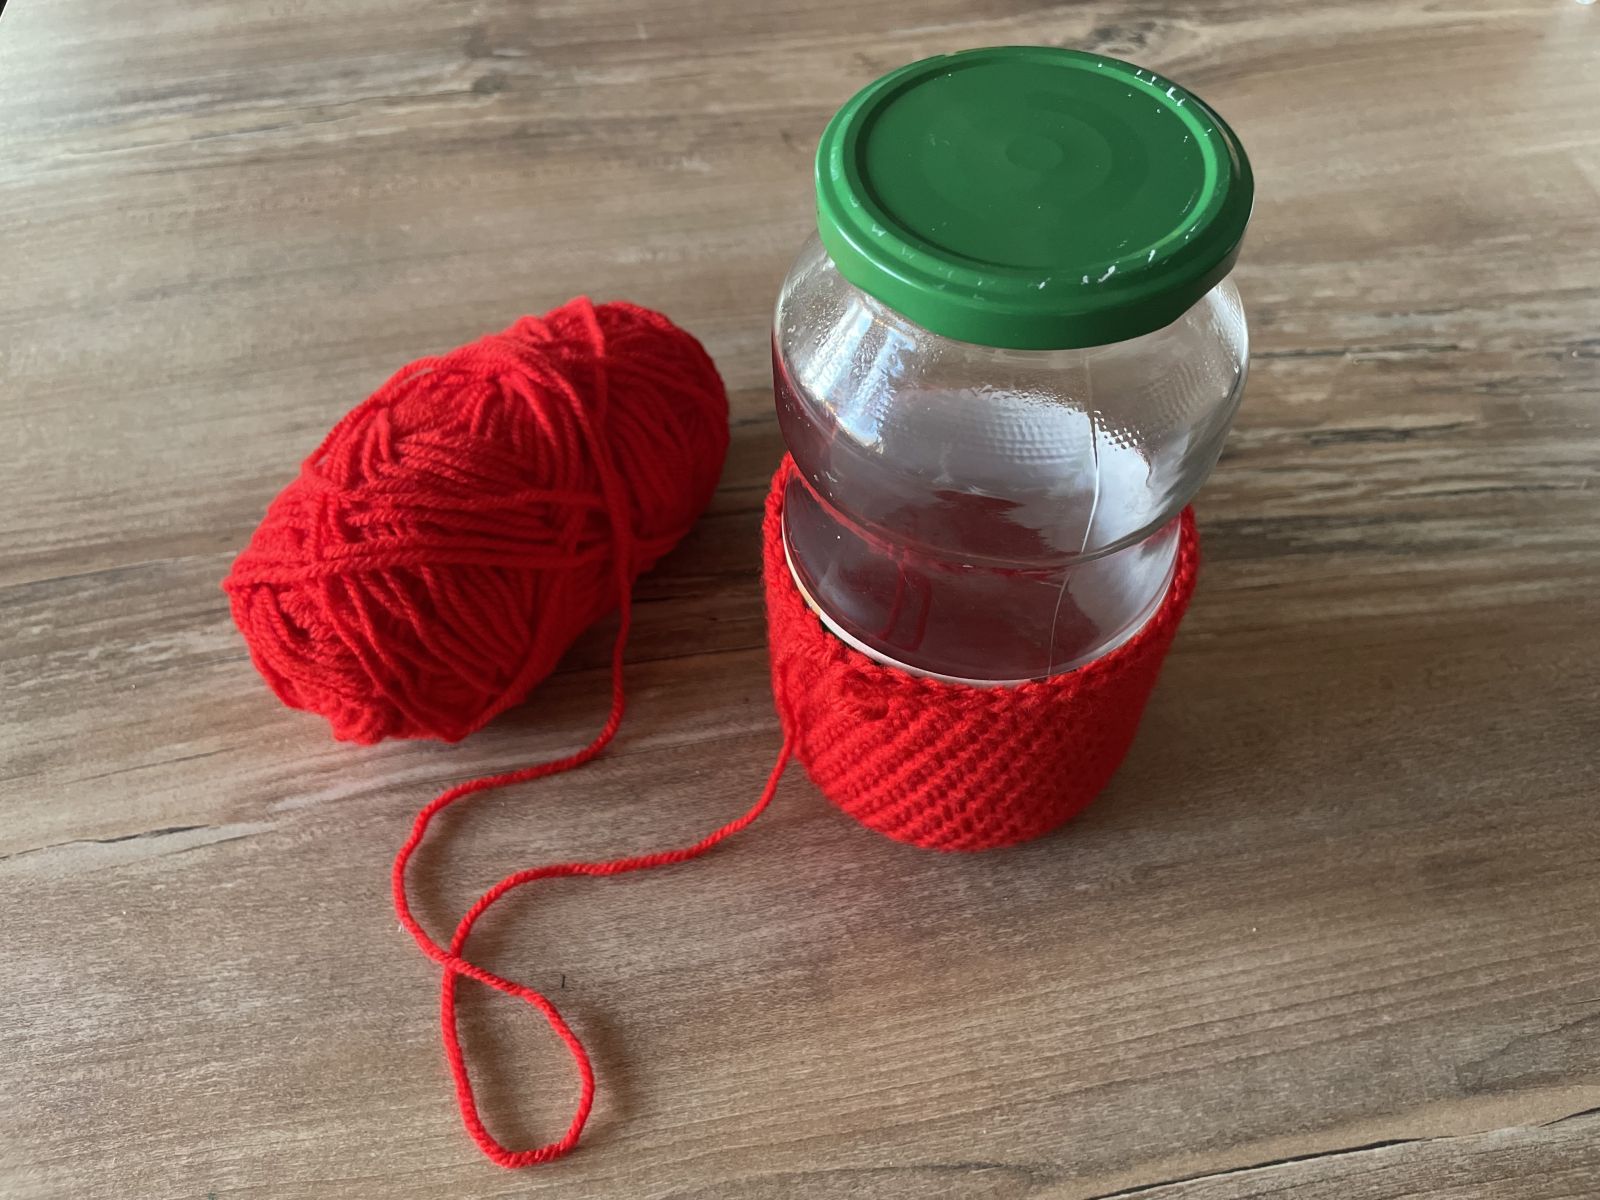
.jpeg)

The soft white edge already completes the look of Santa’s trouser legs. I intentionally left the screw-top section uncovered so you can still close the jar and use it as a gift container.
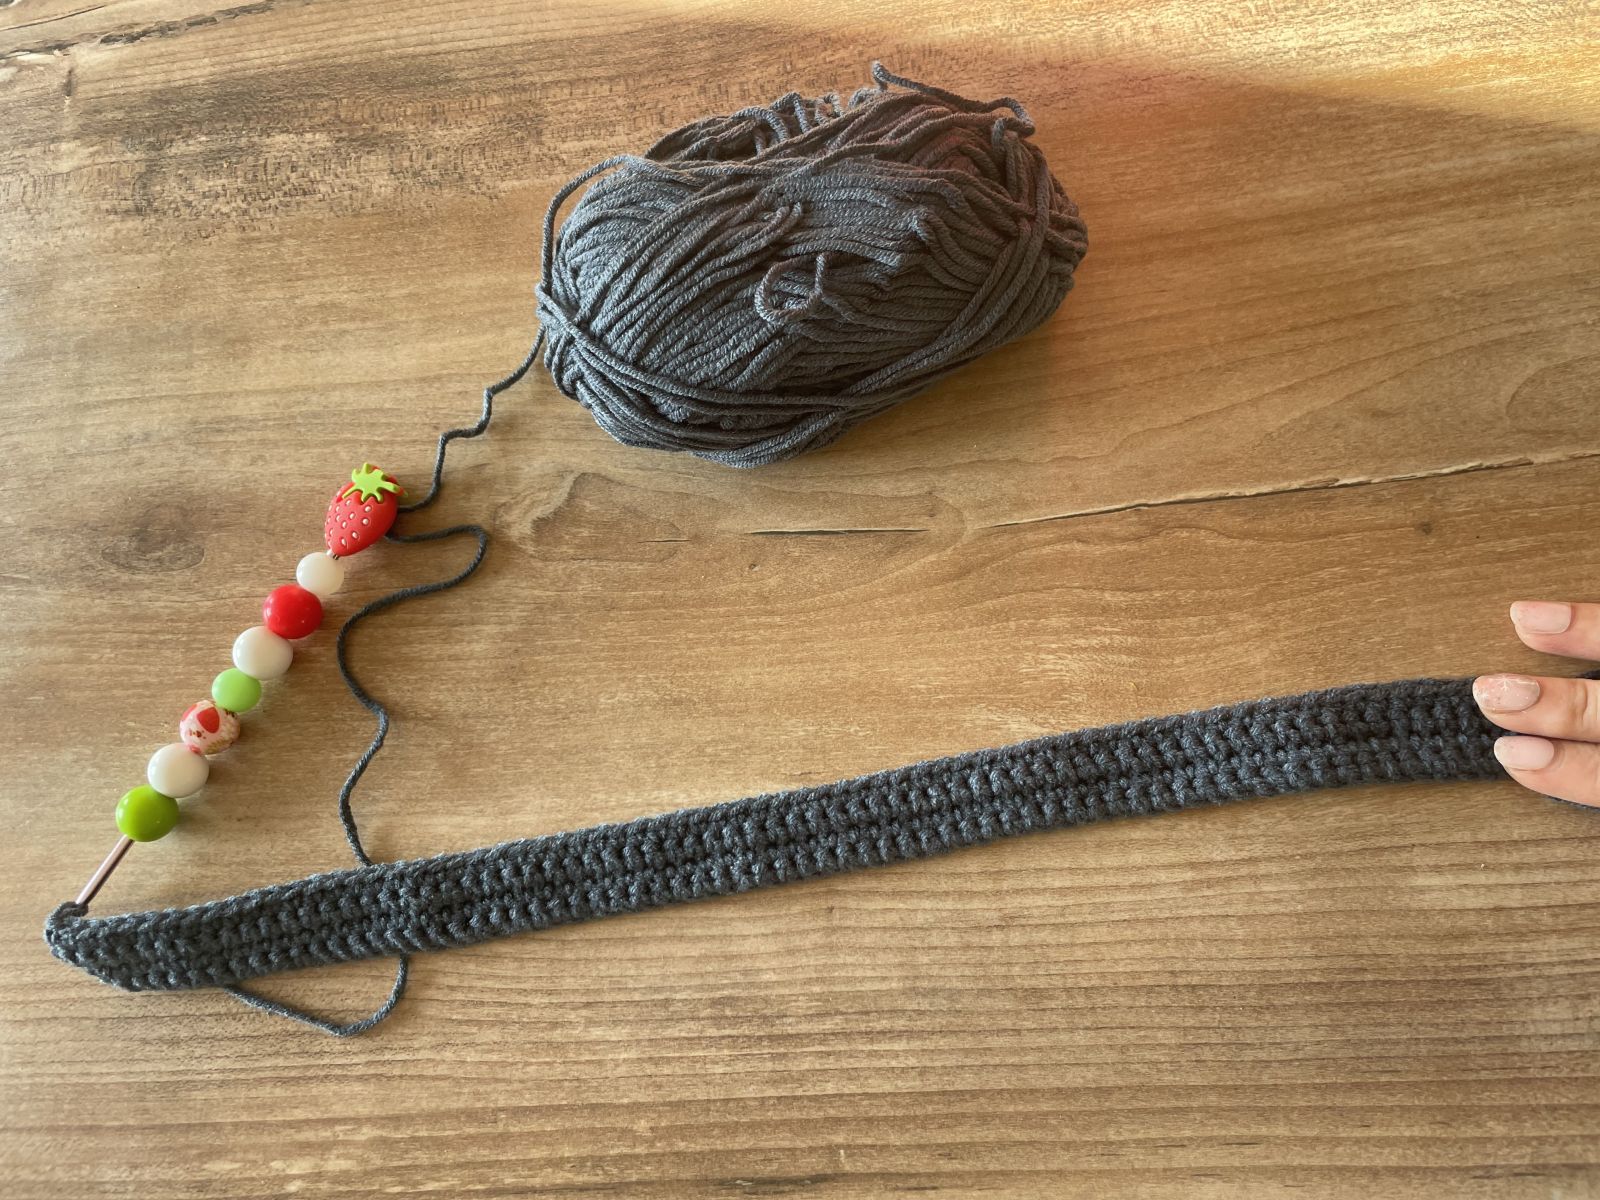
3️⃣ The black (or dark) belt
This step gives your decoration that unmistakable Santa look.
- Crochet a chain long enough to wrap around the jar comfortably (loosely about 5 cm extra).
For me, this was 70 chains + 1 turning chain.

- Now crochet back and forth in rows:
- Row 1: one single crochet into each of the 70 chains
- Row 2–4: single crochet across each stitch, turn with one chain
4️⃣ The yellow belt buckle
You can also embroider the buckle if the crochet version feels too fiddly for beginners.
.jpeg)
This step completes the classic Santa design.
- Crochet a chain of 12 + 1 stitches.
- Work one single crochet into each chain.
- Then work only three single crochets and turn (the remaining stitches stay unworked).
- Crochet 3 more rows of 3 single crochets, fasten off.
- Join the yarn on the opposite side and crochet 3 single crochets,
- turn and crochet 4 more rows (so this side now has 5 rows total).
- Now crochet 6 chains,
- continue crocheting across to the other side and finish the remaining 3 single crochets.
- Turn with a chain.
- Now you can crochet one full row of 12 single crochets (3 across the first section, then 1 into each chain, and 3 on the opposite side).
And your upcycled Christmas decoration is done! 🎄
You can use the jar as a…
- tea light holder
- small table decoration
- pencil jar on your desk
- little Advent gift
Children especially love it when it glows or is decorated with tiny fir branches.
Gift Ideas
Many readers look for small and heartfelt gift ideas during Advent – projects that are quick to make and look special.
And this year, one of my designs on Instagram clearly became the gift favorite:
My Snowflake Set (coasters + basket) – the project most often gifted within my community.
It’s perfect for winter, looks high-quality, and is ideal when you want to give something handmade that is not only decorative but also practical.

Direct link to the pattern (only available in German)
Why I love upcycling projects ❤️
In family life, there’s often little time for large crochet projects.
But that’s exactly why I love ideas like this one:
- they’re quick
- they delight children
- they bring instant Christmas spirit into the home
- they show how a few simple stitches can turn into something beautiful
And sometimes that’s exactly what we need between cookie chaos, lantern parades, and holiday preparations.
Want more Christmas inspiration? ✨
You’ll find many more winter ideas in my shop — but the one I especially want to recommend this year is my Snowflake Set, which has truly captured my community’s hearts.


