
Categories
Quick to Target
Community & Help
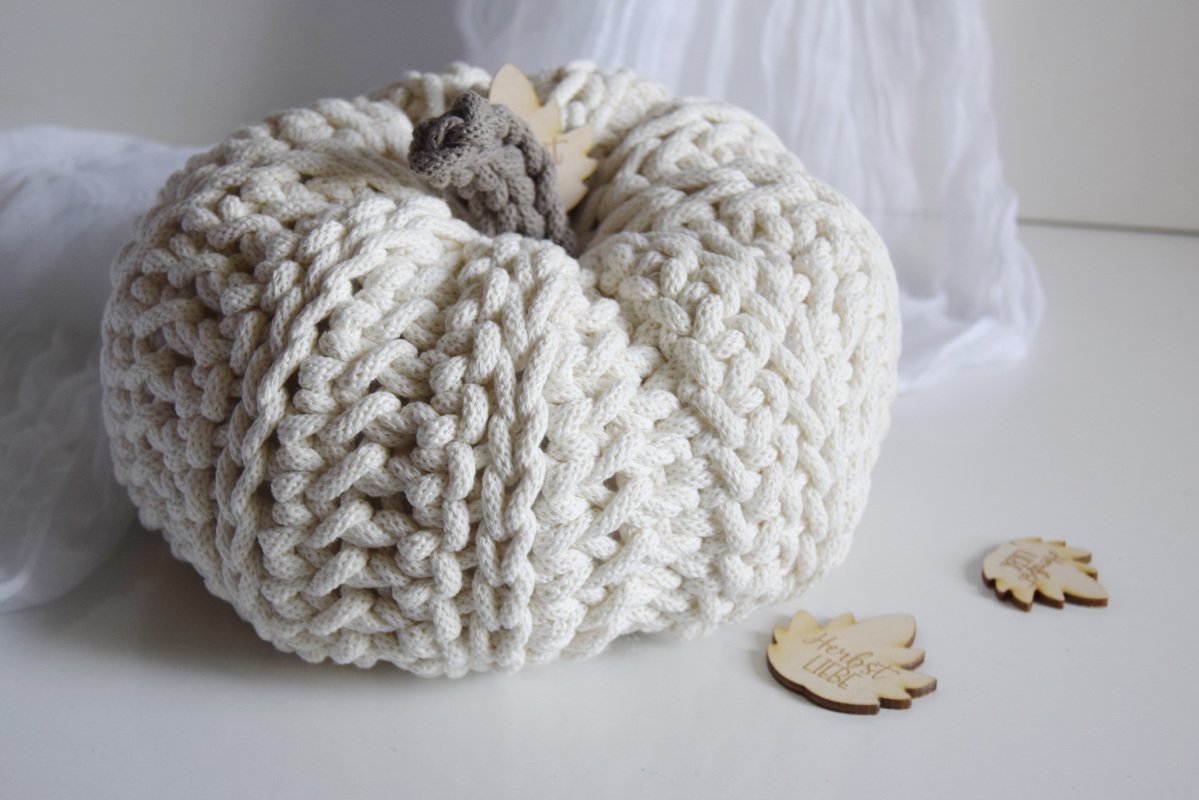
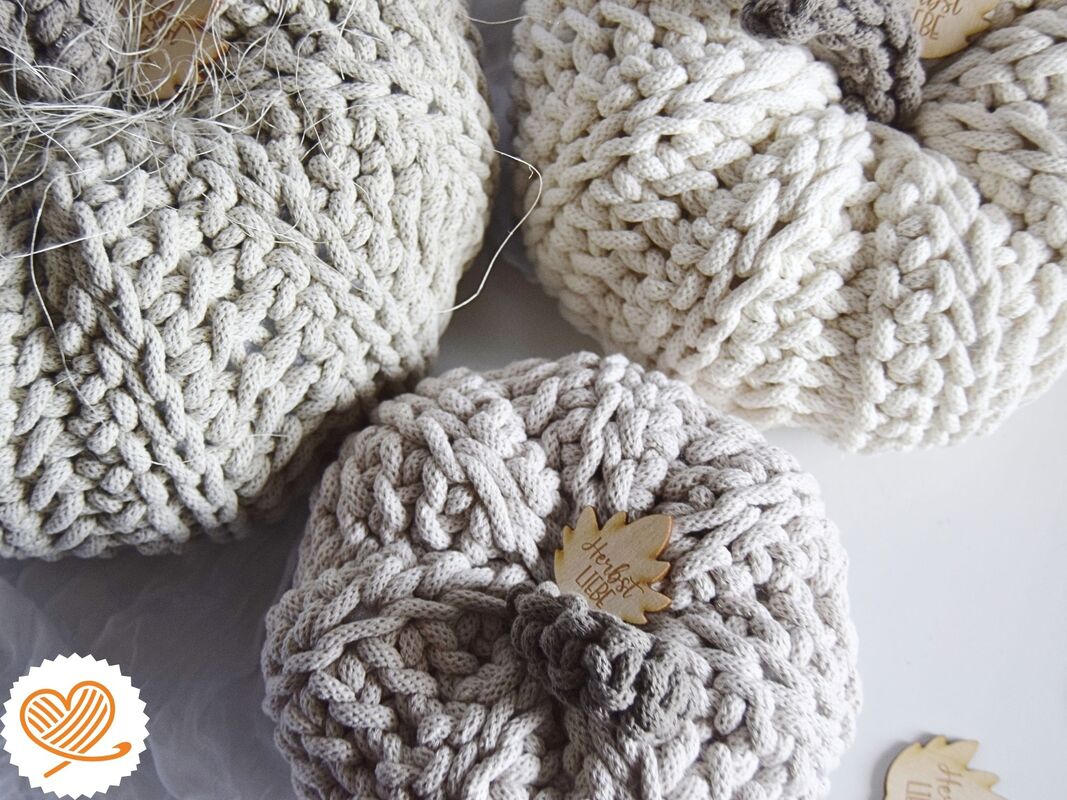
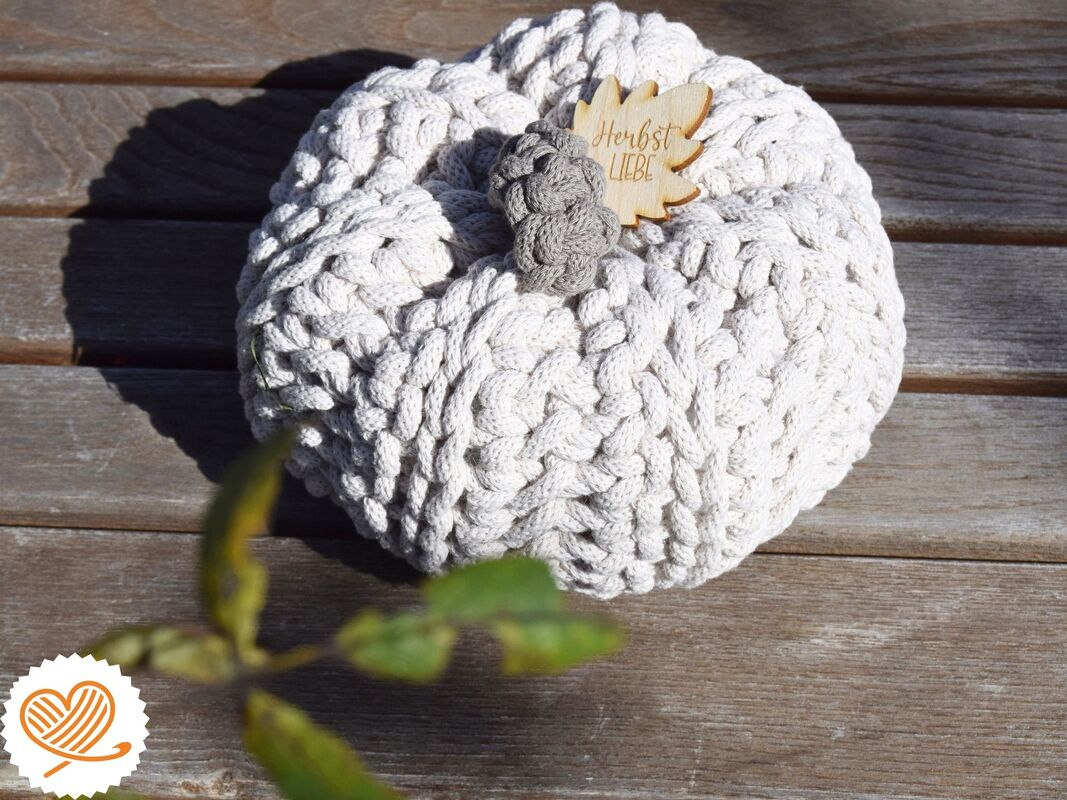
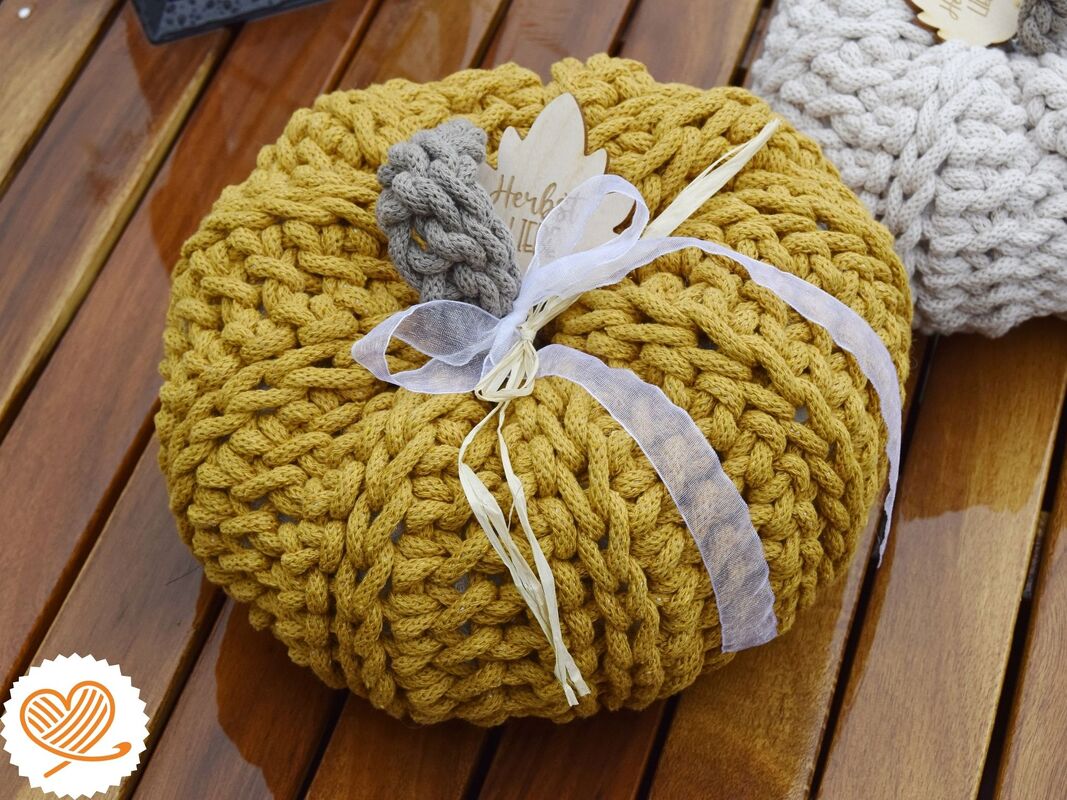
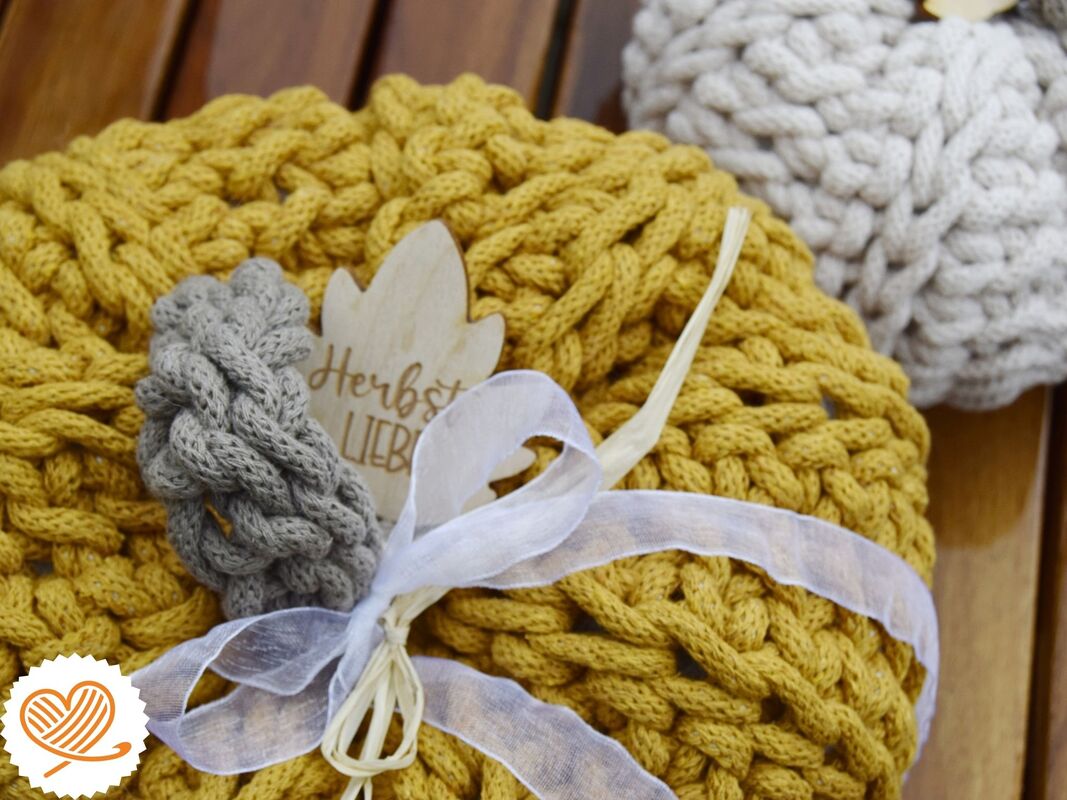
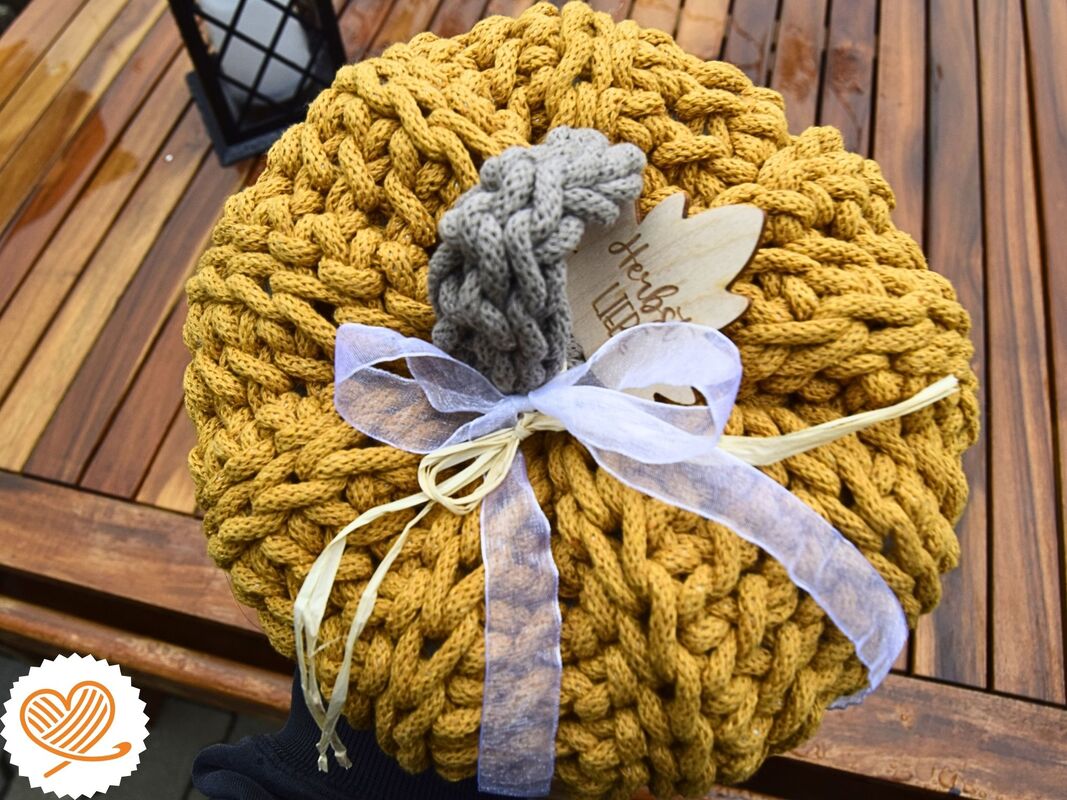
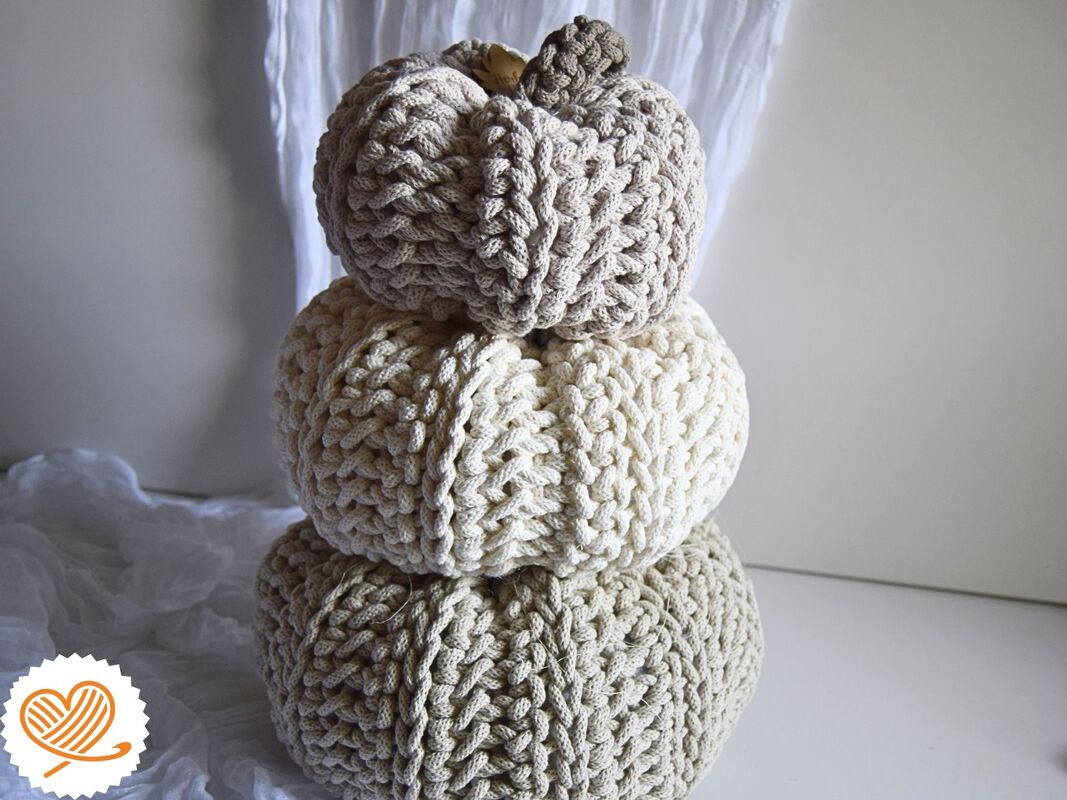
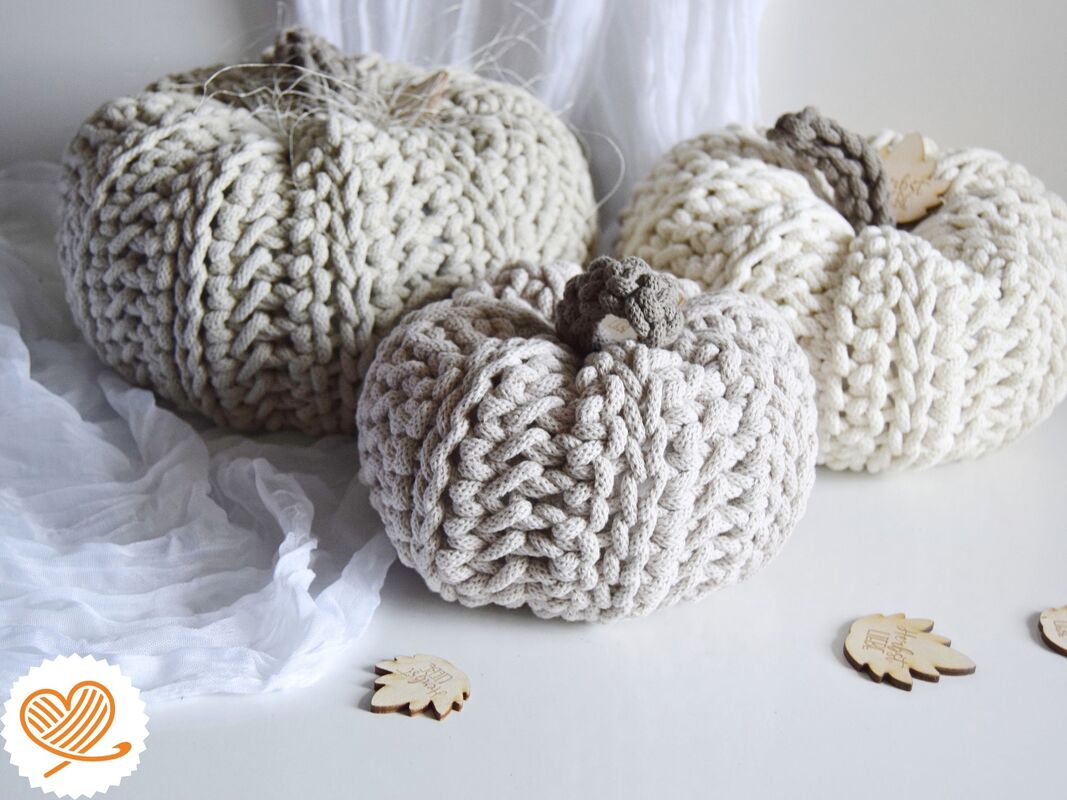
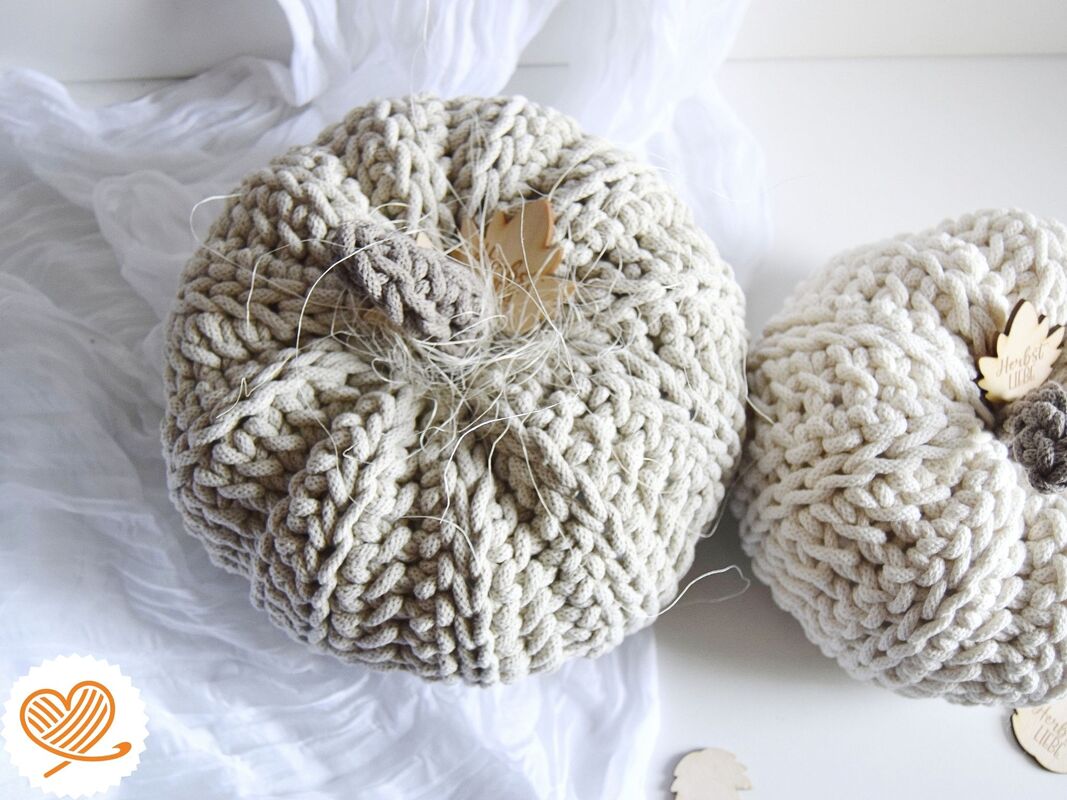
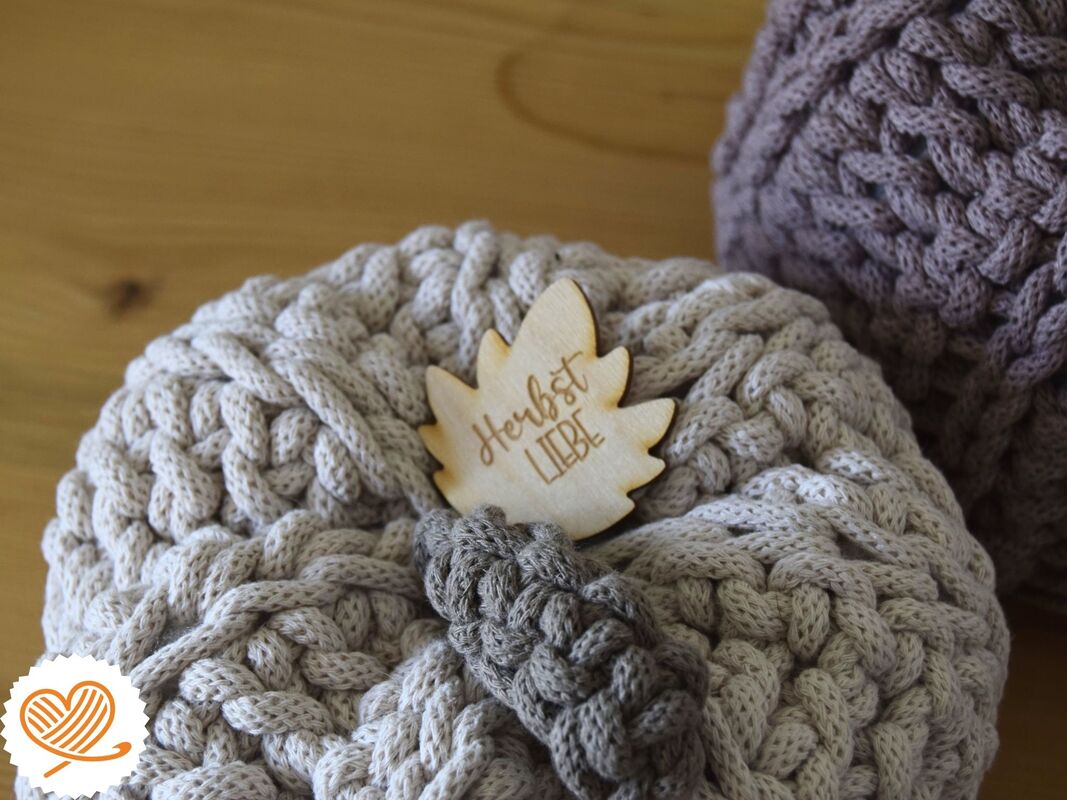
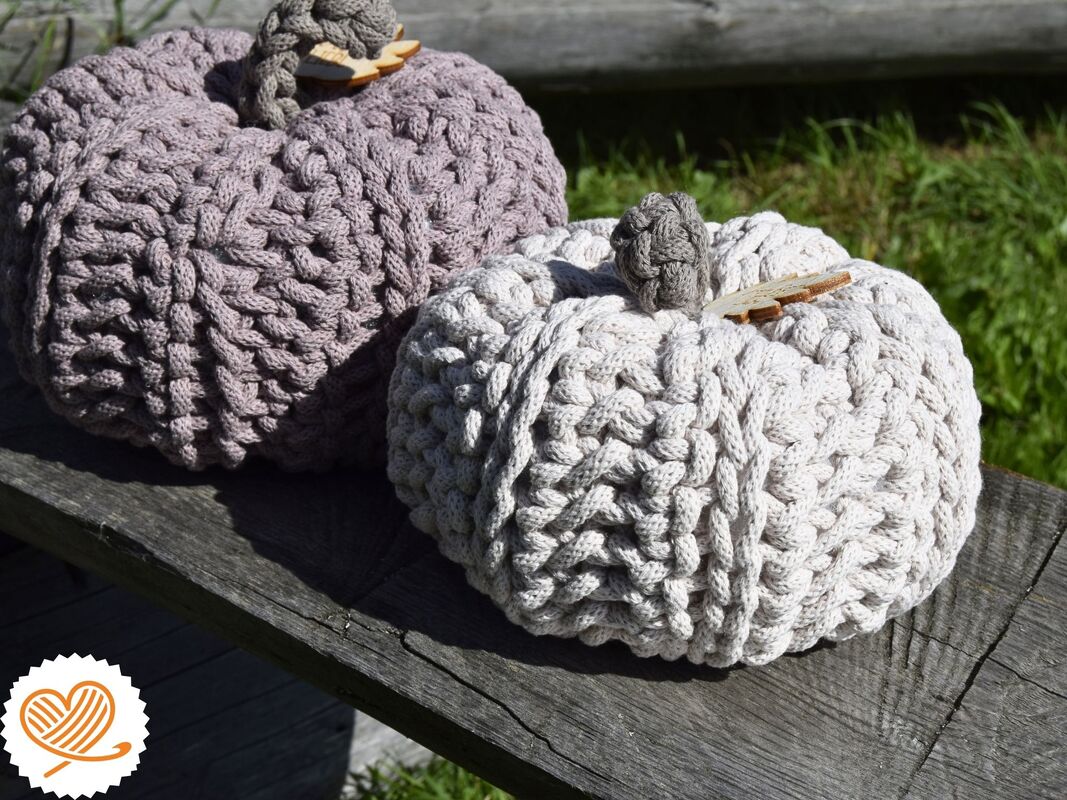
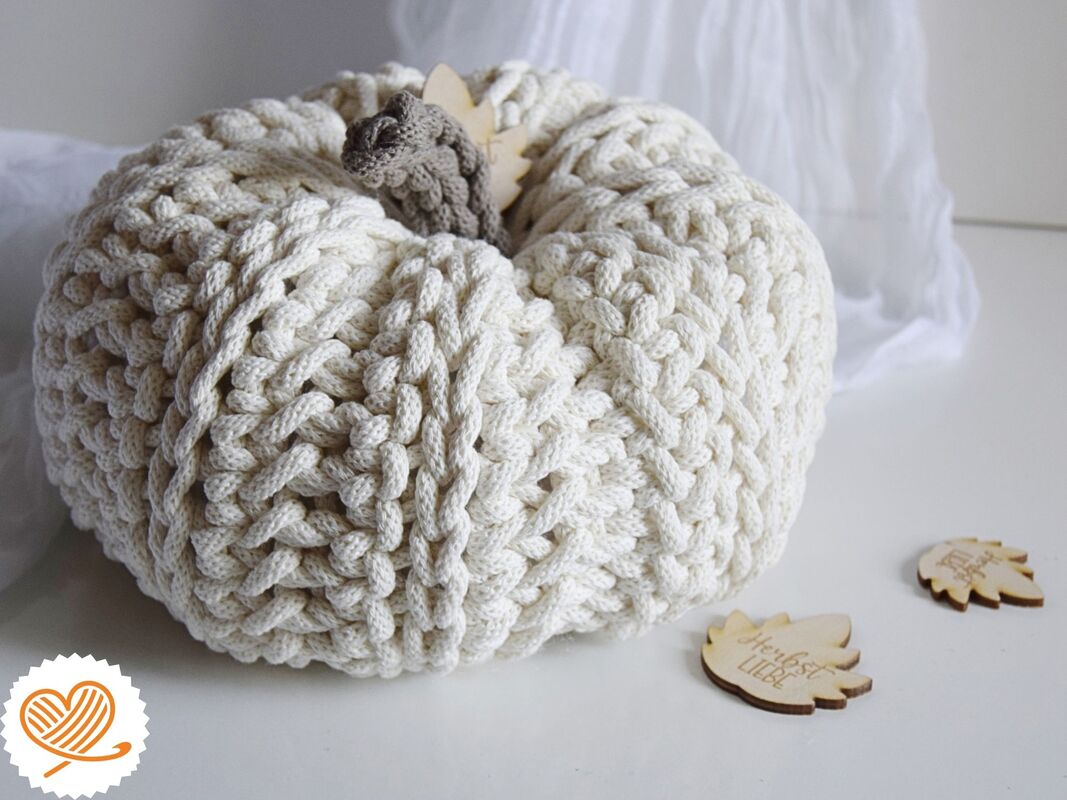
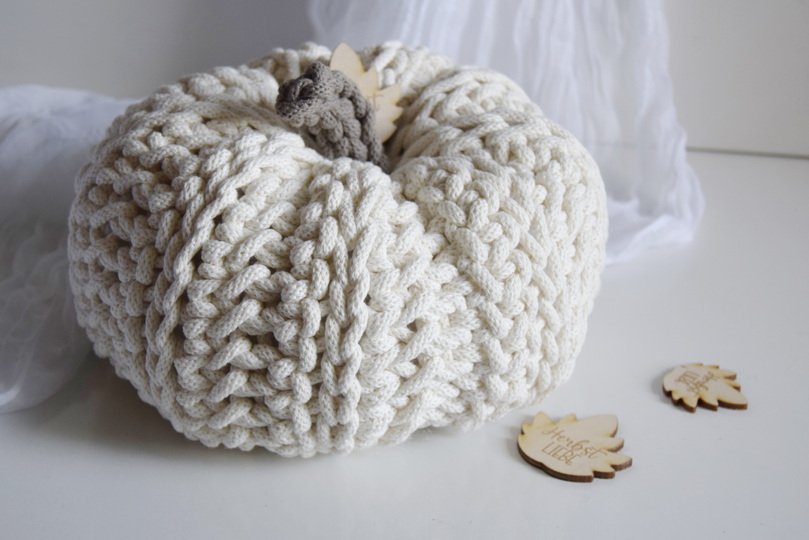
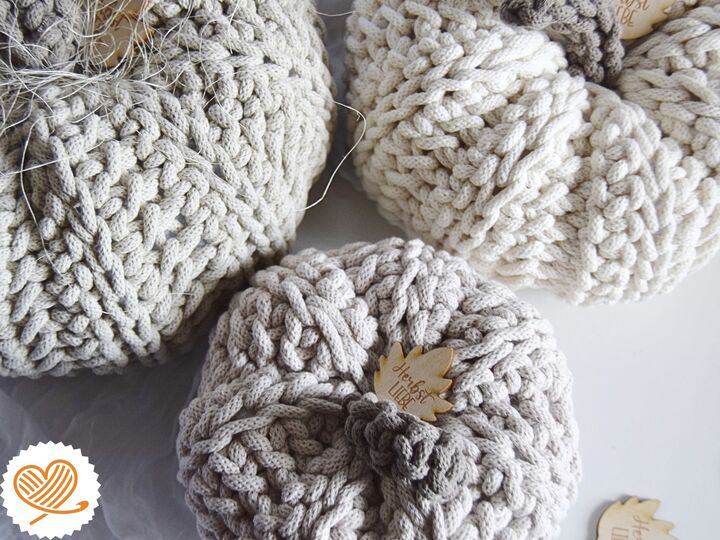
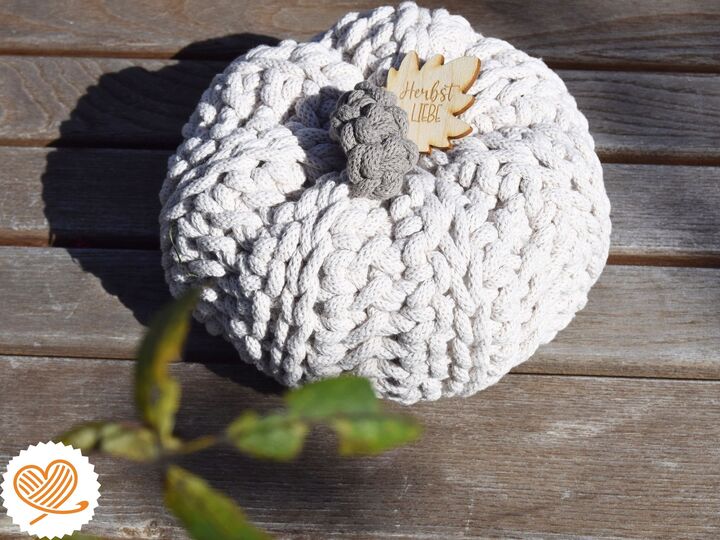
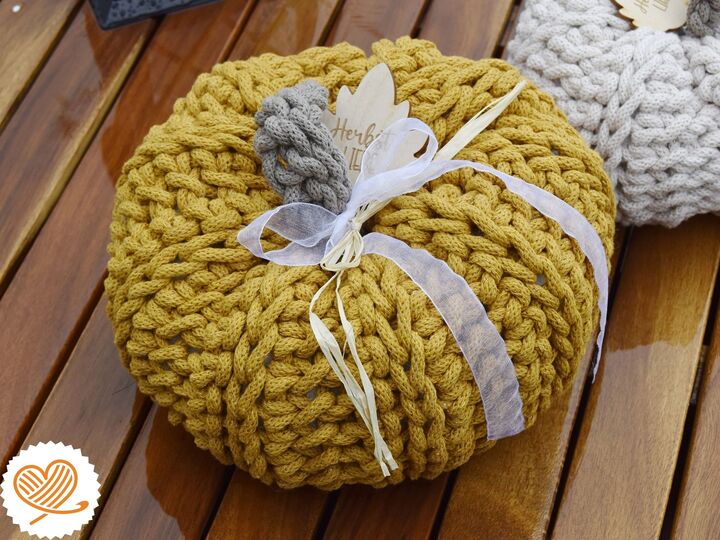
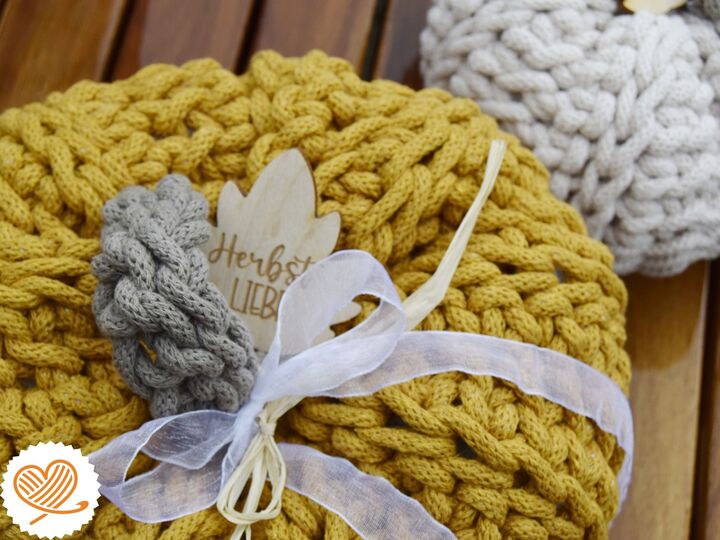
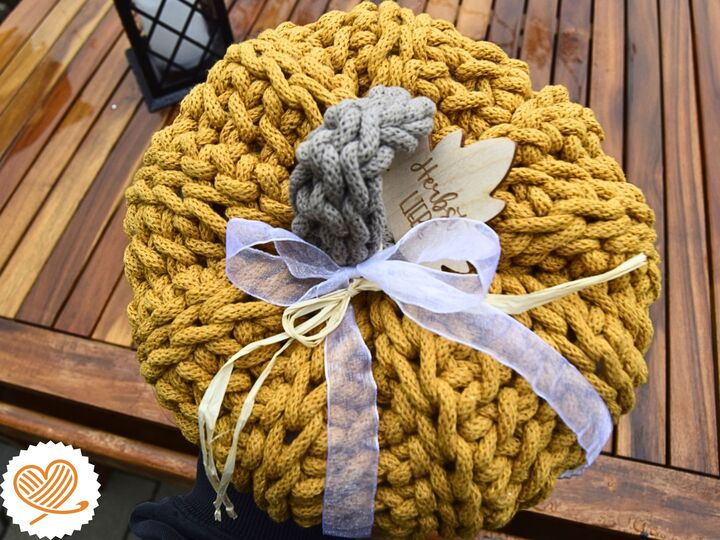
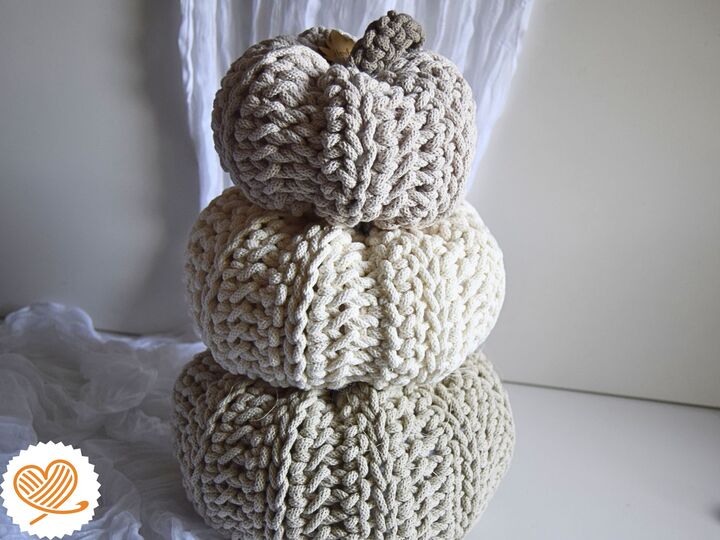
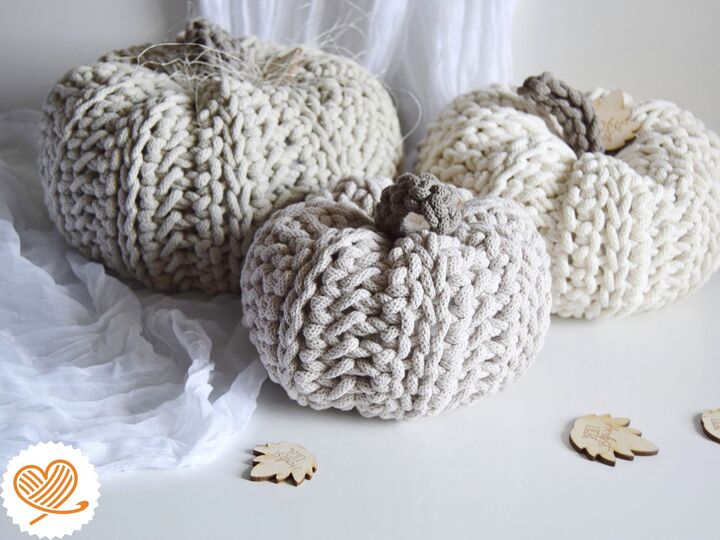
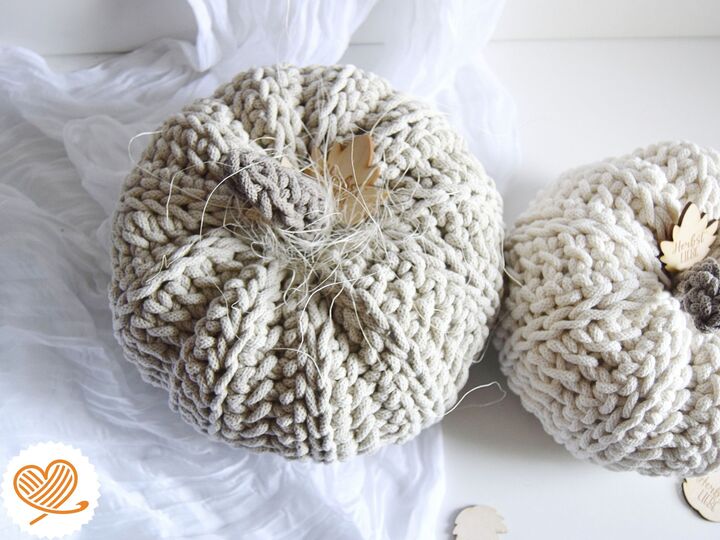
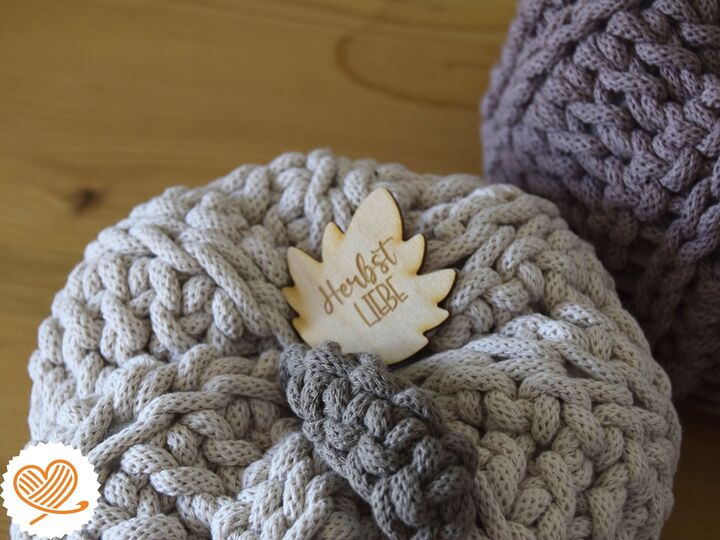
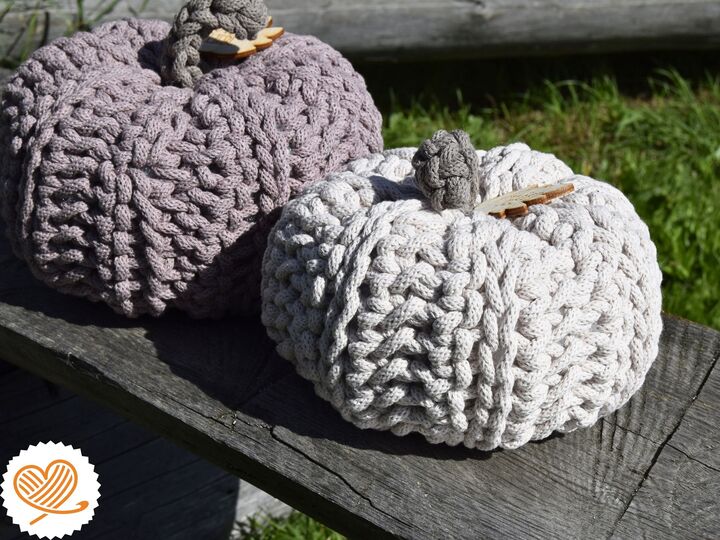
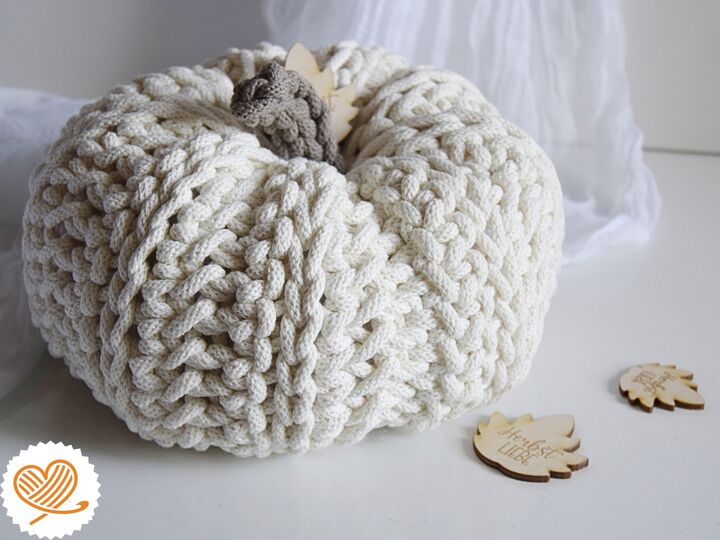
I love pumpkins as autumn decorations – especially handmade crochet ones. What I like most about my “Autumn Love” pumpkin is its lovely ribbed texture. The stitch pattern gives it so much character that it hardly needs any extra decoration. Add a little stem and perhaps a wooden leaf, and it’s ready for a spot on your windowsill or table.
In the pattern, I’ll show you how to crochet, stuff and shape your pumpkin, with photos and detailed explanations. You can make it in any size, or create a little group of pumpkins. Smaller ones are a lovely way to use up leftover yarn. If you’d prefer to use a different yarn, you can do that too – you’ll find tips for this in the pattern.
If you’d like to get started straight away, you’ll find a matching DIY kit in my shop. You can also choose the materials separately in your favourite colours or use what you already have at home. And perhaps you’ll make an extra pumpkin for someone special.
Happy crocheting – I hope you enjoy some cosy, creative time!
Skills needed
What’s included in the pattern
The pumpkin body measures approximately 25–26 cm in diameter and 16–18 cm in height, depending on how tightly you pull the indentations together. One skein of Bobbiny 5 mm cord is enough for this size. For larger pumpkins, plan on using two skeins.
The pattern also works well for smaller pumpkins. These are a lovely way to use up leftover yarn and combine different sizes and colours.
Matching DIY kit
The kit includes:
Alternatively, you can purchase the listed materials separately.
You may sell finished items made from this pattern in any quantity, provided you credit the pattern.
Copying, reproducing or exchanging the pattern is prohibited.
Thank you from Leomaxi, and happy crocheting!
You can download the pattern immediately after receipt of payment.
I love pumpkins as autumn decorations – especially handmade crochet ones. What I like most about my “Autumn Love” pumpkin is its lovely ribbed texture. The stitch pattern gives it so much character that it hardly needs any extra decoration. Add a little stem and perhaps a wooden leaf, and it’s ready for a spot on your windowsill or table.
In the pattern, I’ll show you how to crochet, stuff and shape your pumpkin, with photos and detailed explanations. You can make it in any size, or create a little group of pumpkins. Smaller ones are a lovely way to use up leftover yarn. If you’d prefer to use a different yarn, you can do that too – you’ll find tips for this in the pattern.
If you’d like to get started straight away, you’ll find a matching DIY kit in my shop. You can also choose the materials separately in your favourite colours or use what you already have at home. And perhaps you’ll make an extra pumpkin for someone special.
Happy crocheting – I hope you enjoy some cosy, creative time!
Skills needed
What’s included in the pattern
The pumpkin body measures approximately 25–26 cm in diameter and 16–18 cm in height, depending on how tightly you pull the indentations together. One skein of Bobbiny 5 mm cord is enough for this size. For larger pumpkins, plan on using two skeins.
The pattern also works well for smaller pumpkins. These are a lovely way to use up leftover yarn and combine different sizes and colours.
Matching DIY kit
The kit includes:
Alternatively, you can purchase the listed materials separately.
You may sell finished items made from this pattern in any quantity, provided you credit the pattern.
Copying, reproducing or exchanging the pattern is prohibited.
Thank you from Leomaxi, and happy crocheting!
Once Buyers review this product, the product rating, breakdown, and customer experiences will appear here.



Share your ideas, creations, and experiences.
You'll need an account to use these features. You can create an account or log in.
42 prizes / total value €300: 30×€5, 10×€10, 2×€25 – simply activate the newsletter. No purchase necessary. Unsubscribe at any time. Prizes are awarded as Crazypatterns shopping credit. Learn more
Ask Question