No reviews for this item yet
Categories
Quick to Target
Community & Help


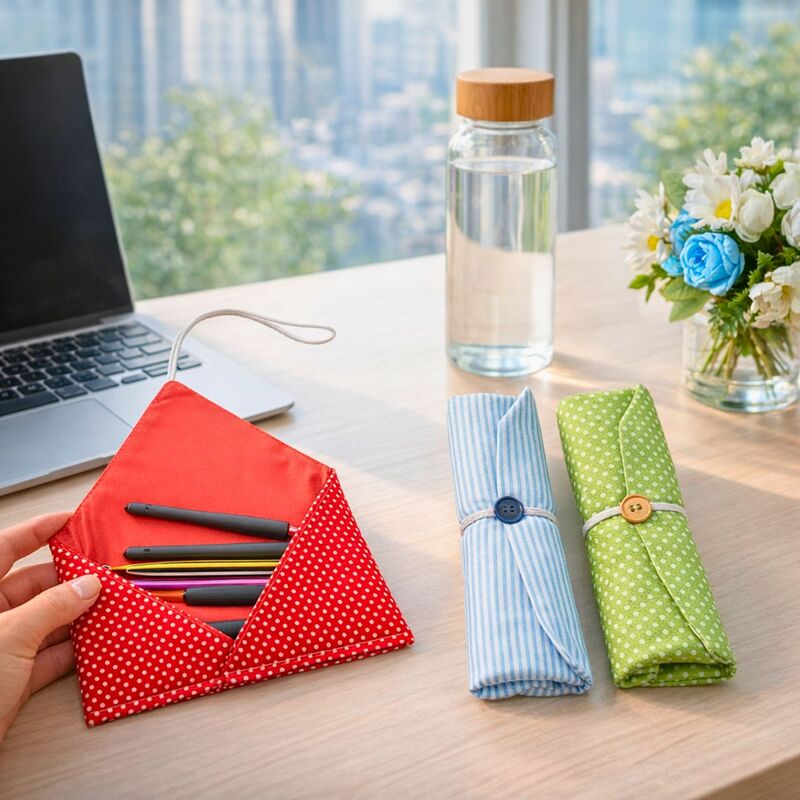

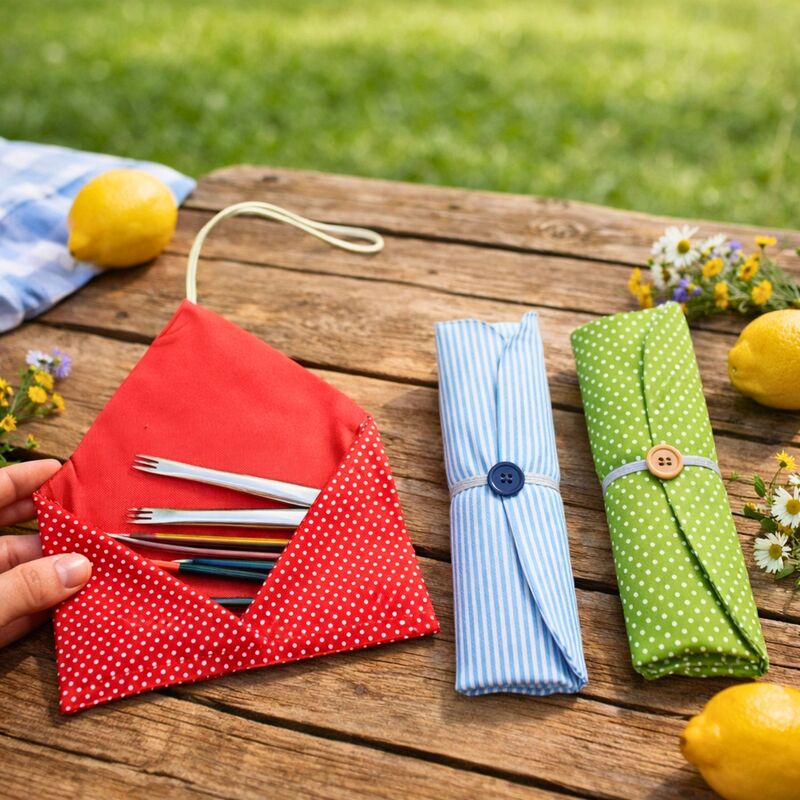

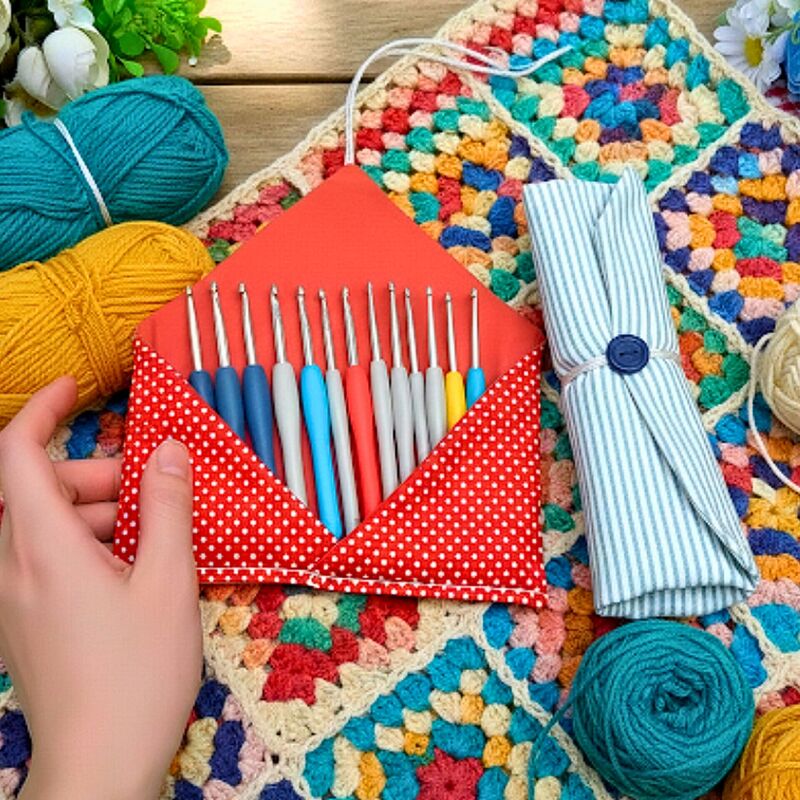
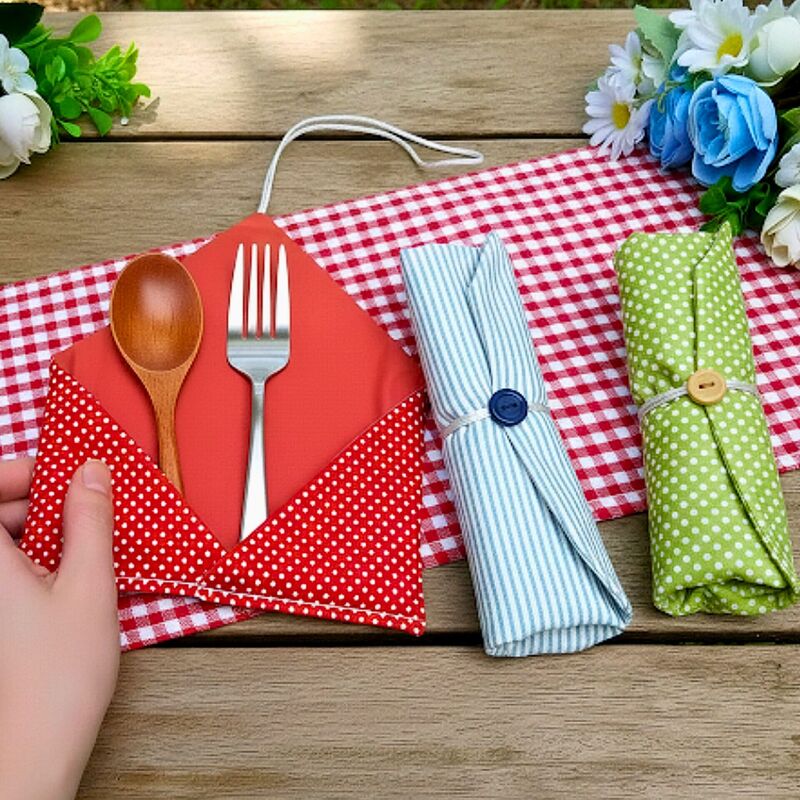


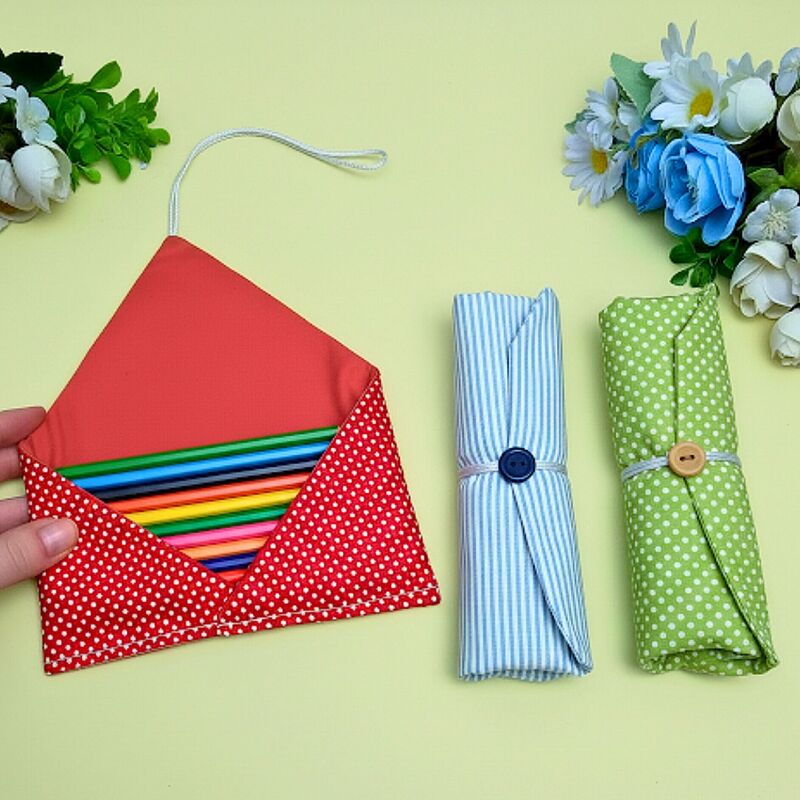


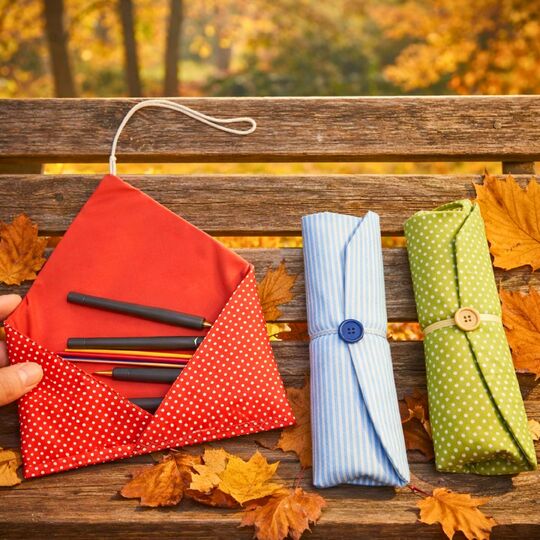

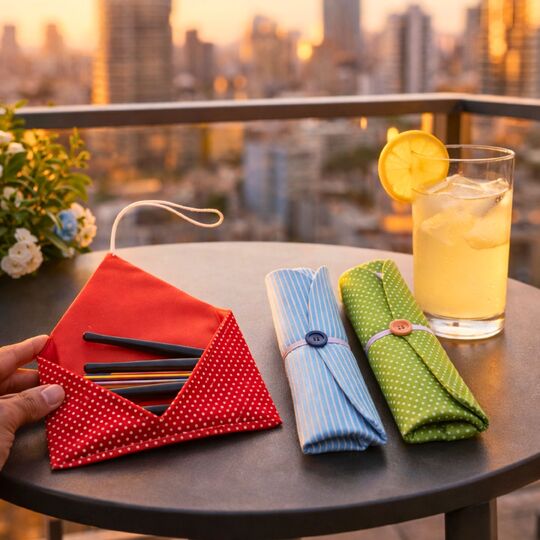

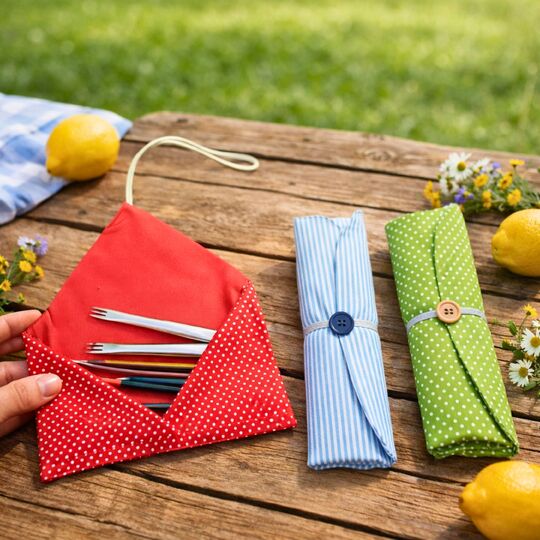
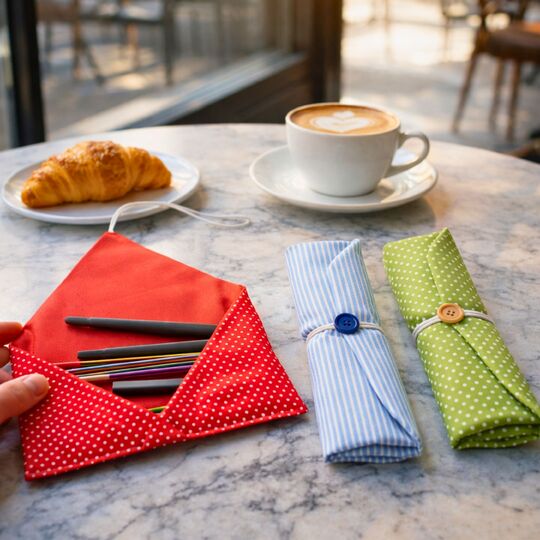
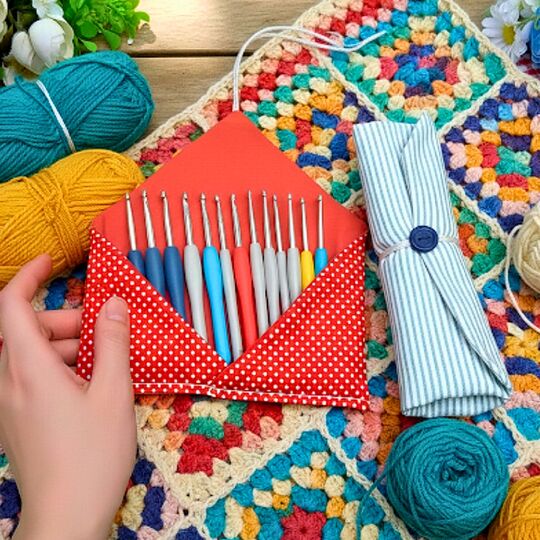


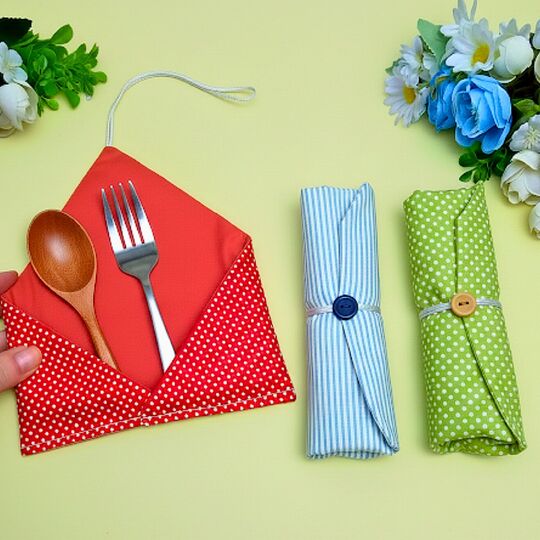
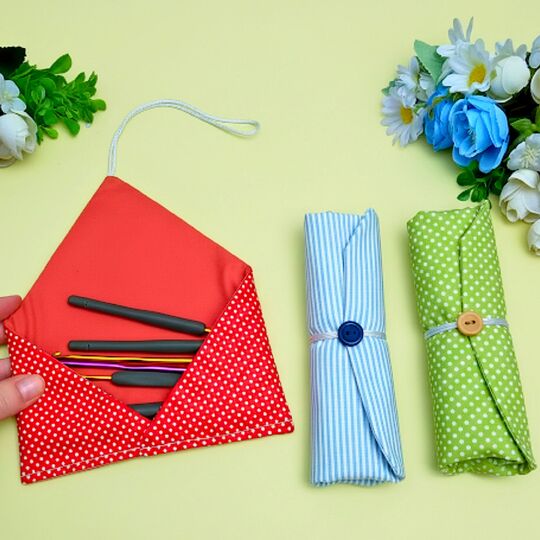


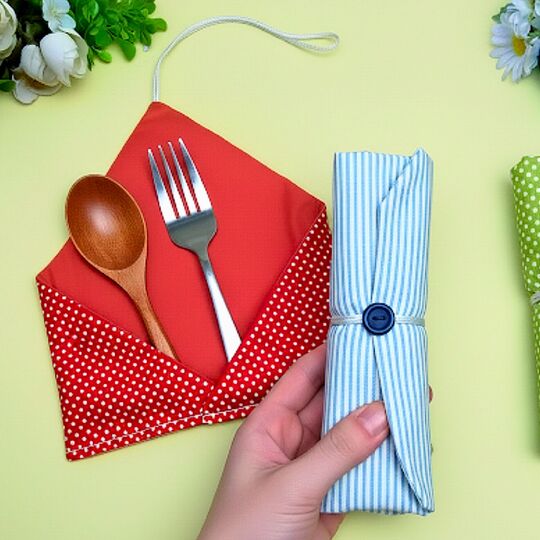
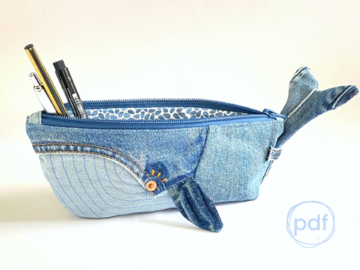
This listing is for a digital sewing pattern that teaches you how to create a practical roll-up fabric organizer. The Smart Roll Wrap – Buttoned Fabric Organizer pattern is designed to neatly store small everyday items such as cutlery, pencils, brushes, crochet hooks, knitting needles, or makeup tools.
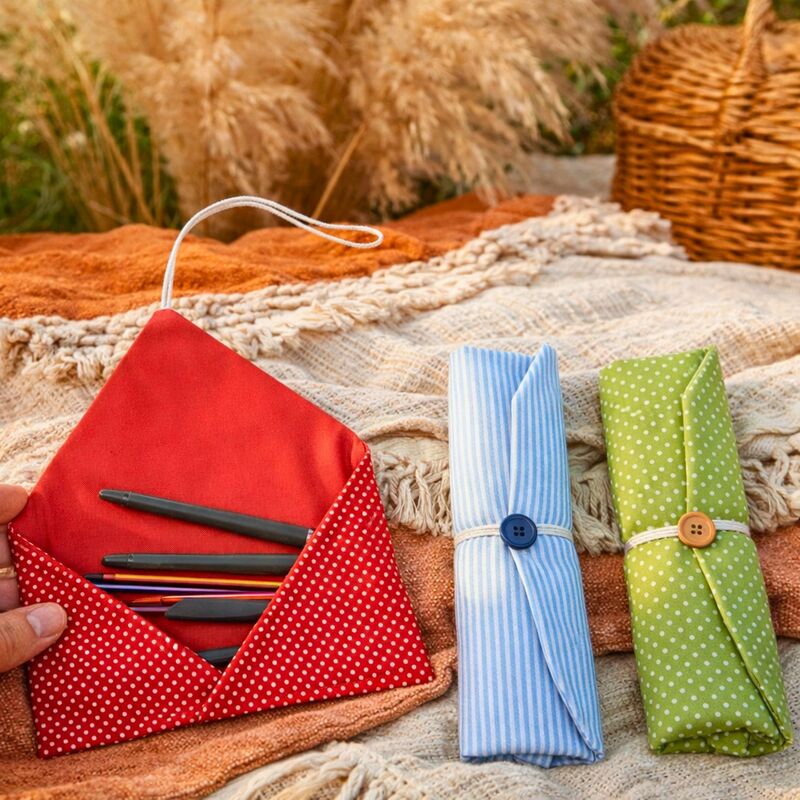
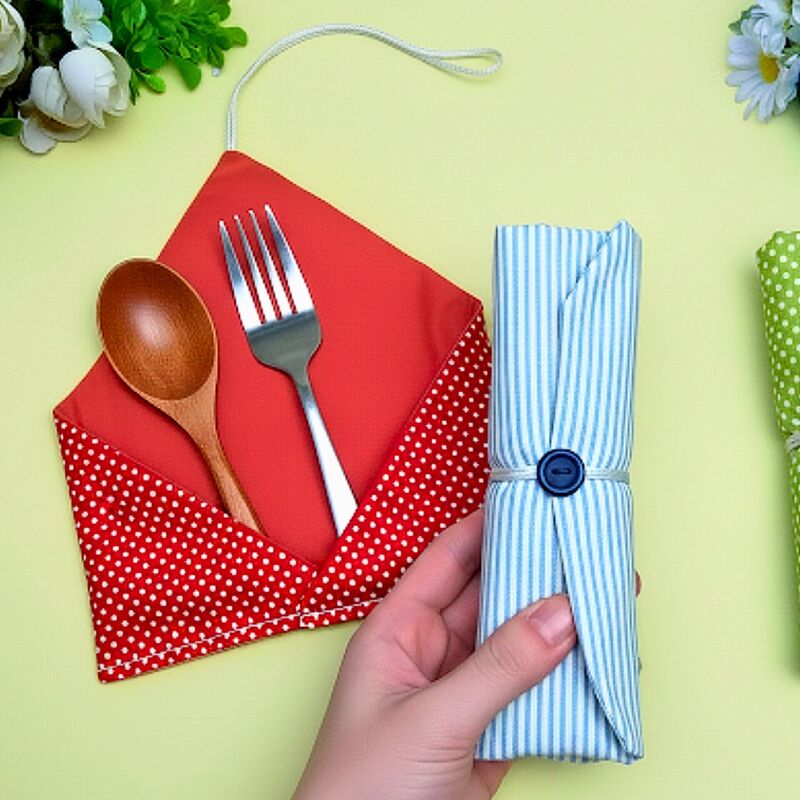
The design features a smart sectional layout that keeps items organized and secure. Once finished, the organizer can be rolled up compactly and closed with a tie cord or button-style closure, making it easy to carry in a bag or backpack.
The PDF includes clear step-by-step sewing instructions with photographs showing the construction process. This project results in a reusable, lightweight fabric organizer that is ideal for everyday use, travel, or as a handmade gift.
Please note:
This listing is for a DIGITAL PDF SEWING PATTERN, not a finished physical item.
Difficulty Level: Beginner to confident beginner
The instructions are designed to be clear and easy to follow, making the project suitable for sewists who have basic sewing experience. The pattern includes written step-by-step guidance along with photographs illustrating the sewing process.
To successfully complete this project, you should be familiar with:
Finished size (approximate):
Fabric and Materials:
A) SEWING TECHNIQUES USED
B) TIPS & HELPFUL NOTES
Turn the piece carefully to maintain clean, neat corners.
You can download the pattern immediately after receipt of payment.
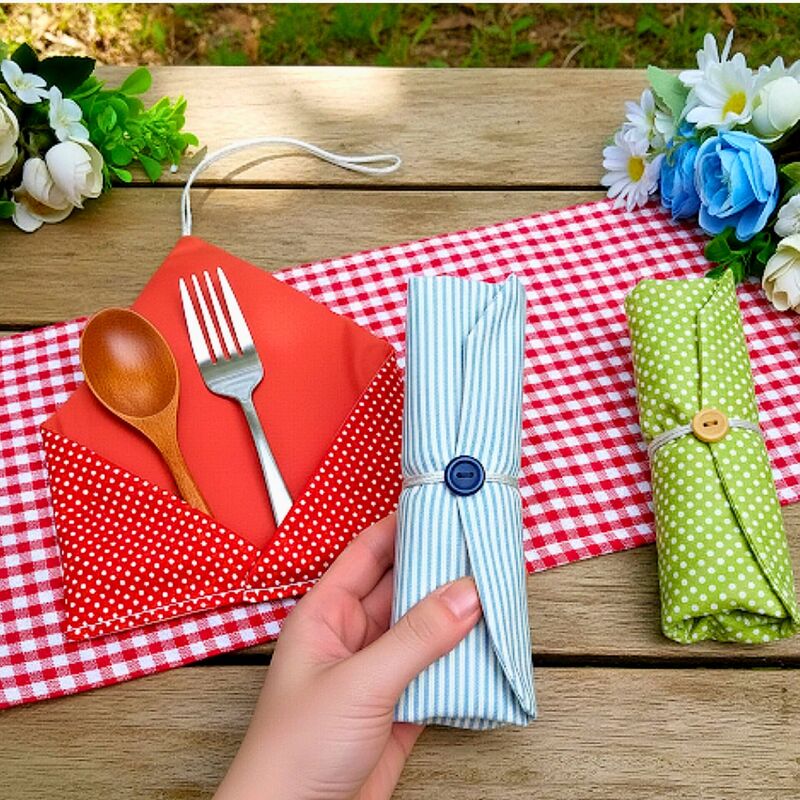
This listing is for a digital sewing pattern that teaches you how to create a practical roll-up fabric organizer. The Smart Roll Wrap – Buttoned Fabric Organizer pattern is designed to neatly store small everyday items such as cutlery, pencils, brushes, crochet hooks, knitting needles, or makeup tools.
The design features a smart sectional layout that keeps items organized and secure. Once finished, the organizer can be rolled up compactly and closed with a tie cord or button-style closure, making it easy to carry in a bag or backpack.
The PDF includes clear step-by-step sewing instructions with photographs showing the construction process. This project results in a reusable, lightweight fabric organizer that is ideal for everyday use, travel, or as a handmade gift.
Please note:
This listing is for a DIGITAL PDF SEWING PATTERN, not a finished physical item.
Difficulty Level: Beginner to confident beginner
The instructions are designed to be clear and easy to follow, making the project suitable for sewists who have basic sewing experience. The pattern includes written step-by-step guidance along with photographs illustrating the sewing process.
To successfully complete this project, you should be familiar with:
Finished size (approximate):
Fabric and Materials:
A) SEWING TECHNIQUES USED
B) TIPS & HELPFUL NOTES
Turn the piece carefully to maintain clean, neat corners.
Once Buyers review this product, the product rating, breakdown, and customer experiences will appear here.


Share your ideas, creations, and experiences.
You'll need an account to use these features. You can create an account or log in.
42 prizes / total value €300: 30×€5, 10×€10, 2×€25 – simply activate the newsletter. No purchase necessary. Unsubscribe at any time. Prizes are awarded as Crazypatterns shopping credit. Learn more
Ask Question